
Articles
How Do I Apply Vinyl Wall Art
Modified: May 6, 2024
Learn how to apply vinyl wall art with our informative articles. Enhance your home decor with easy-to-follow instructions and create a personalized space.
(Many of the links in this article redirect to a specific reviewed product. Your purchase of these products through affiliate links helps to generate commission for Storables.com, at no extra cost. Learn more)
Introduction
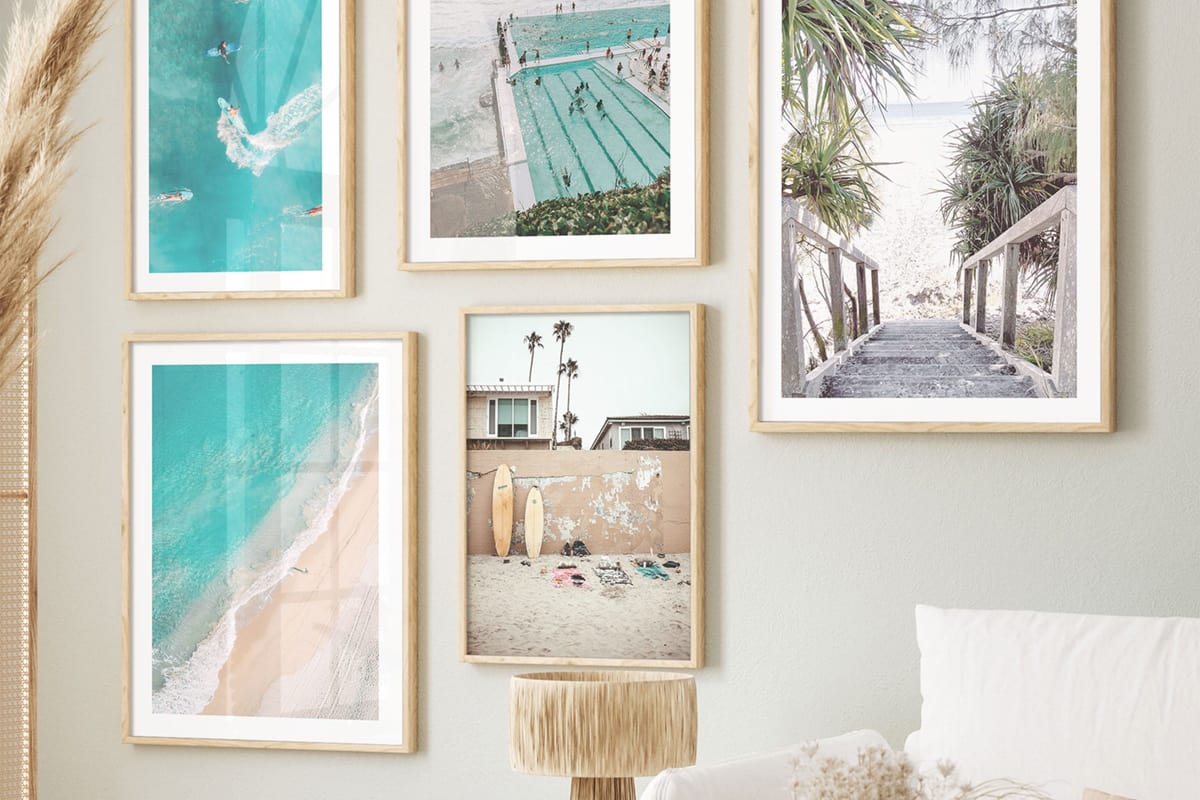
Welcome to the world of vinyl wall art! If you are looking to personalize your living space or add a touch of creativity to your walls, vinyl wall art is a fantastic option. This versatile and trendy form of decor allows you to showcase your personality and style in a unique and impactful way.
Whether you are a seasoned interior design enthusiast or a novice DIY enthusiast, applying vinyl wall art is a fun and easy project that can instantly transform the ambiance of any room. From elegant quotes and inspirational phrases to whimsical patterns and vibrant images, the options for vinyl wall art are virtually endless.
In this article, we will guide you through the process of choosing, applying, and maintaining vinyl wall art effectively. We will provide practical tips and expert advice to ensure that your vinyl wall art application is flawless and long-lasting.
So, grab your favorite design, roll up your sleeves, and let’s get ready to embark on a creative journey with vinyl wall art!
Key Takeaways:
- Personalize your living space with vinyl wall art, choosing designs that complement your style and room aesthetics. Prepare the wall surface thoroughly before applying the vinyl for a flawless and long-lasting installation.
- Maintain the vibrancy of your vinyl wall art by gentle cleaning, avoiding direct sunlight, and checking for loose edges. Enjoy the flexibility of easily removing and replacing the art to keep your space reflecting your evolving style and preferences.
Read more: How To Do Moss Wall Art
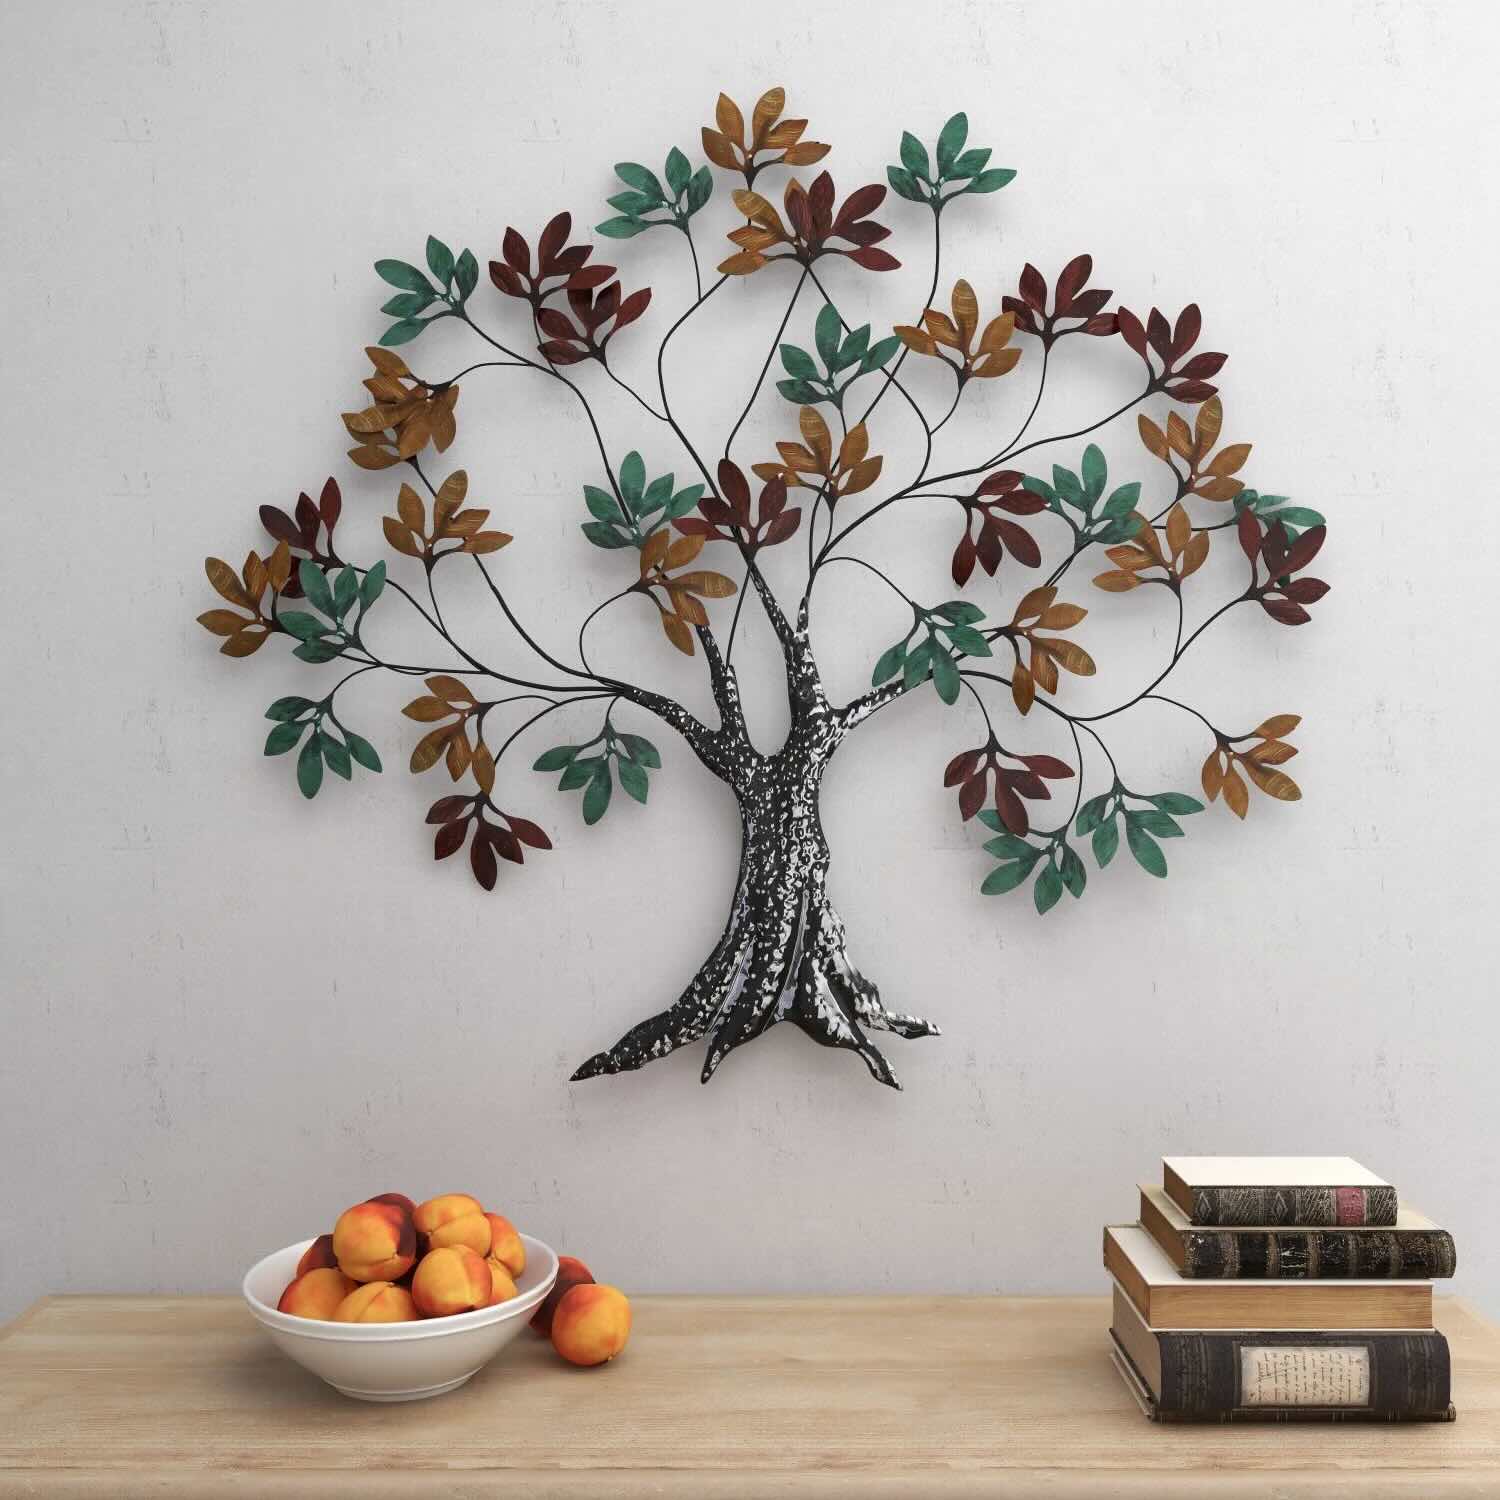
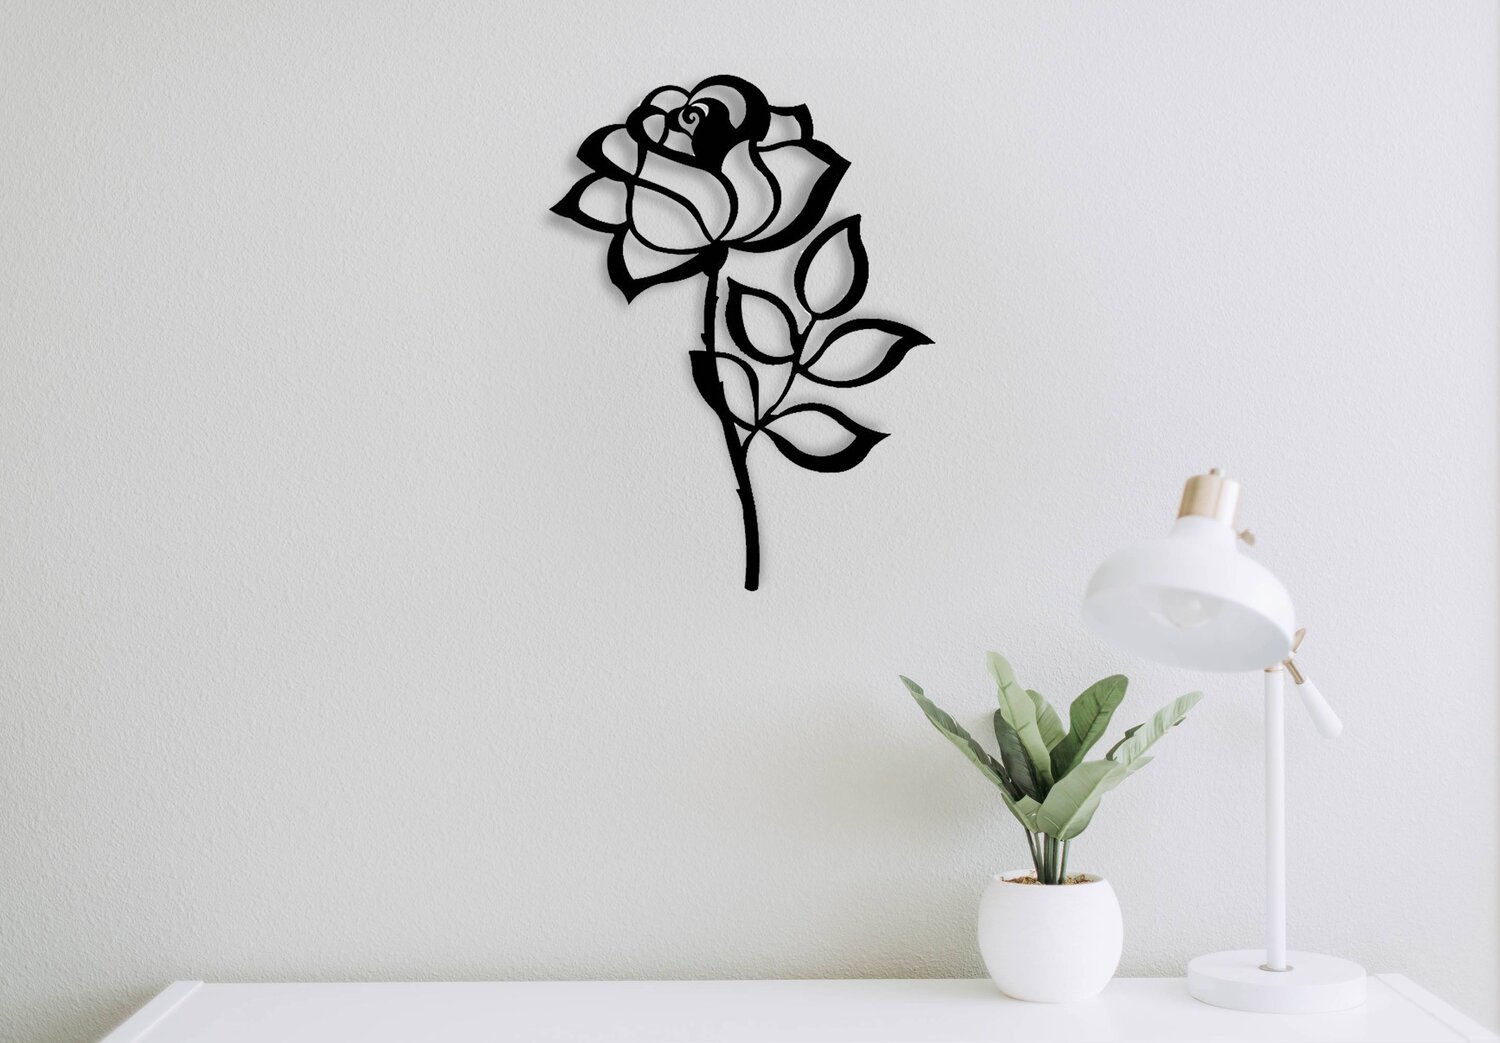
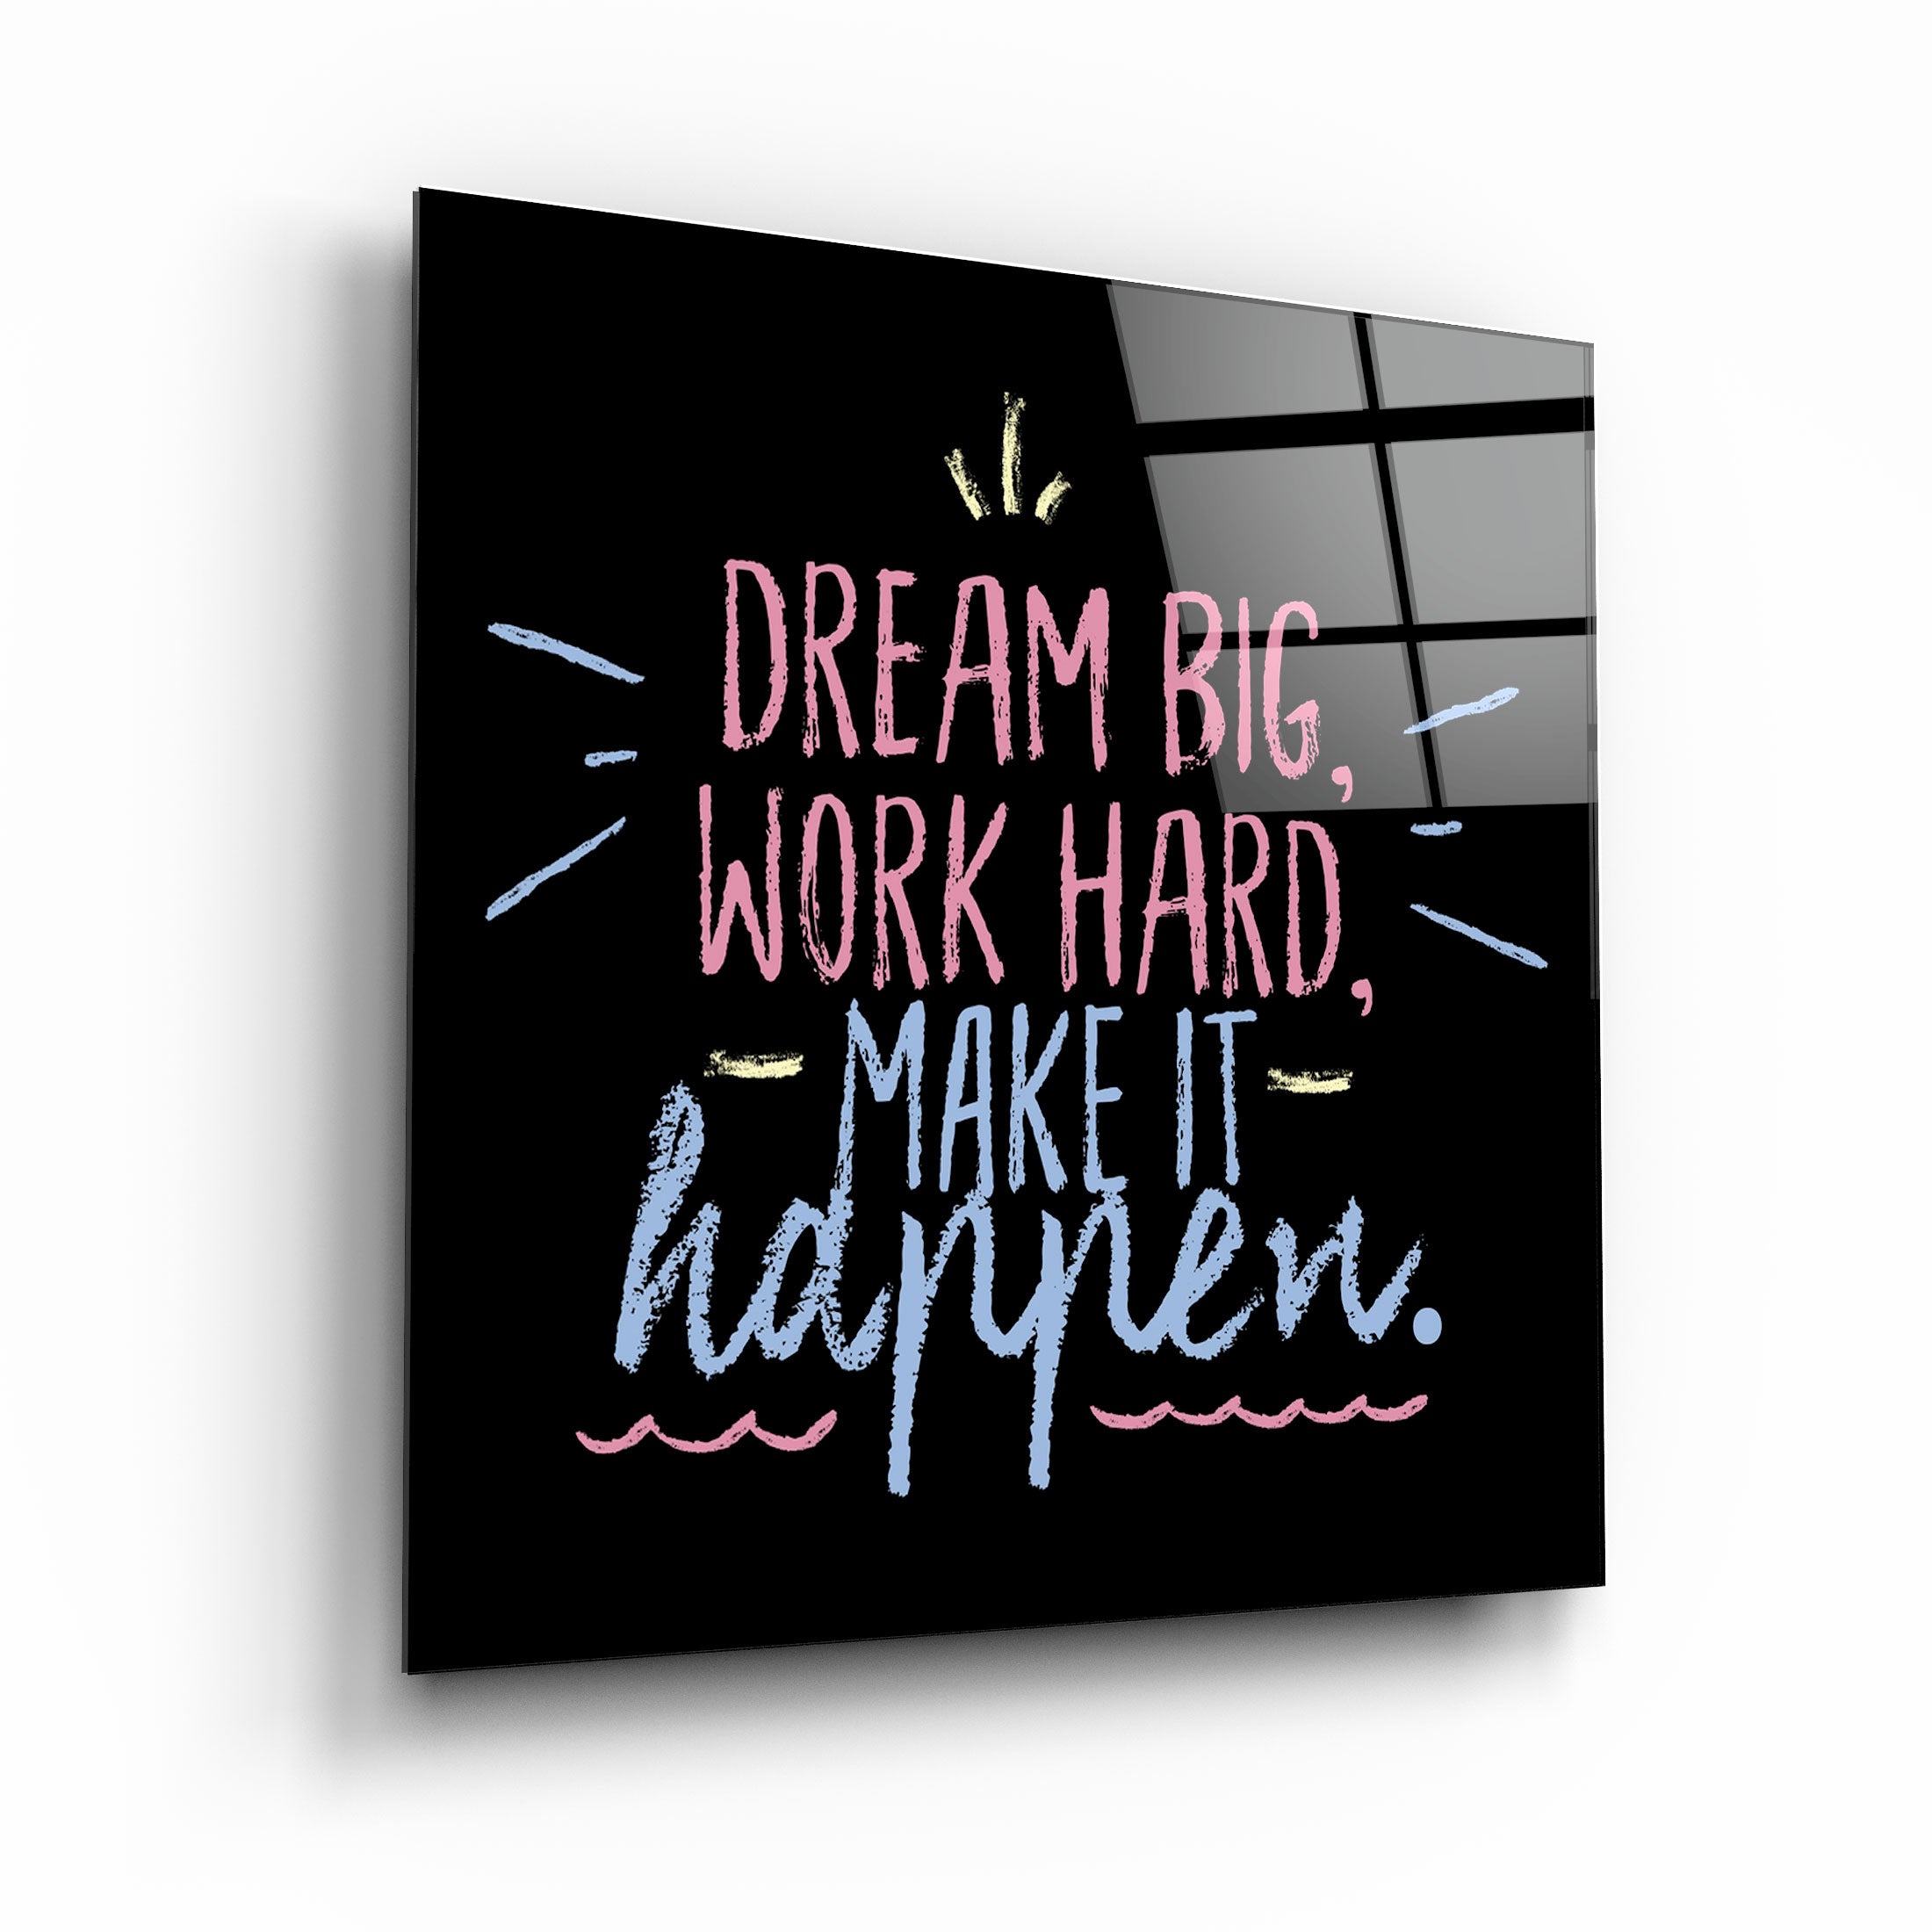
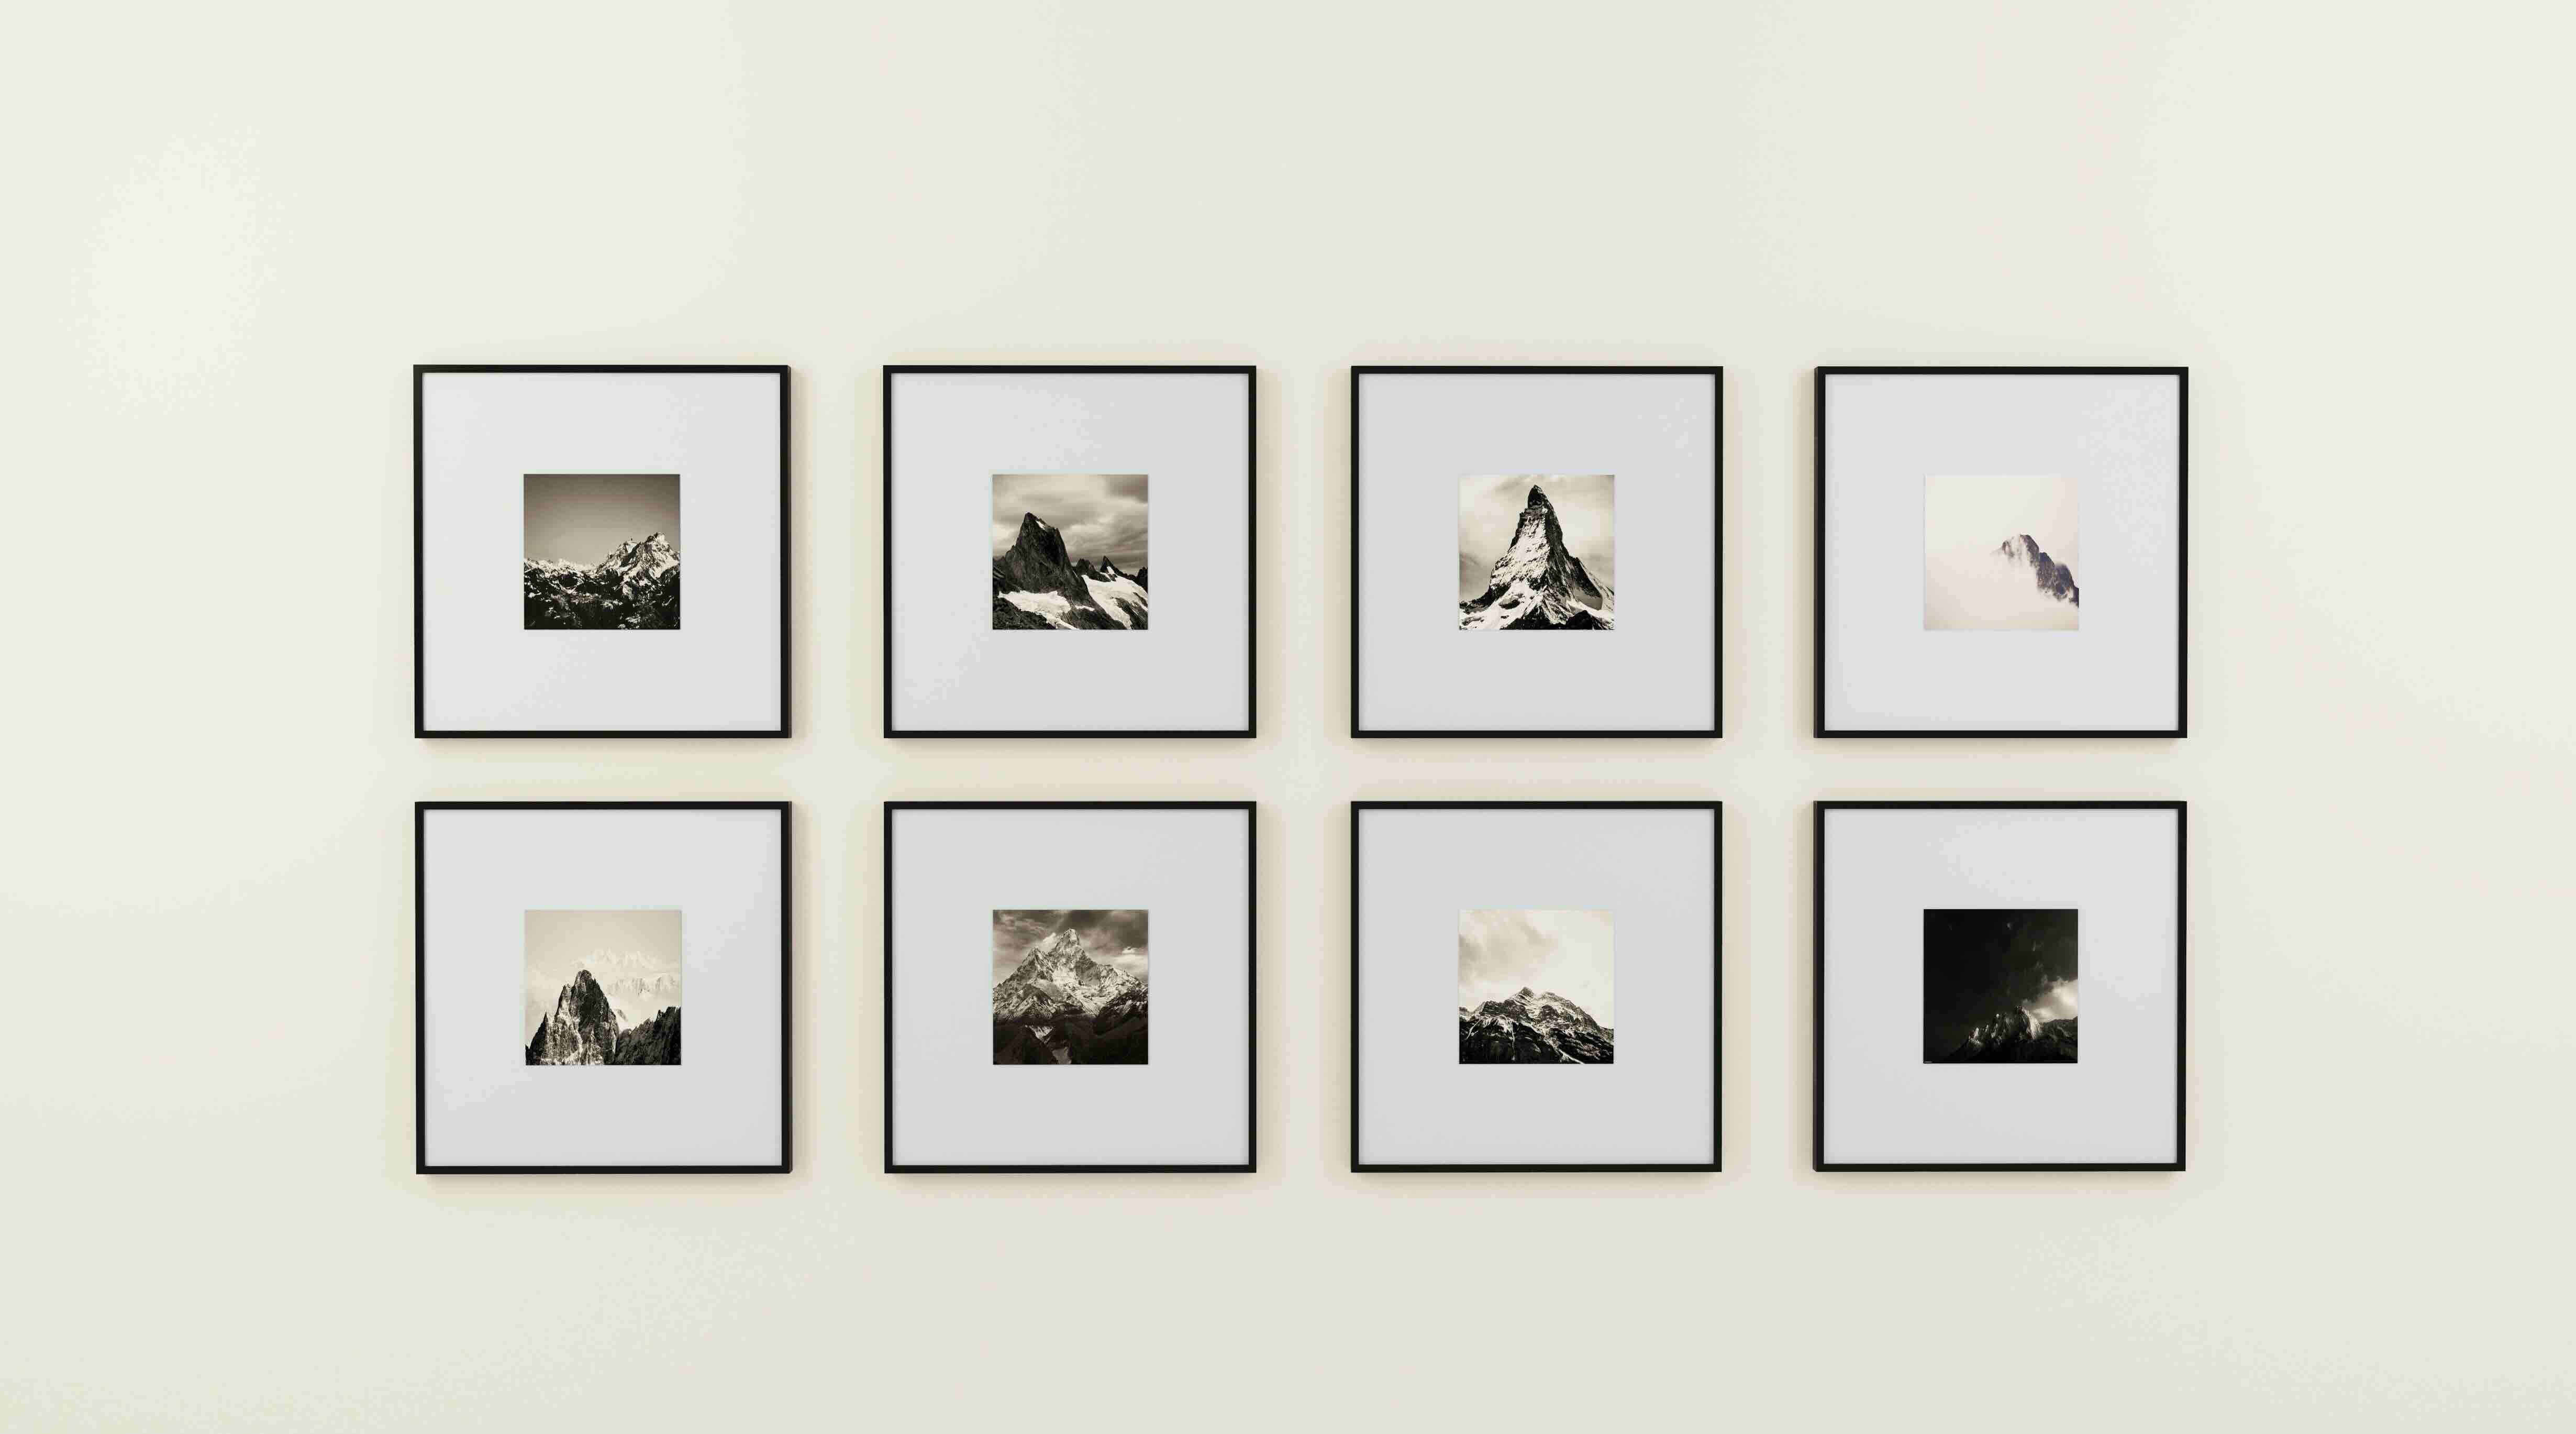
Choosing the Right Vinyl Wall Art
When it comes to choosing vinyl wall art, there are a few factors to consider to ensure that you find the perfect design for your space. Here are some tips to help you make the right choice:
- Design and Style: Consider the overall theme and style of your room. Look for vinyl wall art that complements the existing decor and furniture. Whether you prefer minimalist, vintage, or contemporary designs, there is something out there for everyone.
- Size and Proportion: Measure the wall space where you intend to apply the vinyl art. Consider the dimensions and make sure it fits well without overwhelming or underwhelming the area. A proper size ensures the art piece becomes a focal point and enhances the room’s aesthetics.
- Color Palette: Decide on a color palette that harmonizes with the room. Opt for vinyl wall art that either matches the existing color scheme or provides a pleasing contrast. This will help create a cohesive look and make the art piece stand out.
- Material Quality: Ensure that the vinyl wall art is made from high-quality materials that are durable and long-lasting. This ensures that the art piece stays intact and retains its visual appeal for years to come.
- Personalization: Consider customizing your vinyl wall art to add a personal touch. Many companies offer the option to create custom designs, allowing you to incorporate your favorite quotes, family photos, or even your own artwork into the vinyl art piece.
Remember, choosing the right vinyl wall art is all about finding a design that resonates with you and enhances the atmosphere of your room. Take your time to explore different options and consider your personal preferences before making a decision.
Preparing the Wall
Before applying vinyl wall art, it is essential to properly prepare the wall surface to ensure optimal adhesion and a smooth application. Follow these steps to prepare your wall:
- Clean the Wall: Start by cleaning the wall thoroughly. Remove any dust, dirt, or grime using a mild detergent or wall cleaner. Ensure that the wall is completely dry before moving on to the next step.
- Smooth the Surface: Inspect the wall surface for any imperfections such as bumps, cracks, or peeling paint. Use a putty knife or filler to repair any damages and sand down any rough areas. A smooth surface will ensure a seamless and professional-looking application.
- Prime the Wall (if necessary): If your wall has a glossy or uneven finish, applying a primer may be necessary. The primer will help create a better surface for the vinyl wall art to adhere to. Follow the instructions on the primer product for the best results.
- Allow the Wall to Dry: If you have applied any cleaning agents, filler, or primer, allow the wall to dry completely as per the manufacturer’s instructions. This ensures that the wall is ready for the vinyl application.
By taking the time to properly prepare the wall, you set the foundation for a successful and long-lasting vinyl wall art installation. Remember, the key is to create a clean, smooth, and dry surface that will allow the vinyl to adhere properly and prevent any issues in the future.
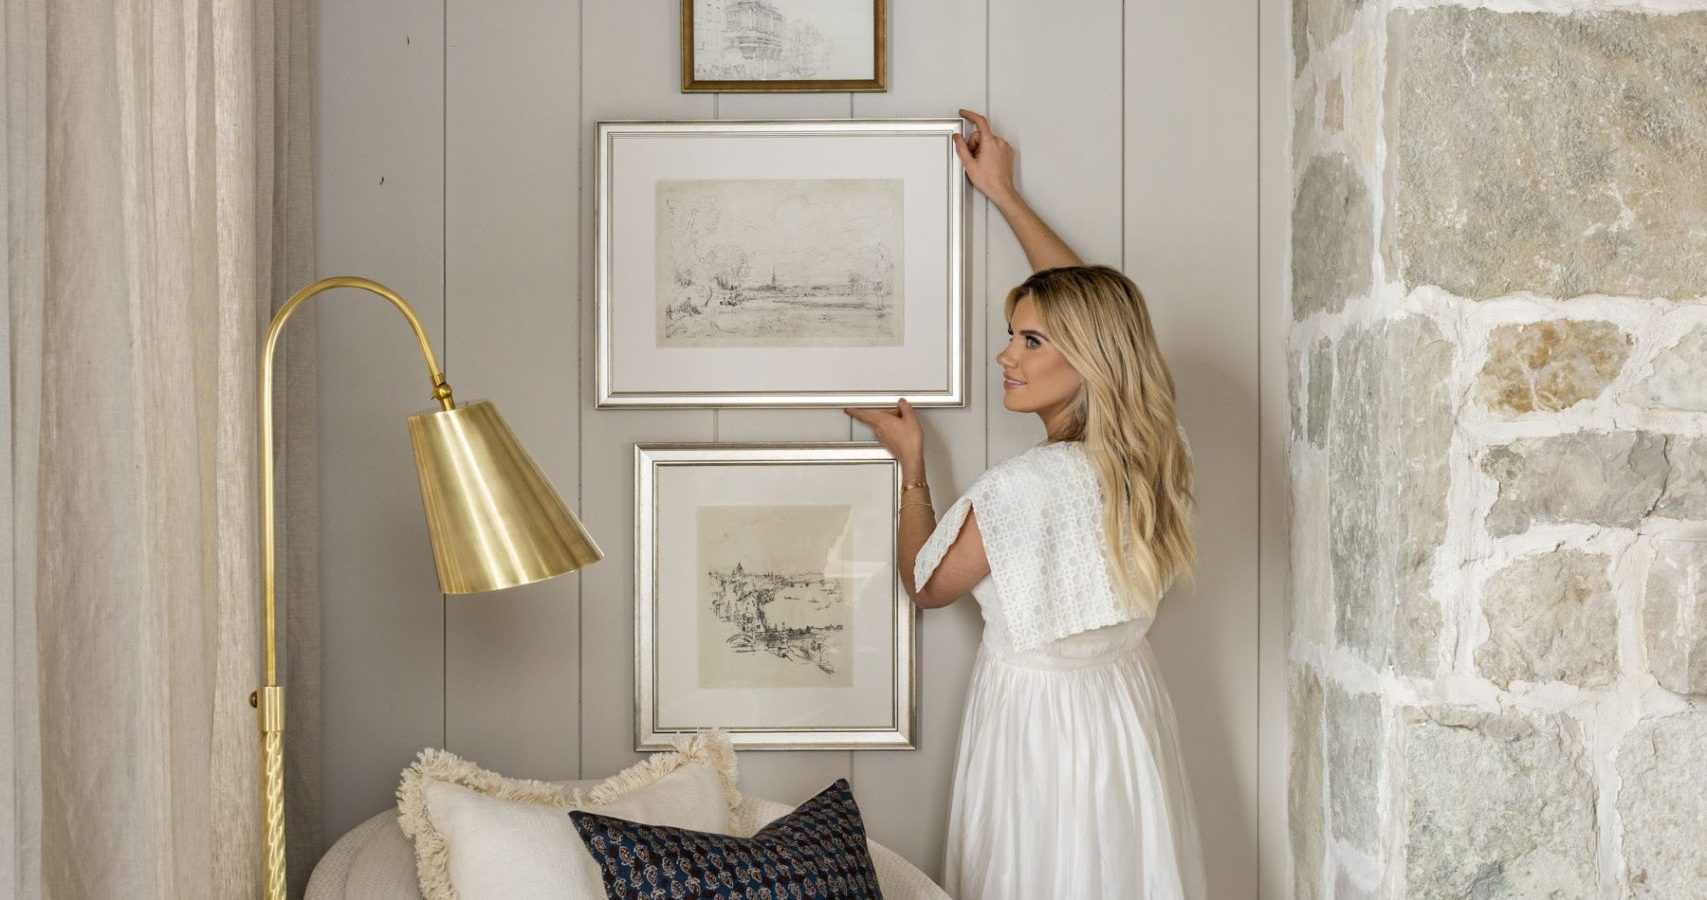
Applying Vinyl Wall Art
Now that you have chosen your desired vinyl wall art and prepared the wall surface, it’s time to apply the vinyl. Follow these steps for a smooth and successful application:
- Measure and Mark: Start by measuring and marking the desired placement of the vinyl wall art on the wall. Use a pencil or masking tape to create guidelines or reference points.
- Peel off the Backing: Carefully peel off the backing of the vinyl art, exposing the adhesive side. Be cautious to avoid touching the adhesive with your fingers, as this can affect its stickiness.
- Align and Stick: Align the top edge of the vinyl art with the marked guideline on the wall. Slowly and gently press the vinyl onto the wall, starting from the top and working your way down. Smooth out any bubbles or wrinkles using a squeegee or credit card as you go along. Take your time to ensure the vinyl adheres evenly.
- Remove the Transfer Tape: Once the vinyl art is securely attached to the wall, carefully remove the transfer tape. Start at one corner and peel it off slowly and at a sharp angle, making sure the vinyl stays on the wall.
- Press and Secure: After removing the transfer tape, press down on the vinyl art again using a squeegee or credit card. This step helps ensure a strong bond between the vinyl and the wall surface.
Remember, patience and attention to detail are crucial during the application process. Take your time and work slowly to achieve the desired result. If you encounter any bubbles or wrinkles, gently lift the vinyl and smooth them out with your fingers or the squeegee.
Once you have successfully applied the vinyl wall art, step back and admire your work. Your space now showcases a beautiful and personalized touch that will instantly grab attention and create a captivating atmosphere.
When applying vinyl wall art, start by cleaning the wall surface with a damp cloth to remove any dust or dirt. Use a level to ensure the art is straight before applying, and use a squeegee to smooth out any air bubbles.
Removing and Replacing Vinyl Wall Art
Over time, you may want to change or update your vinyl wall art. Fortunately, removing and replacing vinyl wall art is relatively easy and doesn’t damage the wall if done correctly. Here’s how you can remove and replace vinyl wall art:
- Start at the Corner: Begin by gently peeling off a corner of the vinyl art. Use your fingers or a sharp, pointed object like a credit card to lift the edge.
- Pull Slowly: Slowly pull the vinyl art away from the wall at a sharp angle, keeping it parallel to the wall’s surface. Take your time and be patient to avoid any tearing or damage to the wall.
- Remove Residual Adhesive: Once the vinyl art is removed, you may notice some sticky residue left on the wall. Use a mild adhesive remover, rubbing alcohol, or warm soapy water to clean the area and remove any adhesive remnants. Gently scrub the surface with a soft cloth or sponge and let it dry completely before applying new vinyl art.
- Prepare the Wall: Repeat the steps mentioned earlier in the “Preparing the Wall” section to ensure that the wall surface is clean, smooth, and dry before applying new vinyl wall art.
- Apply the New Vinyl Art: Follow the steps outlined in the “Applying Vinyl Wall Art” section to apply the new vinyl art of your choice. Take your time to align the design properly and smooth out any bubbles or wrinkles as you go along.
By following these steps, you can easily remove and replace your vinyl wall art, allowing you to update your space whenever you desire. Just remember to handle the vinyl art with care during the removal process to avoid any damage or tearing.
Whether you decide to rotate your vinyl art periodically or change it altogether, this flexibility ensures that your walls always reflect your evolving style and preferences.
Read more: How To Arrange Wall Art
Maintenance and Care Tips
Vinyl wall art is a durable and low-maintenance form of decor. However, a little bit of care can go a long way in ensuring that it stays in excellent condition for years to come. Here are some maintenance and care tips for your vinyl wall art:
- Gentle Cleaning: Use a soft, lint-free cloth or sponge to gently clean the surface of the vinyl art. Avoid using harsh chemicals, abrasive materials, or excessive moisture, as they can damage the vinyl. Mild soap and water should be sufficient for regular cleaning.
- Avoid Direct Sunlight: Prolonged exposure to direct sunlight can cause the colors of the vinyl wall art to fade over time. Consider placing the art piece away from windows or using curtains, blinds, or UV-resistant window films to protect it from sunlight and minimize fading.
- Prevent Moisture: Vinyl wall art is generally water-resistant, but it’s best to avoid excessive moisture or humidity. Avoid applying vinyl art in areas prone to high humidity, such as bathrooms or near kitchen sinks. If any liquid spills on the vinyl, clean it immediately to prevent any staining or damage.
- Avoid Sharp Objects: Be cautious when placing or moving furniture, decorations, or any sharp objects near the vinyl art. Scratches or punctures can damage the vinyl. Take extra care to ensure nothing sharp comes in contact with the art piece.
- Check for Loose Edges: Regularly inspect the edges and corners of the vinyl art for any signs of lifting or peeling. If you notice any loose areas, gently press them down with your fingertips or use a credit card to reinforce the adhesive bond.
- Store Properly: If you decide to remove and replace vinyl art or have spares, store them in a cool, dry place away from direct sunlight. Roll them up gently and keep them in a cardboard tube or a flat storage container to prevent any damage or creasing.
By following these maintenance and care tips, you can ensure that your vinyl wall art remains vibrant and visually appealing for years to come. Regular cleaning, mindful placement, and gentle handling will help preserve its beauty and extend its lifespan.
Conclusion
Vinyl wall art is a fantastic way to add a personalized touch to your living space. With a wide range of designs, styles, and customization options, you can create a unique and visually striking ambiance in any room. Whether you are looking to inspire, motivate, or simply decorate, vinyl wall art offers endless possibilities.
By choosing the right vinyl wall art, preparing the wall surface adequately, and applying the vinyl with care, you can achieve a flawless and professional-looking result. The flexibility of vinyl art also allows you to easily remove and replace it whenever you desire a change, ensuring that your walls always reflect your evolving style and preferences.
To maintain and care for your vinyl wall art, remember to clean it gently, avoid direct sunlight and excessive moisture, and check for any loose edges or damage. With proper maintenance, your vinyl art will stay vibrant and visually appealing for years to come.
So, unleash your creativity and explore the world of vinyl wall art. Transform your plain walls into captivating canvases that reflect your personality and style. Express yourself, inspire others, and make your living space truly your own with vinyl wall art. Happy decorating!
Now that you've mastered applying vinyl wall art, why not take your creativity to the next level? Our next guide focuses on creating unique, handcrafted decorations for your living space. If you love transforming simple materials into eye-catching decor, then our guide on DIY home decor is perfect for you. It's packed with clever ideas and easy-to-follow steps that will help you personalize your home in no time. Don't miss out on these fantastic crafting opportunities!
Frequently Asked Questions about How Do I Apply Vinyl Wall Art
Was this page helpful?
At Storables.com, we guarantee accurate and reliable information. Our content, validated by Expert Board Contributors, is crafted following stringent Editorial Policies. We're committed to providing you with well-researched, expert-backed insights for all your informational needs.


0 thoughts on “How Do I Apply Vinyl Wall Art”