Articles
How To Resurface Kitchen Countertops
Modified: August 16, 2024
Learn how to resurface your kitchen countertops with these informative articles. Find step-by-step instructions and expert tips to transform your countertops. Achieve a fresh and updated look for your kitchen!
(Many of the links in this article redirect to a specific reviewed product. Your purchase of these products through affiliate links helps to generate commission for Storables.com, at no extra cost. Learn more)
Introduction
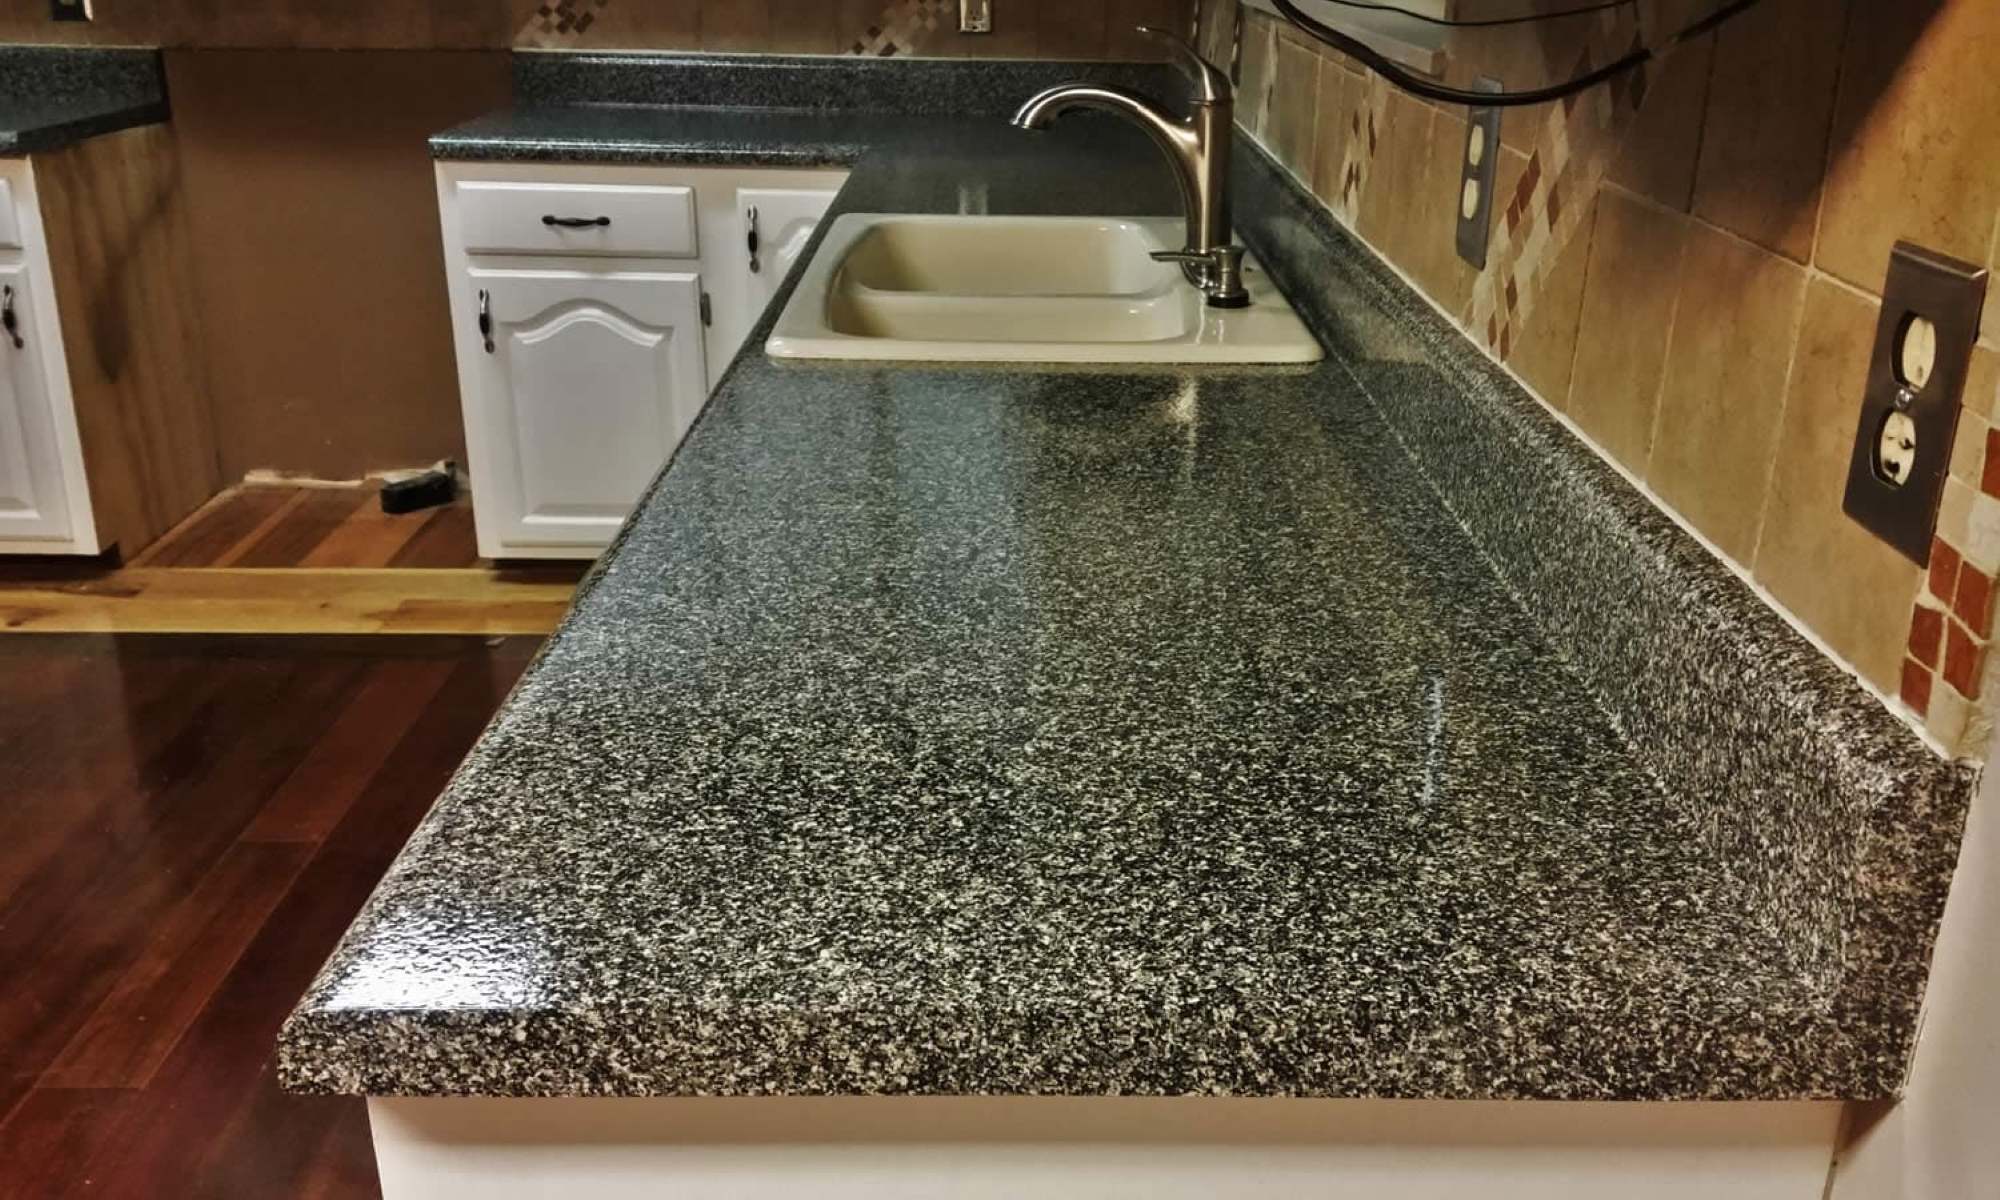
Having a beautifully resurfaced kitchen countertop can transform the look and feel of your entire kitchen. If your countertop is worn out, stained, or damaged, resurfacing it can give it a fresh and rejuvenated appearance without the need for a complete replacement. In this guide, we will walk you through the step-by-step process of resurfacing your kitchen countertop, ensuring that you achieve professional-looking results.
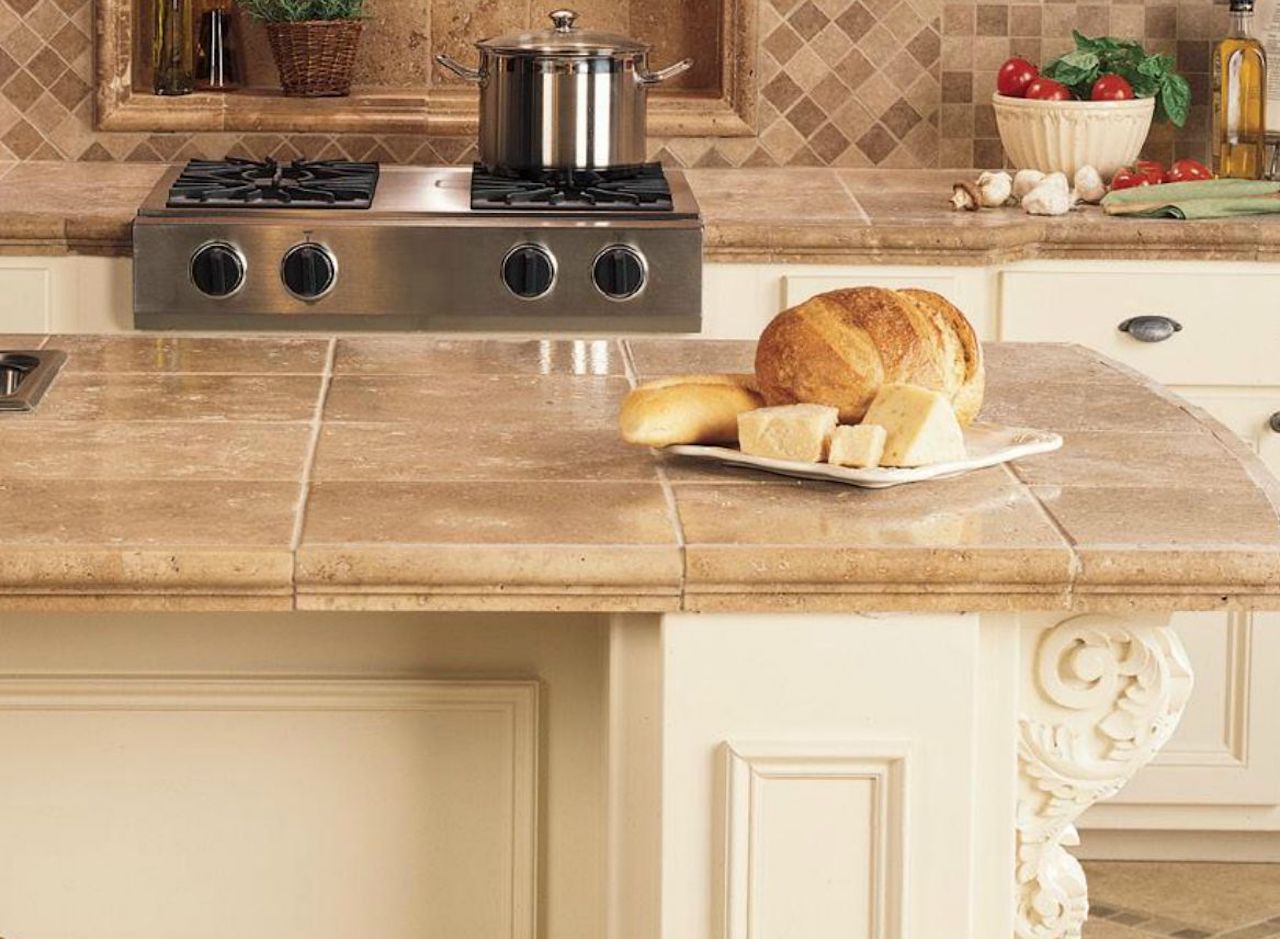
Resurfacing your kitchen countertop is a cost-effective alternative to replacing it. It not only saves you money but also allows you to customize the look of your countertop to suit your personal style. Whether you want a sleek and modern surface or a warm and rustic finish, resurfacing gives you the opportunity to achieve the look you desire.
Before you start the resurfacing process, it is important to gather all the necessary tools and materials. This includes a primer, resurfacing compound, sandpaper, roller, paintbrush, putty knife, and protective gear such as goggles and gloves. Additionally, make sure to thoroughly clean and prepare the countertop surface before beginning the resurfacing process. This will help ensure that the new surface adheres properly and lasts for years to come.
Resurfacing your kitchen countertop can be a rewarding DIY project, but it does require some time, patience, and attention to detail. By following the steps outlined in this guide, you can achieve professional-quality results and enjoy a stunning kitchen countertop that enhances the overall aesthetics of your space.
Key Takeaways:
- Transform your kitchen with a cost-effective countertop resurfacing, allowing for personalized style and professional results. Follow the step-by-step guide for a rejuvenated and stunning kitchen centerpiece.
- Ensure the longevity of your resurfaced countertop with regular maintenance, gentle cleaning, and protective measures. Preserve its beauty and functionality for years to come.
Read more: How To Resurface Marble Countertops
Preparing the Countertop
Before you begin the process of resurfacing your kitchen countertop, it’s important to properly prepare the surface. This step is crucial to ensure that the new resurfacing compound adheres securely and lasts for a long time. Follow these steps to prepare your countertop:
- Clean the countertop: Start by removing any dirt, grease, or residue from the countertop surface. Use a gentle cleaner and a non-abrasive sponge to avoid scratching the surface. Ensure that the countertop is completely dry before proceeding to the next step.
- Remove any loose or damaged materials: Inspect the countertop for any loose or damaged materials, such as loose tiles or chipped edges. Use a putty knife to remove any loose pieces and repair any noticeable damage.
- Fill in any cracks or chips: If your countertop has any cracks or chips, fill them in with an appropriate filler or epoxy. Follow the manufacturer’s instructions to ensure proper application. Use a putty knife to level the surface and let it dry completely before moving on to the next step.
- Mask off surrounding areas: Use painter’s tape and plastic sheeting to protect any surrounding surfaces that you do not want to get damaged or covered with the resurfacing compound.
- Sand the countertop: Use a medium-grit sandpaper or a sanding block to lightly sand the entire countertop surface. This will remove any gloss, roughen the surface for better adhesion, and help the resurfacing compound adhere properly.
- Clean the countertop again: After sanding, it’s important to clean the countertop once again to remove any dust or debris. Use a tack cloth or a damp cloth to wipe away the particles, ensuring a clean and smooth surface for the resurfacing compound to adhere to.
By properly preparing your countertop, you are setting the foundation for a successful resurfacing project. Taking the time to clean, repair, and sand the surface will ensure that the resurfacing compound adheres properly and provides a durable and beautiful finish that will stand the test of time.
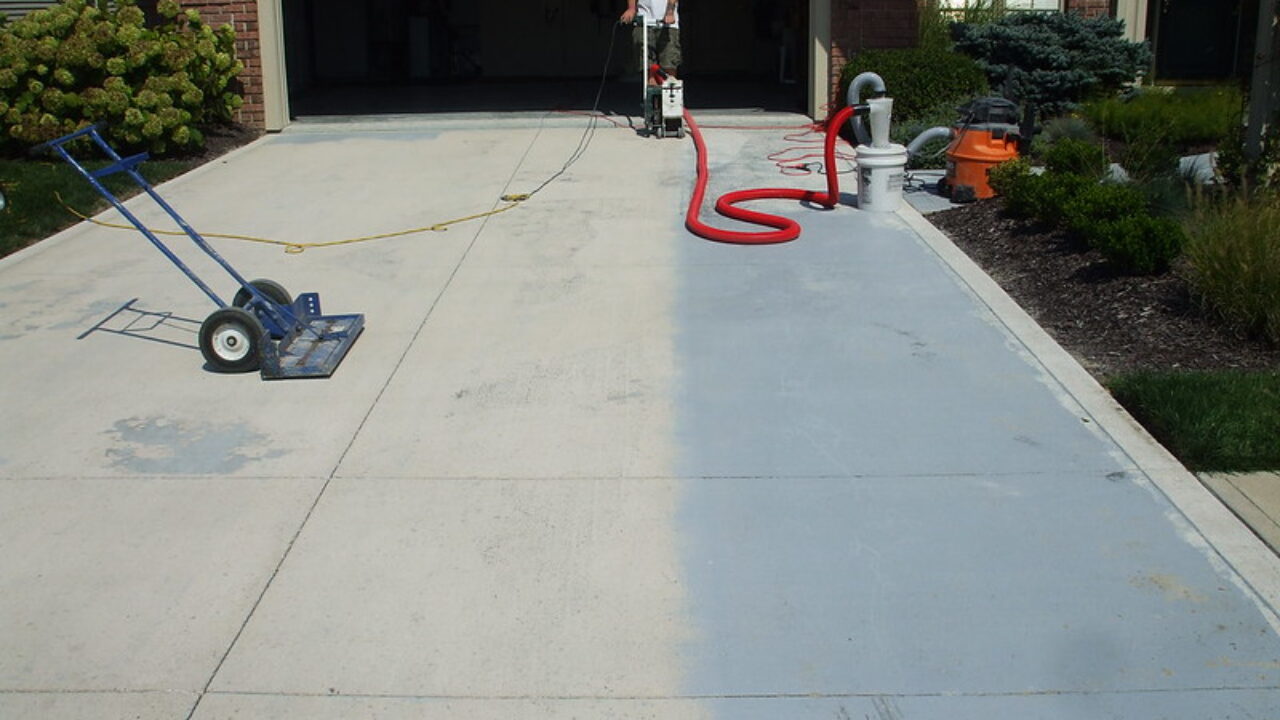
Removing the Old Surface
Once you have prepared the countertop, the next step in resurfacing is removing the old surface. This is necessary to create a clean and smooth base for the new resurfacing compound. Follow these steps to effectively remove the old surface:
- Use a scraper: Begin by using a scraper or a putty knife to gently scrape away any loose or peeling areas of the old surface. Be careful not to apply too much pressure to avoid damaging the countertop.
- Apply a chemical stripper: For surfaces with multiple layers or stubborn coatings, you may need to use a chemical stripper. Follow the instructions on the stripper product carefully, wearing protective gloves and goggles. Apply the stripper to the countertop, spreading it evenly and allowing it to sit for the recommended amount of time.
- Scrape off the old surface: After the chemical stripper has done its job, use a scraper or putty knife to gently scrape away the old surface. Start at one corner and work your way across the countertop, applying even pressure. Be thorough in removing all the old surface to ensure a clean and smooth base.
- Clean the countertop: Once you have removed the old surface, clean the countertop thoroughly to remove any remaining residue from the chemical stripper or old surface. Use a mild cleanser and a non-abrasive sponge to ensure the surface is completely clean and free from debris.
- Sand the countertop: After cleaning, lightly sand the countertop surface once again. This will help smoothen any rough patches or imperfections left from the old surface removal process.
- Clean the countertop again: Finally, give the countertop a final cleaning to remove any dust or debris from sanding. Use a tack cloth or a damp cloth to wipe away the particles, ensuring a clean and smooth surface ready for the next steps of the resurfacing process.
Removing the old surface is a crucial step in the resurfacing process as it allows for better adhesion of the new resurfacing compound. Take your time and be thorough in this step to ensure a clean and well-prepared countertop for the next stages of the resurfacing project.
Repairing and Filling Cracks and Chips
Repairing and filling cracks and chips in your kitchen countertop is an essential step in the resurfacing process. This will help ensure a smooth and flawless final result. Follow these steps to effectively repair and fill any cracks or chips:
- Clean the damaged area: Start by cleaning the crack or chip thoroughly. Use a mild cleanser and a non-abrasive sponge to remove any dirt, grease, or debris from the damaged area. Make sure the area is completely dry before proceeding.
- Apply a crack filler: Depending on the size and depth of the crack, choose an appropriate crack filler product. Use a putty knife to apply the filler to the crack, ensuring it fills the entire depth. Smooth the filler with the putty knife, removing any excess material.
- Fill in the chips: For smaller chips, you can use a repair compound or epoxy. Follow the manufacturer’s instructions to mix the compound, and then fill in the chip using a putty knife. Smooth the surface of the chip, removing any excess material.
- Allow the filler to dry: Give the crack filler or chip repair compound enough time to dry. This duration may vary depending on the product you are using, so refer to the manufacturer’s instructions for the recommended drying time.
- Sand the repaired area: Once the filler has dried, gently sand the repaired area using a fine-grit sandpaper. This will help smoothen the surface and blend it with the rest of the countertop.
- Clean the countertop: After sanding, clean the countertop again to remove any dust or debris. Use a tack cloth or a damp cloth to wipe away the particles, ensuring a clean and smooth surface for the next steps of the resurfacing process.
Repairing and filling cracks and chips is vital to achieving a seamless and professional-looking resurfaced countertop. Take your time to properly clean, fill, and dry the damaged areas. This will ensure that the repaired portions blend seamlessly with the rest of the countertop, resulting in a beautiful and cohesive final surface.
Sanding the Countertop
Sanding the countertop is a crucial step in the resurfacing process. It helps to smooth out any rough areas, remove imperfections, and provide a better surface for the paint or coating to adhere to. Follow these steps to effectively sand your kitchen countertop:
- Choose the right sandpaper: Start by selecting the appropriate sandpaper grit for your countertop. For initial sanding, use a medium-grit sandpaper (around 120 to 150 grit) to remove any roughness or old finish. If needed, you can follow up with a fine-grit sandpaper (around 220 grit) for a smoother finish.
- Protect yourself: Before sanding, put on safety goggles and a dust mask. This will protect your eyes and respiratory system from any dust or particles created during the sanding process.
- Sand the countertop: Begin sanding the countertop surface in a circular motion. Apply even pressure and focus on areas that are particularly rough or uneven. Make sure to sand the entire surface of the countertop for a uniform finish. If you are using an electric sander, be sure to follow the manufacturer’s instructions for safe and effective use.
- Check the surface: After sanding, check the surface of the countertop to ensure it is smooth and free from any visible imperfections. Run your hand over the surface to feel for any rough spots or inconsistencies. If necessary, repeat the sanding process with a finer grit sandpaper until you achieve the desired smoothness.
- Clean the countertop: Once you are satisfied with the sanding results, clean the countertop thoroughly to remove any dust or debris from the sanding process. Use a tack cloth or a damp cloth to wipe away the particles, ensuring a clean and smooth surface for the next steps of the resurfacing process.
Sanding the countertop not only improves the texture and appearance but also helps in the adhesion of the resurfacing compound or paint. Take your time and be thorough in sanding to achieve a smooth and flawless surface. This will ensure a professional-looking result when you apply the primer and the resurfacing compound in the following steps.
When resurfacing kitchen countertops, be sure to thoroughly clean and sand the surface before applying any new finish. This will help the new finish adhere properly and result in a smooth, professional-looking surface.
Read more: How To Resurface Fireplace
Applying the Primer
Applying a primer is a crucial step in the resurfacing process as it helps to create a strong bond between the countertop surface and the resurfacing compound or paint. The primer also helps to seal the countertop and ensure a smooth and durable finish. Follow these steps to effectively apply the primer:
- Choose the right primer: Select a primer that is specifically designed for use on countertops. Check the product labels or consult with a professional at your local home improvement store to ensure you choose the appropriate primer for your countertop material.
- Clean the countertop: Before applying the primer, thoroughly clean the countertop surface to remove any dust, debris, or lingering residue. Use a mild cleanser and a non-abrasive sponge, then rinse with clean water and dry the countertop completely.
- Protect surrounding areas: Use painter’s tape and plastic sheeting to protect any surrounding areas, backsplashes, or fixtures that you do not want to get primer on.
- Apply the primer: Start by applying a thin, even layer of primer to the countertop. Use a paintbrush or a foam roller for large surfaces and a smaller brush for edges and corners. Apply the primer in smooth, overlapping strokes to ensure that the entire surface is covered.
- Allow the primer to dry: Follow the manufacturer’s instructions for the recommended drying time of the primer. It is important to allow the primer to dry completely before moving on to the next steps of the resurfacing process.
- Inspect the primed surface: Once the primer has dried, carefully inspect the primed surface to ensure there are no visible brush strokes or uneven areas. If necessary, lightly sand any imperfections with a fine-grit sandpaper and wipe away any dust before proceeding.
Applying the primer creates a strong foundation for the resurfacing compound or paint, ensuring better adhesion and a long-lasting finish. Take your time and be meticulous in applying the primer, paying attention to even coverage and smooth application. This will set the stage for the next step of applying the resurfacing compound and bringing your countertop back to life.
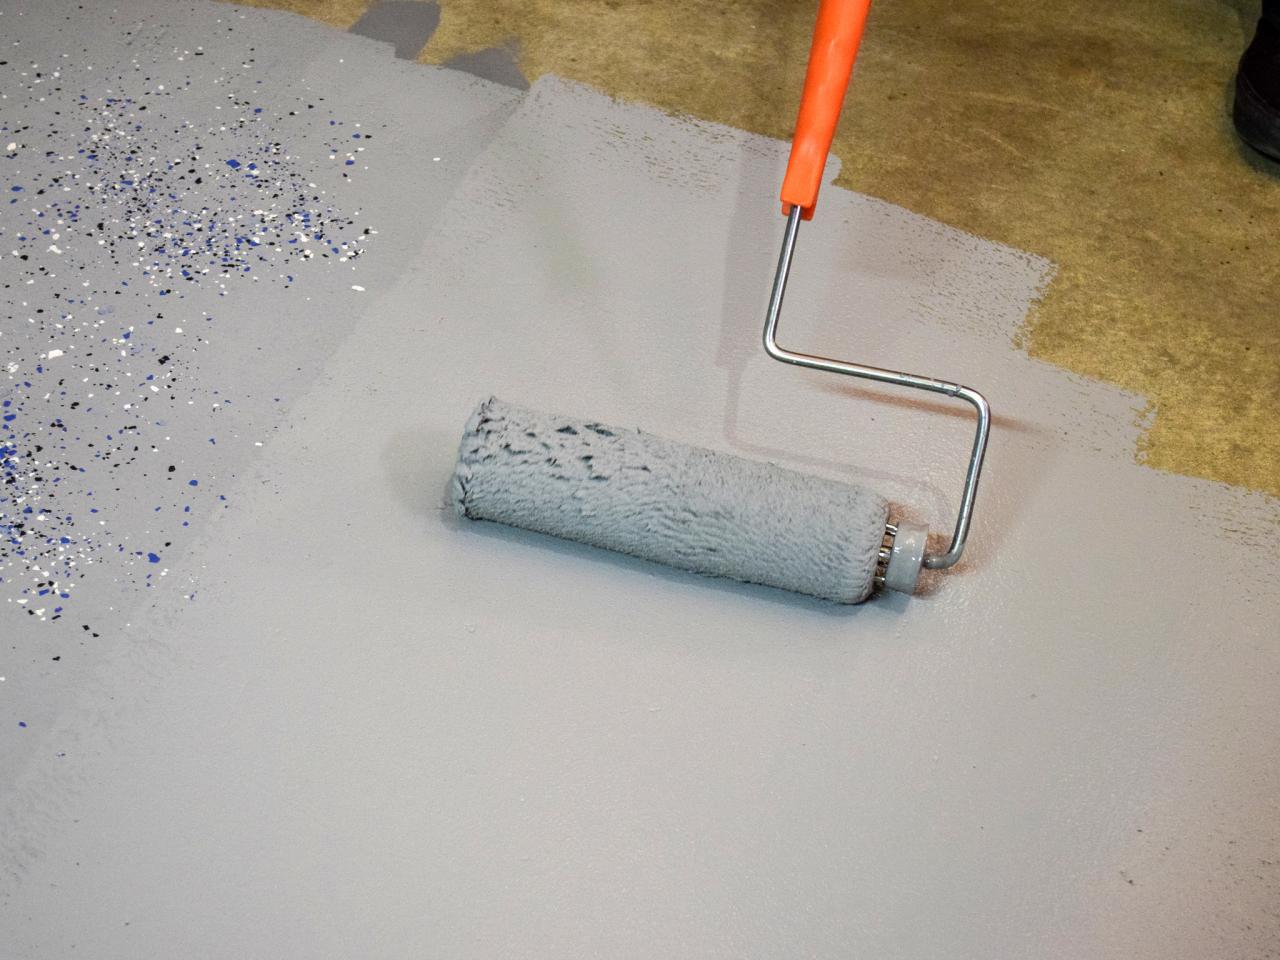
Applying the Resurfacing Compound
Now that you have prepared the countertop and applied the primer, it’s time to apply the resurfacing compound. This step will give your countertop a fresh and updated look. Follow these steps to effectively apply the resurfacing compound:
- Choose the right resurfacing compound: Select a resurfacing compound that is suitable for your countertop material and desired finish. There are various options available, including epoxy, concrete overlays, and laminate coatings. Research and select a product that best suits your needs.
- Mix the compound: If the resurfacing compound requires mixing, follow the manufacturer’s instructions to thoroughly mix it. This will ensure a consistent and uniform application.
- Apply the compound: Start applying the resurfacing compound to the countertop with a trowel or a putty knife. Spread it evenly across the surface, working in small sections at a time. Use smooth, even strokes to achieve a seamless finish.
- Level the compound: After applying the compound, use a straightedge or a trowel to level the surface. Smooth out any excess compound and ensure an even thickness across the entire countertop. Take your time to achieve a smooth and flat surface.
- Add decorative elements (optional): If you want to incorporate decorative elements into your countertop, such as colored flakes or embedded designs, this is the time to do so. Sprinkle the flakes or embed the designs into the still-wet resurfacing compound, following the product instructions for best results.
- Allow the compound to dry: Follow the manufacturer’s instructions for the recommended drying time of the resurfacing compound. It is crucial to allow sufficient drying time to ensure a fully cured and durable finish.
- Sand and smooth the surface (optional): If desired, you can lightly sand the dried resurfacing compound to smoothen any imperfections or rough spots. Use a fine-grit sandpaper and be gentle to avoid damaging the surface.
- Clean the countertop: After sanding or if you have not sanded, clean the countertop thoroughly to remove any dust or debris from the resurfacing process. Use a tack cloth or a damp cloth to ensure a clean and smooth surface before moving on to the next steps.
Applying the resurfacing compound is the transformative step in the process, rejuvenating your countertop and giving it a fresh new appearance. Take your time and follow the manufacturer’s instructions for the specific product you are using. This will ensure a beautiful and long-lasting resurfaced countertop that you can enjoy for years to come.
Sealing and Finishing the Countertop
After applying the resurfacing compound and allowing it to dry, it’s time to seal and finish your newly resurfaced countertop. This final step will protect the surface and enhance its appearance. Follow these steps to effectively seal and finish your countertop:
- Choose the right sealant: Select a sealant that is compatible with your countertop material. Depending on the type of resurfacing compound used, you may need a specific sealant such as a clear epoxy or a food-safe sealant for kitchen countertops.
- Prepare the sealant: If the sealant requires mixing or preparation, follow the manufacturer’s instructions. Mix it thoroughly to ensure a consistent application.
- Apply the sealant: Use a paintbrush or a roller to apply a thin and even layer of sealant to the entire countertop surface. Pay attention to details such as edges and corners. Apply multiple coats if necessary, allowing each coat to dry before applying the next.
- Smooth the surface (optional): If desired, you can lightly sand the dried sealant between coats to achieve a smoother finish. Use a fine-grit sandpaper and be gentle to avoid damaging the surface. Clean the countertop thoroughly after sanding.
- Allow the sealant to cure: Follow the manufacturer’s instructions for the recommended curing time of the sealant. It is crucial to allow sufficient curing time to ensure maximum durability and protection.
- Apply a final finish (optional): Depending on the desired look and the type of sealant used, you may wish to apply a final finish, such as a clear coat or a wax. This can provide additional protection and enhance the appearance of the countertop. Follow the product instructions for applying the final finish.
Sealing and finishing the countertop is the final touch that will protect your resurfaced surface and give it a professional and polished look. Take your time in this step to ensure even coverage and proper curing. Once the sealant is fully cured, your countertop will be ready to use and showcase its renewed beauty.
Maintenance Tips
After investing time and effort into resurfacing your kitchen countertop, it’s important to maintain its beauty and longevity. Here are some helpful maintenance tips to keep your countertop in top condition:
- Regular cleaning: Clean your countertop regularly with a mild cleanser and a non-abrasive sponge. Avoid using harsh chemicals or abrasive cleaners that can damage the surface.
- Use cutting boards and trivets: Protect your countertop by using cutting boards when preparing food and trivets or hot pads for placing hot pots and pans. This will prevent scratches and heat damage.
- Avoid harsh impact: Be cautious with heavy and sharp objects. Avoid dropping heavy items or using knives directly on the countertop to prevent chips, cracks, and scratches.
- Wipe up spills promptly: Clean up spills immediately to prevent staining. Certain substances like red wine, coffee, and tomato sauce can leave stubborn stains if left unattended.
- Use gentle cleaning tools: Opt for soft cloths or non-abrasive sponges when cleaning. Avoid scrubbing with abrasive pads or brushes, as they can scratch the surface.
- Avoid excessive moisture: Prevent water damage by wiping up excess moisture and standing water. Excessive moisture can cause the resurfacing compound or sealant to deteriorate over time.
- Reapply sealer as needed: Depending on the type of sealant used, you may need to reapply it periodically. Follow the manufacturer’s instructions for the recommended timeline to maintain the protective coating.
- Handle with care: Be gentle with your countertop and avoid using it as a cutting or chopping surface for food preparation. Utilize cutting boards to protect the surface and extend its lifespan.
- Regular inspections: Occasionally inspect your countertop for any signs of wear, chips, or cracks. Promptly address any issues to prevent further damage and maintain its visual appeal.
By following these maintenance tips, you can ensure that your resurfaced kitchen countertop stays in excellent condition for years to come. With proper care and attention, your countertop will continue to enhance the beauty and functionality of your kitchen.
Frequently Asked Questions about How To Resurface Kitchen Countertops
Was this page helpful?
At Storables.com, we guarantee accurate and reliable information. Our content, validated by Expert Board Contributors, is crafted following stringent Editorial Policies. We're committed to providing you with well-researched, expert-backed insights for all your informational needs.


0 thoughts on “How To Resurface Kitchen Countertops”