Home>Gardening & Outdoor>Outdoor Structures>How To Install An Awning On A Mobile Home
Outdoor Structures
How To Install An Awning On A Mobile Home
Modified: February 18, 2024
Learn how to install an awning on a mobile home with our step-by-step guide. Create a stylish and functional outdoor structure with ease.
(Many of the links in this article redirect to a specific reviewed product. Your purchase of these products through affiliate links helps to generate commission for Storables.com, at no extra cost. Learn more)
Introduction
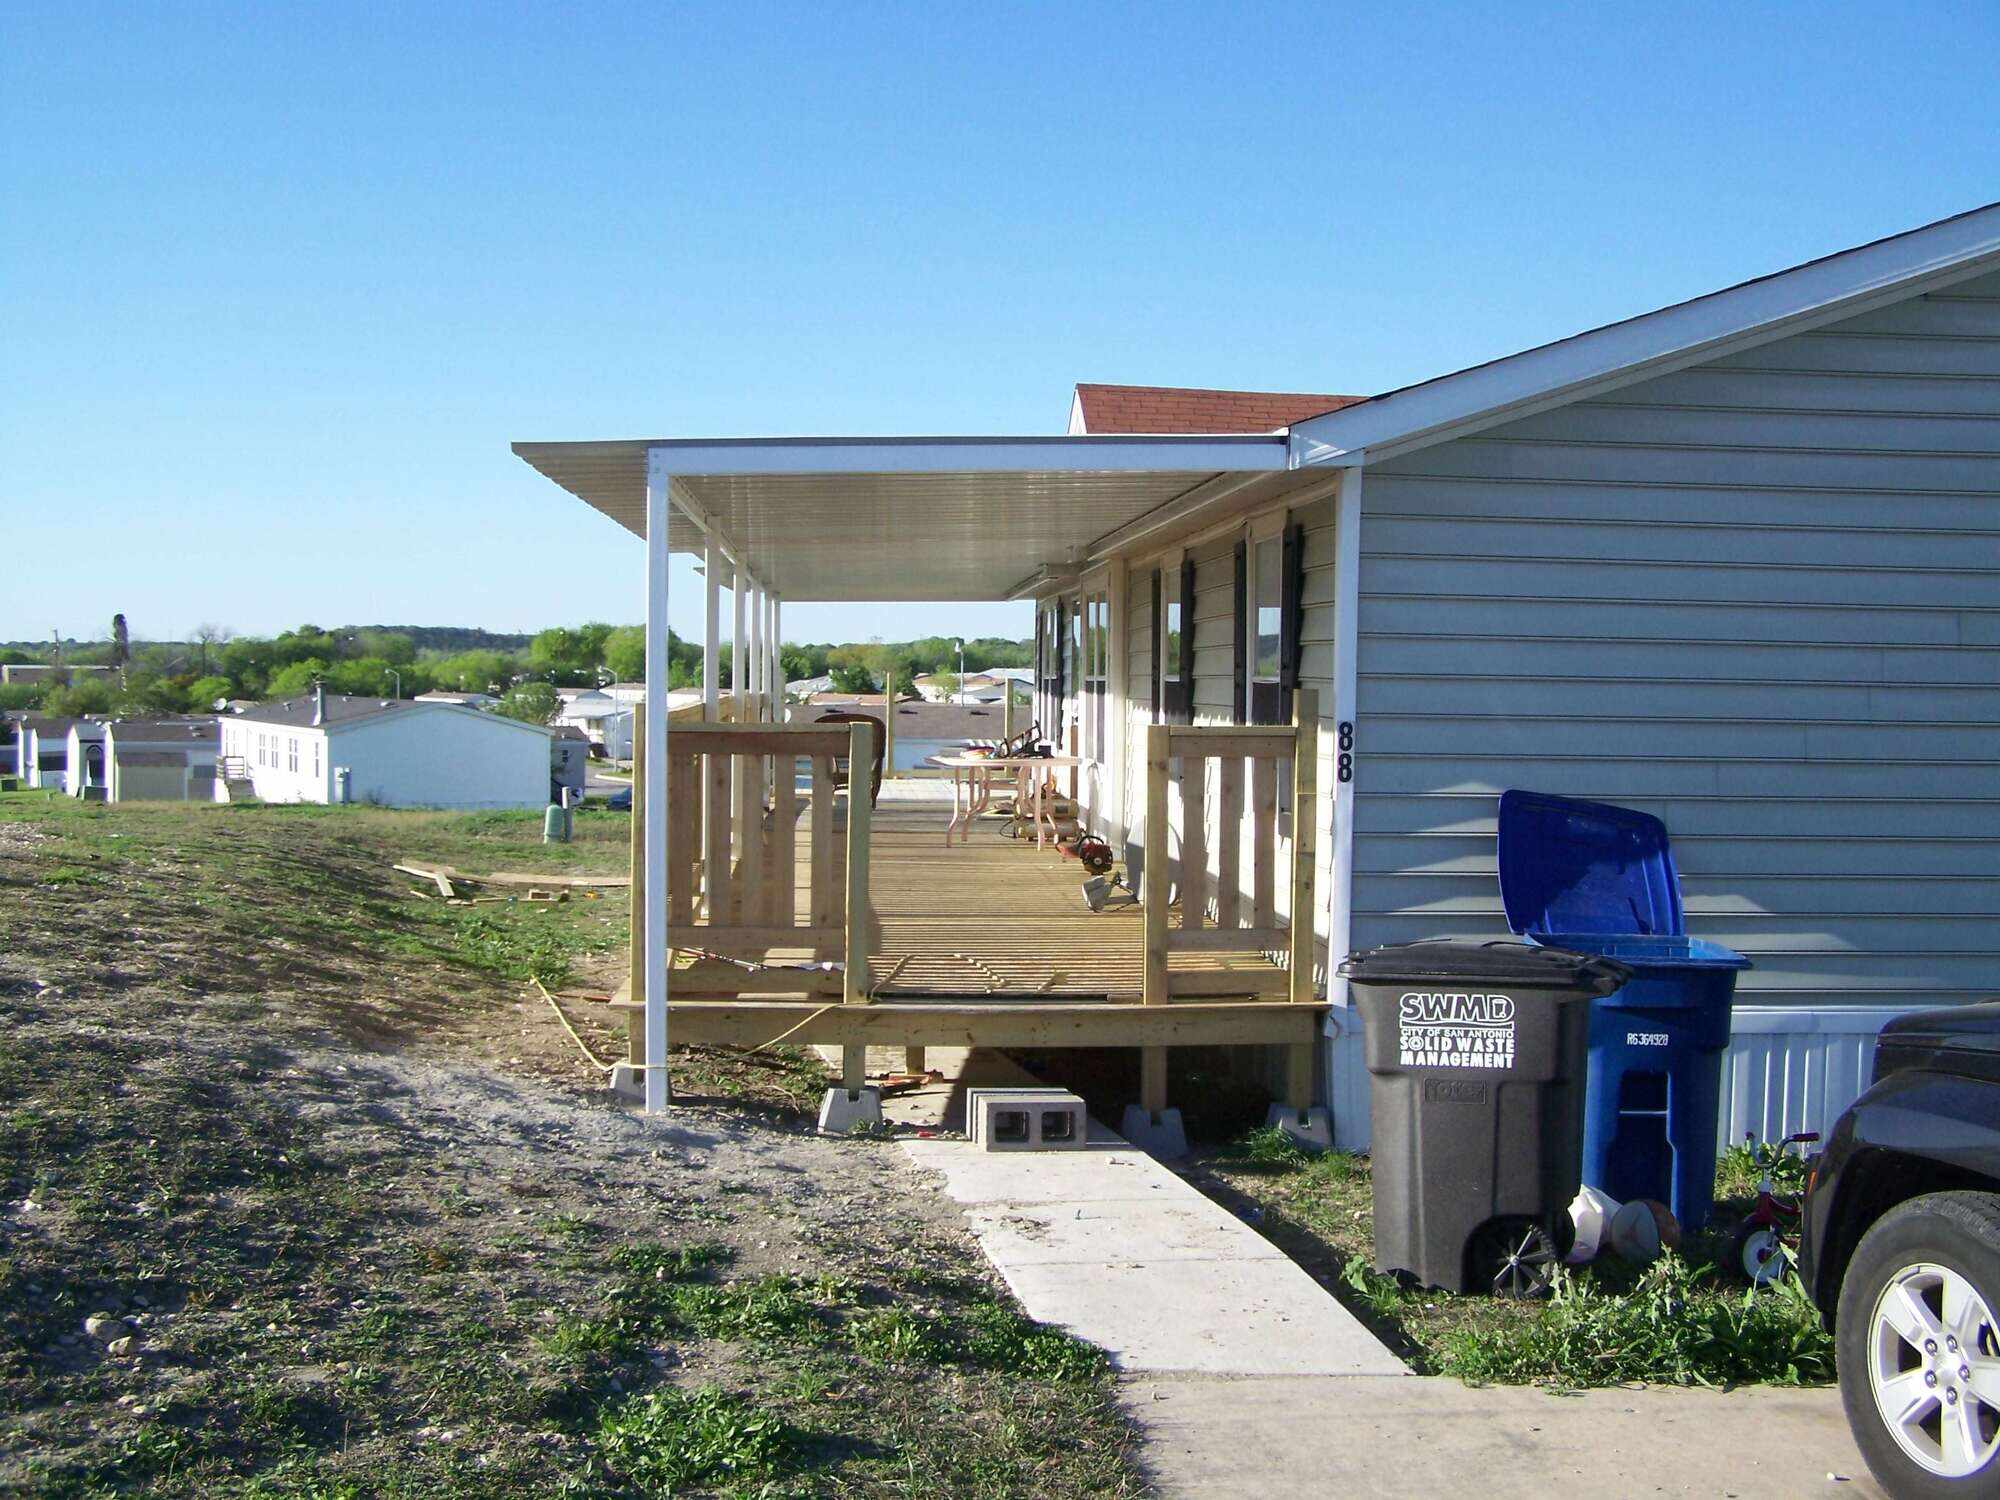
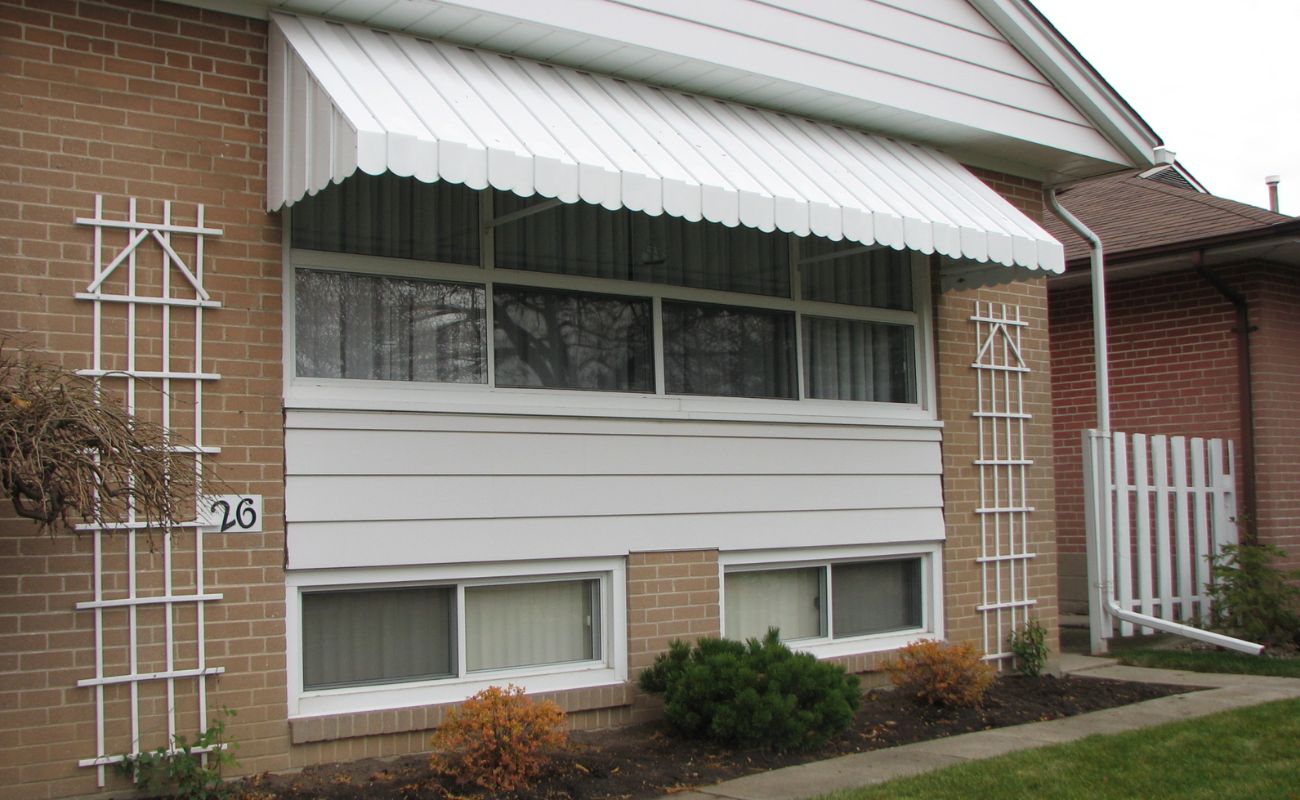
Adding an awning to a mobile home can significantly enhance its functionality and aesthetic appeal. An awning provides shade, protection from the elements, and can create a cozy outdoor space for relaxing or entertaining. Whether you want to shield your windows from direct sunlight or create a shaded area for outdoor activities, installing an awning is a practical and rewarding home improvement project.
In this comprehensive guide, we will walk you through the step-by-step process of installing an awning on a mobile home. From gathering the necessary materials and tools to mounting the awning and making necessary adjustments, we will cover everything you need to know to complete this project successfully. By following these instructions, you can enjoy the benefits of a stylish and functional awning while increasing the value of your mobile home.
Let's dive into the details and embark on this exciting journey of transforming your outdoor space with a beautifully installed awning.
Key Takeaways:
- Transform your mobile home with a stylish and functional awning, providing shade, protection, and a cozy outdoor space for relaxation and entertainment.
- Follow precise steps to install an awning, from gathering materials to testing and adjusting, ensuring a successful and visually appealing addition to your home.
Read more: How To Install A Sunsetter Awning
Step 1: Gather Materials and Tools
Before you begin the installation process, it’s essential to gather all the necessary materials and tools. Having everything on hand will streamline the installation and help you avoid interruptions. Here’s a list of items you’ll need:
- Awning Kit: Purchase a high-quality awning kit that suits the size and style preferences for your mobile home. The kit should include the awning fabric, mounting brackets, and all essential hardware.
- Measuring Tape: A reliable measuring tape is crucial for accurately determining the dimensions of the installation area and ensuring a precise fit for the awning.
- Drill and Drill Bits: You’ll need a power drill with the appropriate drill bits for creating holes for the mounting brackets and securing the awning in place.
- Screwdriver: Both flathead and Phillips head screwdrivers will be necessary for attaching the mounting brackets and other components of the awning.
- Ladder: Depending on the height of your mobile home, a sturdy ladder will be essential for reaching the installation area safely.
- Pencil or Marker: Use a pencil or marker to mark the precise spots for drilling and mounting the brackets.
- Silicone Sealant: To prevent water leakage and ensure a secure installation, have silicone sealant ready for sealing gaps and joints.
- Assistant: While not a tool, having a helping hand can make the installation process smoother and safer, especially when handling larger awning components.
By gathering these materials and tools, you’ll be well-prepared to proceed with confidence to the next steps of the installation process.
Step 2: Measure and Mark the Installation Area
Precision is key when installing an awning on a mobile home. Before you begin mounting the awning, it’s crucial to accurately measure and mark the installation area. Here’s how to proceed:
- Choose the Installation Location: Select the ideal location for the awning, considering factors such as sun exposure, clearance from doors and windows, and the desired coverage area. Ensure that the chosen spot allows for proper clearance and won’t obstruct any existing structures.
- Measure the Width: Use a measuring tape to determine the width of the installation area. Measure from the outer edge of the mounting brackets on one side to the corresponding edge on the other side. This measurement will ensure the awning fits perfectly across the designated space.
- Mark the Height: Next, measure and mark the desired height for the awning. Typically, the bottom of the awning should provide sufficient clearance for doors, windows, or any other obstacles. Mark this height using a pencil or marker, ensuring that the line is level across the installation area.
- Mark the Drill Holes: With the help of a level, mark the spots for drilling the holes to secure the mounting brackets. Ensure that the marks are aligned and evenly spaced to support the weight of the awning securely.
By meticulously measuring and marking the installation area, you’ll lay the groundwork for a successful and visually appealing awning installation. These precise preparations will contribute to a seamless and professional-looking end result.
Step 3: Install the Mounting Brackets
Mounting brackets provide the essential support for securing the awning to your mobile home. Proper installation of these brackets is crucial for the stability and longevity of the awning. Follow these steps to install the mounting brackets securely:
- Position the Brackets: Place the mounting brackets at the marked locations on the installation area. Ensure that the brackets are aligned and level, using a spirit level to verify their horizontal orientation.
- Mark the Drill Points: Once the brackets are correctly positioned, mark the drill points on the mobile home’s exterior. This step is essential for guiding the drilling process and ensuring that the brackets are securely attached.
- Drill Pilot Holes: Use an appropriately sized drill bit to create pilot holes at the marked points. Pilot holes help prevent the exterior surface from splintering and make it easier to drive the screws into place.
- Attach the Brackets: Securely fasten the mounting brackets to the mobile home using the provided screws. Ensure that the brackets are firmly anchored and that there is no wobbling or movement once they are installed.
- Apply Silicone Sealant: To fortify the installation and prevent water seepage, apply a bead of silicone sealant around the edges of the brackets. This additional step helps create a watertight seal and enhances the durability of the installation.
By following these steps meticulously, you’ll ensure that the mounting brackets are securely and accurately installed, laying the foundation for the successful attachment of the awning.
When installing an awning on a mobile home, make sure to carefully measure and level the area where the awning will be attached. Use appropriate hardware and follow the manufacturer’s instructions for a secure and safe installation.
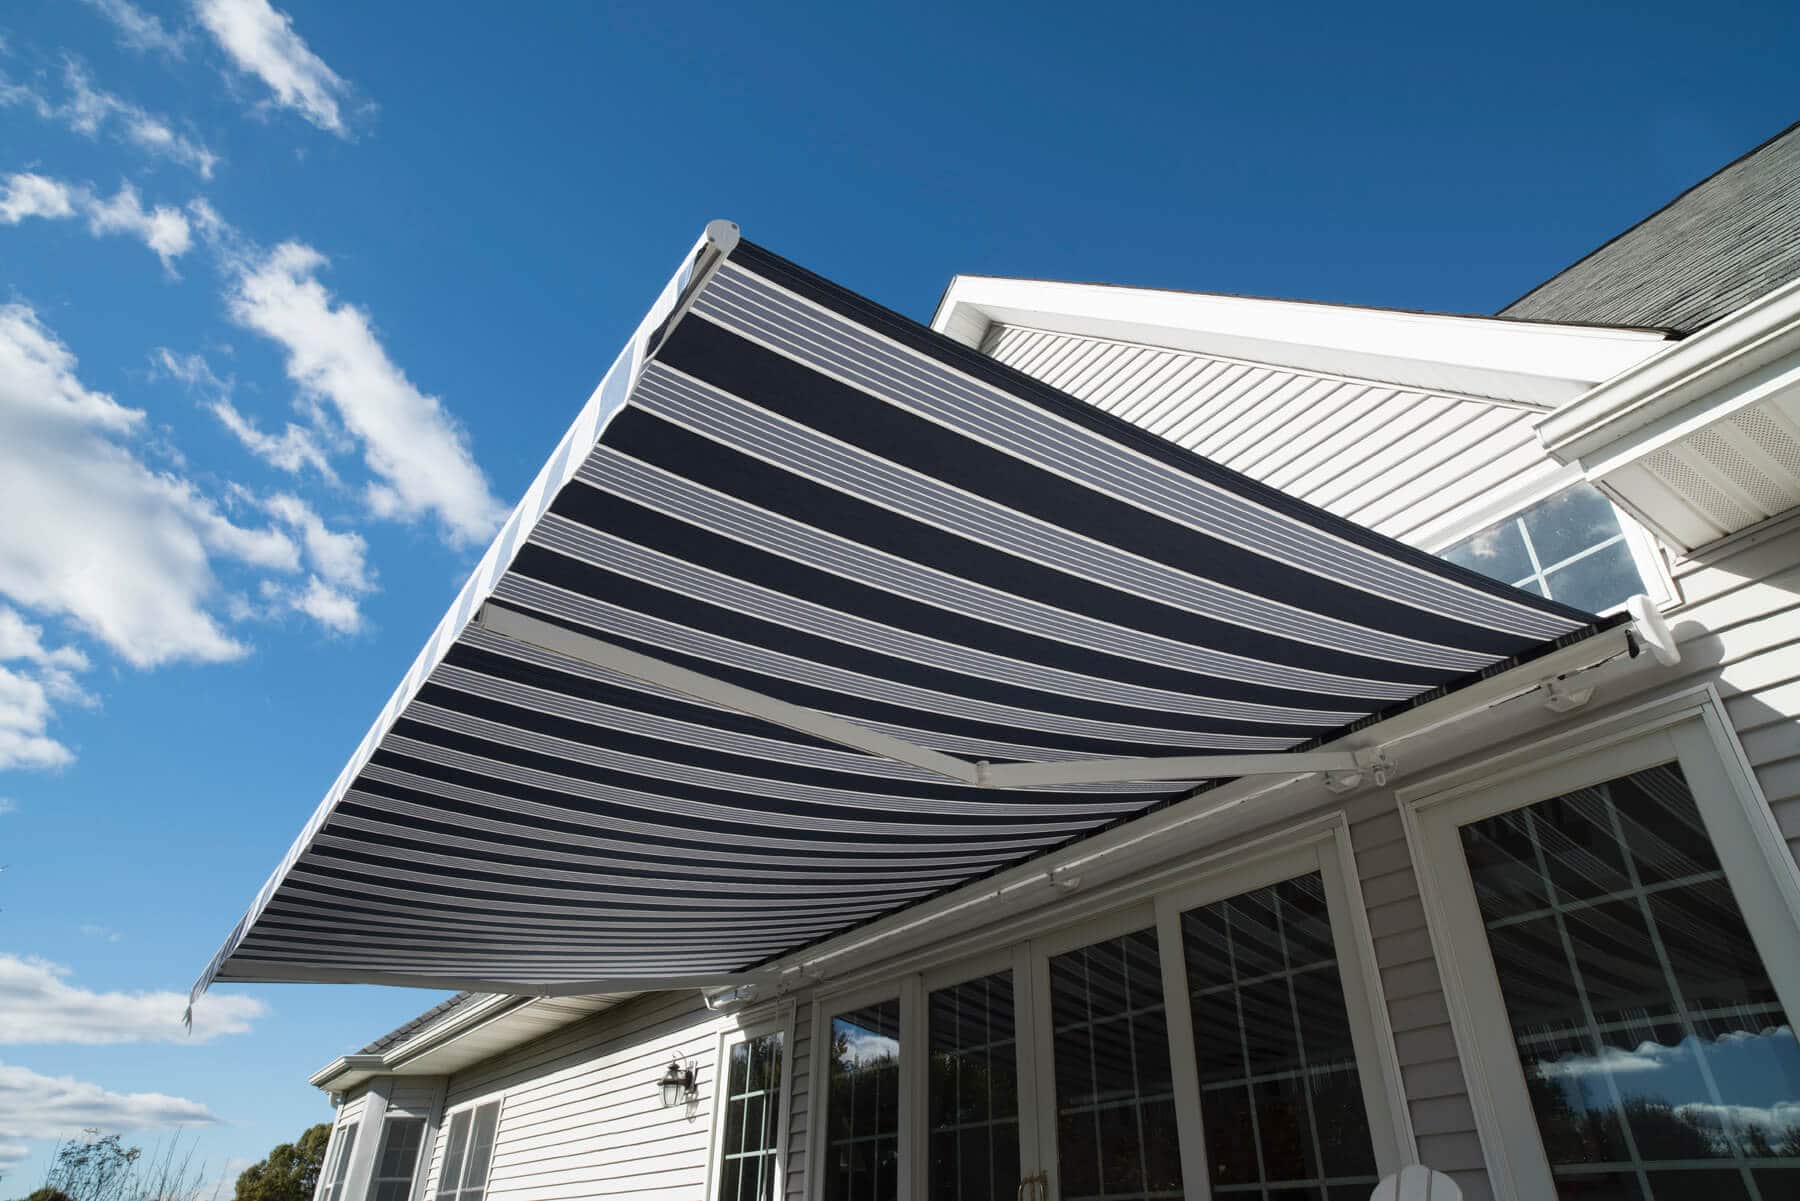
Step 4: Attach the Awning to the Brackets
With the mounting brackets securely in place, it’s time to attach the awning to the mobile home. This step requires attention to detail and precision to ensure a snug and secure fit. Follow these steps to properly affix the awning to the brackets:
- Position the Awning: With the help of an assistant, carefully lift the awning and position it onto the installed mounting brackets. Ensure that the awning aligns perfectly with the brackets and rests evenly across the installation area.
- Secure the Awning: Using the provided hardware, such as bolts or screws, fasten the awning to the mounting brackets. Follow the manufacturer’s instructions for the specific attachment method and ensure that the awning is firmly and evenly secured in place.
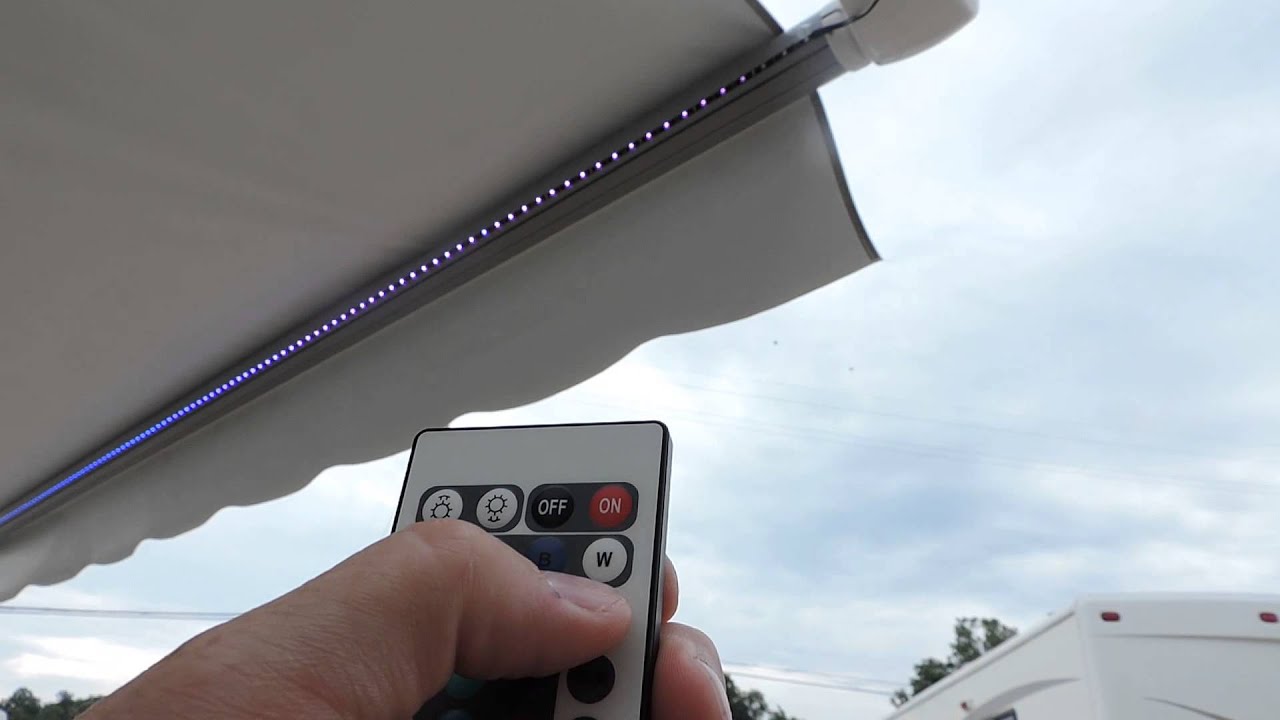
- Test the Movement: Once the awning is attached, test its movement by extending and retracting it according to the operating mechanism. Verify that the awning moves smoothly and without any obstructions, ensuring that it functions as intended.
- Check for Alignment: Take a step back and inspect the awning to ensure that it is level and aligned with the mobile home. Make any necessary adjustments to the attachment points to achieve a visually pleasing and symmetrical installation.
By carefully following these steps, you’ll complete the crucial process of attaching the awning to the mounting brackets, bringing you closer to enjoying the benefits of your newly installed outdoor feature.
Read more: How To Install An Awning On An RV
Step 5: Test the Awning and Make Adjustments
After attaching the awning to the mounting brackets, it’s essential to thoroughly test its functionality and make any necessary adjustments to ensure optimal performance. Follow these steps to test the awning and make any needed refinements:
- Operate the Awning: Extend and retract the awning multiple times to ensure that the mechanism operates smoothly and without any resistance. Pay attention to any unusual sounds or movements that may indicate the need for adjustments.
- Check for Tautness: When the awning is fully extended, inspect the fabric for proper tautness. The fabric should be evenly stretched without sagging, ensuring a visually appealing appearance and effective sun protection.
- Assess Water Drainage: If the awning is designed to provide rain protection, observe its performance during simulated rain or by using a hose to create a gentle flow of water. Verify that the water drains efficiently without pooling on the fabric.
- Make Necessary Adjustments: If any issues are identified during testing, such as uneven fabric tension or operational irregularities, make the required adjustments as recommended by the awning manufacturer. This may involve tightening or loosening specific components to achieve optimal performance.
- Verify Secure Attachment: Double-check the attachment points to ensure that the awning is securely fastened to the mounting brackets. Confirm that there is no movement or instability, especially in windy conditions.
By conducting a thorough testing process and addressing any potential issues, you’ll guarantee that your newly installed awning functions flawlessly and enhances your outdoor space as intended. Making these final adjustments will contribute to the long-term satisfaction and durability of the installation.
Conclusion
Congratulations on successfully completing the installation of an awning on your mobile home! By following the detailed steps outlined in this guide, you’ve not only added a functional and stylish outdoor feature but also enhanced the overall appeal and utility of your home. The newly installed awning provides a shaded retreat, protection from the elements, and an inviting space for outdoor activities.
As you step back and admire your handiwork, take pride in the transformation of your outdoor space. The carefully selected materials, precise measurements, and meticulous installation have culminated in a visually appealing and practical addition to your mobile home.
Whether you envision leisurely afternoons in the shade, outdoor gatherings with friends and family, or simply enjoying the enhanced curb appeal of your home, the awning is sure to enrich your lifestyle and elevate your outdoor experience.
As you enjoy the benefits of your newly installed awning, remember to perform regular maintenance to preserve its functionality and appearance. Periodically inspect the awning for any signs of wear, clean the fabric as recommended by the manufacturer, and ensure that all components remain in optimal condition.
Thank you for entrusting us with guiding you through this installation process. We hope this comprehensive guide has empowered you to take on future home improvement projects with confidence and enthusiasm. May your newly enhanced outdoor space bring you joy, relaxation, and countless memorable moments for years to come.
Frequently Asked Questions about How To Install An Awning On A Mobile Home
Was this page helpful?
At Storables.com, we guarantee accurate and reliable information. Our content, validated by Expert Board Contributors, is crafted following stringent Editorial Policies. We're committed to providing you with well-researched, expert-backed insights for all your informational needs.


0 thoughts on “How To Install An Awning On A Mobile Home”