Home>Gardening & Outdoor>Outdoor Structures>How To Make A Portable Generator Shed
Outdoor Structures
How To Make A Portable Generator Shed
Modified: February 17, 2024
Learn how to build a portable generator shed to protect your outdoor structures. Get step-by-step instructions for creating a durable and weather-resistant shelter. Ideal for safeguarding your equipment from the elements.
(Many of the links in this article redirect to a specific reviewed product. Your purchase of these products through affiliate links helps to generate commission for Storables.com, at no extra cost. Learn more)
Introduction
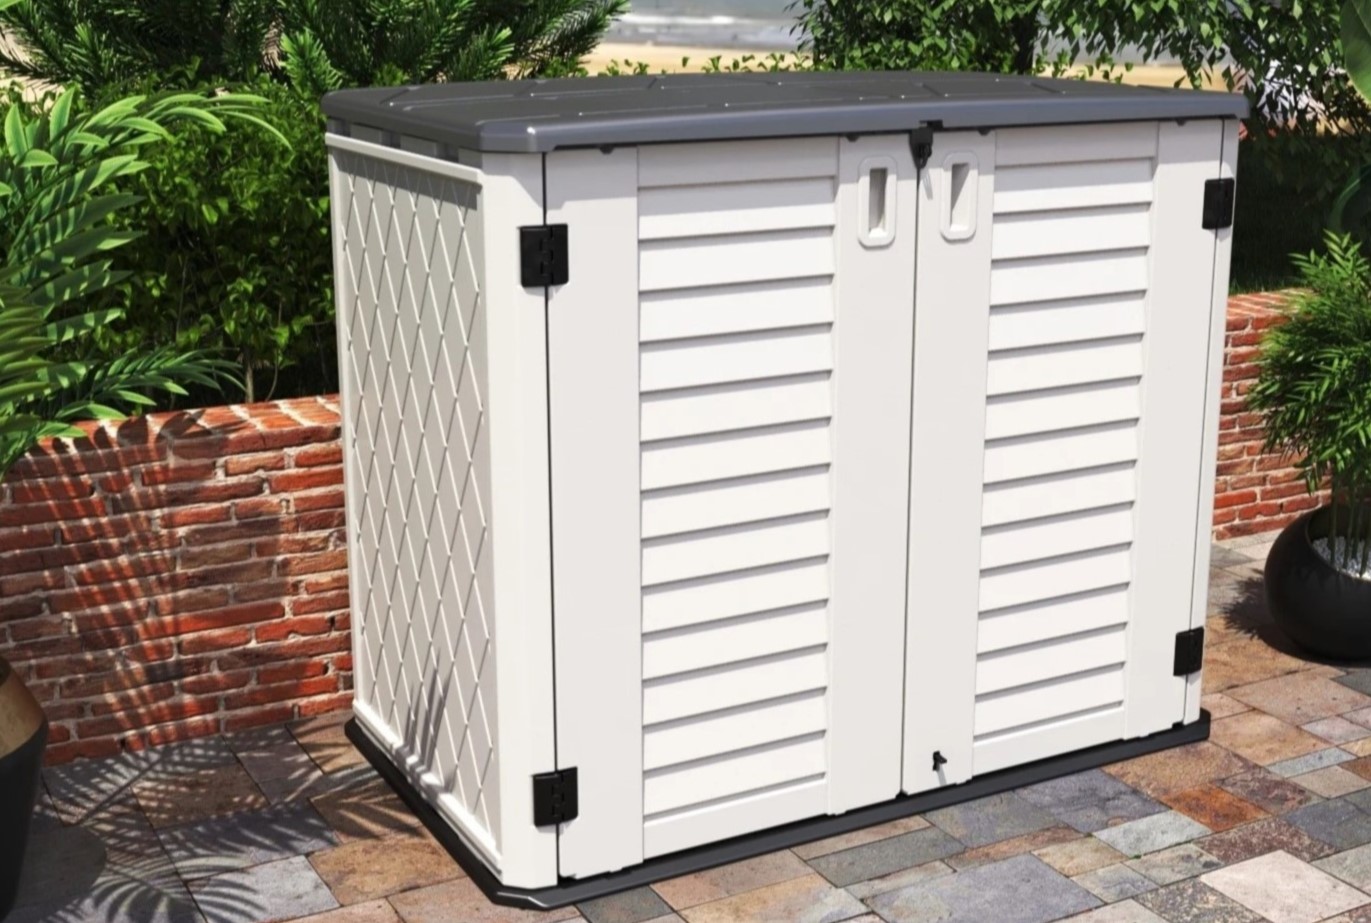
Welcome to the ultimate guide on creating a portable generator shed! Whether you’re a seasoned DIY enthusiast or a novice looking to take on a new project, this article will equip you with the knowledge and skills needed to construct a durable and functional shelter for your portable generator. A portable generator shed offers protection from the elements, enhances safety by preventing unauthorized access, and helps extend the lifespan of your valuable equipment. With the right materials, tools, and a clear plan, you can build a generator shed that not only serves its practical purpose but also adds a touch of craftsmanship to your outdoor space.
As we embark on this journey, we’ll explore each step of the construction process in detail, from laying the foundation to adding the finishing touches. By the end of this guide, you’ll have the confidence and expertise to tackle this project with ease. So, roll up your sleeves, gather your tools, and let’s dive into the rewarding endeavor of constructing a portable generator shed that’s both functional and visually appealing.
Key Takeaways:
- Protect your portable generator from the elements and enhance its lifespan by building a durable shed. This DIY project offers safety, security, and personalized craftsmanship for your outdoor space.
- Create a functional and visually appealing shelter for your portable generator. Enjoy the satisfaction of a job well done while ensuring the safety and longevity of your valuable equipment.
Read more: How To Store A Portable Generator
Materials and Tools Needed
Before diving into the construction process, it’s essential to gather all the necessary materials and tools. Here’s a comprehensive list to ensure you’re well-prepared for the project:
Materials:
- Pressure-treated lumber for the foundation and frame
- Concrete mix for the foundation
- Roofing shingles or metal roofing panels
- Exterior-grade plywood for the walls and roof
- Galvanized nails and screws
- Door hinges and a latch
- Weather-resistant siding material
- Gravel or crushed stone for the foundation
- Concrete blocks or deck blocks
- Hardware cloth or mesh for ventilation
- Exterior paint or wood stain
- Concrete anchors
- Asphalt felt or synthetic underlayment
- Trim boards for finishing
Tools:
- Measuring tape
- Level
- Shovel
- Circular saw
- Power drill with screwdriver bits
- Hammer
- Nail gun
- Wheelbarrow
- Masonry trowel
- Work gloves
- Safety goggles
- Paintbrushes or sprayer
- Caulking gun
- Step ladder
- Chalk line
- Roofing nail gun or hammer
Having these materials and tools at your disposal will streamline the construction process and ensure that you can tackle each step efficiently. With everything in place, you’re ready to move on to the next phase: building the foundation.
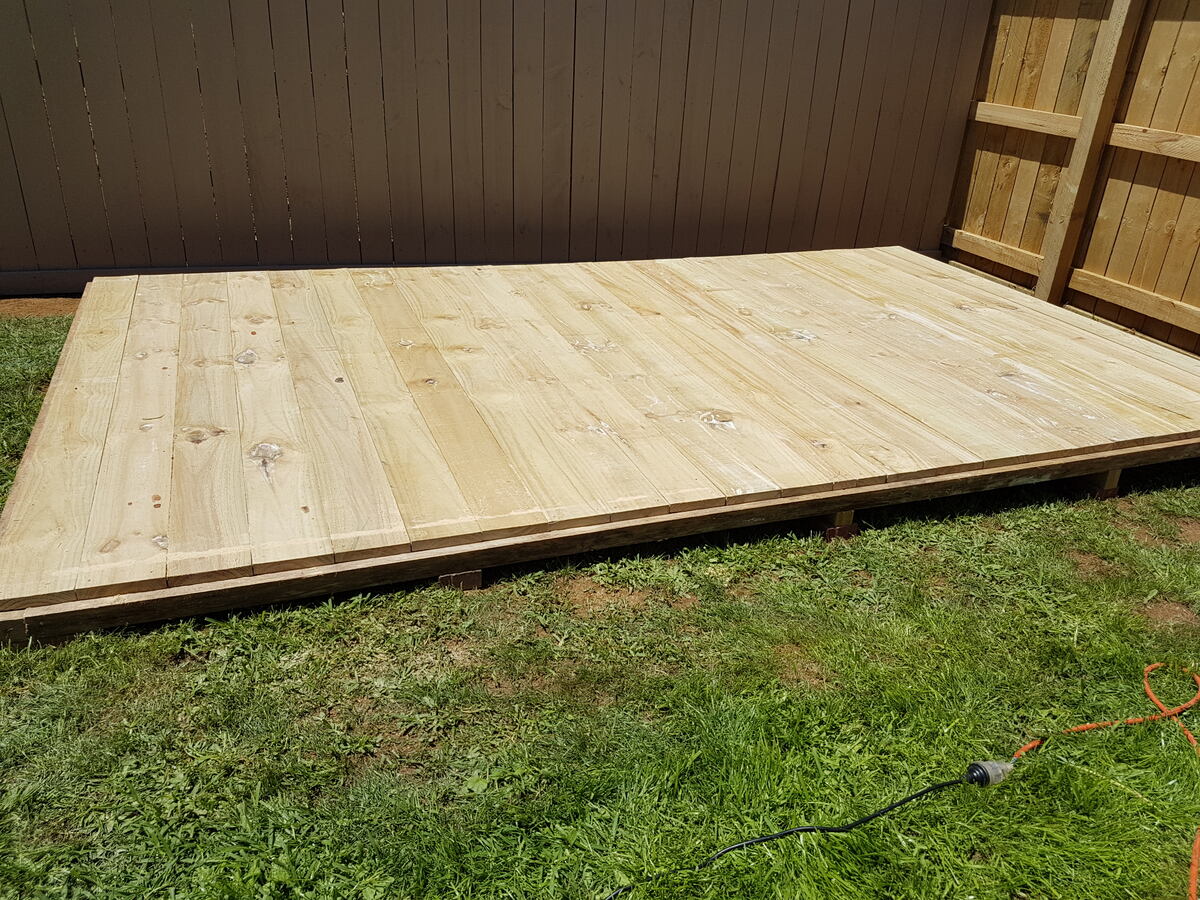
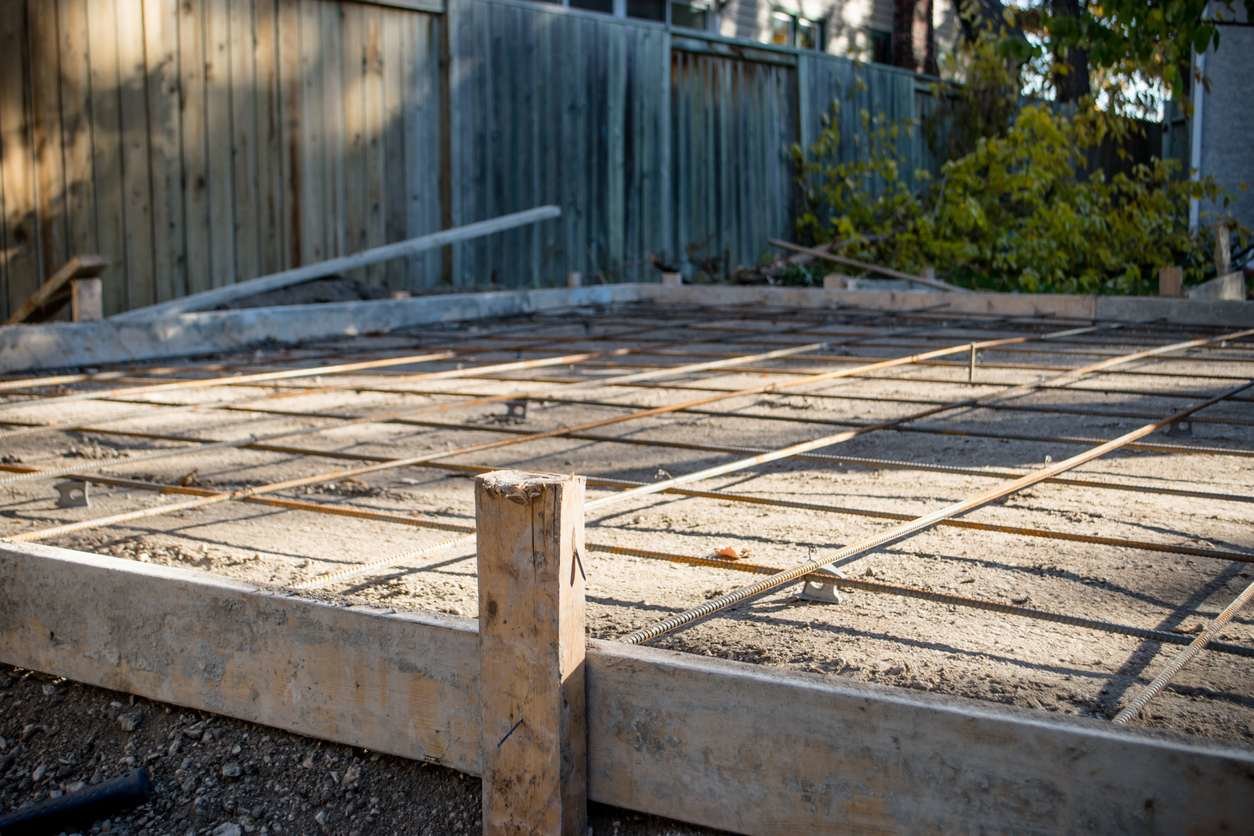
Building the Foundation
The foundation is a critical element of your portable generator shed, providing stability and protection against moisture. Follow these steps to create a solid base for your structure:
1. Site Preparation: Begin by selecting a level area for the shed. Clear any debris and vegetation, and use a shovel to excavate the site to the desired depth, accounting for the thickness of the concrete pad.
2. Creating the Form: Use wooden boards to create a form that outlines the dimensions of the foundation. Ensure that the form is square and level, as it will serve as a guide for pouring the concrete.
3. Adding Gravel: Spread a layer of gravel or crushed stone within the form to promote drainage and provide a stable base for the concrete. Tamp the gravel down to compact it effectively.
4. Pouring Concrete: Mix the concrete according to the manufacturer’s instructions and pour it into the form. Use a trowel to level the surface and eliminate air pockets. Allow the concrete to cure as per the recommended timeframe, typically several days, before proceeding to the next step.
By establishing a robust foundation, you’re laying the groundwork for a durable and long-lasting portable generator shed. With the foundation in place, you’re ready to move on to the next phase: constructing the frame.
Read also: 10 Best Portable Backup Generator For 2024
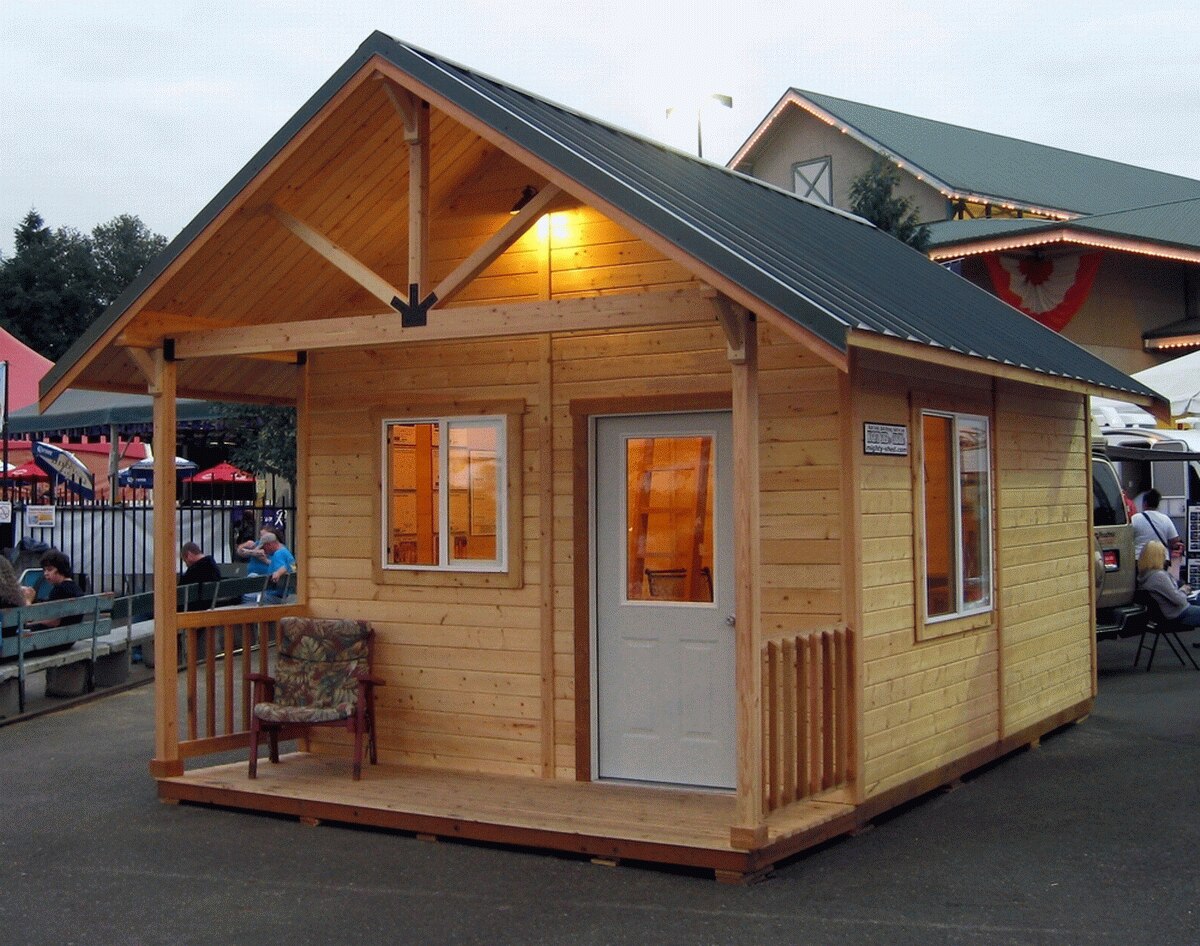
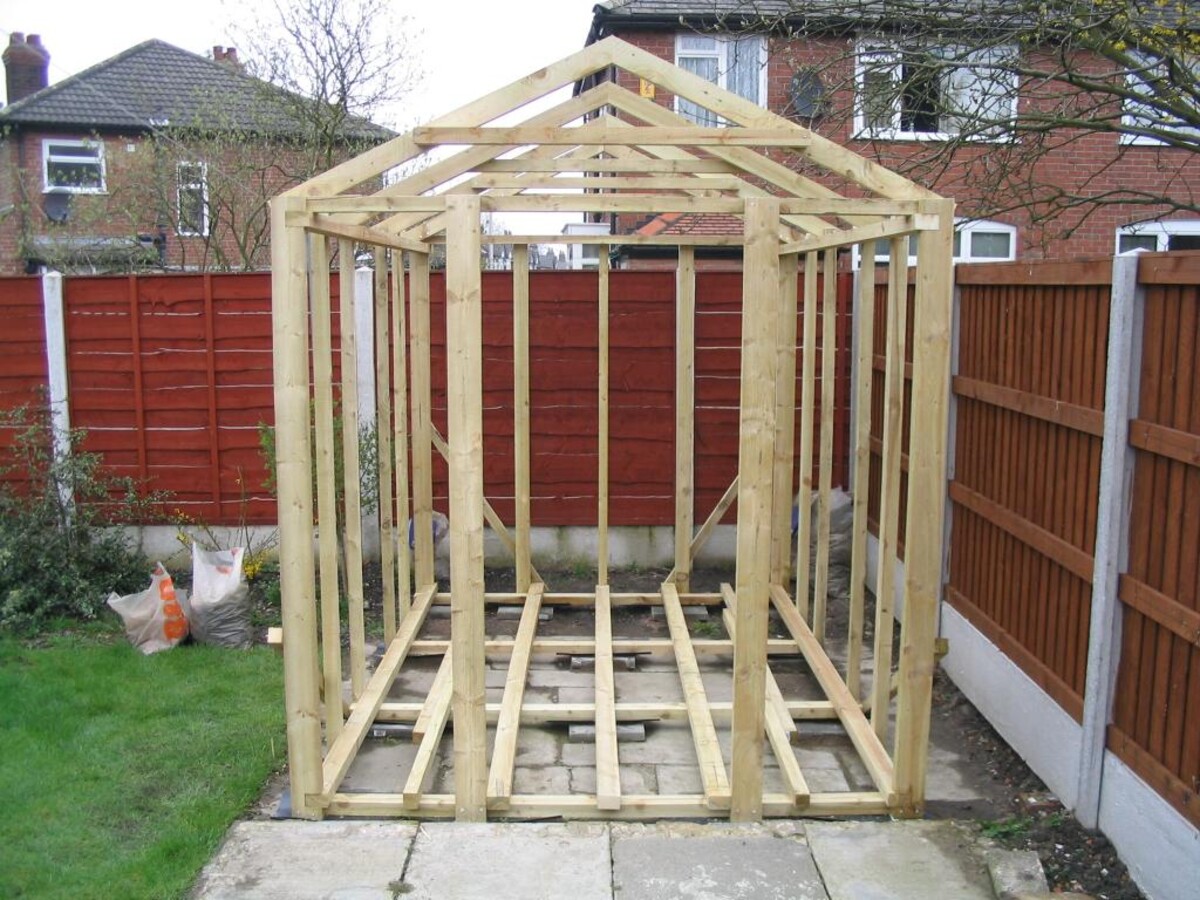
Constructing the Frame
With the foundation set, it’s time to focus on constructing the frame of your portable generator shed. The frame provides structural support and serves as the skeleton of the entire structure. Follow these steps to build a sturdy and reliable frame:
1. Cutting the Lumber: Begin by measuring and cutting the pressure-treated lumber to the required dimensions for the frame components, including the walls, roof trusses, and door frame. Precision is key to ensuring a snug and secure fit during assembly.
2. Assembling the Walls: Lay out the cut lumber to assemble the walls of the shed. Use galvanized nails or screws to secure the framing members together, ensuring that the corners are square and the walls are plumb. Install headers above the door and window openings for added support.
3. Building the Roof Trusses: Construct the roof trusses according to the shed’s design specifications. This may involve cutting and assembling angled pieces of lumber to form the truss framework, which will support the roof structure.
4. Erecting the Frame: With the walls and roof trusses ready, it’s time to erect the frame on top of the foundation. Enlist the help of others to safely lift and position the walls, securing them in place with braces as needed. Once the walls are standing, install the roof trusses to complete the frame.
As the frame takes shape, you’ll witness the shed’s form coming to life. The next step will involve adding the roof, a crucial component that provides protection from the elements and enhances the shed’s overall resilience.
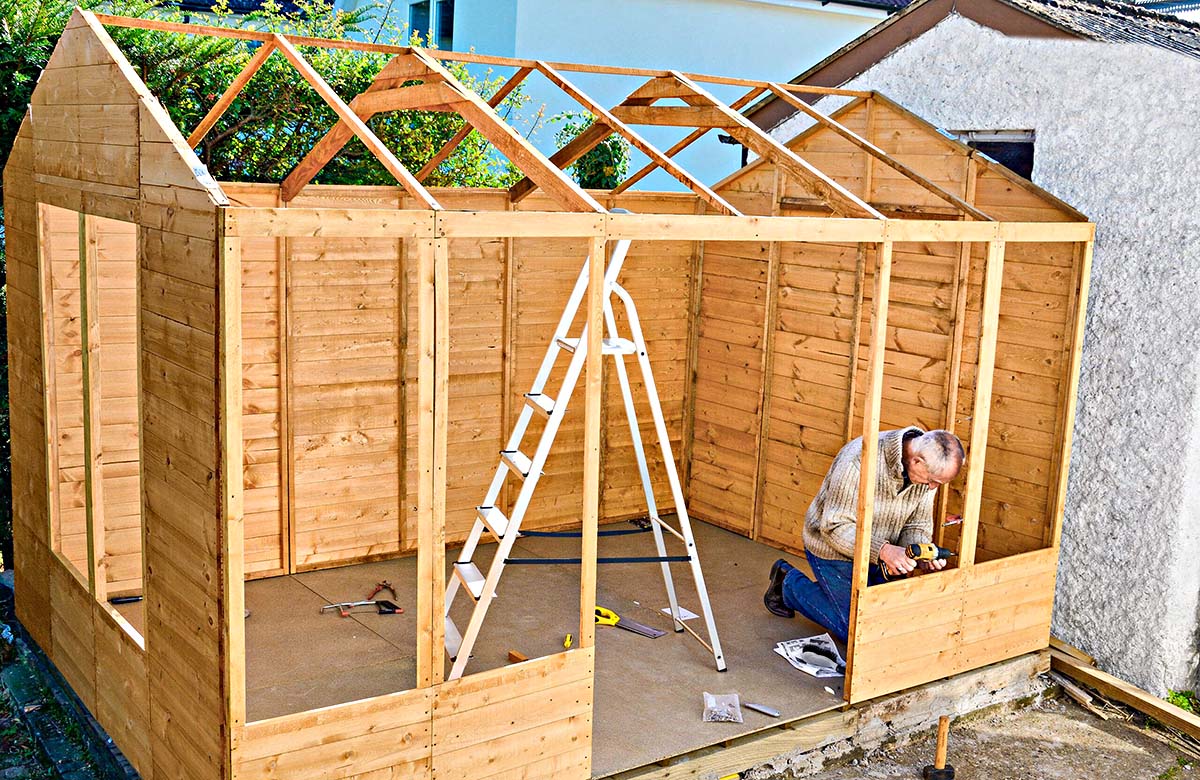
Adding the Roof
As the frame of your portable generator shed stands tall, it’s time to focus on adding the roof to provide essential protection from the elements. Follow these steps to effectively install the roof and complete this vital aspect of the construction process:
1. Installing Roof Sheathing: Begin by applying exterior-grade plywood or oriented strand board (OSB) to the roof trusses. Secure the sheathing with galvanized nails or screws, ensuring that it forms a solid and even base for the roofing material.
2. Applying Underlayment: Once the sheathing is in place, apply a layer of asphalt felt or synthetic underlayment to provide an additional barrier against moisture and enhance the shed’s weather resistance. Secure the underlayment according to the manufacturer’s guidelines.
3. Choosing and Installing Roofing Material: Select roofing shingles or metal roofing panels based on your preferences and the shed’s design. Follow the manufacturer’s instructions to install the chosen roofing material, ensuring that it provides proper coverage and effective water shedding capabilities.
4. Adding Flashing and Trim: Install metal flashing along the roof edges and in areas where the roof meets vertical surfaces to prevent water infiltration. Additionally, add trim boards to provide a finished appearance and further protect the roof’s edges.
With the roof in place, your portable generator shed is one step closer to being fully enclosed and ready to safeguard your valuable equipment. The next phase will involve installing the siding, which not only enhances the shed’s aesthetics but also serves as an additional layer of defense against the elements.
When building a portable generator shed, make sure to leave enough space for ventilation to prevent overheating and install a secure lock to prevent theft.
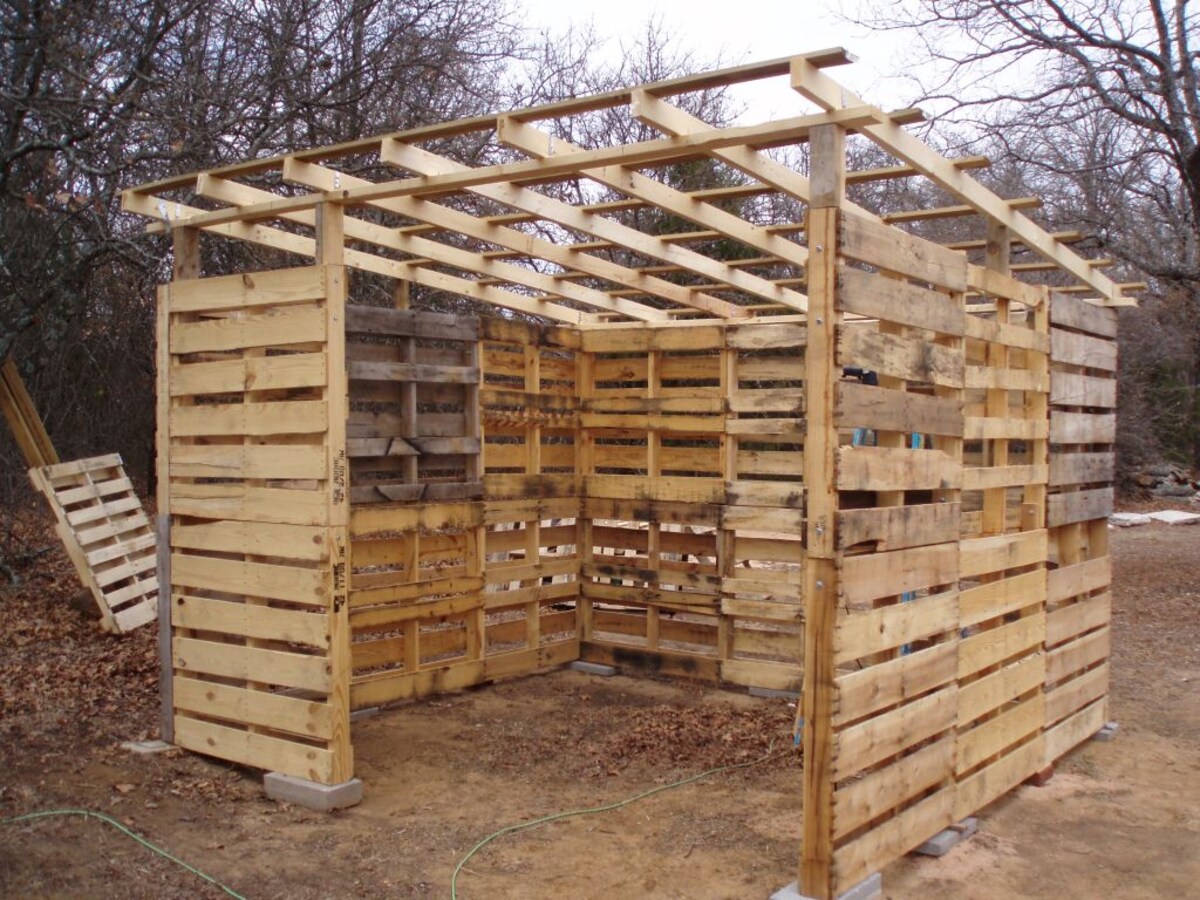
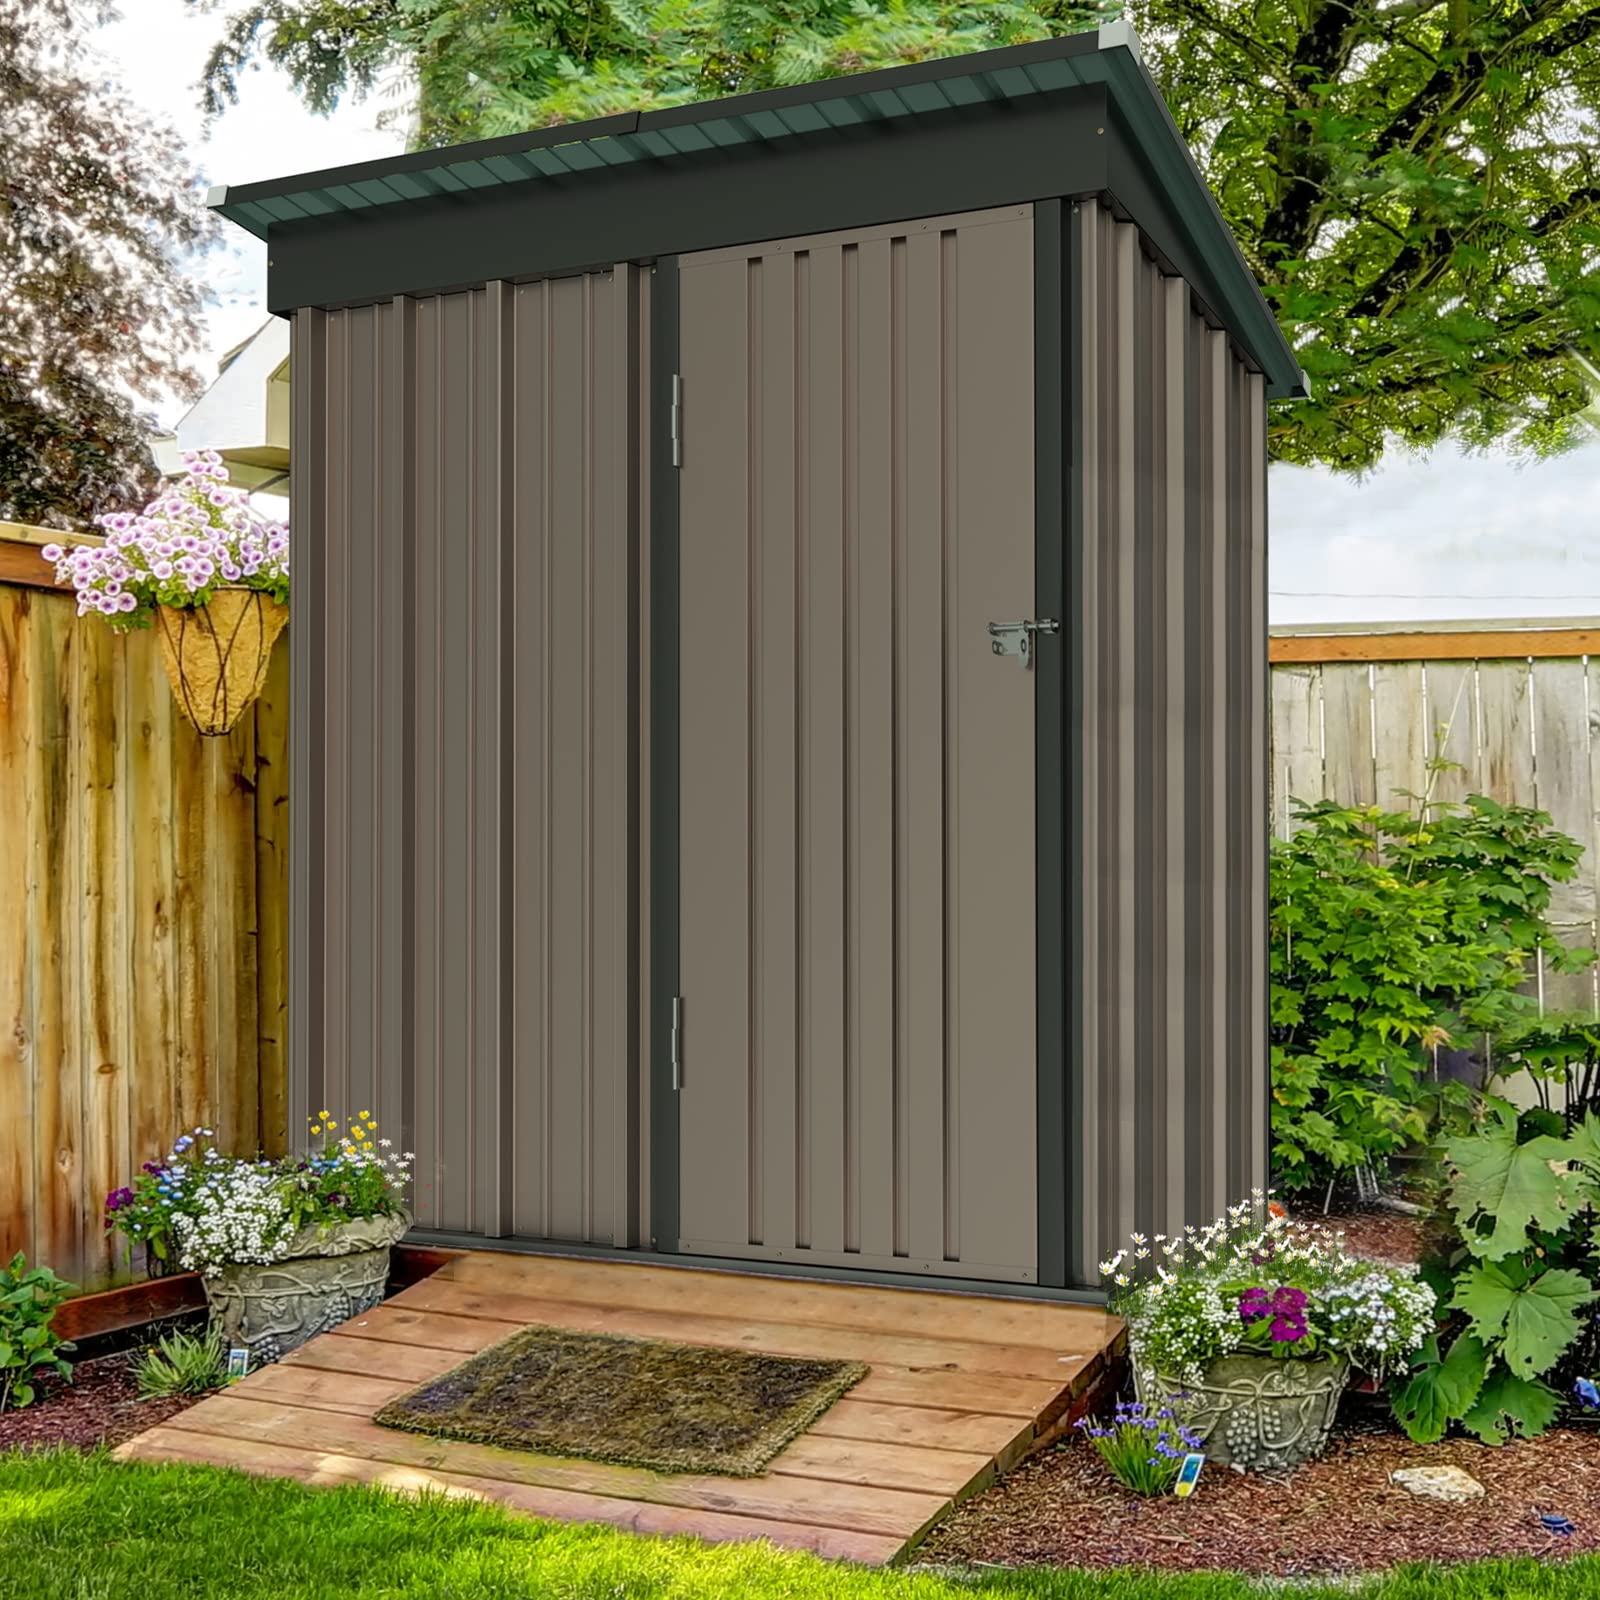
Installing the Siding
Installing the siding is a pivotal step in completing the construction of your portable generator shed. The siding not only enhances the shed’s visual appeal but also acts as a protective barrier against the elements. Follow these steps to effectively install the siding and bring your shed closer to its finished form:
1. Choosing Siding Material: Select weather-resistant siding material that aligns with your aesthetic preferences and complements the overall design of the shed. Options may include exterior-grade plywood, vinyl siding, or fiber cement siding, each offering unique benefits in terms of durability and maintenance.
2. Measuring and Cutting: Accurately measure the dimensions of the shed walls and cut the siding panels to fit. Use a circular saw or appropriate cutting tools to achieve clean and precise cuts, ensuring that the panels align seamlessly along the walls.
3. Securing the Siding: Begin attaching the siding panels to the shed walls, starting from the bottom and working your way up. Use galvanized nails or screws to secure the panels, ensuring that they are level and properly aligned. Leave a small gap between panels to accommodate expansion and contraction due to temperature changes.
4. Finishing Touches: Once the siding is installed, add trim pieces around doors, windows, and corners to provide a polished and cohesive appearance. Additionally, consider applying an exterior paint or wood stain to further enhance the shed’s visual appeal and protect the siding from the elements.
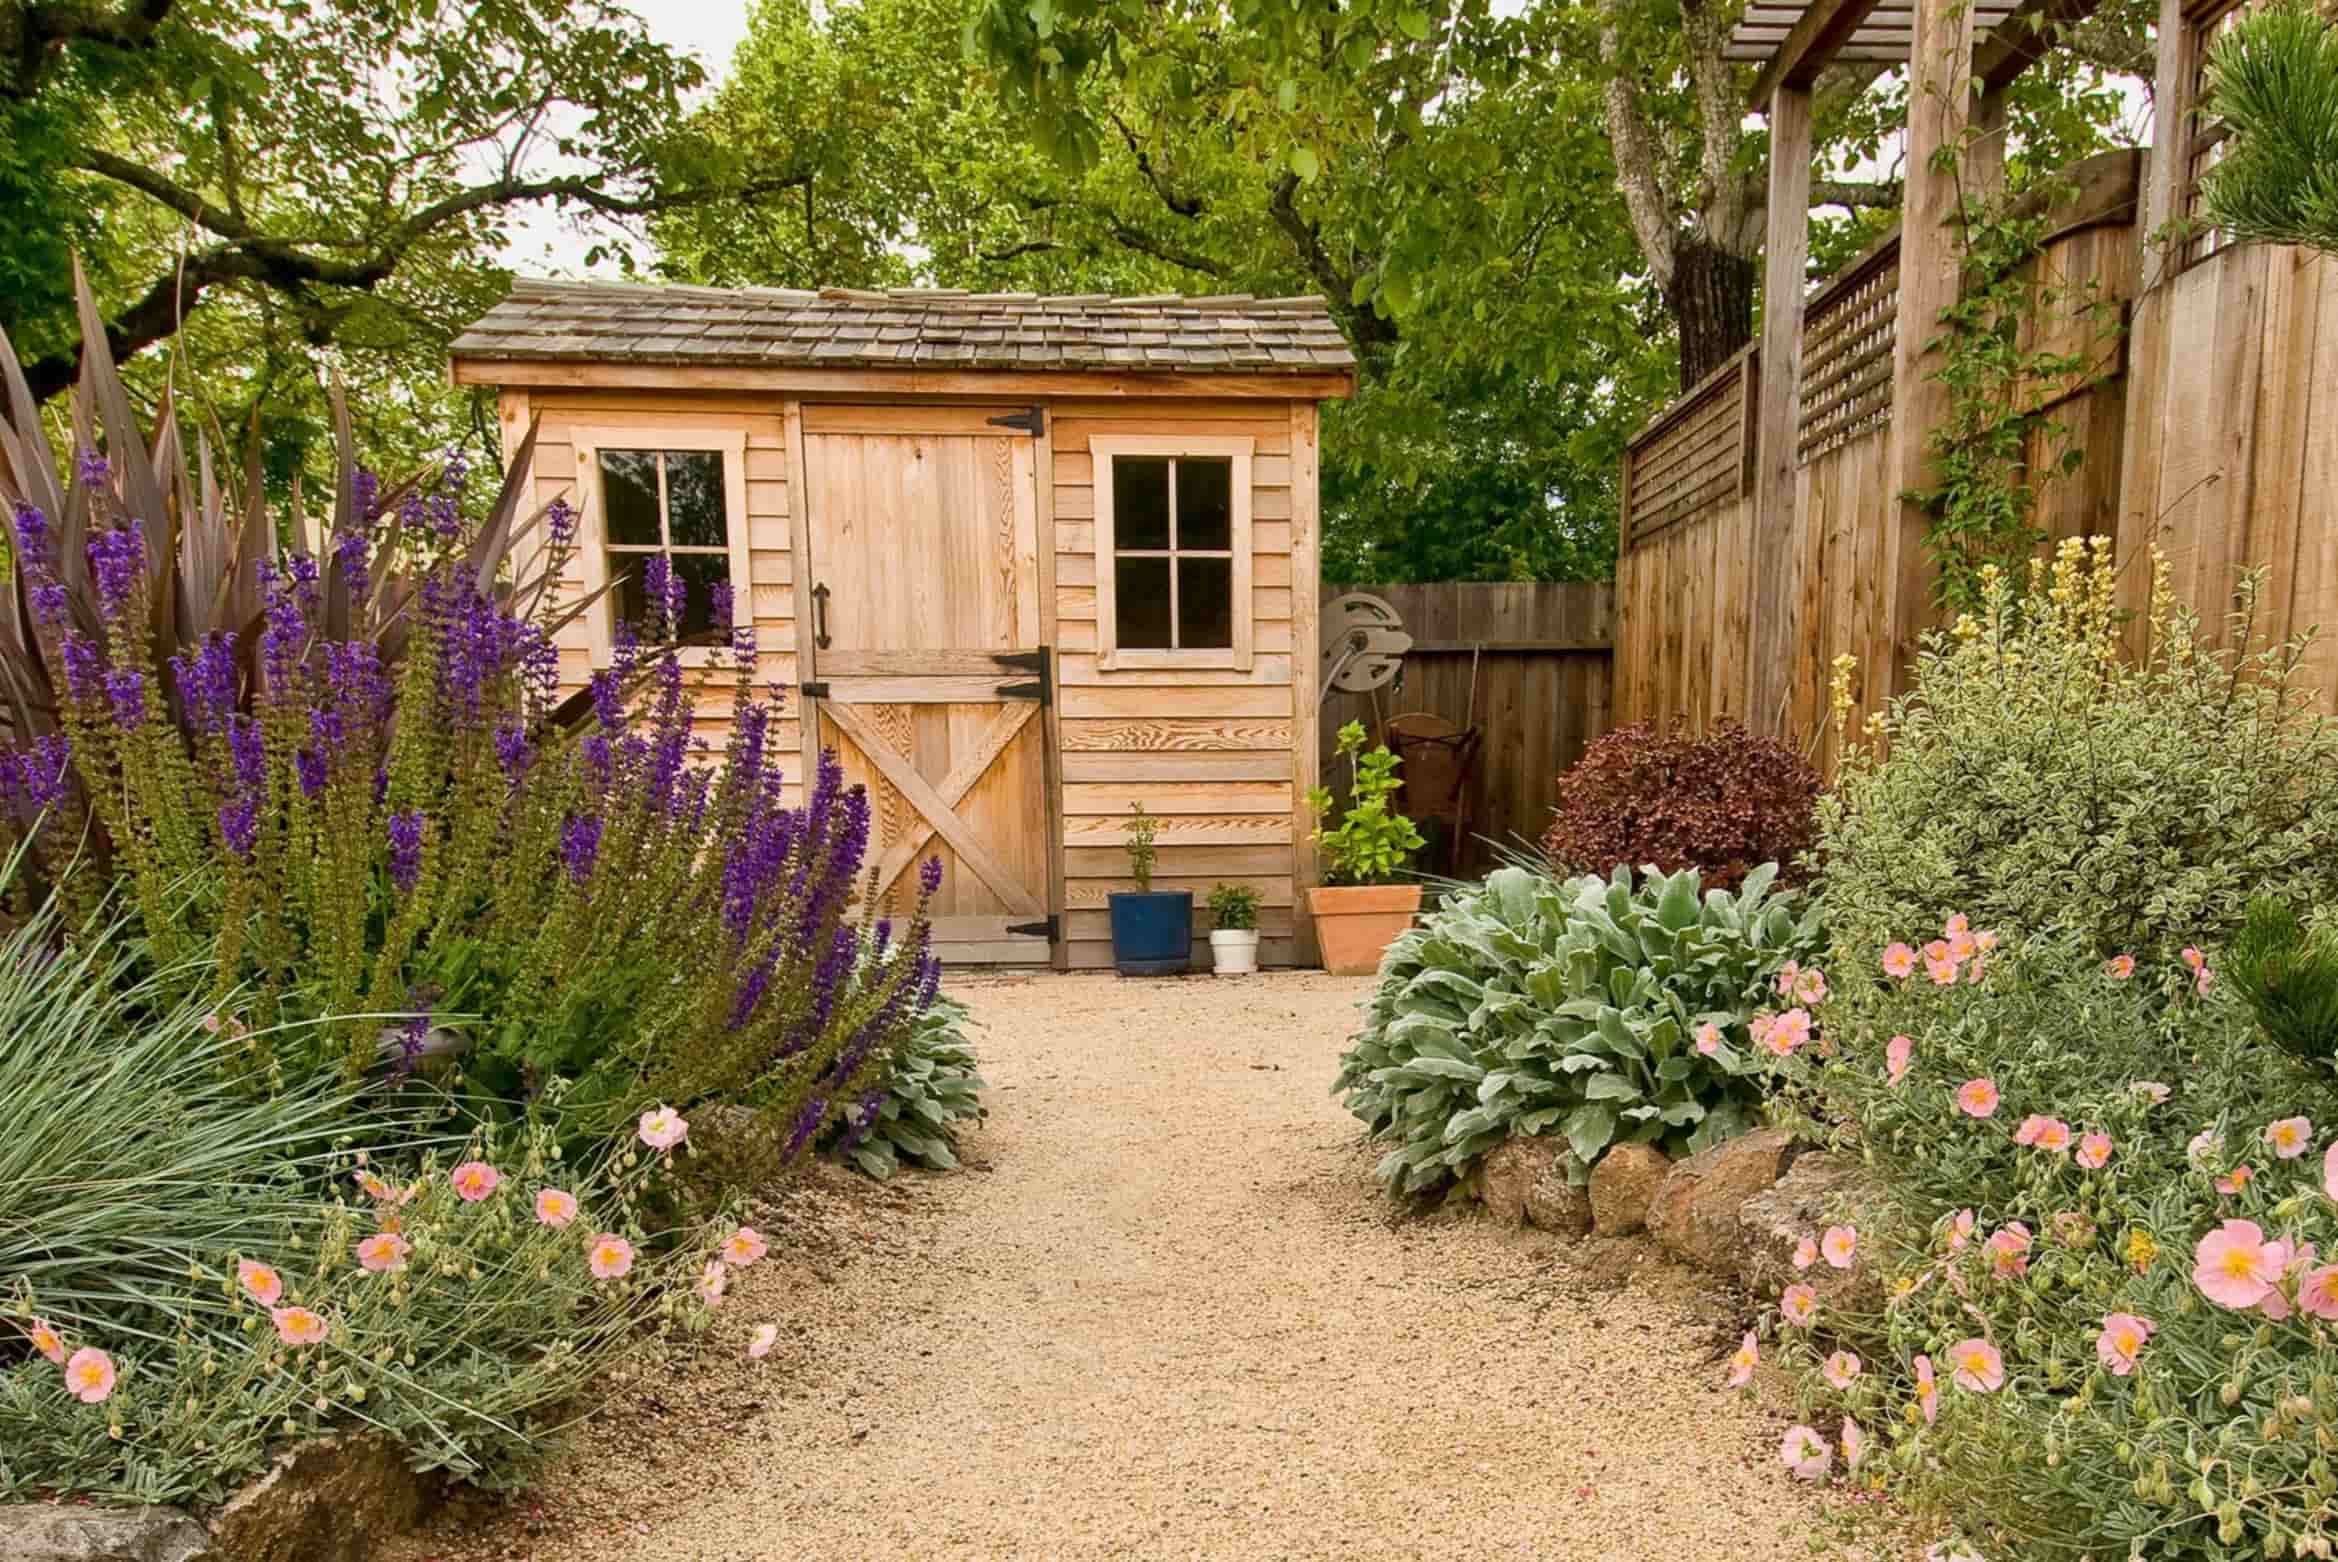
With the siding in place, your portable generator shed is now fully enclosed and equipped to withstand the rigors of outdoor conditions. The next step involves adding finishing touches and addressing any remaining details to ensure that the shed is both functional and aesthetically pleasing.
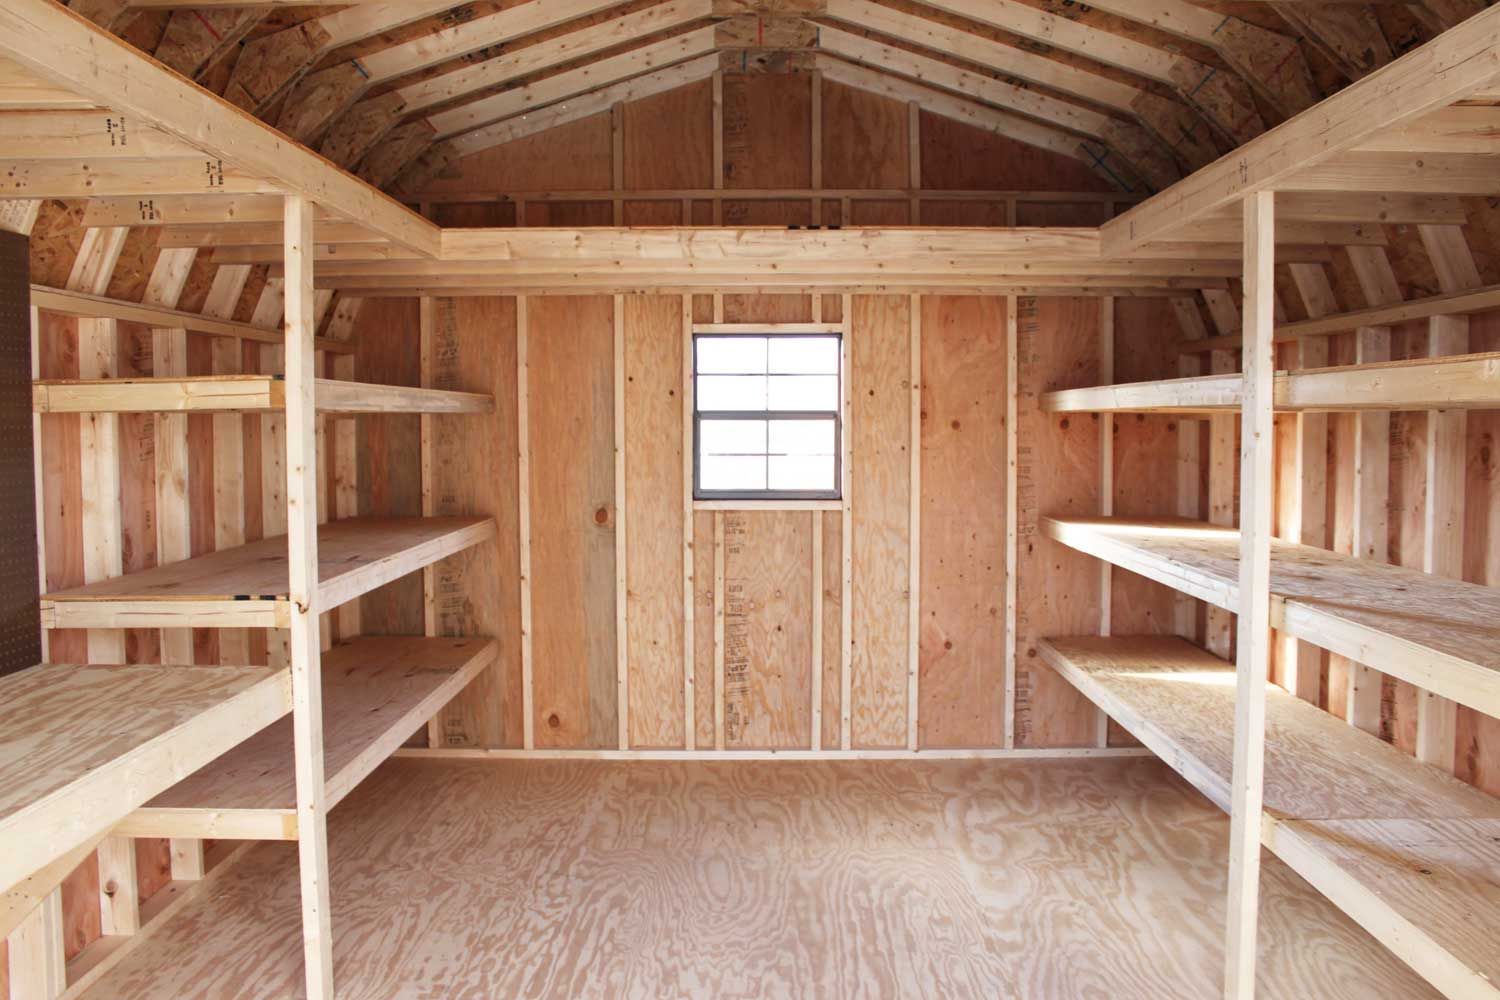
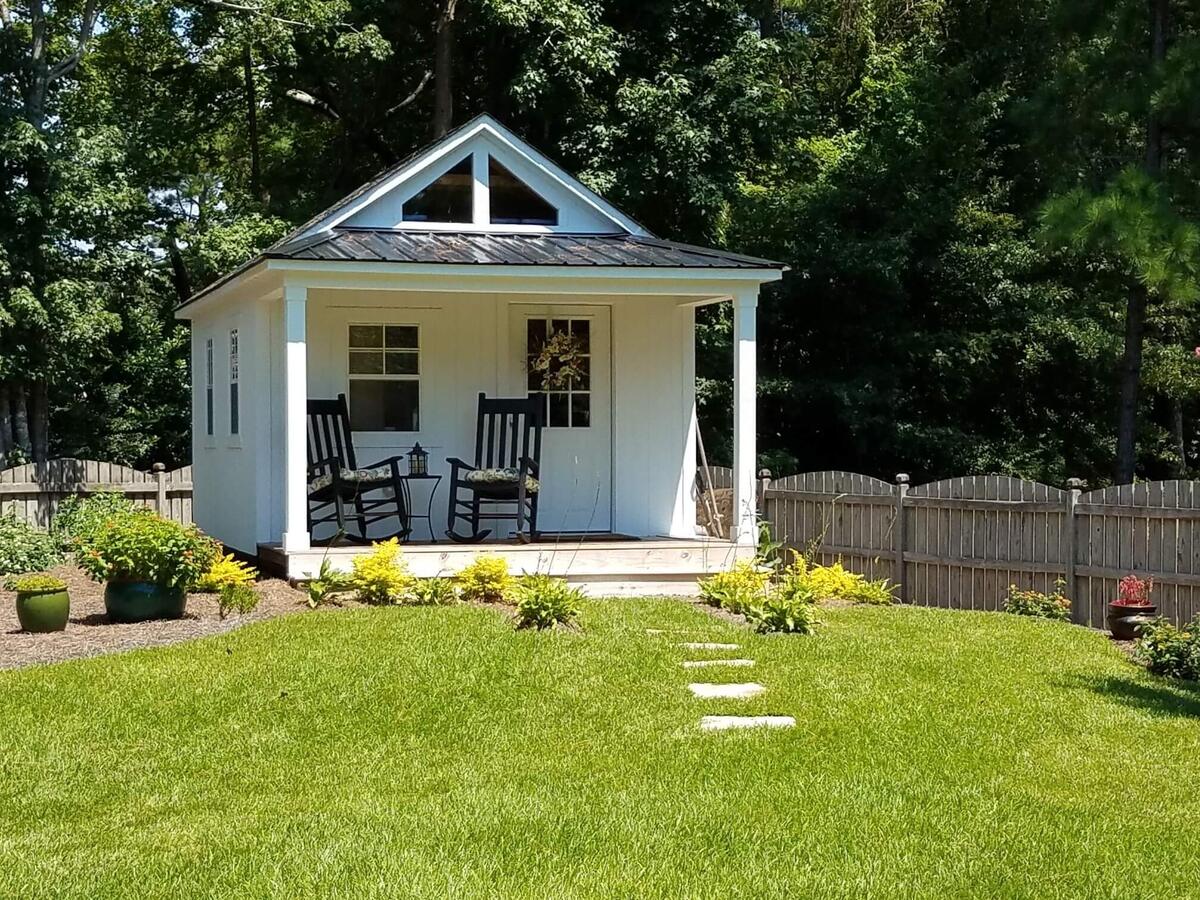
Finishing Touches
As you near the completion of your portable generator shed, it’s time to focus on the finishing touches that will elevate its functionality and visual appeal. Paying attention to these details will not only enhance the shed’s overall quality but also ensure that it meets your specific needs. Here are the essential finishing touches to consider:
1. Ventilation: Install hardware cloth or mesh-covered vents to promote air circulation within the shed. Adequate ventilation helps prevent moisture buildup and ensures that the generator operates optimally while stored inside the shed.
2. Door Installation: Mount the shed door using durable hinges and a secure latch mechanism. Ensure that the door fits snugly within the frame and provides a reliable seal to keep the interior protected from the elements.
3. Sealing and Caulking: Apply exterior-grade caulking to seal gaps and joints, enhancing the shed’s weather resistance and preventing water infiltration. Pay special attention to areas where different materials meet, such as around windows and along the roofline.
4. Exterior Finishes: Consider applying a protective coat of exterior paint or wood stain to the shed’s exterior surfaces. This not only enhances the shed’s appearance but also provides essential protection against UV rays, moisture, and other environmental factors.
5. Security Measures: Install a sturdy lock and consider additional security features, such as motion-activated lighting, to safeguard the shed and its contents. This is especially important for ensuring the safety of your portable generator and deterring unauthorized access.
By attending to these finishing touches, you’ll transform your portable generator shed into a well-appointed and resilient structure that meets your practical and aesthetic requirements. With the shed now fully equipped and enhanced, it’s time to step back and admire the fruits of your labor.
Read more: Who Makes Ryobi Generators
Conclusion
Congratulations on completing the construction of your portable generator shed! Through meticulous planning, diligent work, and a touch of creativity, you’ve brought to life a functional and visually appealing structure that will serve as a reliable shelter for your valuable equipment. As you reflect on this rewarding journey, consider the following key takeaways:
Protection and Longevity: Your portable generator shed offers essential protection from the elements, safeguarding the generator from moisture, UV exposure, and other environmental factors. This, in turn, helps prolong the lifespan of the equipment, ensuring that it remains in optimal condition for years to come.
Enhanced Safety and Security: By housing your portable generator within a dedicated shed, you’ve taken proactive measures to enhance safety and security. The shed provides a secure enclosure, deterring unauthorized access and minimizing potential risks associated with outdoor generator storage.
Personalized Craftsmanship: The process of building the shed allowed you to infuse your personal touch and craftsmanship into the project. From selecting materials to adding finishing touches, each decision and effort contributed to the creation of a structure that reflects your skills and attention to detail.
Practicality and Functionality: The completed shed stands as a testament to practicality and functionality, offering a designated space for your portable generator that aligns with your specific needs. Its well-designed features and thoughtful construction ensure that it serves its intended purpose effectively.
As you admire the finished shed, take pride in the knowledge that you’ve not only constructed a protective shelter for your portable generator but also honed your DIY skills and creativity. Whether you’re an experienced builder or someone who took on this project as a new endeavor, the completion of the portable generator shed marks a significant accomplishment.
Now, with your generator safely housed in its new abode, take a moment to appreciate the transformation of raw materials into a purposeful and enduring structure. With its practical functionality and aesthetic appeal, the shed stands as a testament to your dedication and craftsmanship. As you look ahead, consider the potential for further projects and opportunities to apply your newfound expertise and creativity.
Embrace the satisfaction of a job well done, and relish in the knowledge that your portable generator shed will continue to serve you reliably for years to come.
Frequently Asked Questions about How To Make A Portable Generator Shed
Was this page helpful?
At Storables.com, we guarantee accurate and reliable information. Our content, validated by Expert Board Contributors, is crafted following stringent Editorial Policies. We're committed to providing you with well-researched, expert-backed insights for all your informational needs.


0 thoughts on “How To Make A Portable Generator Shed”