Articles
How to Prepare Your Hot Tub for the Winter
Modified: October 25, 2024
Learn how to prepare your hot tub for winter with essential steps to winterize it, protect your investment, and ensure year-round enjoyment.
(Many of the links in this article redirect to a specific reviewed product. Your purchase of these products through affiliate links helps to generate commission for Storables.com, at no extra cost. Learn more)
It’s around this time of year when homeowners scramble to prepare their homes for the incoming months of chilly weather. They flush the gutters, fiddle with the HVAC system, re-caulk the window trims… anything that protects their investment from the inclement weather.
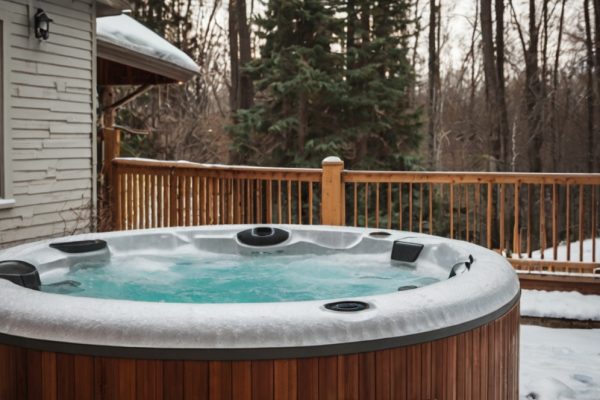
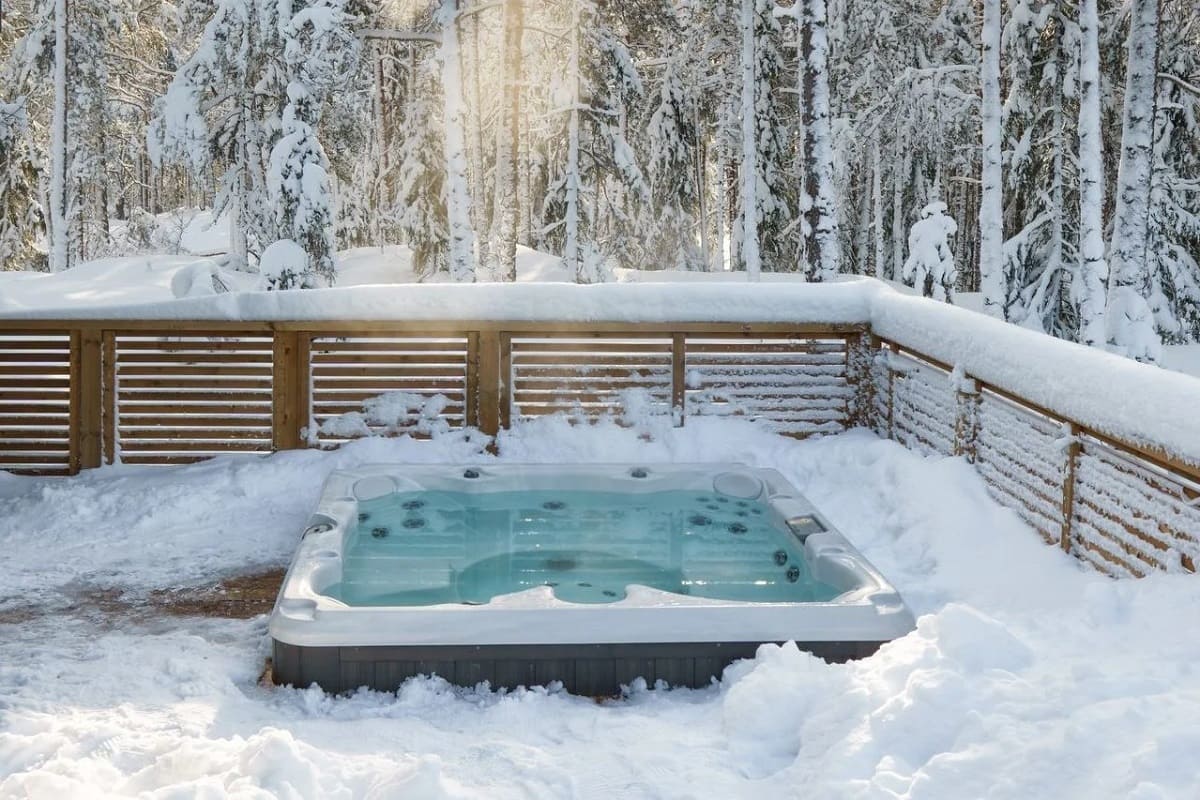
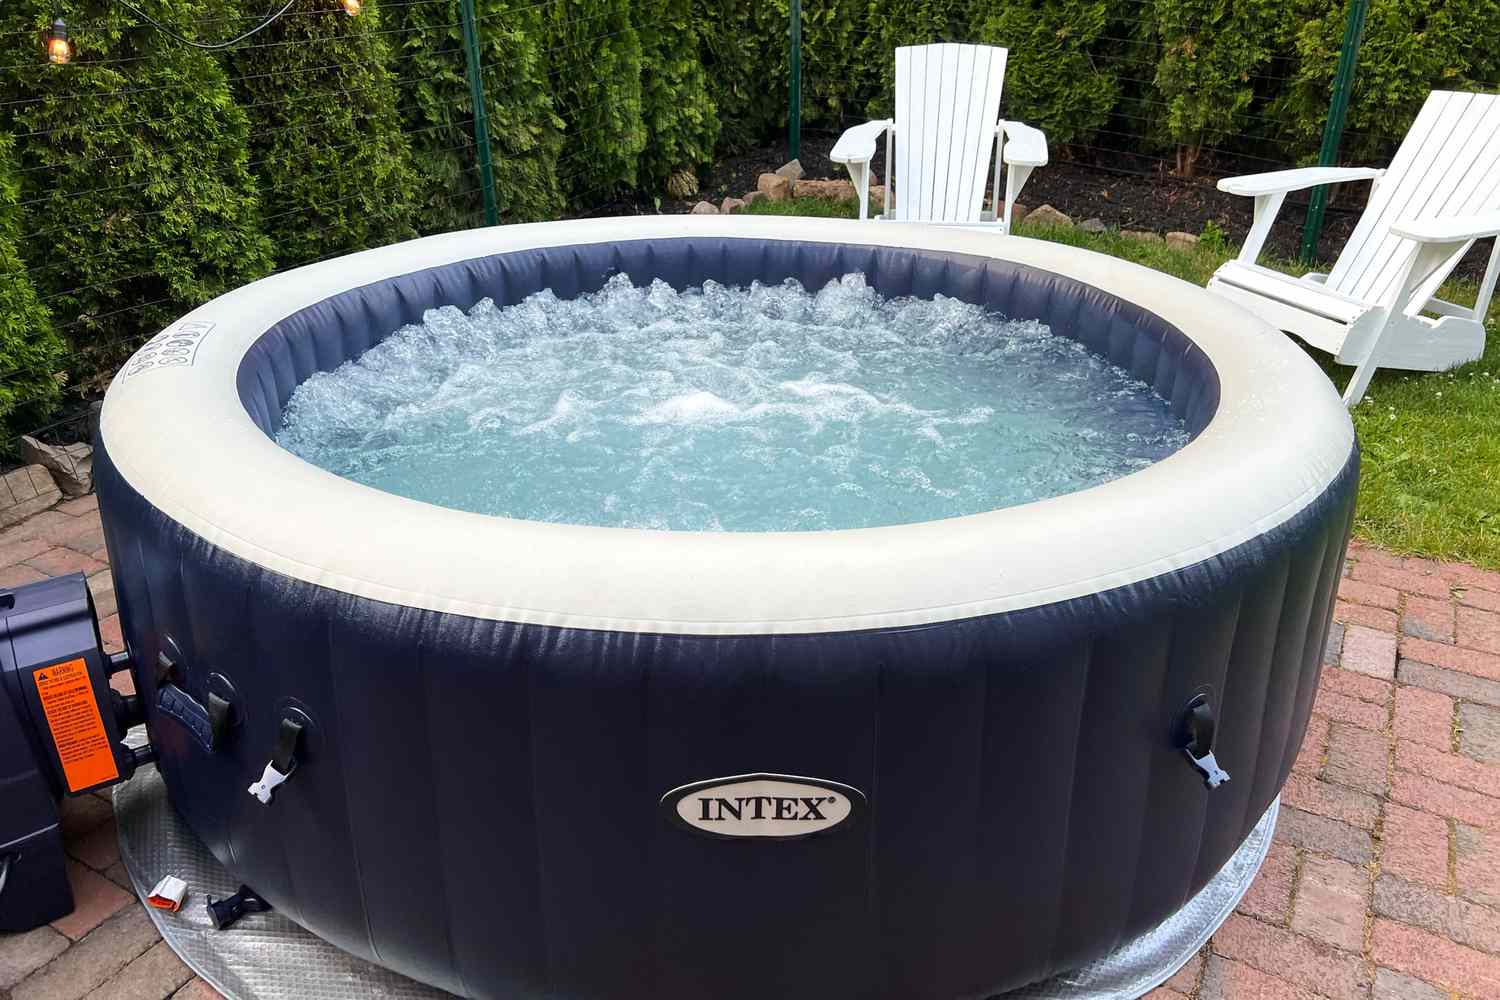
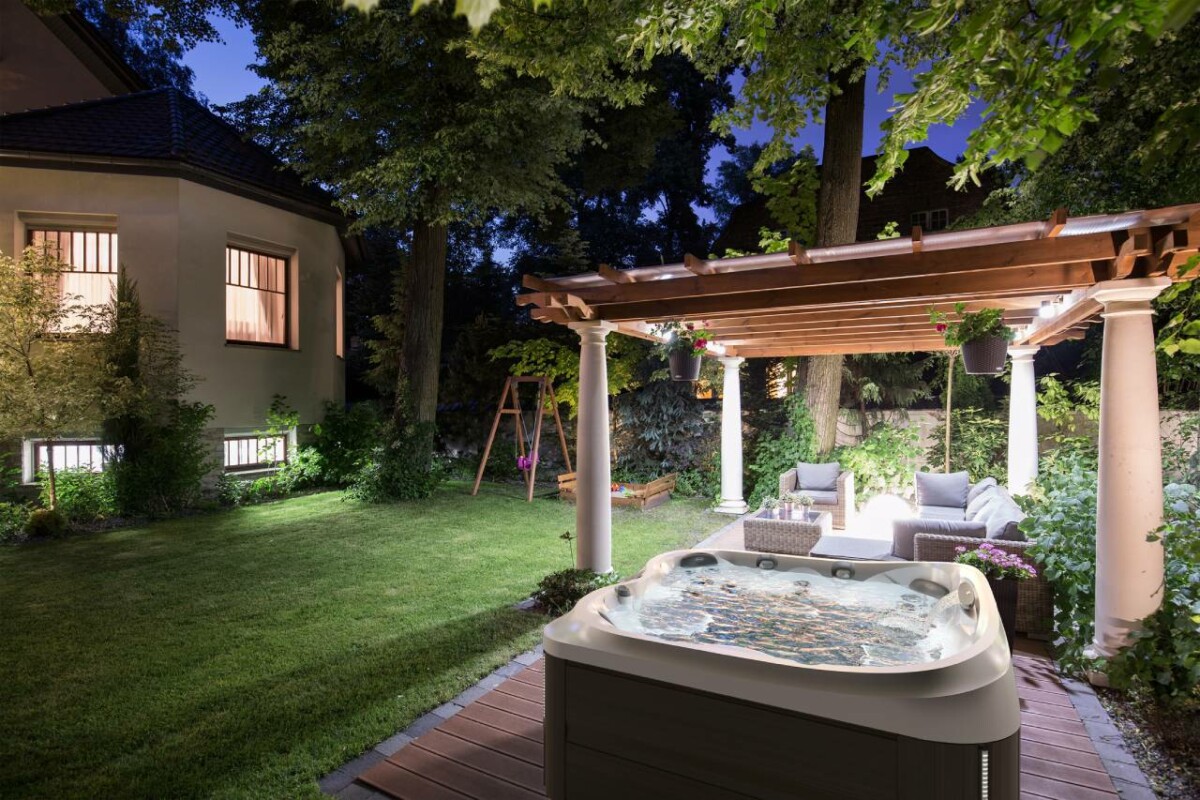
Among all these projects, spare a thought for your hot tub as well. An outdoor hot tub is an investment in relaxation and fun. And all it asks in return is a little TLC when the temperatures drop.
Correctly setting up your hot tub can help minimize utility costs, ensure the longevity of your investment, and allow you to utilize this outdoor sanctuary year-round. Learn a few crucial steps to prepare for the winter ahead, and how to fire your hot tub back up for winter dips.
Dust Off the Manual
The first step in any home appliance project is to refer to the manual. This article can offer guidance on processes, but only an owner’s manual can detail the specifics of how to accomplish those processes in your particular hot tub.
For instance, some hot tubs have two drainage spigots—a primary and an auxiliary—while others just have the one. Some might feature detailed care instructions for the spa shell, while others allow you to use any old cleaning product lying around (within reason). And how you remove the filter may vary between spa models. Therefore, use these following tips in conjunction with your user manual for best results.
Lost the user manual? It happens to the best of us. Simply Google search your hot tub model along with “manual”; a digital copy of the user manual should be your first result.
Read more: How To Winterize A Hot Tub In The Winter
Drain the Tub
With the trusty manual in one hand, it’s time to roll up your sleeves and start winterizing. If you don’t plan to run the hot tub for the entire winter (a costly investment), the first step will be to drain the tub. When temperatures drop, water expands as it freezes, putting severe stress on the shell, pump, piping, filter… the whole works.
Start by turning off the power to avoid electrical hazards. To drain the tub, locate the spigot or drainage valve (usually at the bottom of the tub somewhere) and attach a garden hose for easy removal. Open the valve and let the water flow through the hose to a suitable drainage area. Since the water is chemically treated, it’s not wise to divert that water to a garden you care about. For faster draining, you can use a submersible pump—they cost around $50 to $100 at your local home goods store.
Once you’ve completely drained the water, use a sponge or towel to wipe away any remaining water in the tub. Even small pools of residual water can damage the spa if they freeze, so be as thorough as possible.
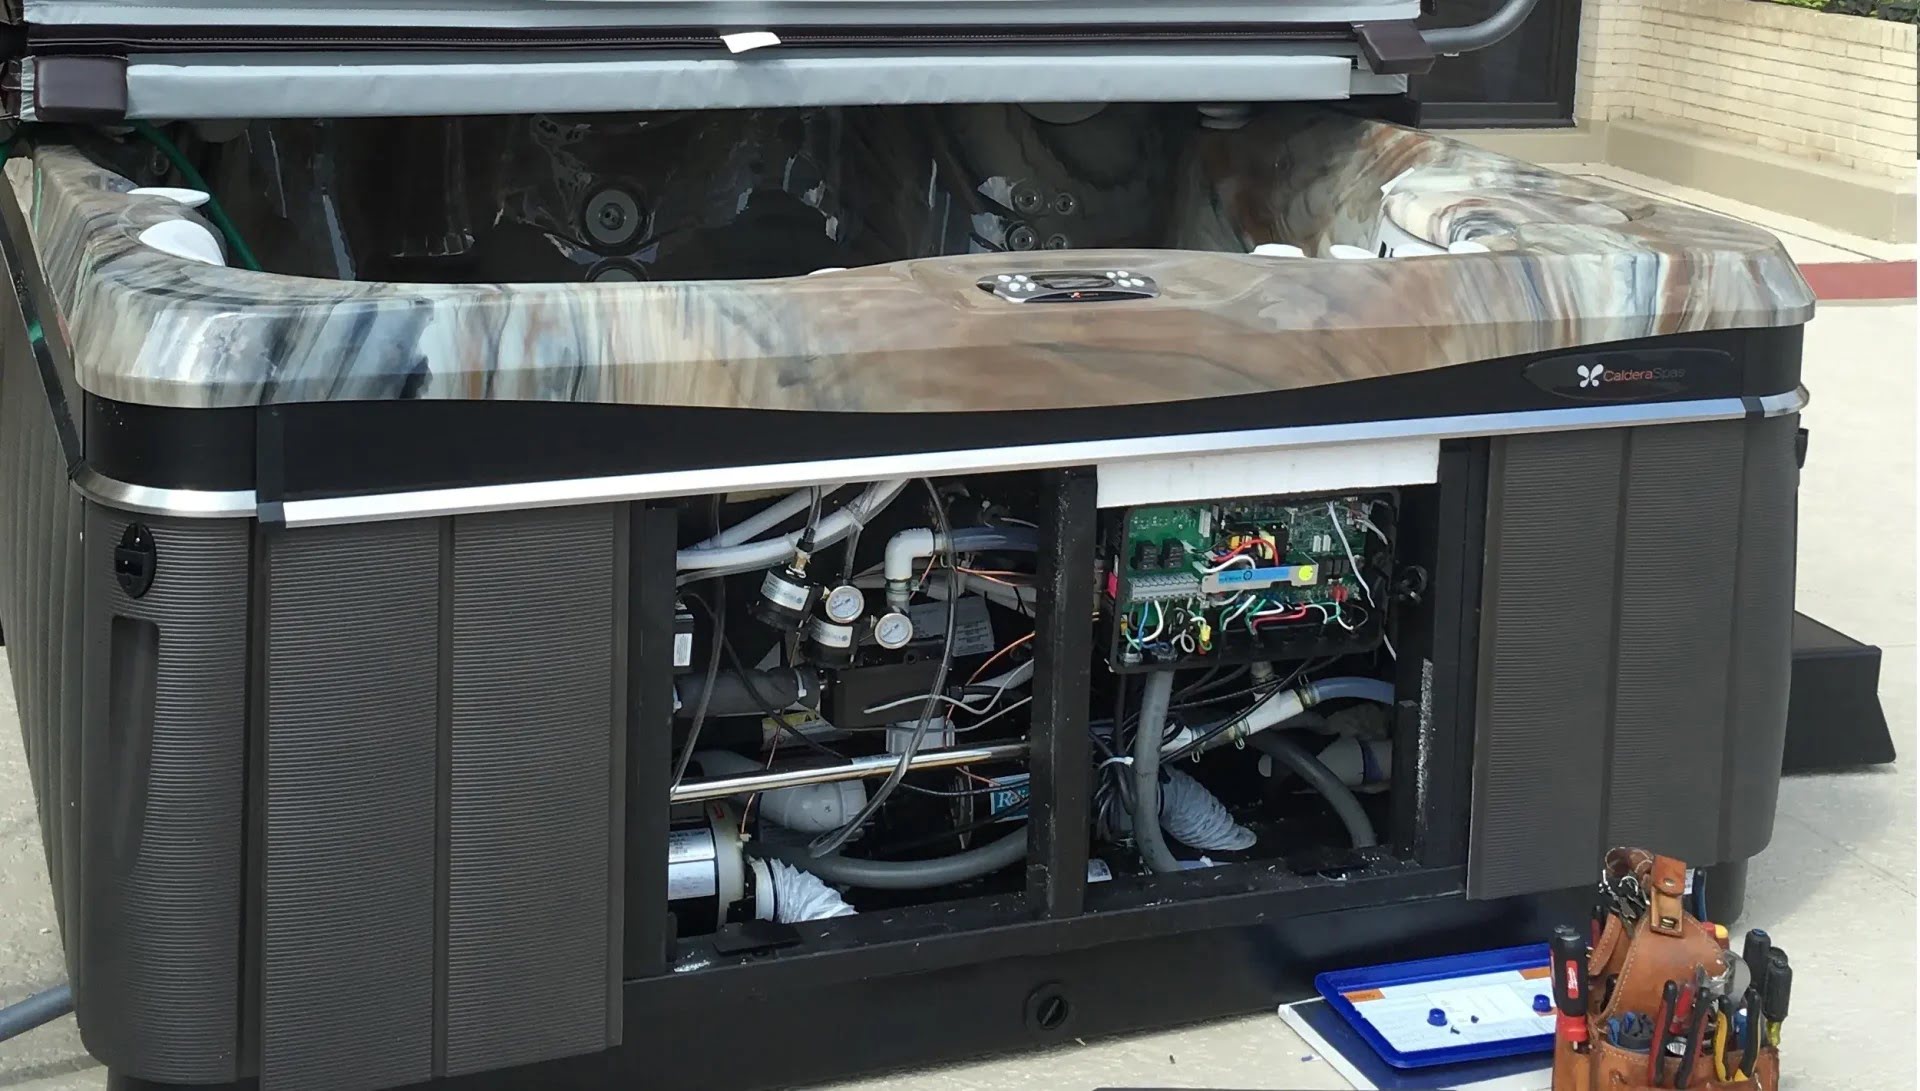
Remove the Filters
Hot tub filters are specifically designed for water submersion. Devoid of surrounding water, these filters become particularly susceptible to harsh weather and can deteriorate if left inside a dry tub during winter.
Start by locating the filter and removing the cap by unscrewing it counter-clockwise (the old “lefty loosey, righty tighty” rule applies). If the cap is stuck, use a strap wrench or a hammer/wooden block combo to gain some leverage. Once the cap is free, you should be able to easily pull up the tubular filter. Clean it overnight in filter-specific hot tub cleaner, and store it safely indoors.
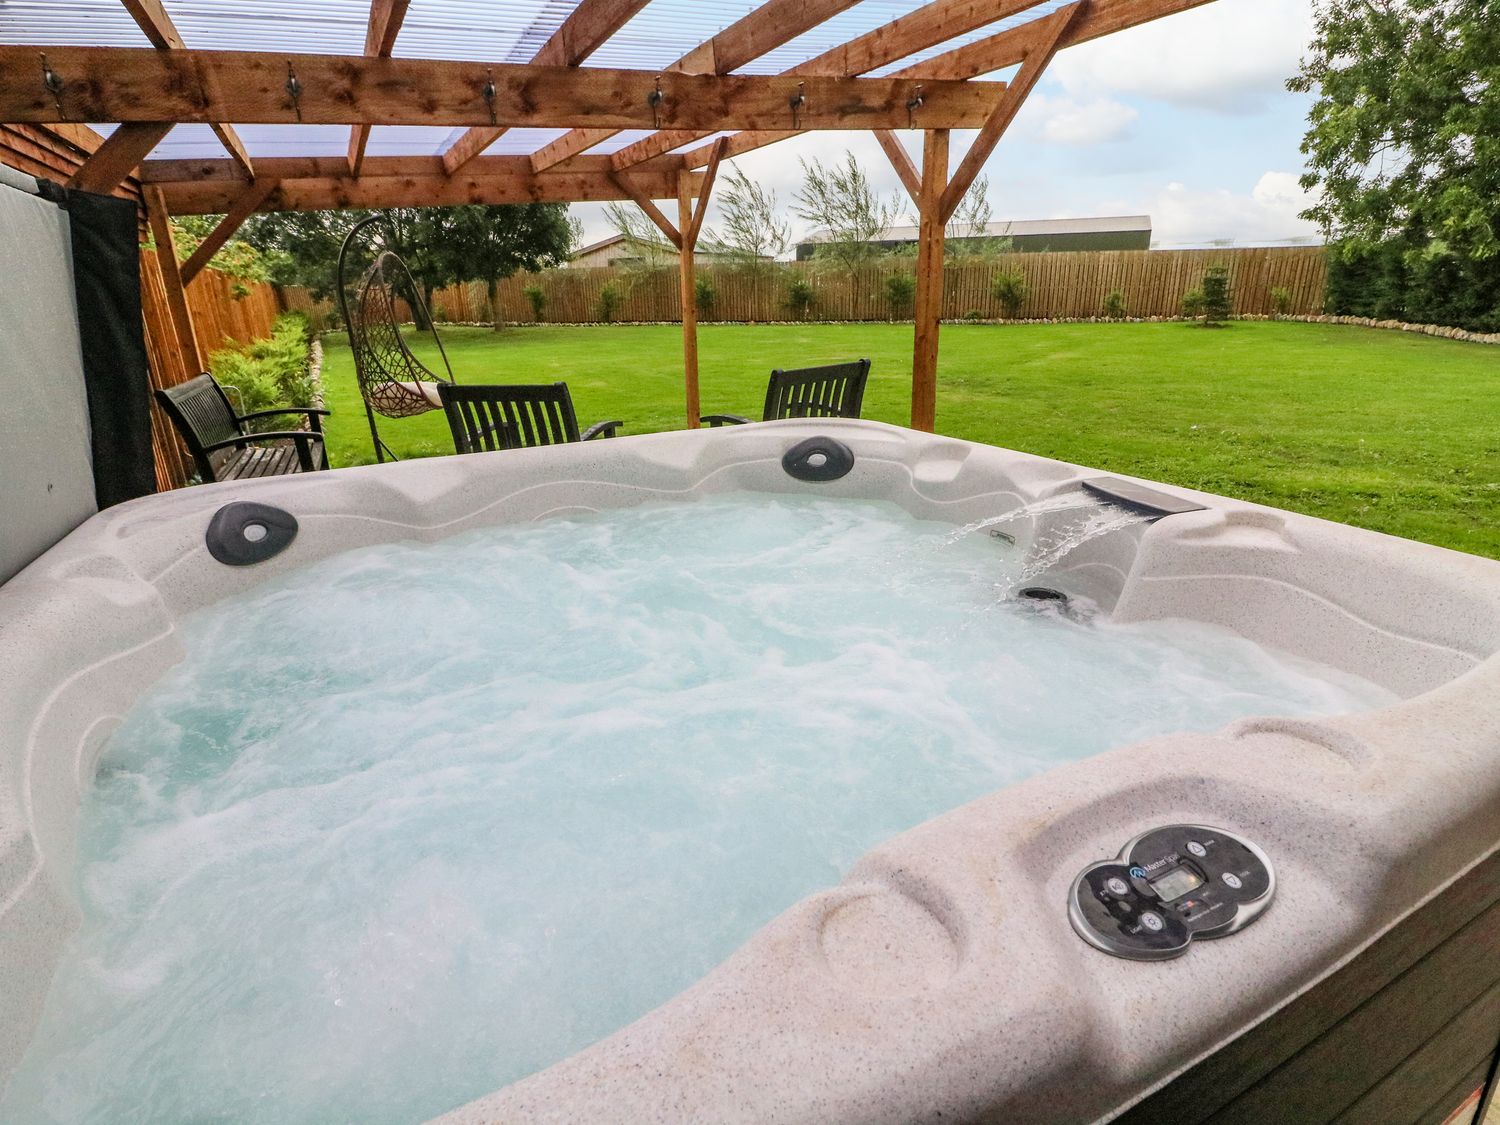
Invest in a Quality Hot Tub Cover
A quality hot tub cover is critical for the longevity and care of your spa investment. Poor quality covers—or worse yet, no cover—leave your hot tub vulnerable to snow, falling leaves and detritus, wind, rain, and critters, each of which can cause costly damage.
The best way to protect your hot tub this winter is with a cover custom-made to your spa’s specifications and designed for various climates. Ideally, it should feature marine-grade vinyl, double-stitching, and—depending on how cold your area gets—insulating foam as well. Check out The Cover Guy to configure a cover that suits your specific model and particular climate. Apply the cover as soon as it arrives, and consider supplementing your investment with a cover blanket or cover cap for added security.
Blow the Jets
This step might sound like a scene from an action movie, but it’s actually a fairly straightforward precautionary measure. Your jet plumbing can trap water, which may freeze when temperatures dip, causing pipe damage. Therefore, it’s important to “blow” any lingering water from the jets.
Again, ensure that you cut power to the tub to avoid any electrical mishaps. Using a wet/dry vac set to “blow” mode, place the vacuum hose over each jet to push out any remaining water from the lines. In most cases, one circuit will do the trick, but it’s never a bad idea to repeat the process.
Read more: How To Keep Hot Tub Hot In Winter
Keep the Area Clear
With all the above boxes ticked, your hot tub is sufficiently winterized—safe from the incoming slate of poor weather. However, you can periodically check on the tub throughout the winter to ensure that it remains safe.
Specifically, consider clearing the area every couple of weeks. Sweep away any backyard debris like fallen branches or snow mounds that have accumulated on or around the spa. This ongoing measure ensures that nothing scratches or stains the tub or hot tub cover.
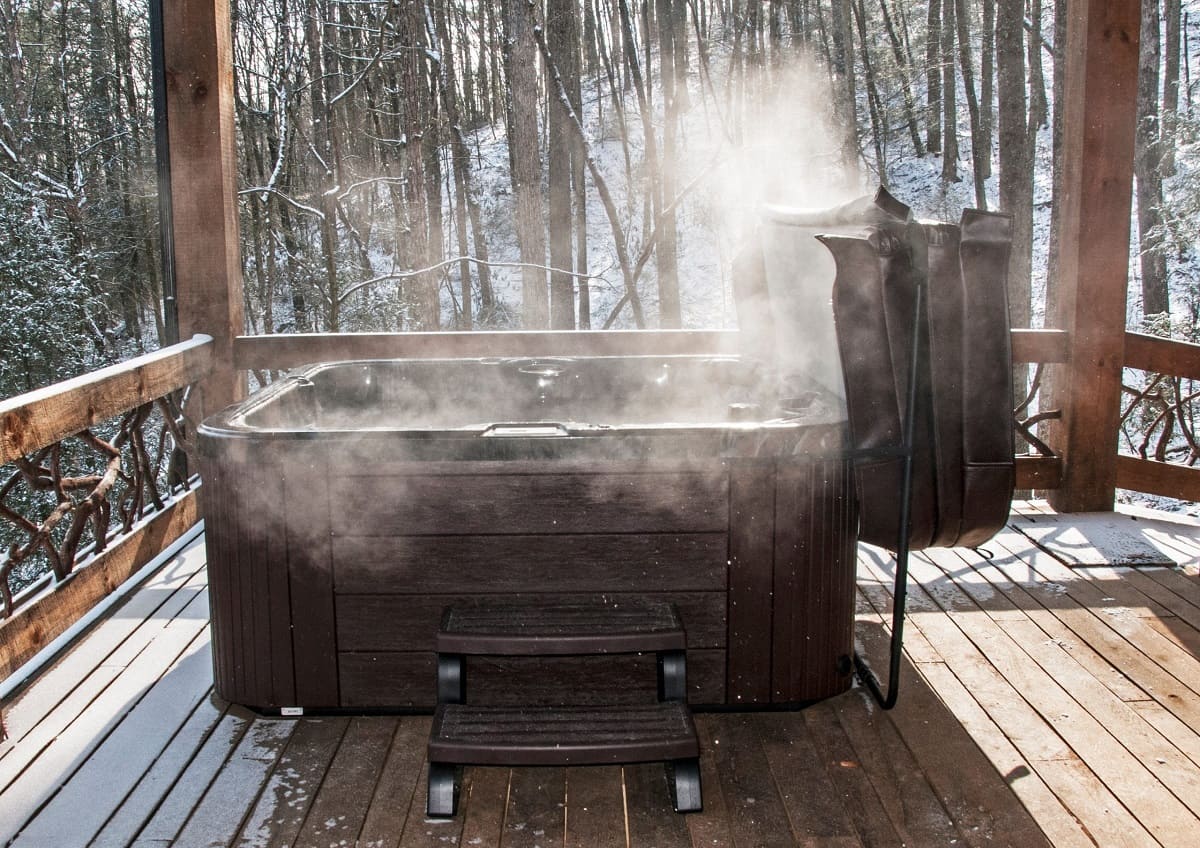
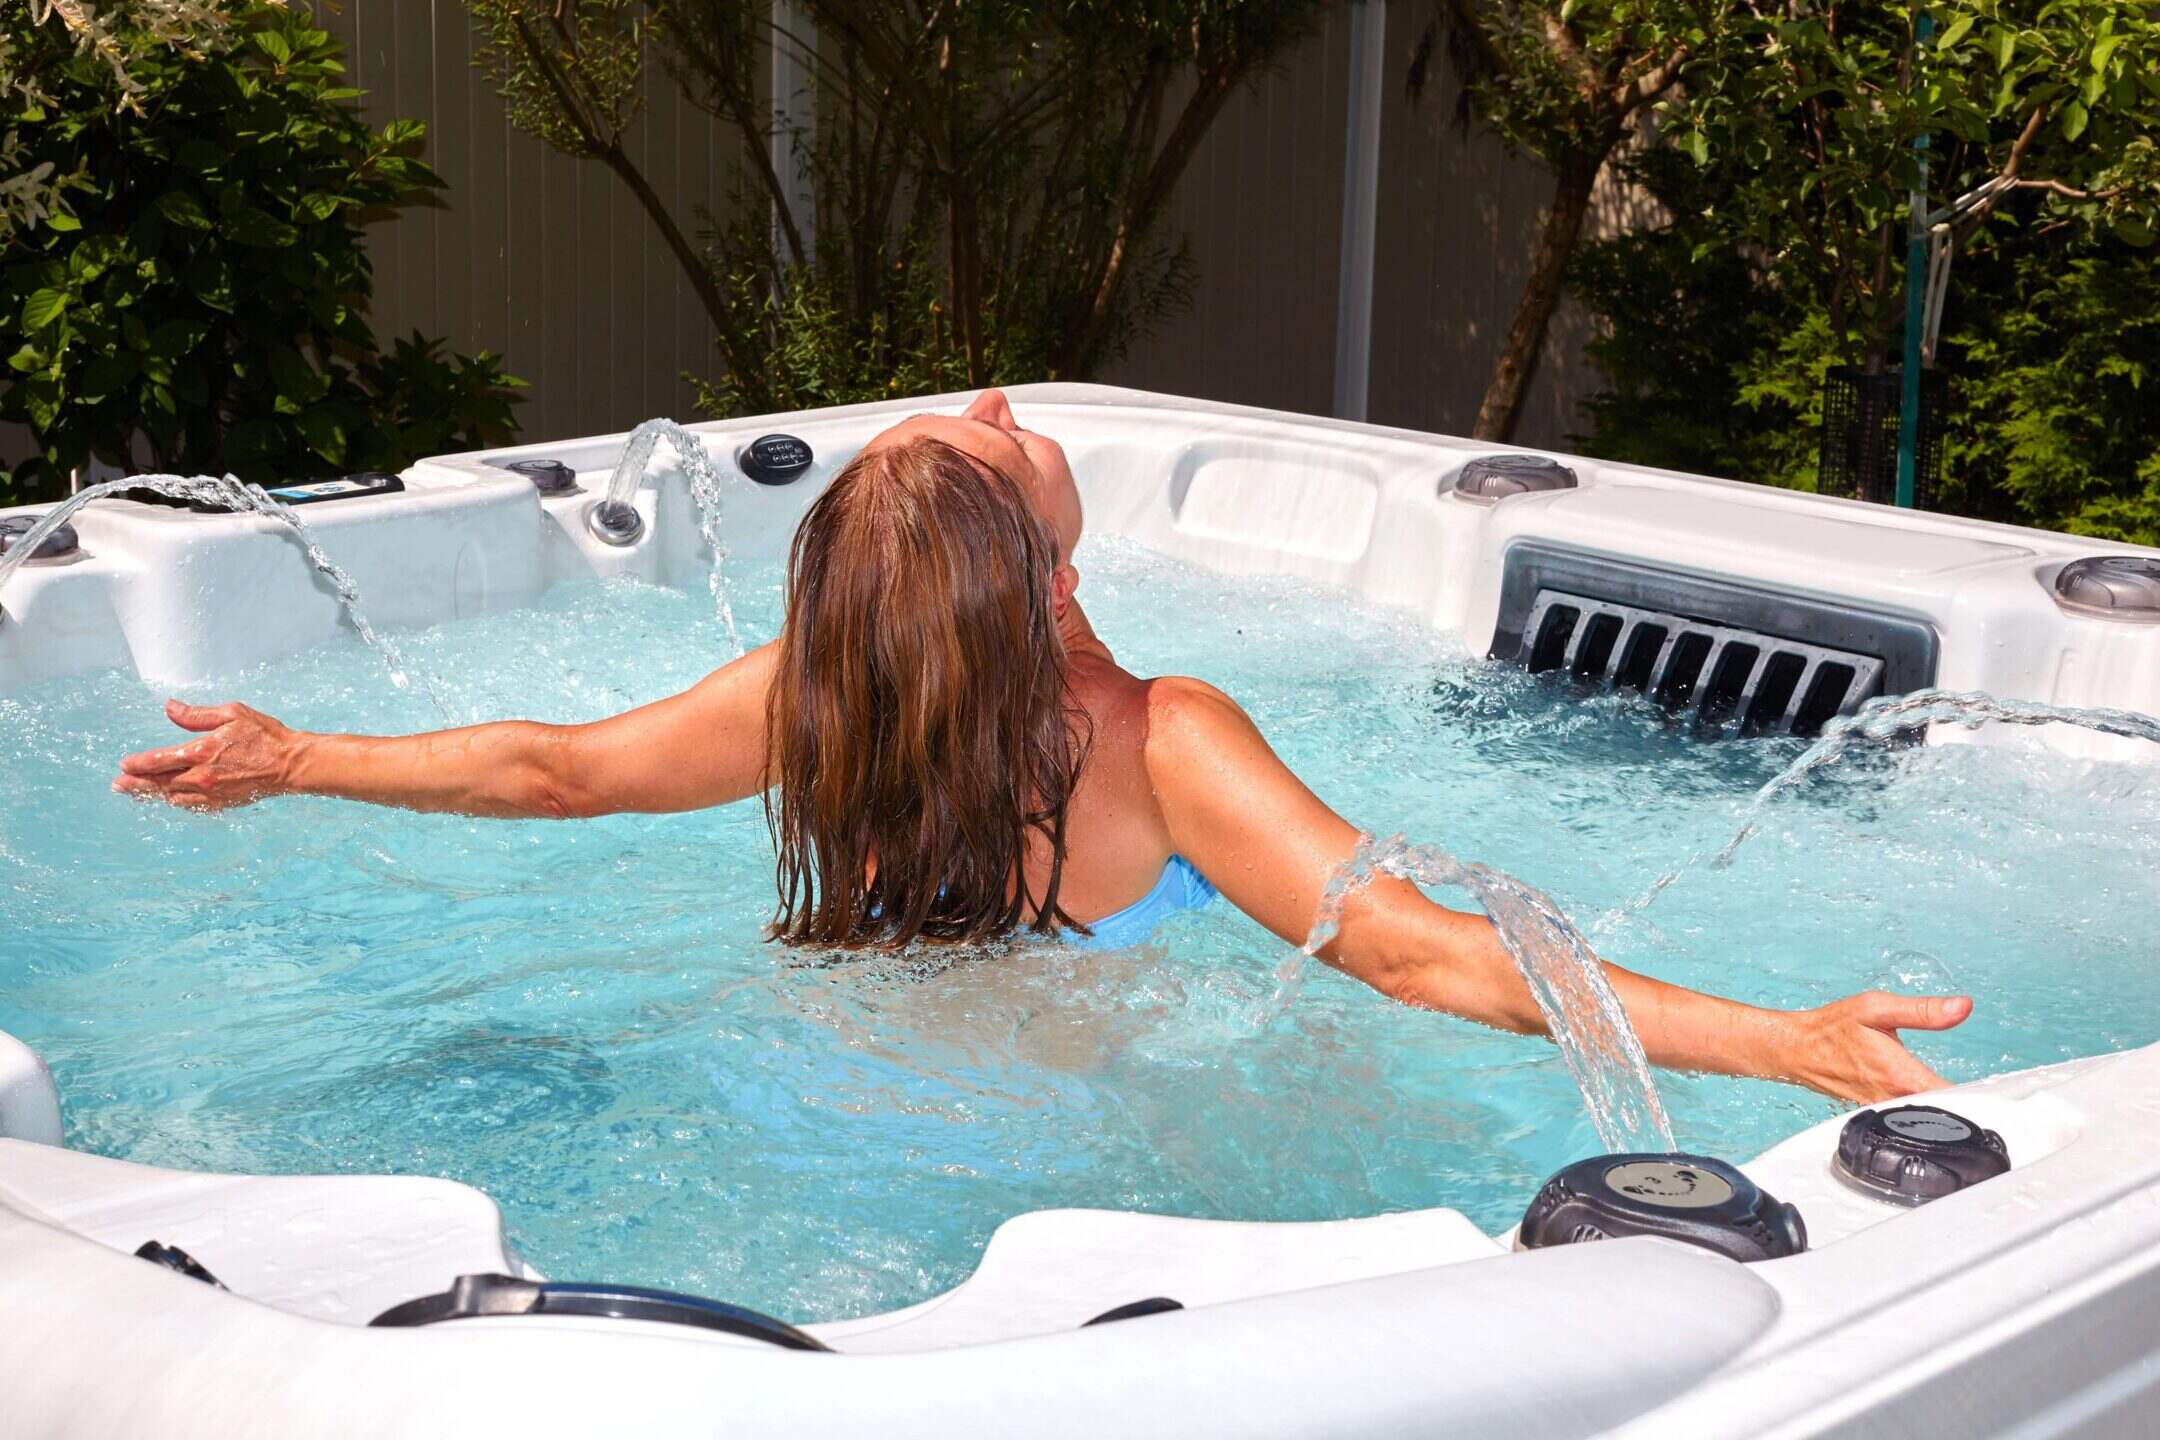
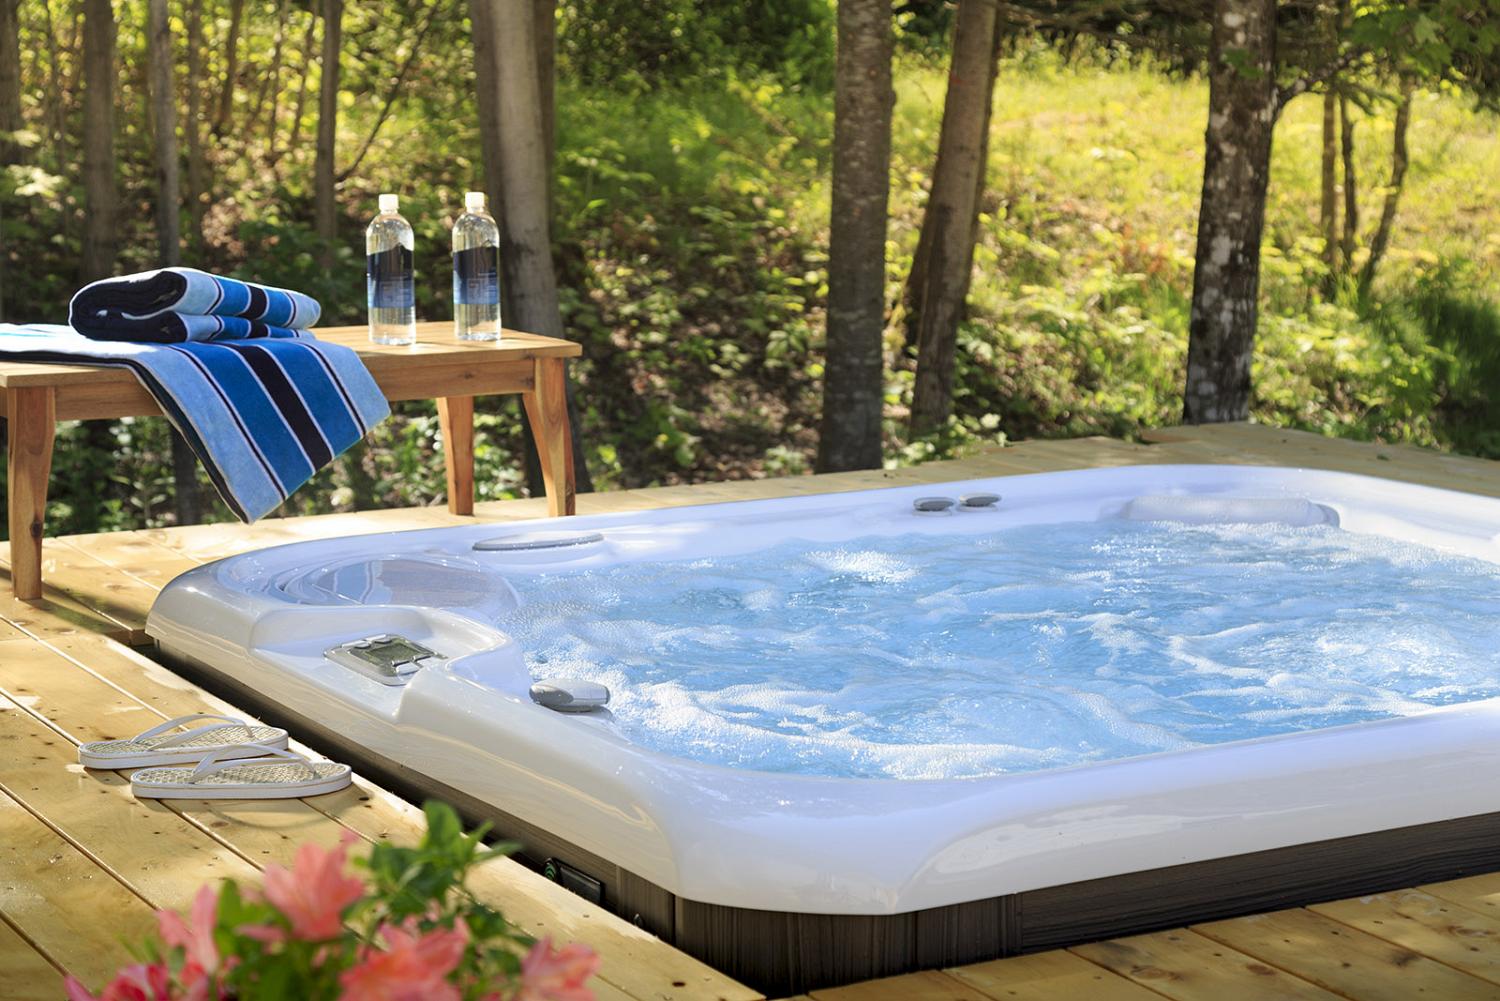
How to Get Back Up and Running for Winter Dips
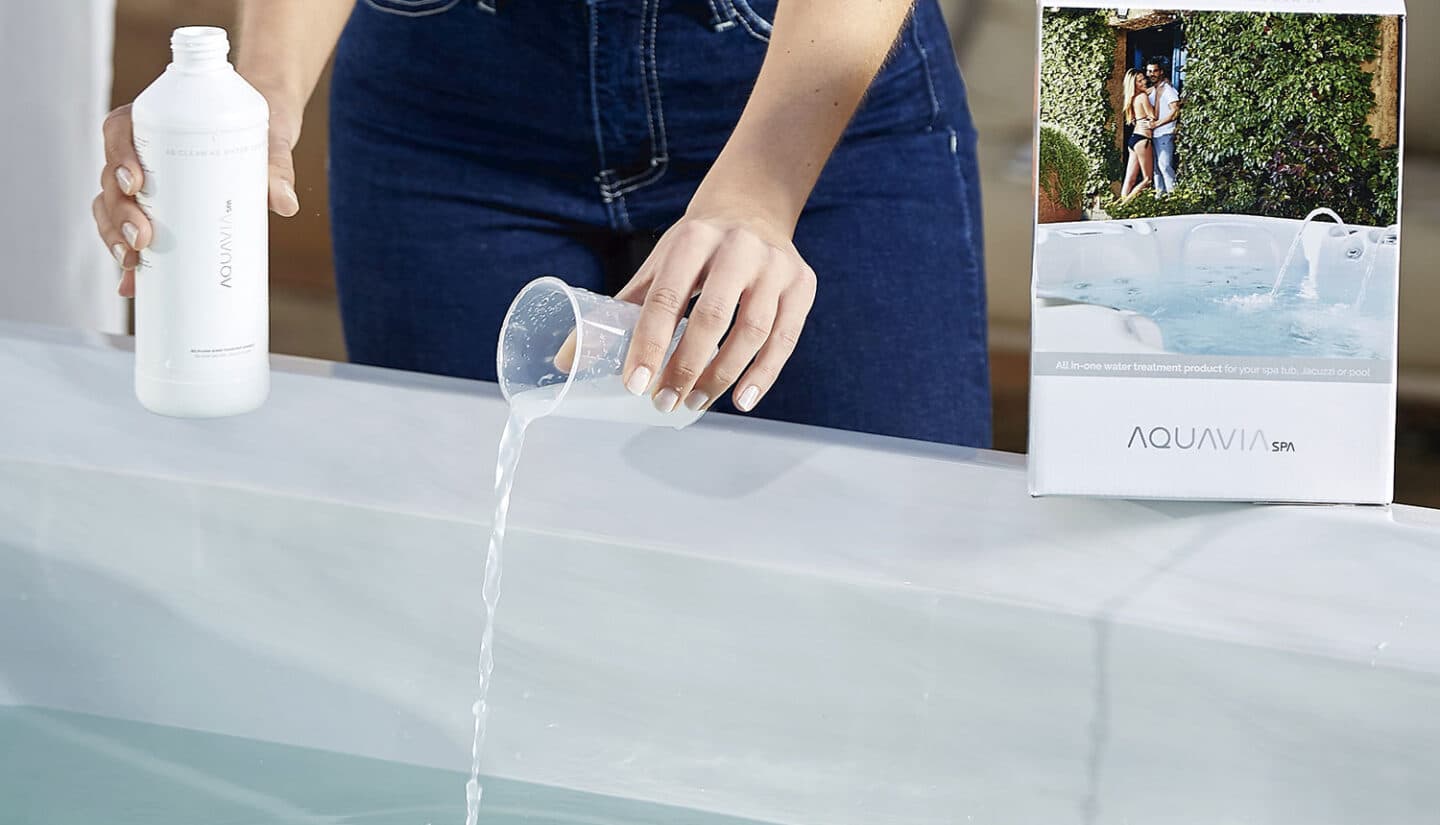
“But wait,” you might wonder, “what if I want to use my hot tub during the winter?” No problem. Winter dips in a steamy spa are one of life’s great pleasures. Thankfully, reversing these steps isn’t difficult. With the power still cut, remove the custom-made hot tub cover, re-insert the filter, close the drainage valve, and fill the tub to the manual’s recommended levels.
Run the jets to circulate the water and ensure there are no leaks. Once filled and running smoothly, add the necessary chemicals to balance the water for safe use. All told, the process takes around two hours, most of which involves you sitting inside the warm home waiting for the hose to do its job.
Follow the steps above to protect your investment this winter, and ensure year-round enjoyment in your backyard spa.
Was this page helpful?
At Storables.com, we guarantee accurate and reliable information. Our content, validated by Expert Board Contributors, is crafted following stringent Editorial Policies. We're committed to providing you with well-researched, expert-backed insights for all your informational needs.
0 thoughts on “How to Prepare Your Hot Tub for the Winter”