
Articles
How To Store Aloe Leaf After Cutting
Modified: August 20, 2024
Learn how to properly store aloe leaf after cutting to ensure maximum freshness and shelf life. Follow our step-by-step guide and make the most of your aloe articles!
(Many of the links in this article redirect to a specific reviewed product. Your purchase of these products through affiliate links helps to generate commission for Storables.com, at no extra cost. Learn more)
Introduction
Cutting fresh aloe leaves from your aloe vera plant can give you access to the natural healing properties of this amazing succulent. Aloe vera gel is known for its soothing and moisturizing benefits for the skin, making it a popular ingredient in many skincare products. However, once you have cut the aloe leaf, you may be wondering how to store it properly to prolong its freshness and potency.
In this article, we will guide you through the steps on how to store aloe leaf after cutting. Whether you plan to use the aloe gel for topical application or incorporate it into your DIY beauty products, proper storage will ensure that you can continue to enjoy its benefits for an extended period of time.
Key Takeaways:
- Properly storing aloe leaf after cutting is crucial for preserving its freshness and maximizing its beneficial properties, whether for skincare or DIY beauty products.
- Refrigerating or freezing aloe gel in smaller portions provides convenient options for extending its shelf life and using it in skincare routines or DIY projects. Remember to label containers and check for spoilage regularly.
Read more: How To Store Aloe Vera Leaf In Freezer
Step 1: Gather the necessary supplies
Before you begin cutting and storing your aloe leaf, it’s important to gather the necessary supplies. Having everything ready will make the process smoother and more efficient. Here are the supplies you will need:
- A sharp knife or kitchen shears
- A clean cutting board
- A clean, airtight container or freezer-safe bag
- Plastic wrap
- A marker or label
Ensure that your knife and cutting board are clean to prevent any contamination. Make sure your container or bag is airtight to preserve the freshness of the aloe leaf. Plastic wrap will be useful if you opt to store the aloe leaf as a gel. Lastly, having a marker or label will help you properly identify the stored aloe leaf.
Step 2: Cut the aloe leaf properly
When it comes to cutting the aloe leaf, it’s essential to do it correctly to ensure that you maximize the benefits and minimize waste. Follow these steps to cut the aloe leaf properly:
- Select a mature leaf: Choose a leaf that is large and healthy. Mature leaves contain more gel and are more potent.
- Prepare the leaf: Before cutting, wash the aloe leaf thoroughly to remove any dirt or debris. Pat it dry with a clean towel.
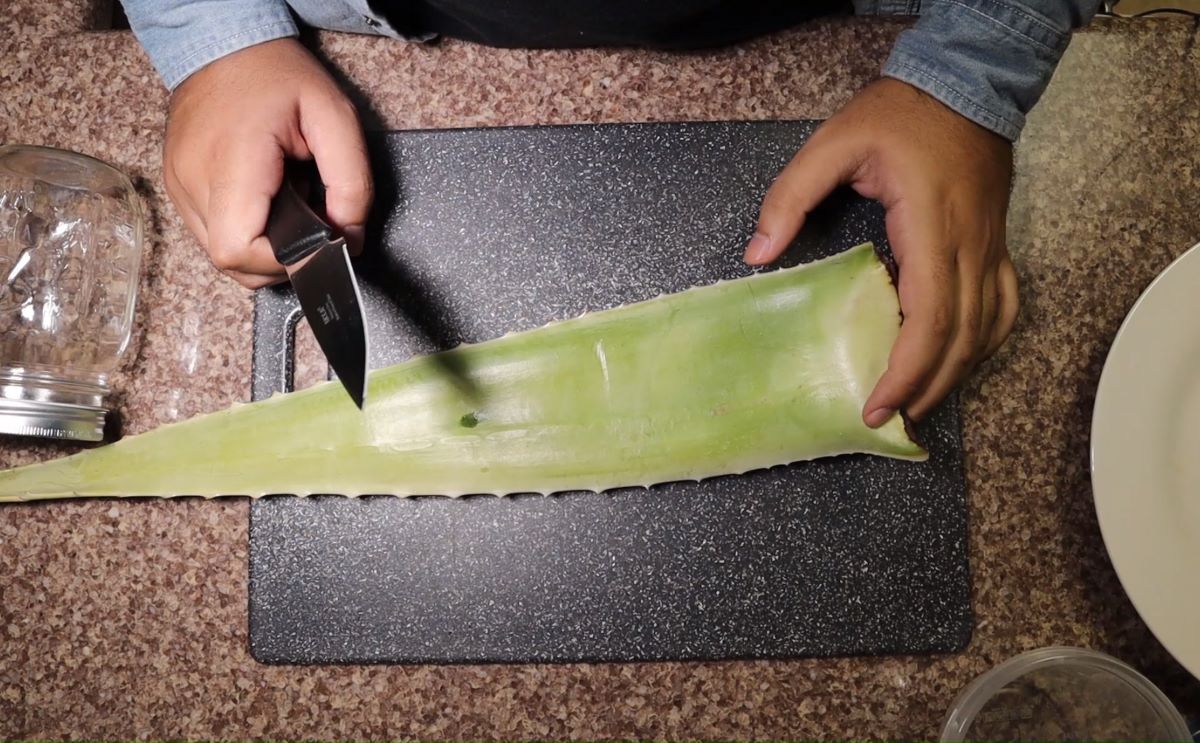
- Cut the spiky edges: Using your sharp knife or kitchen shears, carefully cut off the spiky edges of the leaf. This will make the handling of the leaf easier and safer.
- Make a horizontal cut: Place the leaf flat on your cutting board and make a horizontal cut near the base of the leaf. This will separate the top and bottom layers of the leaf.
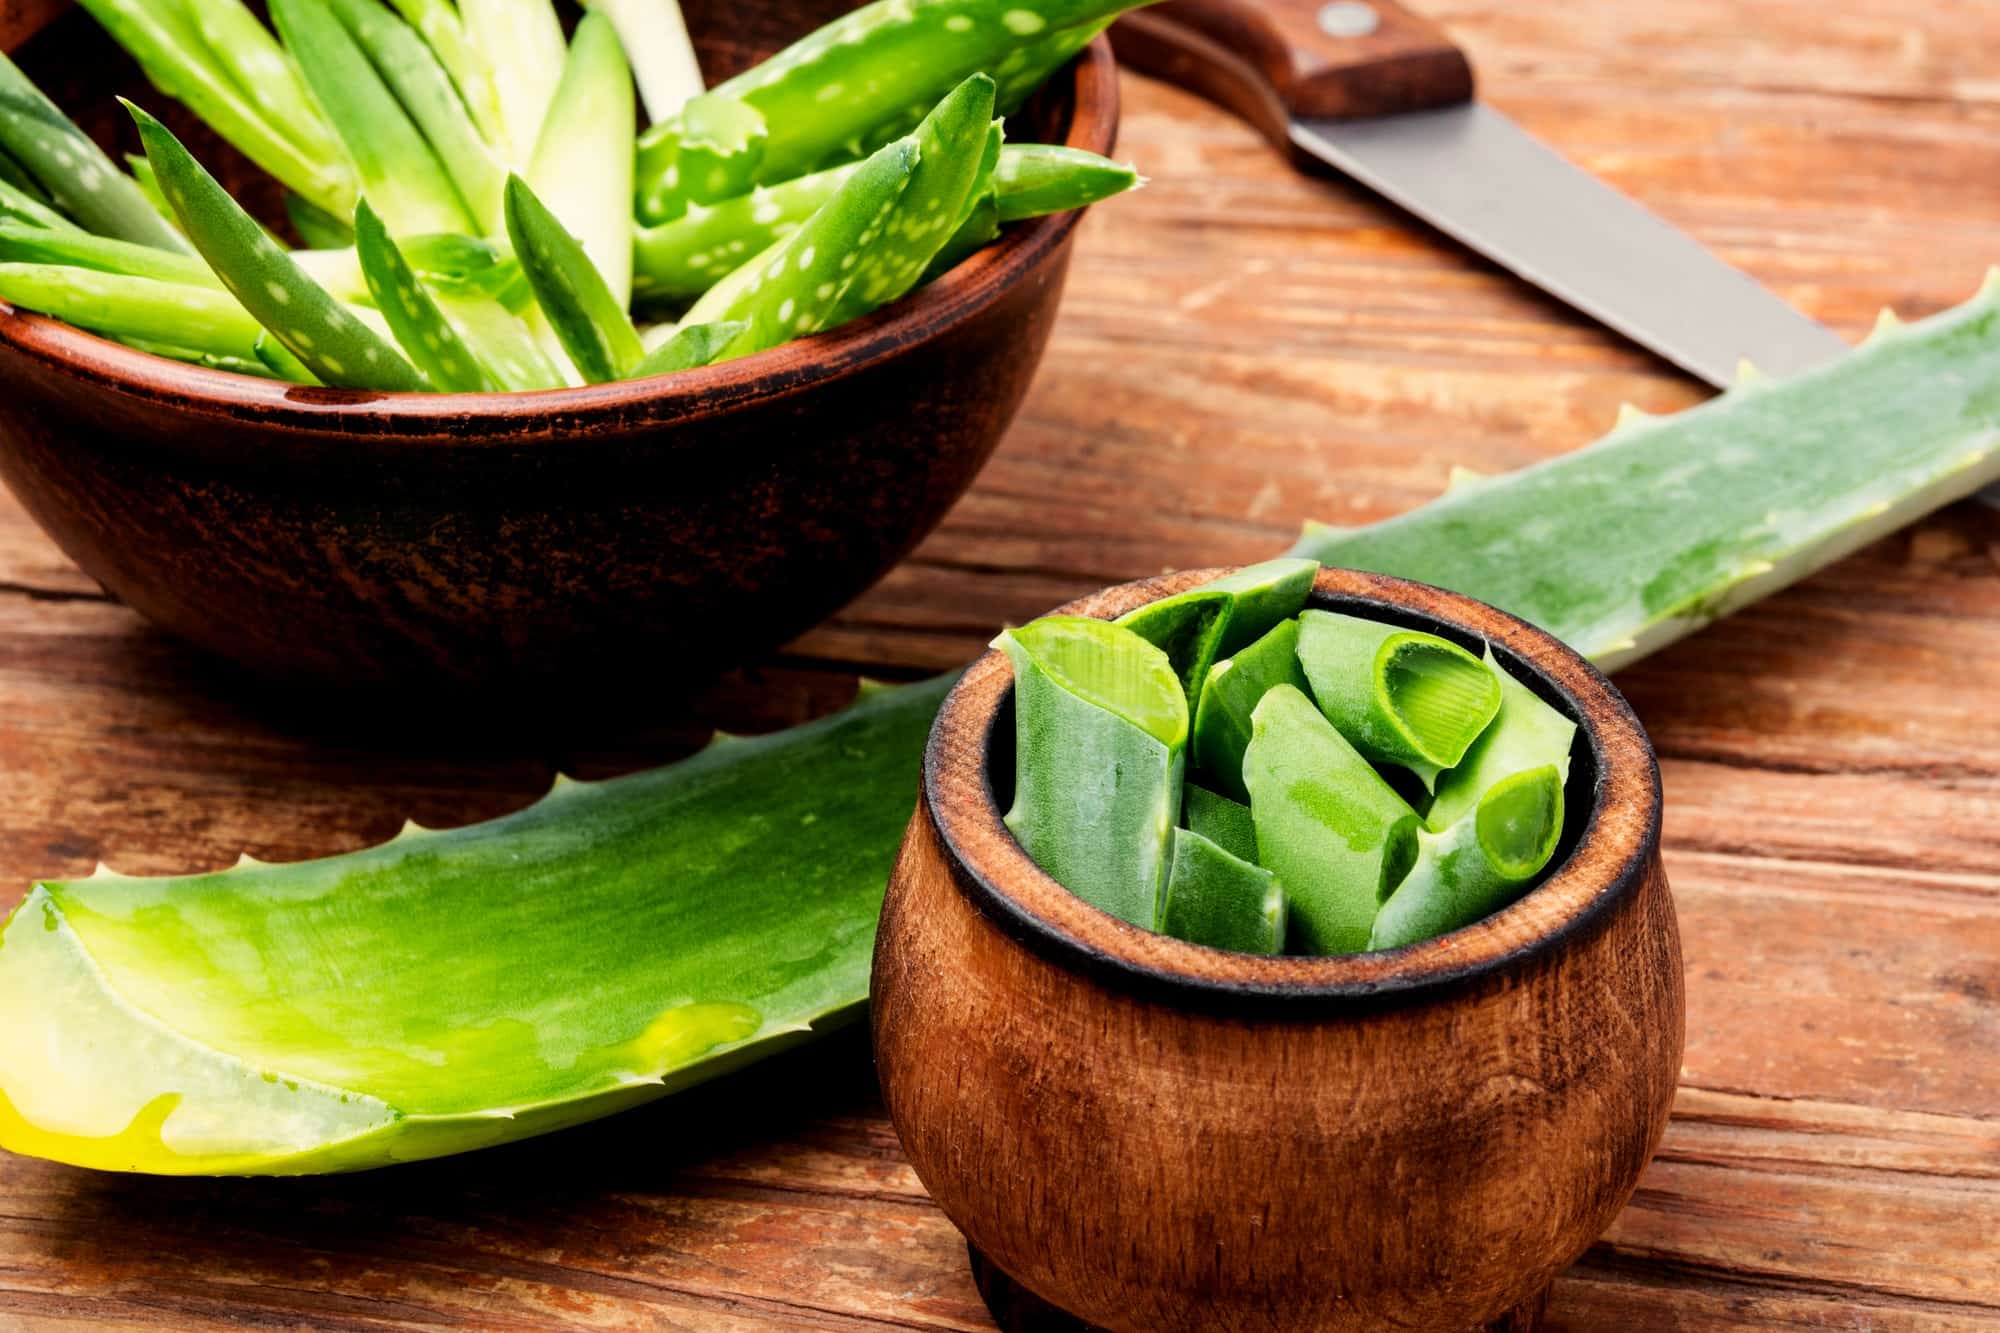
- Extract the gel: With the top layer removed, you can now see the clear gel inside. Use your knife to carefully slice the gel away from the leaf’s inner green layer. Be gentle to avoid any contact with the yellow sap, as it can cause irritation.
- Continue harvesting: Repeat the process of making horizontal cuts and extracting the gel until you have harvested all desired portions of the aloe leaf.
Remember to work carefully and take your time to ensure that you don’t waste any of the valuable gel. Dispose of the remaining leaf parts properly or compost them.
Step 3: Prepare the storage container
Once you have cut and harvested the aloe gel, it’s time to prepare the storage container. Proper storage is crucial to maintain the freshness and potency of the aloe leaf. Follow these steps to prepare the storage container:
- Clean and sterilize the container: Wash the container with warm soapy water and rinse it thoroughly. You can also sterilize it by soaking it in a mixture of one part water and one part white vinegar for a few minutes.
- Dry the container: Ensure that the container is completely dry before moving on to the next step. Moisture can lead to spoilage.
- Label the container: Using a marker or label, clearly write the date of storage on the container. This will help you keep track of the freshness of the aloe leaf.
If you are planning to store the aloe leaf as a gel, you may want to consider using ice cube trays or silicone molds. This allows you to portion out the gel into smaller, manageable portions that can be easily thawed and used later.
Properly prepared storage containers will ensure that your aloe leaf remains fresh and ready for use whenever you need it.
After cutting an aloe leaf, store it in the refrigerator in a plastic bag to keep it fresh. It can last for up to a week when stored this way.
Step 4: Store the aloe leaf in the refrigerator
If you prefer to store your aloe leaf in a cool temperature environment, the refrigerator is an excellent option. The low temperature helps to maintain the freshness and extend the shelf life of the aloe gel. Follow these steps to store the aloe leaf in the refrigerator:
- Transfer the aloe gel into the prepared storage container: Carefully pour or spoon the harvested aloe gel into the clean, airtight container. Ensure that the container is filled but not overflowing.
- Seal the container: Secure the lid tightly to create an airtight seal. This will prevent any air and moisture from entering the container, keeping the aloe gel fresh.
- Place the container in the refrigerator: Find a designated spot in your refrigerator where the container can sit undisturbed. Ideally, store it on one of the shelves, away from strong odors or potential contaminants.
Stored in the refrigerator, the aloe gel can last for approximately 1 to 2 weeks. Be sure to check the gel periodically for any signs of spoilage, such as mold or an off smell. If you notice any issues, it’s best to discard the gel and prepare a fresh batch.
Remember, the refrigerator storage method is suitable for aloe gel that you plan to use topically on your skin. If you intend to consume the aloe gel orally, consult with a healthcare professional for the proper storage guidelines.
Read more: How To Store Aloe Vera Leaf In Fridge
Step 5: Store the aloe leaf in the freezer
If you want to prolong the shelf life of your aloe leaf even further, storing it in the freezer is a great option. Freezing the aloe gel helps to preserve its freshness and properties for an extended period. Follow these steps to store the aloe leaf in the freezer:
- Transfer the aloe gel into the prepared storage container: Similar to storing in the refrigerator, carefully transfer the aloe gel into a clean, airtight container. Ensure that the container is filled without overflowing.
- Seal the container: Secure the lid tightly to create an airtight seal. This is important to prevent any air or moisture from entering the container and causing freezer burn.
- Label the container: Use a marker or label to note the date of storage on the container. This will help you keep track of how long the aloe leaf has been frozen.
- Place the container in the freezer: Find a suitable spot in your freezer where the container can remain undisturbed. It is recommended to store the aloe gel in the back of the freezer, where the temperature remains more constant.
When stored in the freezer, the aloe gel can last for several months, if not longer. However, be aware that freezing can affect the texture of the aloe gel. Thawing and using the aloe gel may result in a slightly changed consistency, but it will not affect the overall effectiveness.
When you are ready to use the frozen aloe gel, simply remove the container from the freezer and allow it to thaw at room temperature. Use the gel as usual for your skincare or DIY projects.
It’s important to note that freezing is recommended for using the aloe gel topically. If you plan to consume the aloe gel orally, consult with a healthcare professional for appropriate storage guidelines.
Step 6: Store the aloe leaf as a gel
If you prefer to store the aloe leaf in gel form for convenient use in your skincare routine or DIY projects, you can follow these steps:
- Transfer the aloe gel into a blender or food processor: Take the harvested aloe gel and place it into a blender or food processor. This will help break it down and create a smooth gel consistency.
- Blend until smooth: Process the aloe gel until you achieve a smooth, lump-free consistency. This ensures that the application of the gel will be easier and more enjoyable.
- Prepare ice cube trays or silicone molds: If you have chosen to store the aloe gel in smaller portions, prepare ice cube trays or silicone molds. These will allow you to create individual gel portions that can be conveniently thawed and used separately.
- Pour the gel into the trays or molds: Carefully pour the blended aloe gel into the trays or molds, filling each compartment evenly. Leave a little space at the top to prevent overflow once frozen.
- Place in the freezer: Transfer the trays or molds into the freezer. Allow the gel to freeze completely, which usually takes a few hours or overnight.
- Remove and store in freezer bags: Once the gel is frozen, remove the trays or molds from the freezer. Pop out the individual gel portions and transfer them into freezer-safe bags. Label the bags with the date of storage.
When properly stored in the freezer, the aloe gel portions can last for several months. Thaw the desired amount of gel by removing it from the freezer bag and allowing it to thaw at room temperature. The gel is now ready to be used in your skincare routine or DIY projects.
Remember to always check the quality of the thawed gel before applying it to your skin. If you notice any changes in texture, color, or smell, discard the gel and prepare a fresh batch.
Storing the aloe leaf as a gel provides you with a convenient and versatile option for utilizing its benefits whenever you need them.
Conclusion
Properly storing aloe leaf after cutting is essential to preserve its freshness and maximize its beneficial properties. Whether you plan to use the aloe gel topically or incorporate it into your DIY beauty products, following the correct storage methods will ensure that you can enjoy its benefits for an extended period.
In this article, we have guided you through the step-by-step process of storing aloe leaf after cutting. From gathering the necessary supplies to cutting the leaf properly, preparing the storage container, and selecting the appropriate storage method, each step is crucial in maintaining the quality of the aloe leaf.
Storing the aloe leaf in the refrigerator or freezer provides options for prolonging its shelf life. The refrigerator is ideal for short-term storage, while the freezer allows for long-term preservation. Freezing the aloe gel in smaller portions can provide convenience when using it in your skincare routine or DIY projects.
Remember to label your storage containers with the date of storage to track their freshness. Regularly check the quality of the stored aloe gel to ensure it hasn’t spoiled, and discard any gel that shows signs of spoilage.
By following these storage guidelines, you can ensure that your aloe leaf remains fresh, potent, and ready to use whenever you need it. So go ahead and enjoy the benefits of aloe vera by properly storing your aloe leaf after cutting!
Frequently Asked Questions about How To Store Aloe Leaf After Cutting
Was this page helpful?
At Storables.com, we guarantee accurate and reliable information. Our content, validated by Expert Board Contributors, is crafted following stringent Editorial Policies. We're committed to providing you with well-researched, expert-backed insights for all your informational needs.


0 thoughts on “How To Store Aloe Leaf After Cutting”