Home>Ideas and Tips>10 Steps To A Perfectly Organized Pantry

Ideas and Tips
10 Steps To A Perfectly Organized Pantry
Published: November 4, 2024
Transform your kitchen with our 10-step guide to a perfectly organized pantry. Maximize space, improve efficiency, and enjoy a clutter-free environment.
(Many of the links in this article redirect to a specific reviewed product. Your purchase of these products through affiliate links helps to generate commission for Storables.com, at no extra cost. Learn more)
Ever wondered how to get your pantry perfectly organized? It's not as hard as it seems. With a bit of effort and some smart strategies, you can transform your pantry into a neat, efficient space. Let's dive into the 10 steps to a perfectly organized pantry.
Step 1: Purge and Declutter
First things first, you gotta purge and declutter. Start by taking everything out of your pantry. Yes, everything! This gives you a clean slate to work with. Now, sort items into three piles: keep, donate/sell, and discard. Be ruthless—if something's expired or you haven't used it in ages, it's time to let it go.
Why Purge?
- Space Efficiency: Clearing out the junk frees up space for what you actually need.
- Health and Safety: Expired food can be a health hazard.
- Clutter Reduction: Less clutter means you can find what you need faster.
Step 2: Assess Your Pantry
Once you've purged, take a good look at your pantry. Measure its dimensions and think about its layout. Consider the lighting—natural light is great, but if that's not an option, install some LED lights or under-shelf lighting. Think about accessibility too. Place frequently used items at eye level or near the front of shelves.
Step 3: Categorize Items
Next, categorize your items. Group similar items together. Common categories include:
- Grains (Rice, Pasta)
- Canned Goods
- Baking Supplies
- Snacks
- Spices
- Cooking Oils & Vinegars
- Beverages (Coffee, Tea)
- Pantry Staples (Flour, Sugar)
- Pet Food & Treats
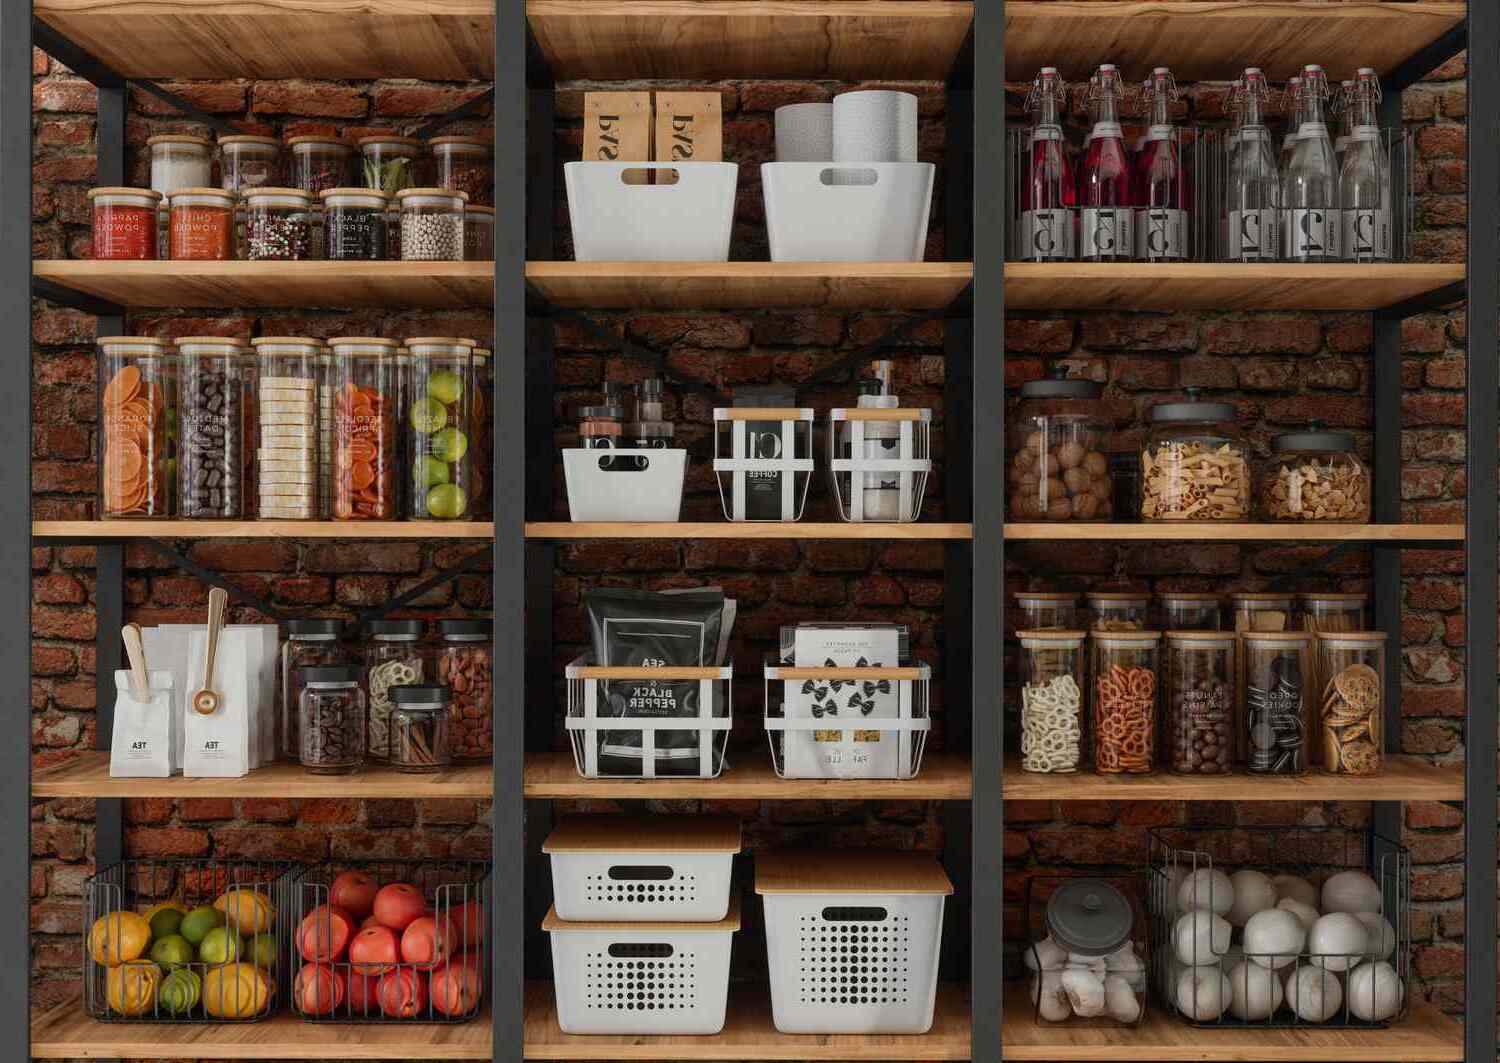
Step 4: Use Storage Containers
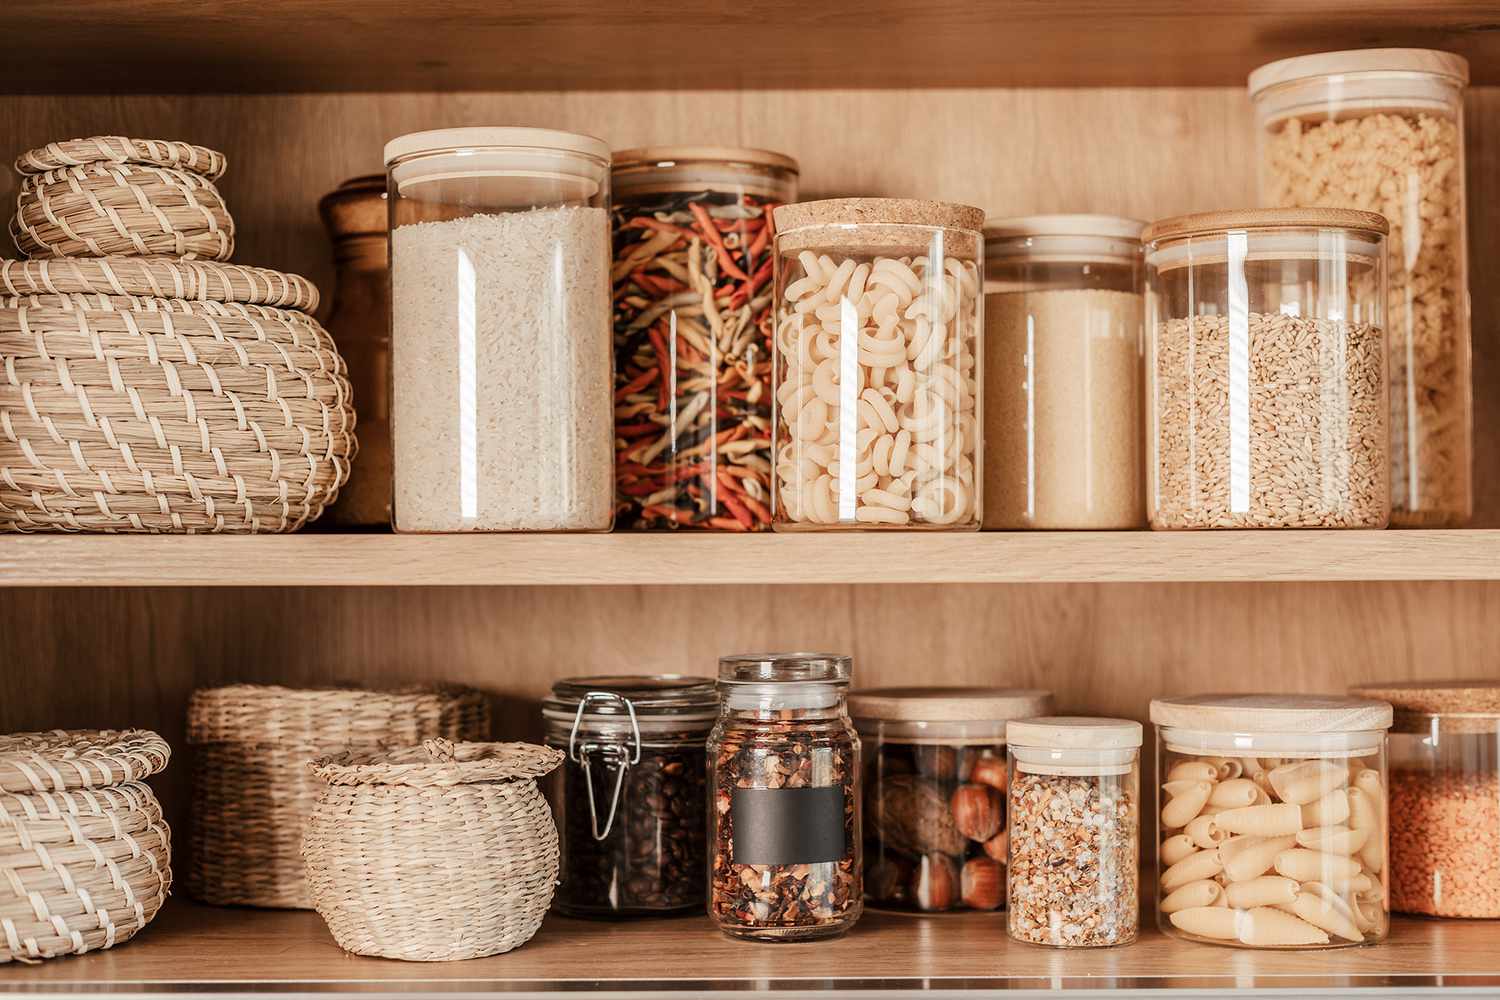
Storage containers are your best friends when it comes to pantry organization. Choose containers that fit your needs:
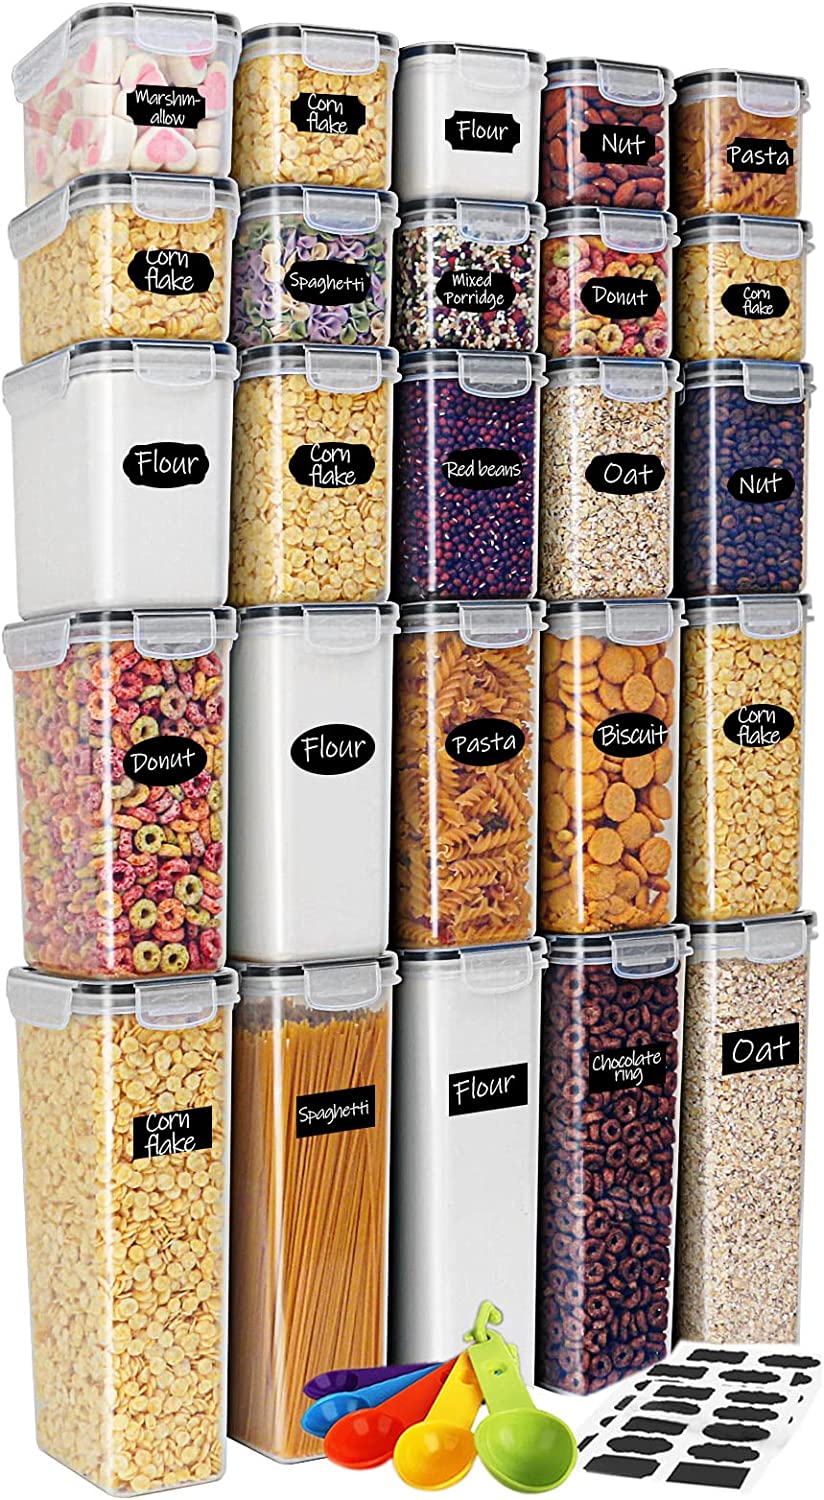
- Airtight Containers: Keep food fresh by preventing moisture and air from getting in.
- Stackable Containers: Maximize vertical space and keep items off the floor.
- Labeled Containers: Clearly label each container so you can easily identify what's inside.
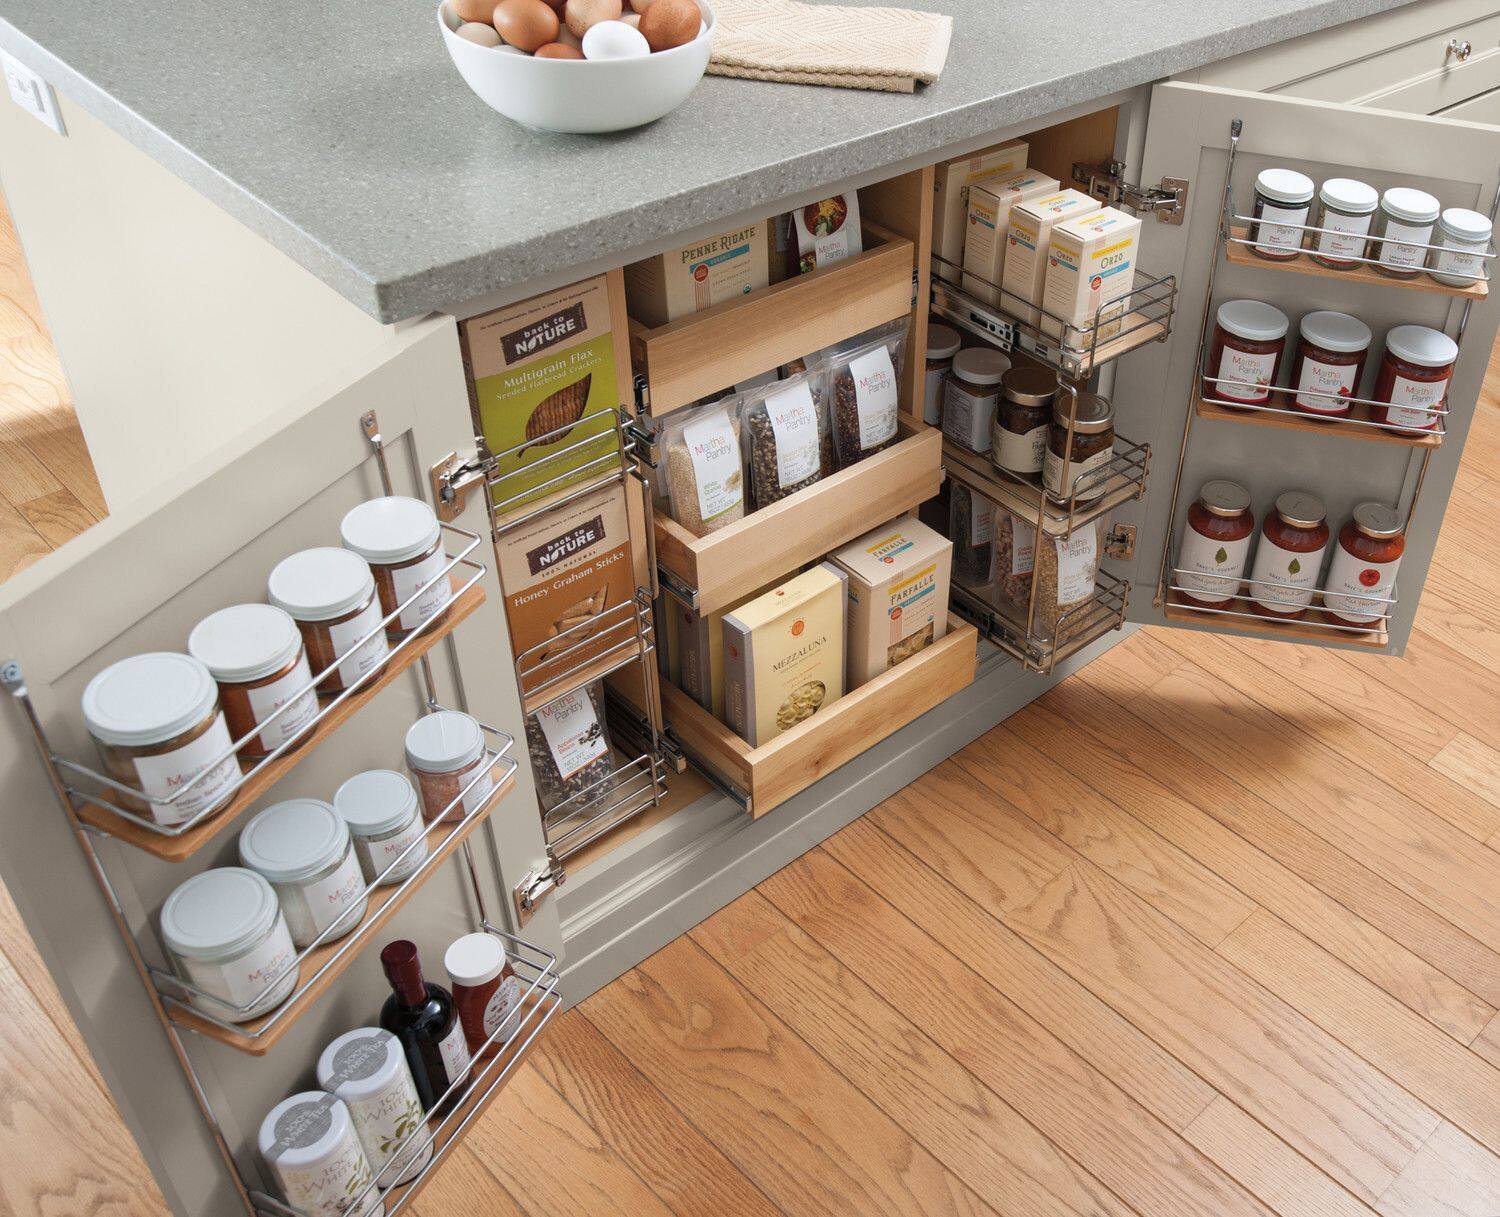
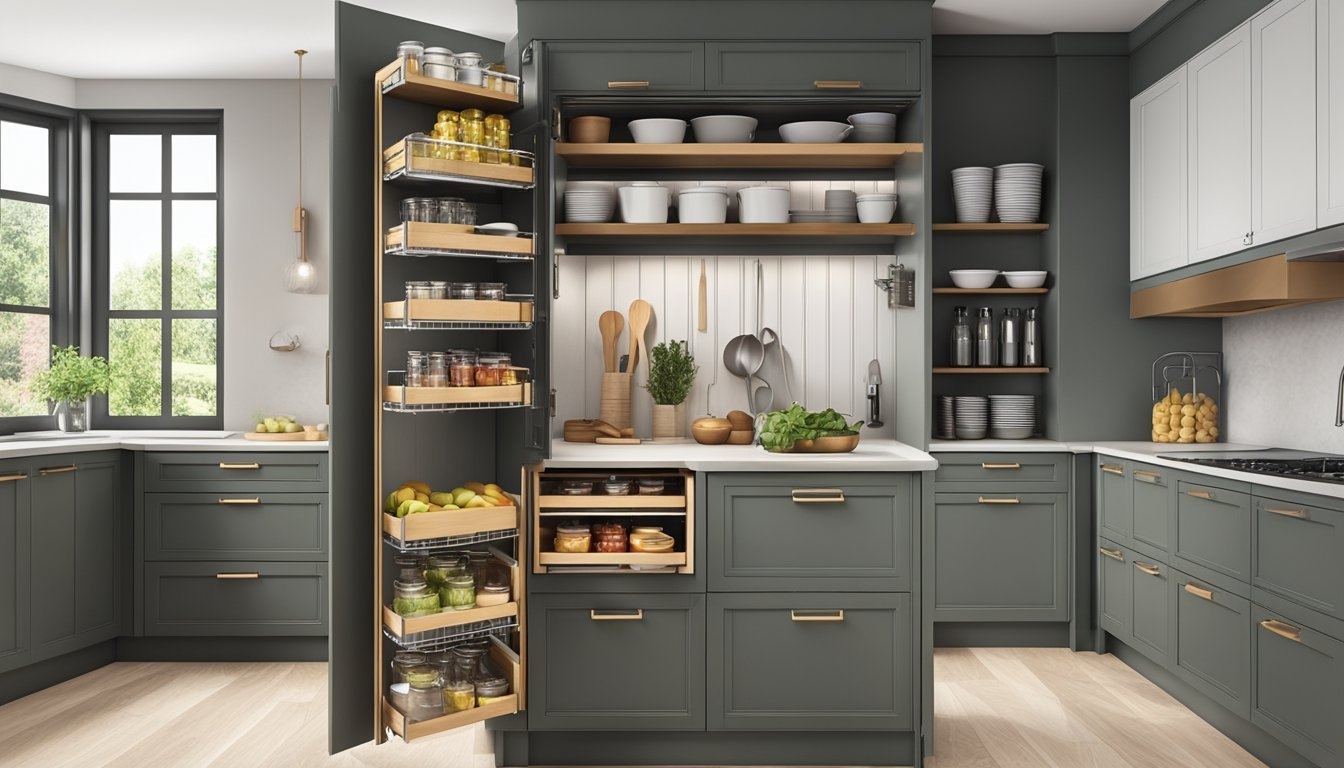
Step 5: Utilize Vertical Space
Maximizing vertical space is crucial in a pantry. Here are some tips:
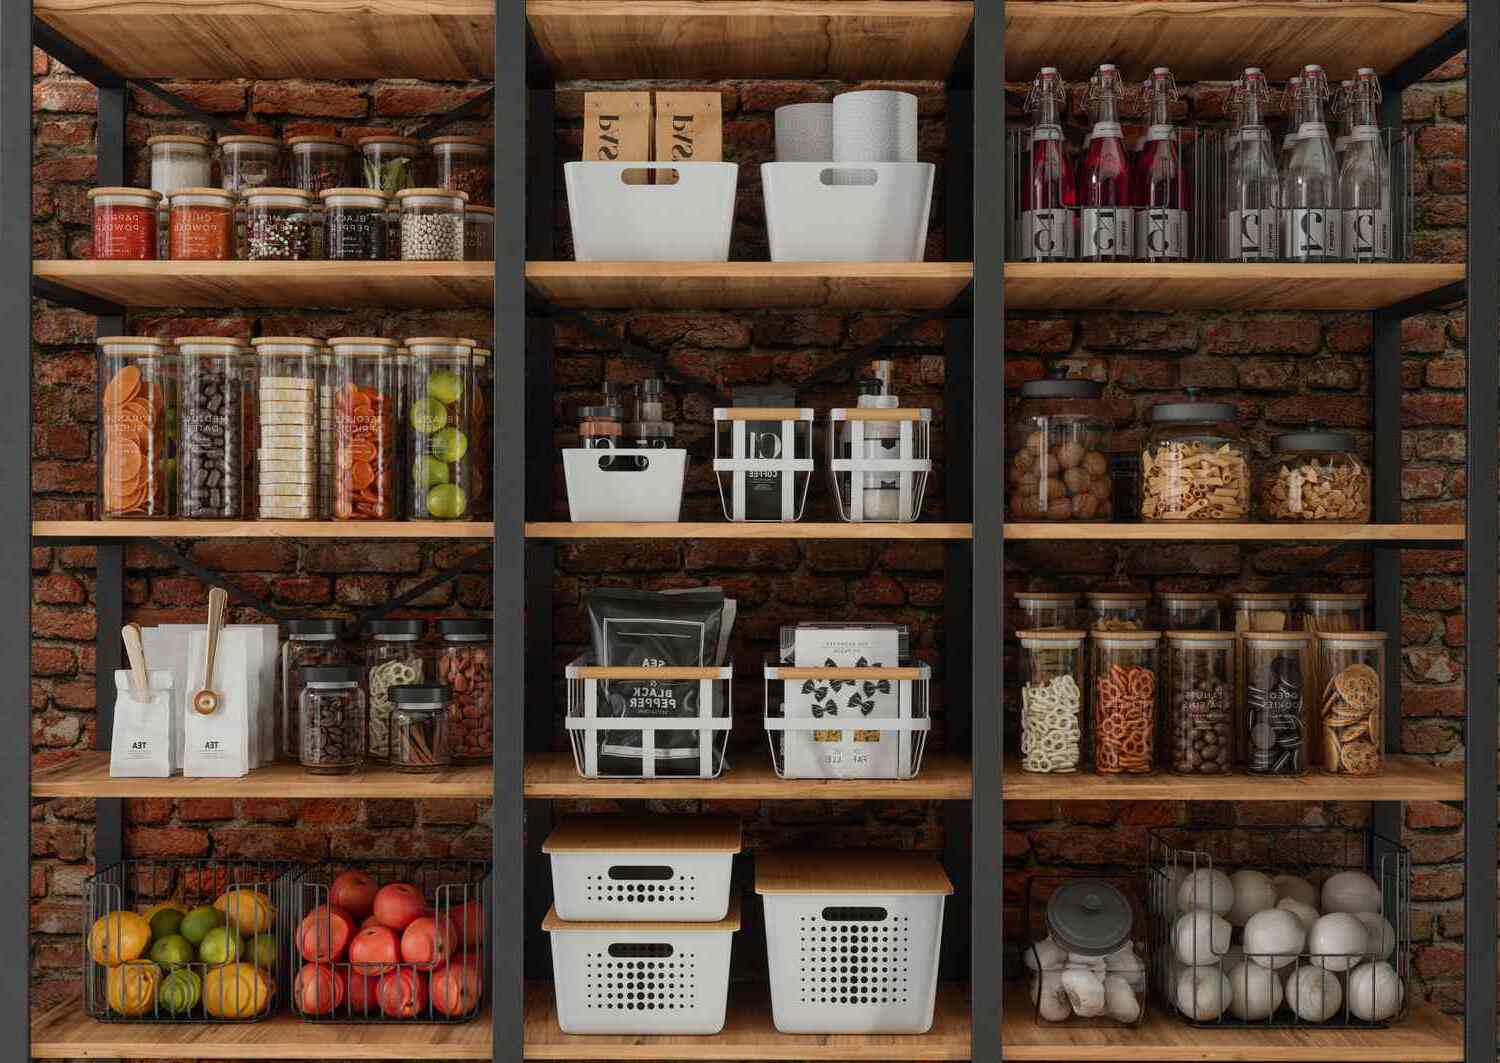
- Shelf Dividers: Use dividers to separate categories on each shelf.
- Stackable Shelves: Install additional shelves if possible or use stackable storage units.
- Over-the-Door Organizers: Hang these over the door of your pantry for extra storage.
Step 6: Implement a First-In-First-Out System
To make sure older items get used before they expire, implement a first-in-first-out (FIFO) system:
- Date Labels: Label each item with its purchase date or expiration date.
- Front-to-Back Placement: Place newer items at the back of shelves and older ones towards the front.
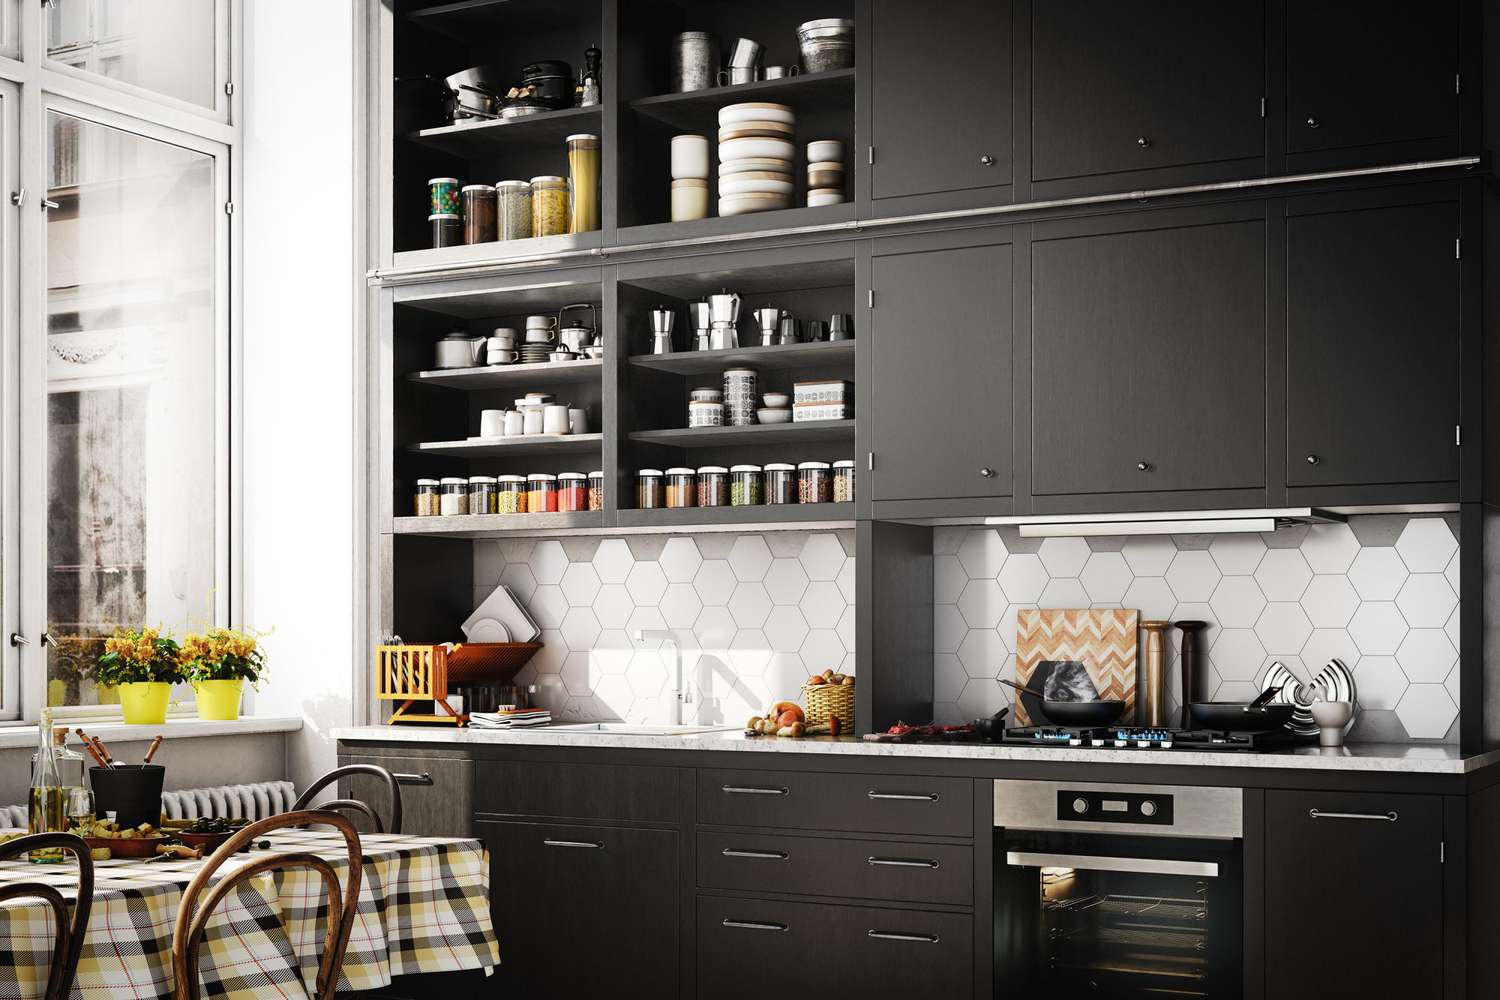
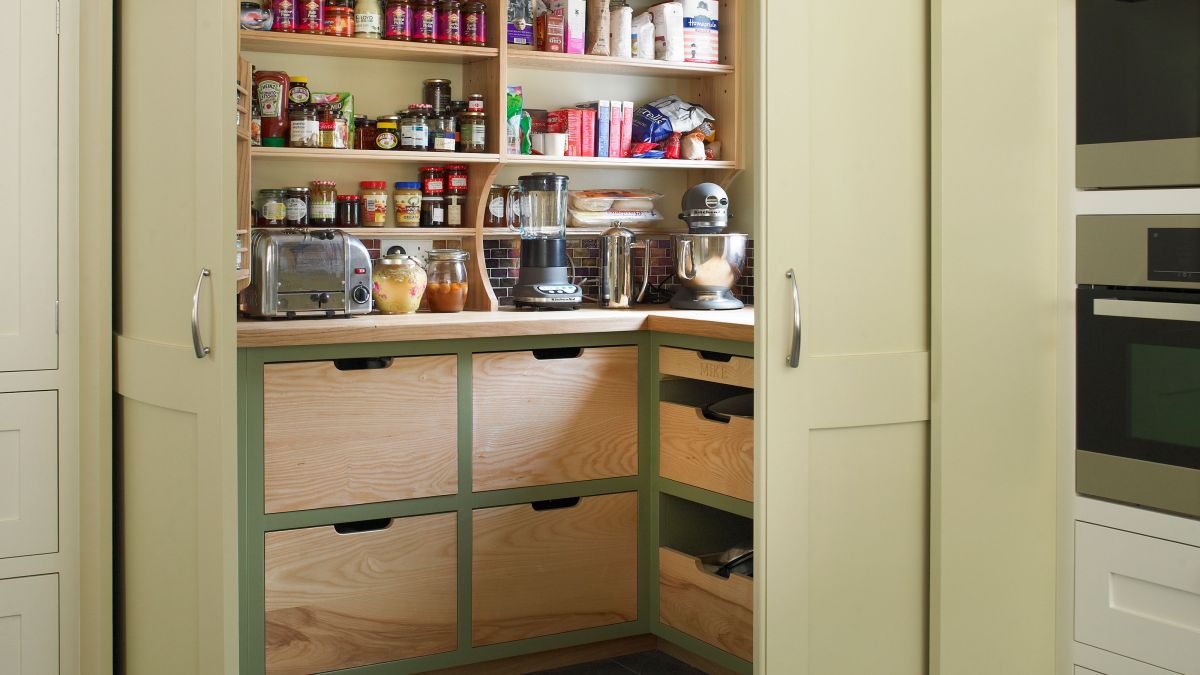
Step 7: Install Adjustable Shelves
Adjustable shelves let you customize the height of your storage units based on the size of your items:
- Adjustable Shelf Systems: These come with brackets that can be moved up or down as needed.
- Custom Shelving: If you're handy with tools, consider building custom shelves that fit your specific needs.
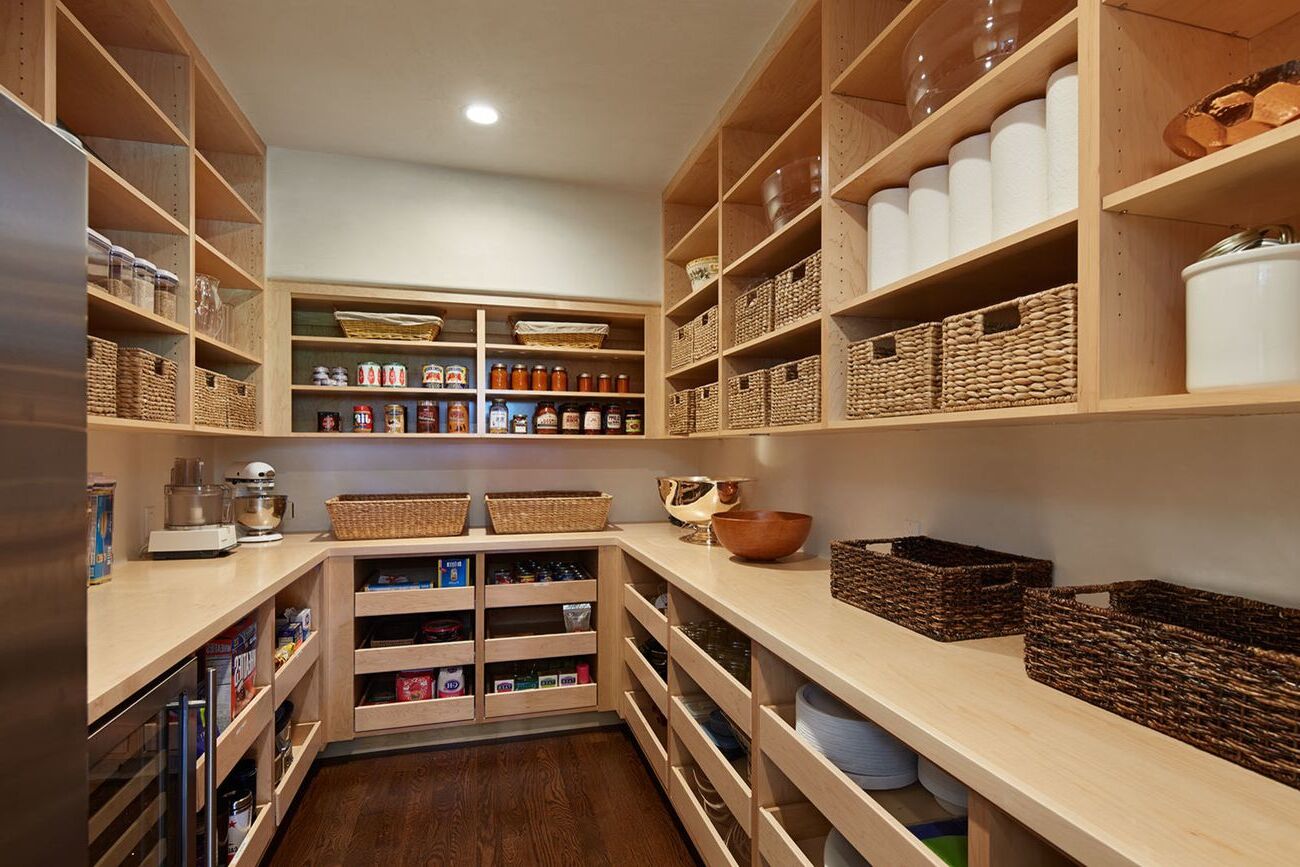
Step 8: Incorporate Baskets and Bins
Baskets and bins add an extra layer of organization by providing designated spaces for specific types of items:
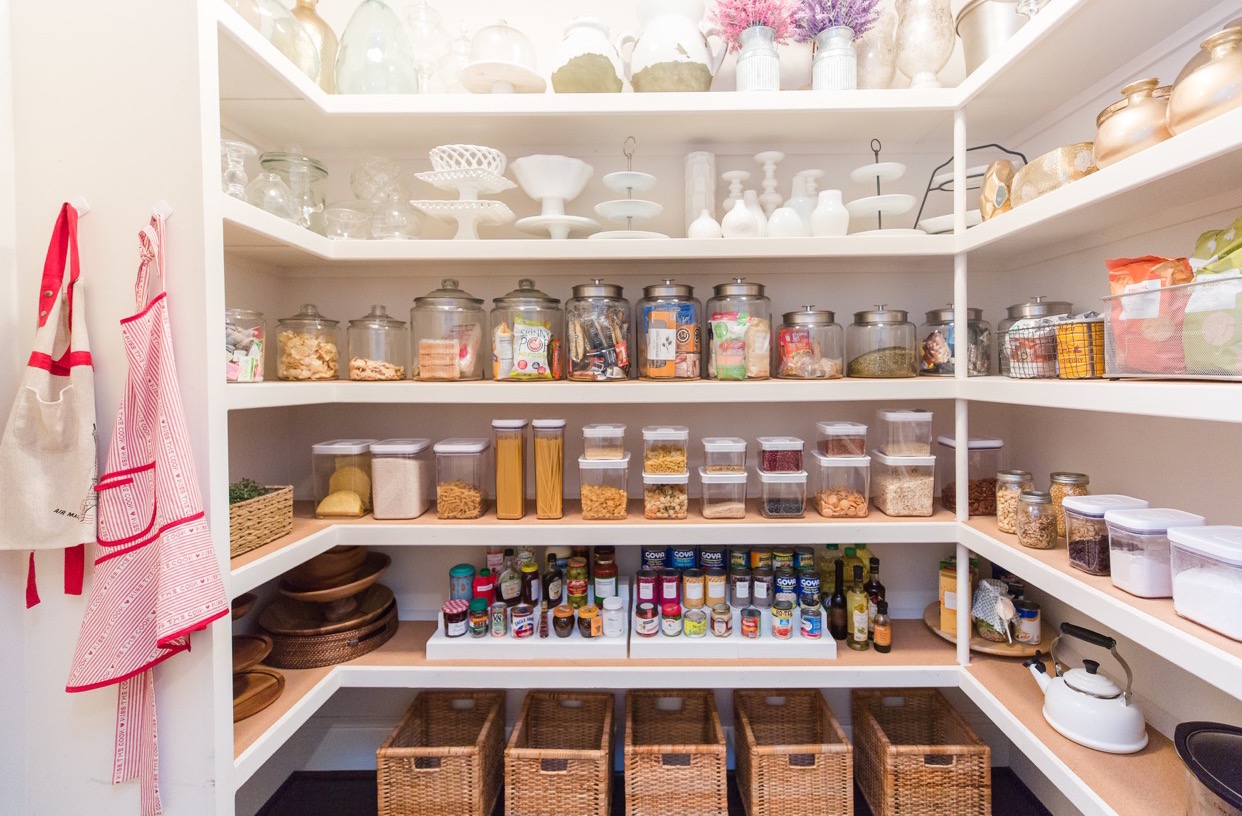
- Wicker Baskets: These add a decorative touch while keeping items like snacks or baking supplies organized.
- Plastic Bins: Great for storing dry goods like flour or sugar.
Step 9: Add Hooks and Hangers
Hooks and hangers help keep frequently used items like utensils or cleaning supplies within easy reach:
- Over-the-Door Hooks: Hang these over the door of your pantry for items like aprons or cleaning supplies.
- Wall-Mounted Hooks: Install hooks on walls near your pantry for hanging items like utensils or mops.
Step 10: Maintain Your Pantry
A perfectly organized pantry requires regular maintenance:
- Weekly Check-In: Set aside time each week to check expiration dates and restock supplies.
- Monthly Deep Clean: Perform a deep clean every month by wiping down shelves with soap and water and reorganizing any items that have shifted over time.
Additional Tips
- Label Everything: Labels help ensure everyone in the household knows where things are kept.
- Rotate Stock Regularly: Rotate stock so older items get used before they expire.
- Store Heavy Items Below: Store heavy items like canned goods below lighter items like snacks to prevent them from falling off shelves.
By following these steps, you'll transform your pantry into a well-organized space that makes cooking easier and more enjoyable. Remember, organization isn't just about looks; it's also about functionality and efficiency. Happy organizing!
Was this page helpful?
At Storables.com, we guarantee accurate and reliable information. Our content, validated by Expert Board Contributors, is crafted following stringent Editorial Policies. We're committed to providing you with well-researched, expert-backed insights for all your informational needs.




0 thoughts on “10 Steps To A Perfectly Organized Pantry”