Home>Ideas and Tips>Building A Relaxing Outdoor Reading Nook With Vintage Style

Ideas and Tips
Building A Relaxing Outdoor Reading Nook With Vintage Style
Published: November 2, 2024
Create a serene, vintage-inspired outdoor reading nook with our step-by-step guide. Transform your space into a cozy retreat with timeless charm.
(Many of the links in this article redirect to a specific reviewed product. Your purchase of these products through affiliate links helps to generate commission for Storables.com, at no extra cost. Learn more)
Creating an outdoor reading nook that exudes vintage charm can be a delightful way to enhance your home's aesthetic and provide a serene space for relaxation. Whether you're looking to add a cozy spot to your backyard, patio, or garden, incorporating vintage elements can bring a unique and timeless appeal to your outdoor space. In this article, we'll guide you through the process of building a relaxing outdoor reading nook with a vintage style, from conceptualization to completion.
Conceptualization
Before you begin, it's essential to envision what you want your outdoor reading nook to look like. Here are some key considerations:
-
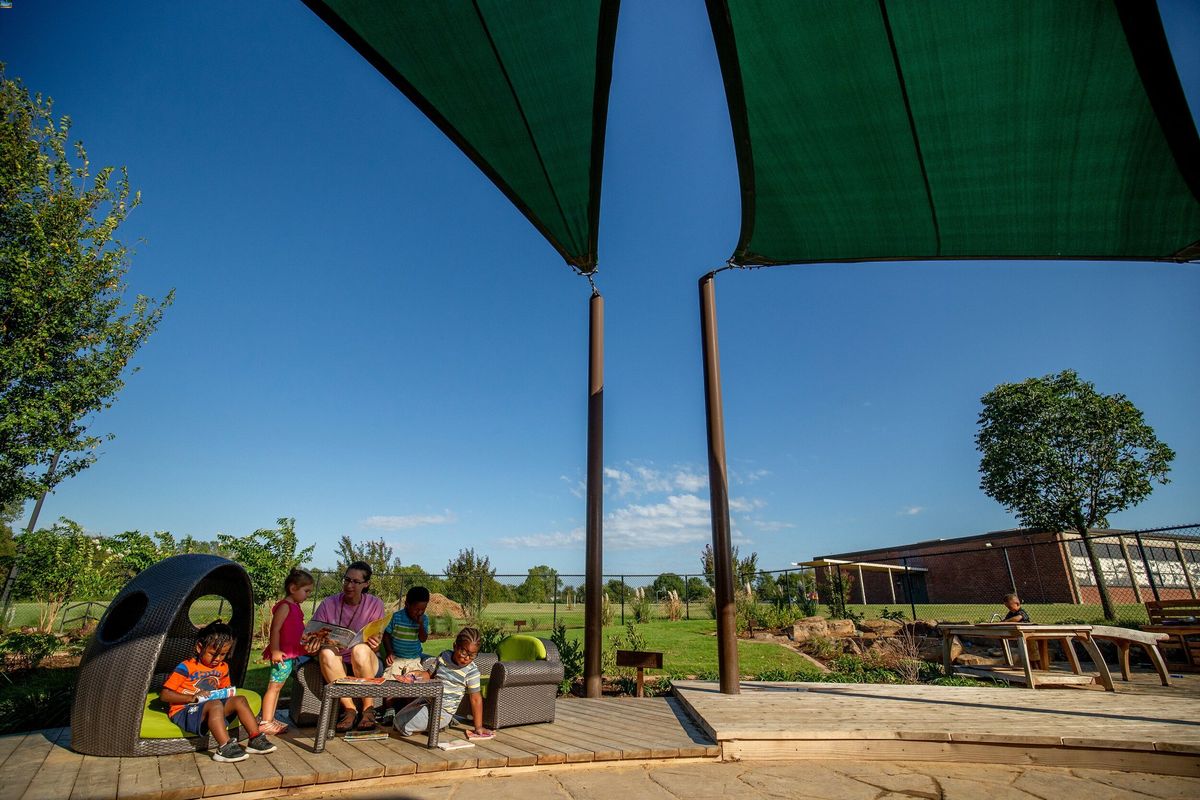
Location: Choose a spot that receives partial shade, especially if you plan to spend extended periods there. A shaded area will help protect you from direct sunlight and make the space more comfortable.
-
Size: Consider the size of your nook based on the space available and the number of people who will be using it. A smaller nook can be intimate and cozy, while a larger one can accommodate more people.
-
Theme: Decide on the theme or style you want for your nook. For a vintage look, think about elements like distressed wood, antique furniture, and classic patterns.
-
Functionality: Think about what features you need in your nook. Do you want it to be just for reading or also for lounging? Do you need storage for books or other items?
Planning
Once you have a clear idea of what you want, it's time to start planning:
-
Measure Your Space: Measure the area where you plan to build your nook. This will help you determine the size and layout of your structure.
-
Sketch Your Design: Create a sketch or drawing of your design. Consider including dimensions and any specific features you want to include.
-
Gather Materials: Make a list of materials you'll need. For a vintage-style nook, look for items like reclaimed wood, old furniture pieces, and classic textiles.
-
Budgeting: Set a budget for your project. This will help guide your material choices and ensure that you stay within your means.
Building Your Nook
Now it's time to start building:
Step 1: Prepare the Site
Before constructing anything, make sure the site is ready:
- Clear any debris or obstructions from the area.
- Level the ground if necessary to ensure it's even.
- Lay down a layer of weed barrier fabric if you're building directly on grass.
Step 2: Choose Your Structure
Decide on the type of structure you want for your nook:
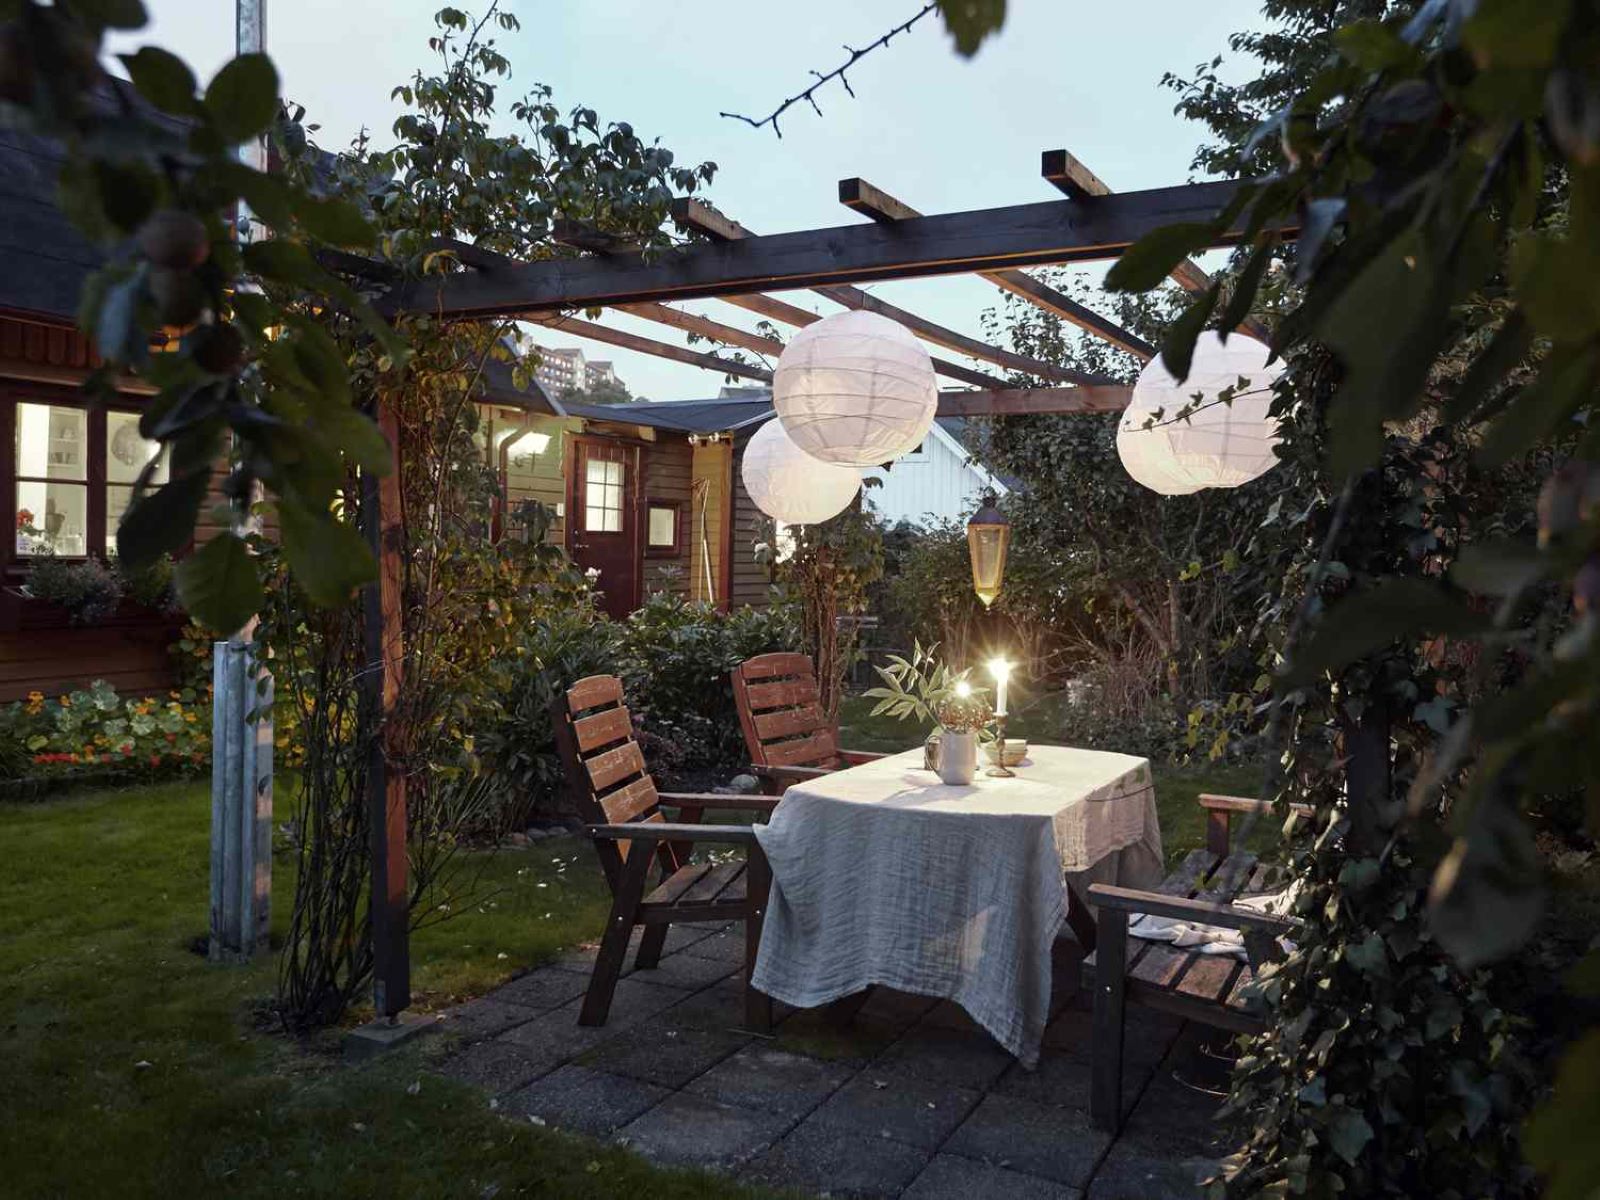
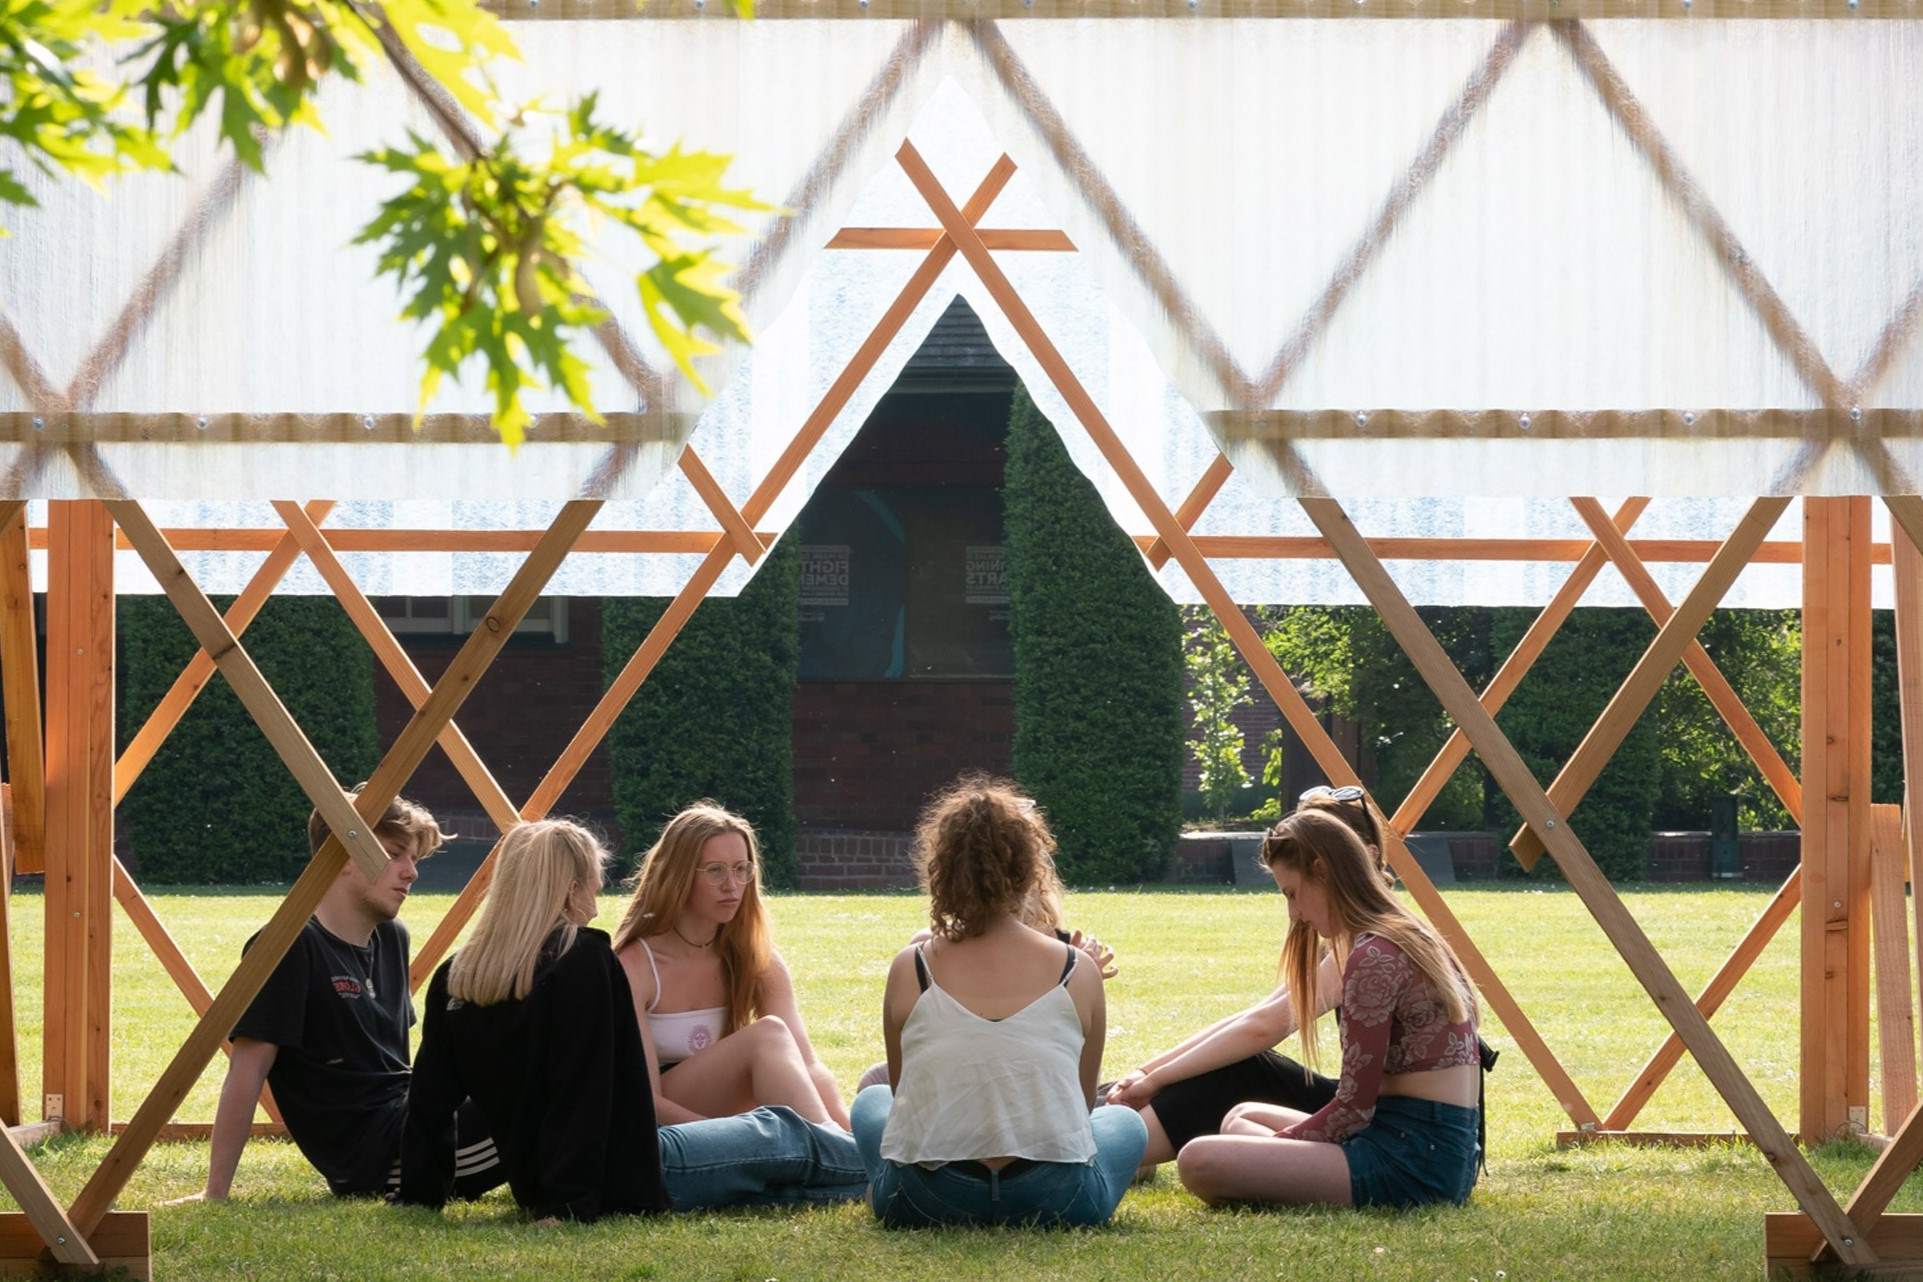
- Pergola: A pergola can provide shade and create a sense of enclosure without blocking out all light.
- Gazebo: A gazebo offers more protection from the elements and can be a standalone structure.
- Arbor: An arbor is simpler than a pergola but still provides some shade and can be adorned with climbing plants.
For this article, we'll focus on building a pergola-style nook.
Step 3: Construct the Frame
To build a pergola-style nook:
-
Gather Materials:
- 4 posts (preferably made from reclaimed wood)
- 2 x 4 lumber for crossbeams
- Wood screws
- Post anchors (if needed)
- Weather-resistant wood glue
-
Assemble Posts:
- Dig holes for each post about 12 inches deep and slightly wider than the post.
- Fill holes with concrete to secure posts firmly into place.
- If using post anchors, follow manufacturer instructions for installation.
-
Attach Crossbeams:
- Cut crossbeams according to your design specifications.
- Use wood screws to attach crossbeams between posts at desired intervals.
-
Add Roofing Material (Optional):
- If you want additional shade, consider adding roofing material like canvas or fabric draped over the crossbeams.
Step 4: Add Seating Area
Once your frame is complete, it's time to add seating:
-
Choose Seating Options:
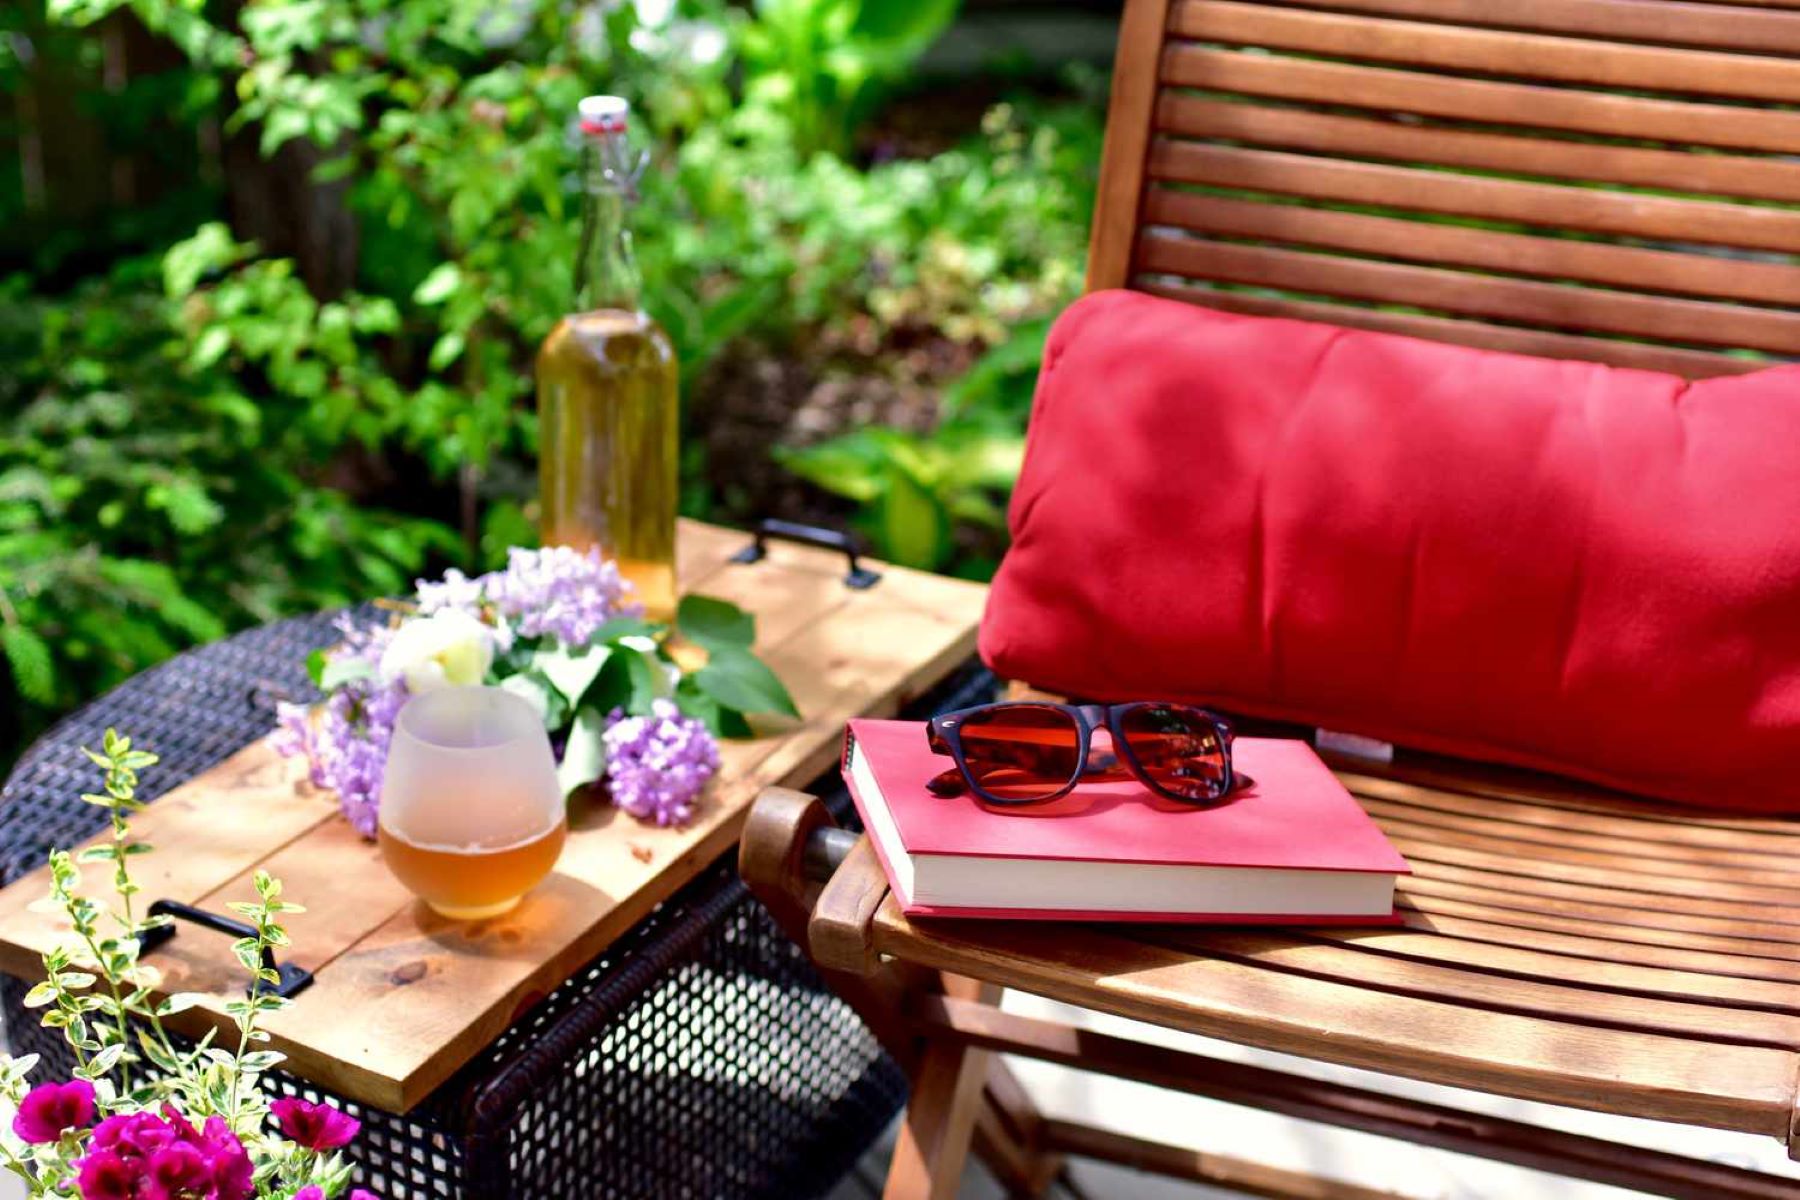
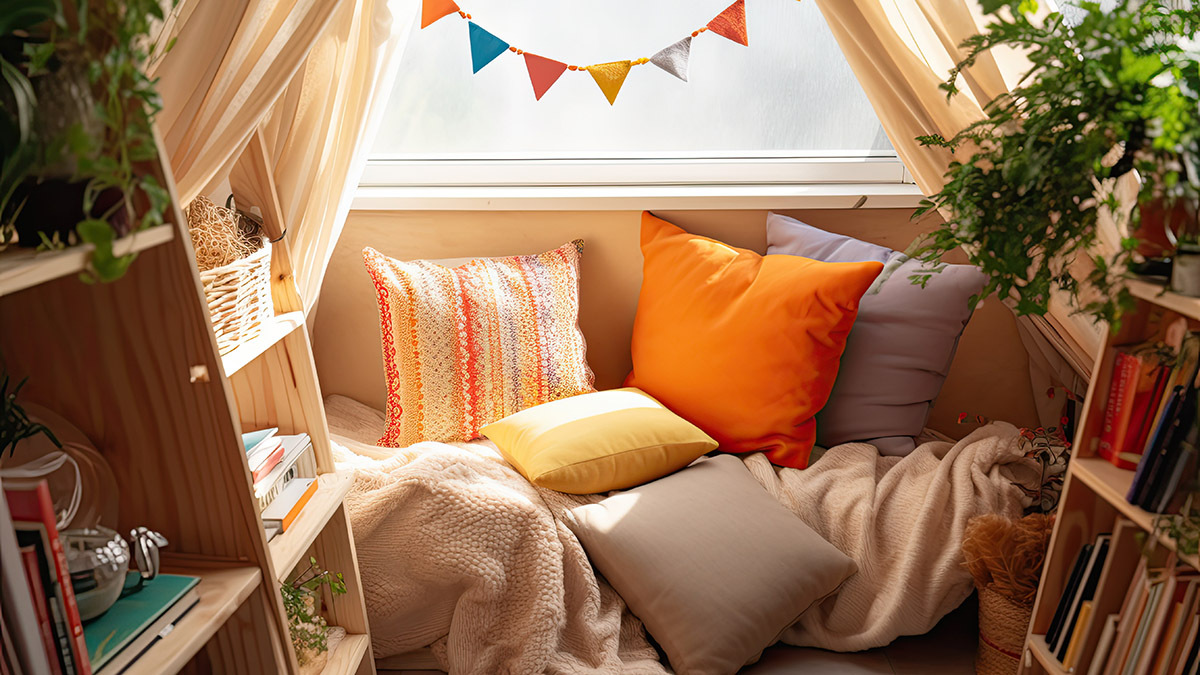
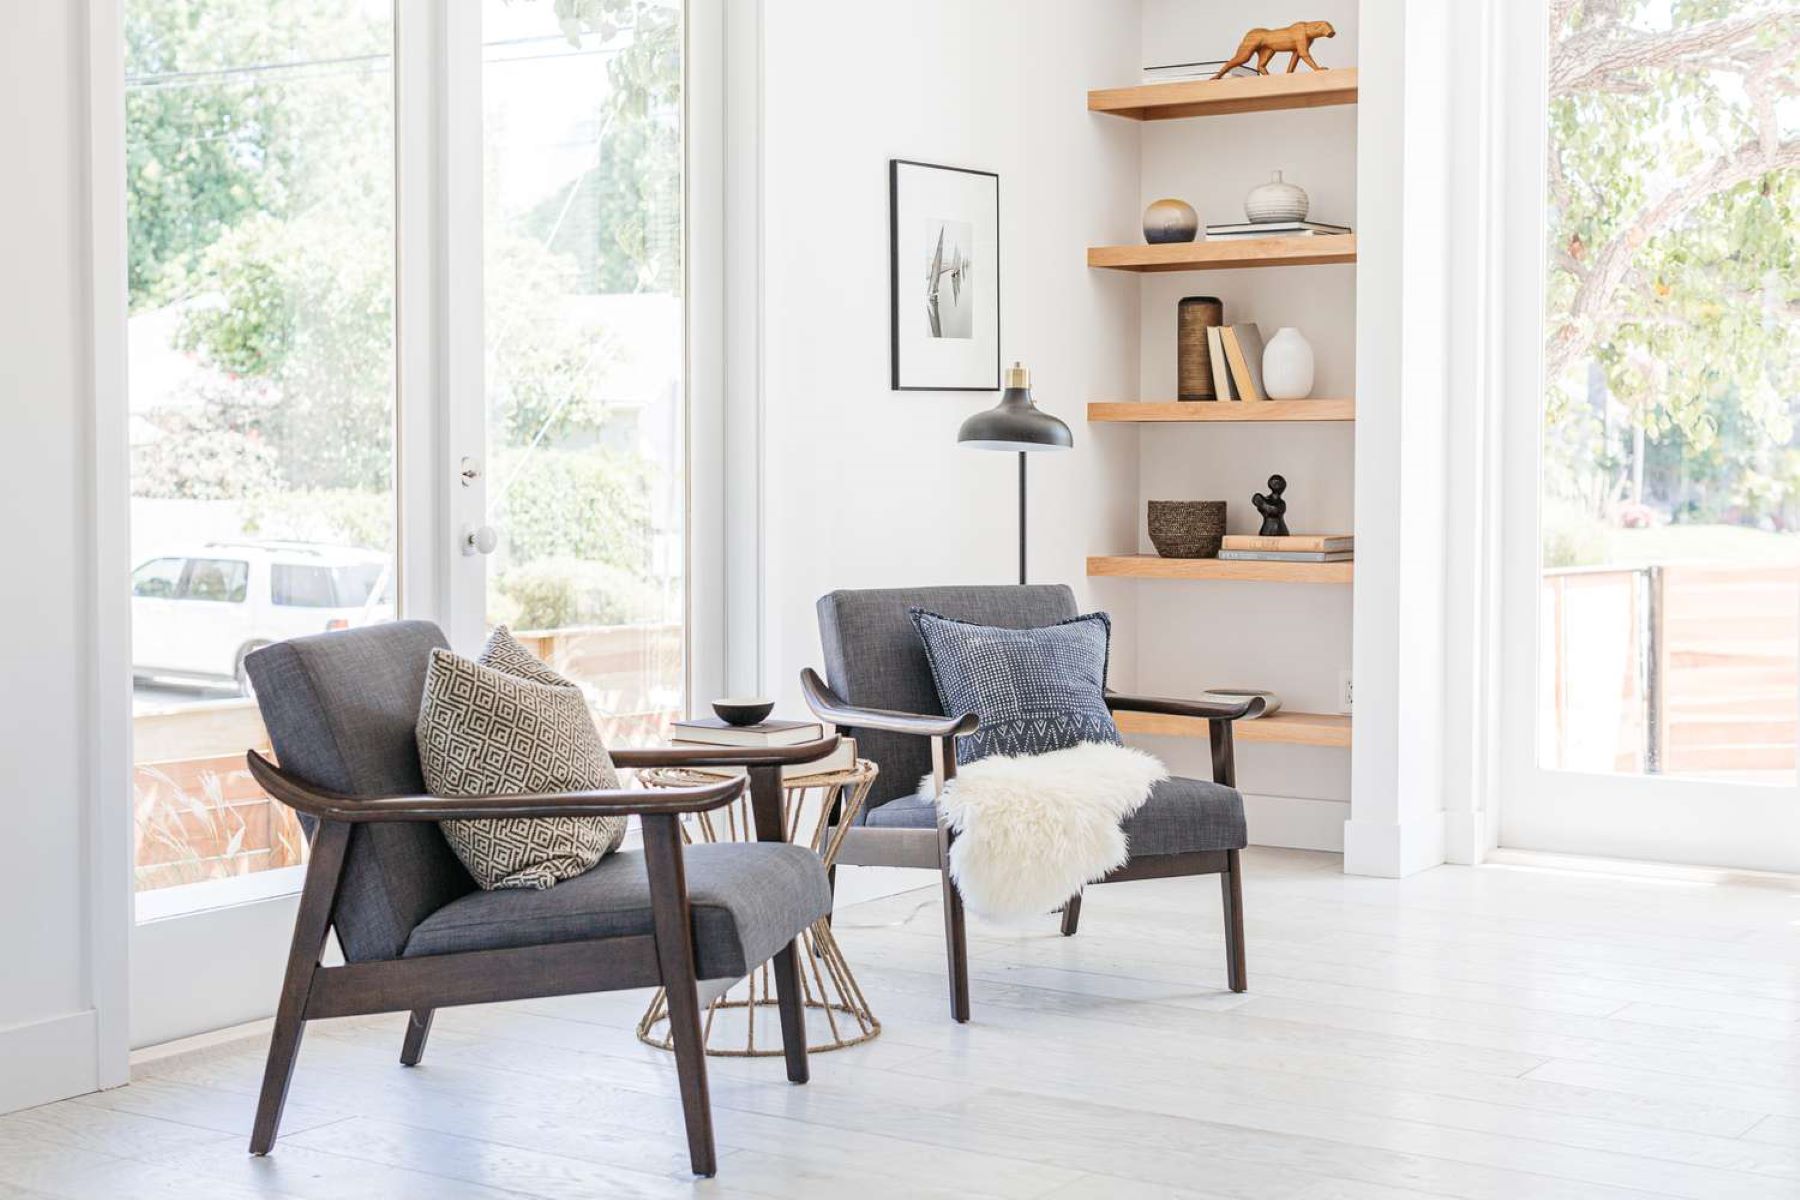
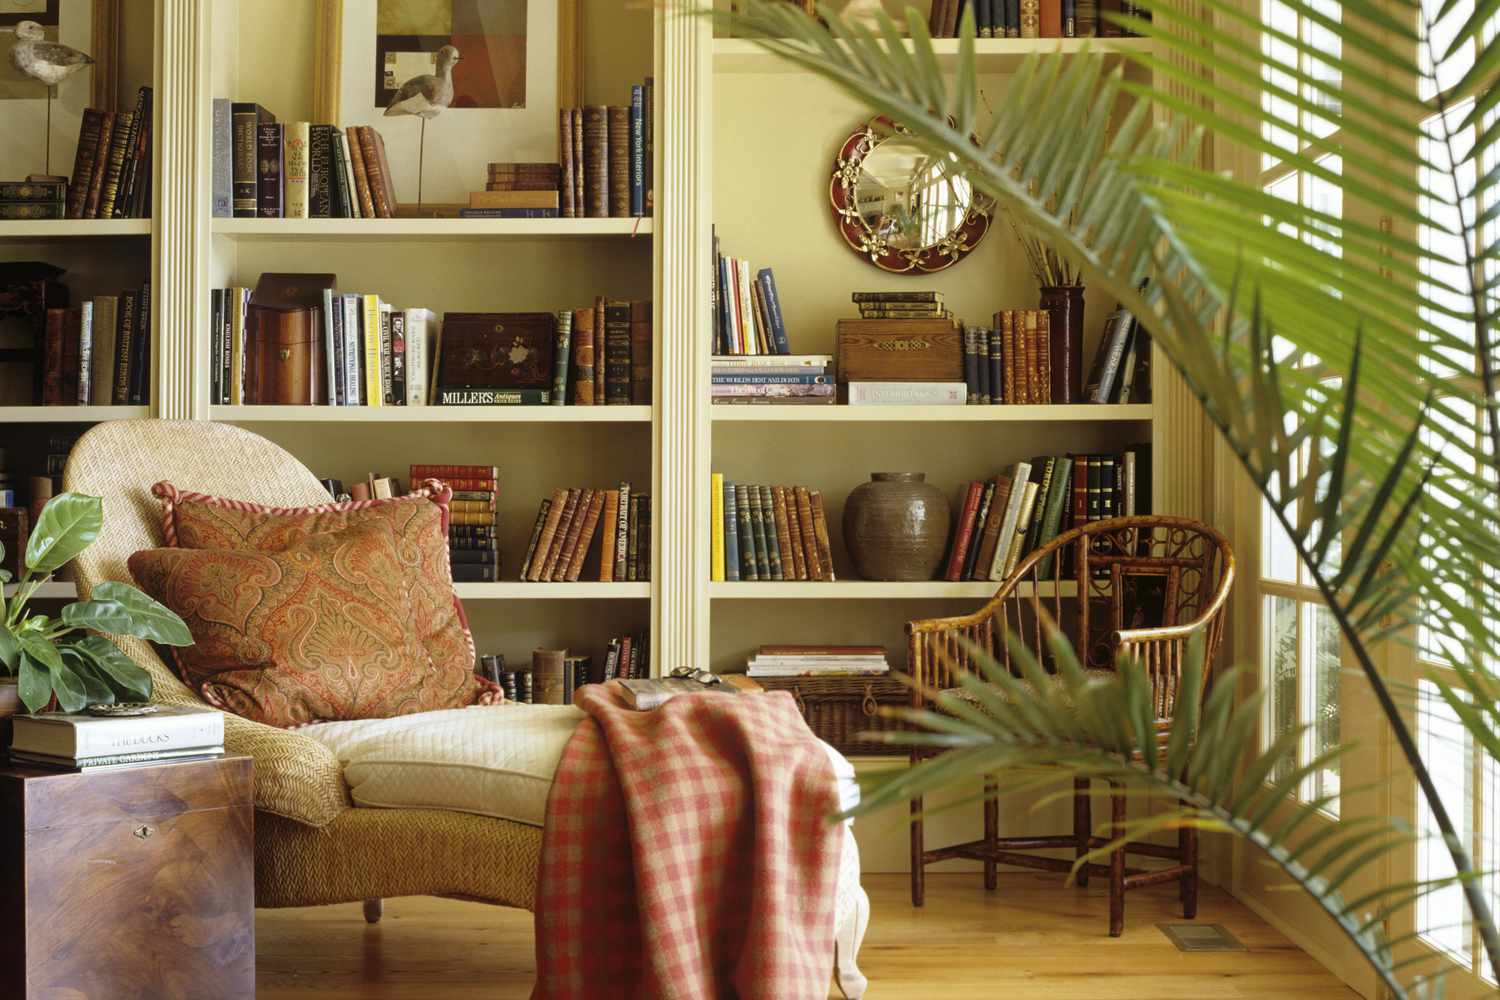
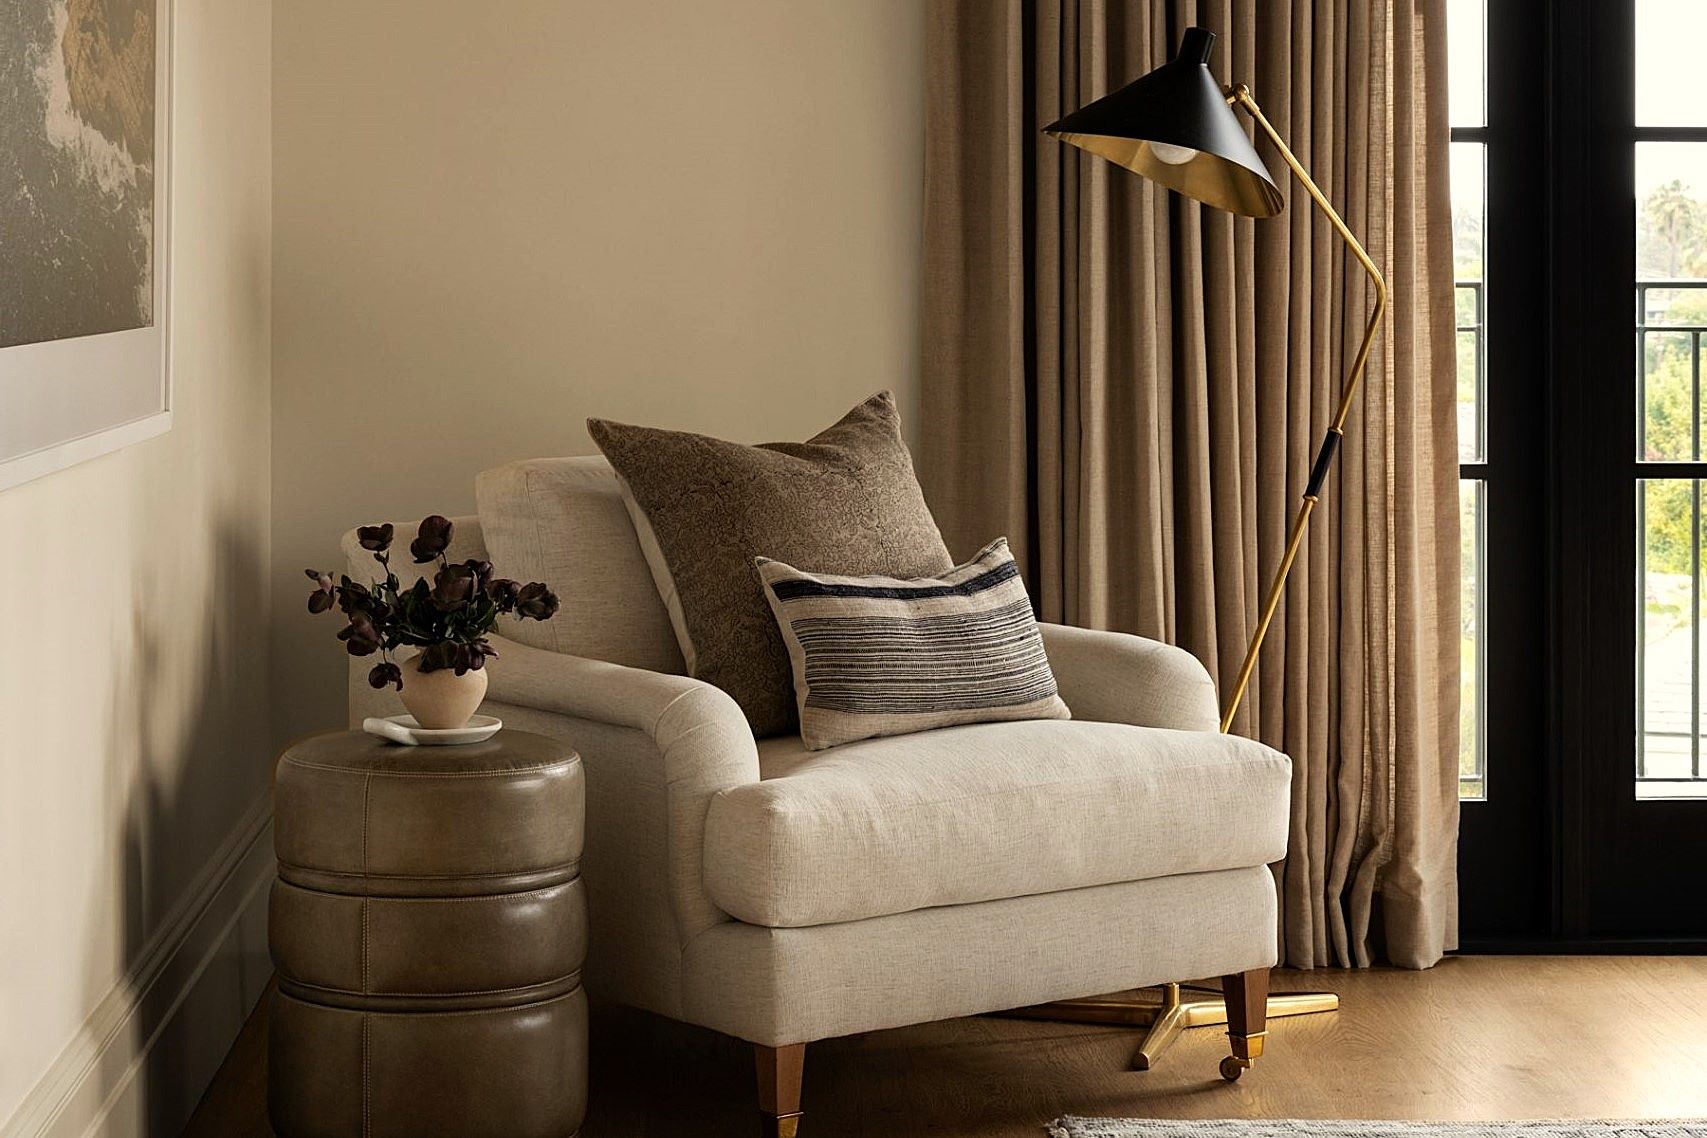
- Vintage armchairs or sofas can add an instant vintage touch.
- Consider adding pillows and throws in classic patterns like stripes or florals.
-
Add Table (Optional):
- A small side table can be useful for holding drinks or books.
- Look for vintage tables that match your theme.
-
Incorporate Lighting:
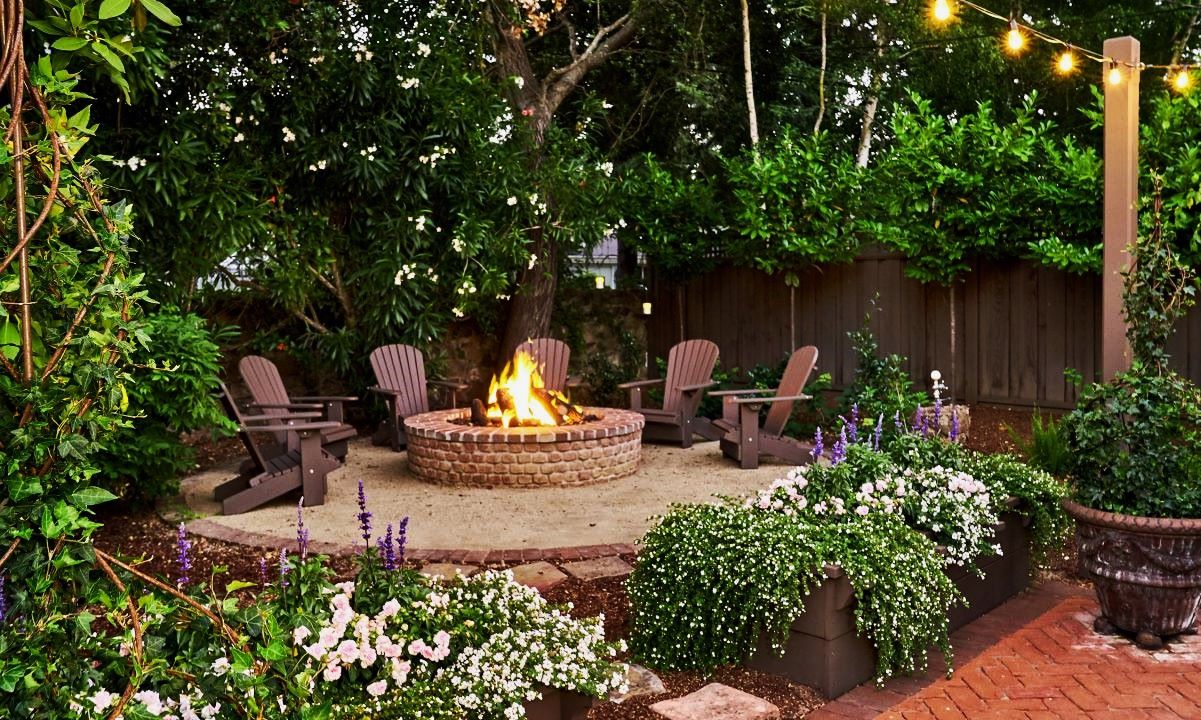
- String lights can create a cozy ambiance in the evening.
- Solar-powered lanterns are energy-efficient and environmentally friendly options.
Step 5: Add Decorative Elements
To complete your vintage-style reading nook:
-
Add Plants:
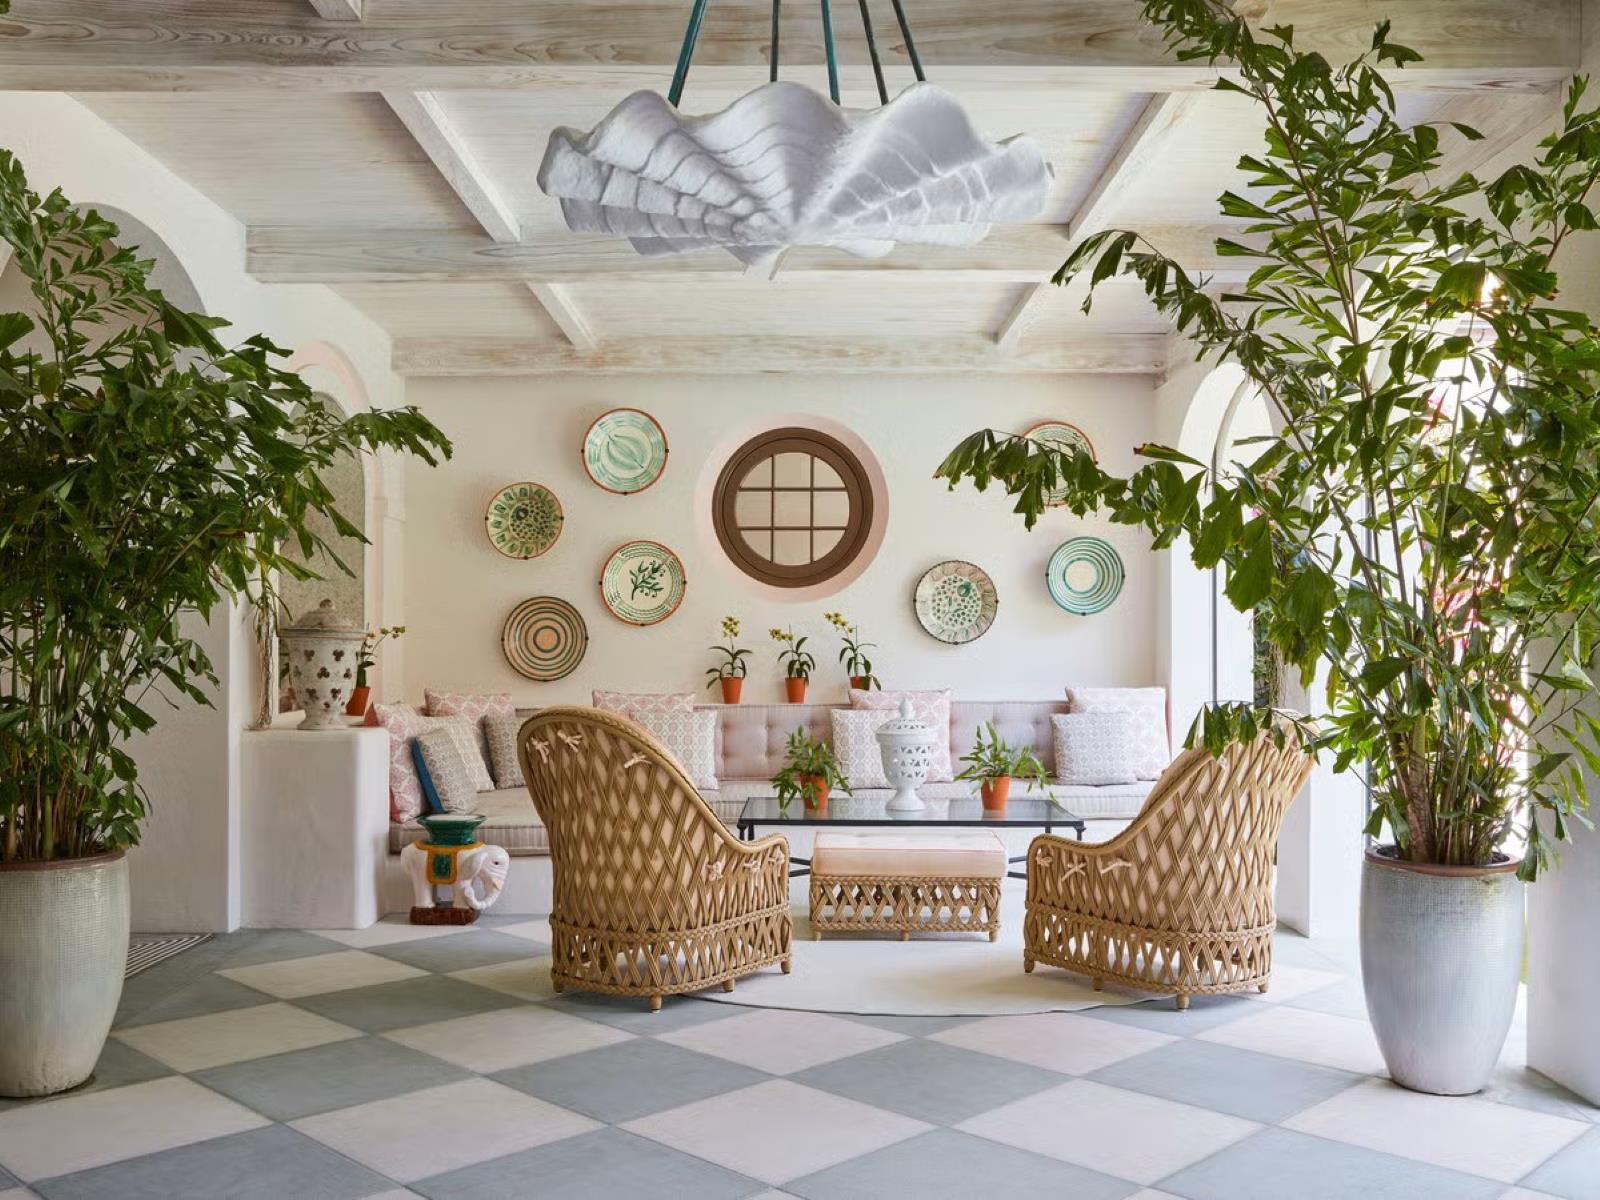
- Incorporate plants with classic foliage like ferns or ivy around your structure for added greenery.
- Consider hanging baskets filled with flowers or herbs from the pergola beams.
-
Incorporate Textiles:
– Use vintage-inspired textiles such as striped blankets or floral-patterned pillows to add color and texture.
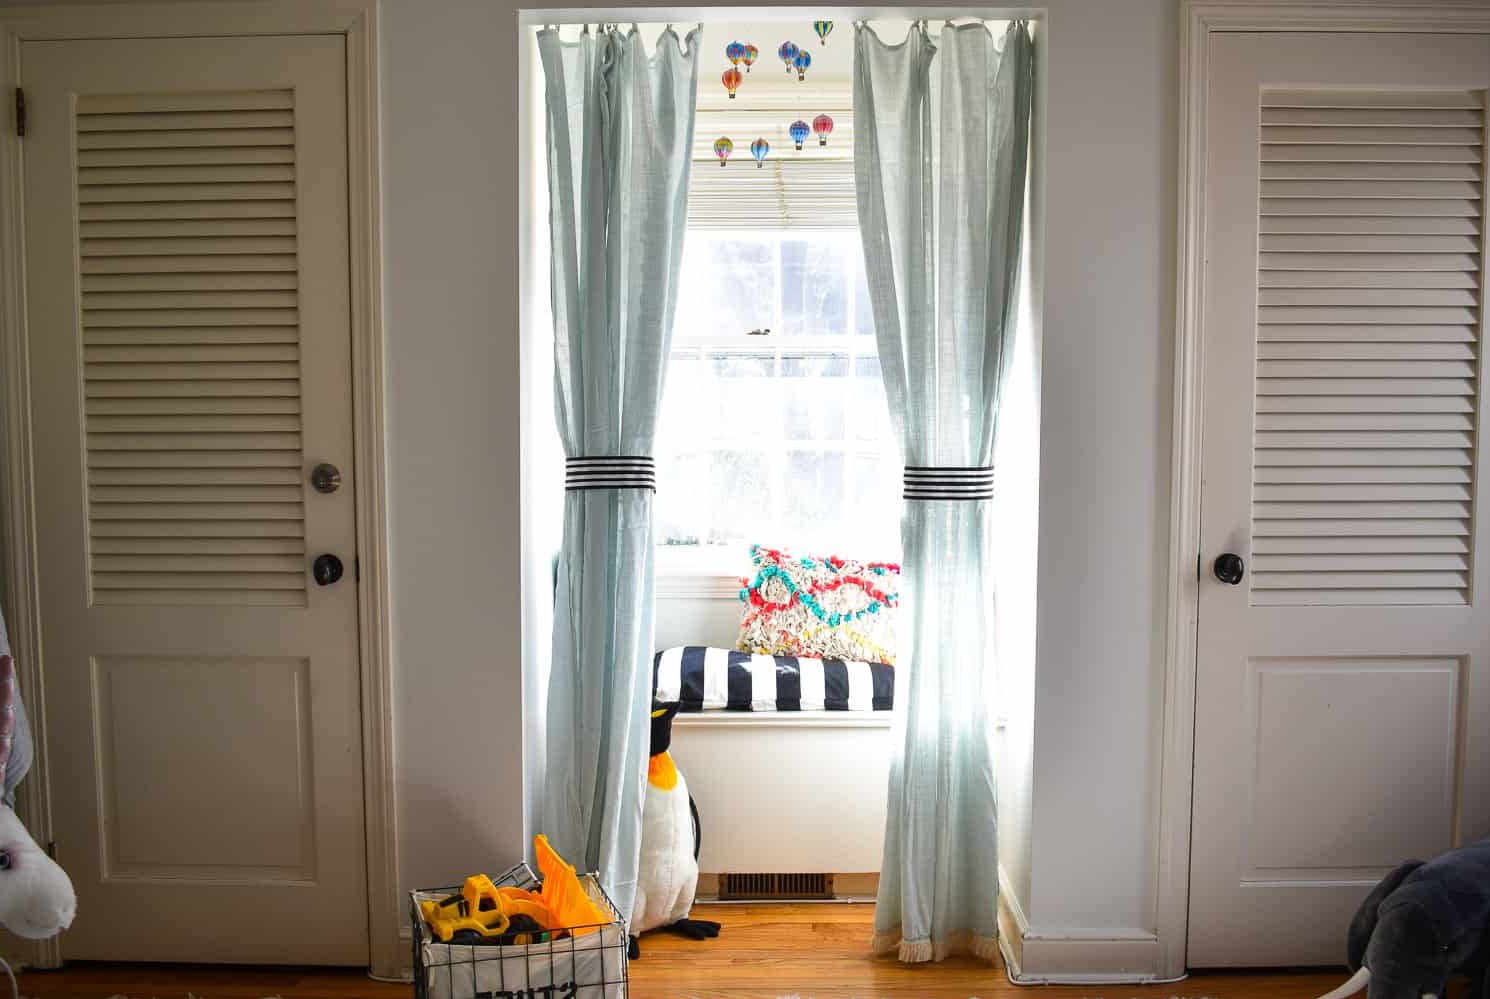
– Hang curtains made from lightweight fabrics like cotton or linen around your structure if desired. -
Display Vintage Items:
– Place vintage items like old books, antique vases, or distressed wooden decorative pieces around your seating area for added charm.
Tips for Maintenance
To keep your outdoor reading nook looking its best over time:
- Regular Cleaning: Regularly sweep or blow leaves off the structure to prevent debris buildup.
- Weatherproofing: Apply weather-resistant finishes to wood components periodically to protect them from harsh weather conditions.
- Pest Control: Check regularly for signs of pests like termites or carpenter ants which can damage wooden structures over time.
Conclusion
Creating an outdoor reading nook with vintage style is not only aesthetically pleasing but also provides a serene space where you can escape into your favorite books while surrounded by timeless elegance. By following these steps—from conceptualization through construction—you'll be able to create a cozy retreat that reflects your personal taste while enhancing your home's overall appeal.
Whether you're looking to add a touch of nostalgia or simply want a peaceful spot to unwind, building an outdoor reading nook with vintage style is definitely worth considering for any homeowner looking to enhance their living space.
Additional Resources
For those interested in further enhancing their outdoor spaces with vintage elements here are some additional resources:
- Local Antique Stores: Visit local antique stores or second-hand shops for unique pieces that can add character to your space.
- Online Marketplaces: Websites like Etsy or eBay often feature sellers offering vintage items ranging from furniture pieces to decorative accessories.
- DIY Blogs & Tutorials: Websites like Pinterest or YouTube offer numerous DIY tutorials on how-to projects related specifically towards creating vintage-inspired decor items at home.
By combining these tips along with creativity during construction process you'll end up having beautiful relaxing outdoor reading nook which not only serves purpose but also adds unique charm towards overall aesthetic appeal surrounding area where it’s situated
Was this page helpful?
At Storables.com, we guarantee accurate and reliable information. Our content, validated by Expert Board Contributors, is crafted following stringent Editorial Policies. We're committed to providing you with well-researched, expert-backed insights for all your informational needs.



0 thoughts on “Building A Relaxing Outdoor Reading Nook With Vintage Style”