Home>Ideas and Tips>DIY Guide to Installing a Bathroom Shower with a Built-In Bench

Ideas and Tips
DIY Guide to Installing a Bathroom Shower with a Built-In Bench
Published: September 19, 2024
Learn how to install a bathroom shower with a built-in bench. Follow our step-by-step DIY guide for a functional and waterproof shower bench.
(Many of the links in this article redirect to a specific reviewed product. Your purchase of these products through affiliate links helps to generate commission for Storables.com, at no extra cost. Learn more)
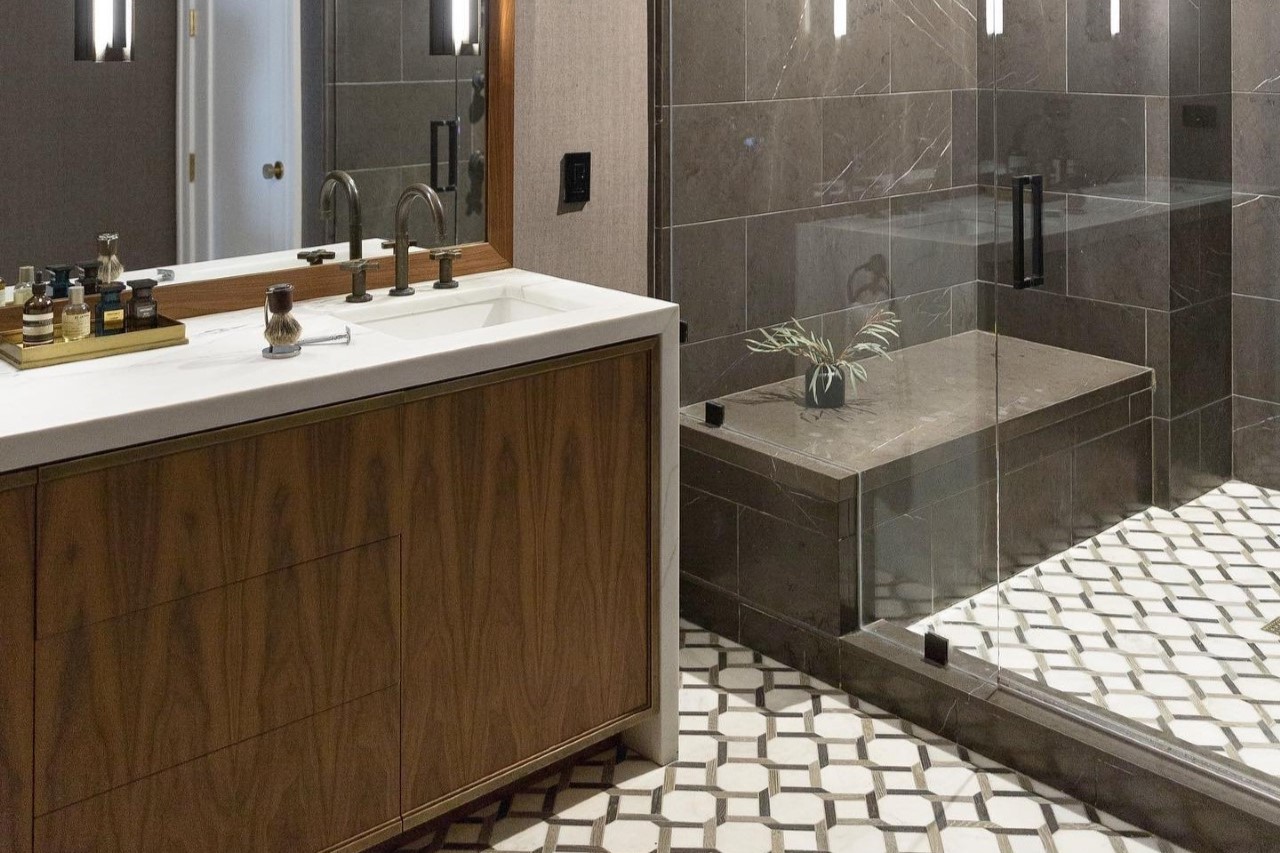
Installing a bathroom shower with a built-in bench is a challenging but rewarding DIY project. It requires careful planning, precise execution, and attention to detail to ensure that the bench is both functional and waterproof. In this guide, we will walk you through the steps involved in building and installing a shower bench, from preparing the area to applying the final waterproofing layers.
Step 1: Planning and Preparation
Before you begin, it's essential to plan your project thoroughly. Here are some key considerations:
- Measure Your Space: Measure the dimensions of your shower area to determine the size of your bench. A typical bench is around 24 inches wide and 12 inches deep.
- Choose Materials: Decide on the materials you will use for the bench. Common choices include concrete blocks (CMUs), 2x4s, and Wedi panels.
- Check Local Building Codes: Ensure that your design complies with local building codes and regulations.
Materials Needed
- Concrete Blocks (CMUs): For a more rustic look, you can use concrete blocks.
- 2x4s: For framing the bench.
- Wedi Panels: For a more modern and waterproof solution.
- Backerboard: For creating a level surface.
- Thinset: For securing the backerboard and Wedi panels.
- RedGuard or Hydroban: For waterproofing.
- Cement or Deck Mud: For creating a level surface.
- Liner: To prevent water from seeping behind the bench.
- Metal Lath: For reinforcing the cement or deck mud.
- Tile and Grout: For finishing the bench top.
Step 2: Preparing the Area
Before you start building your bench, you need to prepare the area where it will be installed. Here’s how:
- Clear the Area: Remove any existing fixtures or debris from the shower area.
- Check for Leaks: Perform an overnight leak test to ensure that there are no leaks in your shower pan.
- Install Backerboard: Apply backerboard around the perimeter of the shower area to create a level surface.
- Install Liner: Place a liner in the shower pan to prevent water from seeping behind the bench.
Installing Backerboard
- Cut Backerboard: Cut the backerboard to fit around the perimeter of your shower area.
- Apply Thinset: Apply thinset to the wall studs and attach the backerboard.
- Ensure Levelness: Ensure that the backerboard is level and secure.
Installing Liner
- Cut Liner: Cut the liner to fit inside your shower pan.
- Apply Thinset: Apply thinset to the wall studs and attach the liner.
- Check for Leaks: Perform an overnight leak test to ensure that there are no leaks in your shower pan.
Step 3: Framing the Bench
Framing your bench correctly is crucial to prevent water leaks and ensure stability. Here’s how:
Using 2x4s
- Cut 2x4s: Cut two 2x4s to the desired length for your bench frame.
- Assemble Frame: Assemble the frame by screwing the 2x4s together at right angles.
- Check Levelness: Ensure that the frame is level and secure.
Using Concrete Blocks (CMUs)
- Cut Concrete Blocks: Cut three concrete blocks to create a 24-inch wide bench.
- Assemble Bench: Assemble the bench by stacking the concrete blocks and securing them with thinset.
Step 4: Waterproofing the Bench
Waterproofing your bench is essential to prevent water from seeping behind it and causing damage. Here’s how:
Read more: DIY Guide To Installing A Tile Shower
Using Wedi Panels
- Cut Wedi Panels: Cut Wedi panels to fit over your bench frame.
- Apply Thinset: Apply thinset to the top of your bench frame and attach the Wedi panel.
- Seal Edges: Seal the edges of the Wedi panel with Wedi Joint Sealant.
- Check Slope: Ensure that the bench slopes towards the drain and is level from side to side.
Using RedGuard or Hydroban
- Apply RedGuard or Hydroban: Apply RedGuard or Hydroban over the face of your bench and up the wall behind it.
- Seal Edges: Seal any gaps or edges with additional RedGuard or Hydroban.
Step 5: Finishing the Bench Top
Once your bench is framed and waterproofed, you can finish it with tile and grout. Here’s how:
- Lay Tile: Lay tile over your bench top, ensuring that it meets the edge of your corner.
- Apply Grout: Apply grout between the tiles, leaving a small gap at the edge for expansion.
- Seal Grout: Seal the grout with a grout sealer to protect it from water and stains.
Step 6: Final Touches
After completing the above steps, you should have a functional and waterproof shower bench. Here are some final touches to ensure everything is perfect:
- Check for Leaks: Perform another overnight leak test to ensure that there are no leaks in your shower pan or bench.
- Clean Up: Clean up any debris or excess materials from your project.
- Inspect Work: Inspect your work to ensure that everything is level, secure, and waterproof.
By following these steps, you can successfully install a bathroom shower with a built-in bench that is both functional and aesthetically pleasing. Remember to always follow local building codes and regulations, and don’t hesitate to seek professional help if you encounter any difficulties during your project.
Read more: DIY Guide To Installing A Glass Shower Door
Additional Tips
- Frame Bench First: Frame your bench first because it will dictate the size of your shower pan.
- Use Topical Membrane: Use a topical membrane like RedGuard or Hydroban for easier waterproofing.
- Check for Slope: Ensure that your bench slopes towards the drain and is level from side to side.
By following these guidelines and tips, you can create a beautiful and functional shower bench that enhances your bathroom experience.
Was this page helpful?
At Storables.com, we guarantee accurate and reliable information. Our content, validated by Expert Board Contributors, is crafted following stringent Editorial Policies. We're committed to providing you with well-researched, expert-backed insights for all your informational needs.

0 thoughts on “DIY Guide to Installing a Bathroom Shower with a Built-In Bench”