Home>Ideas and Tips>DIY Guide To Installing A Bathroom Shower With Body Jets

Ideas and Tips
DIY Guide To Installing A Bathroom Shower With Body Jets
Published: August 29, 2024
Learn how to install a bathroom shower with body jets step-by-step. Enhance your DIY skills and create a luxurious shower experience.
(Many of the links in this article redirect to a specific reviewed product. Your purchase of these products through affiliate links helps to generate commission for Storables.com, at no extra cost. Learn more)
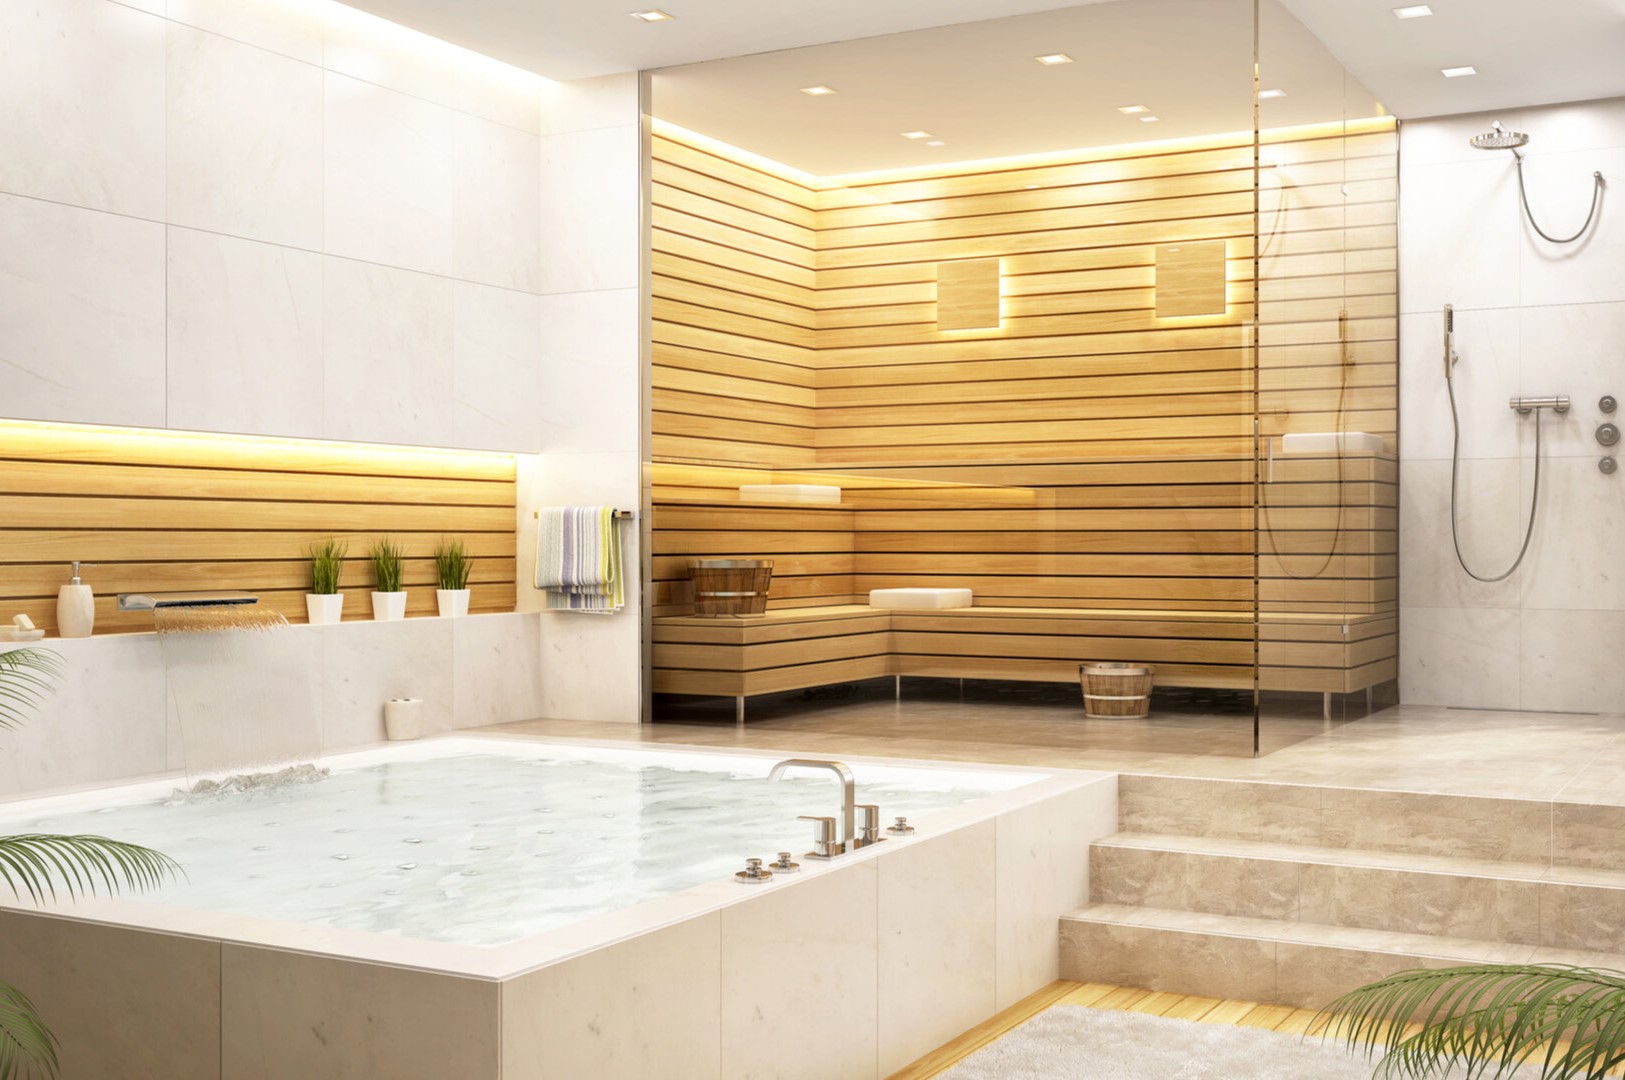
Installing a bathroom shower with body jets can be a rewarding DIY project, but it requires careful planning and execution. This guide will walk you through the steps involved in installing a shower with body jets, including the necessary tools, materials, and safety precautions.
Step 1: Planning and Preparation
Before you start the installation process, it's essential to plan and prepare thoroughly. Here are some key steps to consider:
1.1 Determine Your Budget
The cost of installing a shower with body jets can vary widely depending on the materials and tools you choose. Determine your budget and stick to it to avoid any financial stress during the project.
1.2 Choose Your Materials
Select the right materials for your shower installation. You'll need a shower pan, shower walls, a showerhead, body jets, and any necessary plumbing fixtures. Consider factors like durability, ease of installation, and aesthetic appeal.
1.3 Measure Your Space
Measure your bathroom space accurately to ensure that your shower components fit perfectly. Take note of any obstructions or plumbing fixtures that might affect the installation process.
1.4 Check Local Building Codes
Familiarize yourself with local building codes and regulations regarding bathroom installations. Ensure that your project complies with all safety standards and regulations.
Step 2: Preparing the Area
Before you start installing the shower components, prepare the area by clearing it of any obstructions and covering the floor with protective materials.
2.1 Clear the Area
Remove any furniture, rugs, or other items from the bathroom floor. This will give you ample space to work without any interference.
2.2 Cover the Floor
Cover the floor with drop cloths or old sheets to protect it from water spills and debris.
Step 3: Removing Old Shower Components
If you're replacing an existing shower, you'll need to remove the old components first.
Read more: DIY Guide To Installing A Tile Shower
3.1 Shut Off Water Supply
Turn off the water supply to the bathroom by locating and closing the shut-off valves. Open the faucet to drain the water from the pipes.
3.2 Disconnect Plumbing Fixtures
Disconnect any plumbing fixtures such as showerheads and faucets from the existing shower system.
3.3 Remove Old Shower Pan
Remove the old shower pan by unscrewing it from the floor. If it's stuck, use a pry bar carefully to avoid damaging the surrounding tiles.
3.4 Remove Old Shower Walls
Remove any old shower walls by unscrewing them from the studs. Be careful not to damage any surrounding tiles or walls.
Read more: DIY Guide To Installing A Glass Shower Door
Step 4: Installing New Shower Pan
Installing a new shower pan is crucial for a successful shower installation.
4.1 Lay Down Underlayment
Lay down an underlayment material such as cement board or plywood to provide a smooth surface for your new shower pan.
4.2 Install Shower Pan
Place your new shower pan over the underlayment material and ensure it's centered properly. Use screws or adhesive to secure it firmly to the floor.
Step 5: Installing Shower Walls
Installing shower walls is another critical step in creating a functional and aesthetically pleasing shower area.
5.1 Measure and Cut Shower Walls
Measure your shower area accurately and cut your shower walls accordingly using a saw or tile cutter.
5.2 Install Shower Walls
Place your shower walls around your new shower pan, ensuring they are securely attached to the studs using screws or adhesive.
Step 6: Installing Plumbing Fixtures
Installing plumbing fixtures such as showerheads and body jets requires careful attention to detail.
6.1 Connect Plumbing Fixtures
Connect your showerhead and body jets to the plumbing system by attaching them to the shower arm or wall-mounted fixtures.
Read more: DIY Guide To Installing A Subway Tile Shower
6.2 Test Plumbing Fixtures
Test your plumbing fixtures by turning on the water supply and checking for leaks or any other issues.
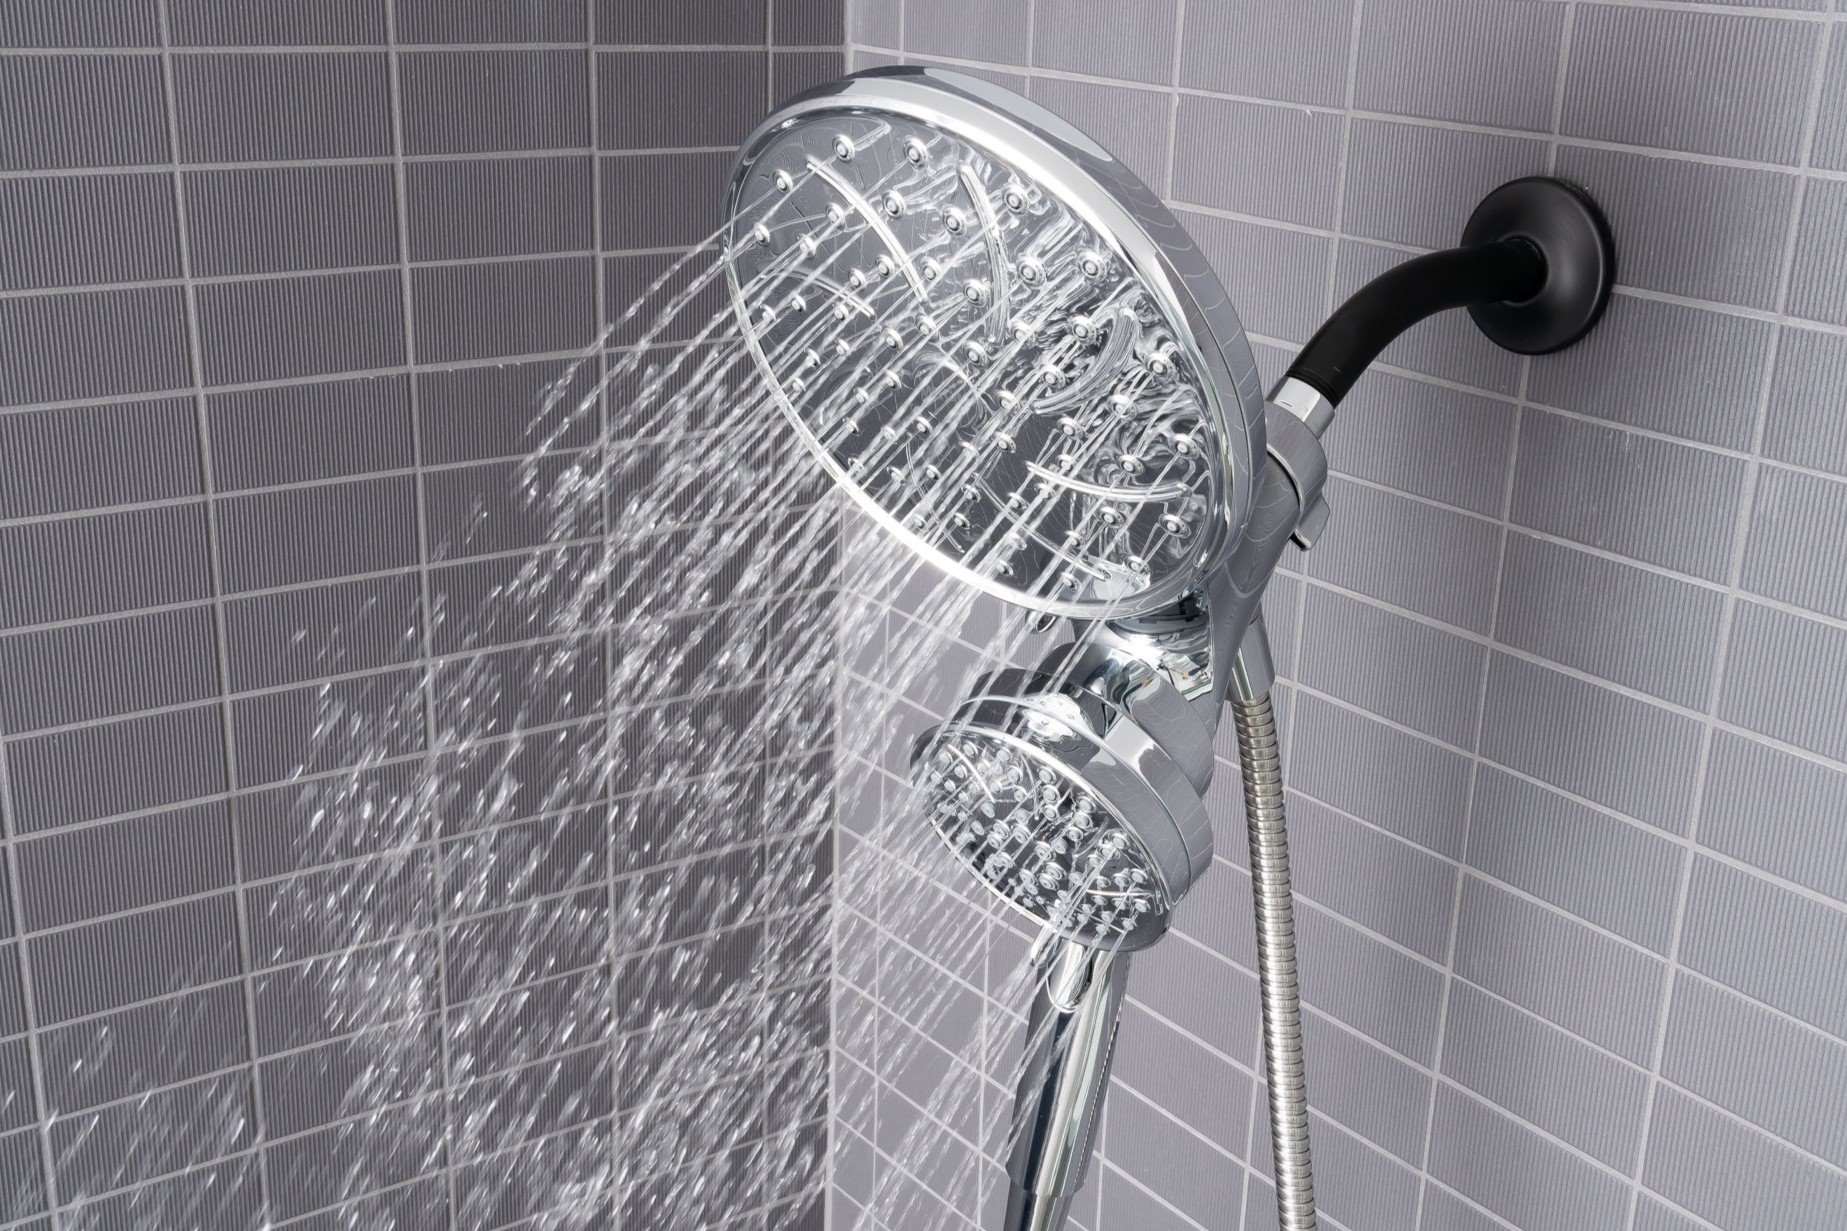
Step 7: Installing Body Jets
Installing body jets adds an extra layer of luxury to your shower experience.
7.1 Choose Body Jets
Select body jets that match your showerhead in terms of style and functionality. Consider factors like water pressure, flow rate, and ease of installation.
7.2 Mount Body Jets
Mount your body jets on the shower walls or floor using mounting brackets provided with the kit. Ensure they are securely attached to avoid any water leaks or damage.
7.3 Connect Body Jets to Plumbing System
Connect your body jets to the plumbing system by attaching them to the shower arm or wall-mounted fixtures.
Step 8: Finishing Touches
The final steps involve finishing touches such as installing any additional components like grab bars or shower curtains.
8.1 Install Grab Bars
Install grab bars near the shower area for added safety and convenience.
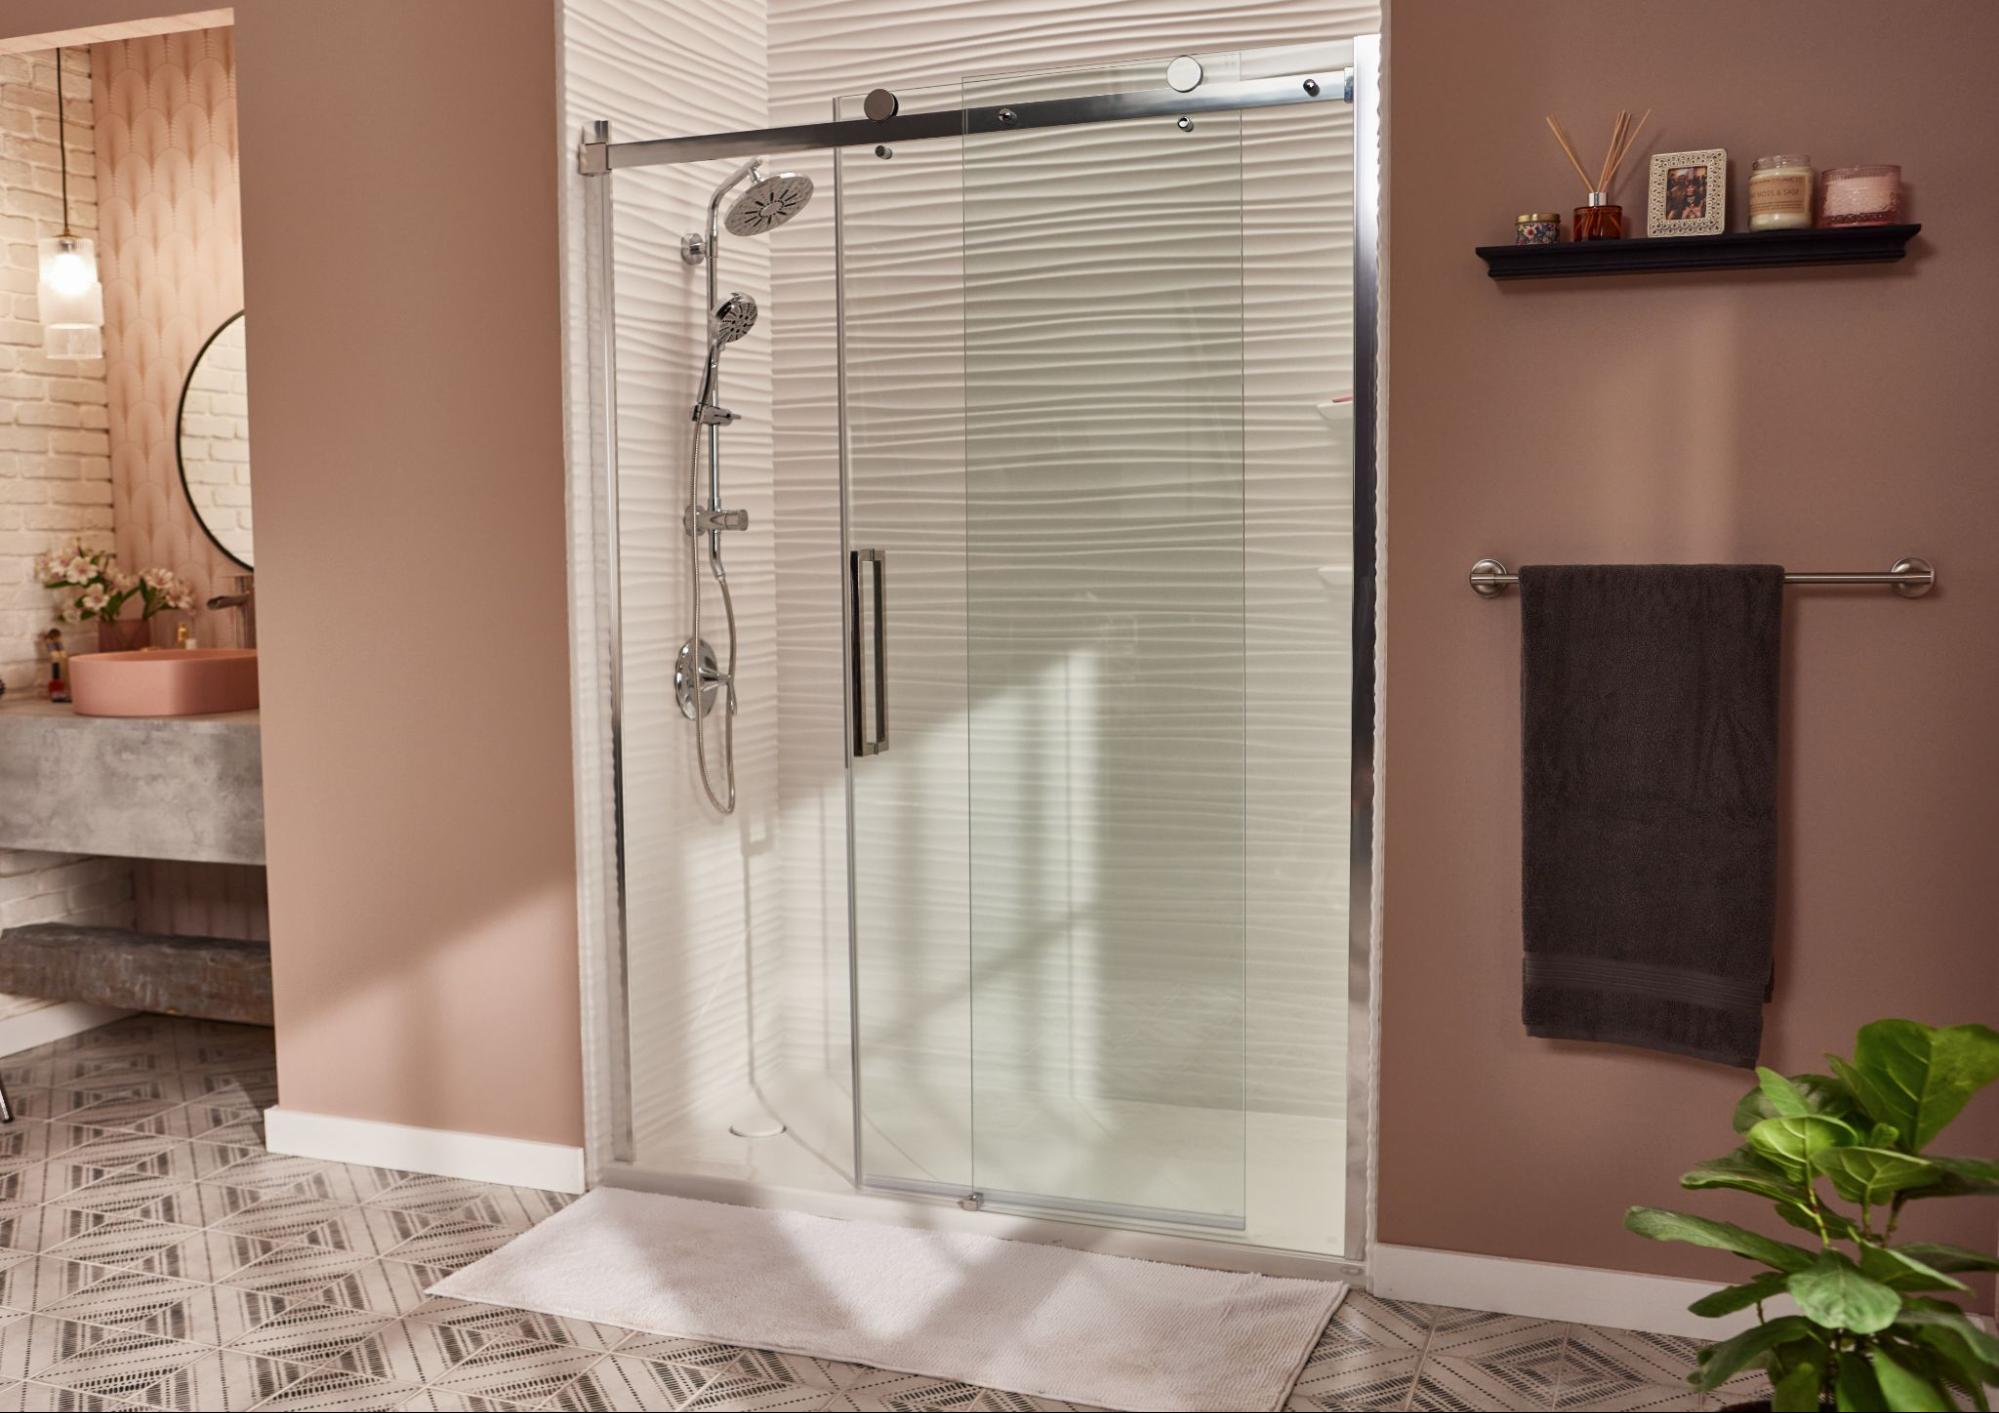
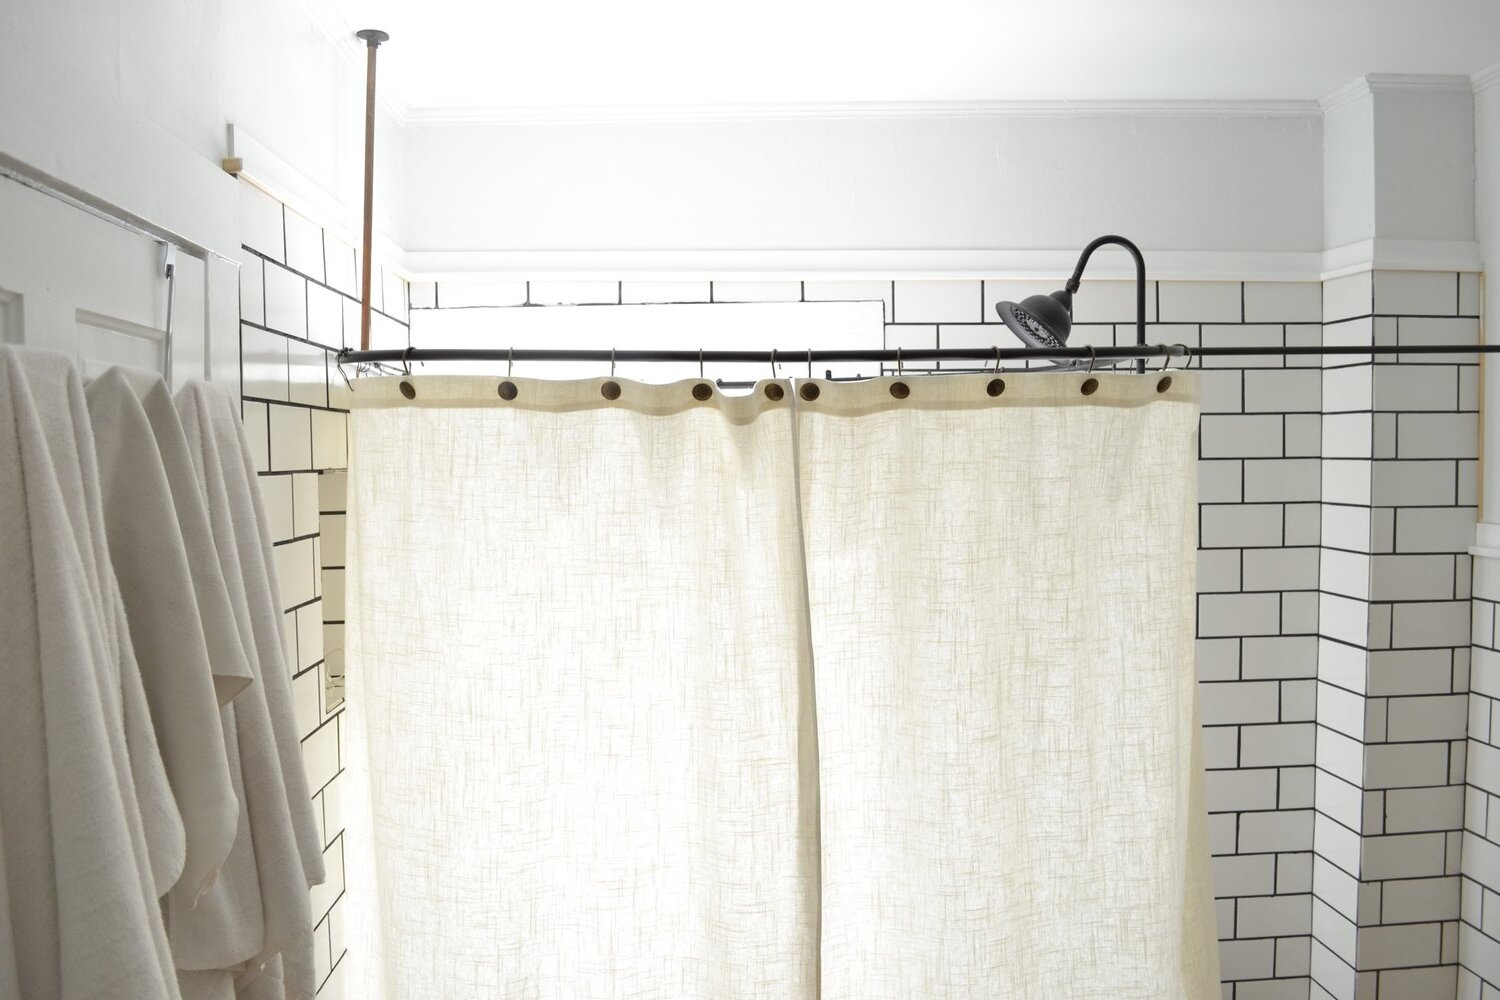
8.2 Install Shower Curtain or Door
Install a shower curtain or door to maintain privacy and keep water contained within the shower area.
Step 9: Testing the Shower
Once all components are installed, test the shower thoroughly to ensure everything is working correctly.
9.1 Turn On Water Supply
Turn on the water supply and check for leaks or any other issues with the plumbing fixtures.
9.2 Check Water Pressure
Check the water pressure to ensure it's adequate for proper functioning of all components including showerheads and body jets.
9.3 Test Body Jets Functionality
Test each body jet individually to ensure they are functioning correctly without any leaks or issues.
Safety Precautions
Safety should always be your top priority when undertaking any DIY project involving plumbing and electrical components.
10.1 Wear Protective Gear
Wear protective gear such as gloves, goggles, and a dust mask when working with power tools or handling sharp objects.
10.2 Use Proper Tools
Use proper tools designed specifically for each task at hand to avoid accidents caused by improper usage of tools.
10.3 Follow Manufacturer Instructions
Follow manufacturer instructions carefully when installing any new components including plumbing fixtures or electrical components like lighting fixtures inside your shower area.
By following these steps carefully while keeping safety in mind at all times during installation process you'll be able to create beautiful functional bathroom shower equipped with luxurious body jets that will enhance overall bathing experience significantly
Was this page helpful?
At Storables.com, we guarantee accurate and reliable information. Our content, validated by Expert Board Contributors, is crafted following stringent Editorial Policies. We're committed to providing you with well-researched, expert-backed insights for all your informational needs.


0 thoughts on “DIY Guide To Installing A Bathroom Shower With Body Jets”