Home>Ideas and Tips>DIY Guide To Installing A Bathroom Shower With Chromatherapy And Aromatherapy
Ideas and Tips
DIY Guide To Installing A Bathroom Shower With Chromatherapy And Aromatherapy
Published: August 30, 2024
Transform your bathroom into a spa with our DIY guide to installing a shower with chromatherapy and aromatherapy. Step-by-step instructions included.
(Many of the links in this article redirect to a specific reviewed product. Your purchase of these products through affiliate links helps to generate commission for Storables.com, at no extra cost. Learn more)
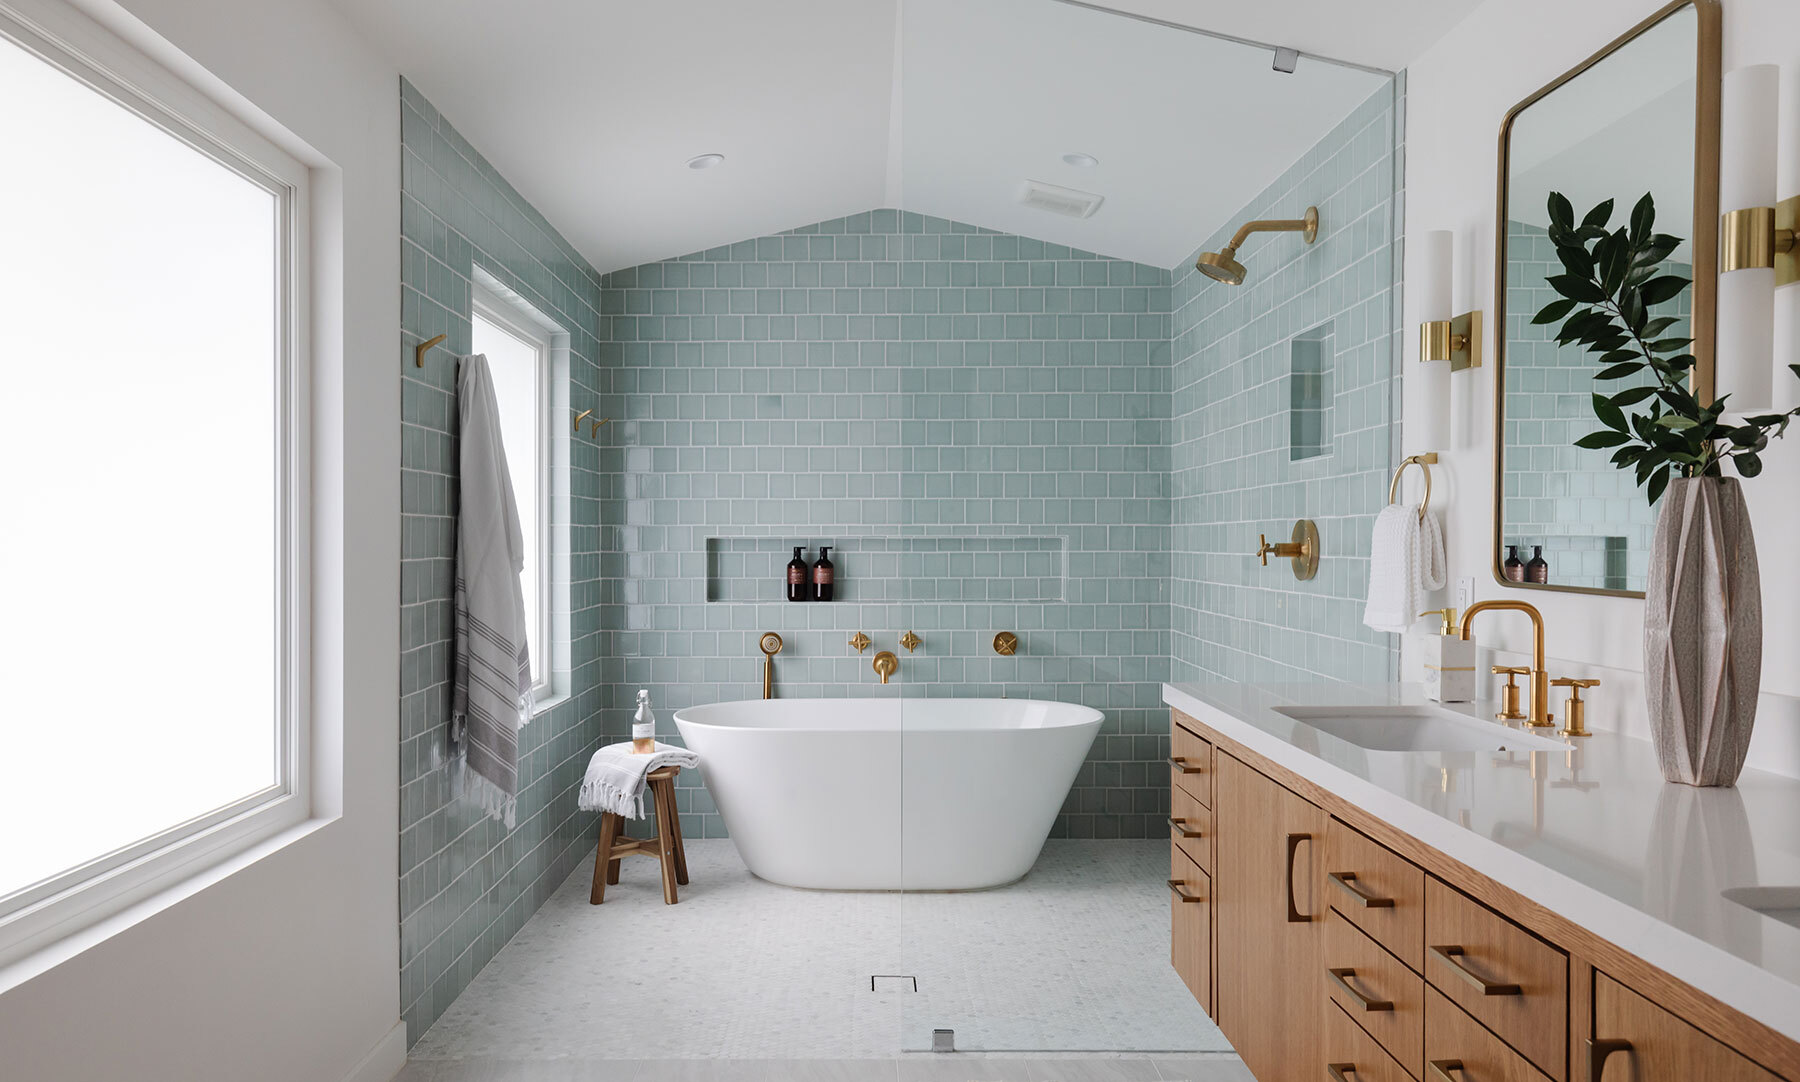
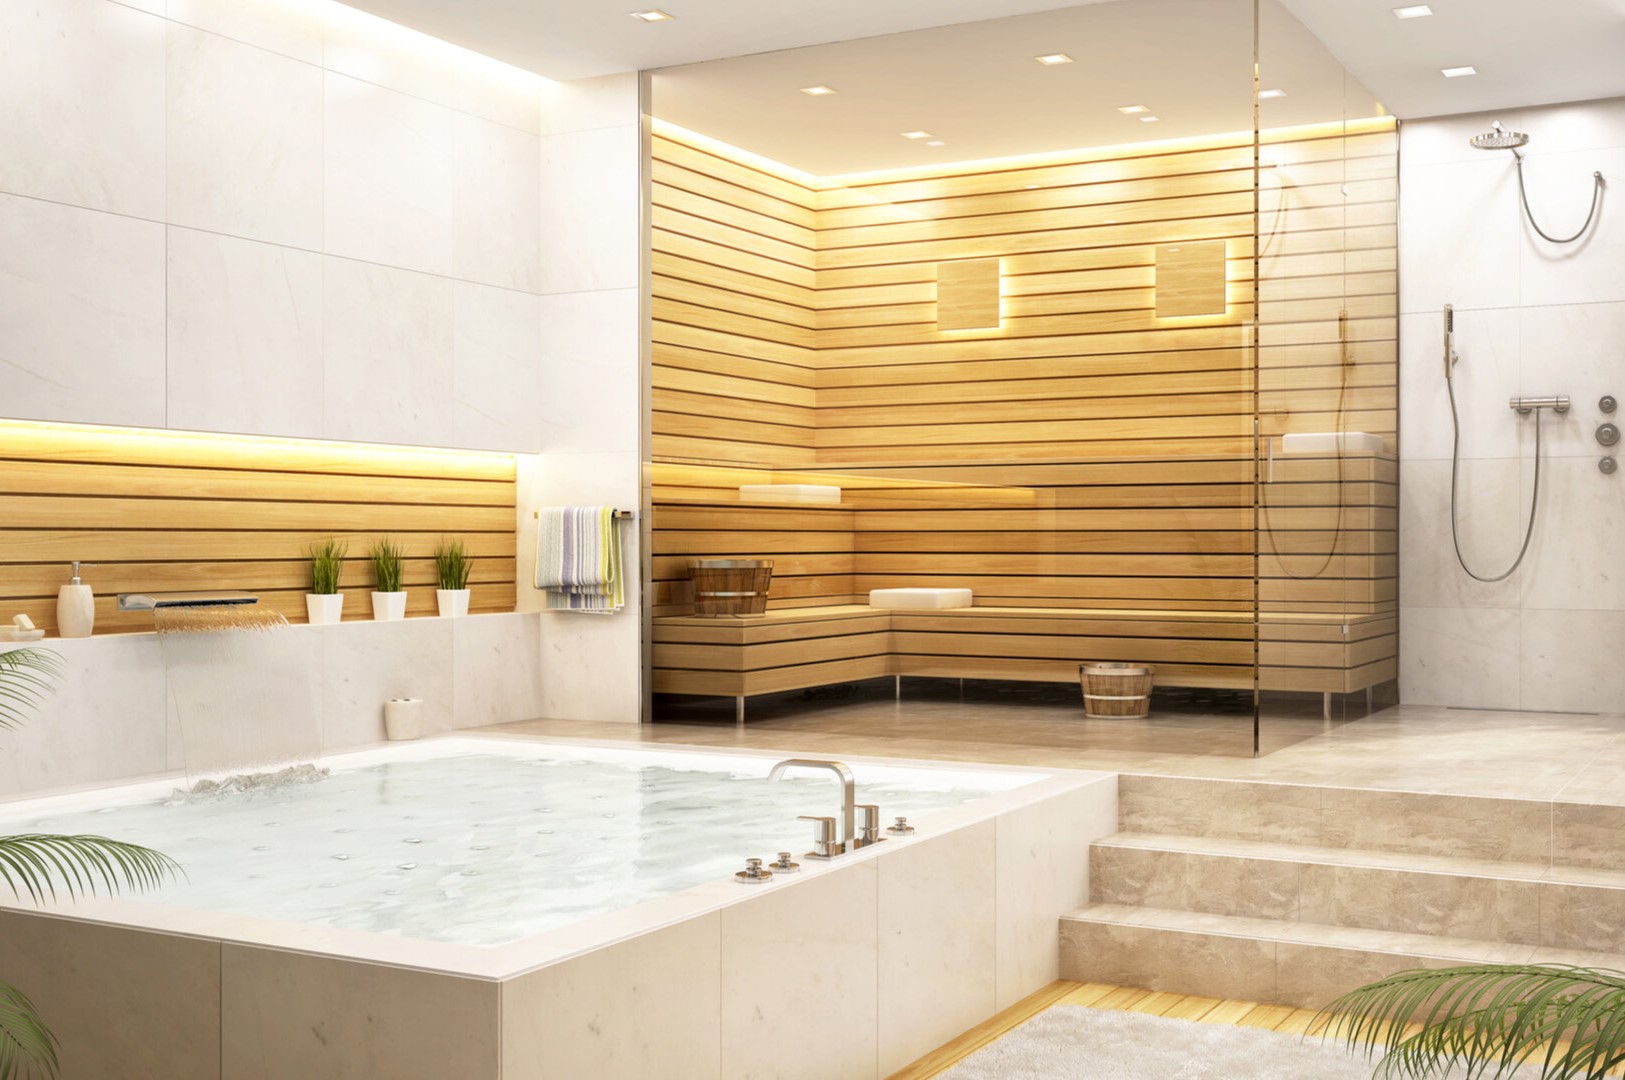
Installing a bathroom shower with chromatherapy and aromatherapy can elevate your bathing experience to a whole new level. These features not only provide relaxation and rejuvenation but also create a luxurious ambiance that enhances the overall well-being. In this article, we will guide you through the process of installing a bathroom shower with chromatherapy and aromatherapy, covering all the necessary steps and considerations.
Planning Your Project
Before diving into the installation process, it's crucial to plan your project thoroughly. Here are some key steps to consider:
1. Measure Your Shower Stall
The first step in planning your project is to measure your shower stall accurately. You need to capture the space's length, width, and height to ensure that you select the right components for your steam shower. This measurement will help you decide on the appropriate sized generator and other components like the control unit and accessories.
2. Choose Materials
Selecting the right materials is essential for your steam shower. You have several options, including natural stone, ceramic, porcelain, glass tile, acrylic, fiberglass, and composite materials. Each material has its own physical properties that affect how much power you'll need to keep the generator at the right temperature to disperse the steam properly.
- Natural Stone: Materials like marble, shale, granite, glass block, or concrete are porous and dissipate heat more rapidly. If your design includes these materials, you'll need to select a more powerful generator to compensate for that quicker heat loss.
- Ceramic, Porcelain, Glass Tile: These nonporous materials retain heat well in the shower. A smaller generator will be adequate for these materials.
3. Selecting the Right Generator
Using MrSteam’s Virtual Spa function on their website is highly recommended to select the right generator based on your stall’s measurements as well as the materials you'll use within the shower. This tool will also give you a suggested retail price so there are no surprises on the back end.
Step-by-Step Installation Guide
Read more: DIY Guide To Installing A Tile Shower
Step One: Prepare Your Space
Before starting the installation process, ensure that your space is ready for the new components. This includes:
- Clearing the Area: Clear the area around your shower to give you enough space to work comfortably.
- Disconnecting Water Supply: Disconnect the water supply to your shower to prevent any accidental water flow during installation.
- Removing Old Fixtures: Remove any old fixtures or components from your existing shower.
Step Two: Measure and Mark the Area
Measure and mark the area where you plan to install your new steam shower components. This includes marking the location for the steam generator, control unit, and any other accessories you plan to install.
Step Three: Install the Steam Generator
The steam generator is the heart of your steam shower system. Here’s how to install it:
- Choose a Location: Select a location for your steam generator that is easily accessible but out of the way of foot traffic.
- Mounting: Mount the steam generator according to the manufacturer’s instructions. Typically, this involves securing it to a wall or placing it on a shelf.
- Plumbing Connections: Connect the plumbing to the steam generator. Ensure that all connections are secure and leak-free.
Step Four: Install the Control Unit
The control unit is what makes your steam shower experience customizable and user-friendly. Here’s how to install it:
- Selecting the Right Control Unit: Choose a control unit that fits your needs. MrSteam offers various control units such as iDream, iButler, and MS Butler.
- Mounting: Mount the control unit according to the manufacturer’s instructions. This could be on a wall or placed in a convenient location within the shower.
- Connecting to Generator: Connect the control unit to the steam generator. Follow the manufacturer’s instructions for wiring and connections.
Read more: DIY Guide To Installing A Glass Shower Door
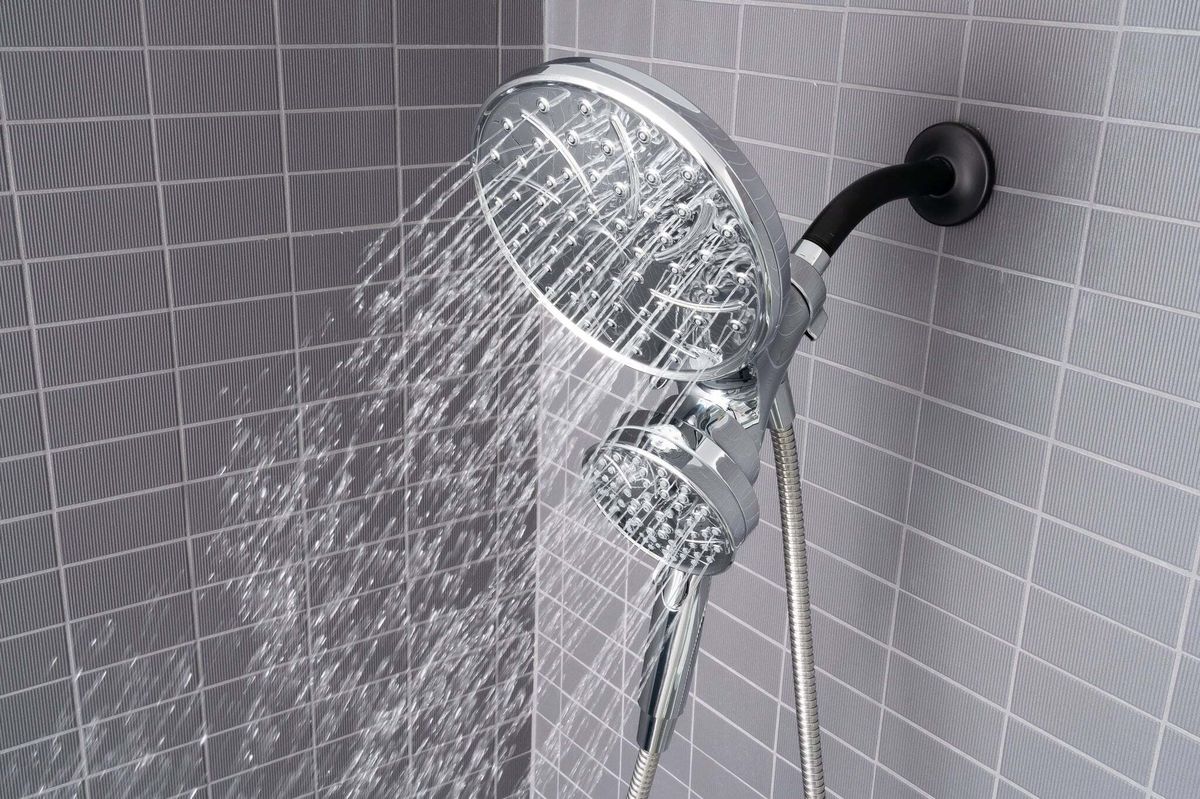
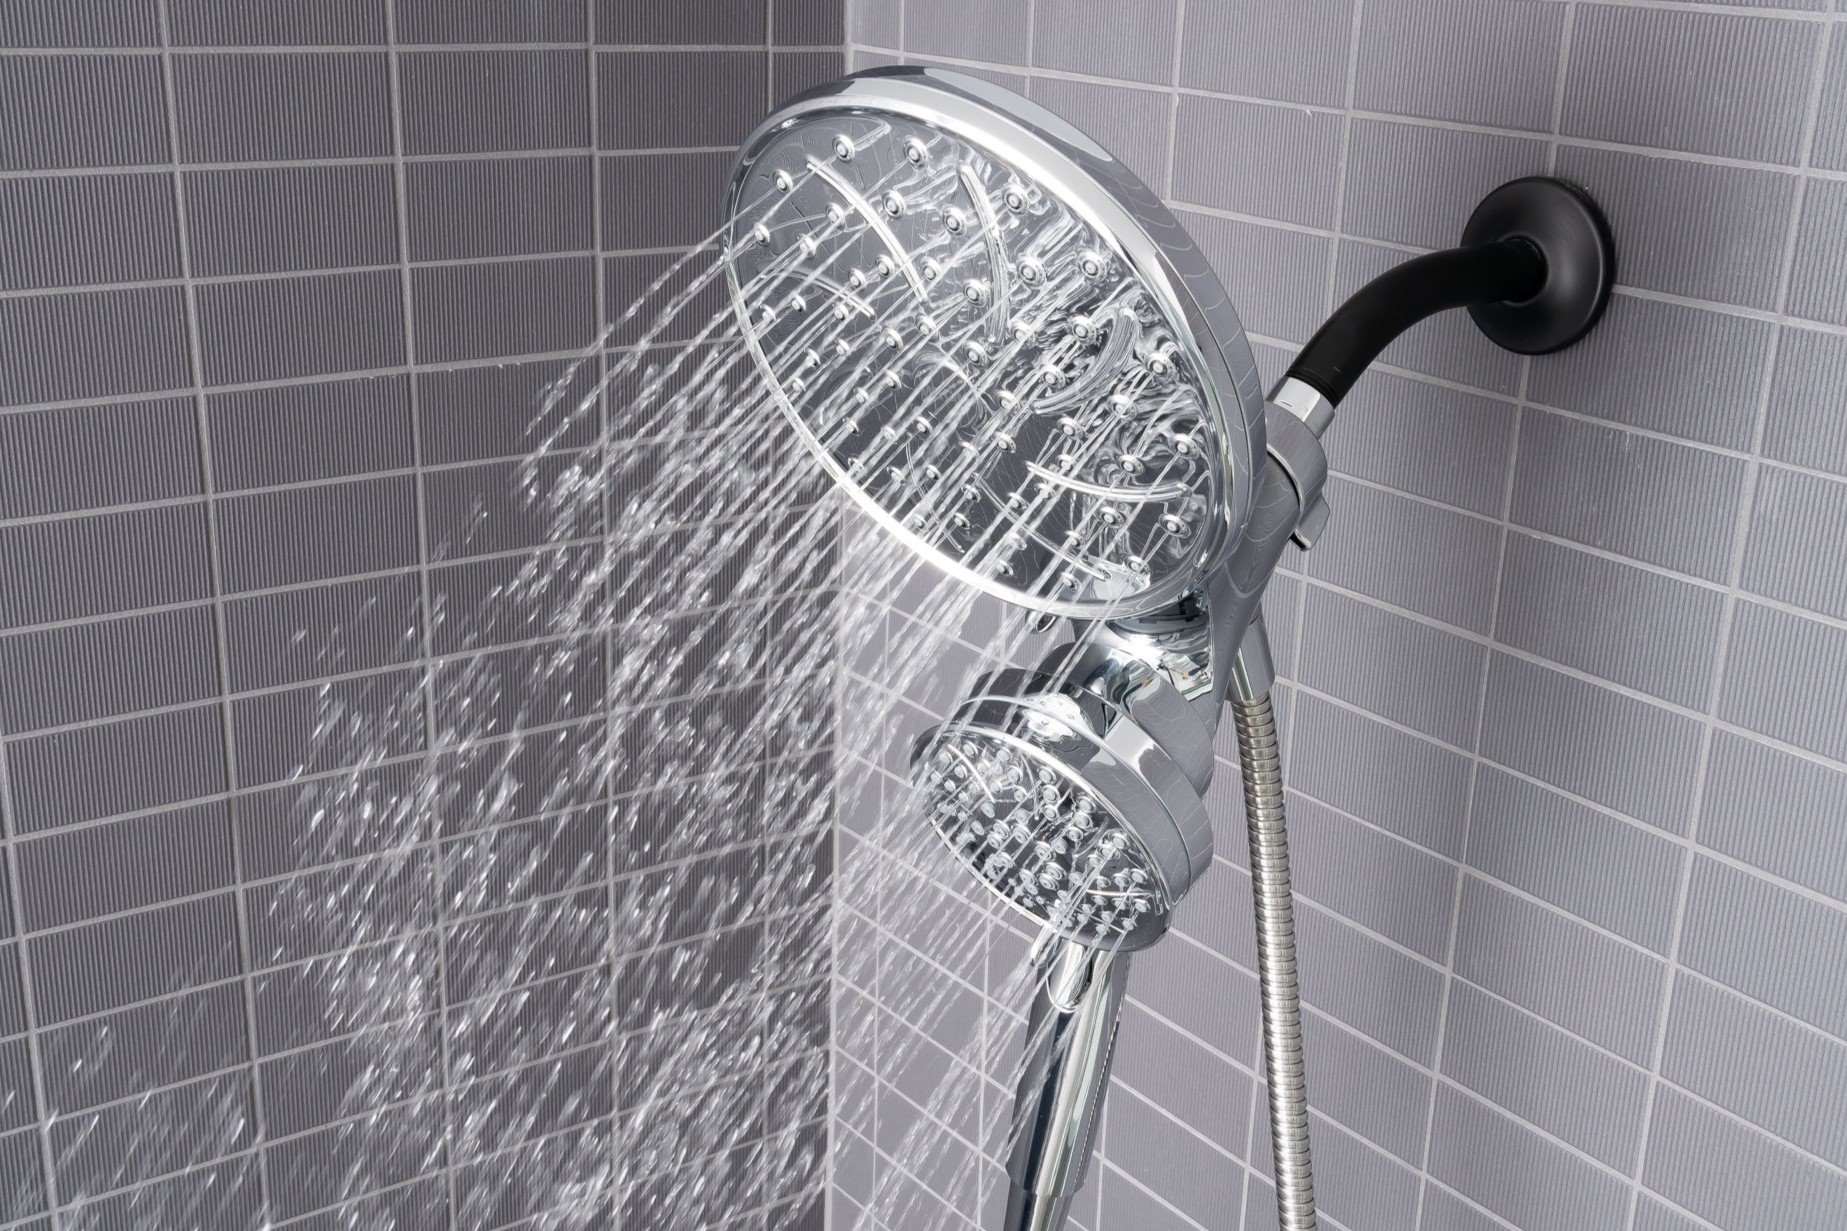
Step Five: Add Chromatherapy
Chromatherapy involves using colored lights to enhance the mood and ambiance of your steam shower. Here’s how to add chromatherapy:
- Selecting Chromatherapy Modules: Choose chromatherapy modules that are vapor-sealed and low voltage. These modules should be ETL listed for safety.
- Installation: Install these modules according to the manufacturer’s instructions. Typically, this involves placing them within the shower area where they can be easily seen.
- Color Selection: Set the mood with chromalogic color selections that can be set for a single color or for a cycle.
Step Six: Add Aromatherapy
Aromatherapy involves using essential oils to scent the steam and enhance the overall experience of your steam shower. Here’s how to add aromatherapy:
- Selecting Essential Oils: Choose essential oils that you prefer for their scent and benefits. Lavender and eucalyptus are popular choices but you can use any aroma you prefer.
- Installation: Install an electronic oil delivery system which infuses aroma into the steam on demand through in-shower control.
- Customization: Customize your aromatherapy experience by choosing scents to calm or energize.
Step Seven: Add Accessories
Accessories such as steam control packages (like SteamLinx), wall-mounted folding seats, auto-flush systems, and condensation pans can enhance your steam shower experience. Here’s how to add these accessories:
- Selecting Accessories: Choose accessories based on your needs and preferences.
- Installation: Install these accessories according to the manufacturer’s instructions.
- Maintenance: Ensure that all accessories are properly maintained to preserve their functionality.
Final Considerations
Steam shower installation requires careful consideration of several factors including dimensions of intended users for maximum comfort and functionality. Here are some final considerations:
- Anthropometry: When computing the ideal amount of space required, anthropometry considers the client’s dimensions such as height, weight, and body mass. This influences steam room size by highlighting how the average person moves within the shower.
- Technical Manuals: Refer to MrSteam’s technical guides for instructions on installing every accessory or generator. If those are insufficient, use their Virtual Technical Support Center with troubleshooting guides and FAQs for builders and designers.
- Maintenance: Regularly check and maintain your steam shower system to ensure it continues to function properly.
DIY Aromatherapy Steam Shower
If you prefer a more DIY approach to creating an aromatherapy steam shower experience at home, here’s how you can do it:
- Essential Oils: Use your favorite essential oils such as lavender or eucalyptus.
- Hand Towel: Soak a small hand towel with water and roll it up.
- Spraying Essential Oils: Flick a few drops of essential oil along the rolled-up towel and place it in the shower closest to face level.
- Steam Generation: Turn on your shower to the hottest temperature possible until steam begins to rise. Once steam is rising, turn the water to your desired temperature and get in there to breathe deeply and enjoy!
Making Relaxing Shower Steamers
For an at-home spa experience without installing a full steam shower system, you can make relaxing shower steamers using natural ingredients:
Ingredients:
- Baking soda
- Citric acid
- Epsom salts
- Corn starch
- Castor oil
- Essential oils (like lavender or eucalyptus)
- Witch hazel (or 80-proof vodka)
Instructions:
- Combine all dry ingredients in a mixing bowl.
- Add drops of essential oil and castor oil; mix well until it resembles wet sand.
- If the mixture is too dry, use a fine mist spray bottle filled with vodka or witch hazel to moisten it.
- Once it holds its shape when clumped, press it into molds.
- Let air dry for 24 hours before unmolding and using.
Read more: DIY Guide To Installing A Subway Tile Shower
Conclusion
Installing a bathroom shower with chromatherapy and aromatherapy can transform your bathing experience into a luxurious spa-like retreat. By following these steps and considering all necessary factors, you can create an environment that not only relaxes but also rejuvenates you. Whether you choose to go for a full DIY installation or opt for a more straightforward approach with pre-made shower steamers, the benefits of chromatherapy and aromatherapy are undeniable. So why wait? Start planning your dream bathroom today
Was this page helpful?
At Storables.com, we guarantee accurate and reliable information. Our content, validated by Expert Board Contributors, is crafted following stringent Editorial Policies. We're committed to providing you with well-researched, expert-backed insights for all your informational needs.


0 thoughts on “DIY Guide To Installing A Bathroom Shower With Chromatherapy And Aromatherapy”