Home>Ideas and Tips>DIY Guide To Installing A Bathroom Shower With Digital Controls
Ideas and Tips
DIY Guide To Installing A Bathroom Shower With Digital Controls
Published: August 31, 2024
Learn how to install a bathroom shower with digital controls step-by-step. Transform your bathroom with our comprehensive DIY guide.
(Many of the links in this article redirect to a specific reviewed product. Your purchase of these products through affiliate links helps to generate commission for Storables.com, at no extra cost. Learn more)
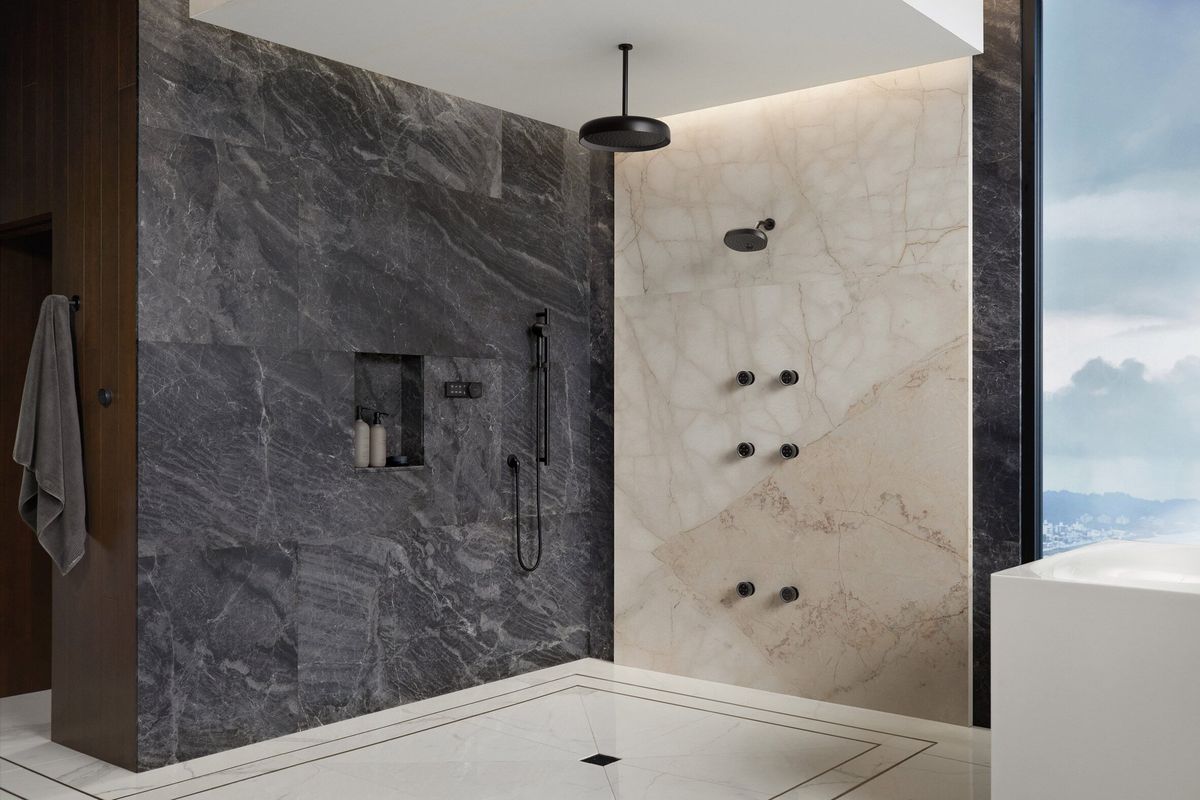
Installing a bathroom shower with digital controls can seem like a daunting task, but with the right guidance, it can be a rewarding DIY project. This guide will walk you through the steps involved in planning, designing, and installing a walk-in shower with digital controls, ensuring your bathroom is both functional and aesthetically pleasing.
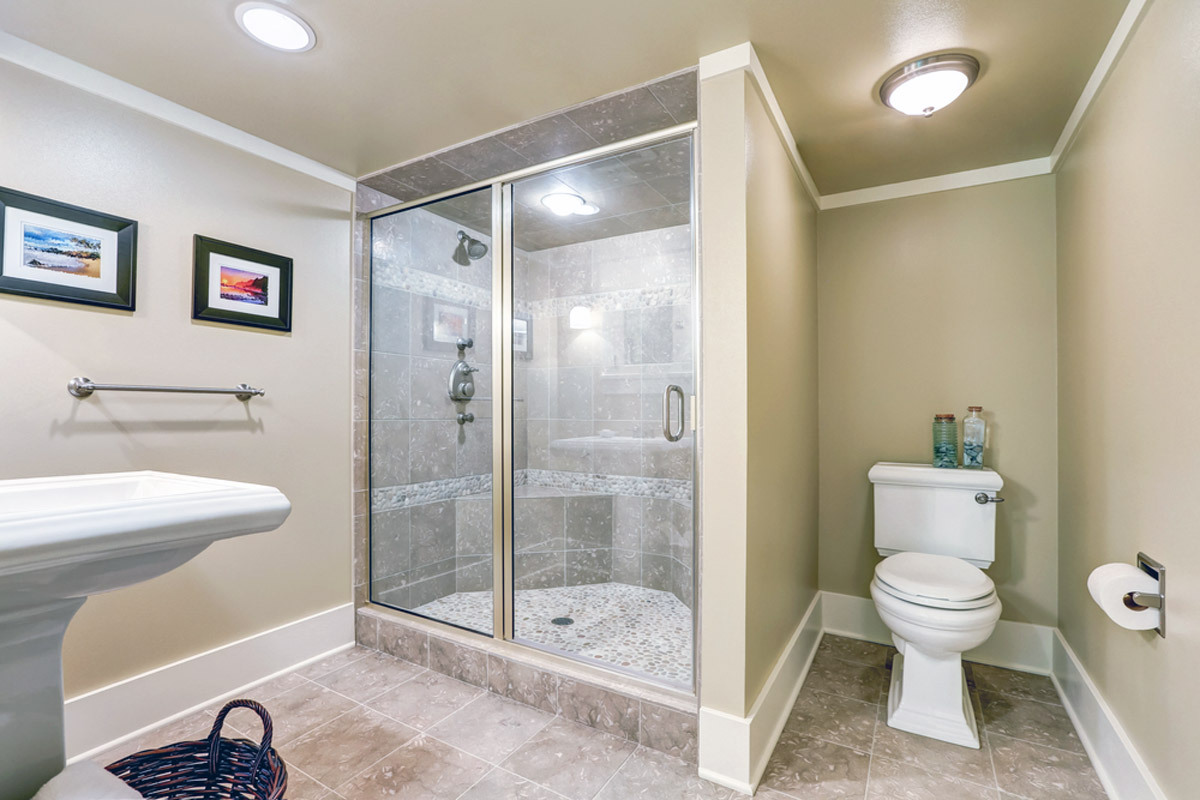
Planning Your Walk-in Shower
Before diving into the installation process, meticulous planning is essential. This involves assessing your space, choosing the right design, and selecting the appropriate materials.
Assessing Your Space
-
Measure Available Space:
- Use a tape measure to accurately measure the length, width, and height of your bathroom. Record all dimensions to ensure the shower design matches the actual space.
- Consider any obstructions such as plumbing fixtures, electrical wiring, and existing doors or windows.
-
Consider the Bathroom Layout:
- Pay attention to the overall layout of the bathroom. Ensure that the new shower won't interfere with other facilities like sinks, toilets, or bathtubs.
- Think about the flow of water and how it will affect the surrounding areas.
-
Identify Potential Obstructions:
- Check the condition of floors and walls to determine if repairs or reinforcements are needed. Older homes may require additional structural support to ensure stability.
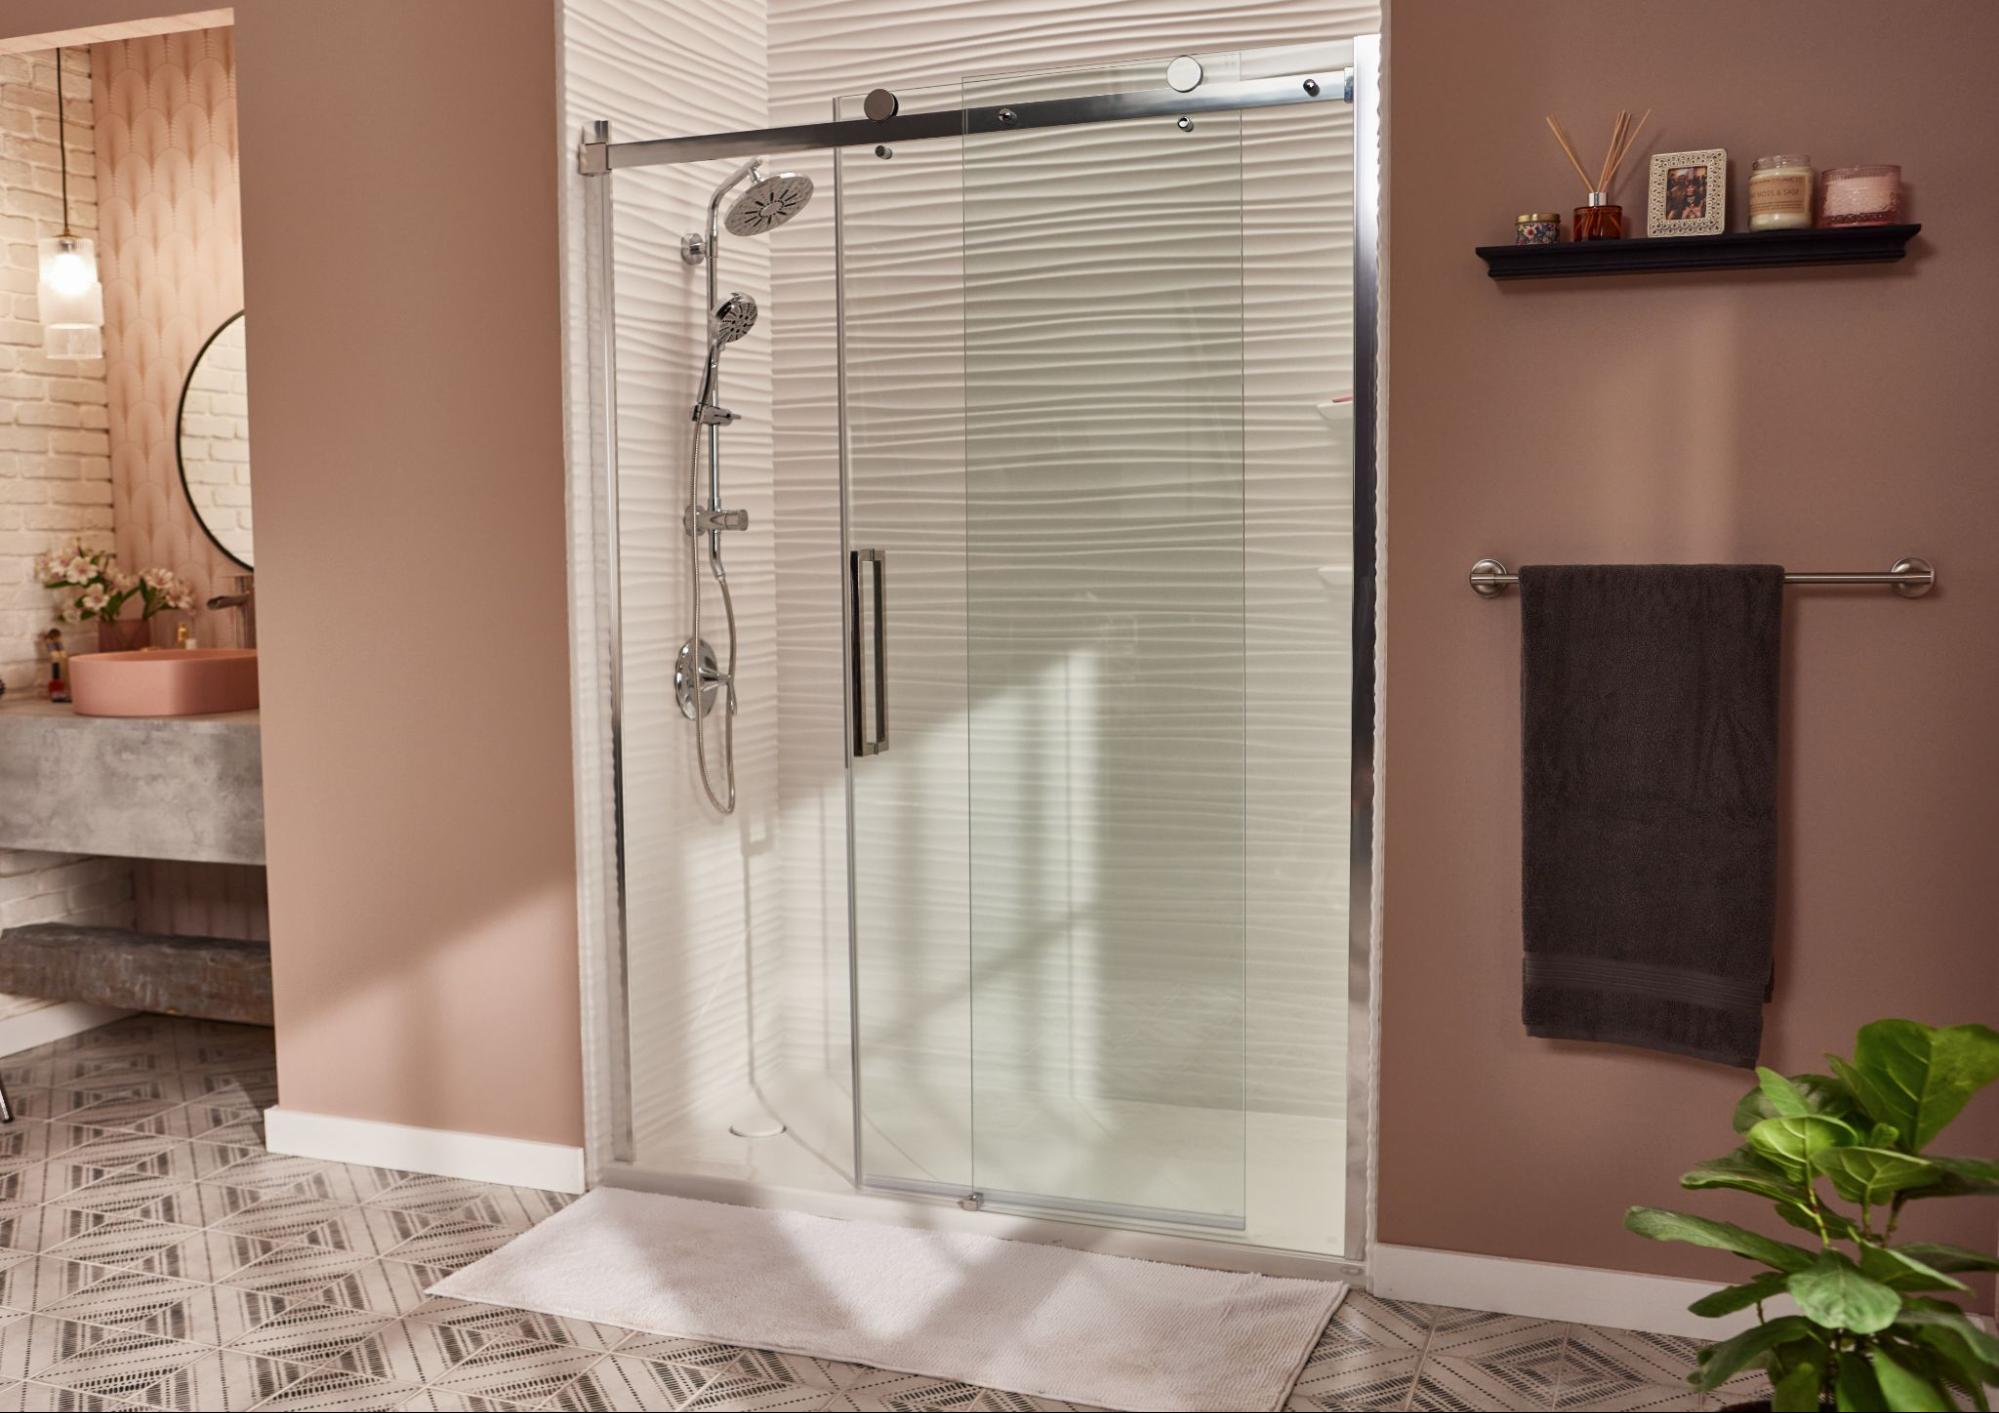
Choosing the Design of a Walk-in Shower
-
Open vs. Enclosed Design:
- An open walk-in shower has no door or only a transparent glass door, which is more visually open. This design is suitable for bathrooms with larger spaces.
- Enclosed designs provide more privacy but may reduce the sense of space. They are ideal for smaller bathrooms where privacy is a concern.
-
Doorless Design and Glass Door:
- The doorless design is simple and elegant, making it a popular choice for modern bathrooms.
- Glass doors are suitable for small spaces as they maintain a sense of openness while preventing water splashes.
-
Style and Aesthetics:
- Choose a design that matches the overall bathroom style. For example, a modern-style bathroom can opt for clean lines and smooth surfaces, while a traditional-style bathroom can opt for more decorative elements.
Preparing Your Tools and Materials
Before starting the installation process, gather all necessary tools and materials. Here’s a list of what you’ll need:
Essential Tools:
- Tape measure
- Level
- Drill
- Impact driver
- Wrenches (adjustable and fixed)
- Pliers
- Utility knife
- Safety goggles
- Work light
Essential Materials:
- Shower pan liner
- Waterproofing membrane
- Shower base
- Digital shower control unit
- Plumbing fixtures (faucet, drain assembly)
- Grout and caulk
- Tiles (wall and floor)
- Adhesive (for tiles)
- Grout float
- Grout sponge
- Caulk gun
Removing Old Shower and Preparing the Area
Removing the old shower is a crucial step in preparing your bathroom for the new installation. Here’s how you can do it safely and efficiently:
-
Disconnect Plumbing:
- Turn off the water supply to the bathroom. Open the faucet to drain the water from the pipes.
- Use wrenches to disconnect the faucet and drain assembly from the old shower.
-
Remove Old Shower Base:
- Use a pry bar or utility knife to carefully remove the old shower base. Be cautious not to damage any surrounding surfaces.
-
Clean the Area:
- Thoroughly clean the area where the old shower was located. Remove any debris, old adhesive, or grout.
-
Check for Obstructions:
- Inspect the area for any obstructions such as old pipes or wiring. Remove these obstructions if necessary.
Installing the Shower Pan Liner
The shower pan liner is a critical component of your walk-in shower as it provides a waterproof barrier between the shower base and the surrounding walls.
-
Lay Out the Liner:
- Measure and mark the area where you want to place the liner.
- Cut the liner to size using a utility knife or scissors.
-
Apply Adhesive:
- Apply adhesive to the back of the liner according to the manufacturer’s instructions.
- Press the liner firmly into place, ensuring it is centered and evenly spaced.
-
Secure the Liner:
- Use clamps or weights to secure the liner in place while it sets.
Installing the Waterproofing Membrane
The waterproofing membrane provides an additional layer of protection against water leaks.
-
Cut the Membrane:
- Measure and cut the membrane to size using a utility knife or scissors.
-
Apply Adhesive:
- Apply adhesive to the back of the membrane according to the manufacturer’s instructions.
- Press the membrane firmly into place, ensuring it is centered and evenly spaced.
-
Secure the Membrane:
- Use clamps or weights to secure the membrane in place while it sets.
Read more: DIY Guide To Installing A Tile Shower
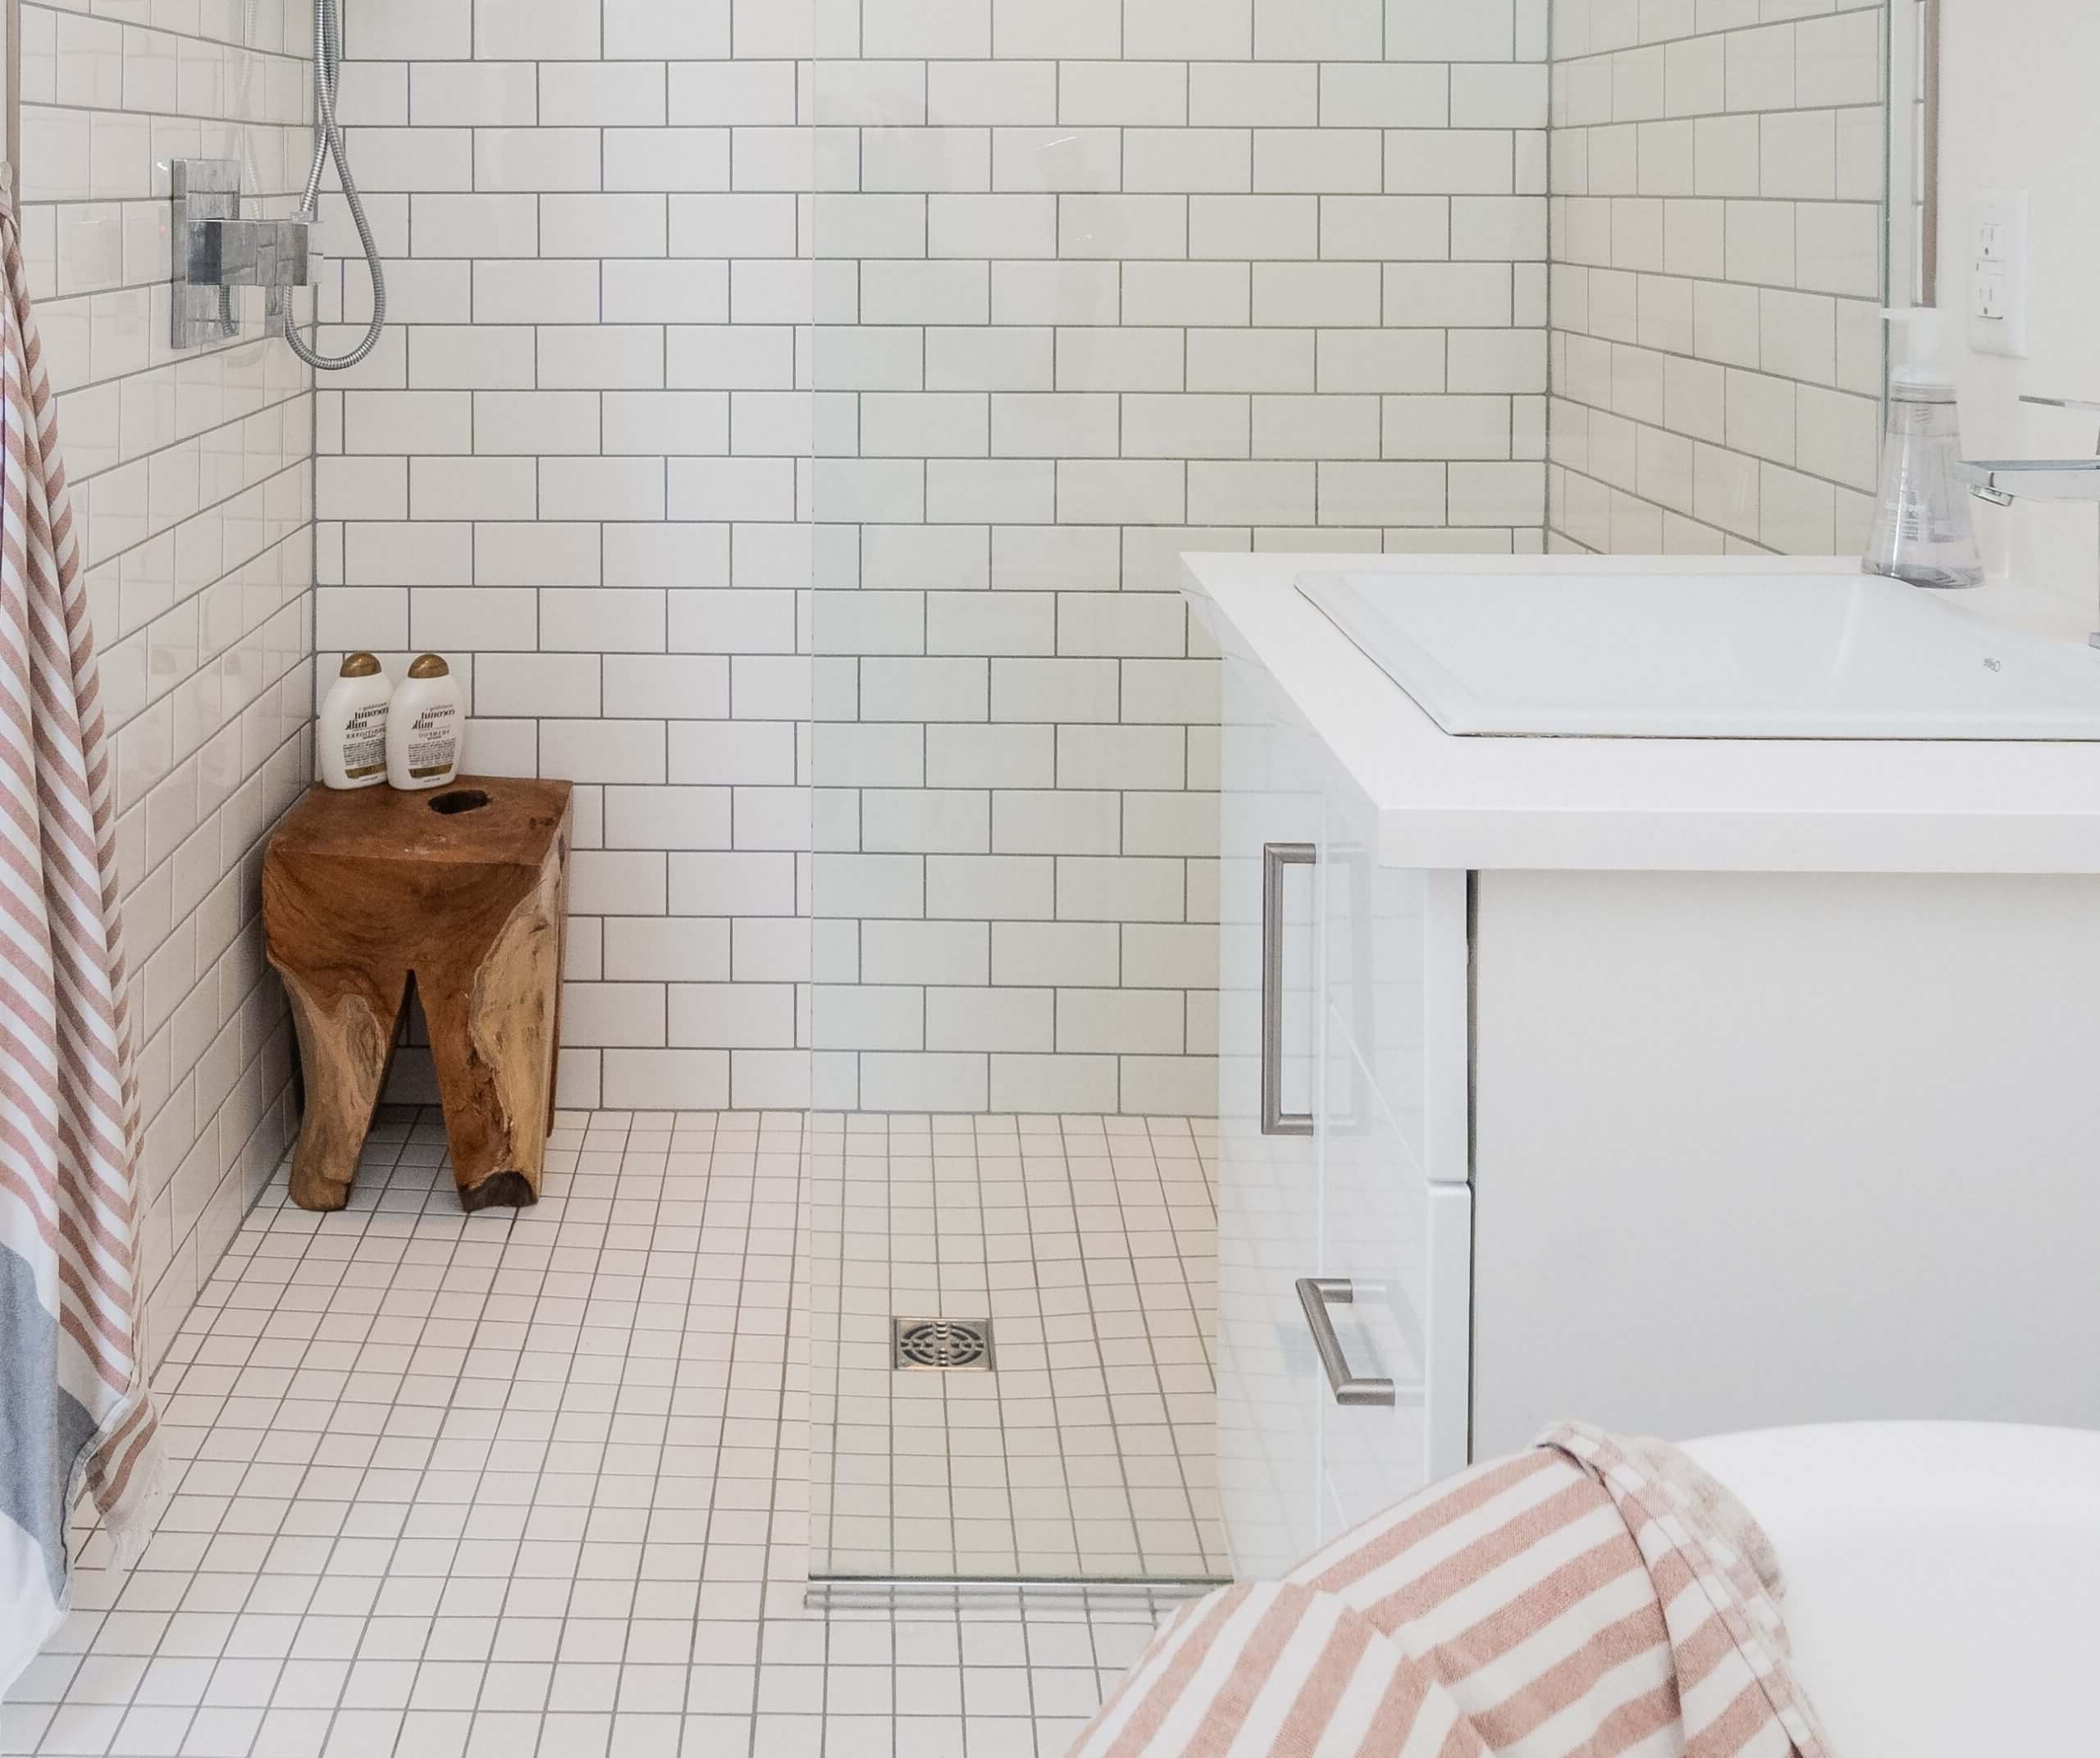
Installing the Shower Base
The shower base is the foundation of your walk-in shower and provides a smooth surface for the digital controls.
-
Measure and Cut:
- Measure and cut the shower base to size using a utility knife or saw.
-
Apply Adhesive:
- Apply adhesive to the back of the shower base according to the manufacturer’s instructions.
- Press the shower base firmly into place, ensuring it is centered and evenly spaced.
-
Secure the Base:
- Use clamps or weights to secure the base in place while it sets.
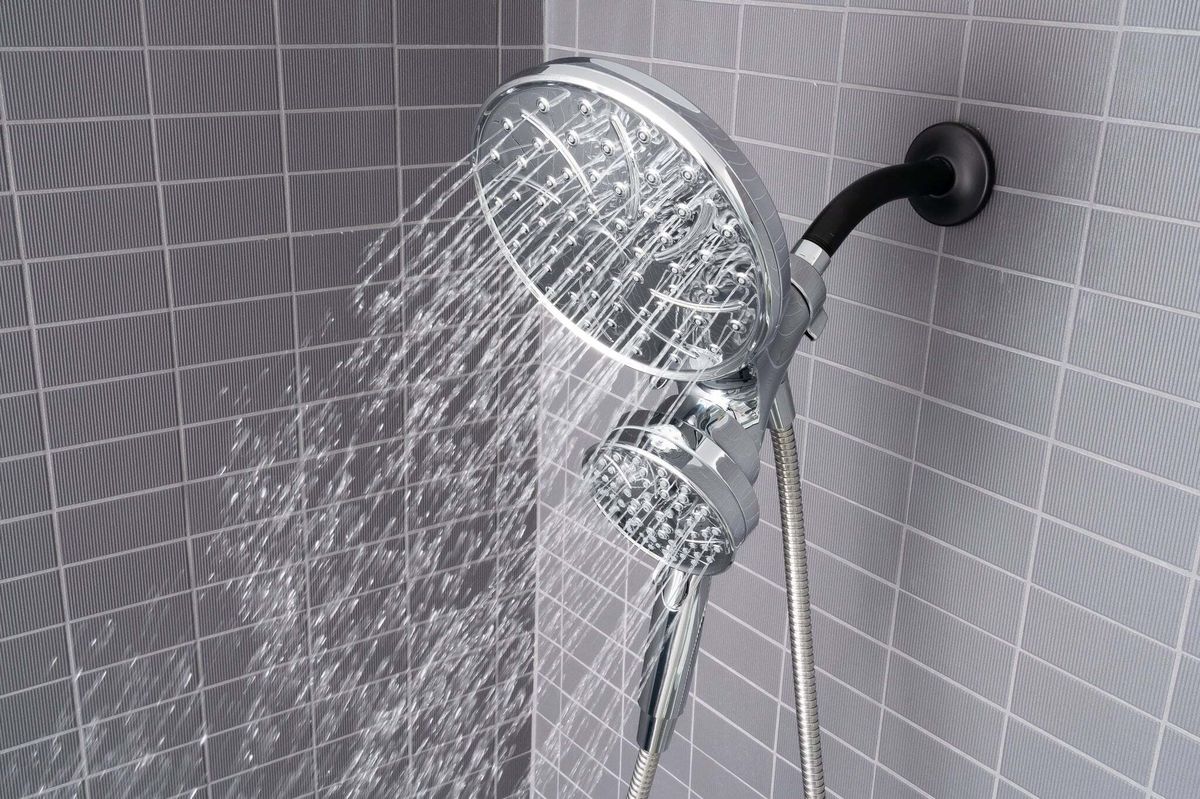
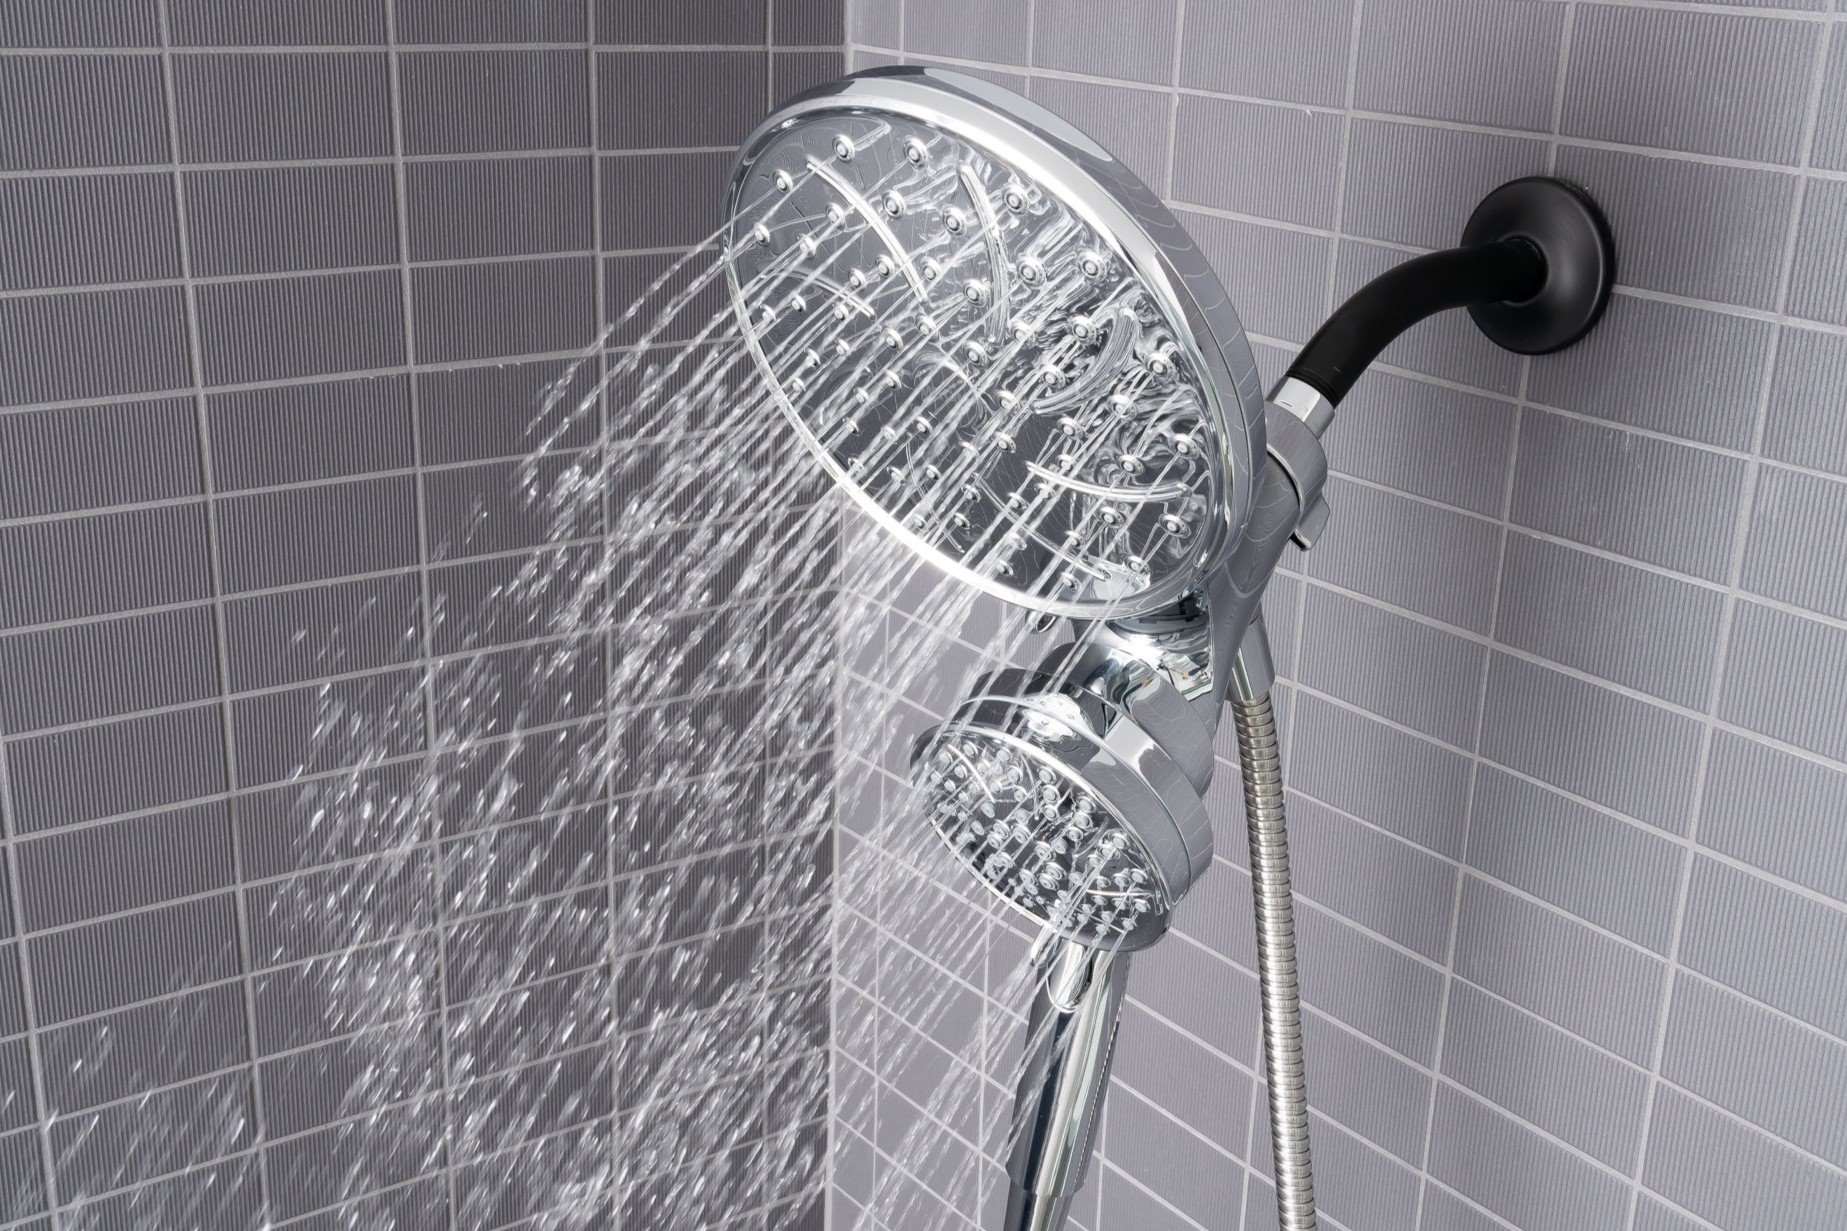
Installing Digital Shower Control Unit
The digital shower control unit is the heart of your walk-in shower, providing precise temperature control and water flow.
-
Mounting the Unit:
- Follow the manufacturer’s instructions for mounting the digital shower control unit. Typically, this involves drilling holes in the shower base and attaching the unit using screws or adhesive.
-
Connecting Plumbing:
- Connect the plumbing fixtures (faucet and drain assembly) to the digital shower control unit according to the manufacturer’s instructions.
-
Testing the Unit:
- Turn on the water supply and test the digital shower control unit to ensure it is working properly.
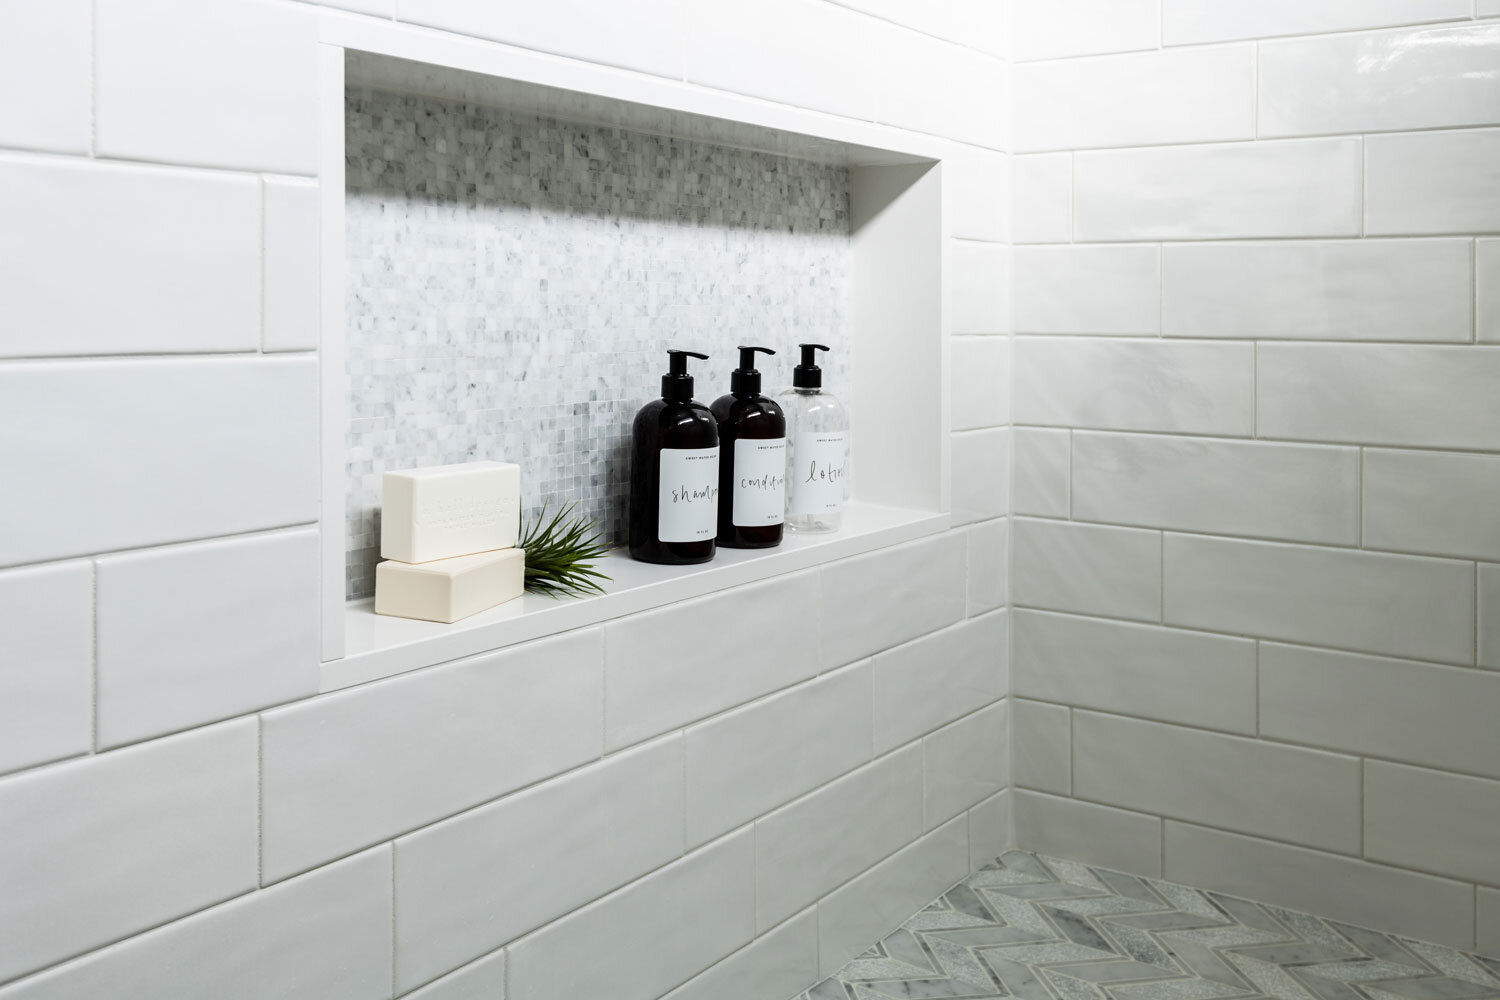
Installing Tiles and Grout
Tiles and grout are essential for creating a visually appealing and durable walk-in shower.
-
Laying Tiles:
- Measure and mark the area where you want to place the tiles.
- Apply adhesive to the back of each tile according to the manufacturer’s instructions.
- Press each tile firmly into place, ensuring they are evenly spaced and aligned properly.
-
Grouting Tiles:
- Apply grout between each tile using a grout float.
- Wipe away excess grout using a damp sponge.
-
Sealing Grout:
- Allow the grout to dry completely before sealing it with caulk.
Final Inspection and Testing
Before using your new walk-in shower, it’s crucial to conduct a final inspection and testing.
-
Check All Connections:
- Ensure all plumbing connections are tight and there are no leaks.
- Check the waterproofing layer for any gaps or cracks.
-
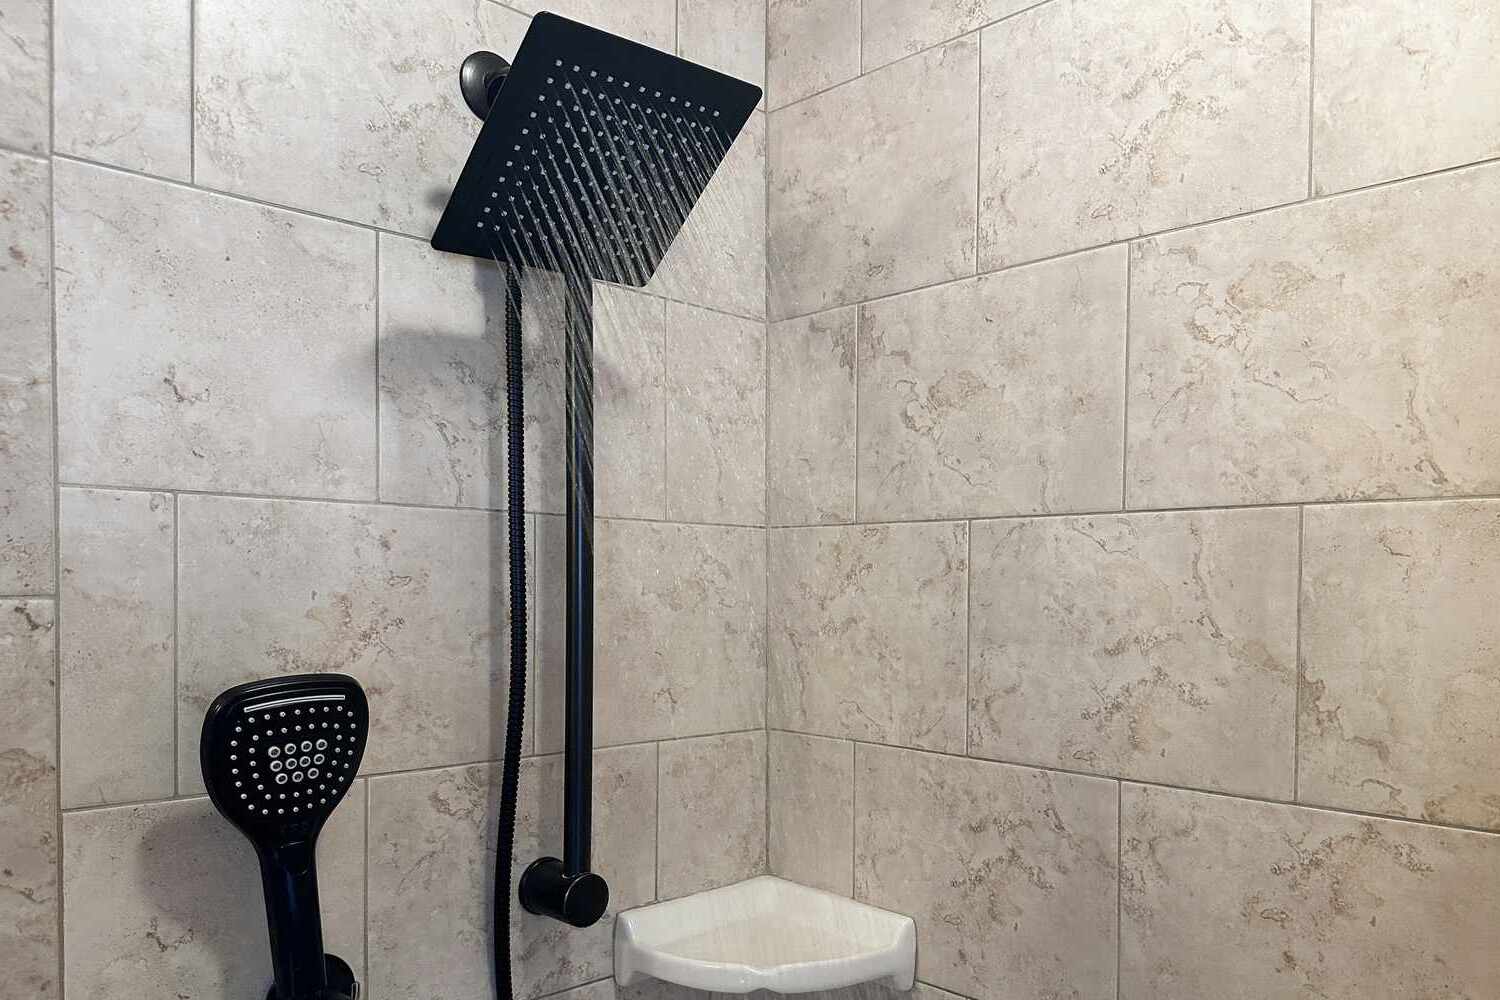
Test Water Flow and Temperature:
- Turn on the shower head and check whether the water flow is smooth and there are no blockages or abnormalities.
- Adjust the shower controls to make sure the thermostatic valve or pressure balancing valve is working properly and the water temperature is stable.
-
Clean Up:
- Thoroughly remove any debris or dust from the work area.
- Clean walls and floors using a damp cloth or vacuum cleaner.
Read more: DIY Guide To Installing A Glass Shower Door
Conclusion
Installing a bathroom shower with digital controls requires careful planning, precise execution, and attention to detail. By following this comprehensive guide, you can create a functional and aesthetically pleasing walk-in shower that enhances your bathroom experience. Remember to always follow safety guidelines and manufacturer instructions to ensure a successful DIY project.
Additional Tips and Considerations
- Safety First: Always wear safety goggles and gloves when working with power tools or handling sharp objects.
- Consult Professionals: If you’re unsure about any part of the process, consider consulting professionals for assistance.
- Maintenance: Regularly inspect your walk-in shower for any signs of wear or damage, and perform necessary maintenance tasks promptly.
By taking these steps and following this guide, you can successfully install a bathroom shower with digital controls, transforming your bathroom into a modern and comfortable space.
Was this page helpful?
At Storables.com, we guarantee accurate and reliable information. Our content, validated by Expert Board Contributors, is crafted following stringent Editorial Policies. We're committed to providing you with well-researched, expert-backed insights for all your informational needs.


0 thoughts on “DIY Guide To Installing A Bathroom Shower With Digital Controls”