Home>Ideas and Tips>DIY Guide to Installing a Bathroom Shower with a Waterproof Bluetooth Speaker
Ideas and Tips
DIY Guide to Installing a Bathroom Shower with a Waterproof Bluetooth Speaker
Published: September 4, 2024
Elevate your shower experience with our DIY guide to installing a waterproof Bluetooth speaker in your bathroom. Enjoy music and relaxation effortlessly!
(Many of the links in this article redirect to a specific reviewed product. Your purchase of these products through affiliate links helps to generate commission for Storables.com, at no extra cost. Learn more)
Introduction
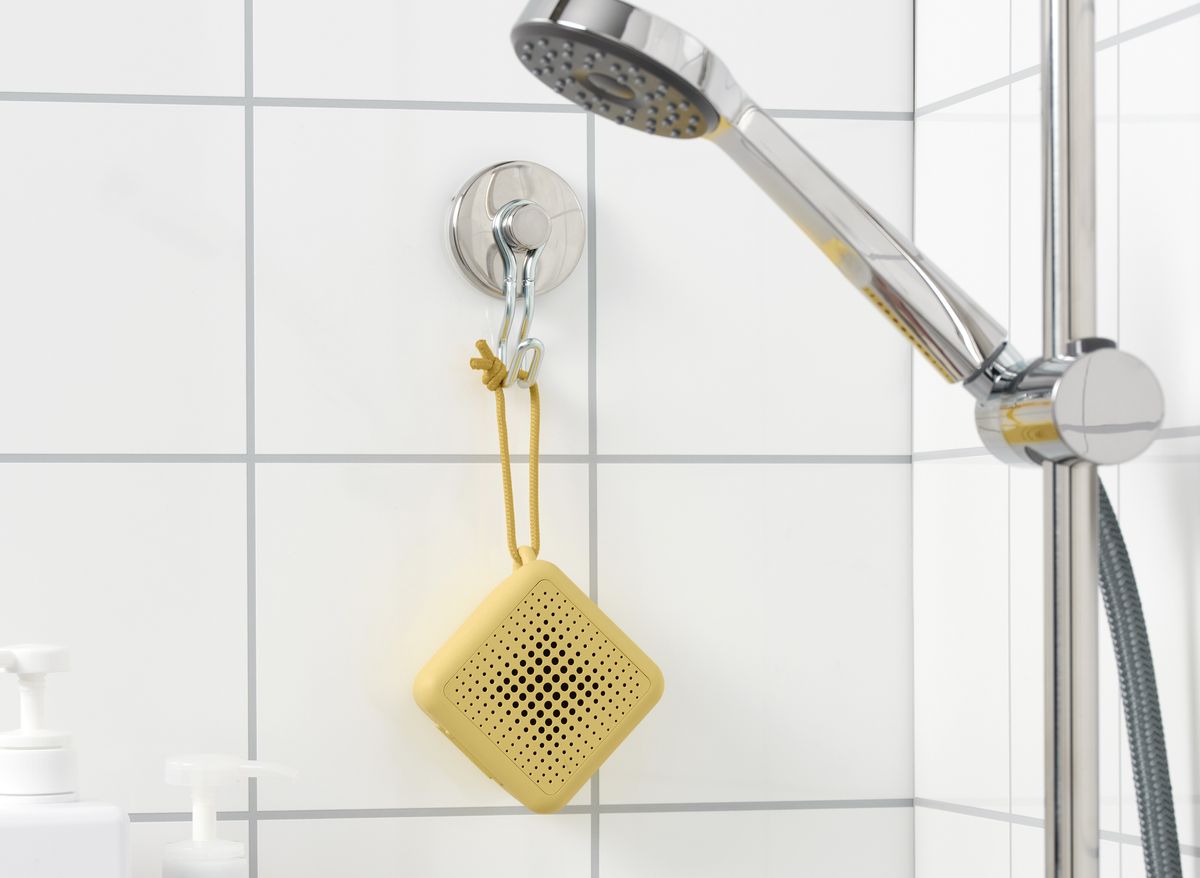
Installing a waterproof Bluetooth speaker in your bathroom can elevate your shower experience, providing you with the perfect blend of music and relaxation. This DIY guide will walk you through the steps required to install a waterproof Bluetooth speaker in your bathroom, ensuring that you have a seamless and enjoyable experience.
Why Install a Waterproof Bluetooth Speaker?
Adding a waterproof Bluetooth speaker to your bathroom is a game-changer. Imagine grooving to your favorite tunes while you shower. It’s like having a mini-concert every morning. Plus, these speakers are designed to handle the humidity and splashes, so no worries about water damage. They’re super convenient too. Just connect your phone or tablet via Bluetooth, and you’re good to go. No messy cables, just pure, uninterrupted music.
Choosing the Right Waterproof Bluetooth Speaker
Picking the right speaker is crucial. Here’s what you need to consider:
- IP Rating: Look for speakers with an IPX6 or higher rating. This means they can handle water splashes and are perfect for humid environments.
- Power and Volume: Think about how loud you want your music. Higher power speakers give you louder, clearer sound but might need more space for installation.
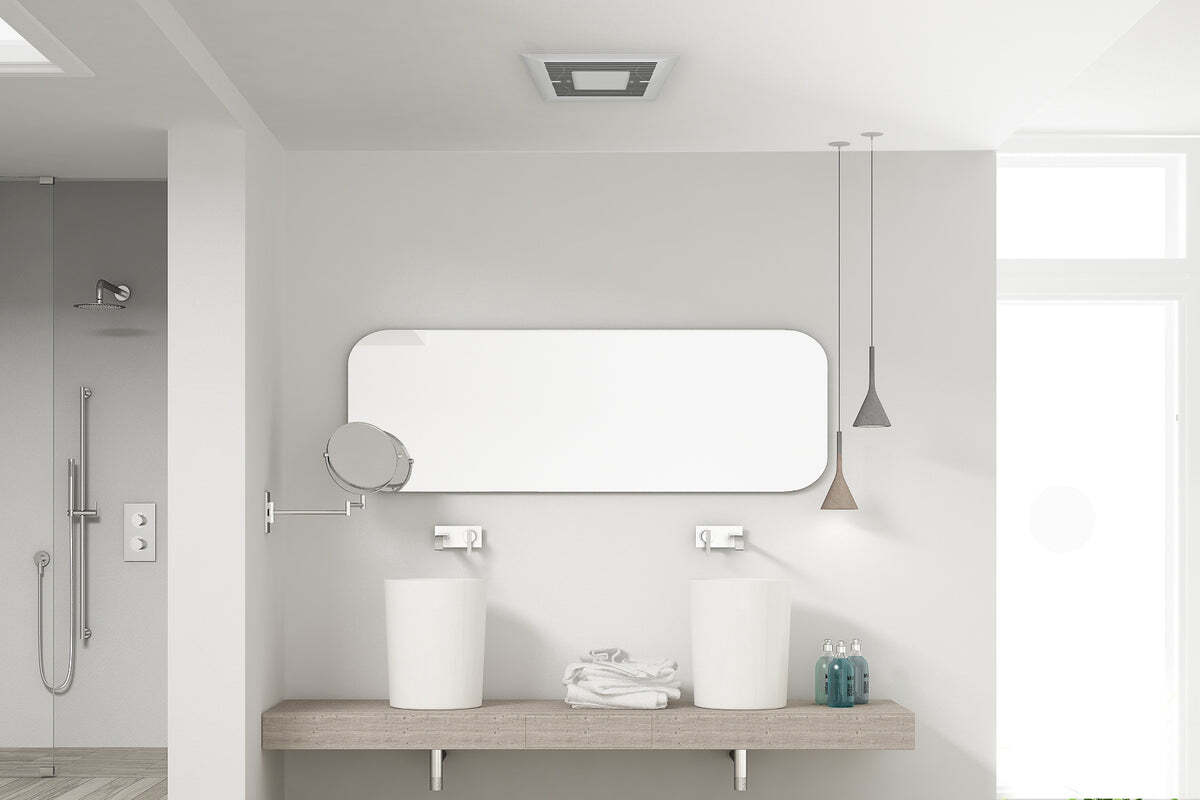
- Mounting Options: Decide if you want a ceiling-mounted or wall-mounted speaker. Ceiling-mounted ones are more discreet but need more installation space.
Materials Needed
Before you start, gather these materials:
- Waterproof Bluetooth Speaker: Choose one based on power, volume, and IP rating.
- Drill and Bits: For drilling holes in the ceiling or wall.
- Hole Saw: To create the necessary hole size for the speaker.
- Bluetooth Amplifier: If your speaker needs an amplifier, make sure it’s hidden behind the wall or ceiling.
- Electrical Outlet: Ensure there’s an outlet behind the ceiling to power the amplifier.
- Bluetooth Antenna Extension Kit: If needed, to boost Bluetooth signal strength.
- Template and Measuring Tools: For precise measurements and hole placement.
- Silicone Sealant and Epoxy: To seal any gaps around the speaker.
Step-by-Step Installation Guide
Step 1: Plan Your Installation
Planning is key. Make sure you have enough space behind the ceiling or wall for the speaker and amplifier. Check for any pipes or cables that might get in the way.
- Check Depth Requirements: Ensure you have at least 35 millimeters of space for the smallest speaker and up to 81 millimeters for the largest.
- Check Hole Size Requirements: The minimum hole size is 100 millimeters, but for the largest speaker, you might need a hole up to 206 millimeters.
Step 2: Prepare Your Tools
Gather all necessary tools and materials before starting.
- Drill and Bits: Use a drill with appropriate bits for drilling through ceilings or walls.
- Hole Saw: Use a hole saw to create the required hole size.
- Measuring Tools: Use measuring tools like a tape measure and a level for precise measurements.
Step 3: Mark the Hole Location
Use a template or measuring tools to mark the exact spot for the speaker. Double-check for any pipes or cables in that area.
Step 4: Drill the Hole
Drill a hole in the marked spot using a drill bit. If needed, use a hole saw to create the required hole size.
Step 5: Install the Speaker
Carefully insert the speaker into the hole. If it’s a recessed speaker, make sure it fits snugly.
Step 6: Conceal the Bluetooth Amplifier
If your speaker needs an amplifier, hide it behind the wall or ceiling. Make sure it’s connected to an electrical outlet.
Step 7: Seal Any Gaps
Use silicone sealant or epoxy to seal any gaps around the speaker to keep water out.
Step 8: Test the Bluetooth Connection
Test the Bluetooth reception with the amplifier inserted. If needed, use a Bluetooth antenna extension kit to boost signal strength.
Step 9: Determine Max Volume
Set the amplifier’s maximum volume based on an enjoyable listening experience with your device (usually 60 or 70% of the amplifier).
Step 10: Final Check
Curious about what the entire installation looks like? Read the manual to get a complete picture. Ensure all connections are secure and there are no gaps that could let water in.
Read more: DIY Guide To Installing A Tile Shower
Additional Tips
Here are some extra tips to help you out:
- Use Provided Template: Use the provided template to determine the hole location and cut it out precisely.
- Check for Obstacles: Before drilling, check for any obstacles like pipes or cables that might interfere.
- Test Before Finalizing: Test the Bluetooth reception with the amplifier inserted.
Alternative Solutions
If you’re not comfortable installing a waterproof Bluetooth speaker yourself, consider these alternatives:
- Ceiling-Mounted Speakers: These are designed to be mounted directly into the ceiling and often come with an amplifier and Bluetooth module.
- Marine Speakers: These are surface-mountable and don’t require cutting holes in the ceiling or wall, making them a good option if you’re not comfortable with drilling.
Conclusion
Installing a waterproof Bluetooth speaker in your bathroom can significantly enhance your shower experience. By following these steps and considering the necessary factors, you can enjoy high-quality sound while keeping your bathroom safe from water damage. Whether you choose to install it yourself or opt for a more sophisticated solution, the end result will be worth the effort.
References
- AquaSound. (n.d.). Tips for installing waterproof Bluetooth speakers into suspended ceiling. Retrieved from https://aquasound.eu/en/blog/tips-for-installing-waterproof-bluetooth-speakers-into-suspended-ceiling/
- Home NetWerks. (2020, September 18). Home NetWerks Bath Fan & Speaker In One DIY INSTALL. YouTube. Retrieved from https://www.youtube.com/watch?v=msKik8QXJqM
- depotdevoid. (n.d.). Waterproof Speaker for Better Shower Singing. Instructables. Retrieved from https://www.instructables.com/Waterproof-Speaker-For-Better-Shower-Singing/
- r/BudgetAudiophile. (2017, July 11). Bathroom speaker setup? Reddit. Retrieved from https://www.reddit.com/r/BudgetAudiophile/comments/6mm8r2/bathroom_speaker_setup/
- Broan-NuTone. (n.d.). Broan-NuTone FG800RGBS Genuine Replacement Cover (Bath Fan Cover with Color Changing LED Light and Bluetooth Speaker). Amazon. Retrieved from https://www.amazon.com/Broan-NuTone-Bathroom-Replacement-ChromaComfort-Bluetooth/dp/B00MYVDBUE
Was this page helpful?
At Storables.com, we guarantee accurate and reliable information. Our content, validated by Expert Board Contributors, is crafted following stringent Editorial Policies. We're committed to providing you with well-researched, expert-backed insights for all your informational needs.


0 thoughts on “DIY Guide to Installing a Bathroom Shower with a Waterproof Bluetooth Speaker”