Home>Ideas and Tips>DIY Guide To Installing A Bathroom Tub-to-Shower Conversion

Ideas and Tips
DIY Guide To Installing A Bathroom Tub-to-Shower Conversion
Published: August 31, 2024
Transform your bathroom with our DIY guide to converting a tub into a walk-in shower. Step-by-step instructions and tips for a successful project.
(Many of the links in this article redirect to a specific reviewed product. Your purchase of these products through affiliate links helps to generate commission for Storables.com, at no extra cost. Learn more)
Converting a bathtub into a walk-in shower is a fantastic way to modernize your bathroom, enhance its usability, and potentially increase its resale value. This project can be both rewarding and challenging, depending on your DIY skills and the complexity of the conversion. In this article, we will guide you through the entire process of converting a tub to a shower, highlighting the steps, materials needed, and tips for a successful DIY project.
Planning and Designing Your Bathtub Conversion to Walk-In Shower
Before you begin, it's crucial to plan and design your bathtub conversion carefully. Here are some key steps to consider:
1. Evaluate Your Bathroom Space
Measure the area accurately and consider any modifications or adjustments necessary. Think about the layout and how you want your new shower to look. You might want to sketch out a rough design to visualize the space.
2. Choose the Right Shower Design
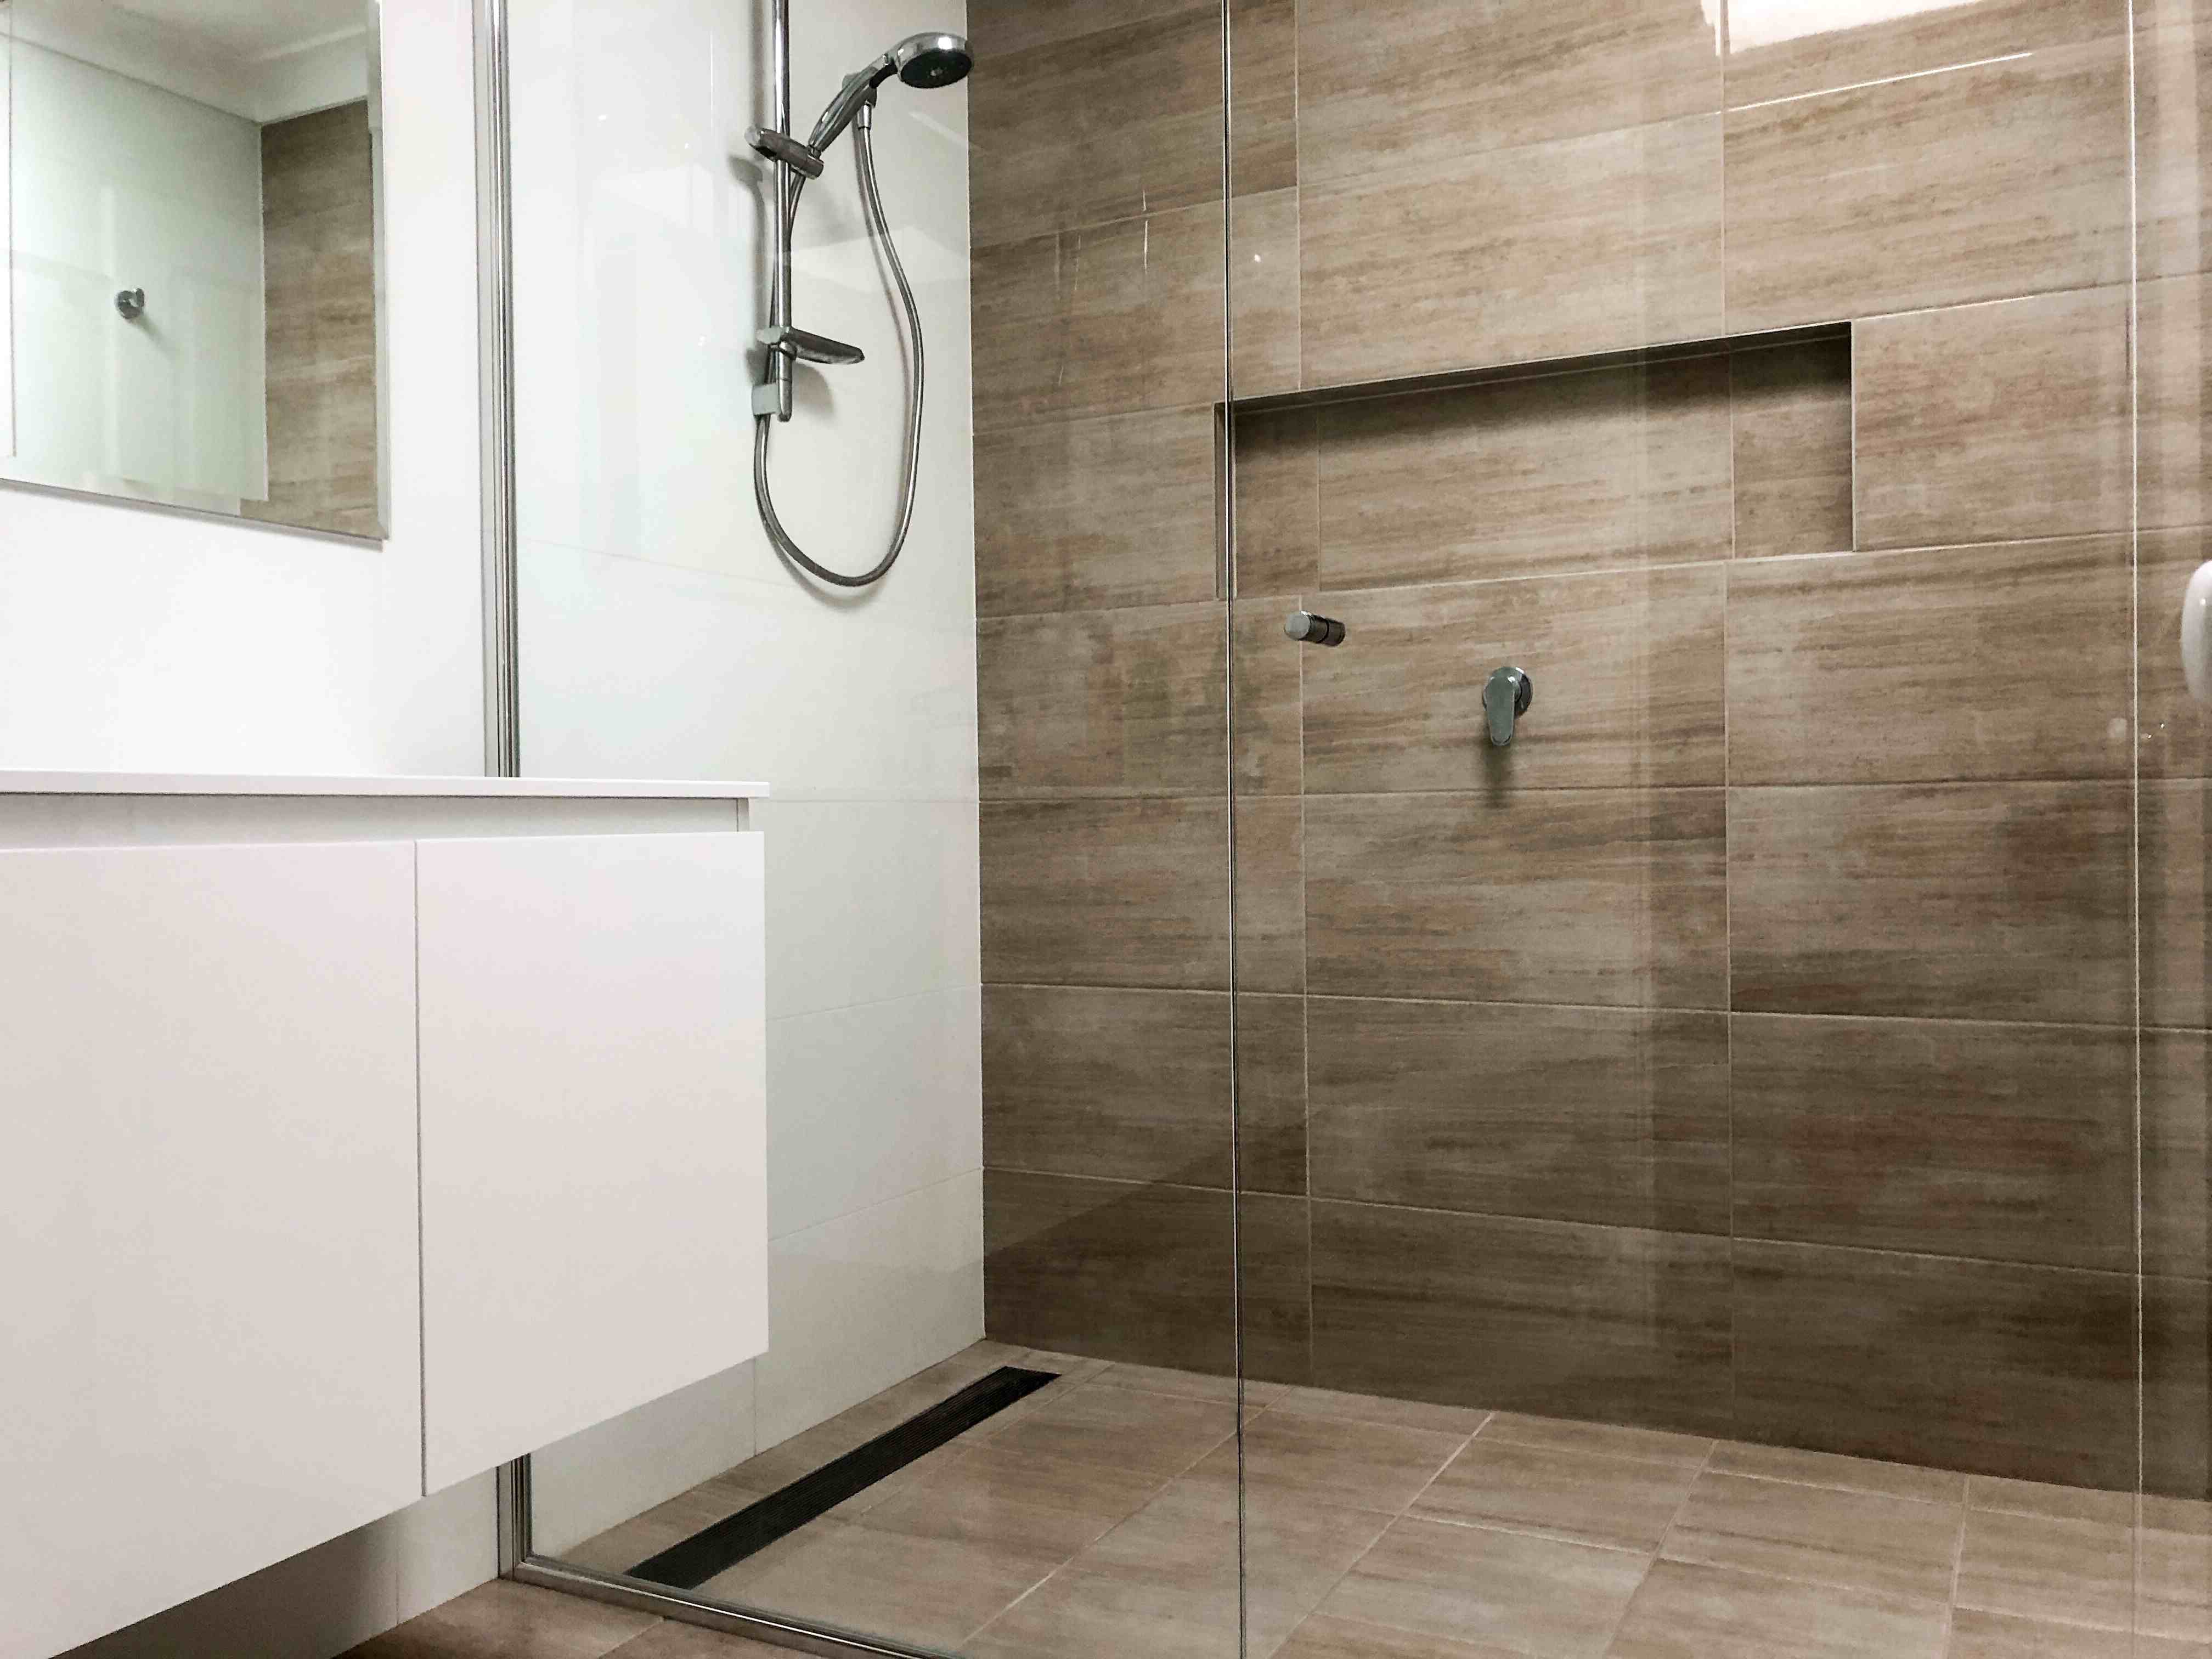
Select a shower design that fits your bathroom size and personal preferences. There are various types of walk-in showers, including those with glass enclosures, tile surrounds, and even custom designs. Consider factors like water pressure, drainage, and accessibility.
3. Professional Consultation
If you're not confident in your DIY skills or if the project seems too complex, consider consulting with a professional. They can provide expert advice and guidance throughout the process, ensuring that your new shower meets all safety standards and local building codes.
Materials and Tools Needed for Bathtub Conversion to Walk-In Shower
To convert a tub to a shower, you'll need several essential materials and tools. Here’s a comprehensive list:
- Waterproofing Membrane and Sealant: These are crucial for preventing water from seeping into the subfloor or walls.
- Shower Base or Pan: This is the base of your new walk-in shower.
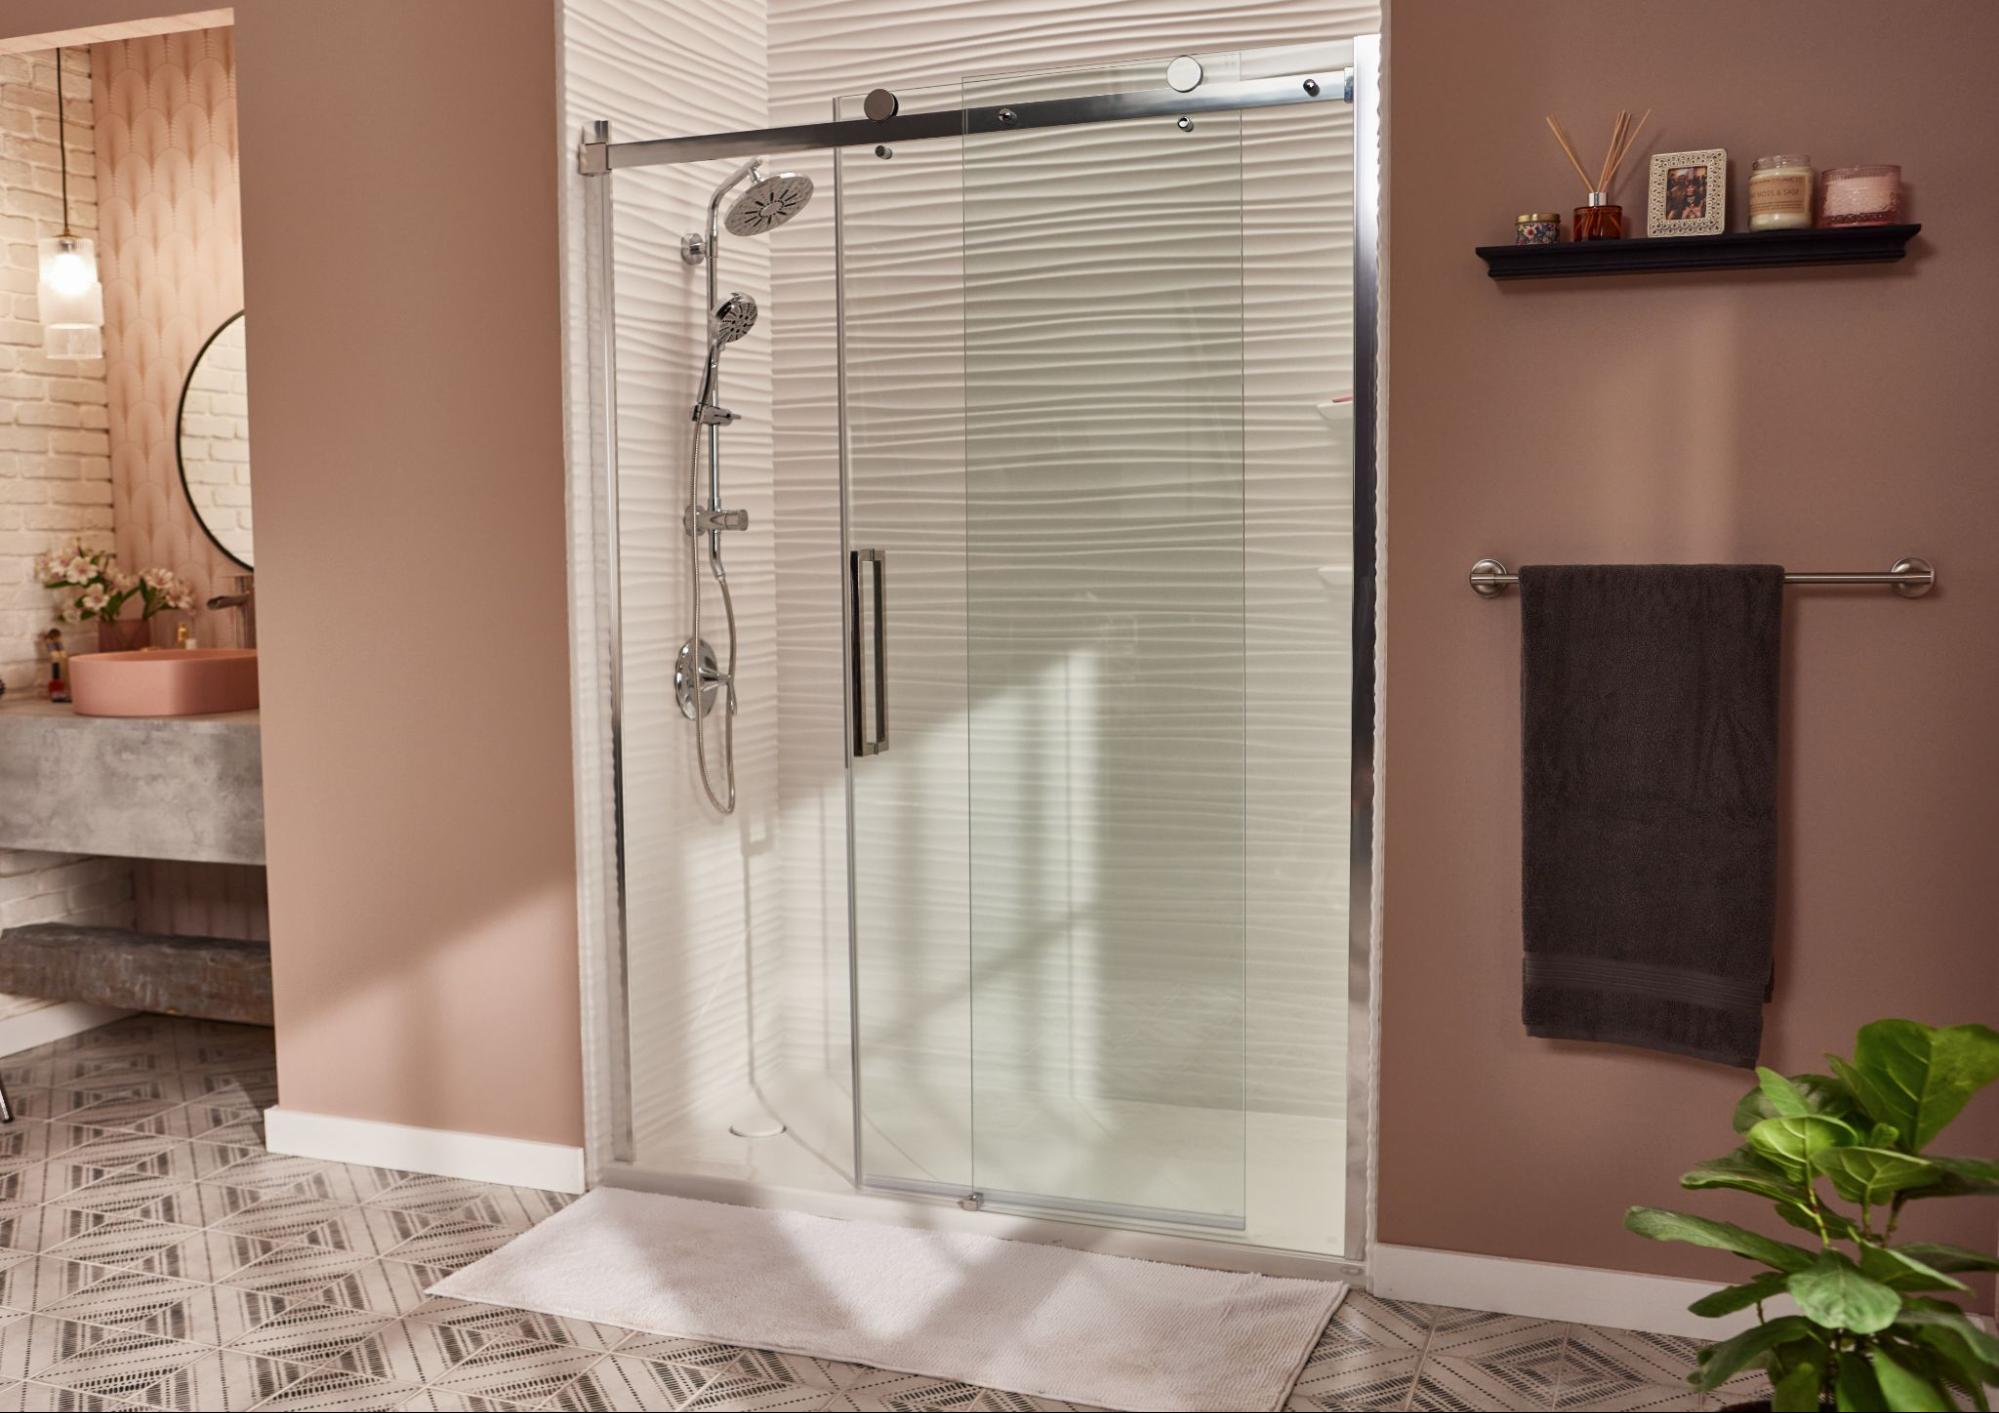
- Shower Doors or Enclosure: Glass enclosures are popular for their sleek look and ease of cleaning.
- Plumbing Supplies: You'll need new drain pipes, P-traps, and possibly a mixing valve if you're reusing existing plumbing.
- Tiling Materials: Tiles, grout, and adhesive (thinset) are necessary for creating a waterproof and visually appealing surface.
- Kerdi Board: This is a specialized board used for creating a watertight surface around the shower area.
- Tools: A drywall saw, reciprocating saw, jigsaw, metal putty knife, utility knife, pry bar, and protective gear like gloves and eyewear.
Read more: DIY Guide To Installing A Tile Shower
Step-by-Step Guide to Converting a Tub to a Walk-In Shower
1. Turn Off the Water Supply
Always start by turning off your bathroom’s water supply to prevent any accidental water damage. Locate the shut-off valves and turn them clockwise to shut off the water supply.
2. Remove Wall Sections
Next, remove the wall sections surrounding your tub. This could involve cutting through drywall or removing tiles. Use a drywall saw or reciprocating saw for this task.
3. Disconnect Plumbing Fixtures
Once the walls are removed, disconnect the plumbing fixtures connected to your tub. This includes removing any valves and connections to the tub drain.
Read more: DIY Guide To Installing A Glass Shower Door
4. Remove the Tub
Now, remove the tub itself. This can be a physically demanding task, so take proper precautions and seek help if necessary. Ensure that you have a clear path for removing the tub without causing damage to surrounding areas.
5. Check Subflooring for Damage
With the tub removed, check the subflooring for any damage or rot that needs repair. This is crucial to ensure that your new shower has a solid foundation.
6. Install Your New Shower
Finally, install your new walk-in shower following the manufacturer’s instructions. If you're not confident in your DIY skills, consider hiring a professional for this step.
Installing Kerdi Board
If you're using Kerdi Board, apply it around the shower area according to the manufacturer’s instructions. This will help create a watertight surface.
Installing Shower Base or Pan
Place your shower base or pan in position and ensure it's level. Apply adhesive (thinset) around the edges of the base and press it firmly into place.
Installing Tiles
Begin tiling around the shower area, ensuring that each tile is properly aligned and securely attached using adhesive and grout.
Installing Shower Doors or Enclosure
Install your shower doors or enclosure following the manufacturer’s instructions. Ensure that they are securely attached to the surrounding tiles.
Ensuring Proper Drainage
Having a properly functioning drainage system is crucial for maintaining a healthy and safe home. Water that does not drain efficiently can lead to problems such as clogged pipes, slow drains, mildew growth, and even foundation damage.
Consult with a Professional
Consult with a licensed plumber to assess your existing plumbing system and make necessary modifications for optimal drainage. They can identify areas where water flow is restricted or where the pipes are outdated and need replacement.
Check Slope of Drainage Pipes
Ensure that the slope of the drainage pipes is correct. This is essential for ensuring proper water flow and preventing back-ups.
Choosing Slip-Resistant Flooring
A walk-in shower conversion from a bathtub requires choosing slip-resistant flooring. Unlike a bathtub where you can typically sit down, a walk-in shower requires stepping in and out while wet, which creates a higher risk of slips and falls.
Selecting Materials
Consider using materials like textured tiles or non-slip mats specifically designed for bathroom floors. These materials provide better traction and reduce the risk of accidents.
Read more: DIY Guide To Installing A Subway Tile Shower
Adding Grab Bars
Installing grab bars provides support and stability, especially for those with mobility issues. These bars can be attached to the walls using screws or adhesive strips.
Placement
Place grab bars in strategic locations such as near the shower entrance or inside the shower itself. Ensure they are securely attached to the walls to provide maximum support.
Selecting Low-Maintenance Materials
Consider choosing low-maintenance materials like acrylic shower pans for an easy-to-clean shower. These materials are durable and resistant to stains, making them ideal for busy households.
Benefits
Low-maintenance materials save time and effort in cleaning. They also reduce the risk of mold and mildew growth, which can be problematic in bathrooms.
Cost Considerations
The cost of converting a tub to a shower varies widely depending on several factors including the size of the area, fixtures selected, and other features added. Here are some estimated costs:
- DIY Conversion Kit: These kits range from $200 to $2,000 depending on the style and complexity of the kit.
- Materials: Tiles, grout, adhesive (thinset), waterproofing membrane, and other materials can cost between $1,000 to $3,000.
- Labor: Hiring a professional can add significantly to the cost, ranging from $1,200 to $8,000 or more.
Tips for a Successful Bathtub Conversion to Walk-In Shower
Hire a Professional Bath Contractor
While the thought of a DIY tub-to-shower conversion might be appealing to save money, hiring a professional like DaBella Boise can ensure a smoother and more efficient process in several ways. Professionals possess the expertise and experience required for successful tub removal, shower installation, and plumbing adjustments.
Ensure Proper Drainage
Having a properly functioning drainage system is crucial. Consult with a licensed plumber to assess your existing plumbing system and make necessary modifications for optimal drainage.
Choose Slip-Resistant Flooring
Slip-resistant flooring is essential in walk-in showers. Choose materials like textured tiles or non-slip mats specifically designed for bathroom floors.
Add Grab Bars
Installing grab bars provides support and stability, especially for those with mobility issues.
Select Low-Maintenance Materials
Consider choosing low-maintenance materials like acrylic shower pans for an easy-to-clean shower.
Common Challenges and Solutions
Subfloor Damage
If you find damage to the subfloor during removal of the tub, repair it immediately. Use plywood or other suitable materials to patch up any gaps or rot.
Plumbing Issues
Ensure that your new shower drain is connected to a 2-inch or larger diameter pipe as required by code. Tub drains are smaller and cannot be connected directly to a downstream 1-1/2-inch pipe without causing plumbing problems.
Tiling Challenges
Tiling around a shower area can be challenging due to its curved shape and wet environment. Use specialized adhesive and grout designed for bathroom tiles to ensure they remain waterproof.
Case Study: Cost-Effective Conversion
A recent case study highlighted how converting a tub to a shower on a second-floor wood subfloor can be cost-effective. The project involved:
- Drain Plumbing Basics: Connecting to a 2-inch or larger diameter pipe is critical for proper tub-to-shower conversion.
- Wood Subfloors: Since builders have generally run 2-inch drain pipes right up to bathtub p-traps since the 1990s, converting a tub to a shower on a wood subfloor is relatively simple.
- Basic Carpentry Skills: Properly patching the floor back up requires only basic carpentry skills.
- Cost-Saving Tips: The project cost $7,000 for labor and $1,000 for installation materials (plumbing parts, backerboard, waterproofing membrane, thinset, and grout). The tile and sliding glass enclosure kit added another $2,000.
Conclusion
Converting a bathtub into a walk-in shower is a rewarding DIY project that can significantly enhance your bathroom's functionality and aesthetic appeal. By following these steps and tips outlined in this guide, you can ensure that your new shower is both safe and visually appealing. Remember to consult professionals if you're unsure about any part of the process, especially when dealing with plumbing and drainage systems. With careful planning and execution, you can transform your bathroom into a modern oasis without breaking the bank.
Final Thoughts
Converting your bathtub into a walk-in shower is not just about aesthetics; it's also about functionality and safety. By choosing the right materials, ensuring proper drainage, and adding necessary features like grab bars and slip-resistant flooring, you can create a bathroom that is both beautiful and functional. Whether you decide to tackle this project yourself or hire a professional contractor, remember that patience and attention to detail are key to achieving a successful tub-to-shower conversion.
Additional Resources
For those who want more detailed information or additional guidance on specific aspects of this project:
- YouTube Tutorials: There are numerous YouTube tutorials available that provide step-by-step instructions on various aspects of bathtub-to-shower conversions.
- Home Improvement Forums: Websites like Reddit’s r/HomeImprovement offer valuable insights from experienced DIYers who have undertaken similar projects.
- Professional Contractors: Consulting with professional contractors like DaBella Boise can provide expert advice tailored specifically to your needs.
By combining these resources with the guidance provided in this article, you'll be well-equipped to tackle your bathtub-to-shower conversion project with confidence. Happy renovating
Was this page helpful?
At Storables.com, we guarantee accurate and reliable information. Our content, validated by Expert Board Contributors, is crafted following stringent Editorial Policies. We're committed to providing you with well-researched, expert-backed insights for all your informational needs.


0 thoughts on “DIY Guide To Installing A Bathroom Tub-to-Shower Conversion”