Home>Ideas and Tips>How To Choose And Install The Right Bathroom Exhaust Fan

Ideas and Tips
How To Choose And Install The Right Bathroom Exhaust Fan
Modified: August 30, 2024
Learn how to choose and install the perfect bathroom exhaust fan to improve air quality, remove moisture, and prevent mold. Follow our step-by-step guide.
(Many of the links in this article redirect to a specific reviewed product. Your purchase of these products through affiliate links helps to generate commission for Storables.com, at no extra cost. Learn more)
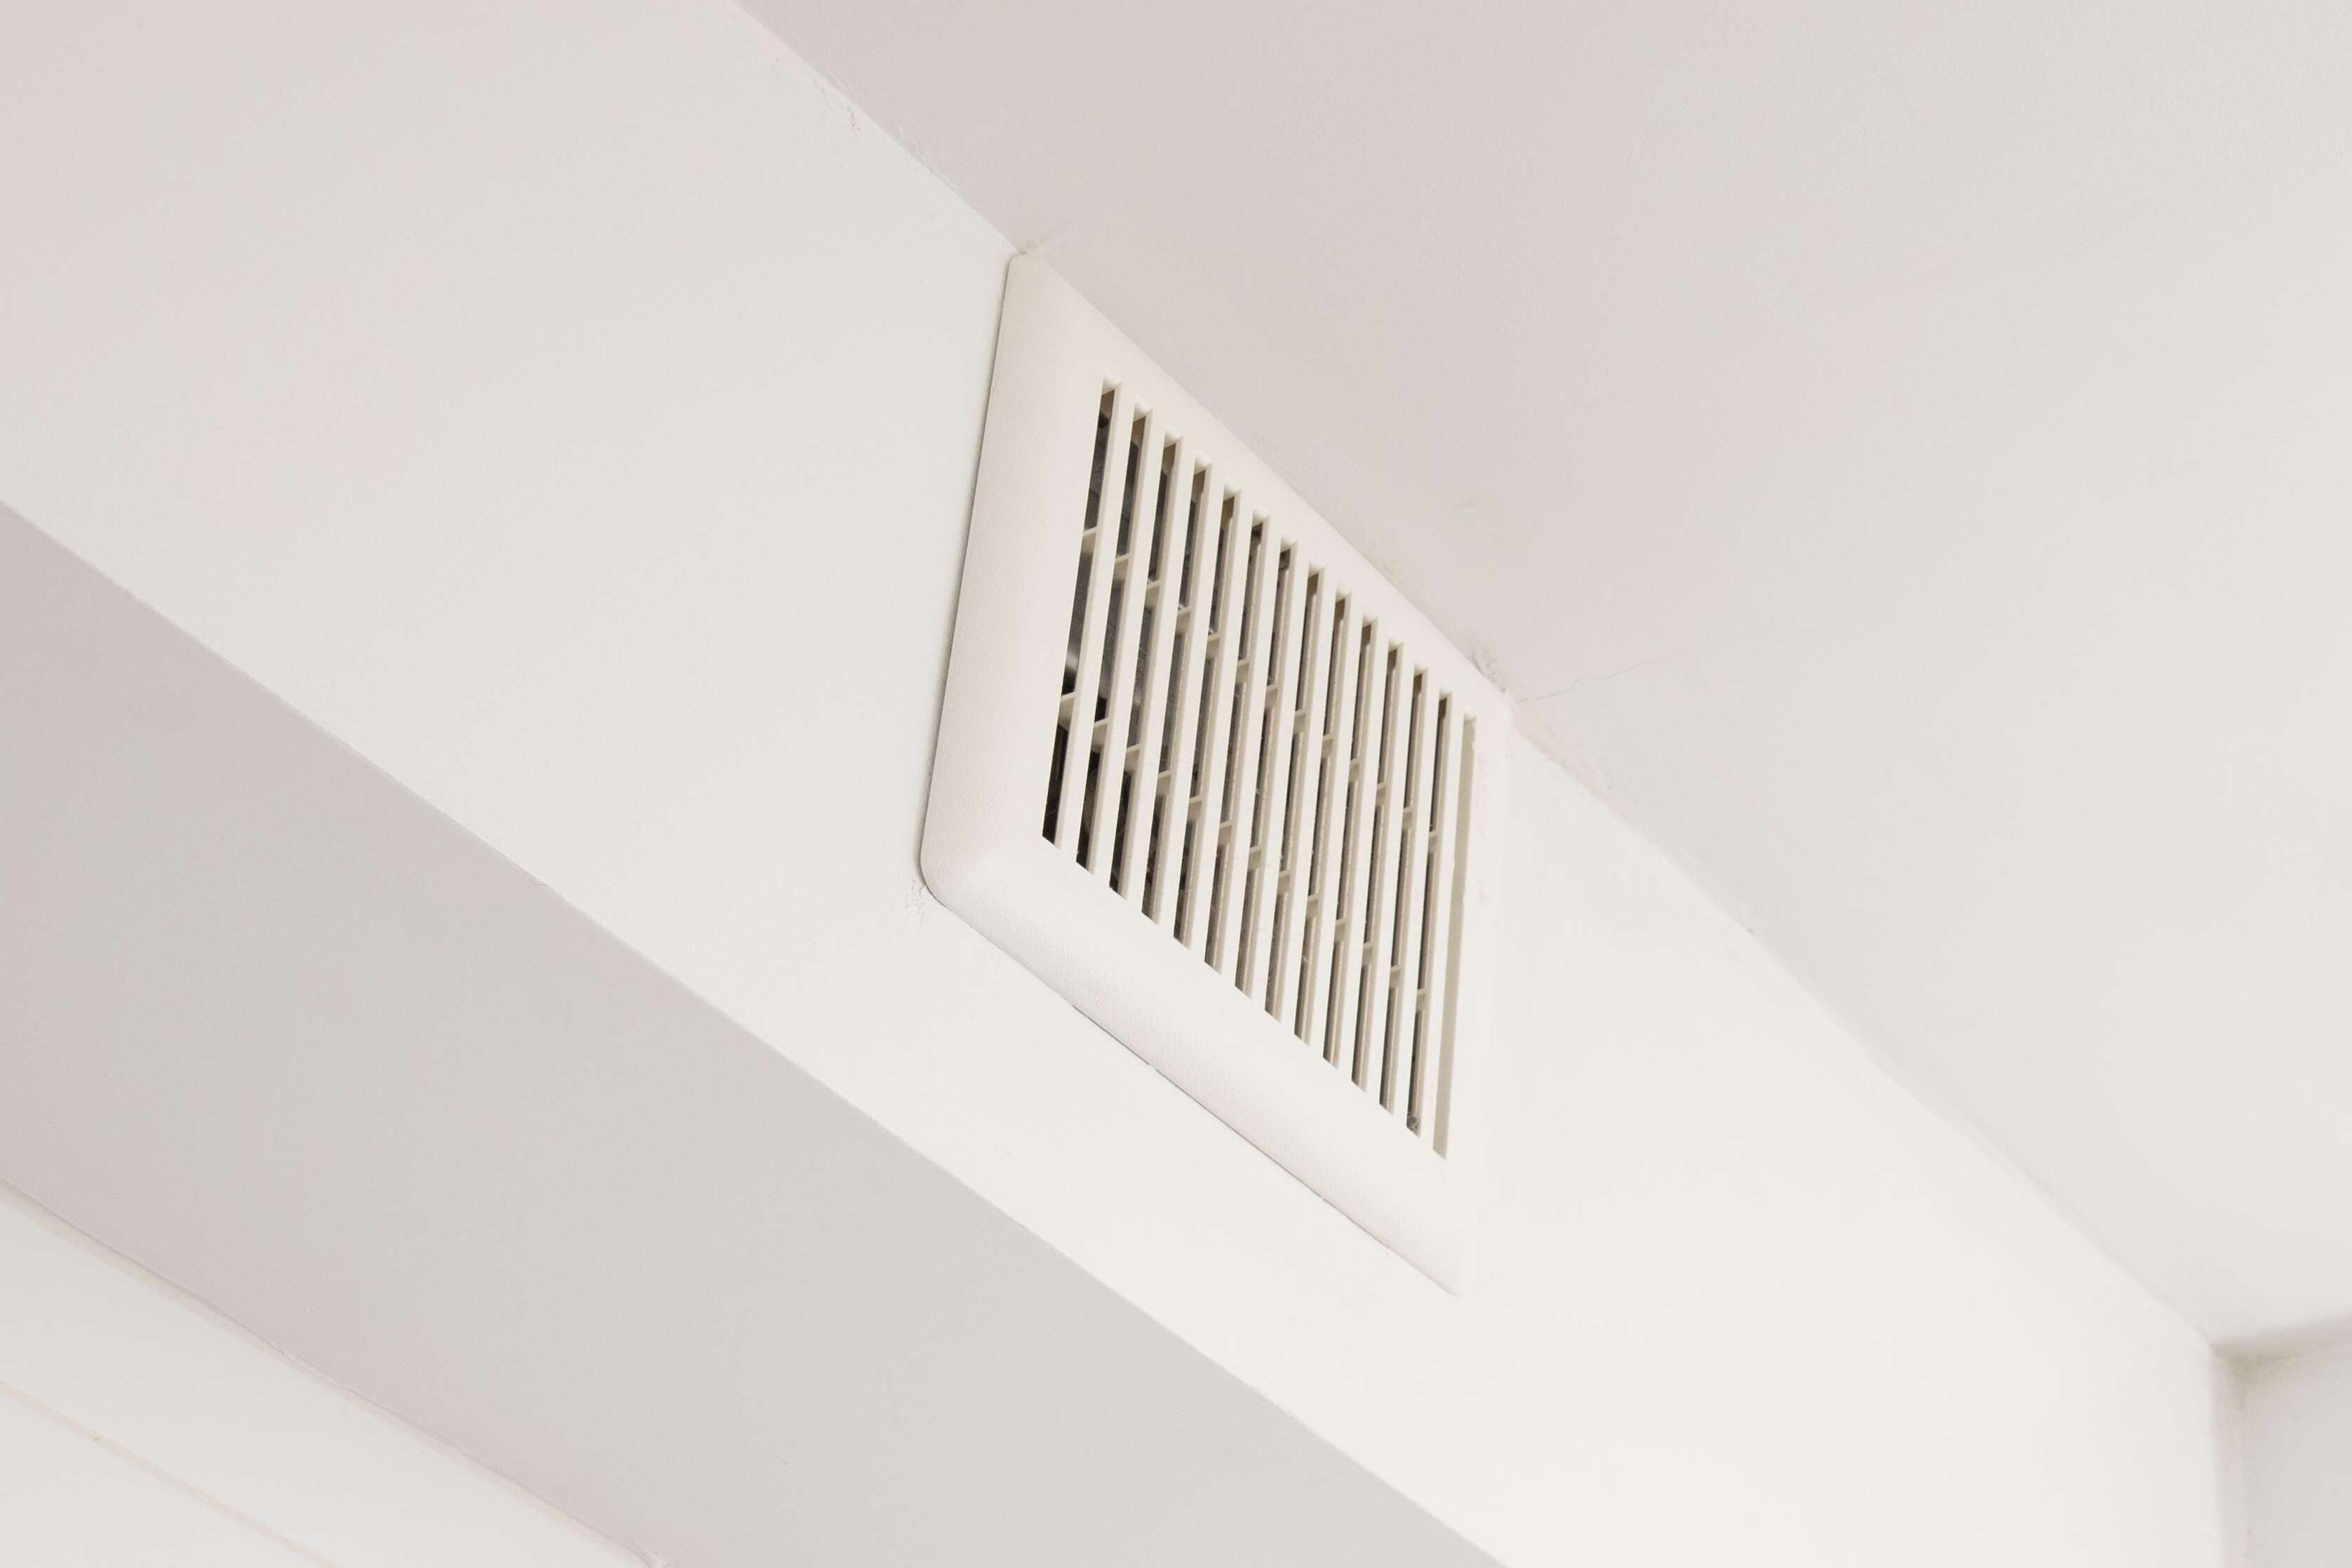
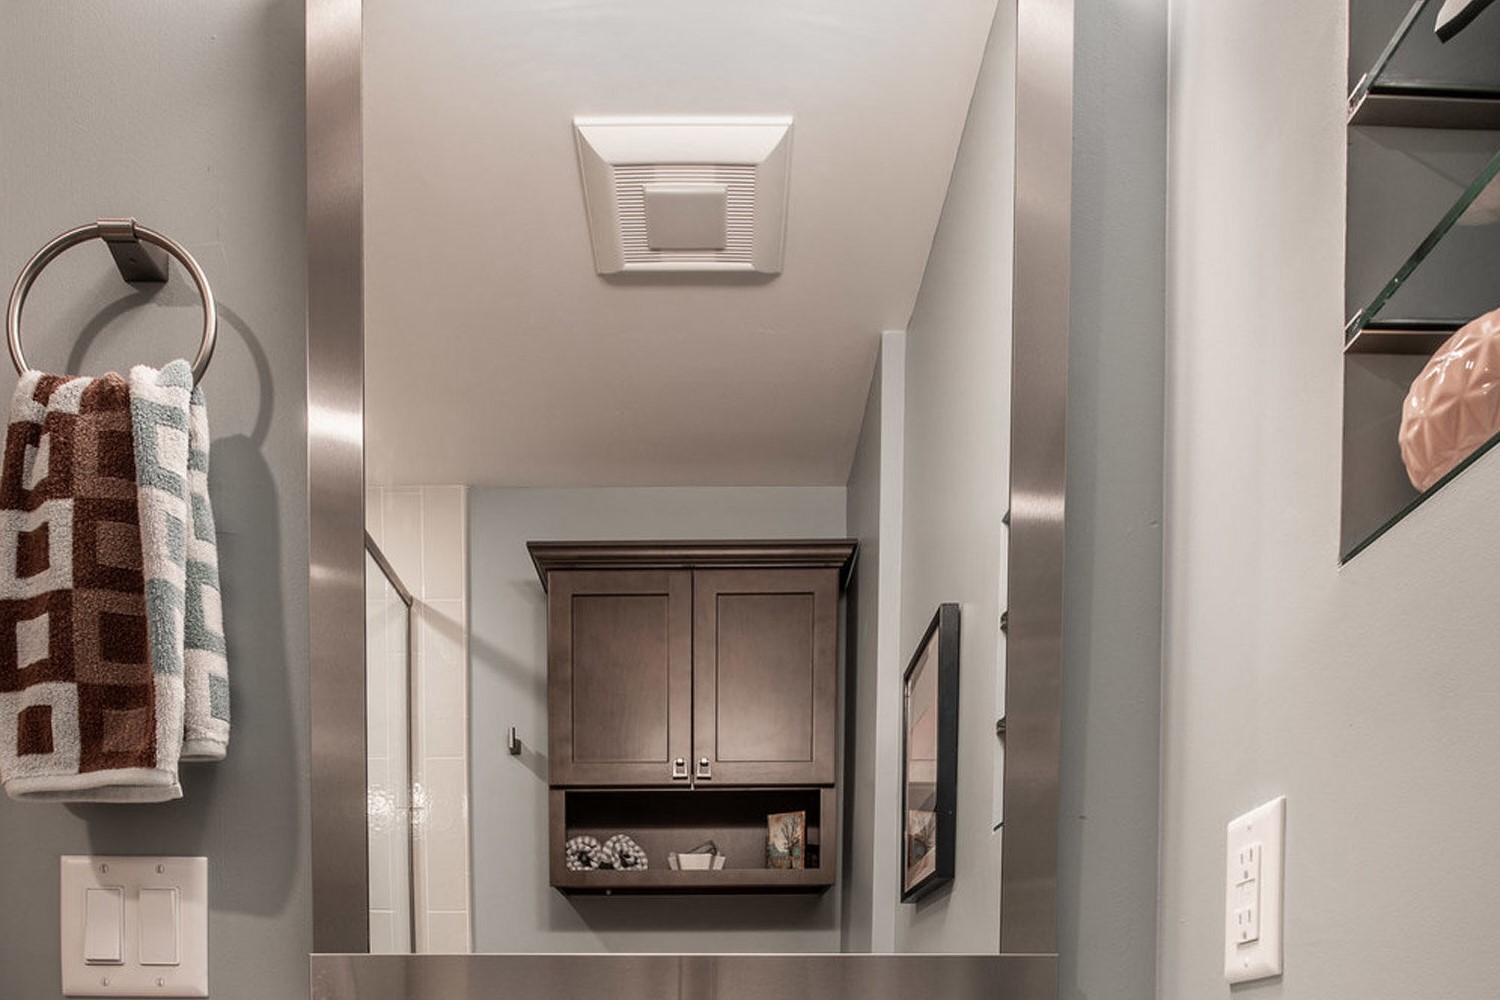
Choosing the right bathroom exhaust fan is crucial for maintaining a clean, comfortable, and healthy bathroom environment. Proper ventilation helps remove moisture, odors, and pollutants, preventing the growth of mold and mildew. In this article, we will guide you through the process of selecting and installing a bathroom exhaust fan, ensuring you make the best choice for your home.
Importance of Bathroom Exhaust Fans
Bathroom exhaust fans are essential for several reasons:
- Moisture Removal: Bathrooms are notorious for high humidity levels, especially after showers and baths. This moisture can lead to mold and mildew growth if not properly ventilated.
- Odor Elimination: Exhaust fans help remove unpleasant odors from the bathroom, keeping the space fresh and clean.
- Air Quality: By removing stale air and introducing fresh air, bathroom exhaust fans improve overall air quality in the bathroom.
Steps for Choosing a Bathroom Exhaust Fan
-
Understand Your Needs:
- Bathroom Size: Measure your bathroom to determine the required CFM (cubic feet per minute) for effective ventilation. A general rule of thumb is to use an exhaust fan with at least 50 CFM for a standard-sized bathroom.
- Noise Level: Consider the noise level of the fan. Lower Sone ratings indicate quieter fans, which are important for maintaining a peaceful bathroom ambiance.
-
Venting Options:
- Flexible Insulated Ducts: Use flexible insulated ducts to reduce noise and prevent condensation. These ducts are available at home centers and should be terminated on a sidewall or through the roof, never into an attic or soffit.
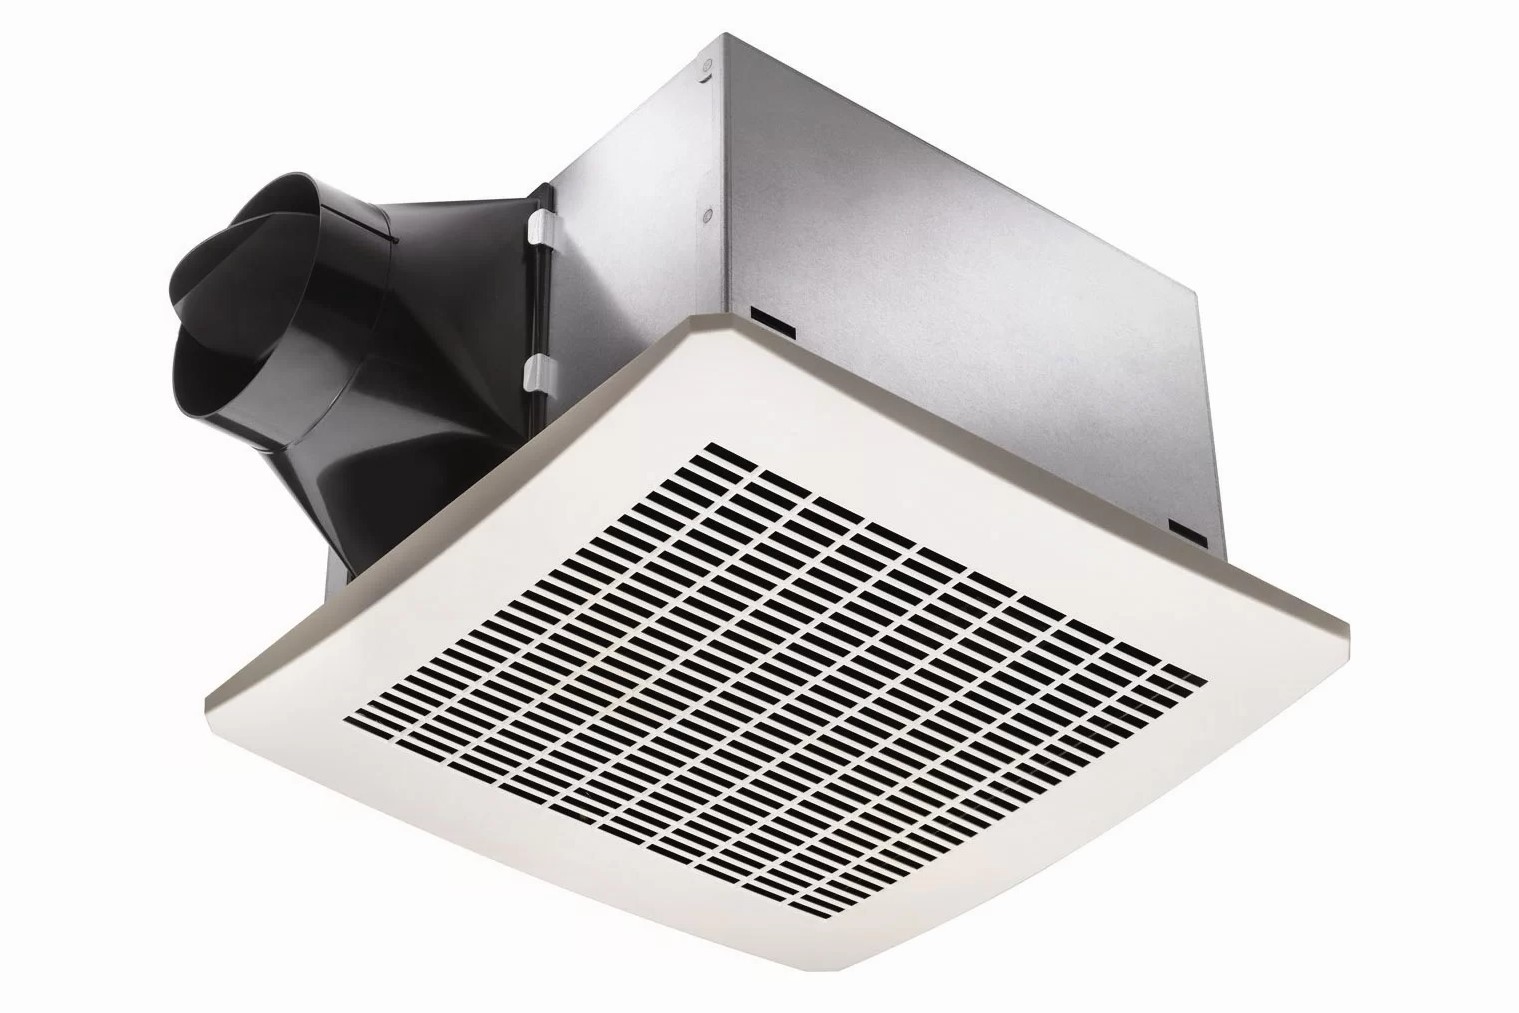
- Mounting Location: Most bath fans have the fan mounted right over the register, but there are options where the fan is located elsewhere (like an attic or basement) and ducted to both the bathroom register and the vent to outside. This setup allows for longer duct runs and can ensure proper venting where it might not be the path of least resistance.
-
Control Options:
- Basic On/Off Switch: The most basic form of control is a simple on/off switch, but this requires you to turn off the fan when you leave the room. It’s better to run the fan for at least 30-40 minutes after a shower.
- Timers: There are digital timers that can be set to turn on and off automatically. These timers look nicer than rotary timer switches but still require manual operation.
- Humidistat Switches: Humidistat switches can be installed in the wall and automatically turn on the fan when humidity reaches a certain point, then turn it off when it dips below that point.
- Constant Power Fans: Newer fans require constant power at the fan and use a switch leg for more control. These fans can be set to always be on at a low speed to keep air moving in a home.
-
Energy Efficiency:
- Look for fans with ENERGY STAR ratings. This government-backed symbol indicates energy efficiency and can help you save on electricity costs without sacrificing performance.
-
Additional Features:
- Built-in Lights: Some fans come with built-in lights, which can enhance functionality and ambiance.
- Humidity Sensors: These sensors automatically turn on the fan when humidity levels are high, ensuring continuous ventilation.
- Motion Sensors: These sensors can detect movement and turn on the fan when someone enters the bathroom.
- Heaters: Some fans come with built-in heaters, which can be useful in colder climates.
How to Install a Wall-Mounted Bathroom Exhaust Fan
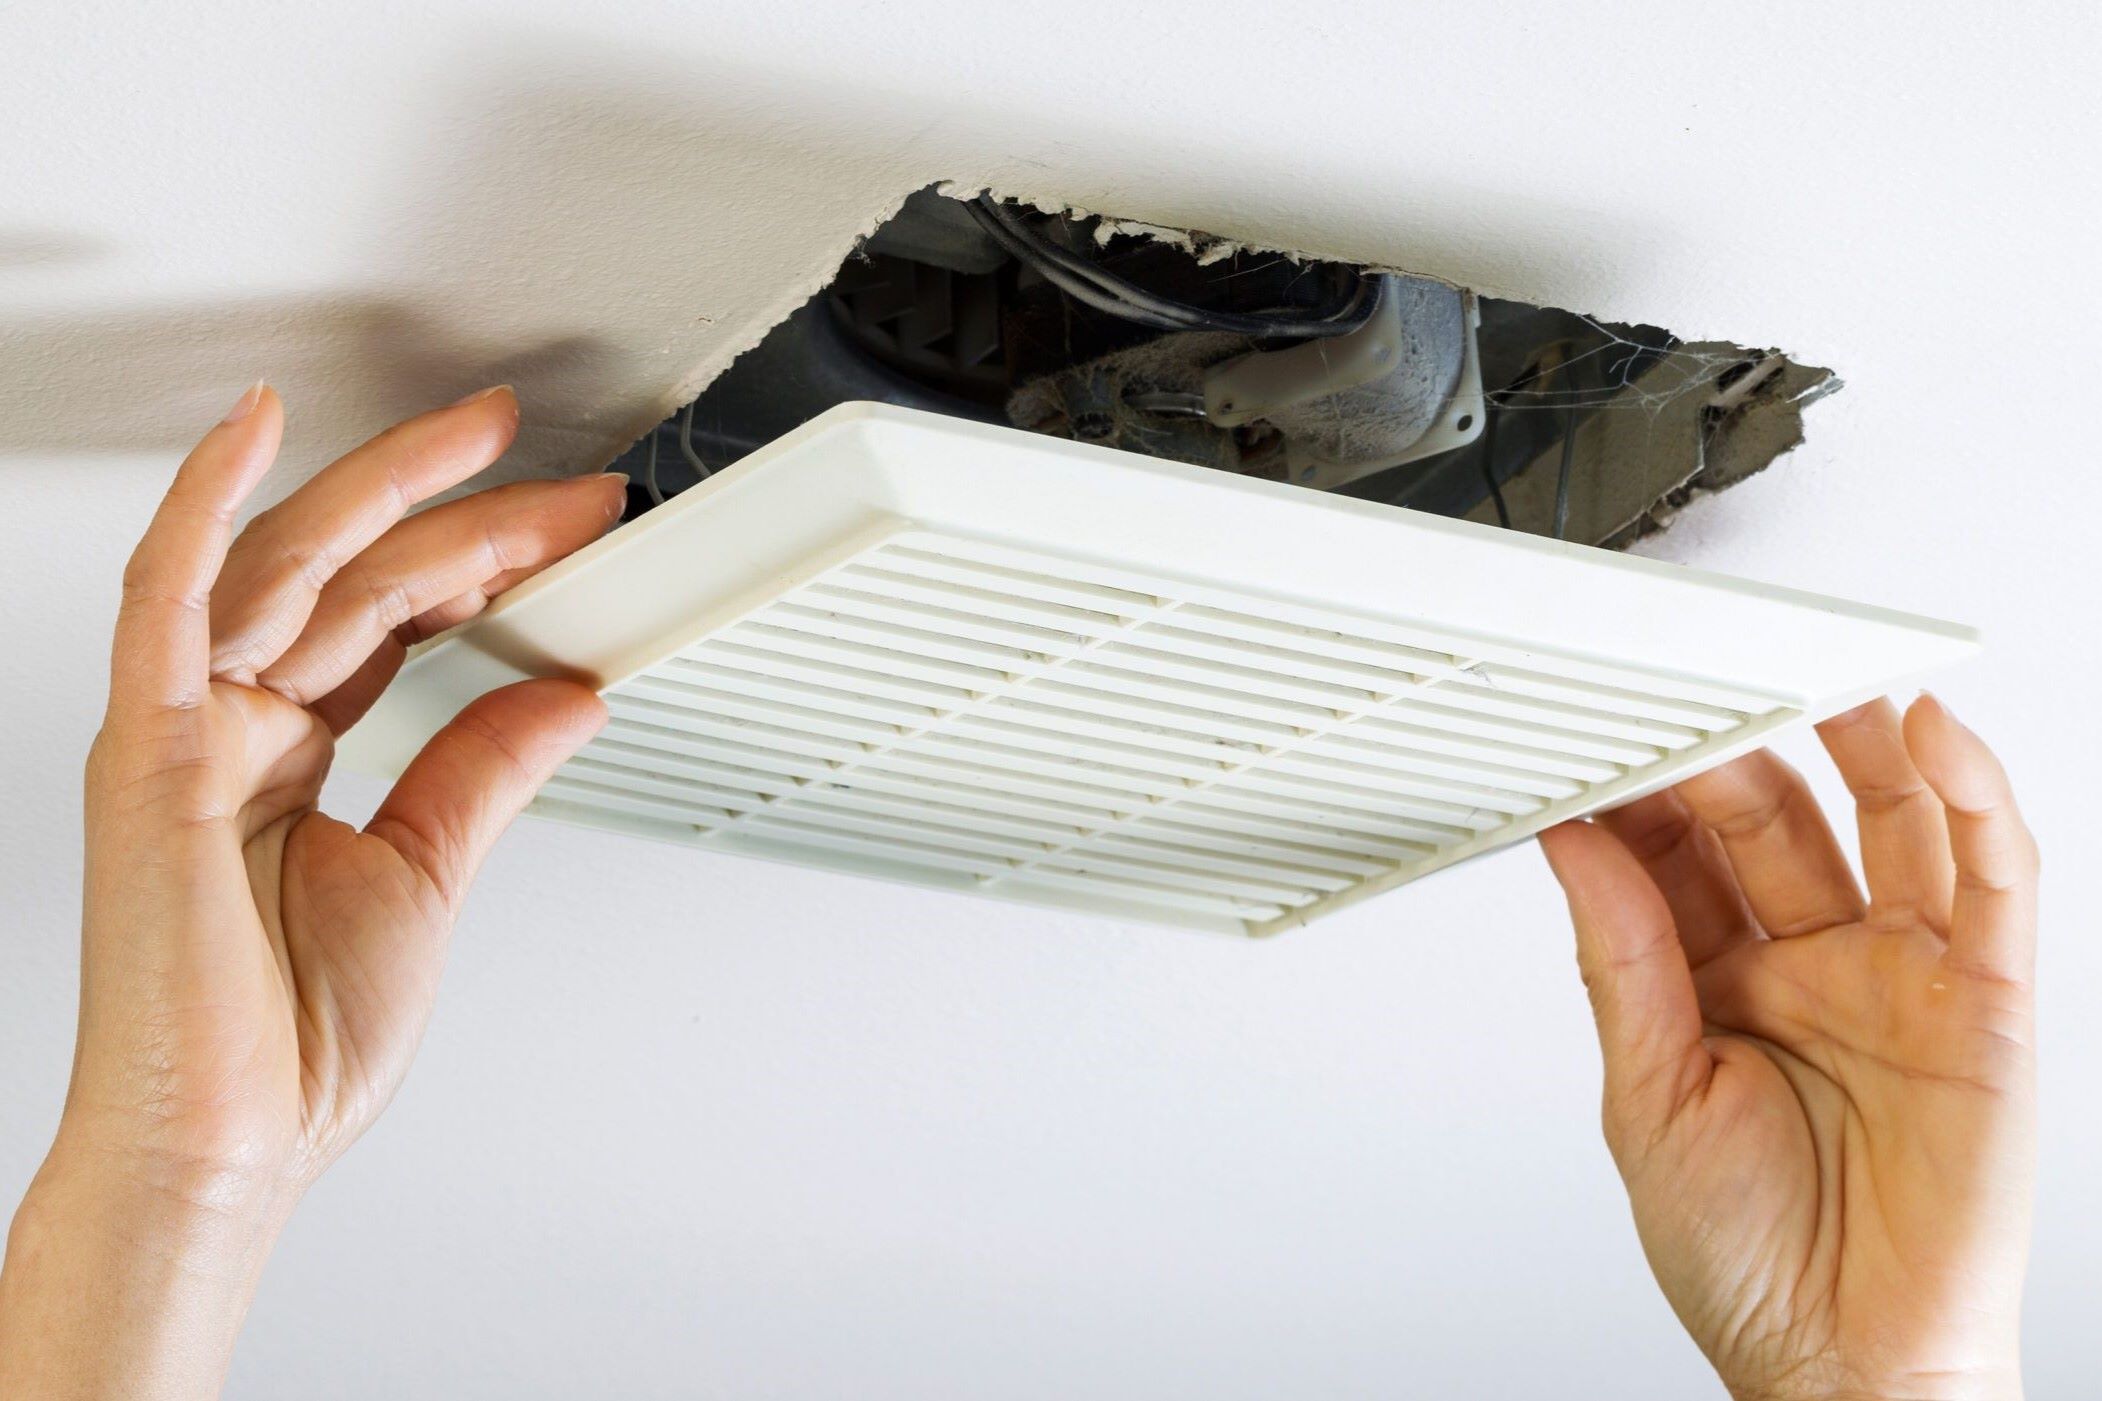
Installing a wall-mounted bathroom exhaust fan is a relatively straightforward process that requires some planning and preparation:
-
Plan and Prepare:
- Code Compliance: Consult your contractor to ensure your new fan meets local code requirements and will pass inspection.
- Bathroom Size: Measure your bathroom to determine the needed CFM for effective ventilation.
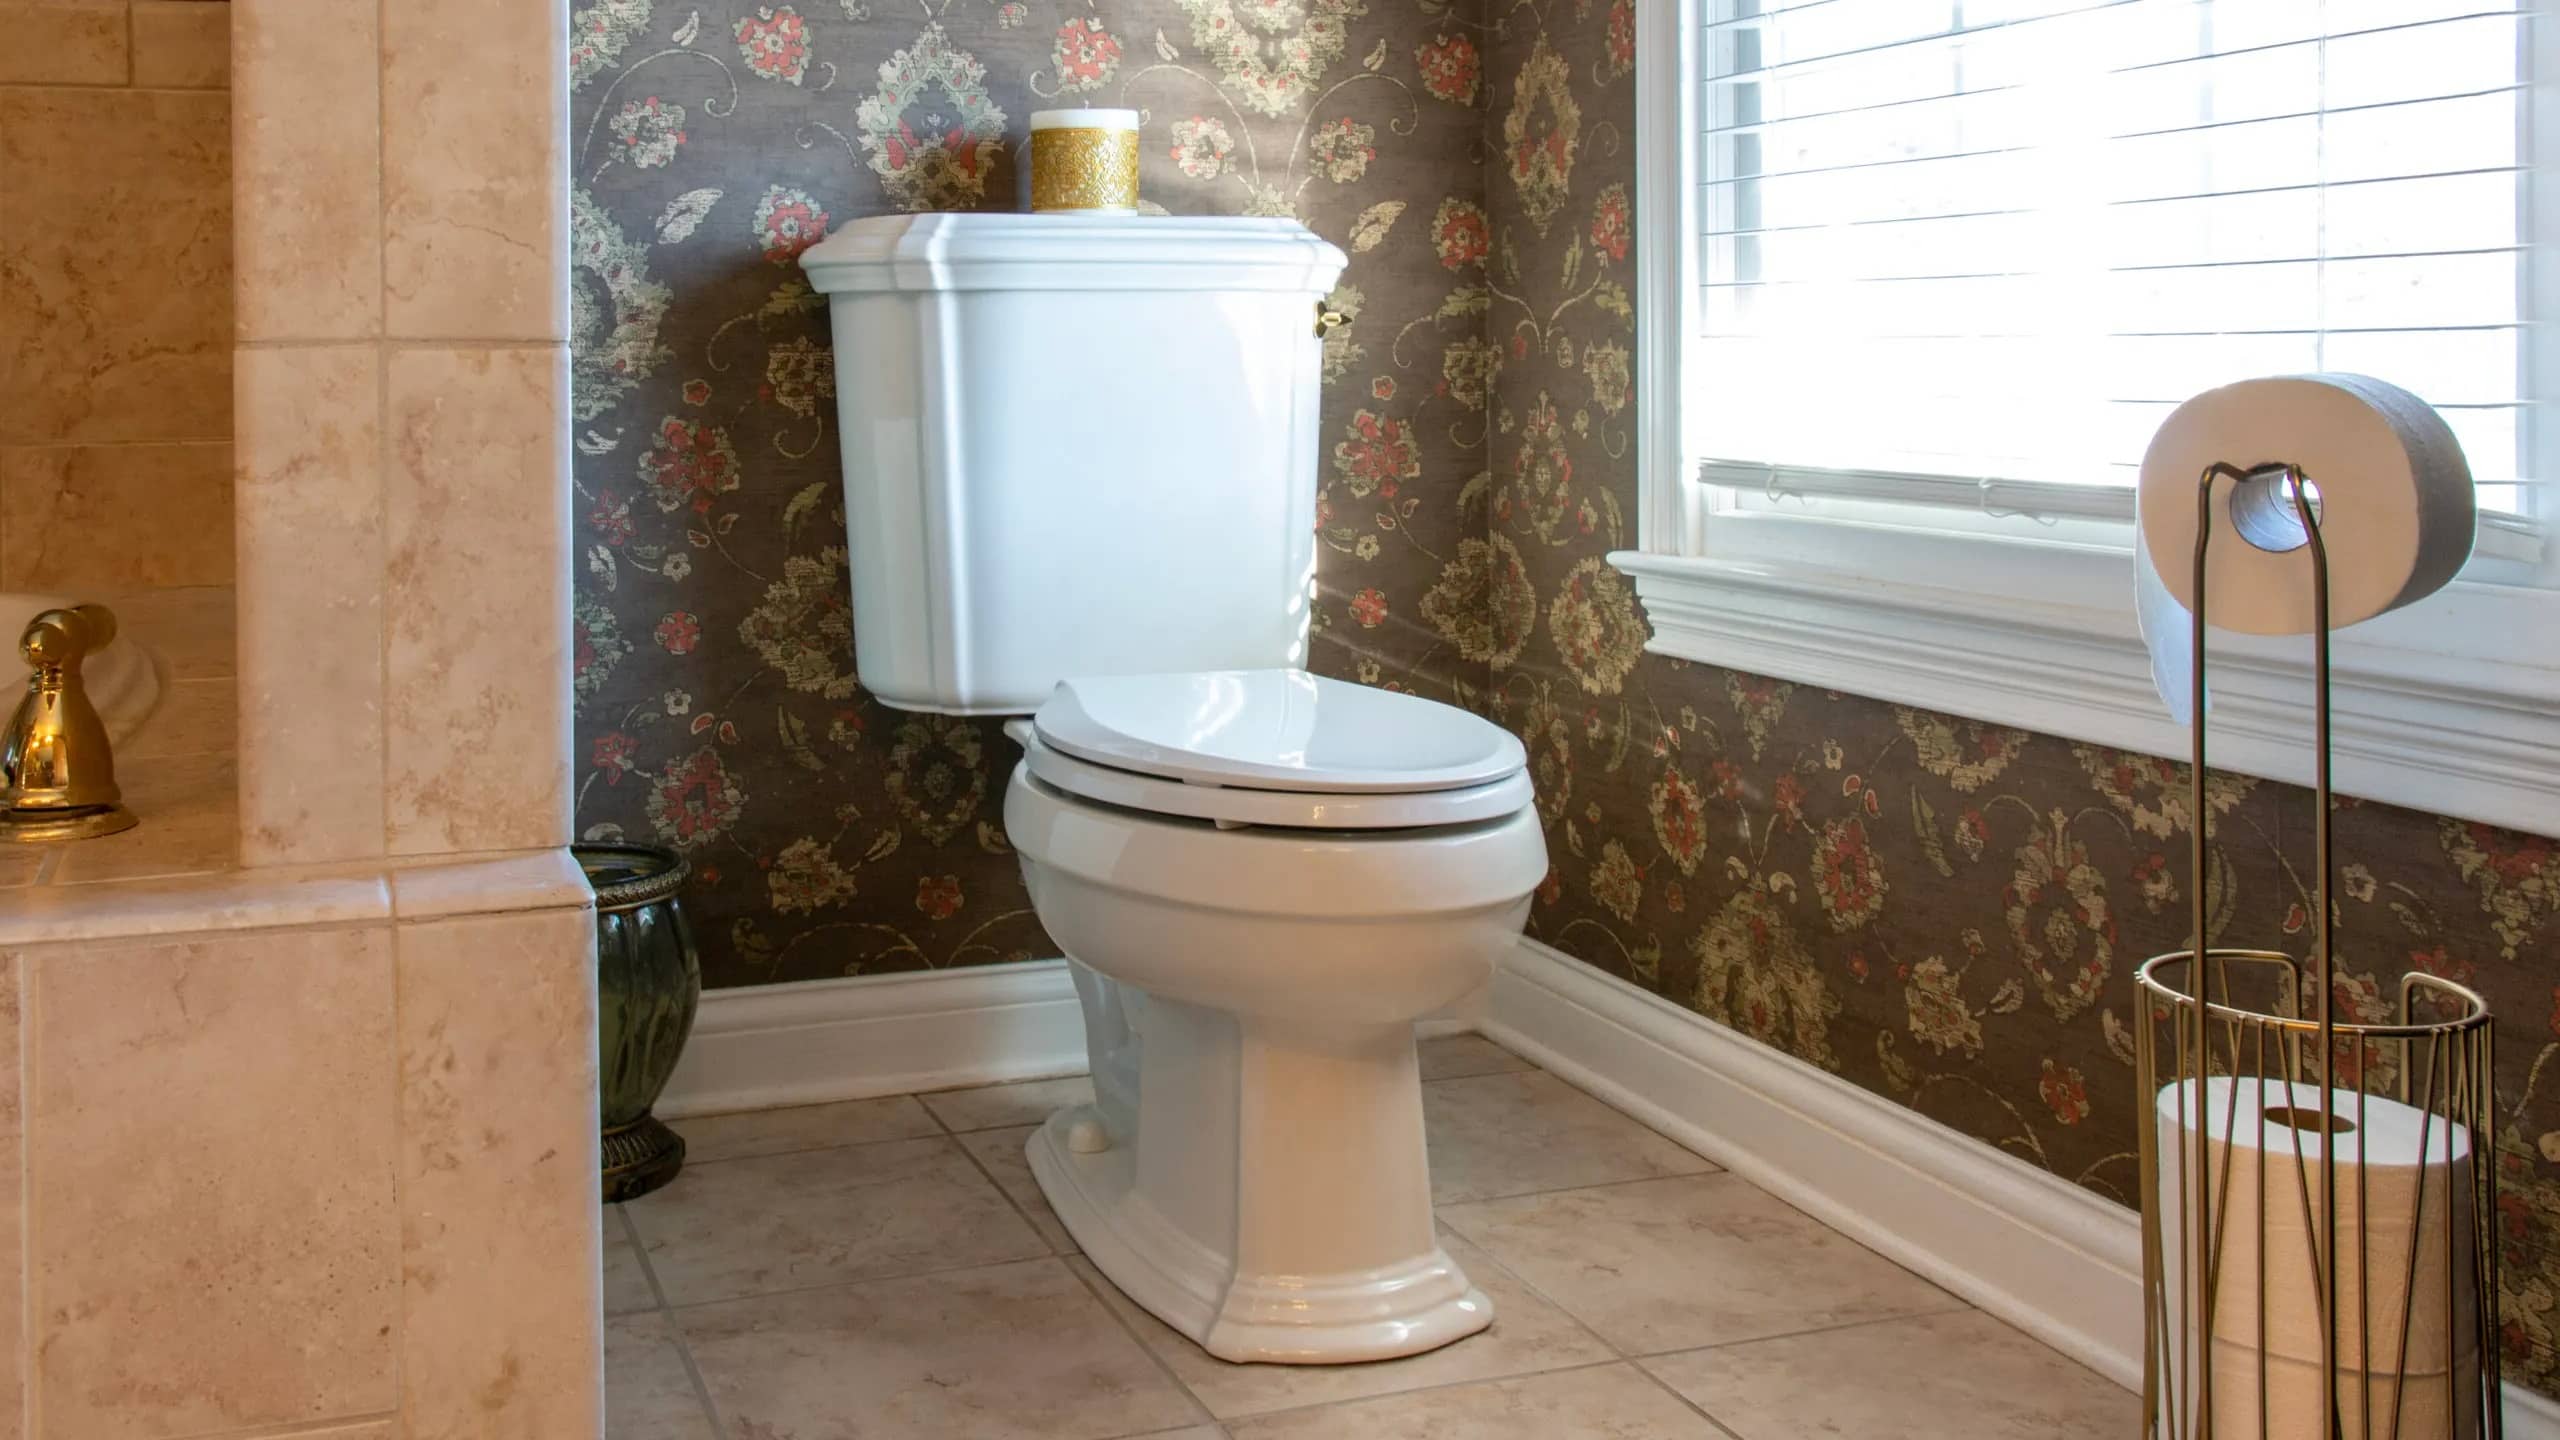
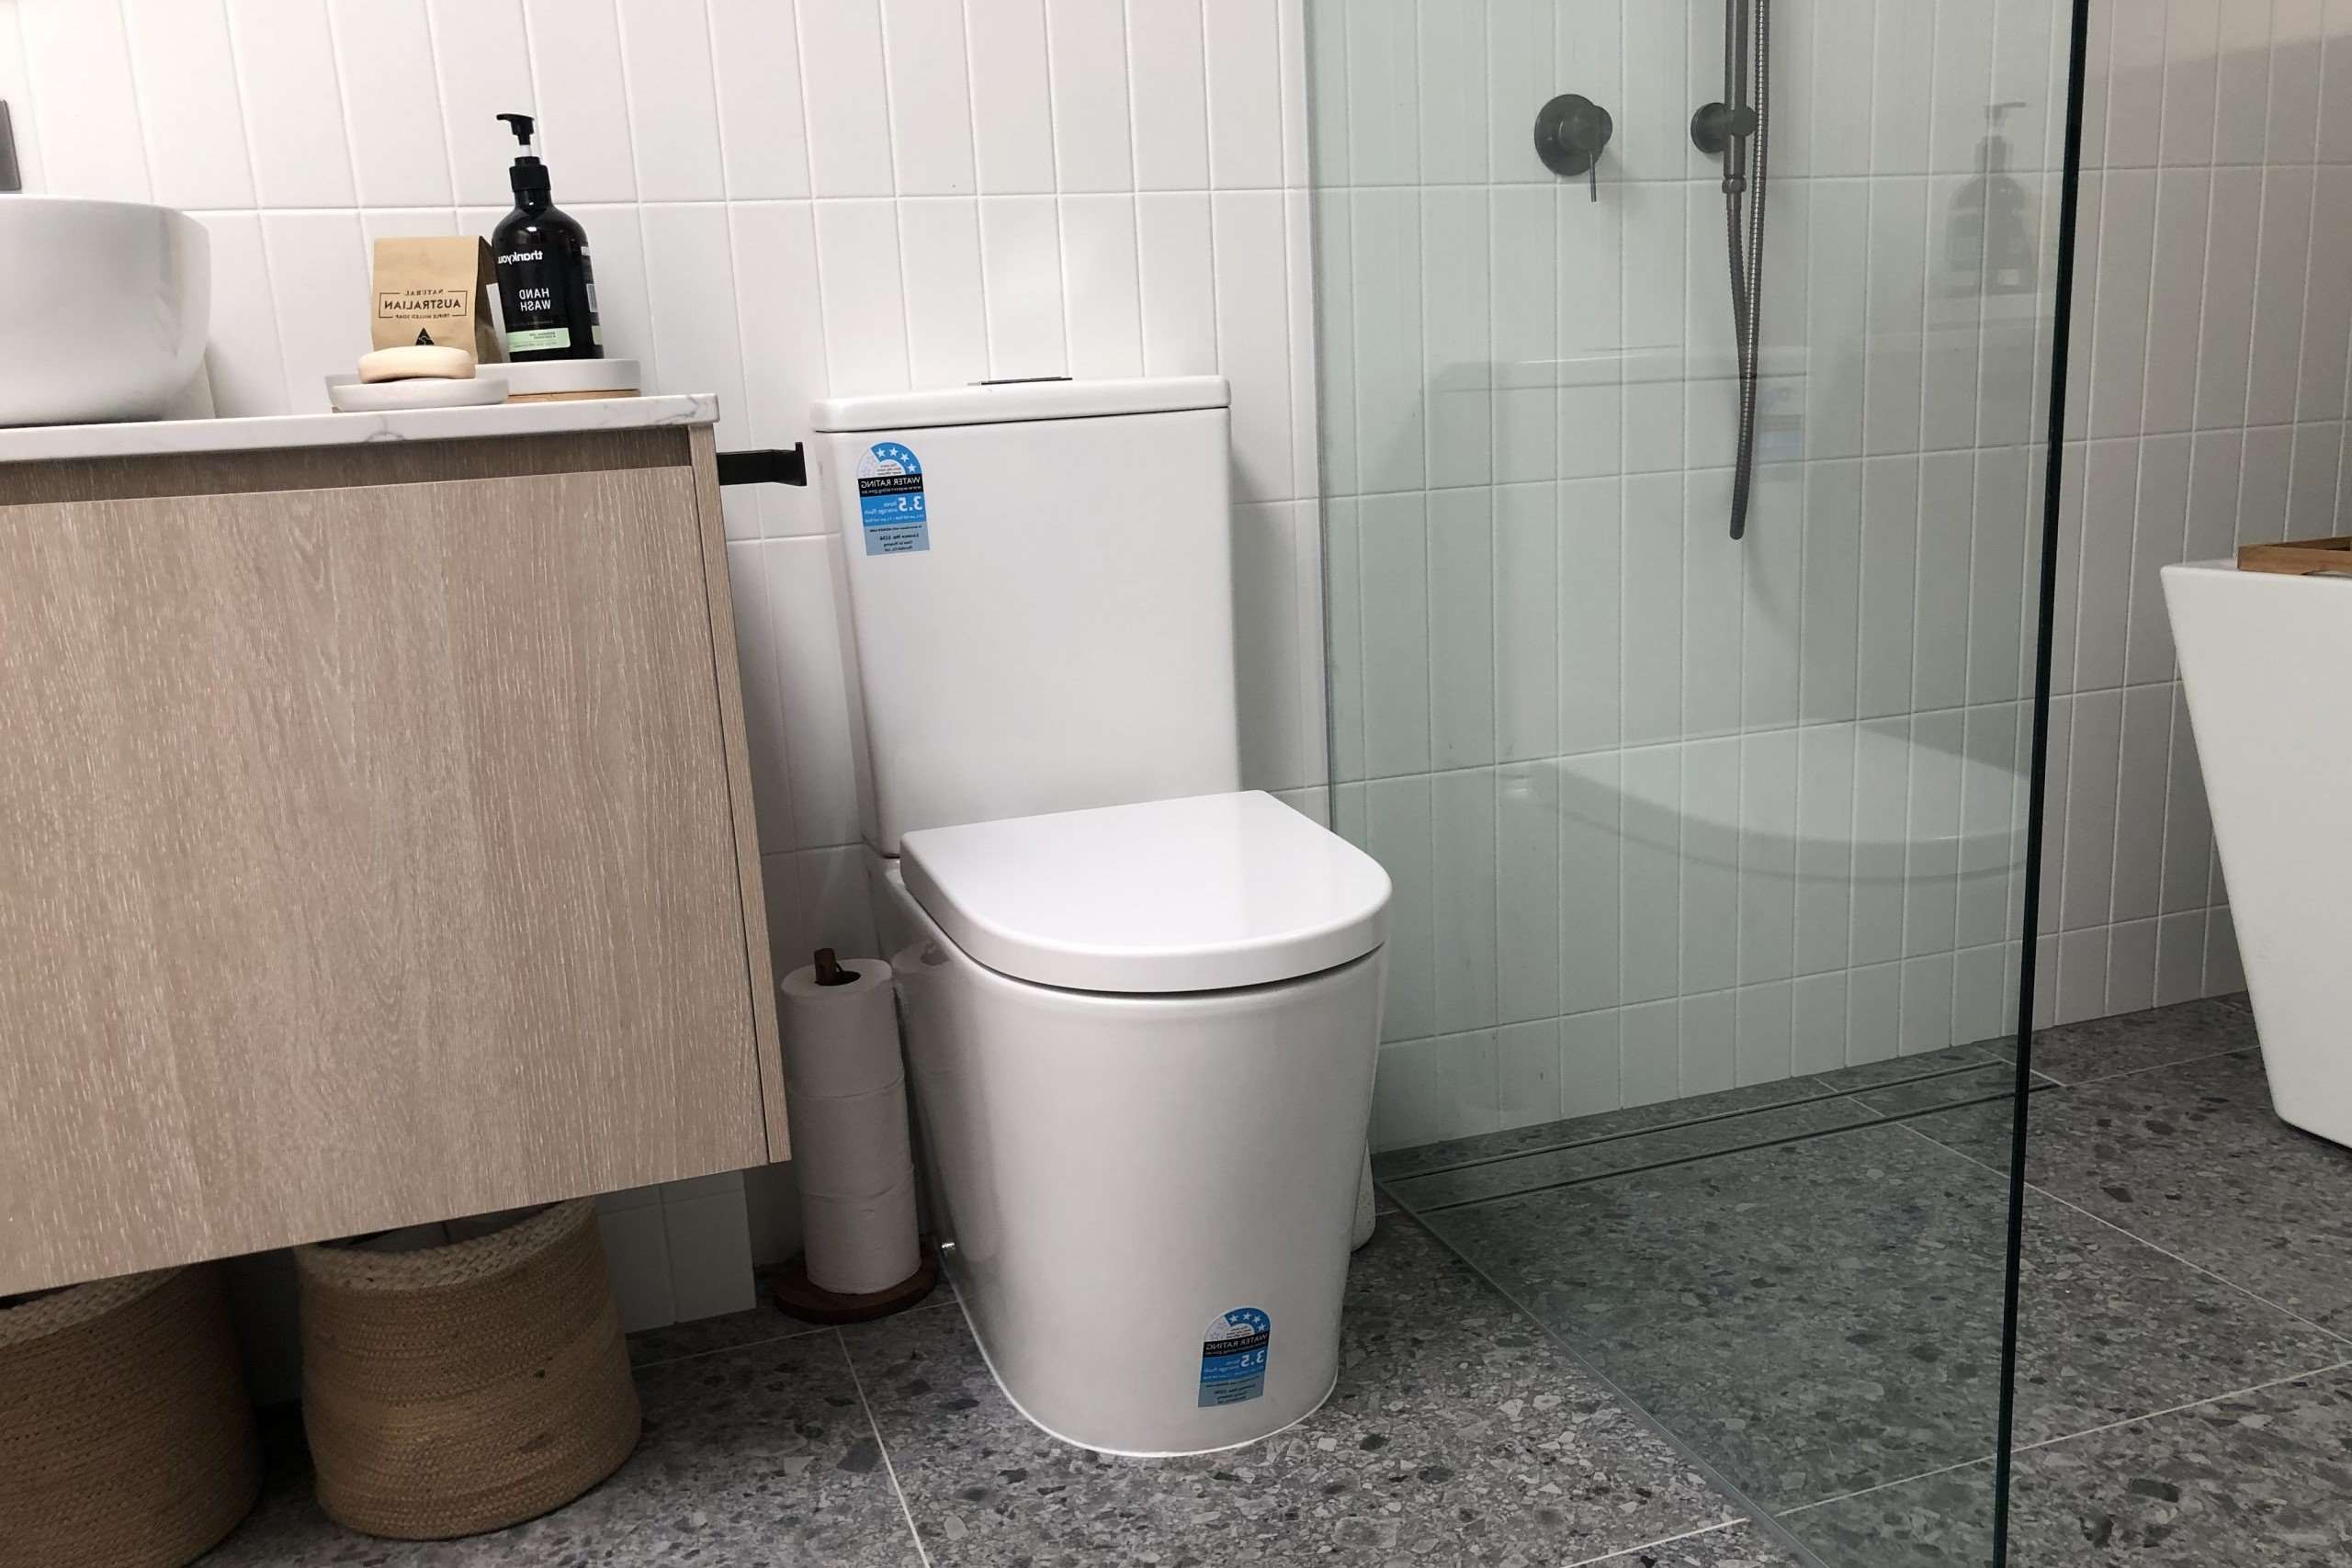
- Right Location: The ideal placement of the fan is above the toilet and outside the shower pan for longevity and efficiency.
- Number of Fans: In some cases, you may need to install two fans instead of one fan, especially if you have a master bathroom with a small toilet room inside.
-
Mark and Cut the Vent Hole:
- Determine where your vent hole will be. Find a spot outside your house that aligns with the fan’s location inside. Draw a mark and drill a hole using the right size hole saw based on the duct size recommended by your fan’s manufacturer.
-
Drill Pilot Hole from Outside:
- Drill a pilot hole from the outside to create a clear marker for where to cut from the inside. If necessary, use a jigsaw or keyhole saw to enlarge this initial hole.
-
Install Ductwork:
- Connect the ductwork from the fan to the exterior vent. Ensure that roof patching and flashing are installed for waterproofing.
-
Mount Fan:
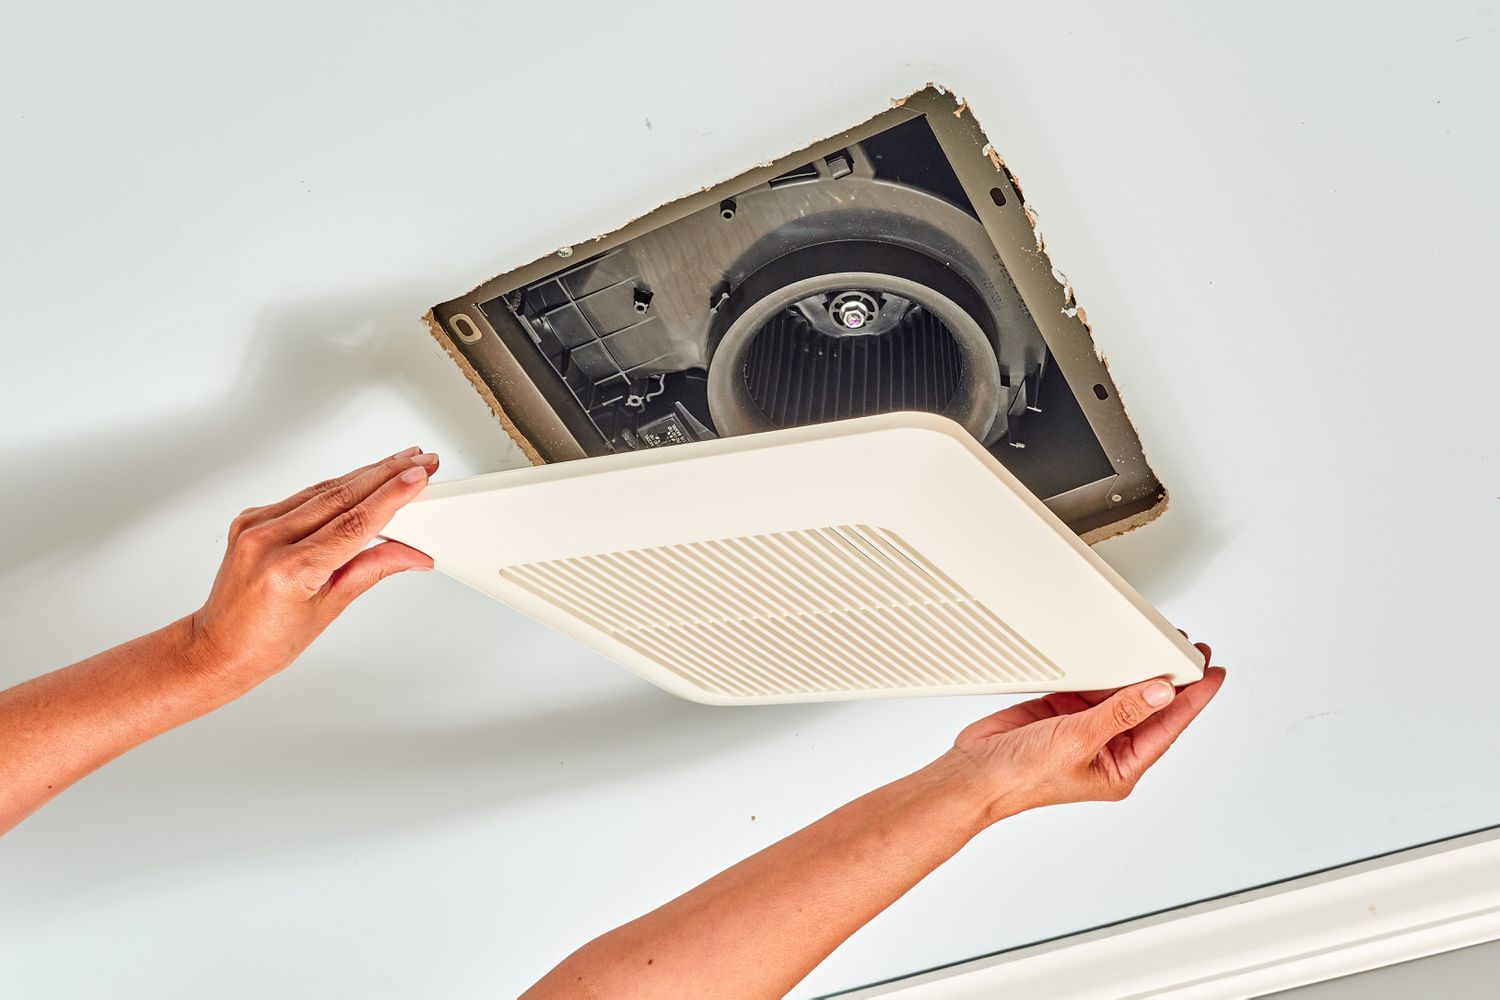
- Mount the fan securely above the toilet or shower pan. Ensure it is level and securely fastened to prevent any vibrations or movement.
-
Connect Electrical:
- Connect the electrical wiring according to your local electrical codes. Ensure that all connections are secure and meet safety standards.
-
Test Fan:
- Test the fan by turning it on and checking for proper ventilation. Ensure that there are no leaks in the ductwork and that the fan operates smoothly.
Tips for Effective Installation
-
Symmetry and Aesthetic Integration:
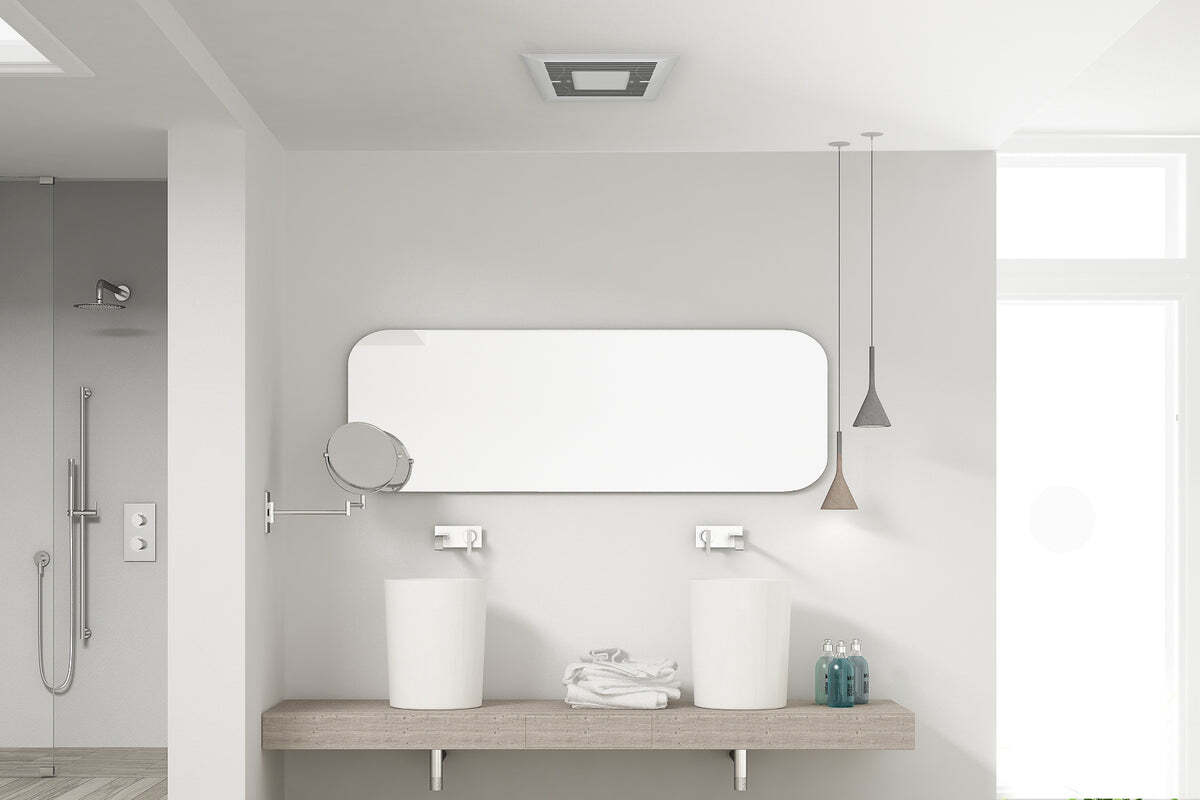
- Ensure that the installation is symmetrical with other fixtures in the bathroom to maintain aesthetic appeal.
-
Installation Considerations:
- Consider any additional features you might need, such as built-in lights or heaters, when choosing your fan.
-
Regular Maintenance:
- Regularly clean the fan and its filters to ensure optimal performance. Replace filters as recommended by the manufacturer to maintain airflow efficiency.
-
Energy Efficiency:
- Regularly check if your fan is running efficiently by ensuring it has an ENERGY STAR rating and using it according to its recommended usage guidelines.
By following these steps and tips, you can choose and install the right bathroom exhaust fan for your home, ensuring a clean, comfortable, and healthy bathroom environment. Remember to always consult local building codes and professionals if needed to ensure a successful installation process.
Was this page helpful?
At Storables.com, we guarantee accurate and reliable information. Our content, validated by Expert Board Contributors, is crafted following stringent Editorial Policies. We're committed to providing you with well-researched, expert-backed insights for all your informational needs.





0 thoughts on “How To Choose And Install The Right Bathroom Exhaust Fan”