Home>Ideas and Tips>Upgrading Your Home’s Basement With DIY Egress Windows
Ideas and Tips
Upgrading Your Home’s Basement With DIY Egress Windows
Published: September 19, 2024
Transform your basement with DIY egress windows. Enhance safety, natural light, and property value with our step-by-step installation guide.
(Many of the links in this article redirect to a specific reviewed product. Your purchase of these products through affiliate links helps to generate commission for Storables.com, at no extra cost. Learn more)
Introduction
Basements are often overlooked as a potential living space in homes, but with the right upgrades, they can become a cozy and functional area of your home. One of the most significant improvements you can make to your basement is installing egress windows. These windows not only add natural light and enhance the aesthetic appeal of your basement but also provide a safe escape route in case of an emergency, making it a legal bedroom or livable space. In this article, we will guide you through the process of installing DIY egress windows, highlighting the benefits, requirements, and step-by-step installation process.
Read more: What Is An Egress Window In A Basement
Benefits of Egress Windows
Safety and Emergency Escape
Egress windows are a crucial safety feature in any basement. They provide a means of escape in case of emergencies such as fires or natural disasters. The International Residential Code (IRC) requires that any habitable space, including basements, have at least one operable window or door that meets specific size and accessibility requirements. Installing an egress window ensures compliance with these safety standards and can significantly reduce the risk of injury or death in emergency situations.
Natural Light and Aesthetic Appeal
Basements are often dark and damp, which can make them feel like dungeons. Egress windows bring in natural light, making the space feel more welcoming and comfortable. This natural illumination also reduces the need for artificial lighting, which can save energy and improve overall ambiance. Additionally, larger windows can enhance the aesthetic appeal of your basement by providing a clear view of the outdoors, making it feel more connected to nature.
Increased Property Value
Installing egress windows can significantly increase the value of your home. By making your basement a habitable space with proper lighting and safety features, you are essentially adding additional square footage to your property. This can be particularly beneficial when selling your home as it appeals to potential buyers who are looking for more living space without having to build an addition.
Read more: How To Install Basement Egress Window
Legal Compliance
In many jurisdictions, having an egress window is mandatory for basements that are intended to be used as bedrooms or living spaces. This is because an egress window provides a safe means of escape in case of an emergency, which is essential for legal compliance. By installing an egress window, you ensure that your basement meets all local building codes and regulations.
Requirements for Egress Windows
Before starting the installation process, it's essential to understand the requirements for egress windows. These requirements vary by jurisdiction but generally include:
- Minimum Size: The opening must be at least 5.7 square feet. This can be achieved with a window that is either 20 inches wide and 42 inches tall or 24 inches tall and 35 inches wide.
- Window Sill Height: The window sill cannot be more than 44 inches above the finished floor.
- Accessibility: The window must be easy to unlock and open from the inside without using any tools.
- Clearance: Only the clearance with the window open counts toward code, so double-hung and sliding windows need to be about twice as large as other options.
Materials Needed
To install an egress window, you will need several materials:
- Egress Window: A window specifically designed for egress purposes. These windows are typically larger than standard basement windows and are made of durable materials like composite or fiberglass.
- Window Buck: A pressure-treated frame (usually 2x6s) that the window will be fastened to.
- Fasteners: Screws or nails for securing the window buck.
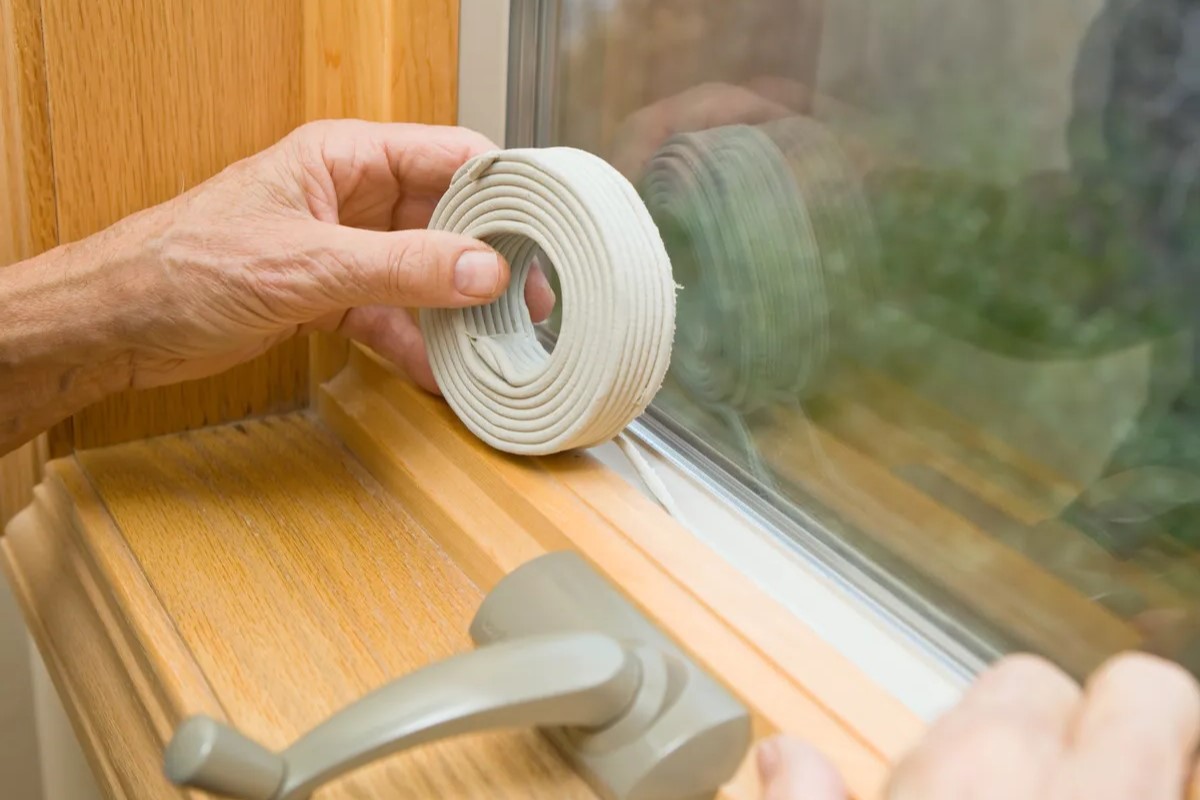
- Flashing: Materials used to prevent water from entering around the window.
- Trim: Wood or plastic trim pieces used to cover gaps around the window.
- Gravel or Sand: For drainage in window wells.
- Drainpipe: A pipe connected to the foundation drain or an existing basement drainage system.
- Tools: Concrete saw, drill, hammer drill, hand seamer, hand tamper, impact driver, mini excavator (rental), oscillating multi-tool, rakes, shovels, table saw.
Step-by-Step Installation Process
Planning and Preparation
-
Apply for a Permit: Before starting any work on your basement, apply for a permit from your local building authority. This process can take several weeks and ensures that your project complies with local building codes.
-
Measure and Plan: Measure the area where you plan to install the egress window and plan accordingly. Determine if you need to enlarge the existing window opening or create a new one.
-
Clear the Area: Clear the area around where you will be working to ensure safety and easy access.
Excavation
-
Mark Out the Area: Use chalk or tape to mark out the area where you will be digging for the window well.
-
Dig the Well: Use shovels and other excavation tools to dig a pit along the foundation that is at least 12 inches wider and deeper than the new window.
-
Add Drainage: Lay down a few feet of gravel or sand at the bottom of the well for drainage purposes. Connect a drainpipe to either the foundation drain or an existing basement drainage system.
-
Clean Up: Clean out any debris from the excavation site to ensure smooth installation.
Cutting Concrete
-
Use Concrete Saw: Use a concrete saw from both the interior and exterior (or a water-cooled chainsaw) to cut through the concrete foundation or wall where you will be installing the egress window.
-
Patch Edges: Patch any rough edges around where you cut using concrete patching compound.
Installing Window Buck
-
Prepare Frame: Prepare a window buck—a pressure-treated frame (usually 2x6s)—that will be screwed or nailed into place around where you cut out the concrete.
-
Secure Frame: Secure this frame tightly using screws or nails so it provides a stable base for your egress window.
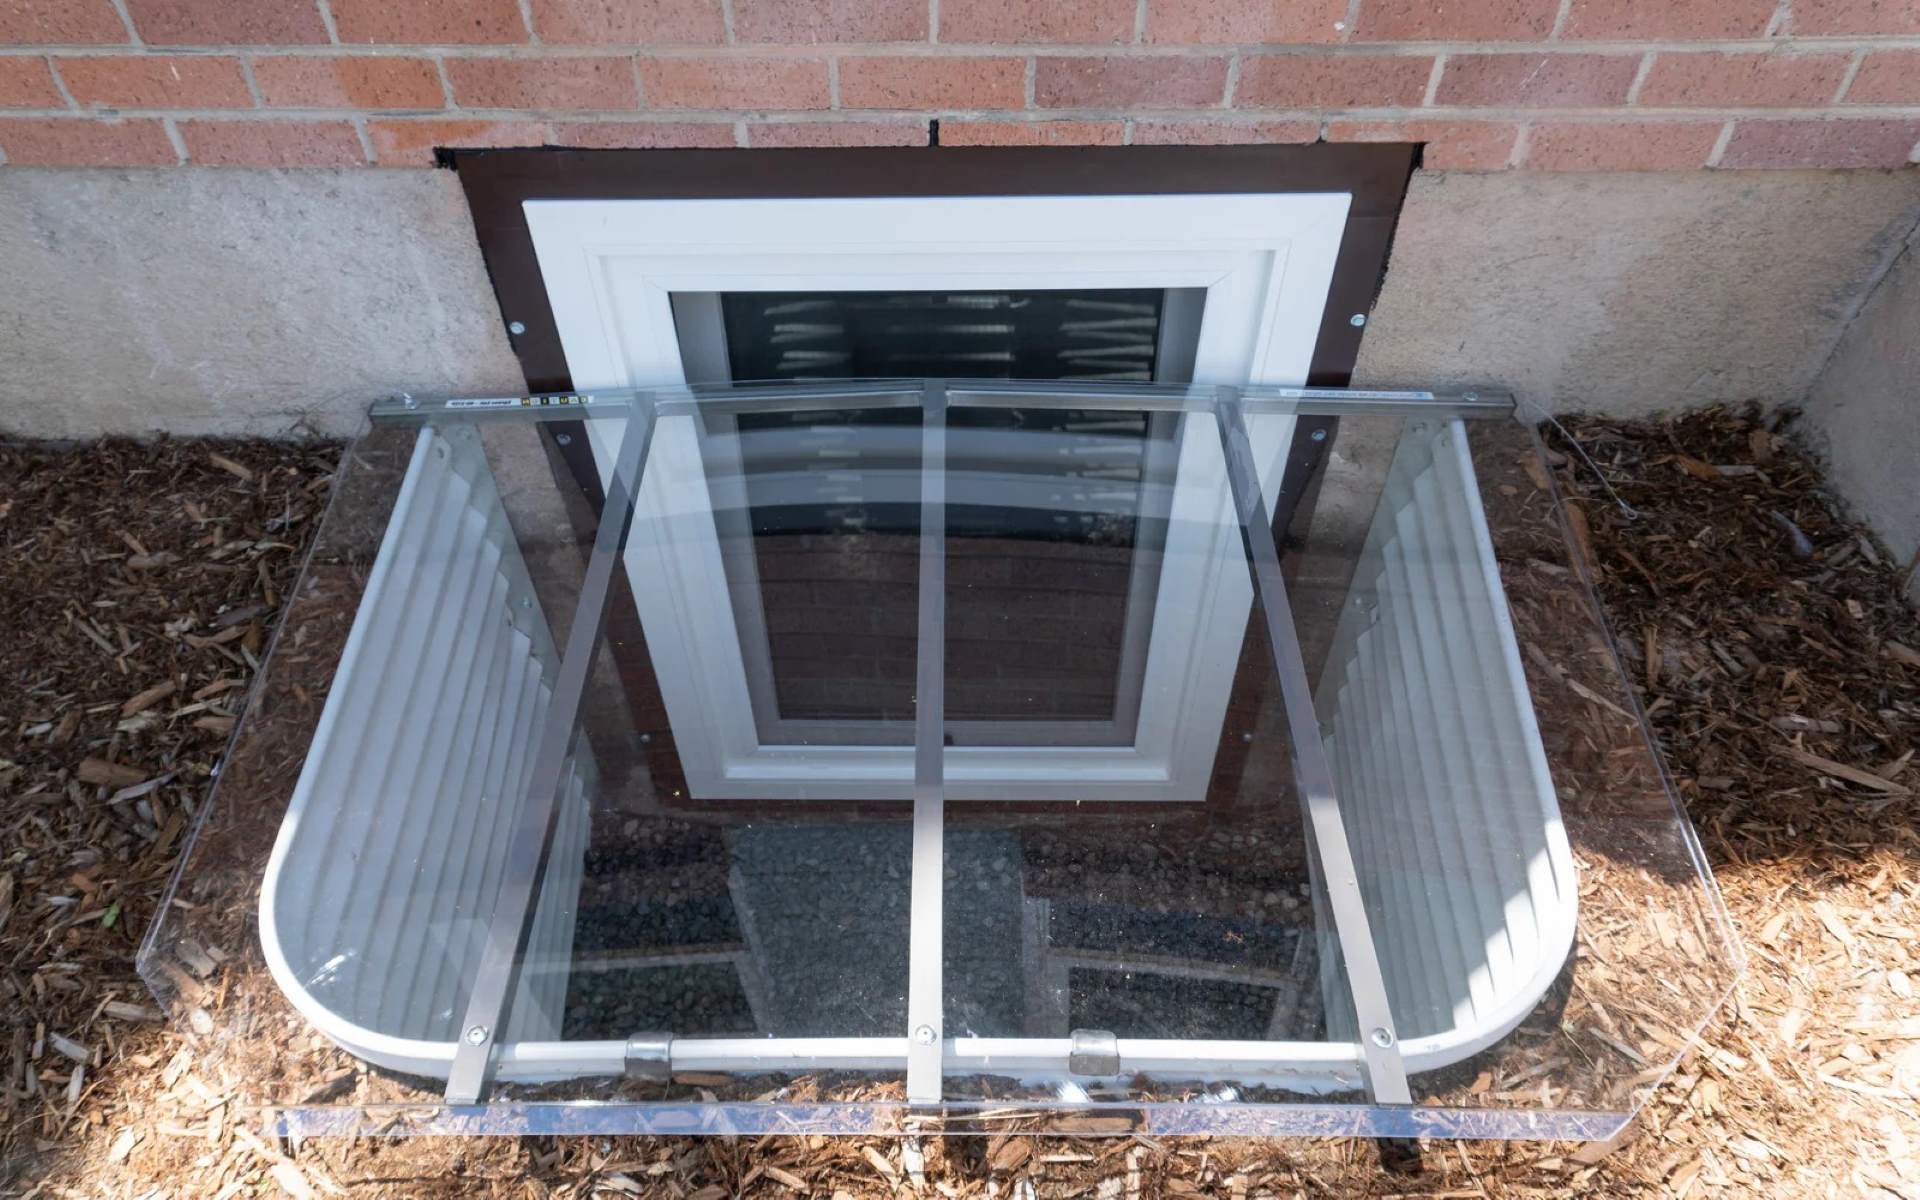
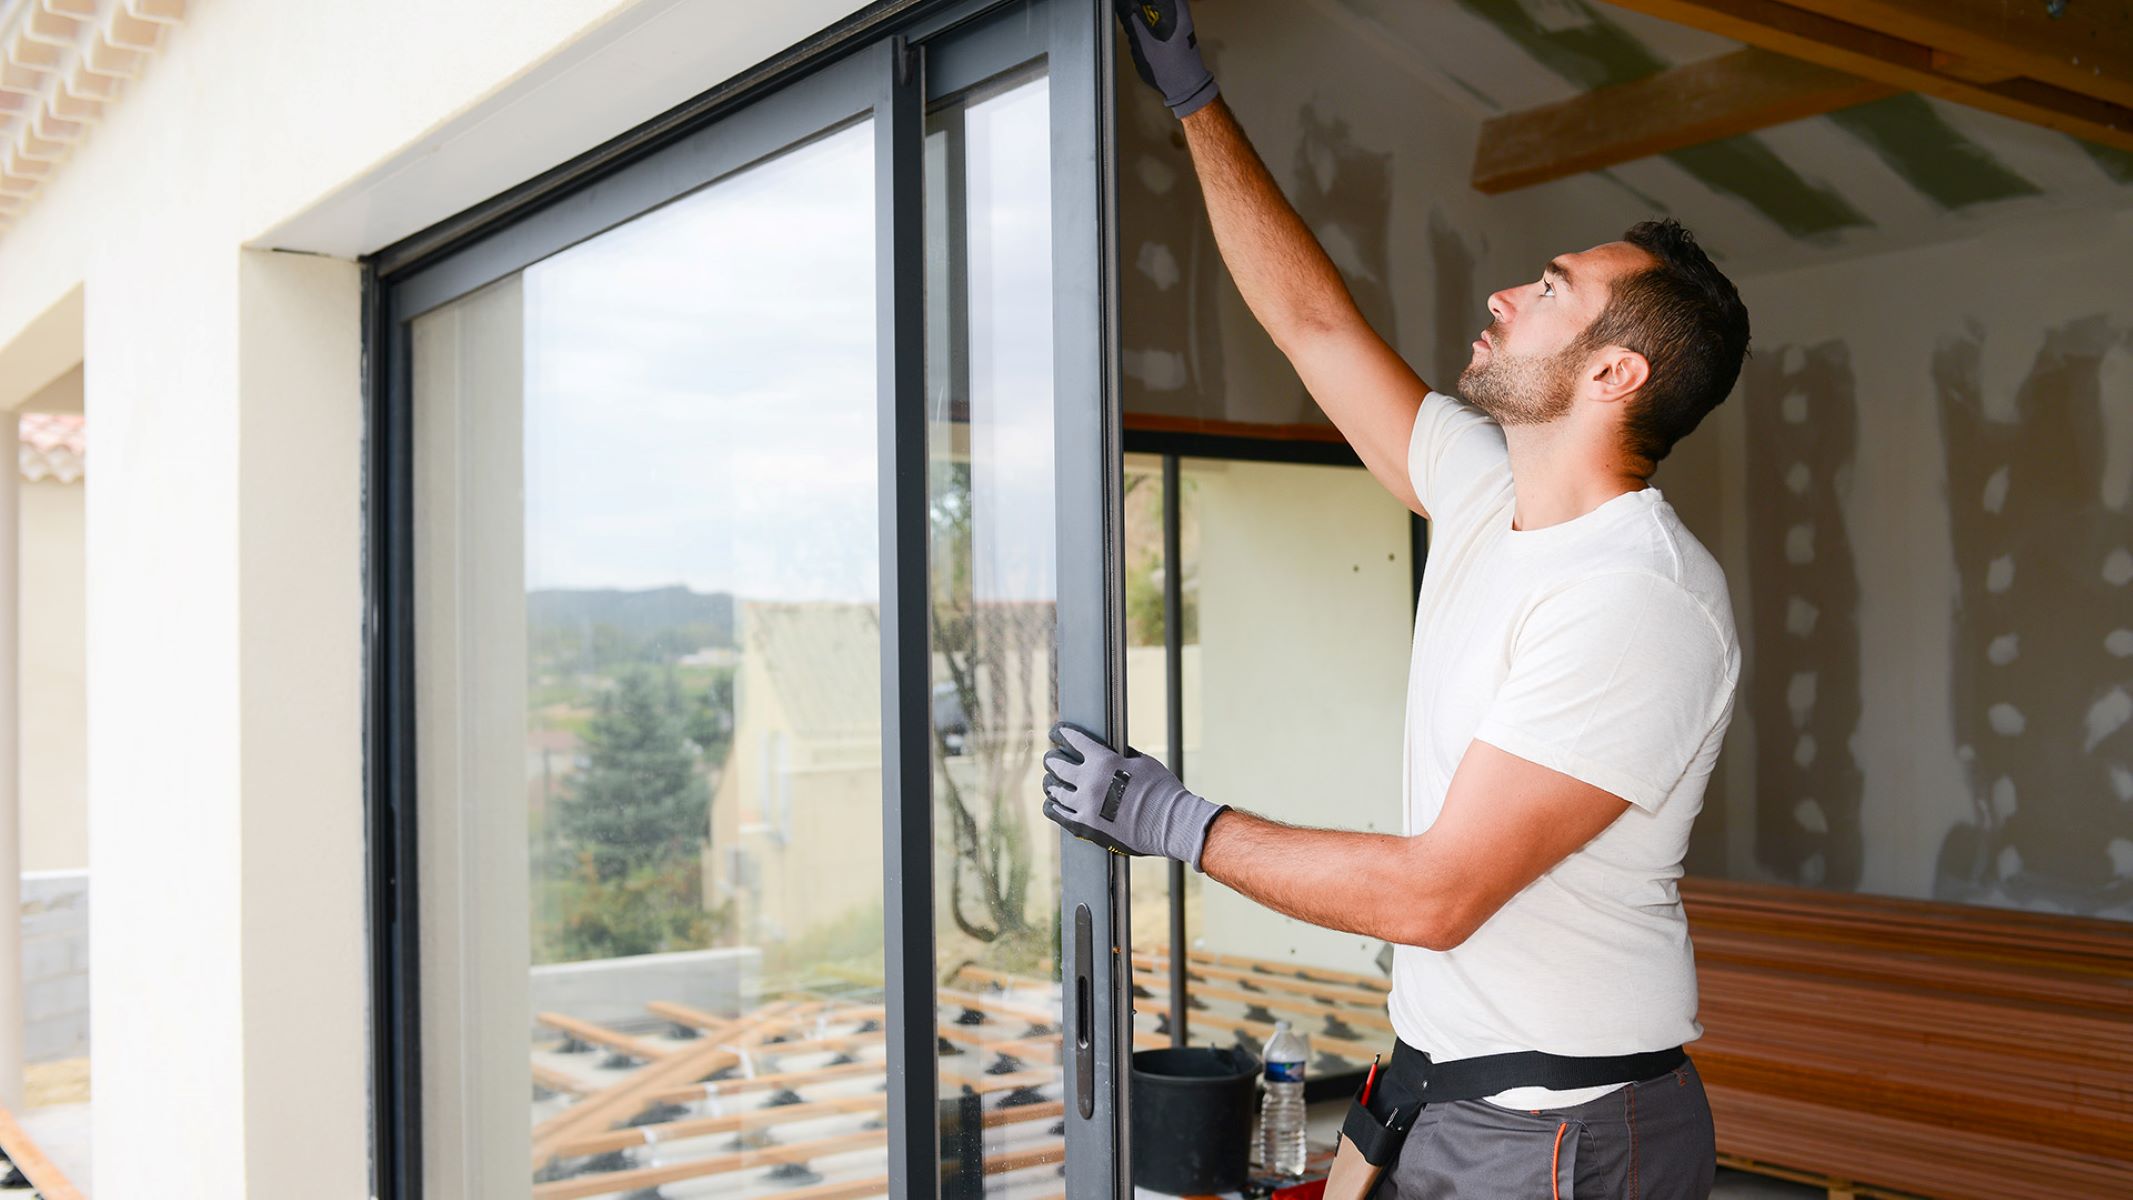
Installing Egress Window
-
Position Window: Position your egress window into place within its frame, ensuring it is level and plumb.
-
Secure Window: Secure your egress window using fasteners provided by its manufacturer according to their instructions.
-
Add Flashing: Apply flashing around where you installed your egress window to prevent water from entering around it.
-
Trim Gaps: Use trim pieces made of wood or plastic to cover any gaps around where you installed your egress window.
Final Touches
-
Test Window: Test your newly installed egress window by opening it from inside without using any tools to ensure compliance with safety standards.
-
Maintain Window Well: Regularly clear debris from within window wells and reapply caulk around edges where necessary to prevent water seepage into basements.
DIY vs Professional Installation
While installing an egress window can be done as a DIY project if you have experience with home renovations and window installation, it's often recommended to hire professionals due to several reasons:
- Safety Concerns: Working with power tools like concrete saws requires skill and caution to avoid injuries.
- Code Compliance: Ensuring compliance with local building codes requires expertise which may not be readily available for DIY projects.
- Quality Assurance: Professional installers provide assurance that work meets high standards ensuring longevity and functionality of installed components.
However, if you're confident in your abilities or prefer saving costs by doing it yourself, here are some tips:
- Rent Tools: Rent necessary tools such as concrete saws instead of buying them outright if you only need them once.
- Seek Guidance: Consult online resources like videos tutorials available on platforms such as YouTube which provide step-by-step guidance through similar projects.
- Join Communities: Join local home improvement communities where members share experiences related specifically towards installing egress windows which could help alleviate concerns during execution phase itself!
Total Cost of Installation
The total cost involved in installing an egress window varies widely depending upon several factors including type of foundation or wall involved along with specific requirements mentioned earlier regarding size specifications etc., here’s an approximate breakdown:
Egress Window Cost
$2,500 – $7,000 installed depending upon type of foundation or wall involved along with specific requirements mentioned earlier regarding size specifications etc.,
Window Well Cost
$3,500 – $10,000 for window well including excavation work required along with necessary drainage systems setup accordingly!
Total Project Cost
$6,000 – $17,000 approximately covering entire scope including materials required along with labor costs involved!
Conclusion
Upgrading your home's basement with DIY egress windows is not only feasible but also highly rewarding given numerous benefits associated therewith including enhanced safety features along with increased property value By following detailed steps outlined above coupled with necessary precautions taken during execution phase itself ensures successful completion meeting all required standards set forth by local authorities thereby transforming dingy dark basements into cozy inviting spaces perfect suited towards modern living standards today!
Remember always prioritize safety above all else ensuring smooth execution throughout entire process thereby avoiding any potential hazards associated therewith ultimately leading towards successful completion meeting desired outcomes expected from such projects undertaken within residential settings alike
Was this page helpful?
At Storables.com, we guarantee accurate and reliable information. Our content, validated by Expert Board Contributors, is crafted following stringent Editorial Policies. We're committed to providing you with well-researched, expert-backed insights for all your informational needs.


0 thoughts on “Upgrading Your Home’s Basement With DIY Egress Windows”