Articles
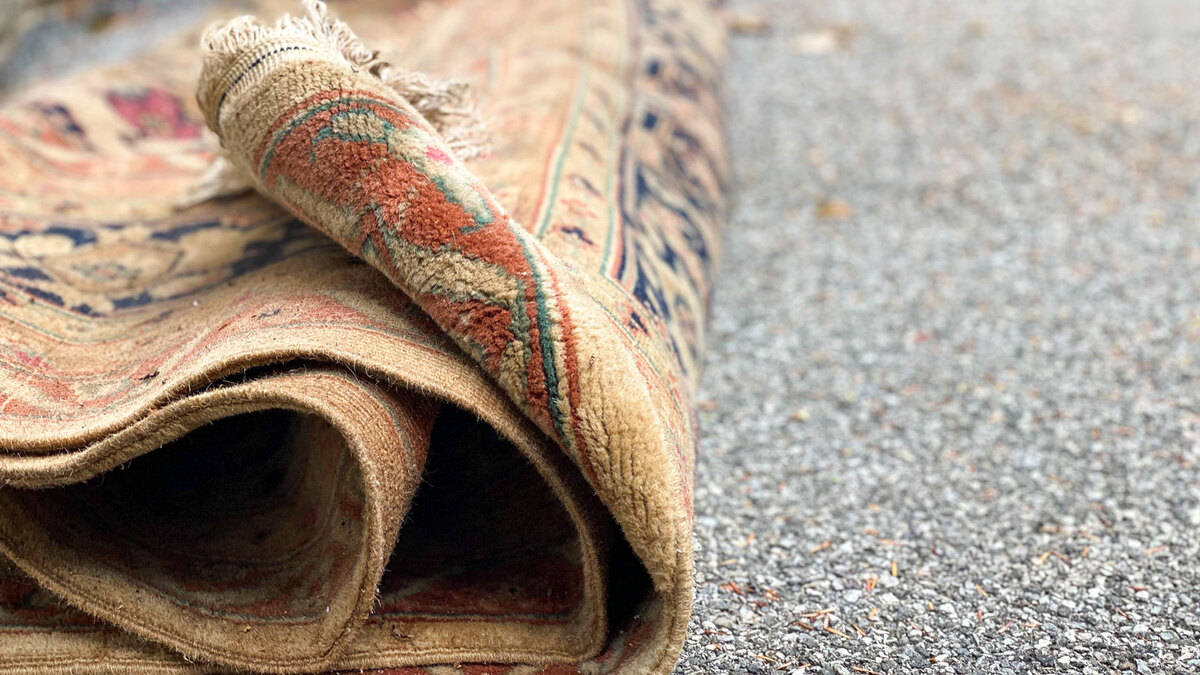
How To Clean Indoor/Outdoor Carpet
Modified: August 23, 2024
Looking for articles on how to clean indoor and outdoor carpet? Get expert tips and advice for keeping your carpets looking fresh and new.
(Many of the links in this article redirect to a specific reviewed product. Your purchase of these products through affiliate links helps to generate commission for Storables.com, at no extra cost. Learn more)
Introduction
Having indoor or outdoor carpet can be a wonderful addition to your home, providing comfort underfoot and enhancing the overall aesthetic. However, over time, these carpets can accumulate dirt, debris, and stains, causing them to lose their original allure. To keep your indoor/outdoor carpet looking its best, regular cleaning is essential.
In this article, we will guide you through the process of cleaning indoor/outdoor carpet, helping you restore its original beauty and prolong its lifespan. By following these simple steps, you will be able to remove dirt, stains, and odors, leaving your carpet fresh and rejuvenated.
Before we dive into the cleaning process, let’s take a look at the tools and supplies you will need:
- Broom or brush
- Vacuum cleaner
- Bucket
- Mild detergent or carpet cleaner
- Soft-bristle scrub brush or sponge mop
- Water hose
- Spray bottle
- White vinegar
- Clean towels or rags
- Fan or dehumidifier
Now that you have gathered all the necessary tools and supplies, let’s move on to the step-by-step cleaning process.
Key Takeaways:
- Keep your indoor/outdoor carpet looking fresh and rejuvenated by following a thorough cleaning process, including removing debris, preparing a suitable cleaning solution, and ensuring proper drying to prevent mold and mildew.
- Regular maintenance, such as weekly vacuuming and prompt spot cleaning, will help extend the lifespan of your indoor/outdoor carpet, keeping it in optimal condition for years to come.
Read more: How To Clean The Edges Of A Carpet
Tools and Supplies Needed
Cleaning indoor/outdoor carpet requires a few essential tools and supplies to ensure a thorough and effective cleaning process. Here’s what you’ll need:
- Broom or brush: A broom or brush will help you remove loose debris and dirt from the carpet surface before proceeding with cleaning. Make sure to choose a soft-bristle broom or brush to avoid damaging the fibers of the carpet.
- Vacuum cleaner: A vacuum cleaner with a brush attachment is crucial for removing embedded dirt and dust from the carpet. This will help in prepping the carpet for deep cleaning.
- Bucket: You will need a bucket to mix your cleaning solution and to hold water for rinsing the carpet.
- Mild detergent or carpet cleaner: Choose a mild detergent or specialized carpet cleaner that is suitable for your type of indoor/outdoor carpet. Avoid using harsh chemicals that can damage the fibers or fade the color.
- Soft-bristle scrub brush or sponge mop: A soft-bristle scrub brush or sponge mop will aid in scrubbing the carpet and removing stubborn stains. Opt for a brush or mop with gentle bristles to prevent any potential damage to the carpet fibers.
- Water hose: A water hose with a sprayer attachment will be used to rinse the carpet thoroughly after cleaning. Ensure that you have access to an outdoor water source or a long enough hose to reach your indoor carpet.
- Spray bottle: Fill a spray bottle with a mixture of water and white vinegar, which can be used as a natural stain remover and deodorizer.
- White vinegar: White vinegar is a versatile and eco-friendly cleaning agent. Its acidic properties make it effective at breaking down stains and eliminating odors.
- Clean towels or rags: Keep clean towels or rags handy to blot excess moisture and aid in the drying process.
- Fan or dehumidifier: To speed up the drying process, you may want to have a fan or dehumidifier nearby. Properly drying the carpet is crucial to prevent the growth of mold and mildew.
With these tools and supplies at your disposal, you are now ready to tackle the task of cleaning your indoor/outdoor carpet. Let’s move on to the step-by-step cleaning process.
Step 1: Remove Loose Debris
The first step in cleaning your indoor/outdoor carpet is to remove any loose debris that may have accumulated on the surface. This can include leaves, twigs, dirt, or any other loose particles.
To get started, grab a broom or brush specifically designed for outdoor surfaces. Gently sweep the carpet in long, even strokes, working in the direction of the carpet’s fibers. This will help dislodge any larger debris and make the vacuuming process more efficient.
Pay special attention to areas near entrances, as they tend to collect more dirt and debris. If you have a patio or outdoor area adjacent to your indoor carpet, ensure that you sweep thoroughly along the edges and corners to remove any hidden dirt.
Take your time during this step to ensure that you have removed as much loose debris as possible. Doing so will prevent it from getting trapped in the carpet fibers during the cleaning process.
Once you have swept the entire surface, it’s time to move on to the next step: vacuuming.
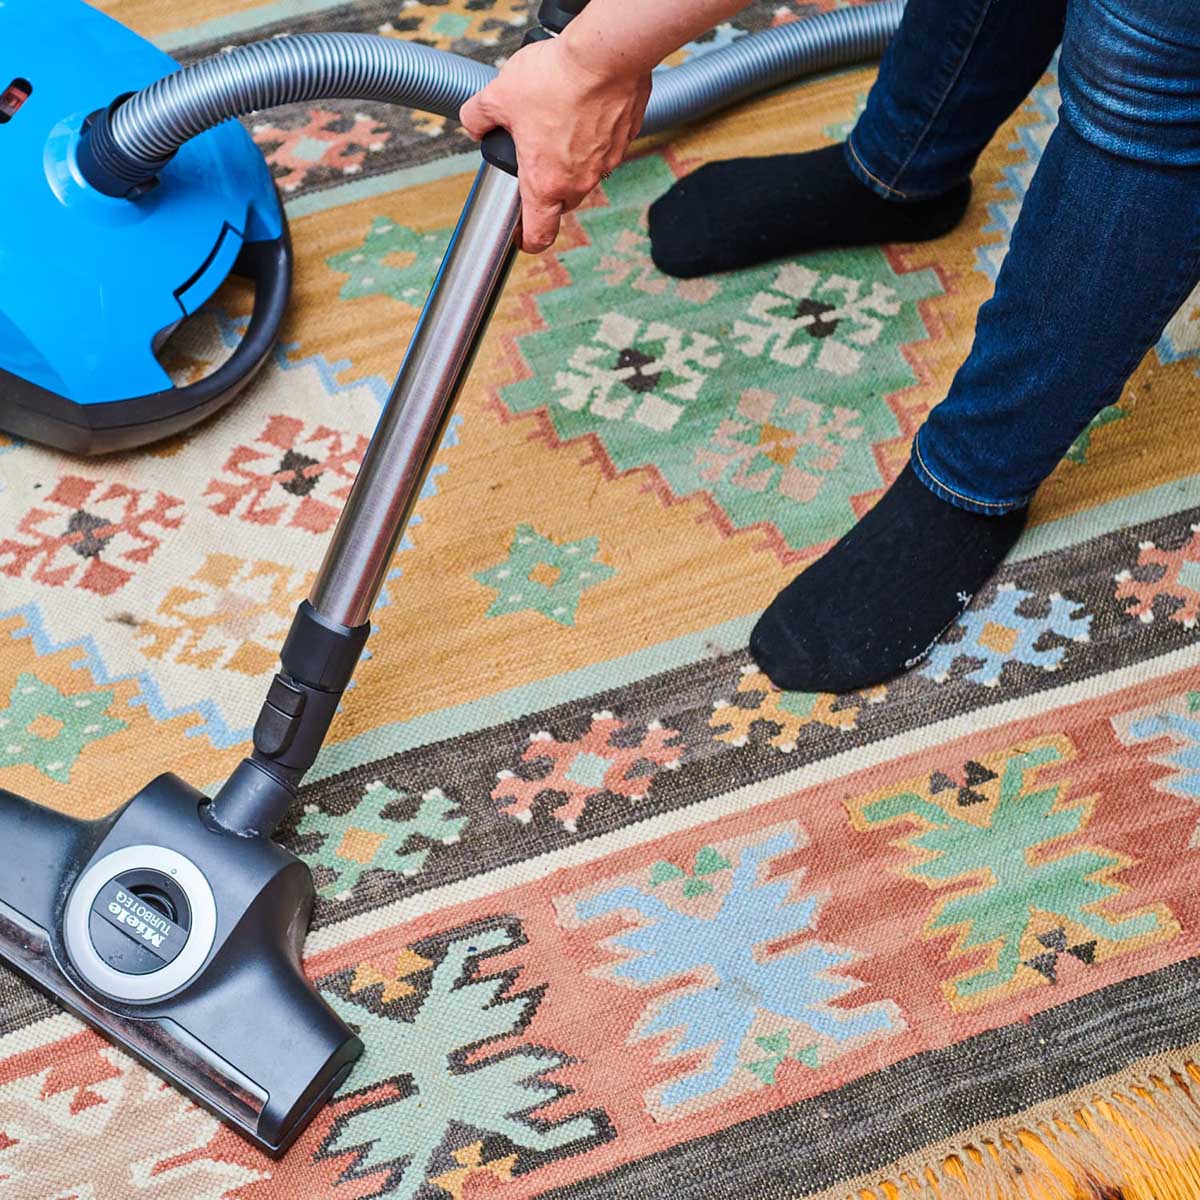
Step 2: Vacuum the Carpet
After removing the loose debris from your indoor/outdoor carpet, it’s time to give it a thorough vacuuming. Vacuuming is an essential step that will help remove embedded dirt, dust, and smaller particles that may not be visible to the naked eye.
Start by attaching the brush attachment to your vacuum cleaner. This attachment is specifically designed for cleaning carpets as it agitates the fibers, allowing the vacuum to effectively suction up the dirt and debris.
Begin vacuuming the carpet in a systematic manner, starting from one corner and working your way across the entire area. Make sure to overlap your strokes to ensure thorough cleaning. Pay extra attention to high-traffic areas, as these may require multiple passes to remove embedded dirt.
If your indoor/outdoor carpet has a longer pile or is textured, it may be beneficial to use a vacuum cleaner with adjustable suction power. This will allow you to increase the suction for a deeper clean.
Take your time and be diligent in your vacuuming efforts, especially in areas where there may be pet hair or larger particles. The goal is to remove as much dirt and debris as possible before moving on to the next step.
Once you have completed the vacuuming process, congratulate yourself on a job well done! You have successfully removed loose debris and thoroughly cleaned the surface of your indoor/outdoor carpet. Now it’s time to move on to the next step: preparing a cleaning solution.
Step 3: Prepare a Cleaning Solution
Preparing a suitable cleaning solution is crucial for effectively cleaning your indoor/outdoor carpet. The right cleaning solution will help break down stains, lift dirt, and leave your carpet looking fresh and rejuvenated.
Before you start mixing any cleaning agents, it’s important to check the manufacturer’s recommendations for your specific type of carpet. Some carpets may require specific cleaning products or have restrictions on the type of cleaning agents that can be used.
If you don’t have any specific instructions, a mild detergent or specialized carpet cleaner should work well for most indoor/outdoor carpets. Here’s how you can prepare a homemade solution:
- Fill a bucket with warm water, ensuring that it is not too hot as extreme temperatures can potentially damage the carpet fibers.
- Add a small amount of mild detergent or carpet cleaner to the bucket. Follow the manufacturer’s instructions on the product label for the appropriate amount.
- Gently stir the water and detergent or carpet cleaner together to create a soapy solution. Avoid creating excessive suds, as they can be difficult to rinse out of the carpet.
Alternatively, if you prefer using natural cleaning agents, you can create a mixture of water and white vinegar. Mix equal parts water and vinegar in a spray bottle and gently shake to combine.
White vinegar is a versatile cleaning agent that can help remove stains and odors from your carpet. It is also a natural and eco-friendly option for those who prefer to avoid harsh chemicals.
Once you have prepared your cleaning solution, it’s time to test a small area of your carpet before moving on to the full cleaning process. This will ensure that the solution doesn’t cause any discoloration or damage to your carpet fibers. Let’s move on to the next step: testing a small area.
Read more: How To Clean A Fur Carpet
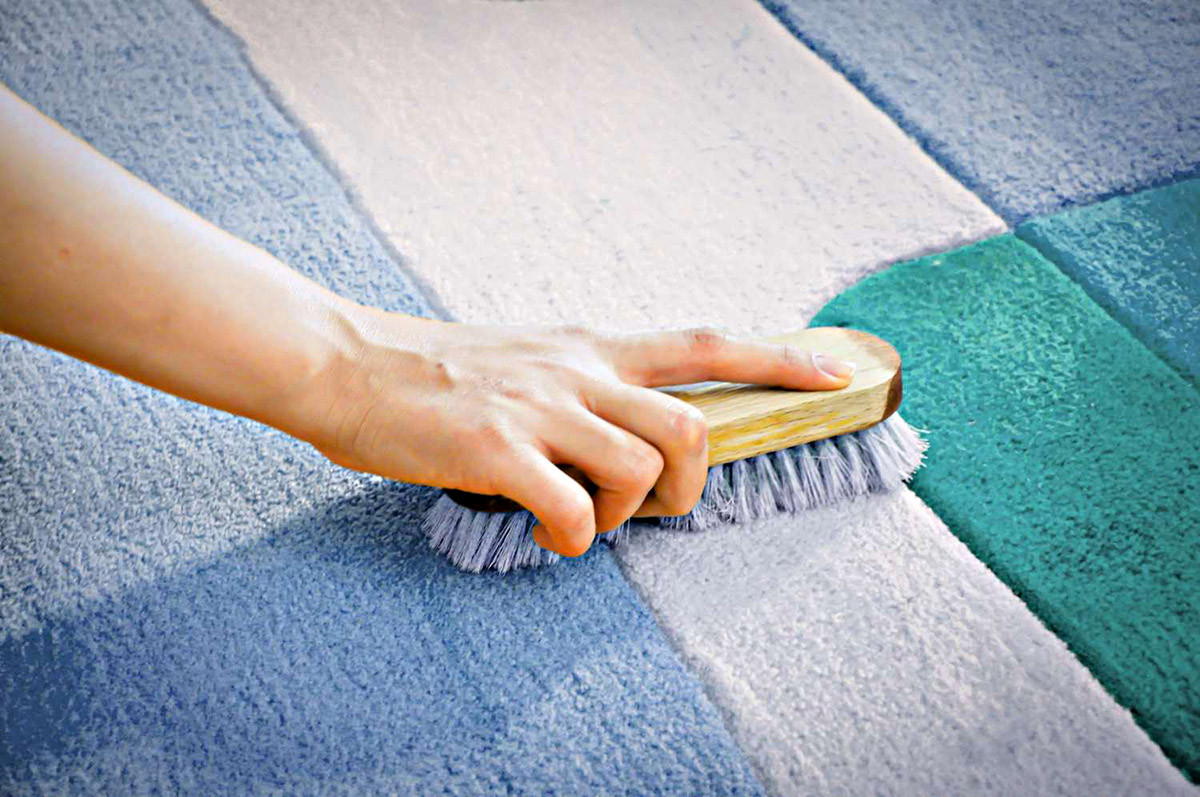
Step 4: Test a Small Area
Before proceeding with cleaning the entire indoor/outdoor carpet, it’s important to test the cleaning solution on a small, inconspicuous area. This step will help ensure that the solution doesn’t cause any discoloration or damage to the carpet fibers.
Choose a small area, such as a corner or a spot that is normally hidden by furniture, to perform the test. Apply a small amount of the cleaning solution to the area and gently blot it with a clean cloth or sponge. Avoid scrubbing vigorously, as this may cause damage to the carpet fibers.
Let the solution sit on the test area for a few minutes, then blot it again with a clean cloth to remove excess moisture. Inspect the test area for any signs of discoloration, fading, or damage. If the carpet remains in good condition and there is no noticeable change in color or texture, you can proceed with confidence to the next step.
However, if you notice any adverse effects on the test area, it’s important to stop immediately. Consider trying a different cleaning solution or consult a professional for further advice.
Testing a small area is a crucial step to ensure the safety and effectiveness of the cleaning process. It helps identify any potential risks or compatibility issues with your indoor/outdoor carpet. Once you have confirmed that the cleaning solution is suitable for your carpet, it’s time to move on to the next step: cleaning the entire carpet.
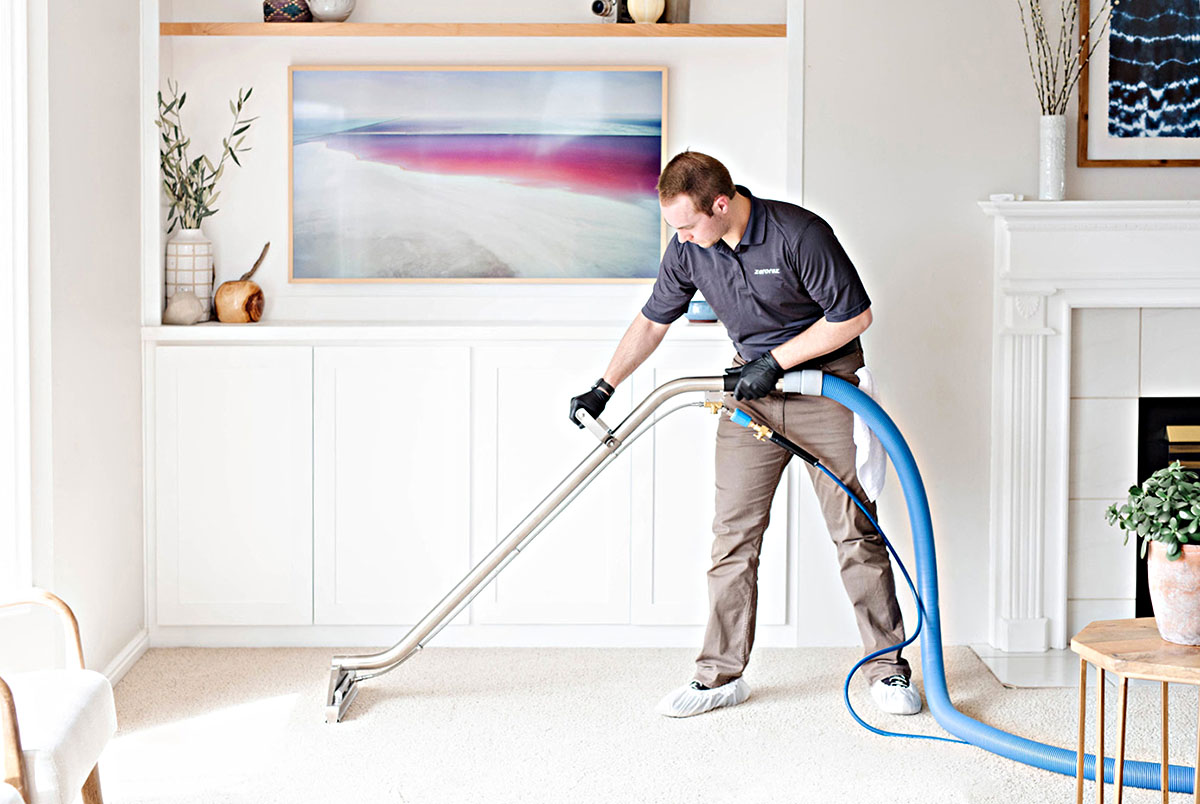
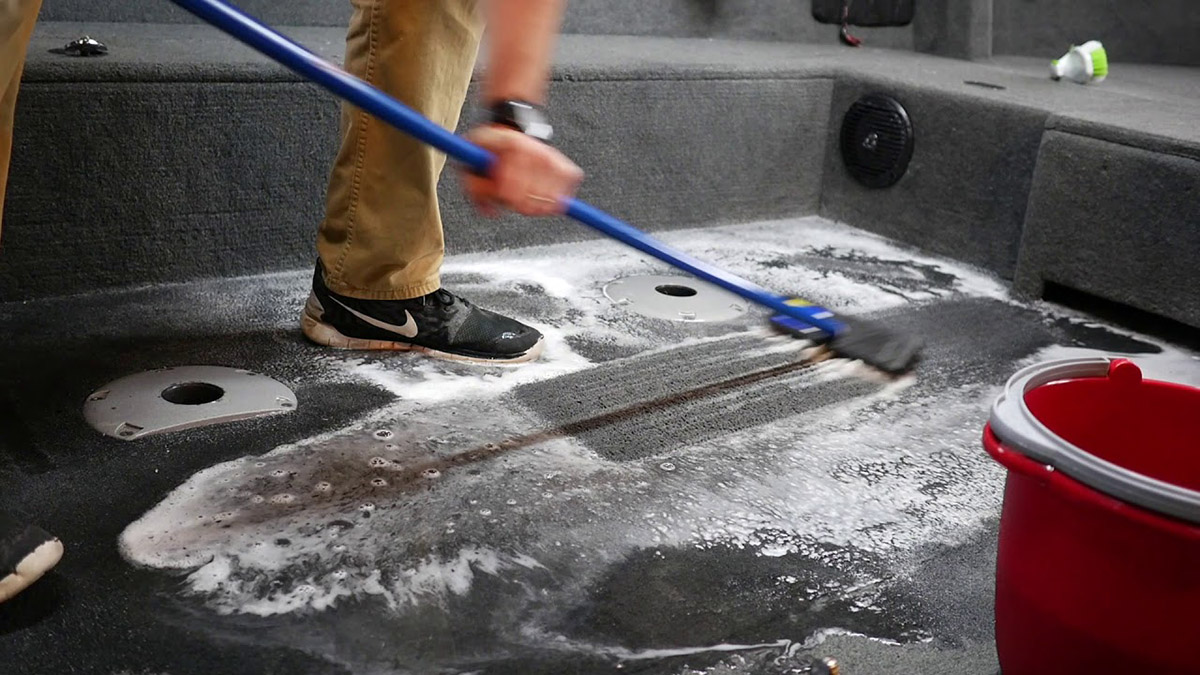
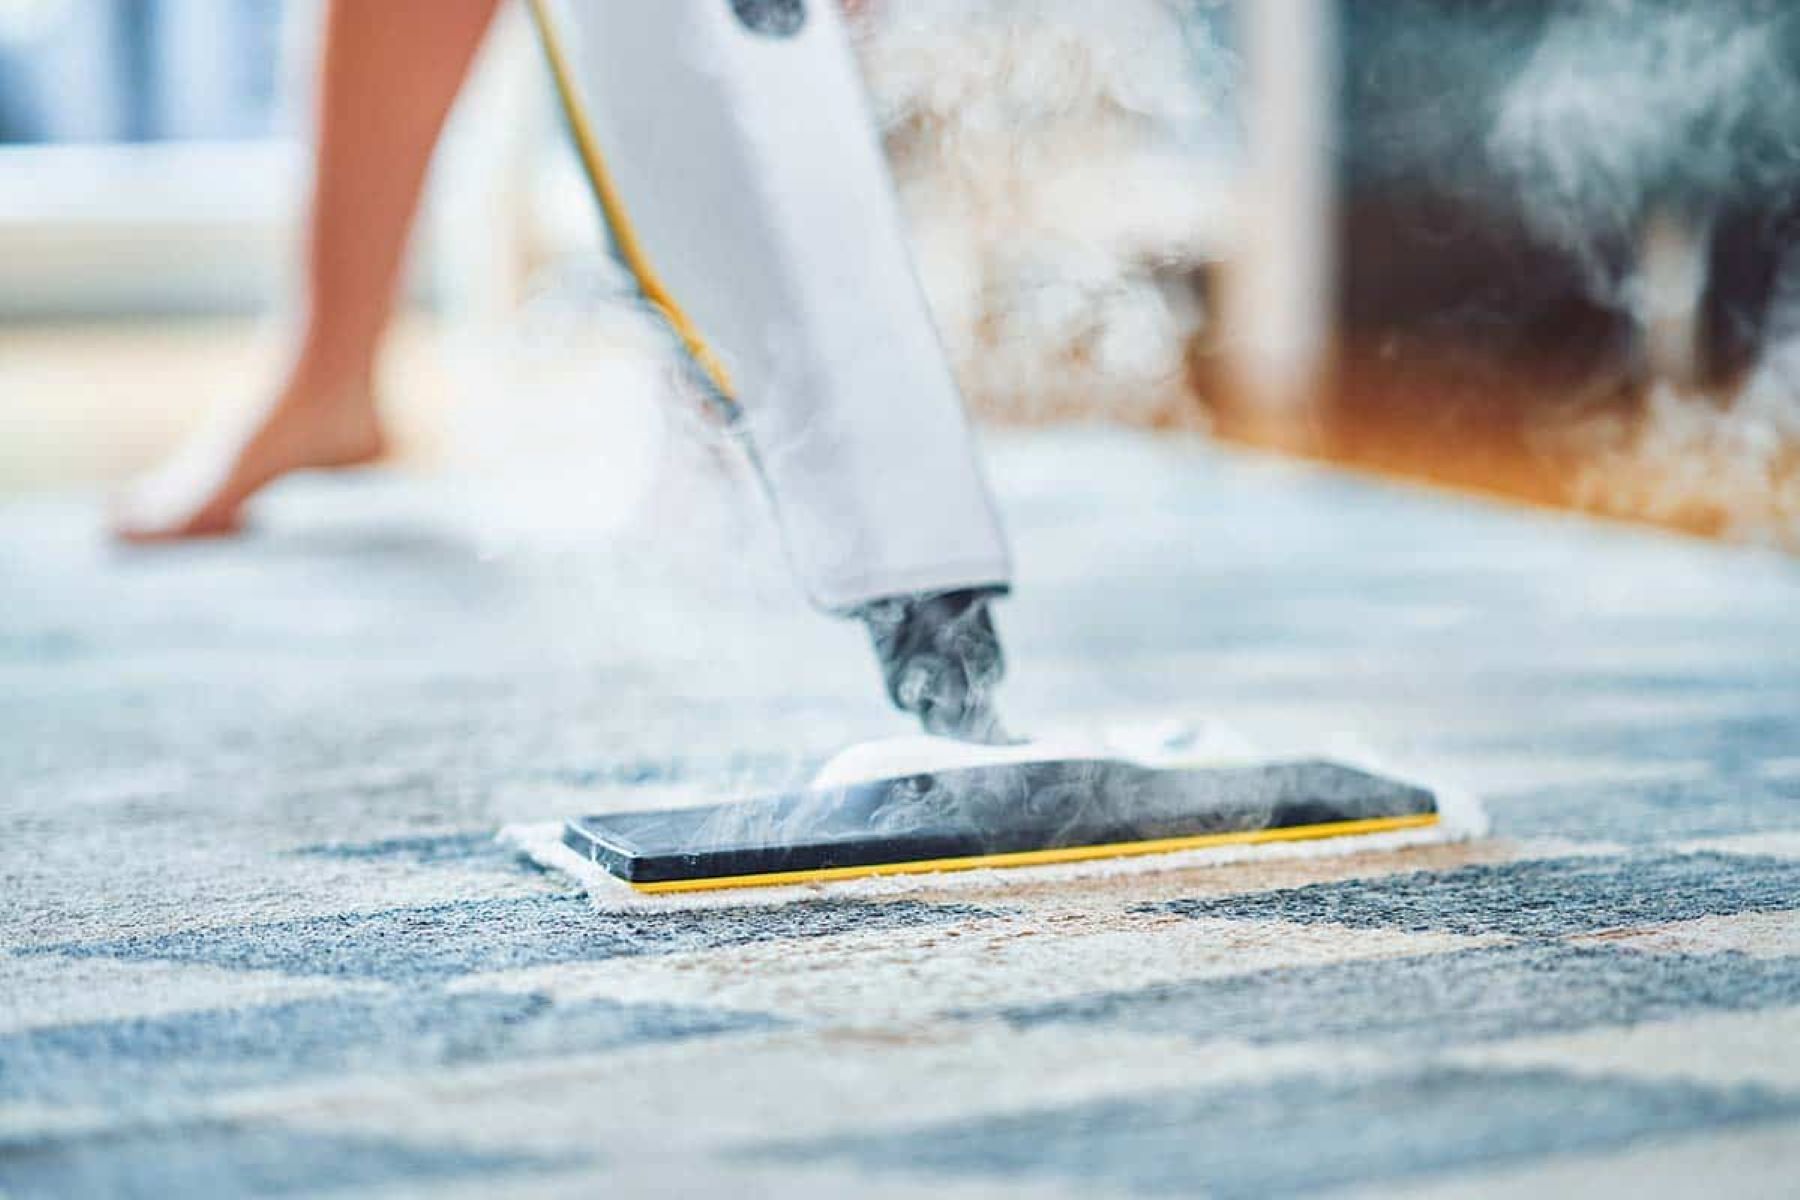
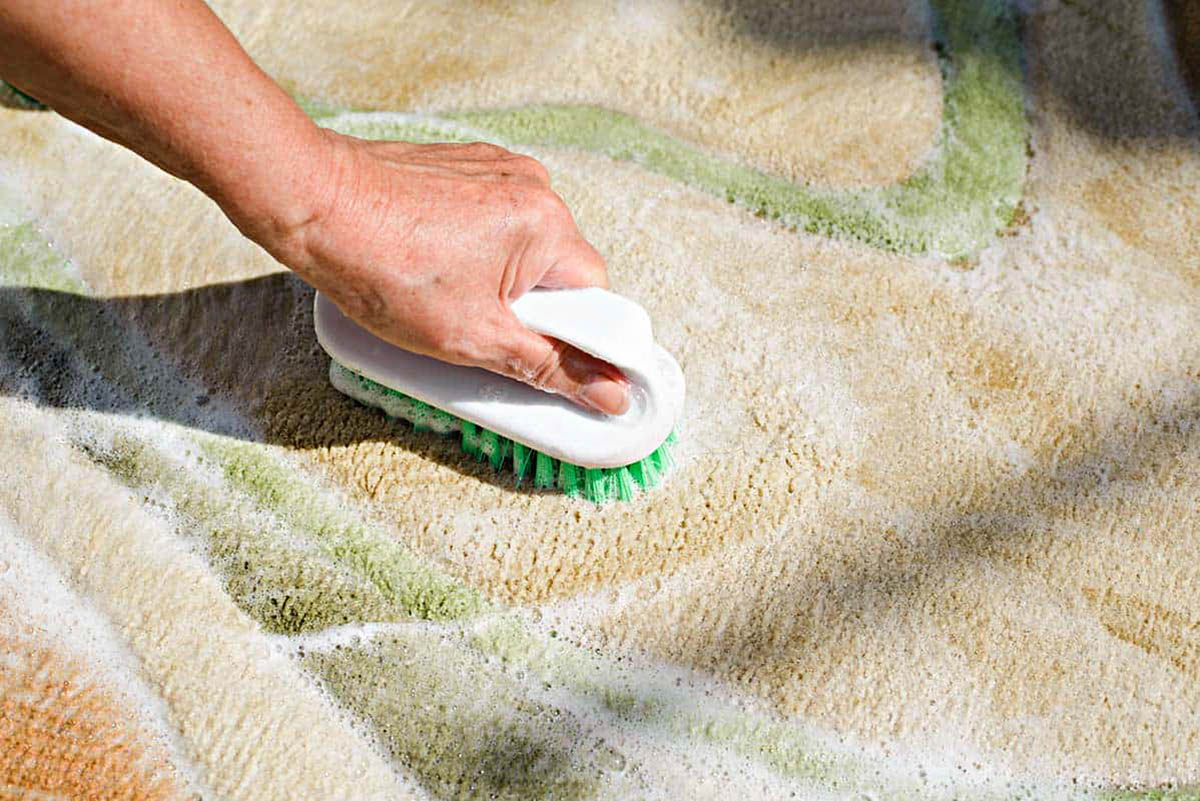
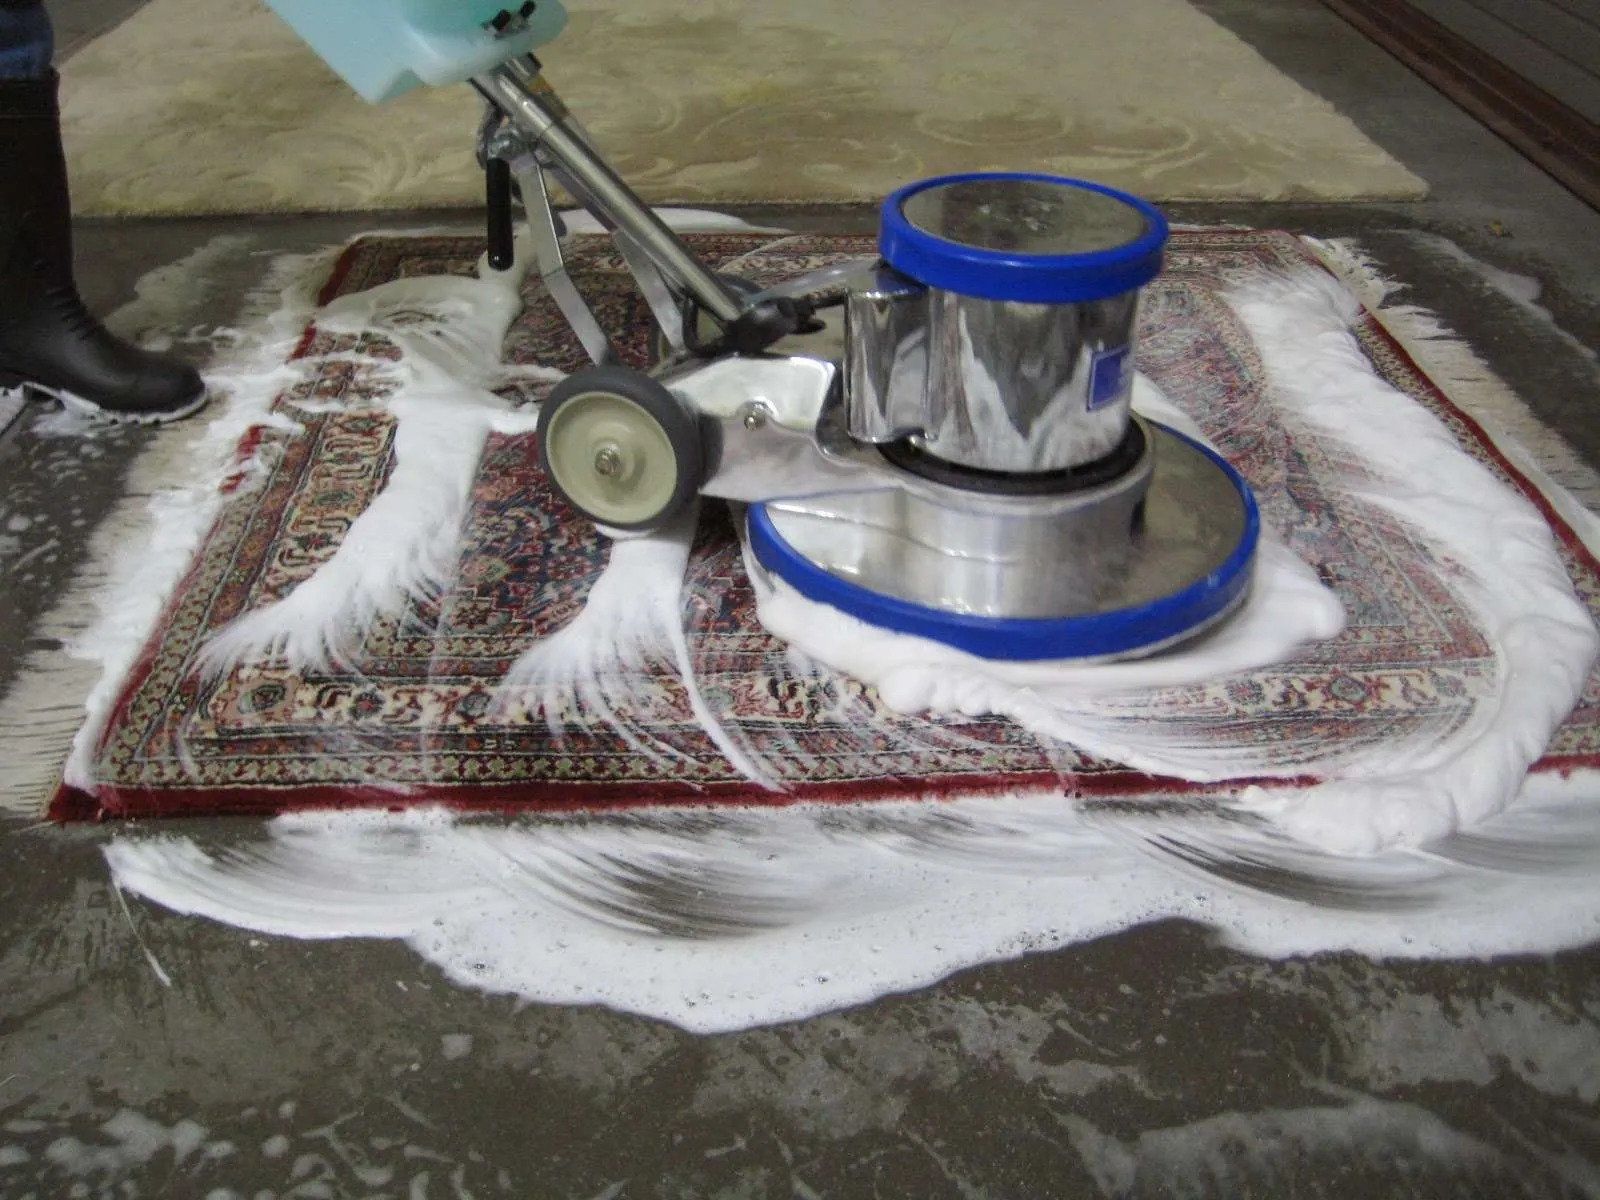
Step 5: Clean the Carpet
Now that you have tested the cleaning solution on a small area and determined it is safe for your indoor/outdoor carpet, it’s time to proceed with cleaning the entire carpet.
Start by dipping a soft-bristle scrub brush or sponge mop into the prepared cleaning solution. Gently scrub the carpet in small circular motions, focusing on areas with visible stains or soiled patches.
Work your way across the carpet, covering the entire surface. Take care not to oversaturate the carpet with the cleaning solution, as this can lead to longer drying times and potential damage.
If you encounter stubborn stains while cleaning, apply a bit more pressure and continue scrubbing in a back-and-forth motion. This will help break down the stain and lift it from the carpet fibers. Be patient and persistent, as some stains may require multiple passes to fully remove.
As you clean, periodically rinse the scrub brush or mop in a bucket of clean water to remove any dirt or debris that may accumulate. This ensures that you are applying a fresh cleaning solution to the carpet surface throughout the process.
Continue cleaning the entire carpet until you are satisfied with the results. Once finished, move on to the next step: rinsing the carpet.
Note: It is important to work in smaller sections to prevent the cleaning solution from drying on the carpet before rinsing.
Regularly vacuum your indoor/outdoor carpet to remove dirt and debris. For deeper cleaning, use a carpet cleaner with a suitable cleaning solution and follow the manufacturer’s instructions.
Step 6: Rinse the Carpet
After cleaning the indoor/outdoor carpet with the solution, it’s essential to rinse away any remaining cleaning residue. Rinsing the carpet will help remove dirt, detergent, and stains, leaving your carpet fresh and free of any cleaning solution residue.
To rinse the carpet, you will need a water hose with a sprayer attachment. If an outdoor water source is available, take the carpet outside. If not, make sure you have a long enough hose to reach the indoor carpet.
Start by thoroughly wetting the carpet with water from the hose. This will help loosen any remaining dirt and residual cleaning solution. Make sure to cover the entire carpet surface, working in sections if necessary.
Once the carpet is wet, set the hose sprayer to a moderate pressure setting and use it to spray water over the entire surface of the carpet. Move the sprayer in a back-and-forth motion, ensuring that you rinse every inch of the carpet.
Pay particular attention to areas that were heavily soiled or stained. Spend extra time rinsing these spots to ensure that all residue has been removed.
Continue rinsing the carpet until the water runs clear and free of any suds or foam. This indicates that you have successfully rinsed away all cleaning solution residue.
Take care not to oversaturate the carpet with water during the rinsing process. While it’s important to rinse thoroughly, excessive water can prolong the drying time and potentially damage the carpet fibers.
Once you are satisfied that the carpet has been thoroughly rinsed, it’s time to move on to the next step: removing excess water.
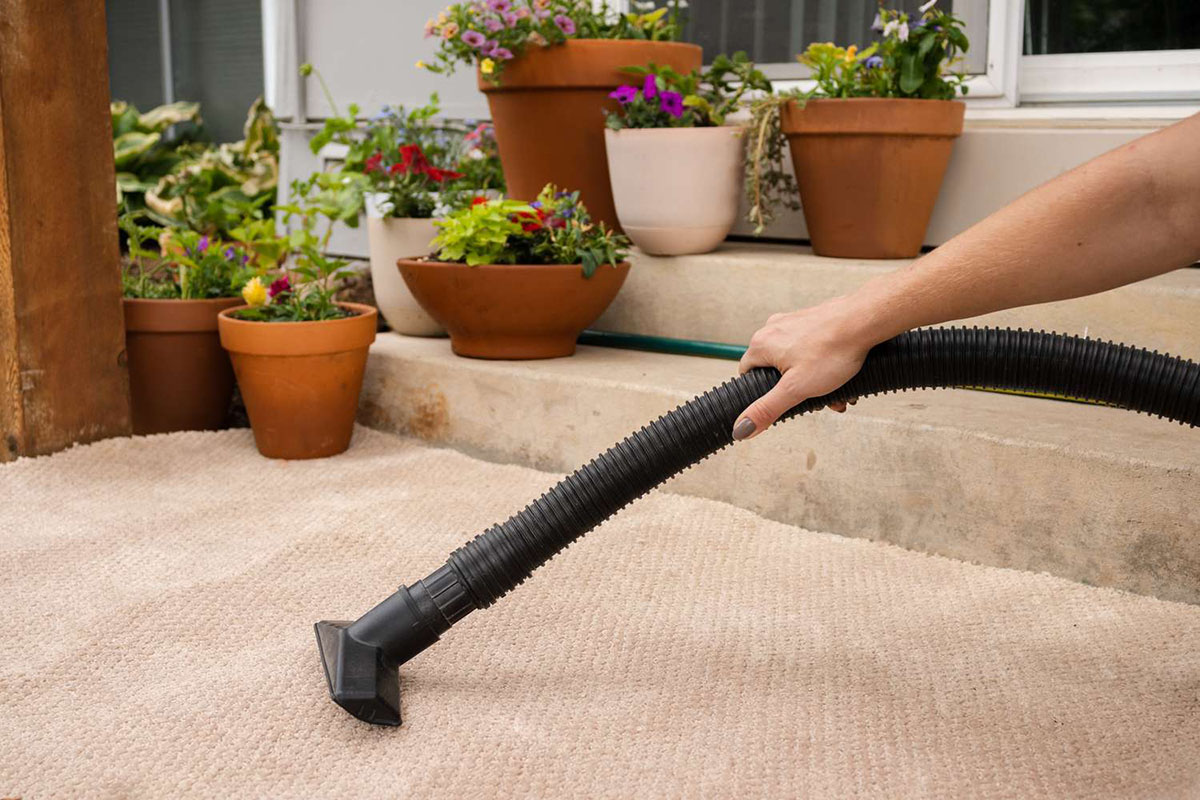
Step 7: Remove Excess Water
After rinsing your indoor/outdoor carpet, it’s important to remove excess water to expedite the drying process. Excess moisture left in the carpet can lead to mold, mildew, or water damage, so proper water removal is crucial.
Start by using a clean towel or rag to blot the carpet. Press the towel firmly into the carpet, absorbing as much water as possible. Work your way across the entire surface, changing towels as needed to maintain absorbency.
If the carpet is still quite wet after blotting, you may need to consider using a wet/dry vacuum cleaner. This powerful tool can help extract a significant amount of water from the carpet, dramatically reducing drying time.
Alternatively, you can also use a squeegee or floor squeegee to push excess water towards a drain or a clean towel placed on the floor. Gently press the squeegee against the carpet and push in the direction that allows the water to be removed effectively.
The goal is to remove as much moisture as possible until the carpet feels slightly damp but not saturated. This will help facilitate a faster drying process and prevent any potential damage to the carpet or its underlying surface.
Remember to take your time and be thorough in removing excess water. The more moisture you can extract at this stage, the quicker your indoor/outdoor carpet will dry. Once you have removed as much water as possible, proceed to the next step: allowing the carpet to dry.
Read more: How To Clean Carpet With A Mop
Step 8: Allow the Carpet to Dry
After removing excess water from your indoor/outdoor carpet, it’s time to allow it to dry completely. Proper drying is vital to prevent the growth of mold, mildew, or any potential damage to the carpet fibers.
Here are some tips to help facilitate the drying process:
- Open windows and doors to promote airflow and ventilation in the room. If weather permits, you can also consider placing fans strategically to improve air circulation.
- Use a dehumidifier to remove excess moisture from the air. This can help speed up the drying process, especially in humid environments.
- Avoid walking on the carpet until it is fully dry to prevent transferring dirt or causing footprints.
- If possible, place furniture pads or aluminum foil under the legs of furniture on the carpet to prevent any moisture transfer or furniture imprints.
The time it takes for the indoor/outdoor carpet to dry will depend on various factors such as humidity levels, airflow, and the thickness of the carpet. It can take anywhere from a few hours to a full day for the carpet to dry completely.
To test the dryness of the carpet, gently place your hand on the surface. If it feels cool or damp, it is not yet fully dry. If it feels dry and slightly warm to the touch, you can proceed to the optional next step: checking for stubborn stains.
Remember, it’s important to ensure that the carpet is completely dry before using it or placing any furniture back on top. This will help maintain the integrity of the carpet and prevent any potential issues that may arise from a damp surface.
Once you are confident that the carpet is thoroughly dry, it’s time to move on to the next step: checking for stubborn stains (optional).
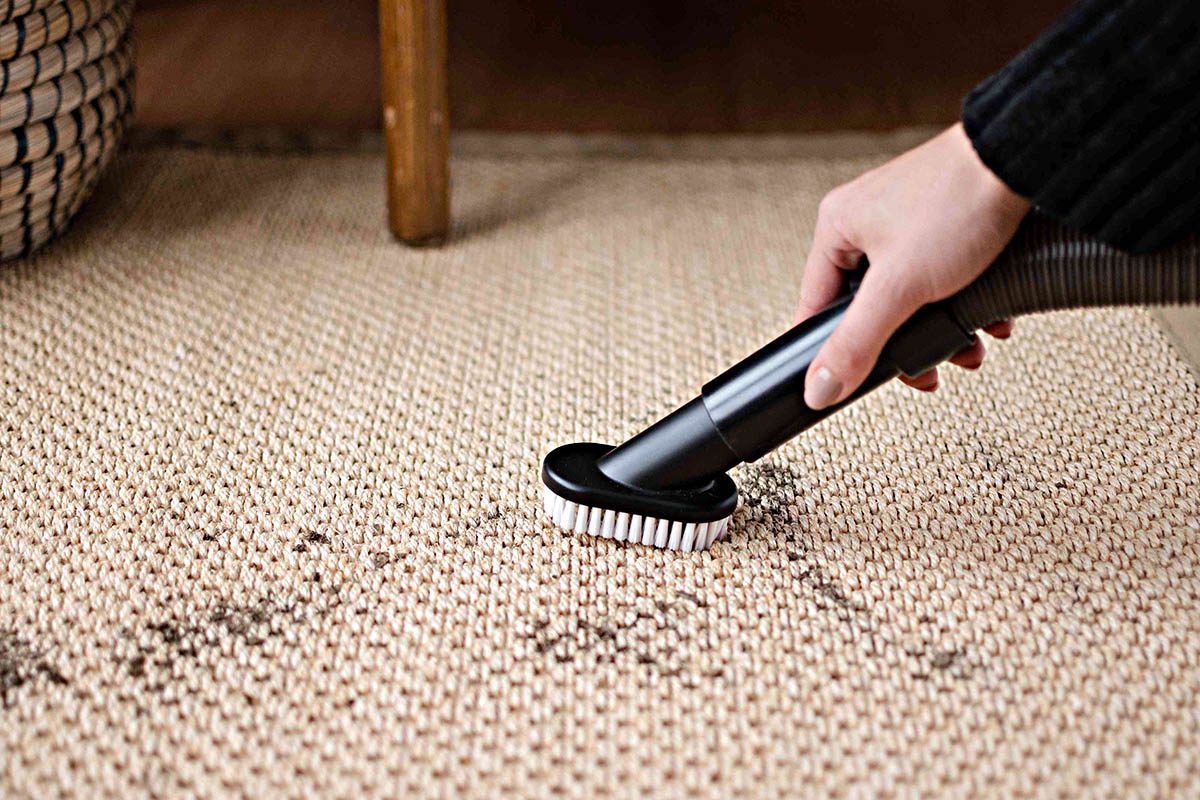
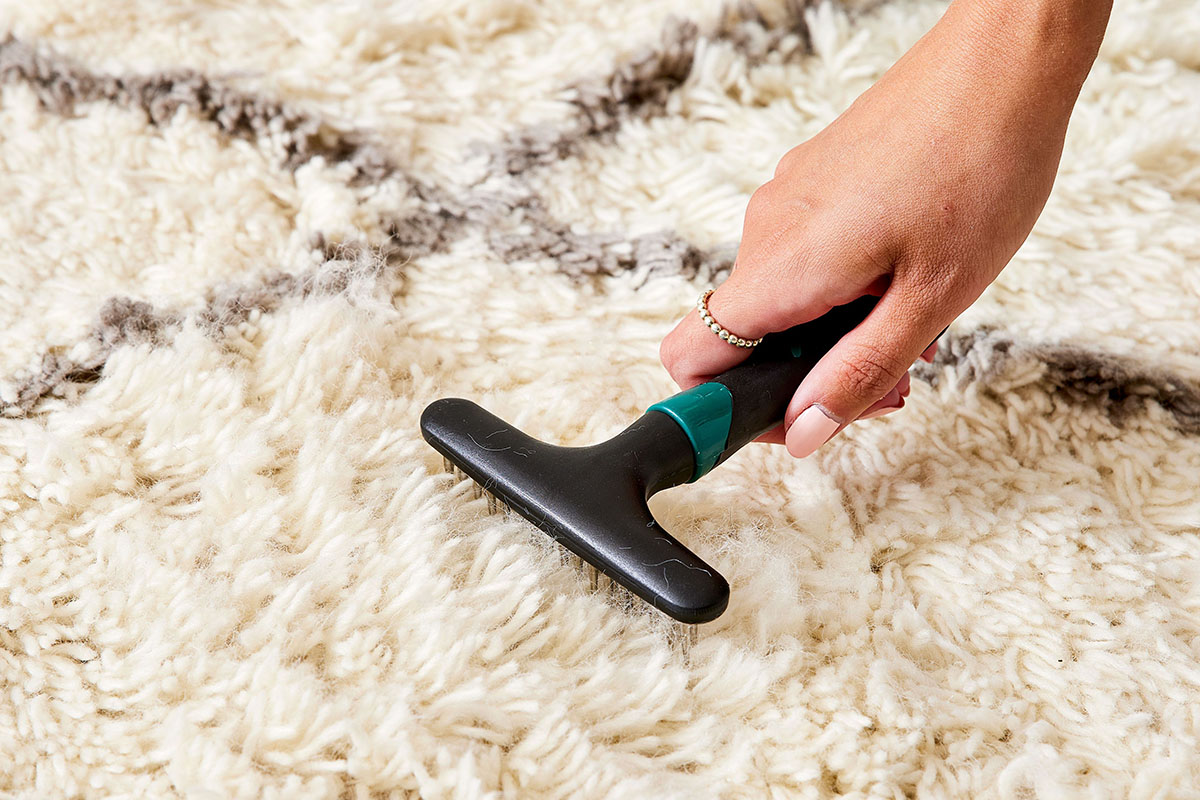
Step 9: Check for Stubborn Stains
After your indoor/outdoor carpet has dried completely, it’s a good idea to inspect the carpet surface for any remaining stubborn stains. While the cleaning process may have removed most stains, there could be a few that require additional attention.
Take a close look at the carpet and identify any areas that still show signs of staining. These could be spots that may have been missed during the initial cleaning or stains that were more deeply embedded in the fibers.
If you come across a stubborn stain, there are a few methods you can try to remove it:
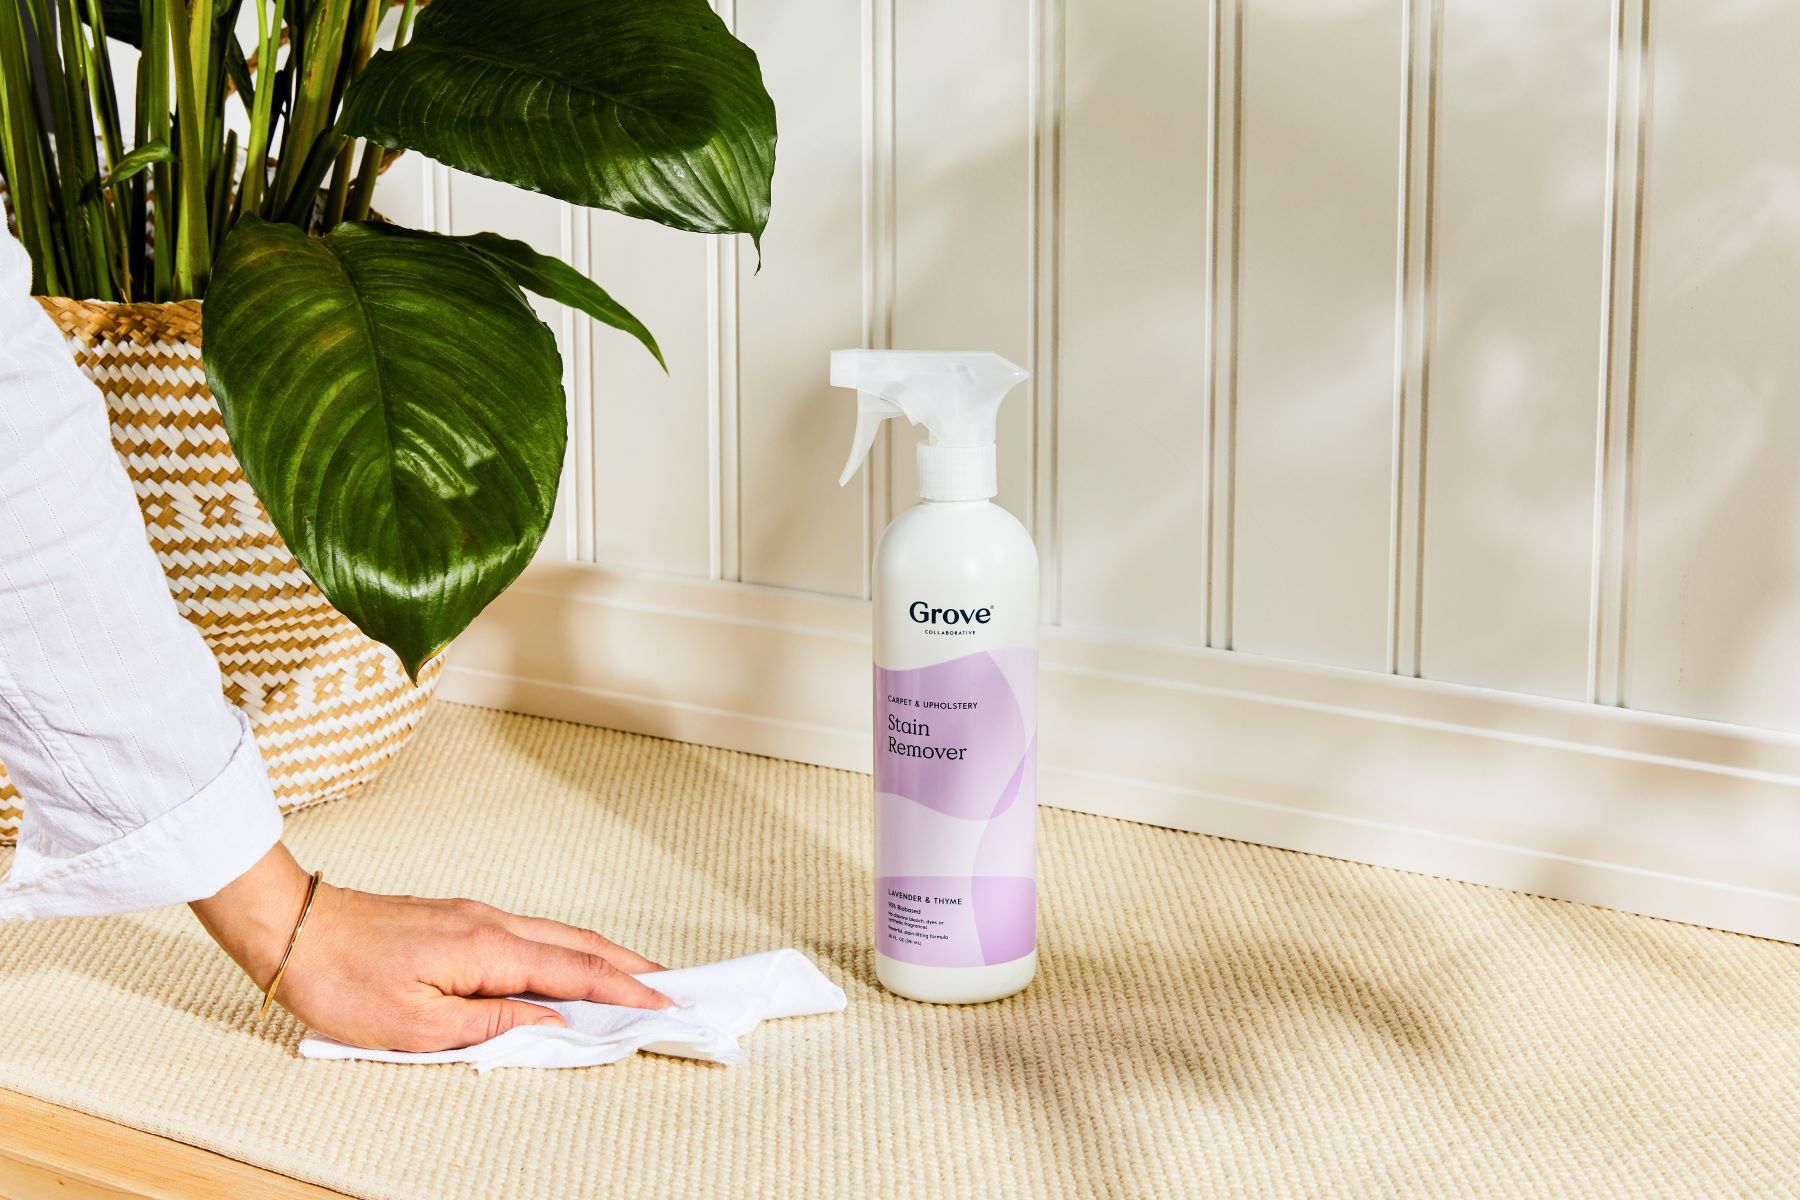
- Spot cleaning with a specialized carpet stain remover: Look for a carpet stain remover that is suitable for your particular type of indoor/outdoor carpet. Follow the instructions on the product and apply it to the stain, gently blotting with a clean cloth or sponge.
- Homemade stain removal solutions: If you prefer a natural approach, you can try using a mixture of water and white vinegar or a mild detergent. Test the solution in a small, inconspicuous area first to ensure it doesn’t cause any discoloration, then apply it to the stain and gently blot.
- Repeat the cleaning process: In some cases, repeating the entire cleaning process may be necessary to tackle stubborn stains. This involves going back to step 5 and thoroughly cleaning the affected area again. Be patient and persistent, and give the cleaning solution enough time to work its magic.
Remember to follow the instructions on any cleaning products or homemade solutions you use. Always blot the stain gently instead of scrubbing vigorously to avoid damaging the carpet fibers.
Once you have successfully treated the stubborn stains, move on to the optional next step: spot cleaning if necessary.
Note: It’s important to keep in mind that some stains may be permanent or require professional cleaning. If you are unable to remove a stain or if it persists, consider seeking help from a professional carpet cleaner.
Step 10: Spot Clean if Necessary
Spot cleaning is an additional step that you can take to address any smaller or localized stains on your indoor/outdoor carpet. While step 9 focused on stubborn stains, spot cleaning is more targeted and meant for addressing specific spots or spills that may have occurred after the initial cleaning process.
If you notice any new spills or stains on your carpet, it’s best to address them promptly to prevent them from setting and becoming more difficult to remove.
Here’s how you can spot clean your indoor/outdoor carpet:
- Act quickly: The faster you act, the better chance you have of successfully removing the stain. Blot the spot or spill immediately with a clean cloth or paper towel to absorb as much liquid as possible.
- Prepare a cleaning solution: Create a mixture of warm water and a mild detergent suitable for your carpet. Alternatively, you can use a carpet stain remover specifically designed for spot cleaning.
- Dip a clean cloth or sponge in the cleaning solution, wring out any excess liquid, and gently blot the stained area. Avoid scrubbing vigorously, as this can damage the carpet fibers.
- Continue blotting until the stain starts to lift. If necessary, you can lightly agitate the spot with a soft-bristle brush in a circular motion.
- Rinse the spot: Dampen a clean cloth with water and blot the area to remove any soapy residue. Then, use a dry cloth or paper towel to blot and absorb excess moisture.
Remember to always test the cleaning solution on a small, inconspicuous area first to ensure it doesn’t cause any discoloration or damage to the carpet fibers.
If the spot or stain persists after spot cleaning, it may require further treatment or professional assistance. In such cases, it’s best to consult a professional carpet cleaner for expert advice.
Moving on to the next step, it’s time to perform a final vacuuming to ensure any loose debris or particles are fully removed from the carpet.
Step 11: Final Vacuuming
Once you have completed the cleaning, rinsing, and spot cleaning processes, it’s time for the final step: a thorough vacuuming of your indoor/outdoor carpet.
Final vacuuming serves multiple purposes, including removing any remaining loose debris, fluffing up the carpet fibers, and giving your carpet a finished, polished look.
Here’s how to perform the final vacuuming:
- Attach the brush attachment or use the appropriate setting for your vacuum cleaner to accommodate the type of carpet you have.
- Starting from one corner, slowly vacuum across the entire carpet in overlapping strokes. Make sure to cover all areas, including edges, corners, and high-traffic spots.
- Pay attention to any crevices, seams, or textured areas of the carpet, as these can be more prone to trapping dirt and debris.
- If your vacuum cleaner has a height adjustment feature, adjust it accordingly to ensure optimal suction and contact with the carpet.
- Take your time and make multiple passes over heavily used areas or spots that require extra attention.
- Once you have vacuumed the entire carpet, double-check for any missed debris or particles. Use a handheld vacuum or a crevice tool to clean hard-to-reach areas, if necessary.
By completing this final vacuuming step, you will remove any residual dirt or debris, leaving your indoor/outdoor carpet looking clean, refreshed, and ready for use.
Remember to maintain regular vacuuming sessions to keep your carpet in optimal condition. Aim for weekly vacuuming or more frequently if your carpet is subjected to heavy foot traffic or environmental factors.
Congratulations! You have successfully completed the cleaning process for your indoor/outdoor carpet. By following these steps and incorporating regular maintenance, you can keep your carpet looking its best and extend its lifespan.
As a final note, remember to refer back to the manufacturer’s guidelines for specific cleaning recommendations and to always test any cleaning solutions on a small, inconspicuous area before applying them to the entire carpet surface.
Enjoy your fresh and clean indoor/outdoor carpet!
Read more: How To Clean And Deodorize A Carpet
Conclusion
Cleaning your indoor/outdoor carpet is a necessary task to maintain its cleanliness, appearance, and longevity. By following the step-by-step process outlined in this guide, you can effectively remove dirt, stains, and odors, leaving your carpet fresh and rejuvenated.
From removing loose debris and vacuuming to preparing a cleaning solution and thoroughly cleaning the carpet, each step plays a crucial role in achieving optimal results. It’s important to use the appropriate tools and cleaning agents suitable for your specific type of carpet. Additionally, testing a small area before proceeding with the cleaning process helps ensure the safety and compatibility of the cleaning solution.
Rinsing the carpet to remove any remaining cleaning solution residue, removing excess water, and allowing the carpet to dry completely are essential for preventing mold, mildew, and damage. Spot cleaning specific stains and performing a final vacuuming help to address any remaining dirt or debris, giving your carpet a polished finish.
By incorporating regular maintenance, such as weekly vacuuming and prompt spot cleaning, you can keep your indoor/outdoor carpet looking its best for years to come. Additionally, following the manufacturer’s recommendations for specific cleaning and maintenance instructions will help ensure the longevity and quality of your carpet.
Remember, if you encounter stubborn stains that are difficult to remove or if you have concerns about the condition of your carpet, seeking professional assistance is always a viable option.
With a clean and well-maintained indoor/outdoor carpet, you can enjoy the comfort, beauty, and durability it brings to your home. So roll up your sleeves, gather your cleaning supplies, and embark on the journey of restoring your carpet’s original charm!
Frequently Asked Questions about How To Clean Indoor/Outdoor Carpet
Was this page helpful?
At Storables.com, we guarantee accurate and reliable information. Our content, validated by Expert Board Contributors, is crafted following stringent Editorial Policies. We're committed to providing you with well-researched, expert-backed insights for all your informational needs.