Home>Articles>How To Cook A Roast In An Electric Pressure Cooker

Articles
How To Cook A Roast In An Electric Pressure Cooker
Modified: January 5, 2024
Looking for articles on how to cook a roast in an electric pressure cooker? Discover expert tips and techniques for cooking the perfect roast with our comprehensive guide.
(Many of the links in this article redirect to a specific reviewed product. Your purchase of these products through affiliate links helps to generate commission for Storables.com, at no extra cost. Learn more)
Introduction
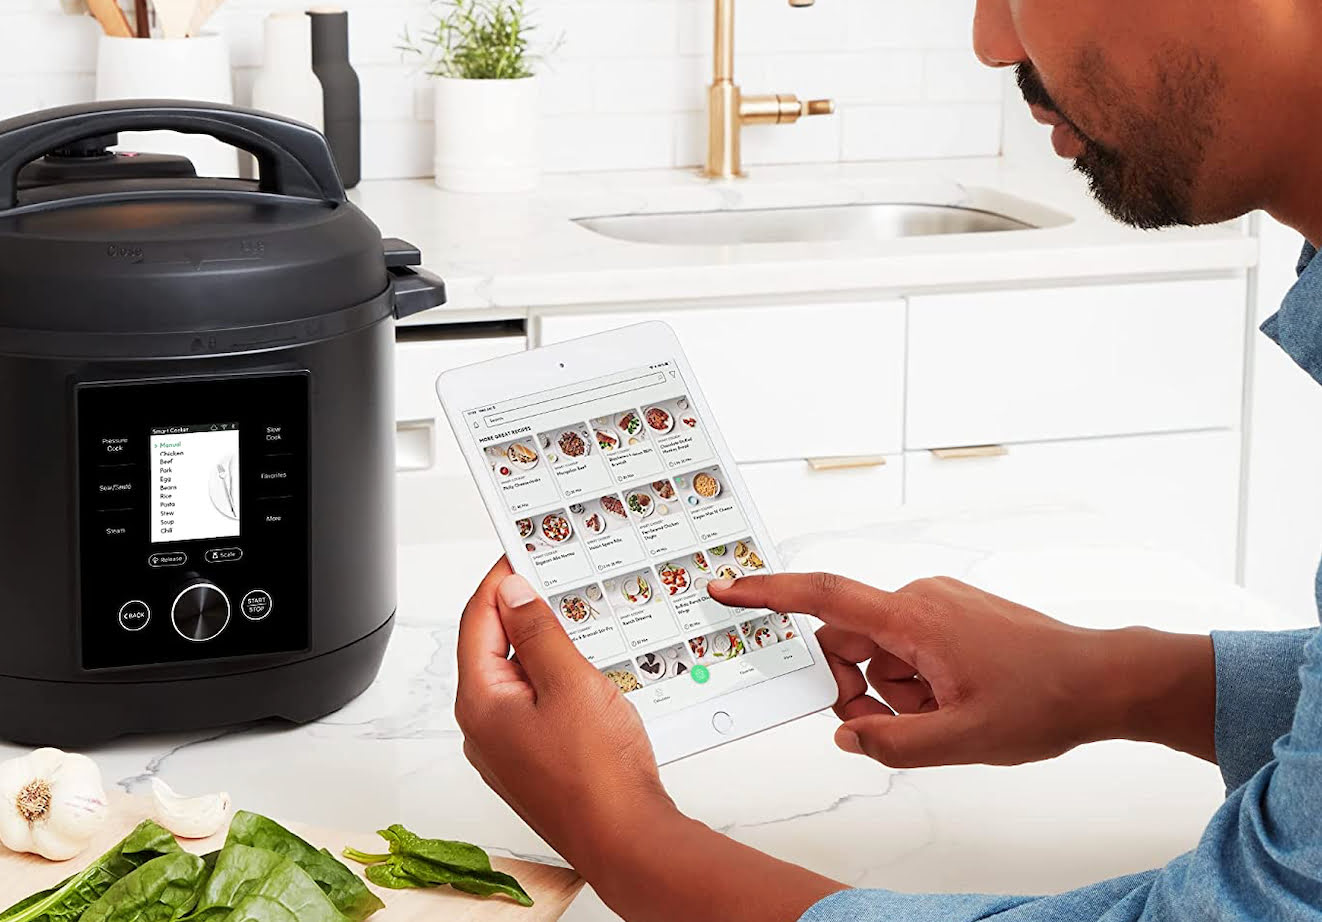
Roast is a classic dish that is loved by many for its hearty flavors and tender texture. Traditionally, roasts are slow cooked in the oven for hours, allowing the meat to become tender and flavorful. However, with the advent of electric pressure cookers, cooking a roast has become quicker and more convenient.
In this article, we will guide you through the process of cooking a roast in an electric pressure cooker. Whether you’re a beginner or an experienced cook, using an electric pressure cooker can help you achieve delicious results in a fraction of the time.
One of the advantages of using an electric pressure cooker is that it can shorten the cooking time significantly. The high pressure built up within the cooker helps to break down the tough fibers in the roast, resulting in a tender and succulent dish. Additionally, the sealed environment of the pressure cooker helps to lock in the flavors, making the roast even more flavorful.
We will take you through each step of the process, from preparing the roast to serving it on a plate. We will also provide tips and tricks to ensure your roast turns out perfect every time.
So, grab your electric pressure cooker and let’s get cooking!
Key Takeaways:
- Cooking a roast in an electric pressure cooker saves time and preserves flavors, resulting in a tender and succulent dish. Proper seasoning, preheating, and checking the internal temperature are crucial for a successful outcome.
- Searing the roast, adding liquid and flavor enhancers, and allowing the roast to rest are essential steps in creating a flavorful and juicy roast. Mastering the art of cooking a roast in an electric pressure cooker opens up endless possibilities for delicious meals.
Step 1: Prepare the Roast
Before you begin cooking your roast in the electric pressure cooker, it’s important to prepare the meat properly. This step will help to enhance the flavors and ensure a successful cooking process.
Start by selecting a high-quality cut of meat for your roast. Popular options include beef chuck roast, pork shoulder, or lamb shoulder. Look for a piece of meat that has marbling throughout, as this will add moisture and flavor to the roast.
Once you have chosen your meat, trim off any excess fat from the surface. Leaving a thin layer of fat can enhance the flavor, but too much fat can result in a greasy roast.
Next, you can choose to tie your roast with kitchen twine to help it maintain its shape during the cooking process. This step is optional but can be beneficial, especially for larger cuts of meat.
After preparing the meat, you can season it with your desired flavors. Common seasonings for a roast include salt, pepper, garlic powder, onion powder, and herbs like rosemary or thyme. Rub the seasonings all over the surface of the roast, ensuring even coverage.
For additional flavor, you can marinate the roast overnight in the refrigerator. This step is optional, but it can infuse the meat with delicious flavors. If you choose to marinate the roast, make sure to pat it dry before proceeding to the next step.
Preparing the roast properly is essential for a flavorful and well-cooked dish. By taking the time to trim the fat, season the meat, and optionally marinate it, you are setting the foundation for a delicious roast in your electric pressure cooker.
Step 2: Season the Roast
Seasoning the roast is a crucial step in enhancing its flavors and creating a delicious end result. The right combination of spices and herbs can elevate the taste of the meat and make it even more enjoyable to eat.
When it comes to seasoning a roast, you have endless possibilities depending on your personal preferences and the type of roast you are cooking. Here are some popular seasoning options:
- Salt and pepper: A simple combination of salt and pepper can bring out the natural flavors of the meat. Make sure to season the roast generously on all sides.
- Garlic and herbs: Garlic powder, onion powder, and dried herbs like rosemary, thyme, or oregano can add depth and aromatic notes to the roast.
- Spices and rubs: If you’re feeling adventurous, you can experiment with spice blends and rubs. Common options include smoked paprika, cumin, chili powder, or a BBQ rub.
- Marinades: As mentioned in the previous step, you can also marinate the roast to infuse it with additional flavors. Citrus-based marinades, soy sauce-based marinades, and red wine-based marinades are all popular choices.
When seasoning the roast, make sure to coat it evenly on all sides, including the edges. Use your hands to rub the seasoning into the meat, ensuring that every part is well covered.
It’s important to note that the amount of seasoning you use may vary depending on the size of your roast and your personal taste preferences. Taste the seasoning mixture before applying it to the meat to ensure it is balanced and to your liking.
Once you have seasoned the roast, let it sit at room temperature for about 30 minutes. This allows the flavors to penetrate the meat and enhances the overall taste.
Remember that seasoning a roast is a matter of personal preference, so feel free to experiment with different spices and herbs to create your own signature flavor profile. Seasoning the roast properly will ensure that every bite is packed with deliciousness when it comes out of the electric pressure cooker.
Step 3: Preheat the Electric Pressure Cooker
Preheating the electric pressure cooker is an important step that helps to ensure even cooking and efficient pressure buildup. Taking a few minutes to preheat the cooker can make a significant difference in the end result of your roast.
Here’s how to preheat your electric pressure cooker:
- Make sure the inner pot of the pressure cooker is clean and dry.
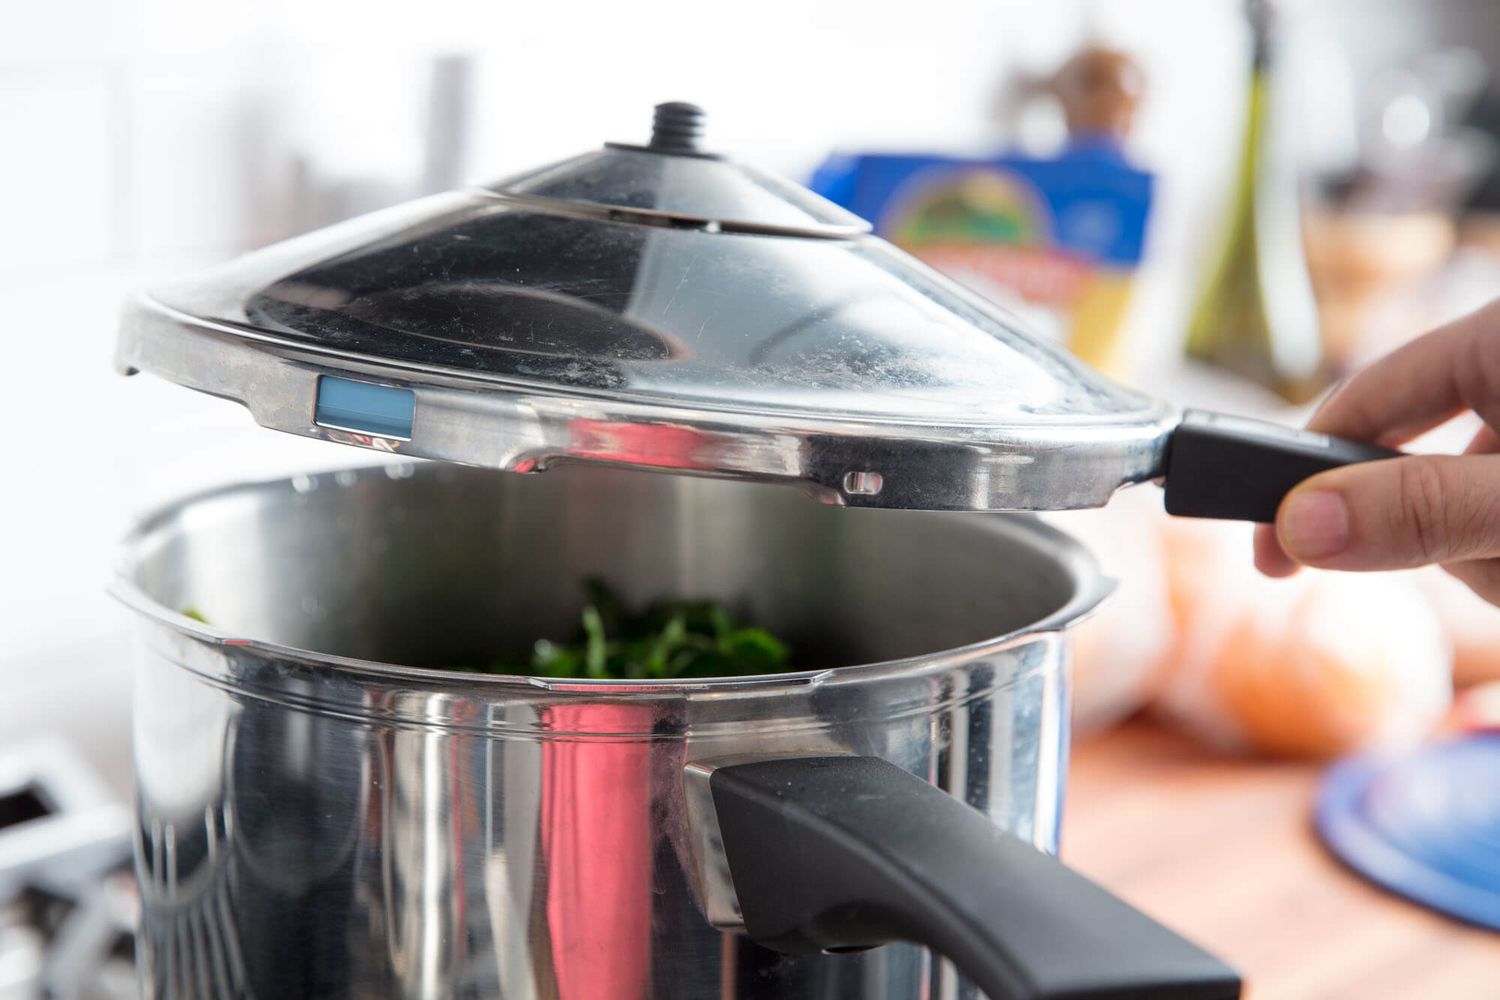
- Place the inner pot inside the cooker and close the lid.
- Turn on the pressure cooker and select the “Saute” or “Preheat” function, depending on the model.
- Allow the pressure cooker to heat up for a few minutes until it reaches the desired temperature. Typically, it takes around 5-10 minutes.
During the preheating process, the pressure cooker will start to heat up and reach a high temperature. This initial heat helps to speed up the cooking process once the roast is added to the cooker.
While the pressure cooker is preheating, you can take this time to gather and prepare any additional ingredients you plan to add to the roast, such as vegetables, herbs, or liquids.
Preheating the electric pressure cooker is a simple step that ensures your roast starts cooking at the right temperature. This step helps to prevent undercooked or unevenly cooked meat and allows for a more efficient and effective cooking process in the pressure cooker.
Step 4: Sear the Roast
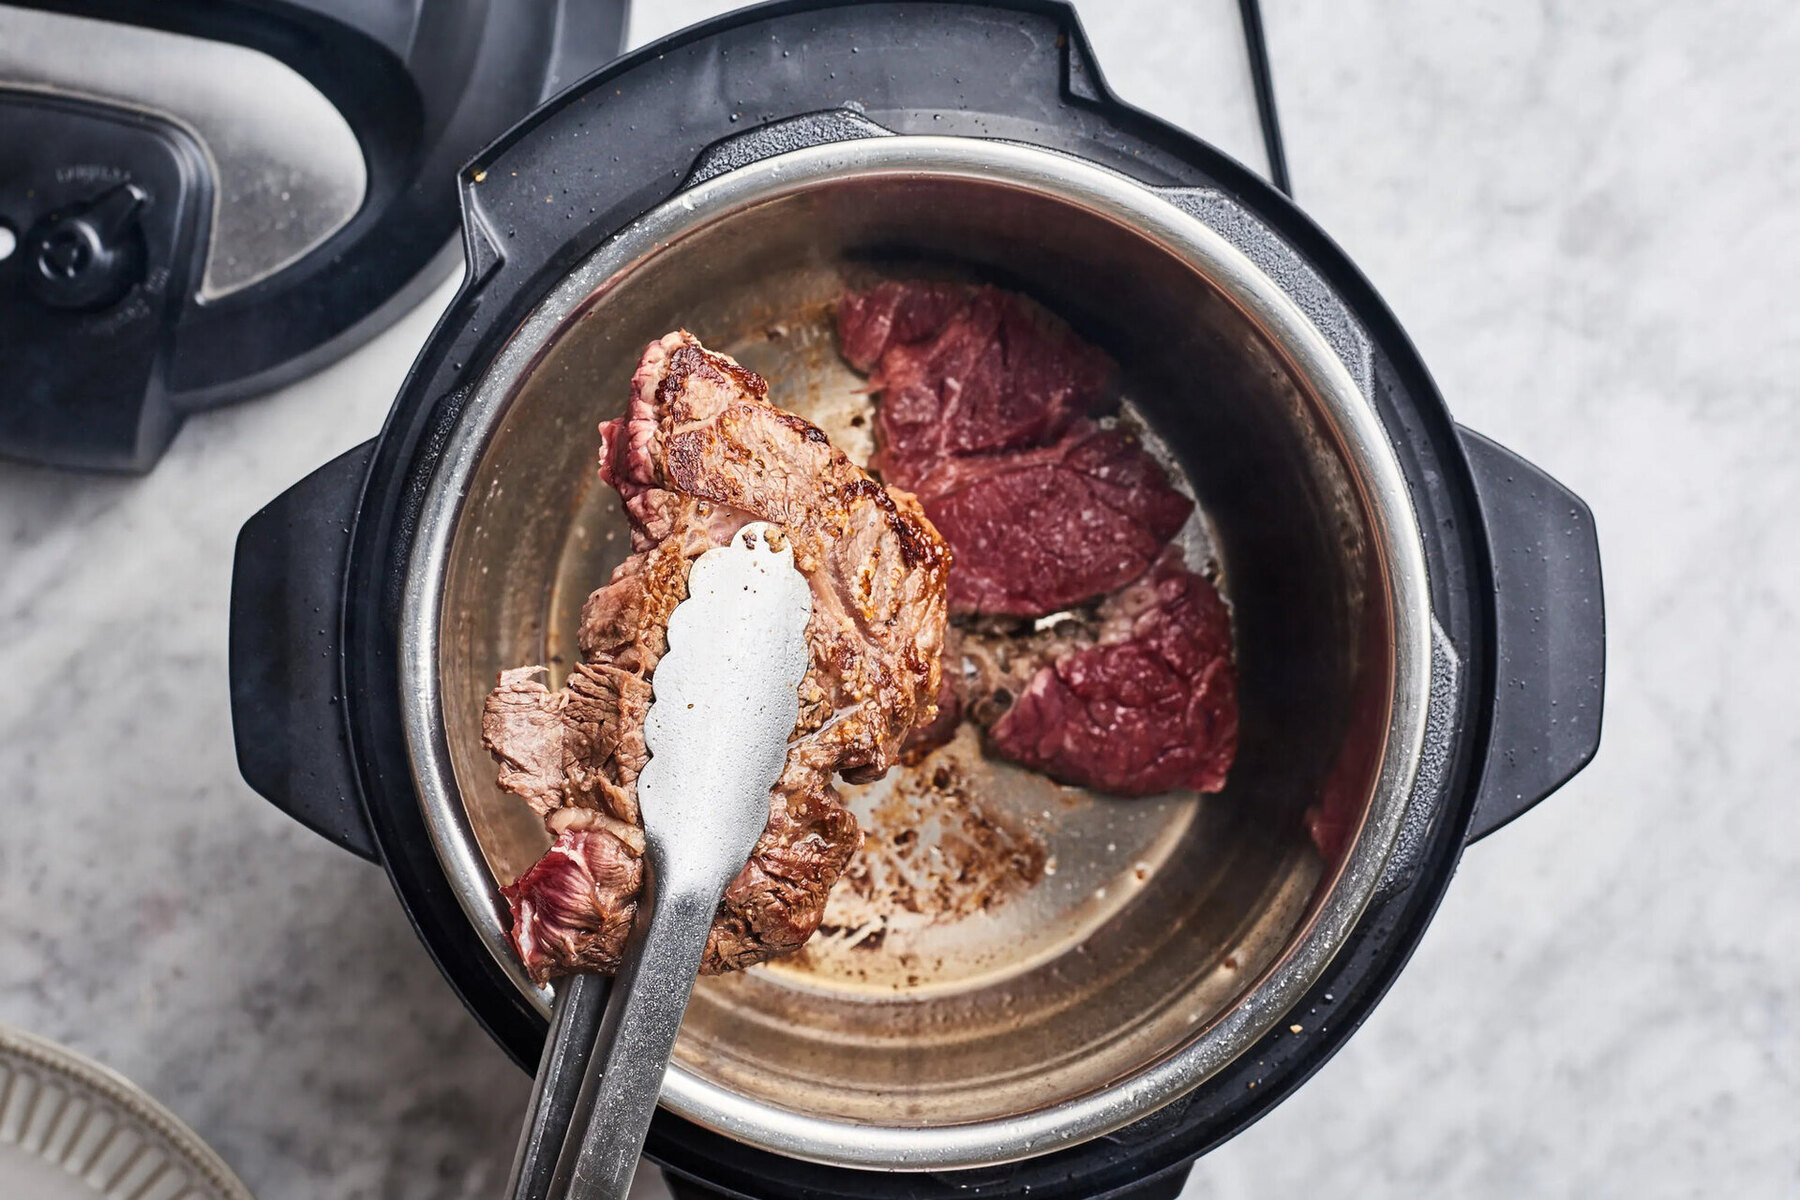
Searing the roast before pressure cooking it adds a rich caramelized flavor and a beautiful golden-brown crust to the exterior of the meat. While this step is optional, it can greatly enhance the overall taste and texture of the roast.
Here’s how to properly sear the roast:
- Select the “Saute” or “Brown” function on your electric pressure cooker. Heat a small amount of oil or butter in the inner pot.
- Place the seasoned roast in the hot oil and allow it to sear for a few minutes on each side. Use tongs to carefully flip the roast and sear all sides evenly.
- The roast should develop a deep brown crust during the searing process. This browning reaction adds flavor and enhances the overall appearance of the roast.
- Once the roast is seared, transfer it to a plate and set it aside. It will continue to cook and develop flavors during the pressure cooking process.
Keep in mind that searing the roast may create some smoke and splatter, so make sure your kitchen is well-ventilated and be cautious while handling the hot oil.
Searing the roast before pressure cooking not only improves the taste but also helps to lock in the juices and maintain the tenderness of the meat. This extra step adds depth of flavor to the roast and enhances the overall dining experience.
Step 5: Add Liquid and Flavor Enhancers
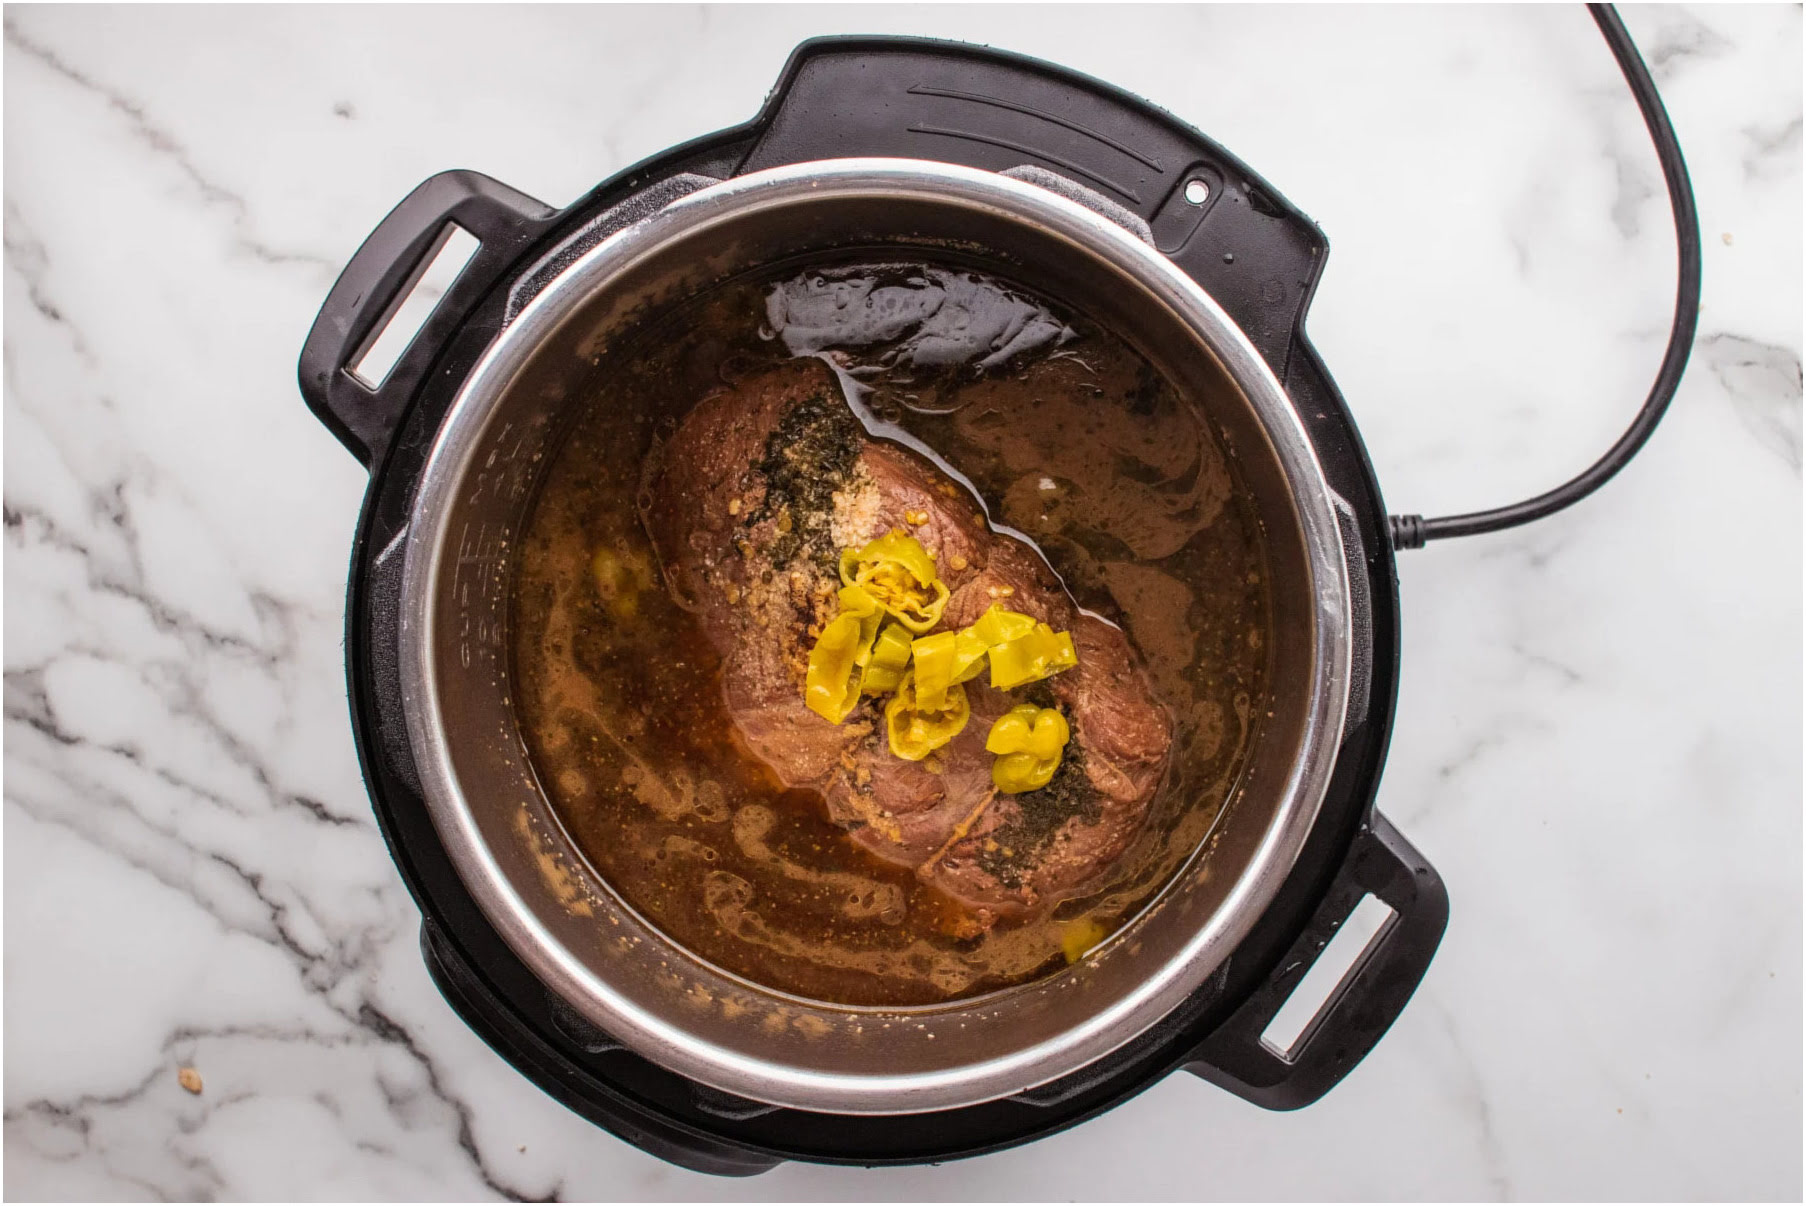
Adding liquid to the electric pressure cooker is essential for creating the steam needed to generate the pressure and cook the roast. The liquid also helps to infuse the meat with flavor and keep it moist during the cooking process.
Here’s what you need to do to add the right amount of liquid and flavor enhancers:
- First, check the specific instructions provided with your electric pressure cooker for the recommended minimum liquid requirement.
- Pour the liquid of your choice into the inner pot. Common options include beef or chicken broth, vegetable broth, wine, or water.
- For extra flavor, consider adding flavor enhancers to the liquid. This can include Worcestershire sauce, soy sauce, balsamic vinegar, or herbs and spices.
- Typically, you’ll need around 1 to 1.5 cups of liquid for a roast, but the exact amount may vary depending on the size of your roast and the specific recipe you’re following. It’s important not to exceed the maximum fill line indicated inside the inner pot.
- Once the liquid and flavor enhancers are added, gently stir to combine and distribute the flavors.
The liquid plays a crucial role in the pressure cooking process, as it helps to create the steam that builds up pressure. This pressure is necessary to cook the roast and achieve the desired tenderness.
Adding flavor enhancers to the liquid can further enhance the taste of the roast and infuse it with delicious flavors. It’s an opportunity to get creative and experiment with different combinations to suit your personal preferences.
By adding the right amount of liquid and flavor enhancers, you’ll ensure that your roast not only cooks properly but also delivers a burst of flavorful goodness with every bite.
Step 6: Set the Cooking Time and Pressure Level
Setting the correct cooking time and pressure level is crucial to achieve a perfectly cooked roast in your electric pressure cooker. The cooking time will vary depending on the size and type of meat you’re using, as well as your desired level of doneness.
Here’s how to set the cooking time and pressure level:
- Refer to your electric pressure cooker’s manual to determine the recommended cooking time for the specific cut of meat you’re using. If there are no specific guidelines, a general rule of thumb is to cook the roast for about 20-30 minutes per pound.
- Next, select the appropriate pressure level on your pressure cooker. Most electric pressure cookers have a high pressure setting, which is typically the default setting for cooking meats.
- Depending on your preferences and the recipe you’re following, you may also have the option to adjust the pressure release method. The two common methods are Natural Release (allowing the pressure to release slowly on its own) and Quick Release (manually releasing the pressure). Refer to your pressure cooker’s manual for instructions on the specific release method.
- Once you have set the cooking time, pressure level, and pressure release method, secure the lid in place on your electric pressure cooker.
It’s important to note that the cooking time may slightly vary depending on the thickness and fat content of the roast. It’s always better to slightly undercook the roast and let it rest to reach the desired doneness.
Setting the correct cooking time and pressure level ensures that the roast is cooked to perfection. The high pressure and steam created inside the electric pressure cooker will help to tenderize the meat and infuse it with flavor.
Remember to follow the manufacturer’s instructions and guidelines for your specific electric pressure cooker to ensure safe and successful cooking.
Before cooking a roast in an electric pressure cooker, make sure to sear the meat first to enhance the flavor and texture of the roast. Searing will also help to lock in the juices and keep the meat tender.
Step 7: Cook the Roast
With the cooking time, pressure level, and release method set, it’s time to start cooking the roast in your electric pressure cooker. This step will bring all the flavors together and transform the raw meat into a delicious and tender dish.
Follow these steps to cook the roast in the electric pressure cooker:
- Ensure that the lid is securely in place on the pressure cooker.
- Turn on the pressure cooker and select the appropriate cooking function, such as “Meat” or “Manual.”
- The pressure cooker will take some time to pressurize and build up pressure. This process can typically take 10-15 minutes, depending on the model and the amount of liquid in the cooker.
- Once the pressure is reached, the cooking time will start counting down. Avoid opening the lid during the cooking process, as this will release the pressure and prolong the cooking time.
While the roast is cooking, the high pressure and steam inside the electric pressure cooker will work their magic, tenderizing the meat and infusing it with the flavors from the liquid and seasonings.
It’s important to note that the cooking time will vary depending on factors such as the size of the roast, the desired level of doneness, and the specific model of your electric pressure cooker. Refer to the manual for specific instructions and cooking times.
Once the cooking time has elapsed, your roast should be perfectly cooked and ready to be enjoyed. However, there are a few more steps to ensure the best results, so be sure to follow the upcoming steps.
Step 8: Natural Release or Quick Release
After the cooking time has elapsed, you have two options for releasing the pressure in your electric pressure cooker: natural release or quick release. The method you choose will depend on the recipe and your preference.
Here are the two methods explained:
- Natural Release: With the natural release method, you allow the pressure inside the cooker to release naturally over a period of time. This can take anywhere from 10 to 20 minutes, depending on the size and thickness of the roast. Simply leave the cooker untouched and let the pressure release on its own. Natural release is recommended for dishes that require a longer cooking time or for delicate cuts of meat to ensure they remain tender.
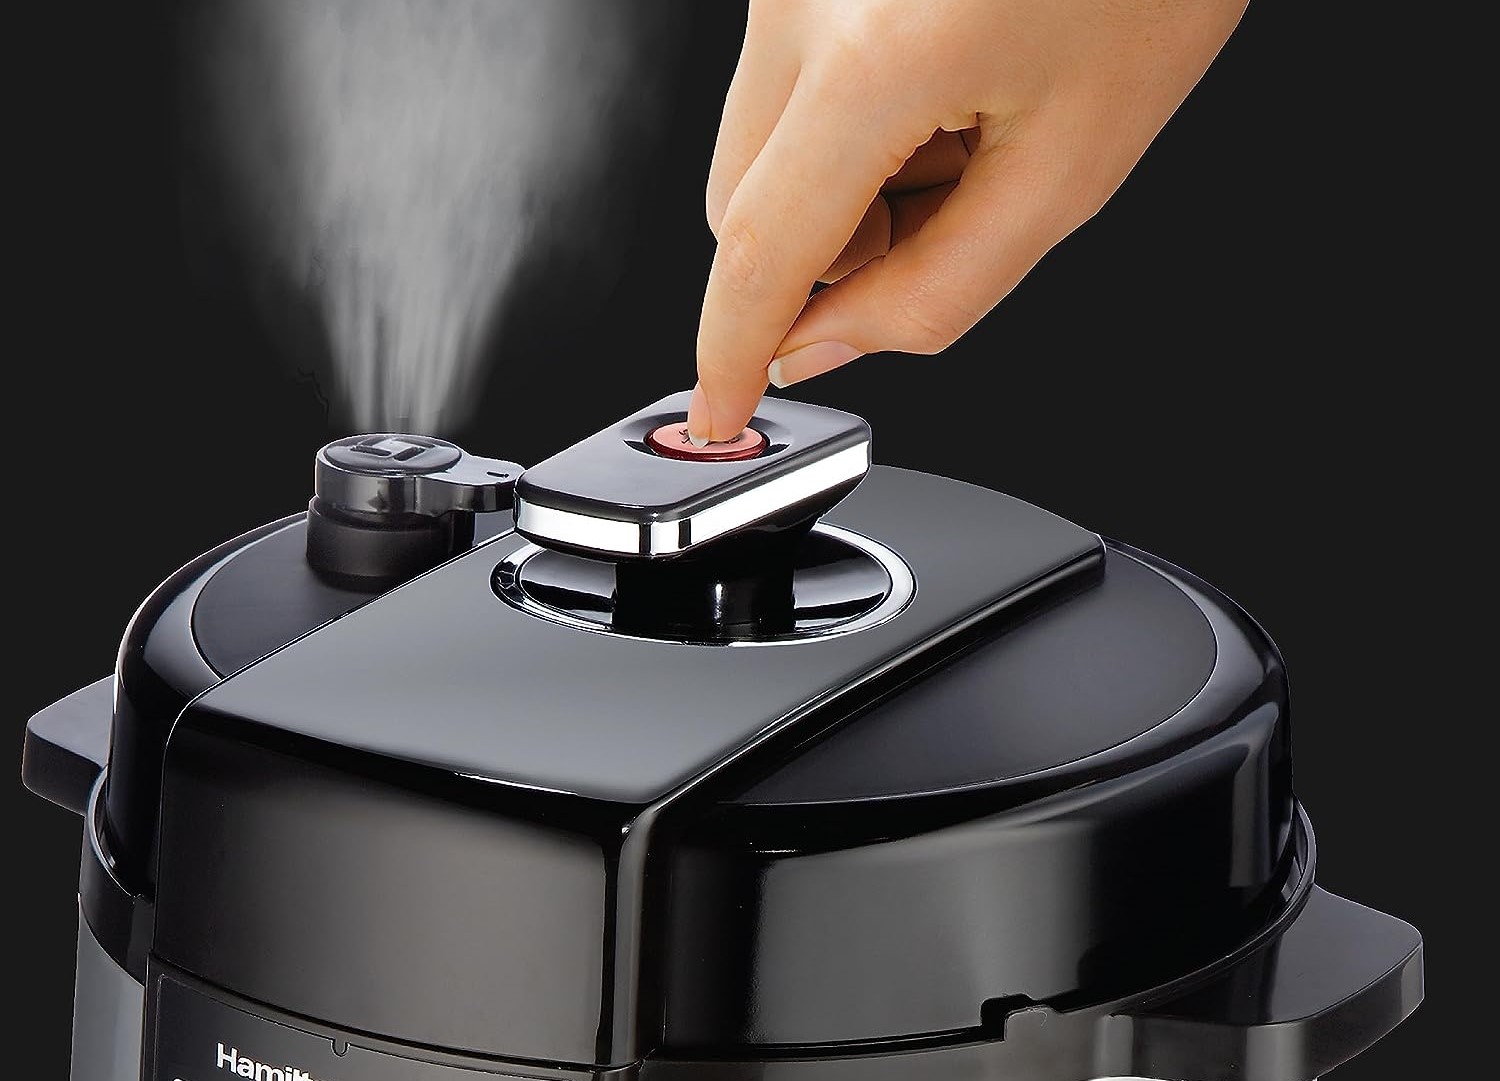
- Quick Release: The quick release method involves manually releasing the pressure from the cooker. This method is faster but can cause more splattering, so be cautious. To quick release, carefully move the pressure release valve to the venting position. Steam will rapidly escape from the cooker, and the pressure will drop within a few minutes. Quick release is ideal for time-sensitive cooking situations or if you’re looking to stop the cooking process immediately.
It’s important to follow the manufacturer’s instructions for your specific electric pressure cooker regarding the proper techniques and precautions for releasing pressure. Safety should always be a top priority.
Once the pressure has been fully released and the float valve has dropped, it’s safe to open the lid. Take a moment to appreciate the aromatic flavors that have developed during the cooking process.
Choosing between natural release and quick release will depend on your recipe and your time constraints. Both methods can yield fantastic results, so choose the one that fits your needs best.
Step 9: Check the Internal Temperature
Checking the internal temperature of the roast is crucial to ensure that it is cooked to the desired level of doneness and safe to eat. While the cooking time provides an estimate, using a meat thermometer will give you an accurate reading.
Follow these steps to check the internal temperature of the roast:
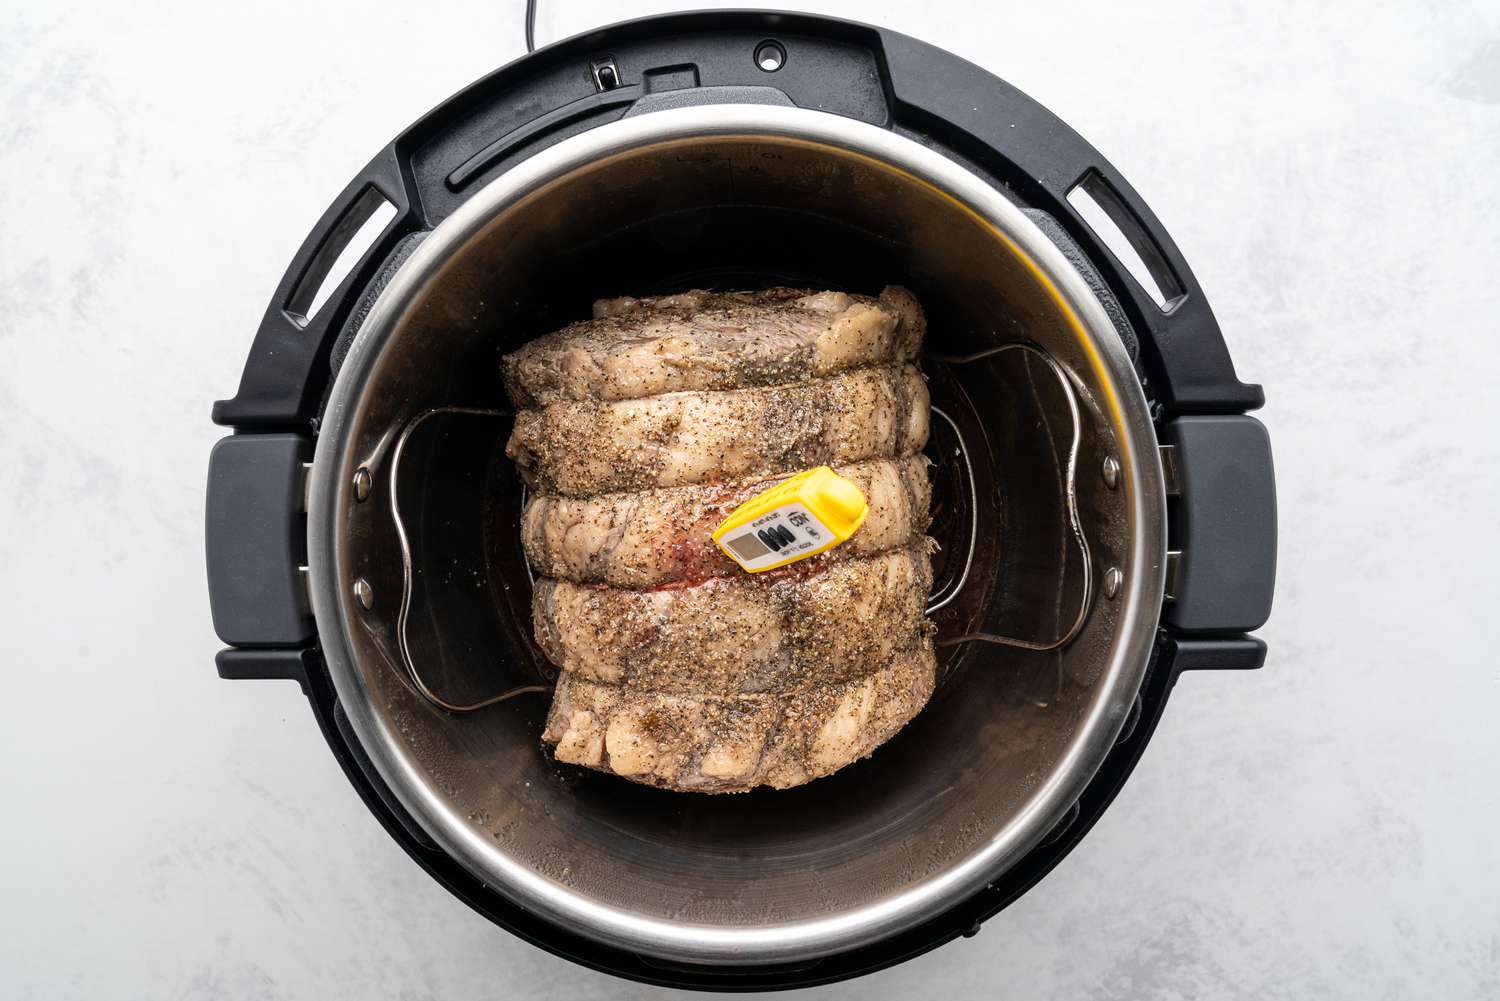
- Insert a probe meat thermometer into the thickest part of the roast, avoiding any bones or pockets of fat.
- Ensure that the thermometer is inserted deep enough to reach the center of the meat.
- Wait for a few seconds until the temperature stabilizes, and then read the temperature on the display.
- Compare the temperature with the recommended internal temperature for the specific type of meat you’re cooking. This information can be found in cooking charts or in your electric pressure cooker’s manual.
- If the roast has reached the desired internal temperature, it is cooked and ready to be removed from the pressure cooker. If not, return the roast to the pressure cooker and cook for a bit longer.
The recommended internal temperature will vary depending on the type of meat and the level of doneness you prefer. For example, a medium-rare beef roast typically requires an internal temperature of around 145°F (63°C), while a well-done beef roast may require a temperature of 160°F (71°C) or higher.
By using a meat thermometer, you can ensure that your roast reaches the perfect level of doneness for your taste preferences.
Remember to handle the probe carefully and avoid touching the hot inner pot or the heated surfaces of the pressure cooker to prevent any accidents or burns.
Once the roast has reached the desired internal temperature, it’s time to move on to the next step and let the roast rest before slicing and serving.
Step 10: Let the Roast Rest
Allowing the roast to rest after cooking is an important step to ensure a juicy and flavorful end result. Resting allows the juices to redistribute throughout the meat, resulting in a more tender and succulent roast.
Here’s how to let the roast rest properly:
- Once the roast has reached the desired internal temperature, carefully remove it from the pressure cooker using tongs or a meat fork.
- Transfer the roast to a cutting board or a serving platter.
- Cover the roast loosely with aluminum foil. This will help to retain the heat while allowing excess steam to escape.
- Let the roast rest for 10 to 15 minutes. This resting period allows the meat to relax and the juices to redistribute throughout the roast.
Resting the roast is important for several reasons. First, it allows the muscle fibers to relax, preventing the meat from becoming tough or chewy. Second, it allows the juices to be absorbed evenly, resulting in a moist and flavorful roast. Lastly, resting the roast makes it easier to slice without losing any of the juices.
While the roast is resting, you can take this time to prepare any side dishes or finish up any final touches for your meal.
Resist the temptation to slice into the roast immediately after cooking, as this will cause the juices to spill out and result in a less flavorful end result. Patience is key in achieving the best possible roast!
After the resting period is over, you can proceed to the final step: slicing and serving the roast.
Step 11: Slice and Serve the Roast
The moment has arrived to slice and serve your perfectly cooked roast. This step is the culmination of all the effort put into preparing and cooking the roast, and it’s an exciting time to present a delicious meal to your family or guests.
Follow these steps to slice and serve the roast:
- Retrieve the rested roast from the cutting board or serving platter.
- Using a sharp carving knife, slice the roast against the grain into thin or thick slices, depending on your preference.
- Arrange the slices on a serving platter or individual plates.
- You can drizzle some of the cooking juices from the pressure cooker over the slices to add extra moistness and flavor.
- Serve the roast alongside your favorite side dishes, such as roasted vegetables, mashed potatoes, or a fresh salad.
- Garnish the roast with fresh herbs or a sprinkle of coarse salt for an elegant touch, if desired.
- Enjoy the delicious and tender roast with your loved ones!
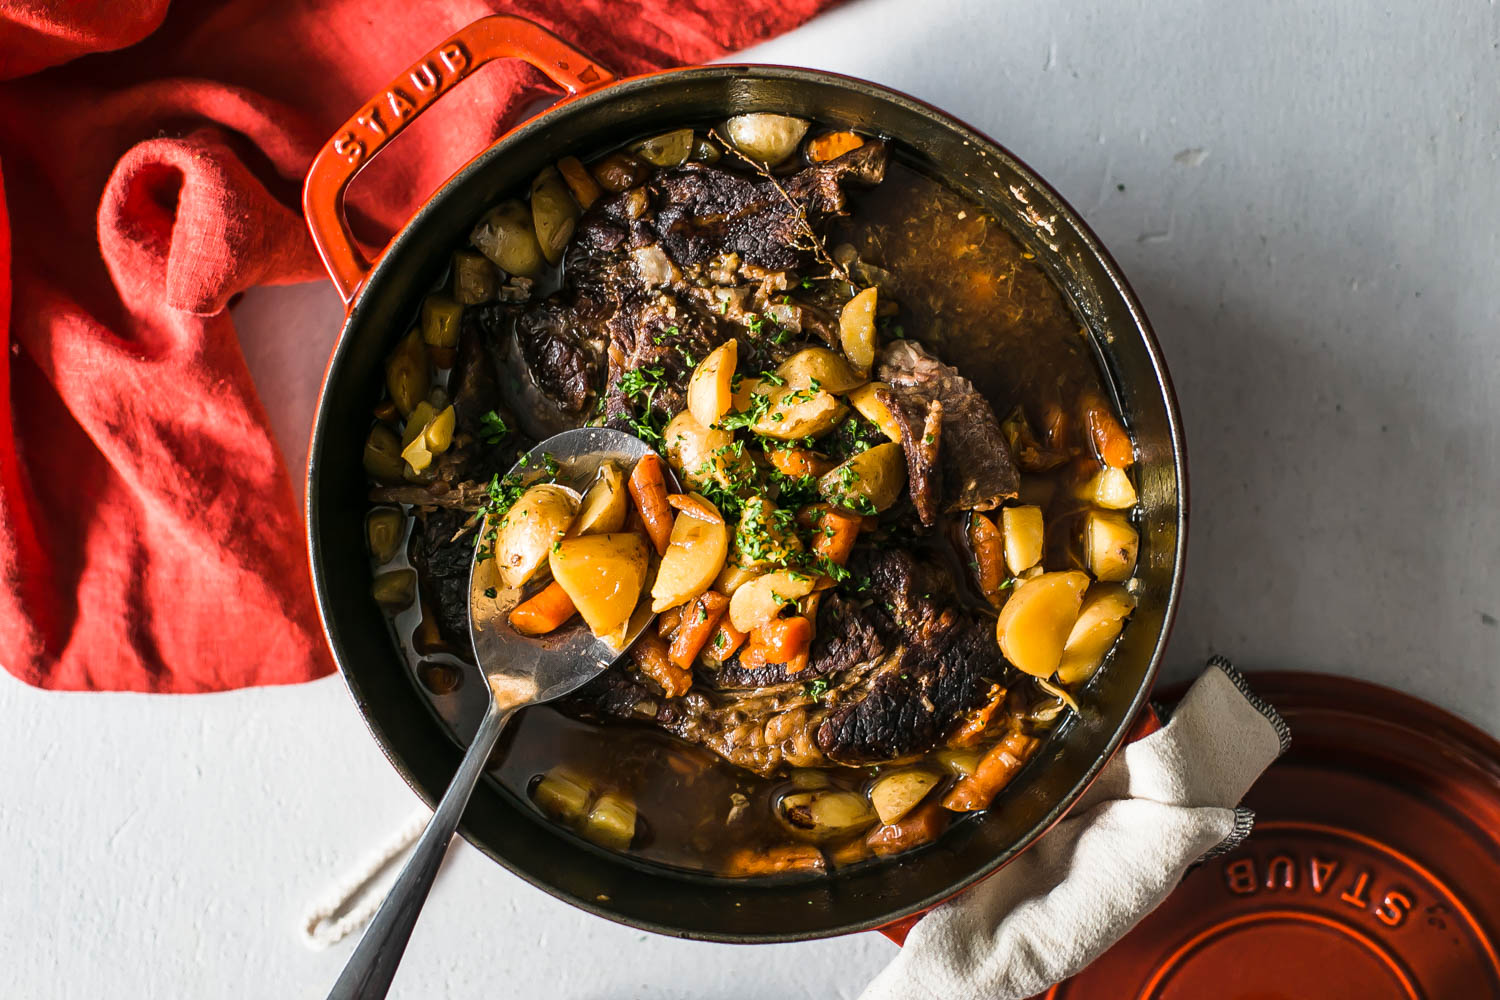
As you slice and serve the roast, take a moment to appreciate the beautiful color, tenderness, and aroma of the meat. The flavors you’ve carefully developed through the cooking process will be showcased in every mouthwatering bite.
Remember to store any leftover roast properly in airtight containers in the refrigerator. Leftover roast can be used for sandwiches, stews, or other creative recipes.
Now that you’ve successfully cooked and served the roast, take pride in your culinary achievement and bask in the enjoyment of a delicious meal shared with family and friends.
Congratulations on mastering the art of cooking a roast in an electric pressure cooker!
Conclusion
Cooking a roast in an electric pressure cooker offers a convenient and efficient way to enjoy a tender and flavorful meal. By following the steps outlined in this guide, you can achieve exceptional results that rival traditional oven-roasted methods.
Throughout the process, we covered crucial steps such as preparing the roast, seasoning it, preheating the electric pressure cooker, searing the roast for added flavor, adding liquid and flavor enhancers, setting the cooking time and pressure level, cooking the roast, checking the internal temperature, letting the roast rest, and finally, slicing and serving the delicious roast.
Each step plays a vital role in ensuring the roast turns out perfectly cooked and delicious. From properly seasoning the meat to selecting the right cooking time and pressure level, every decision contributes to the overall success of the dish.
Using an electric pressure cooker not only saves time but also preserves the flavors of the roast, resulting in a moist and tender final product. The pressure generated inside the cooker helps to break down the tough fibers of the meat, creating a melt-in-your-mouth texture.
Remember to allow the roast to rest before slicing, as this allows the juices to redistribute and ensures a more succulent and flavorful eating experience. It’s also crucial to check the internal temperature of the roast to ensure it is cooked to your desired level of doneness.
Serving the roast alongside your favorite side dishes and garnishes adds the finishing touch to your meal. Whether it’s a special occasion or a hearty family dinner, a well-cooked roast is sure to impress and satisfy any appetite.
Now that you have mastered the art of cooking a roast in an electric pressure cooker, don’t hesitate to experiment with different seasonings, flavors, and cuts of meat. Feel confident in your abilities to create a masterpiece that will leave everyone asking for seconds.
So go ahead, fire up your electric pressure cooker, and enjoy the deliciousness that awaits you. Happy cooking!
Frequently Asked Questions about How To Cook A Roast In An Electric Pressure Cooker
Was this page helpful?
At Storables.com, we guarantee accurate and reliable information. Our content, validated by Expert Board Contributors, is crafted following stringent Editorial Policies. We're committed to providing you with well-researched, expert-backed insights for all your informational needs.

0 thoughts on “How To Cook A Roast In An Electric Pressure Cooker”