Home>Articles>How Long To Cook A Frozen Roast In An Electric Pressure Cooker
Articles
How Long To Cook A Frozen Roast In An Electric Pressure Cooker
Modified: January 6, 2024
Discover the perfect cooking time for a frozen roast in an electric pressure cooker with our informative articles. Master the art of pressure cooking with our expert tips and techniques.
(Many of the links in this article redirect to a specific reviewed product. Your purchase of these products through affiliate links helps to generate commission for Storables.com, at no extra cost. Learn more)
Introduction
Cooking a frozen roast in an electric pressure cooker can be a time-saving and convenient way to prepare a delicious meal. Whether you forgot to defrost the roast or simply prefer the ease of cooking from frozen, an electric pressure cooker can help you achieve tender and succulent meat without the need for hours of cooking. In this article, we will explore the benefits of using an electric pressure cooker, provide recommendations for cooking times based on the size of the roast, and give you step-by-step instructions on how to cook a frozen roast to perfection.
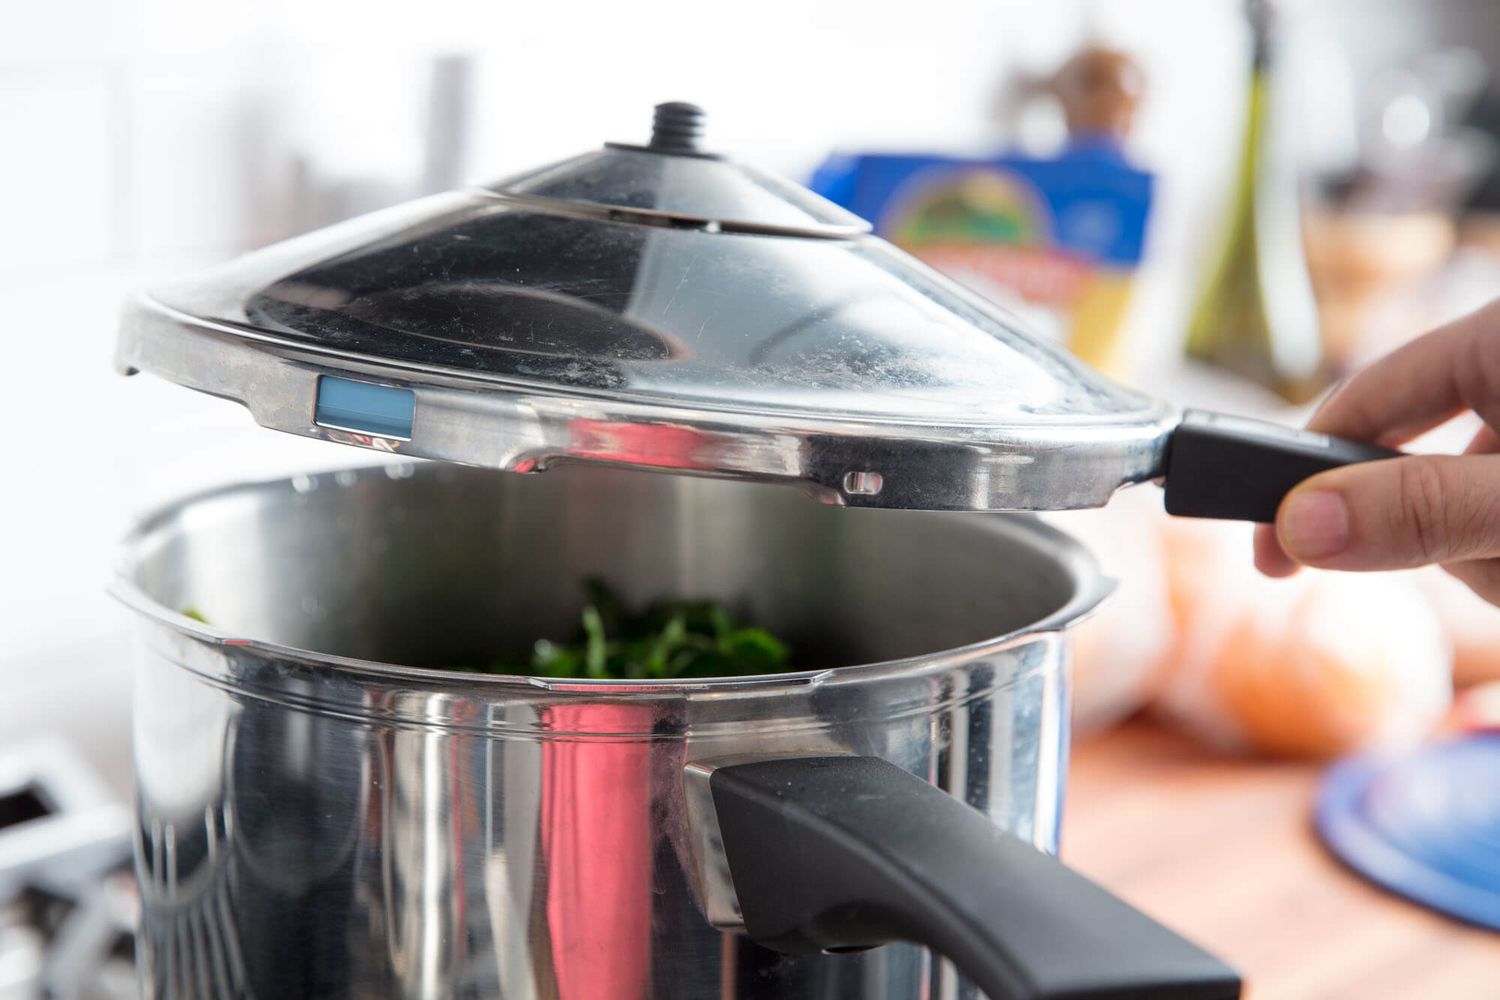
Electric pressure cookers have gained popularity in recent years due to their ability to cook food quickly and efficiently. These appliances work by trapping steam in a sealed container, raising the internal temperature and pressure. This results in faster cooking times, making it possible to cook a frozen roast without sacrificing flavor or tenderness.
One of the biggest advantages of using an electric pressure cooker is the time saved. Traditional methods of cooking a frozen roast involve thawing it overnight or using a slow cooker, which can take several hours. With an electric pressure cooker, you can significantly reduce the cooking time, allowing you to enjoy a perfectly cooked roast in a fraction of the time.
Another benefit of using an electric pressure cooker is its ability to lock in flavors. The pressurized environment helps to infuse the meat with the seasonings and aromatics used, resulting in a more flavorful dish. Additionally, the pressure cooker helps to retain the natural juices of the roast, ensuring a moist and tender outcome.
Now that we understand the advantages of using an electric pressure cooker, let’s move on to the preparation and cooking process for a frozen roast. Remember, it’s always important to follow the manufacturer’s instructions when using your electric pressure cooker to ensure safe and efficient cooking.
Key Takeaways:
- Cook a frozen roast in an electric pressure cooker for time-saving, flavorful, and tender results. Follow preparation steps and cooking time recommendations for a delicious, convenient meal.
- Achieve the perfect frozen roast with an electric pressure cooker by following step-by-step instructions and helpful tips. Check doneness and let the roast rest for a flavorful dining experience.
Benefits of Using an Electric Pressure Cooker
Using an electric pressure cooker offers a range of benefits that make it an excellent choice for cooking a frozen roast. Let’s take a closer look at some of these advantages:
- Time Savings: One of the primary benefits of an electric pressure cooker is its ability to significantly reduce cooking time. Traditional cooking methods for a frozen roast can take hours, but with an electric pressure cooker, you can have a perfectly cooked roast in a fraction of the time. This is especially convenient for busy individuals or families who want a delicious meal without spending too much time in the kitchen.
- Retains Flavor and Nutrients: Electric pressure cookers are designed to seal in flavors and nutrients during the cooking process. The high pressure and temperature effectively tenderize the meat and help it absorb the flavors of the seasonings and ingredients used. This results in a more flavorful and delicious roast.
- Moist and Tender Meat: The pressurized cooking environment of an electric pressure cooker helps to lock in moisture, resulting in a juicy and tender roast. This is particularly beneficial when cooking a frozen roast, as it prevents the meat from drying out and ensures a moist and succulent final dish.
- Energy Efficiency: Electric pressure cookers are known for their energy efficiency. They operate at high pressure and temperature, allowing for faster cooking times and reducing the energy consumed during the cooking process. This can help save on energy costs in the long run.
- Versatility: Electric pressure cookers are not only great for cooking frozen roasts but also have a wide range of applications. They can be used to prepare soups, stews, rice, beans, and even desserts. This versatility makes them a valuable addition to any kitchen.
Overall, the benefits of using an electric pressure cooker for cooking a frozen roast are evident. The time savings, flavor retention, moist and tender meat, energy efficiency, and versatility make it a practical and efficient cooking method. Now that we understand the advantages, let’s move on to the next steps: preparing the frozen roast for cooking.
Preparing the Frozen Roast
Before cooking a frozen roast in an electric pressure cooker, it’s important to properly prepare the meat to ensure even cooking and a delicious end result. Here are the steps to follow when preparing a frozen roast:
- Inspect the Roast: Start by checking the frozen roast for any freezer burn or signs of spoilage. If you notice any discoloration, ice crystals, or an off smell, it’s best to discard the roast and use a fresh one.
- Thaw Partially (Optional): While it’s possible to cook a frozen roast directly, some people prefer to thaw it partially to enhance the seasoning absorption and ensure more even cooking. To do this, place the frozen roast in the refrigerator overnight or use the defrost setting on your microwave. Once partially thawed, continue with the next steps.
- Season the Roast: Prepare the seasonings and spices you want to use for the roast. Dry rubs, marinades, or a simple mix of salt, pepper, and herbs can help enhance the flavor of the meat. Generously season all sides of the roast, ensuring that the seasonings cover the entire surface.
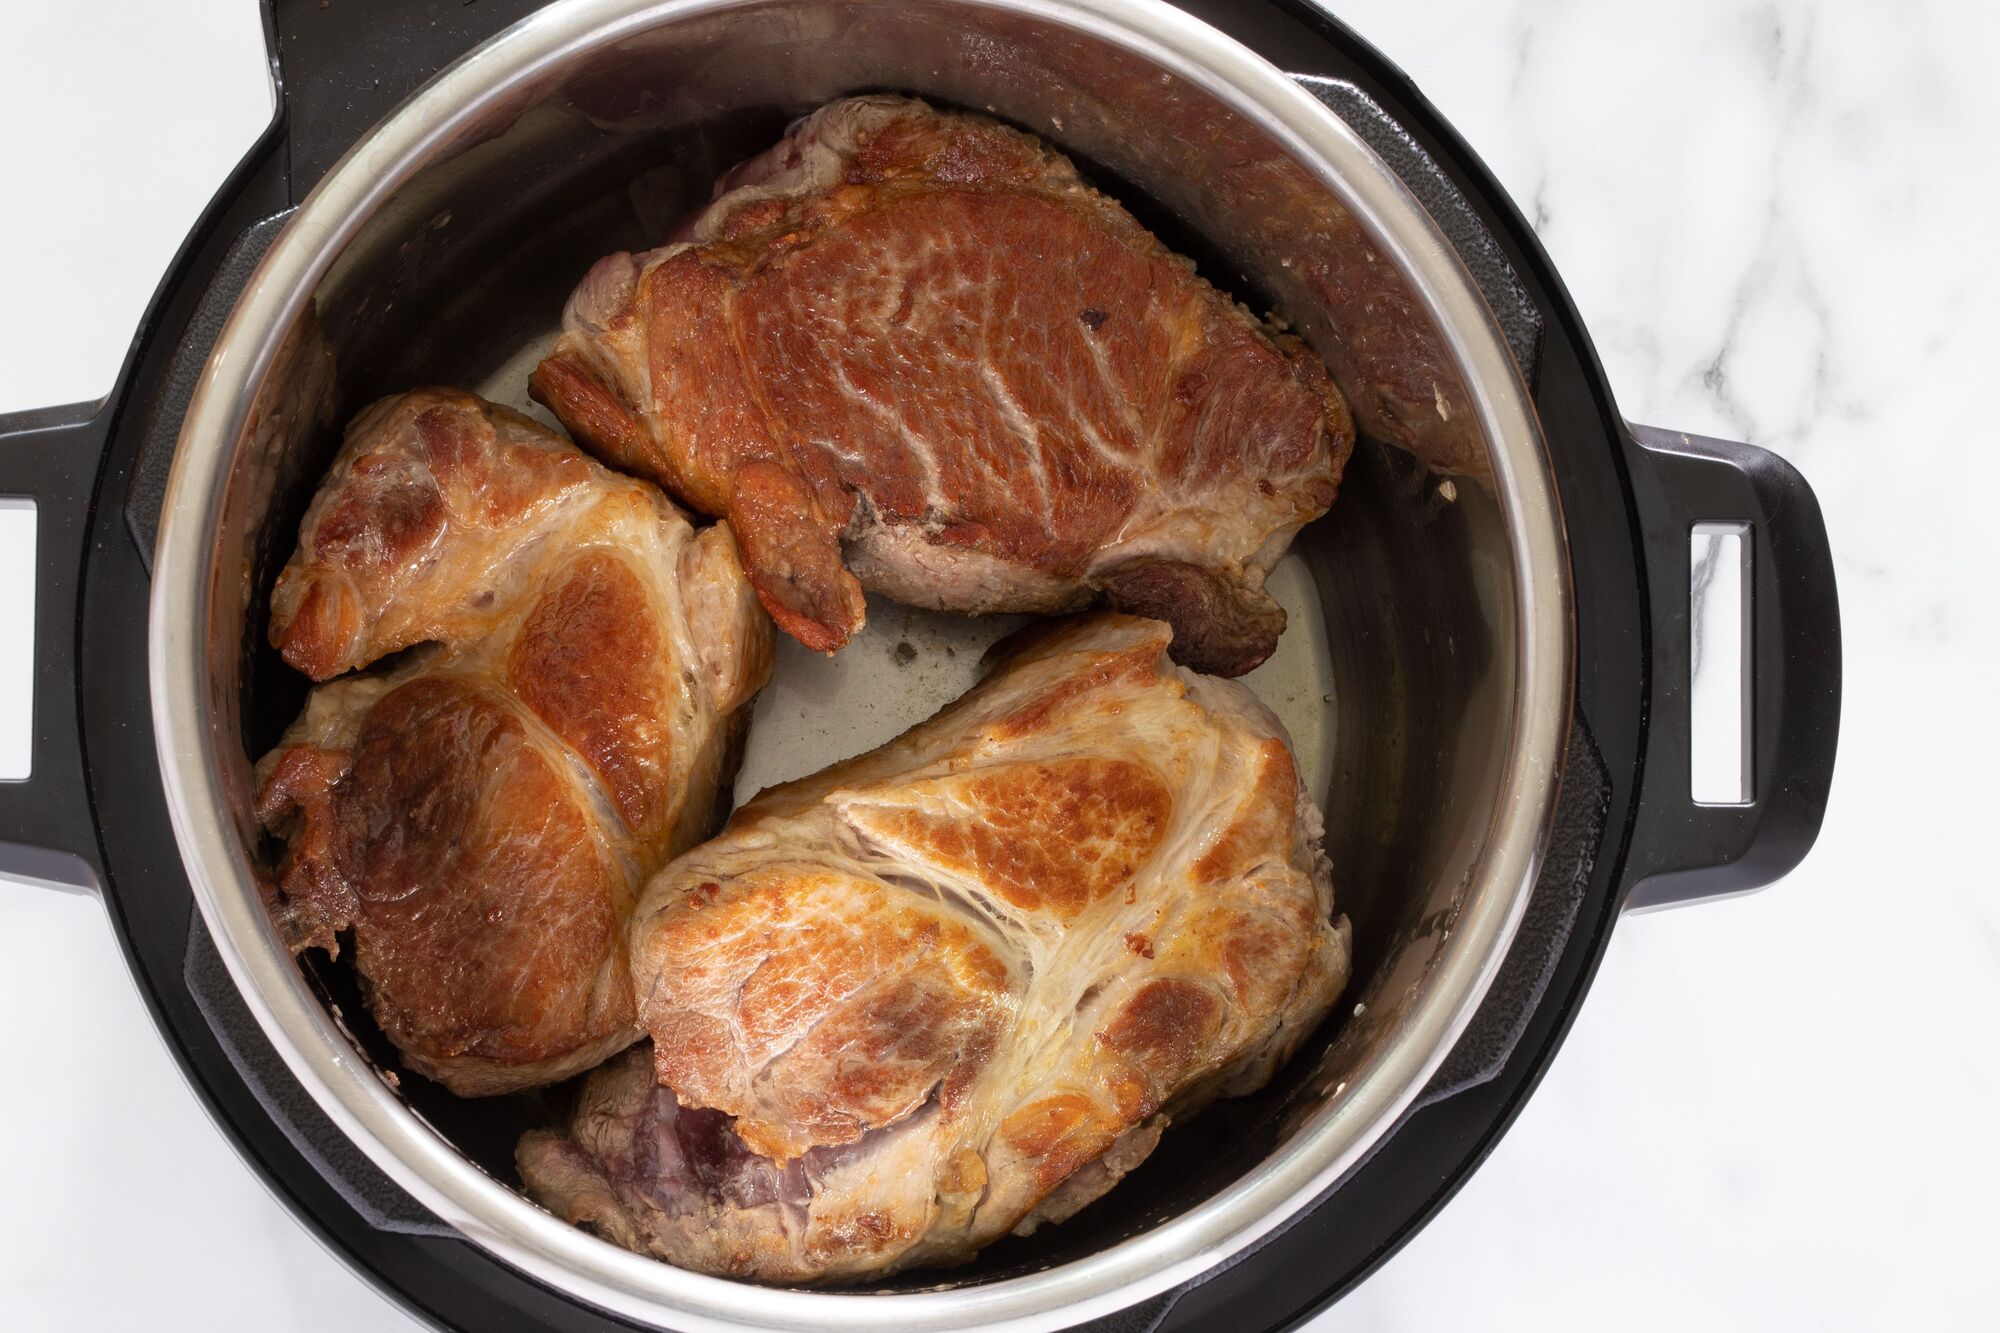
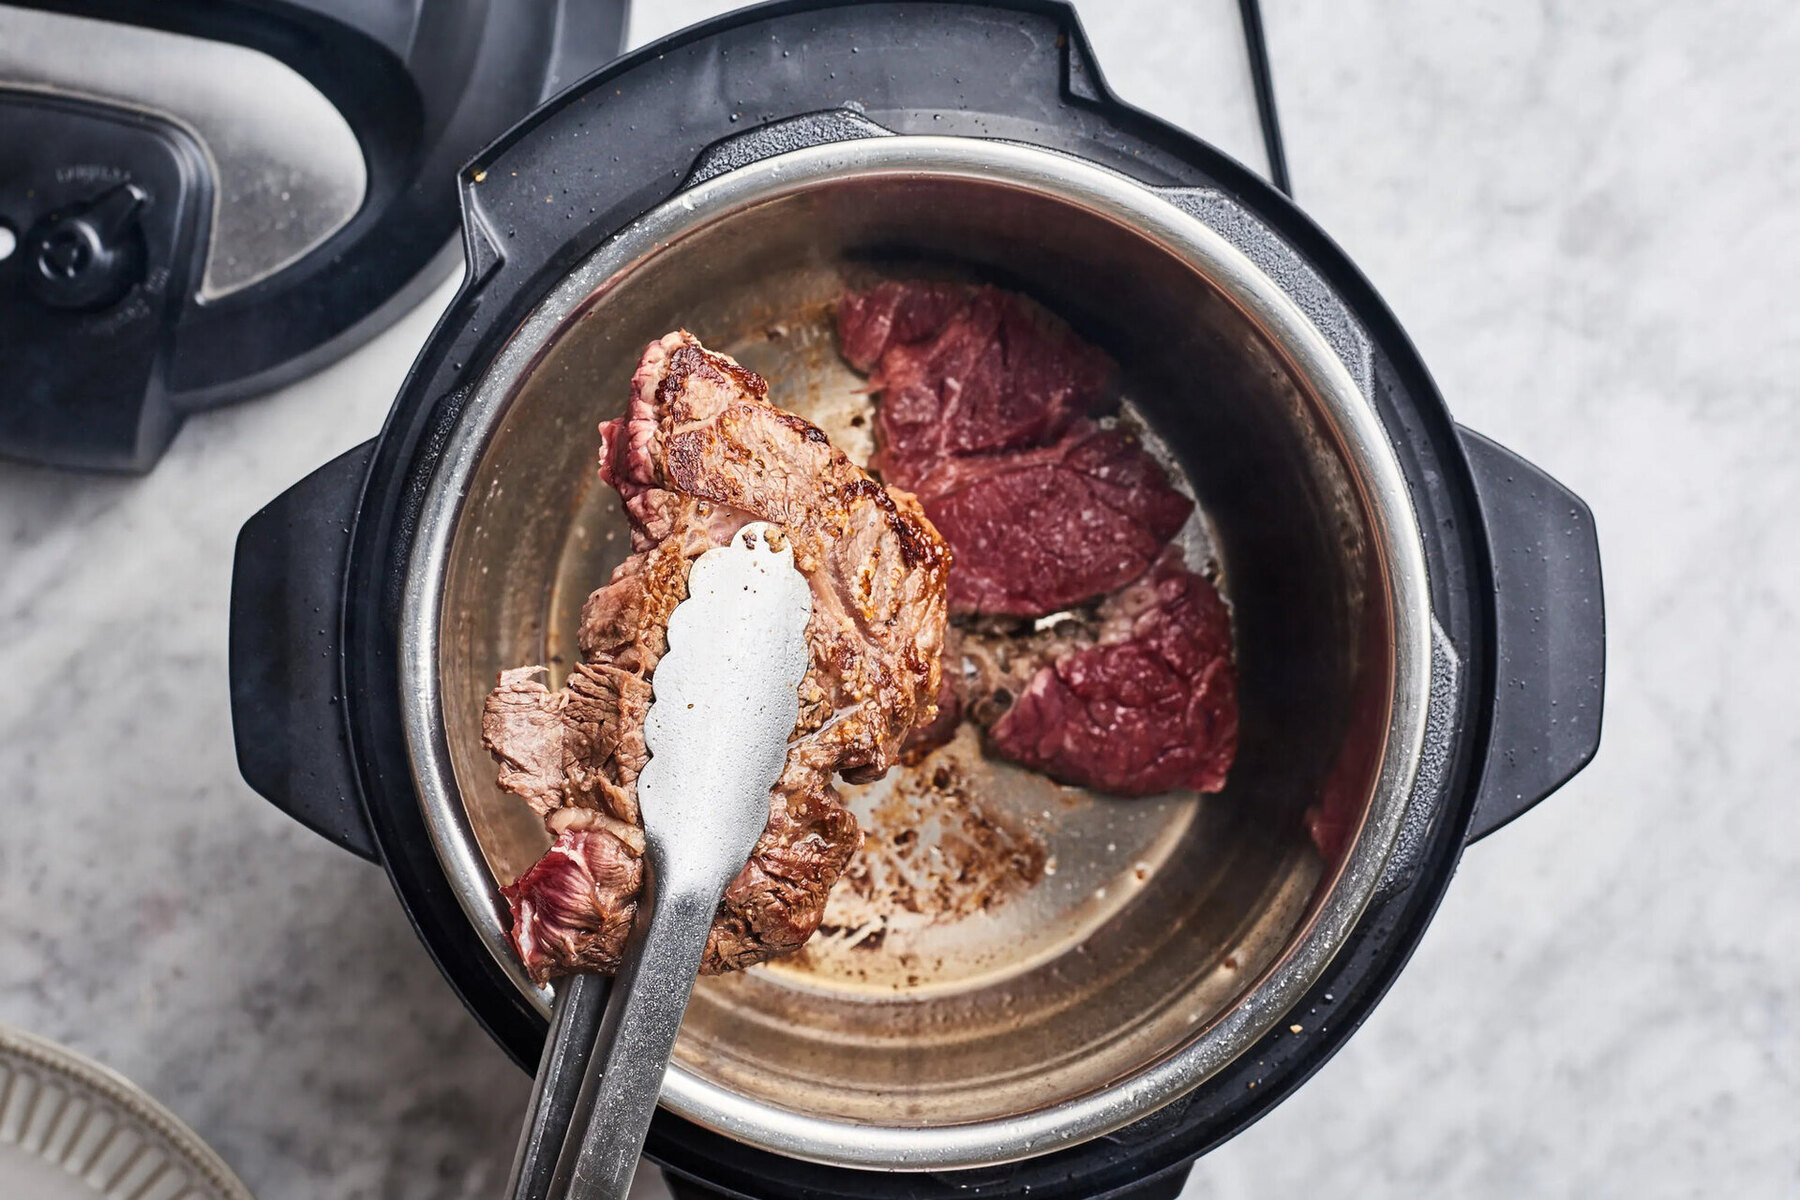
- Sear the Roast (Optional): While not necessary, searing the roast before pressure cooking can help develop a rich crust and enhance the overall flavor of the dish. Heat a small amount of oil in a skillet or the sauté function of your electric pressure cooker and sear the roast on all sides until browned. This step can be skipped if you prefer to skip the searing process.
- Prepare the Cooking Liquid: In addition to the seasonings, you’ll need to add a cooking liquid to the pressure cooker. This can be broth, stock, wine, or a combination of flavors that complement the roast. The liquid will create steam inside the pressure cooker, aiding in the cooking process and adding moisture to the meat.
Once you’ve completed these steps, you’re ready to start cooking the frozen roast in your electric pressure cooker. Follow the recommended cooking times based on the size of the roast, and refer to the manufacturer’s instructions for your specific pressure cooker model.
In the next section, we will provide you with cooking time recommendations for different sizes of frozen roasts so that you can achieve the perfect cooking results.
Cooking Time Recommendations for Different Sizes of Frozen Roasts
Cooking a frozen roast in an electric pressure cooker requires careful timing to ensure that the meat is cooked to perfection. The cooking time will vary depending on the size and type of roast you are using. Here are some general recommendations for cooking time based on the size of the frozen roast:
- Small Roast (2-3 pounds): For a smaller roast, such as a 2-3 pound cut, the cooking time in an electric pressure cooker is typically around 20-25 minutes per pound. This will result in a medium-rare to medium doneness. Adjust the time accordingly if you prefer your roast to be more well-done.
- Medium Roast (4-6 pounds): For a medium-sized roast, between 4-6 pounds, the cooking time will be slightly longer. Plan on cooking the roast for approximately 15-20 minutes per pound. This will yield a medium-rare roast. Adjust the time as desired for a different level of doneness.
- Large Roast (7-9 pounds): A larger roast, around 7-9 pounds, will require a longer cooking time. Estimate about 10-15 minutes per pound for a medium-rare result. Again, adjust the time according to your desired degree of doneness.
It’s important to note that these are general guidelines, and the actual cooking time may vary depending on factors such as the thickness and shape of the roast, as well as the specific model and settings of your electric pressure cooker. Always refer to the manufacturer’s instructions and guidelines for more accurate cooking times.
Now, armed with the knowledge of cooking times, let’s dive into the step-by-step instructions for cooking a frozen roast in an electric pressure cooker.
When cooking a frozen roast in an electric pressure cooker, increase the cooking time by 50% compared to a thawed roast. This will ensure that the meat is fully cooked and tender.
Step-by-Step Instructions for Cooking a Frozen Roast in an Electric Pressure Cooker
Follow these step-by-step instructions to cook a frozen roast in an electric pressure cooker:
- Prepare the Pressure Cooker: Ensure that your electric pressure cooker is clean and in proper working condition. Check the manufacturer’s instructions to ensure you are familiar with the settings and functions of your specific model.
- Add Cooking Liquid: Pour your choice of cooking liquid, such as broth, stock, or wine, into the bottom of the pressure cooker. The liquid will create steam, which will help cook the roast and keep it moist.
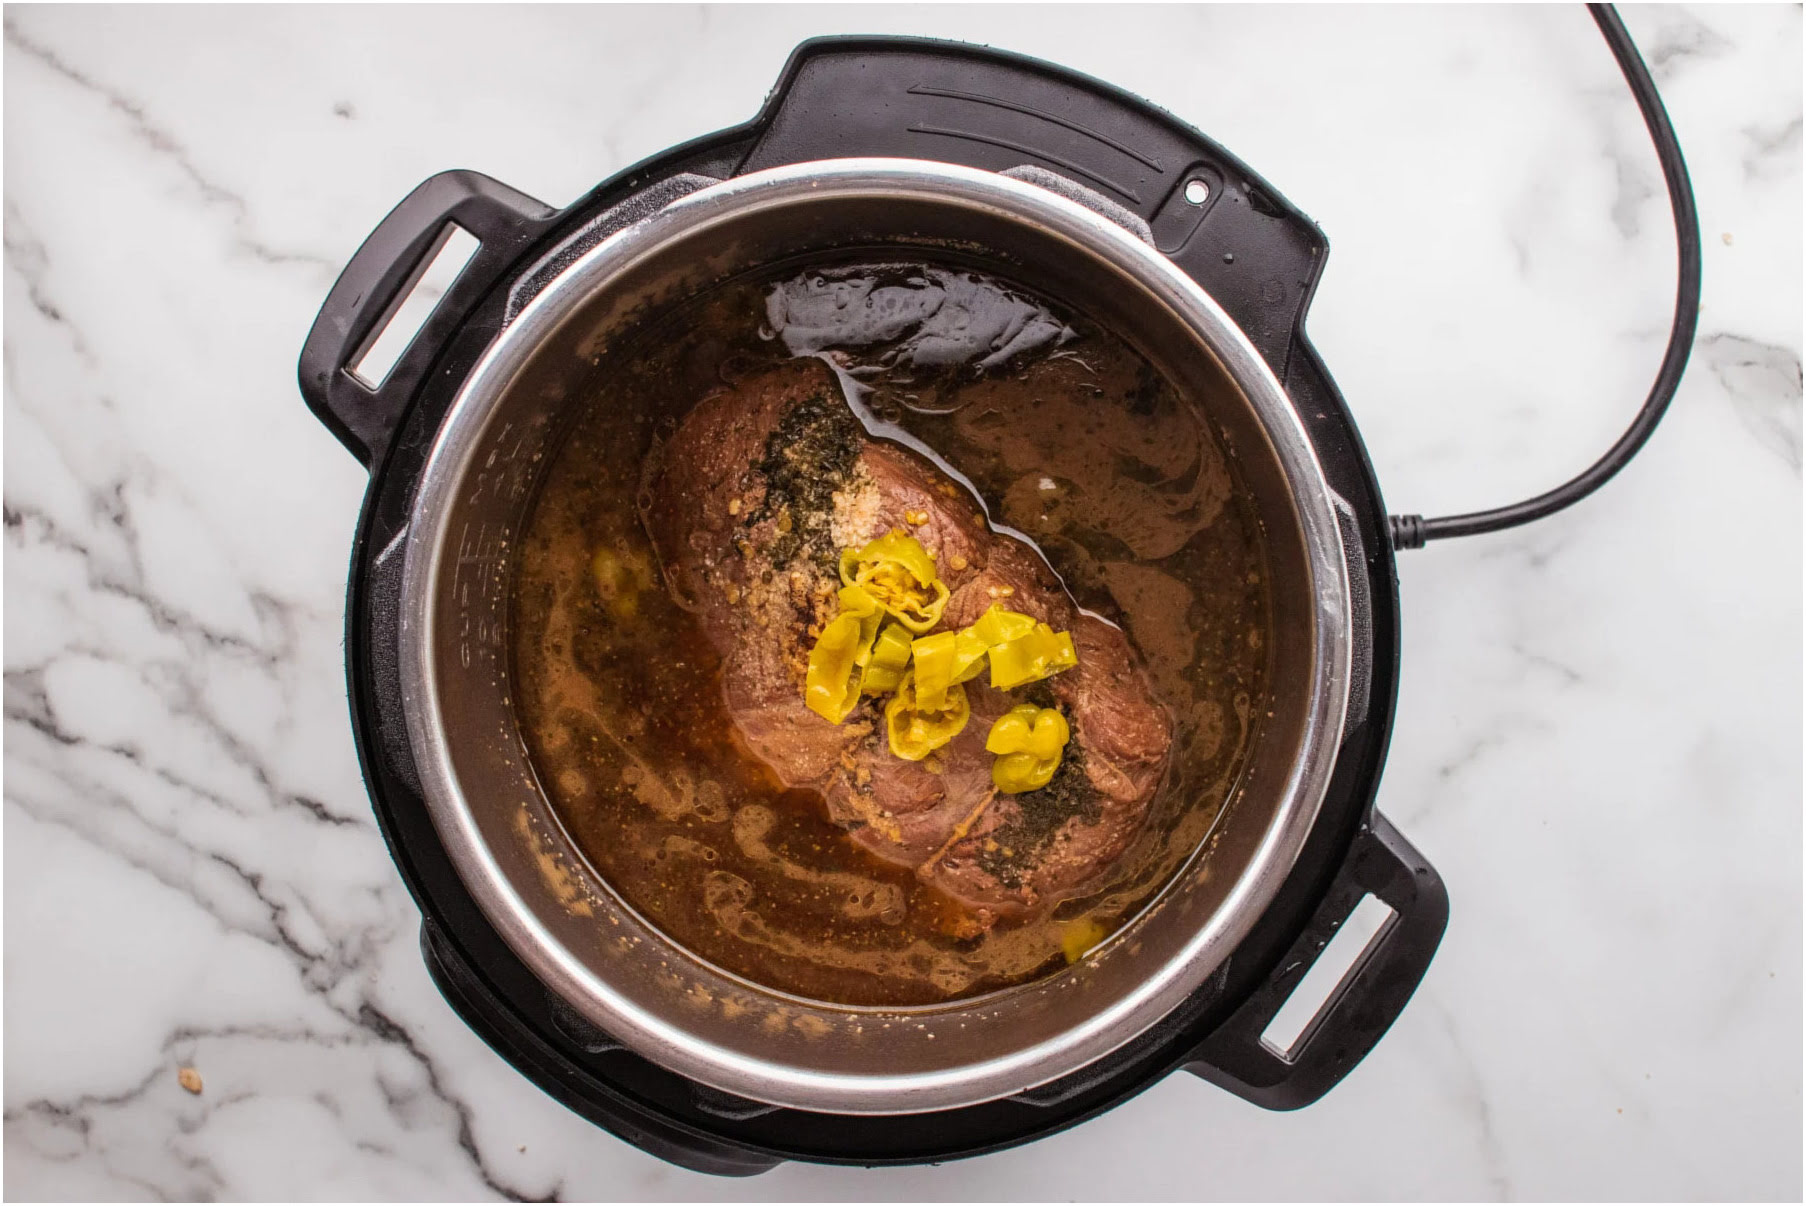
- Place the Roast in the Pressure Cooker: Carefully place the frozen roast into the pressure cooker, ensuring it is submerged in the cooking liquid. If desired, you can add onions, garlic, or other flavor-enhancing ingredients at this stage.
- Close and Seal the Pressure Cooker: Follow the manufacturer’s instructions to secure the lid and seal the pressure cooker. Make sure the vent knob is set to the sealed position.
- Select the Cooking Mode: Set the pressure cooker to the appropriate cooking mode for your specific recipe. This may include options such as “Meat,” “Pressure Cook,” or “Manual.” Adjust the cooking time as needed for the size of your frozen roast.
- Start the Cooking Process: Once you have set the desired cooking mode and time, start the cooking process. The pressure cooker will begin to build pressure and cook the frozen roast accordingly.
- Natural Release or Quick Release: After the recommended cooking time, you can either allow for a natural release or perform a quick release of pressure. A natural release involves allowing the pressure to release naturally, which may take some time. A quick release involves carefully opening the pressure valve to release the pressure swiftly. Follow the specific instructions for your pressure cooker model.
- Check the Doneness: Use a meat thermometer to check the internal temperature of the roast to ensure it has reached the desired level of doneness. The recommended internal temperature for a medium-rare roast is around 145°F (63°C), while a medium roast should reach 160°F (71°C).
- Let the Roast Rest: Once the roast reaches the desired doneness, remove it from the pressure cooker and let it rest for about 10-15 minutes. This allows the juices to redistribute within the meat and results in a more tender and flavorful roast.
- Slice and Serve: After the rest period, carefully slice the roast against the grain to achieve tender slices. Serve immediately with your favorite side dishes and enjoy!
By following these step-by-step instructions, you’ll be able to cook a frozen roast to perfection using your electric pressure cooker.
Next, we’ll cover some helpful tips for achieving the perfect cooking results with your frozen roast.
Tips for Achieving the Perfectly Cooked Frozen Roast
To ensure that your frozen roast is cooked to perfection in an electric pressure cooker, consider the following tips:
- Season Liberally: Be generous with your seasoning to enhance the flavor of the roast. If you’re using a dry rub or marinade, make sure to coat the entire surface of the meat for maximum flavor penetration.
- Consider Searing: While optional, searing the roast before pressure cooking can help develop a flavorful crust and add depth to the overall taste. It’s worth taking the extra step if you have the time.
- Use a Meat Thermometer: To ensure your roast is cooked to your desired level of doneness, use a meat thermometer to check the internal temperature. This will give you a more accurate reading than relying solely on cooking times.
- Allow for Natural Release: Whenever possible, opt for a natural pressure release method rather than a quick release. This allows the roast to continue cooking gently as the pressure decreases and helps the meat retain its juices for a more tender result.
- Adjust Cooking Time for Personal Preference: The recommended cooking times mentioned earlier are a guide, but you can adjust them to suit your personal preference for doneness. Increase or decrease the cooking time accordingly, keeping in mind that the texture and tenderness of the roast will vary.
- Consider Adding Aromatics: For added flavor, consider adding aromatics such as onions, garlic, herbs, or spices to the cooking liquid. These will infuse the roast with delicious flavors during the cooking process.
- Rest the Roast: Allowing the roast to rest after cooking is crucial to achieving a tender and juicy result. This rest period allows the meat to reabsorb its juices, resulting in a more flavorful and succulent roast.
- Trim Excess Fat: Before seasoning the roast, trim any excess fat that may be present. This will help prevent the roast from becoming overly greasy during cooking and allow the flavors to shine through.
- Experiment with Flavor Combinations: Don’t be afraid to get creative with your seasonings and cooking liquid. Experiment with different herbs, spices, and liquids to create unique flavor profiles that complement the roast and reflect your personal taste.
By following these tips, you’ll be well on your way to achieving a perfectly cooked frozen roast in your electric pressure cooker.
Next, let’s discuss how to check the doneness of the roast to ensure it’s cooked to your liking.
Checking the Doneness of the Roast
Checking the doneness of your roast is a crucial step in ensuring that it is cooked to your preferred level of doneness. Here are a few methods you can use to determine the doneness of the roast:
- Meat Thermometer: Using a meat thermometer is the most accurate way to check the internal temperature of the roast. Insert the thermometer into the thickest part of the meat, avoiding any bones or fat. The recommended internal temperature for a medium-rare roast is around 145°F (63°C), while a medium roast should register around 160°F (71°C). Adjust the cooking time as needed if the roast has not reached the desired temperature.
- Visual Inspection: You can also visually inspect the roast to determine the doneness. A medium-rare roast will have a warm pink center with slightly redder juices, while a medium roast will have a slightly pink center with clearer juices. If you prefer your roast more well-done, continue cooking it until the center is brownish and the juices run clear.
- Fork Test: Another method is the fork test. Insert a fork into the thickest part of the roast and twist gently. If the fork goes in easily and the meat separates into strands, it is likely cooked to a medium-rare to medium level. If you prefer a more tender and well-done roast, the fork should go in with more resistance and the meat should hold together more firmly.
- Juices: Cutting into the roast and observing the juices is another way to assess its doneness. If the juices are mostly clear with little to no pink or red color, the roast is likely more well-done. However, keep in mind that this method may not be as accurate as using a meat thermometer.
Select the method that works best for you based on your preference and the equipment available to you. Remember that it’s better to slightly undercook the roast, as it can always be cooked further if needed. Once you determine that the roast has reached your desired level of doneness, it’s time to let it rest and prepare to serve.
In the next section, we will discuss the importance of letting the roast rest and provide tips for serving it.
Letting the Roast Rest and Serve
After cooking a frozen roast in an electric pressure cooker and confirming that it has reached your desired level of doneness, it is crucial to let the roast rest before serving. Resting allows the juices to redistribute throughout the meat and ensures a more flavorful and tender eating experience. Here’s what you need to know about letting the roast rest and serving it:
- Transfer to a Cutting Board: Carefully remove the roast from the electric pressure cooker and transfer it to a clean cutting board. Use tongs or a carving fork to handle the meat and avoid losing any precious juices.
- Cover with Foil: To retain heat and further enhance the tenderness of the roast, loosely cover it with aluminum foil. This will help to keep the meat warm while it rests and allow the juices to redistribute throughout the cuts.
- Resting Time: The recommended resting time for a roast is around 10-15 minutes. During this period, the internal temperature of the meat will continue to rise slightly, and the juices will be evenly distributed, resulting in a more flavorful and succulent roast.
- Slicing the Roast: After the resting period, it’s time to slice the roast. Use a sharp carving knife to cut the roast against the grain into thin slices. Cutting against the grain ensures more tender and easier-to-chew slices.
- Serving Suggestions: Serve the sliced roast on a platter or individual plates, accompanied by your favorite side dishes such as roasted vegetables, mashed potatoes, or a fresh salad. You can also drizzle some of the cooking juices from the pressure cooker over the sliced meat to enhance the flavors even further.
- Enjoy: Finally, sit back, relax, and savor the delicious meal you’ve prepared. Take your time to enjoy the tender and flavorful roast, and savor the fruits of your labor.
Remember that the resting period is just as important as the cooking process in achieving a perfectly cooked roast. It allows the roast to relax and become even more tender, resulting in a more enjoyable dining experience.
Now that you have all the information and tips you need, you’re ready to cook a frozen roast in your electric pressure cooker. Embrace the convenience and flavor of this cooking method, and enjoy the mouthwatering results!
Frequently Asked Questions about How Long To Cook A Frozen Roast In An Electric Pressure Cooker
Was this page helpful?
At Storables.com, we guarantee accurate and reliable information. Our content, validated by Expert Board Contributors, is crafted following stringent Editorial Policies. We're committed to providing you with well-researched, expert-backed insights for all your informational needs.


0 thoughts on “How Long To Cook A Frozen Roast In An Electric Pressure Cooker”