Home>Articles>How To Cook Black Eyed Peas In Electric Pressure Cooker
Articles
How To Cook Black Eyed Peas In Electric Pressure Cooker
Modified: February 27, 2024
Learn how to cook black eyed peas in an electric pressure cooker with this step-by-step guide. Enjoy delicious articles using your favorite cooking appliance!
(Many of the links in this article redirect to a specific reviewed product. Your purchase of these products through affiliate links helps to generate commission for Storables.com, at no extra cost. Learn more)
Introduction
Welcome to the world of electric pressure cookers, where convenience meets deliciousness! If you’re a fan of black eyed peas, you’re in for a treat. In this article, we’ll explore the benefits of cooking black eyed peas in an electric pressure cooker and guide you through the process step by step.
Black eyed peas are not only a staple in Southern cuisine but also have gained popularity worldwide due to their numerous health benefits. These legumes are packed with protein, fiber, and a range of essential vitamins and minerals. By cooking them in an electric pressure cooker, you can not only save time but also retain the nutritional value and natural flavors of the black eyed peas.
So, let’s dive into the world of electric pressure cooking and discover how this modern kitchen gadget can revolutionize the way you prepare black eyed peas!
Key Takeaways:
- Save time and enhance flavors by cooking black eyed peas in an electric pressure cooker. Enjoy tender, nutritious, and versatile dishes with reduced cooking time and enhanced flavors.
- Elevate your black eyed peas with a variety of seasonings and serving options. From classic Southern flavors to spicy twists, get creative and savor the versatility of this nutritious legume.
Benefits of Cooking Black Eyed Peas in an Electric Pressure Cooker
Cooking black eyed peas in an electric pressure cooker offers a variety of advantages that make it an ideal choice for preparing this delicious legume. Here are some key benefits:
- Time-saving: One of the biggest advantages of using an electric pressure cooker is the significant reduction in cooking time. Traditional stovetop cooking methods often require hours of simmering to achieve tender black eyed peas. With an electric pressure cooker, you can cut down the cooking time to just a fraction. It’s a game-changer for busy individuals or those who want a quick and convenient meal option.
- Energy-efficient: Electric pressure cookers are designed to work efficiently, using minimal energy to cook your food. Compared to using a stove or an oven, using an electric pressure cooker can help save on electricity costs.
- Retains nutrients: The high-pressure environment in an electric pressure cooker helps to preserve the nutritional value of the black eyed peas. This is because the shorter cooking time prevents the loss of water-soluble nutrients that can occur through prolonged boiling or simmering. As a result, you can enjoy all the health benefits that this legume has to offer.
- Enhanced flavors: Pressure cooking allows for the intense infusion of flavors. By cooking black eyed peas under pressure, the flavors of the seasonings and spices penetrate the beans more deeply, resulting in a more flavorful and aromatic dish. The pressure also helps to break down the fibers in the peas, resulting in a creamier texture.
- Simplified cooking process: Electric pressure cookers are designed to be user-friendly, with intuitive controls and pre-set cooking functions. This means you don’t have to constantly monitor the cooking process like you would with traditional cooking methods. Just set the timer and let the pressure cooker do its magic.
- Versatile cooking options: Electric pressure cookers come with a variety of cooking functions, allowing you to not only cook black eyed peas but also prepare a wide range of dishes. From soups and stews to rice and even desserts, the versatility of an electric pressure cooker opens up a world of culinary possibilities.
Now that you know the benefits of cooking black eyed peas in an electric pressure cooker, let’s move on to the equipment you’ll need to get started!
Necessary Equipment
Before you embark on your black eyed pea cooking adventure, make sure you have the necessary equipment. Here are the essential items you’ll need:
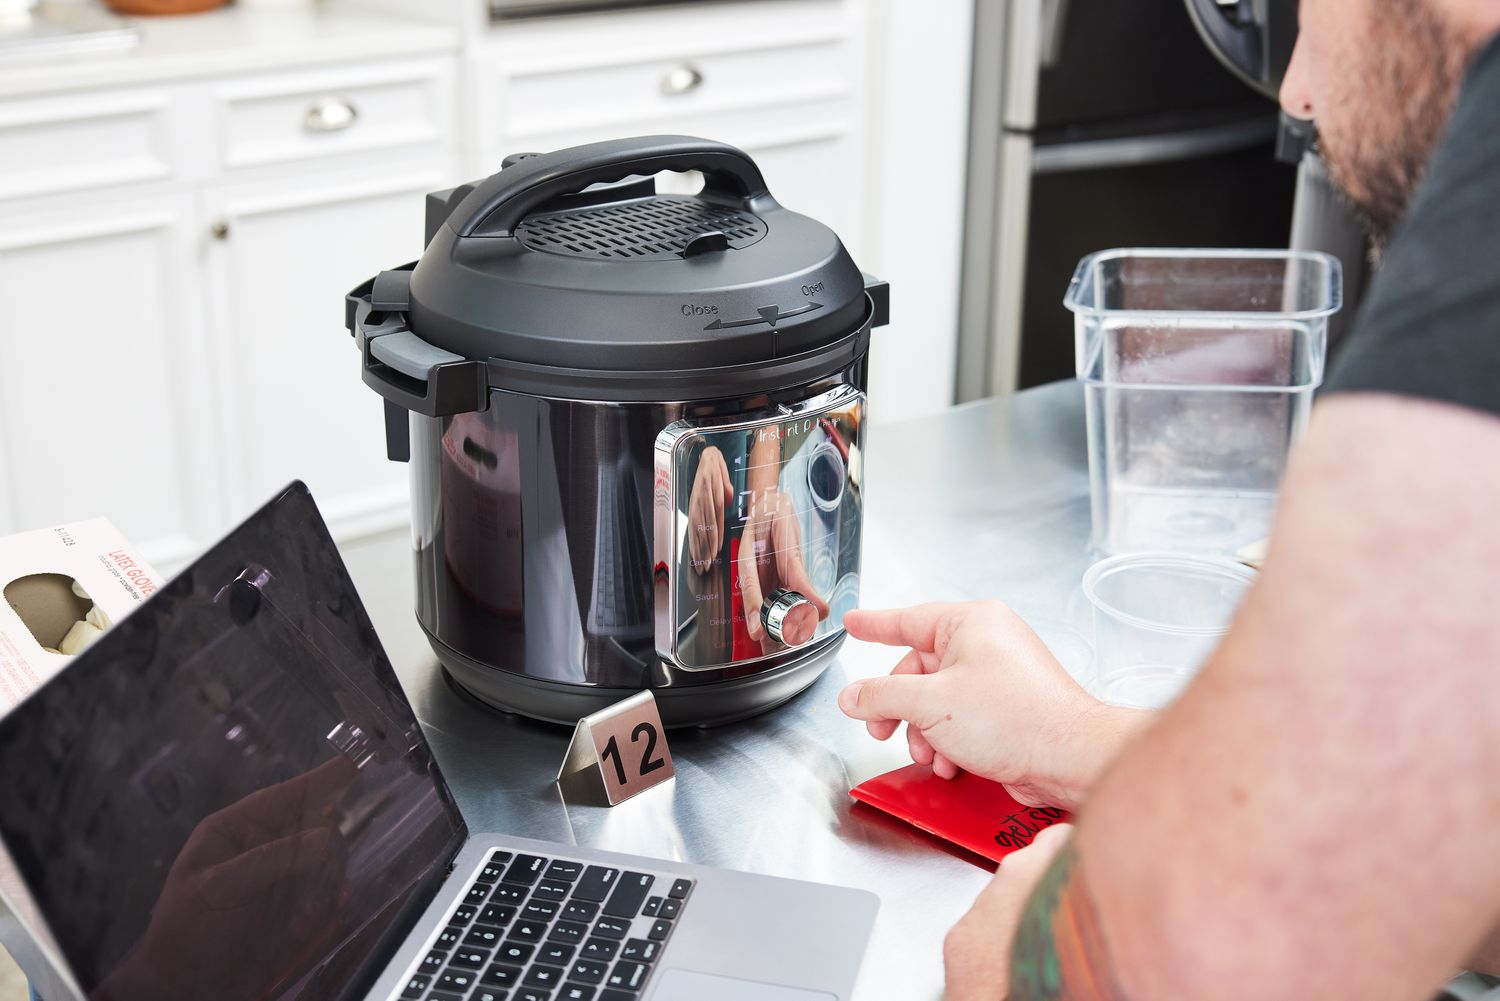
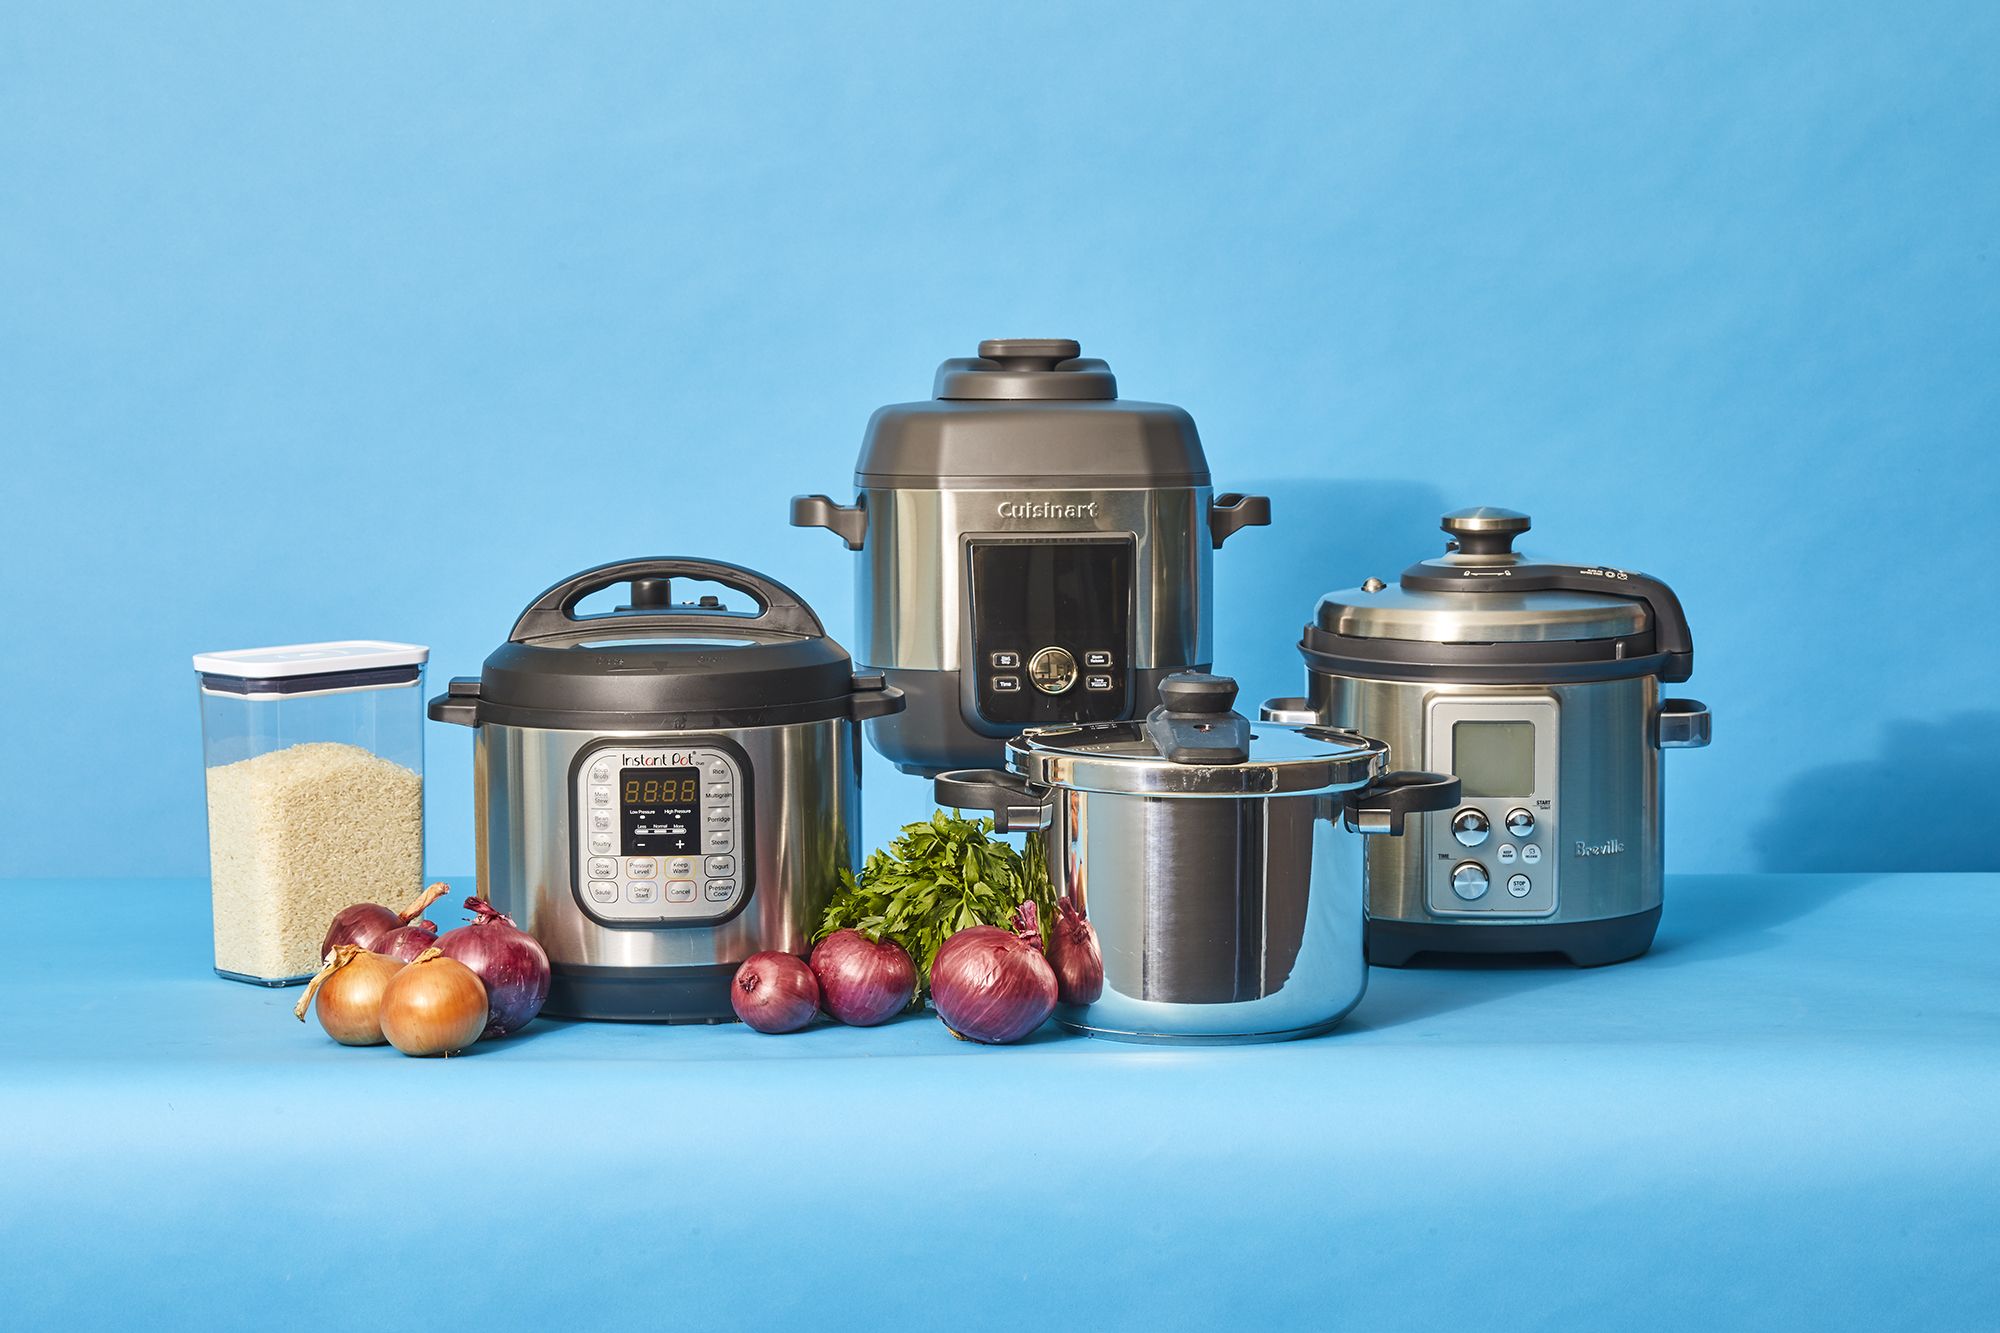
- Electric Pressure Cooker: The star of the show! Invest in a good quality electric pressure cooker that suits your needs. Look for models with a capacity that can accommodate the amount of black eyed peas you plan to cook. Ensure that it has reliable safety features and a user-friendly interface.
- Inner Pot: Most electric pressure cookers come with a removable inner pot made of stainless steel or non-stick material. This is where the black eyed peas will cook, so make sure it’s in good condition and fits securely inside the pressure cooker.
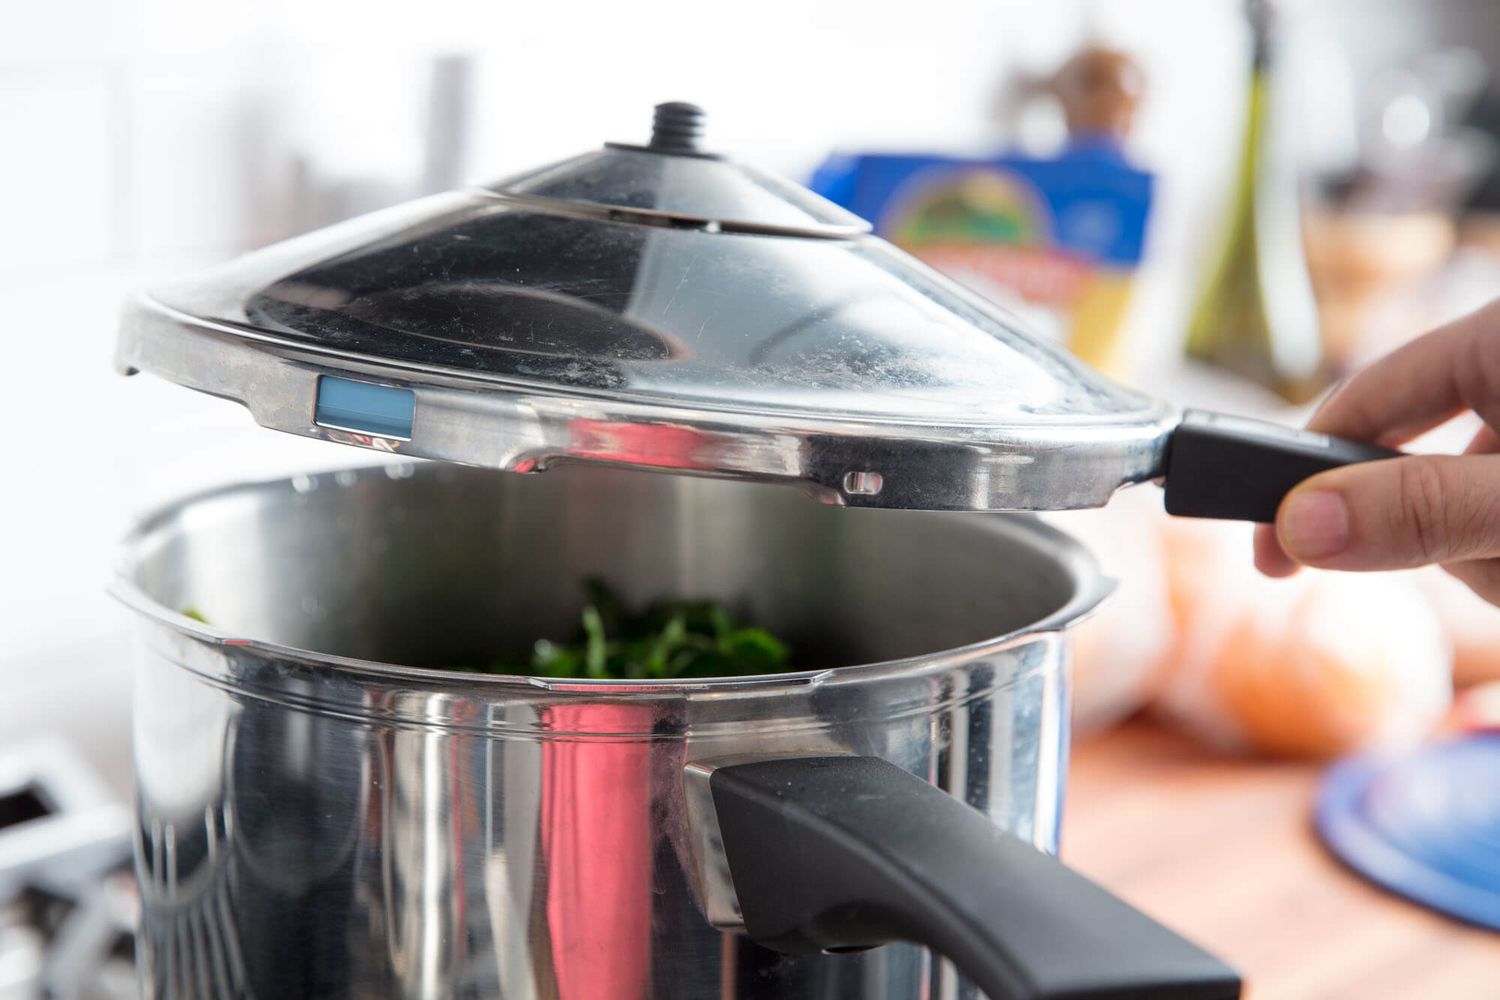
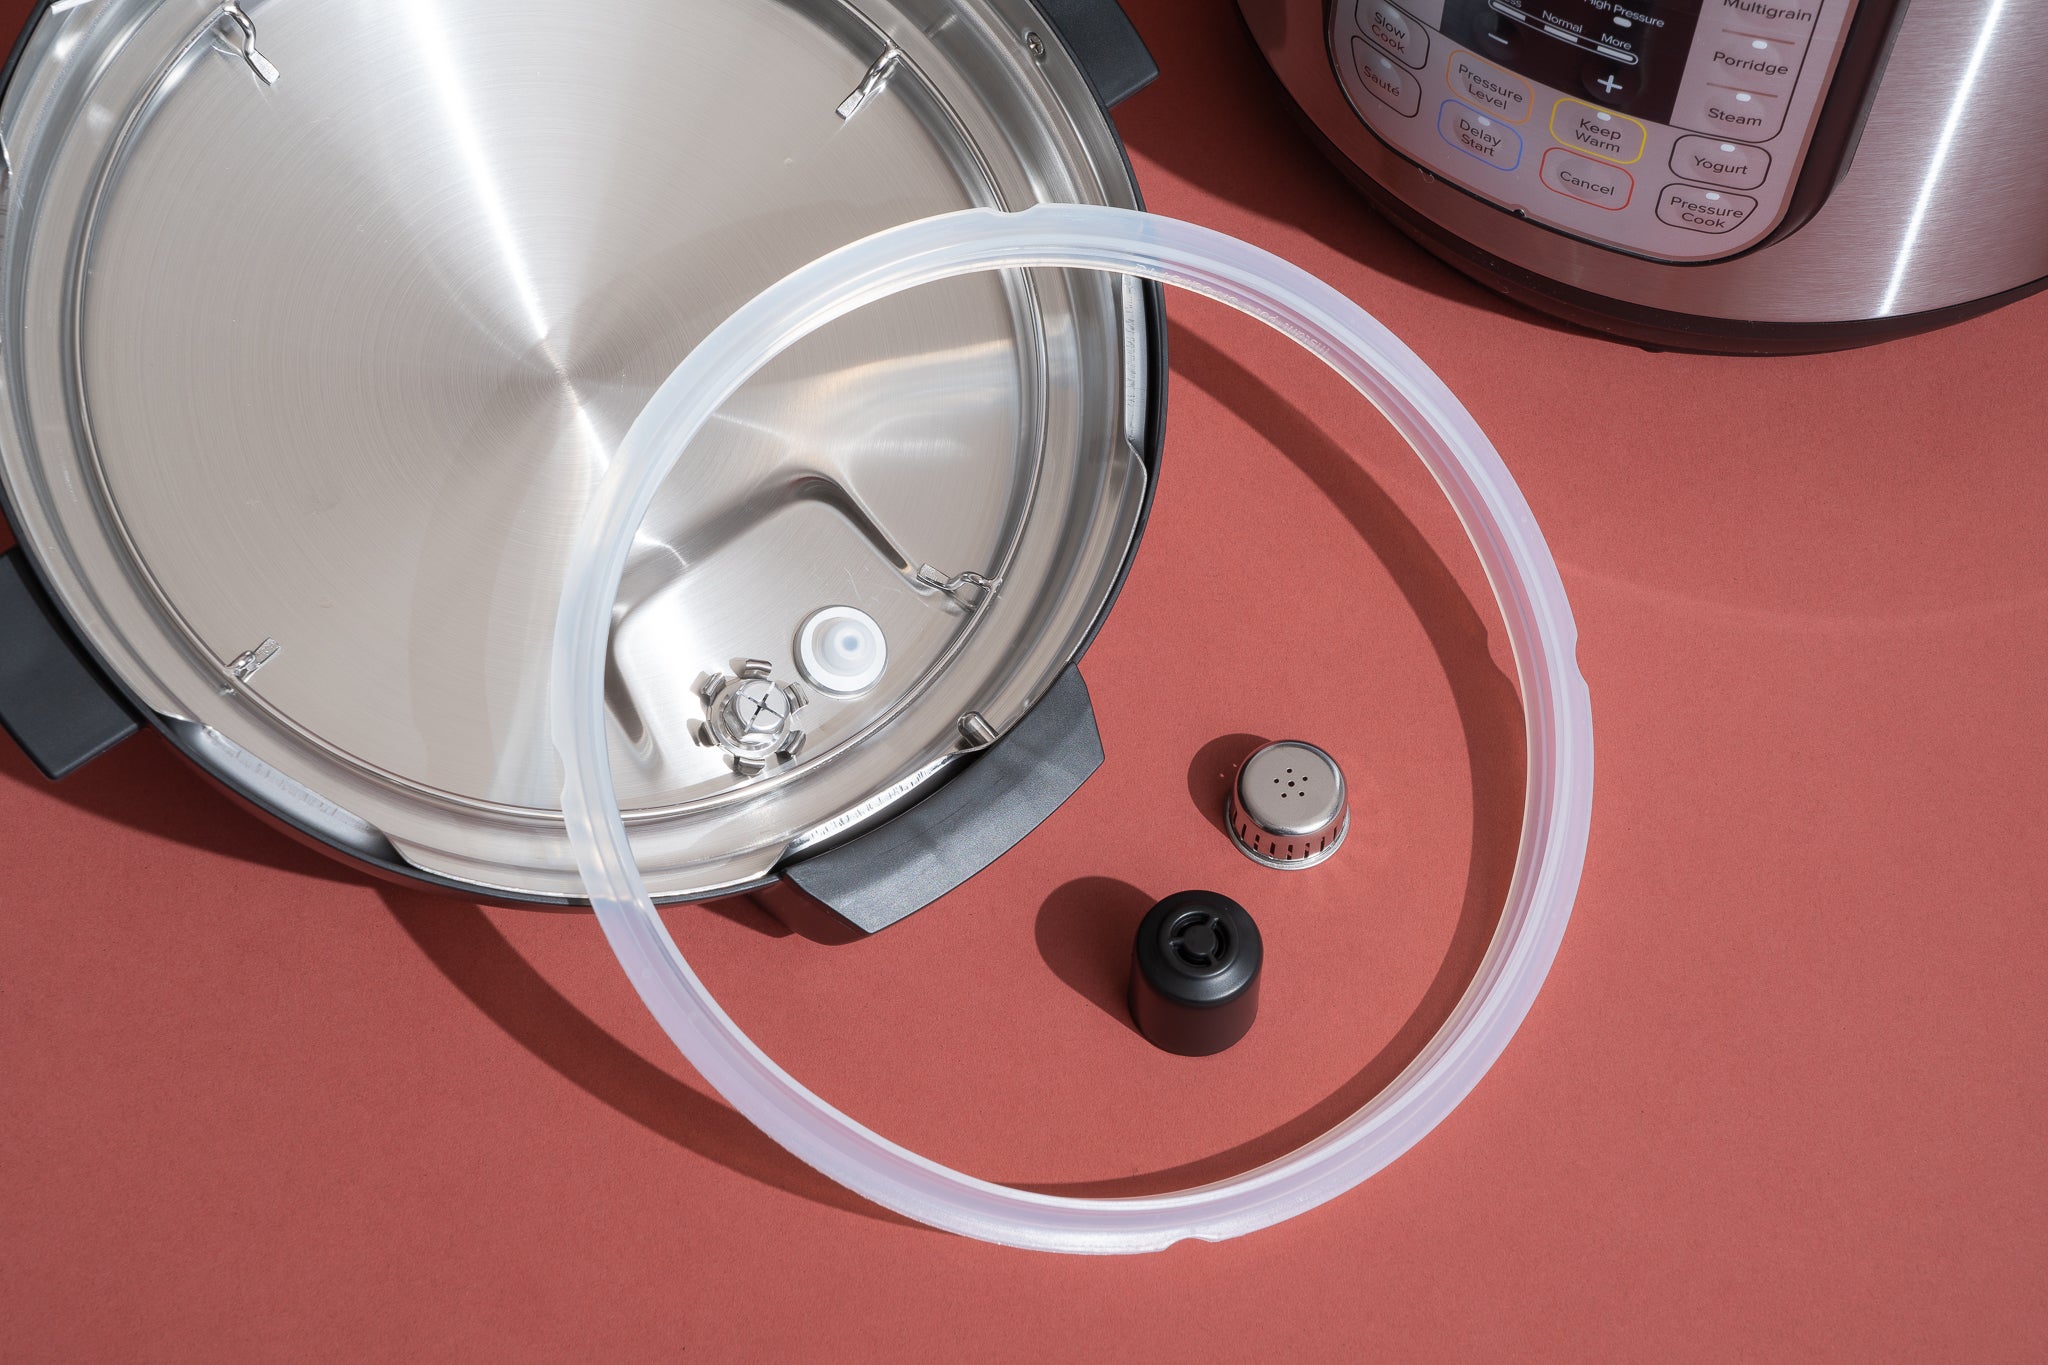
- Lid: The lid of the electric pressure cooker is designed to create a tight seal, allowing pressure to build up inside. It should have a locking mechanism to prevent accidental opening during cooking. Ensure that the lid and its accessories, such as the sealing ring and pressure release valve, are clean and functioning properly.
- Measuring Cup and Spoon: Accurate measurements are crucial for cooking black eyed peas to perfection. Use a measuring cup and spoon to ensure you add the right amount of water and seasonings.
- Colander or Strainer: You’ll need a colander or strainer to rinse the black eyed peas before cooking. This will help remove any debris or impurities.
- Knife and Cutting Board: Depending on your recipe, you may need to chop onions, garlic, or other ingredients. A sharp knife and cutting board will come in handy for this task.
- Seasonings and Spices: Black eyed peas can be cooked with a variety of seasonings, spices, and herbs to enhance their flavor. Stock up on your favorite seasonings or experiment with new combinations.
- Optional Accessories: Some electric pressure cookers come with additional accessories such as steamer baskets, trivets, or racks. These can be used to cook other ingredients alongside the black eyed peas or to elevate them for even cooking.
Having these essential equipment and tools will ensure that your black eyed pea cooking experience goes smoothly. Now that you’re all set, let’s move on to the next step: soaking and preparing the black eyed peas.
Soaking and Preparing the Black Eyed Peas
Before cooking the black eyed peas in the electric pressure cooker, it’s essential to soak them to achieve the desired texture and reduce the cooking time. Here’s how to properly soak and prepare the black eyed peas:
- Rinsing: Start by rinsing the black eyed peas under cold water. This step helps remove any dirt or debris.
- Soaking: Place the black eyed peas in a large bowl and cover them with enough water. The general rule of thumb is to use three cups of water for every one cup of dried peas. Soak the peas for at least 4 to 6 hours or overnight.
- Draining: After soaking, drain the water from the black eyed peas. They should have absorbed a significant amount of water and doubled in size.
- Rinsing Again: Give the soaked black eyed peas one final rinse under cold water to remove any residual starch.
- Optional Seasoning: At this point, you can add flavor to the black eyed peas by tossing them with your choice of seasonings and spices. This will allow the flavors to penetrate the peas as they cook.
Now that the black eyed peas are soaked and prepared, it’s time to cook them in the electric pressure cooker. Let’s move on to the next section to learn the cooking process!
Add some flavor to your black eyed peas by sautéing onions, garlic, and spices in the electric pressure cooker before adding the peas and cooking. This will enhance the overall taste of the dish.
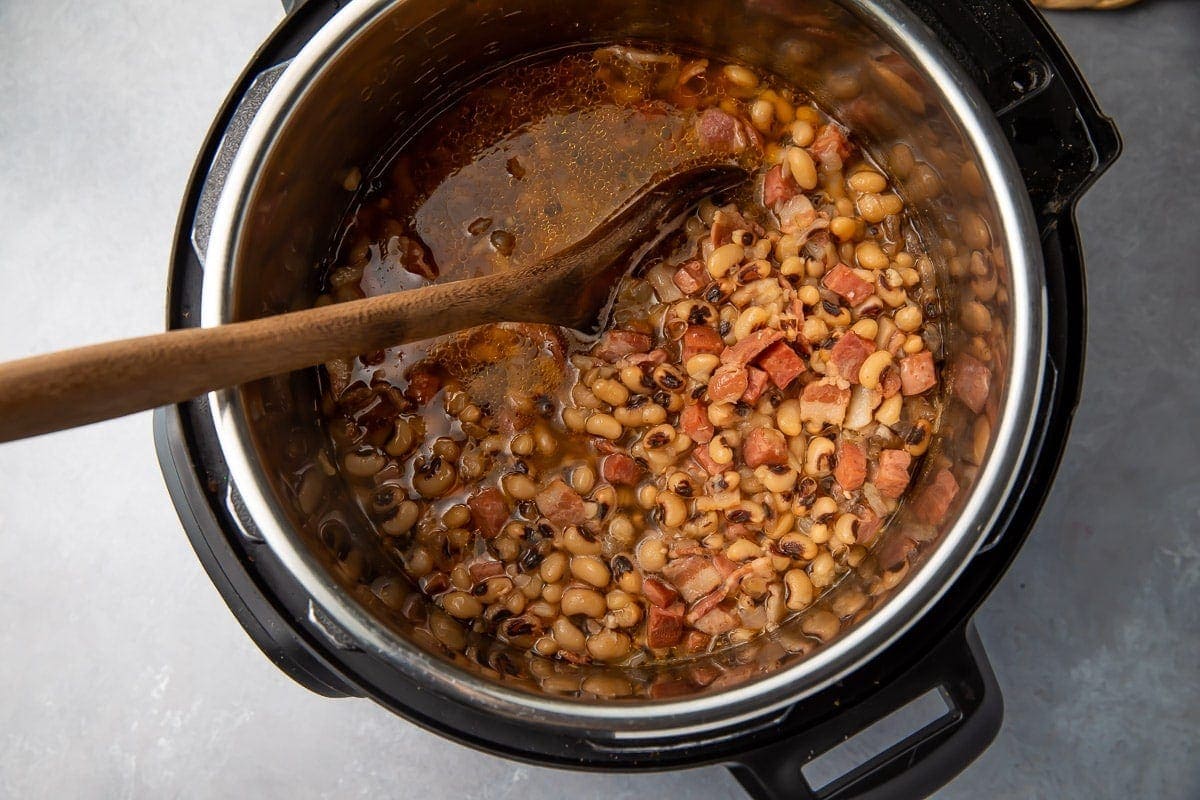
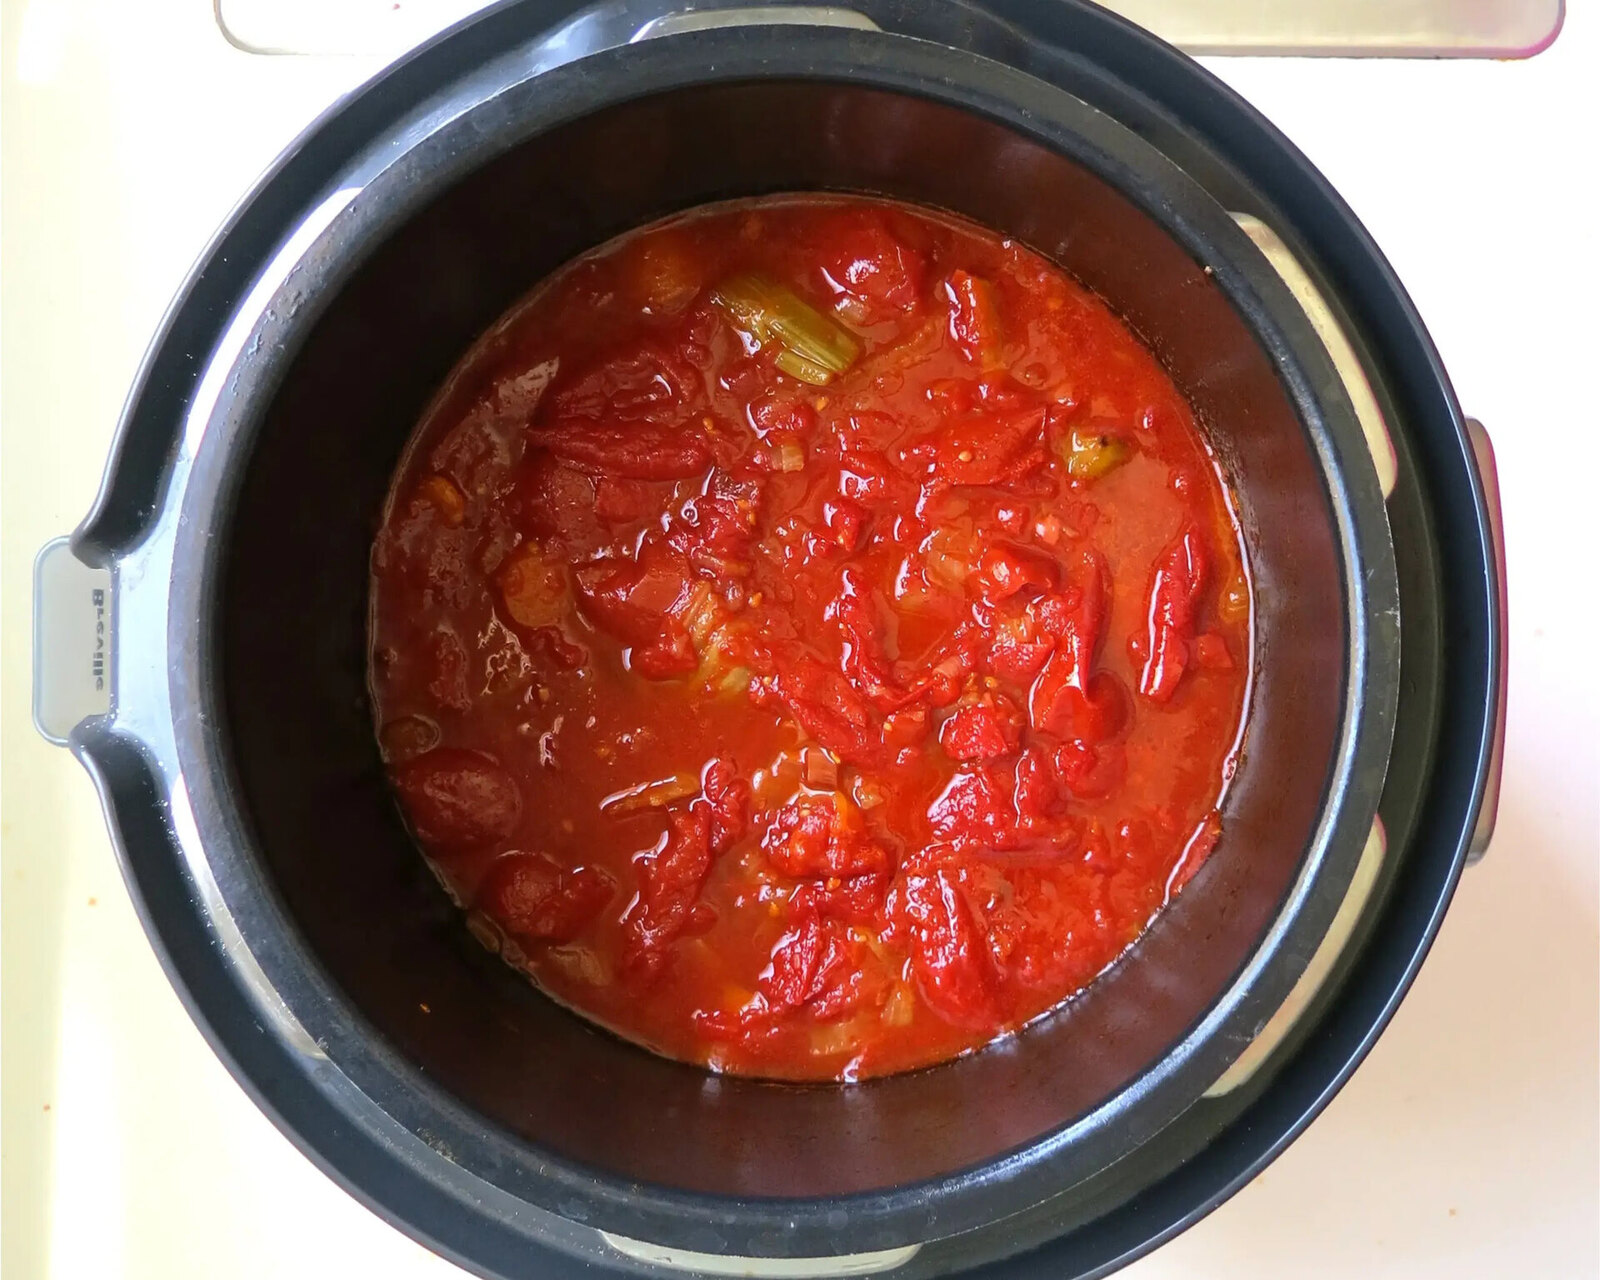
Cooking the Black Eyed Peas in the Electric Pressure Cooker
Now that your black eyed peas are soaked and prepared, it’s time to cook them in the electric pressure cooker. Follow these steps for a delicious and hassle-free cooking process:
- Add the Black Eyed Peas: Place the soaked and rinsed black eyed peas into the inner pot of the electric pressure cooker.
- Add Water or Broth: Add enough water or broth to cover the black eyed peas. The liquid should be about 1 to 2 inches above the peas. You can use vegetable, chicken, or beef broth to infuse additional flavors.
- Secure the Lid: Place the lid on the electric pressure cooker, ensuring it locks into place. Refer to the manufacturer’s instructions for proper lid locking techniques.
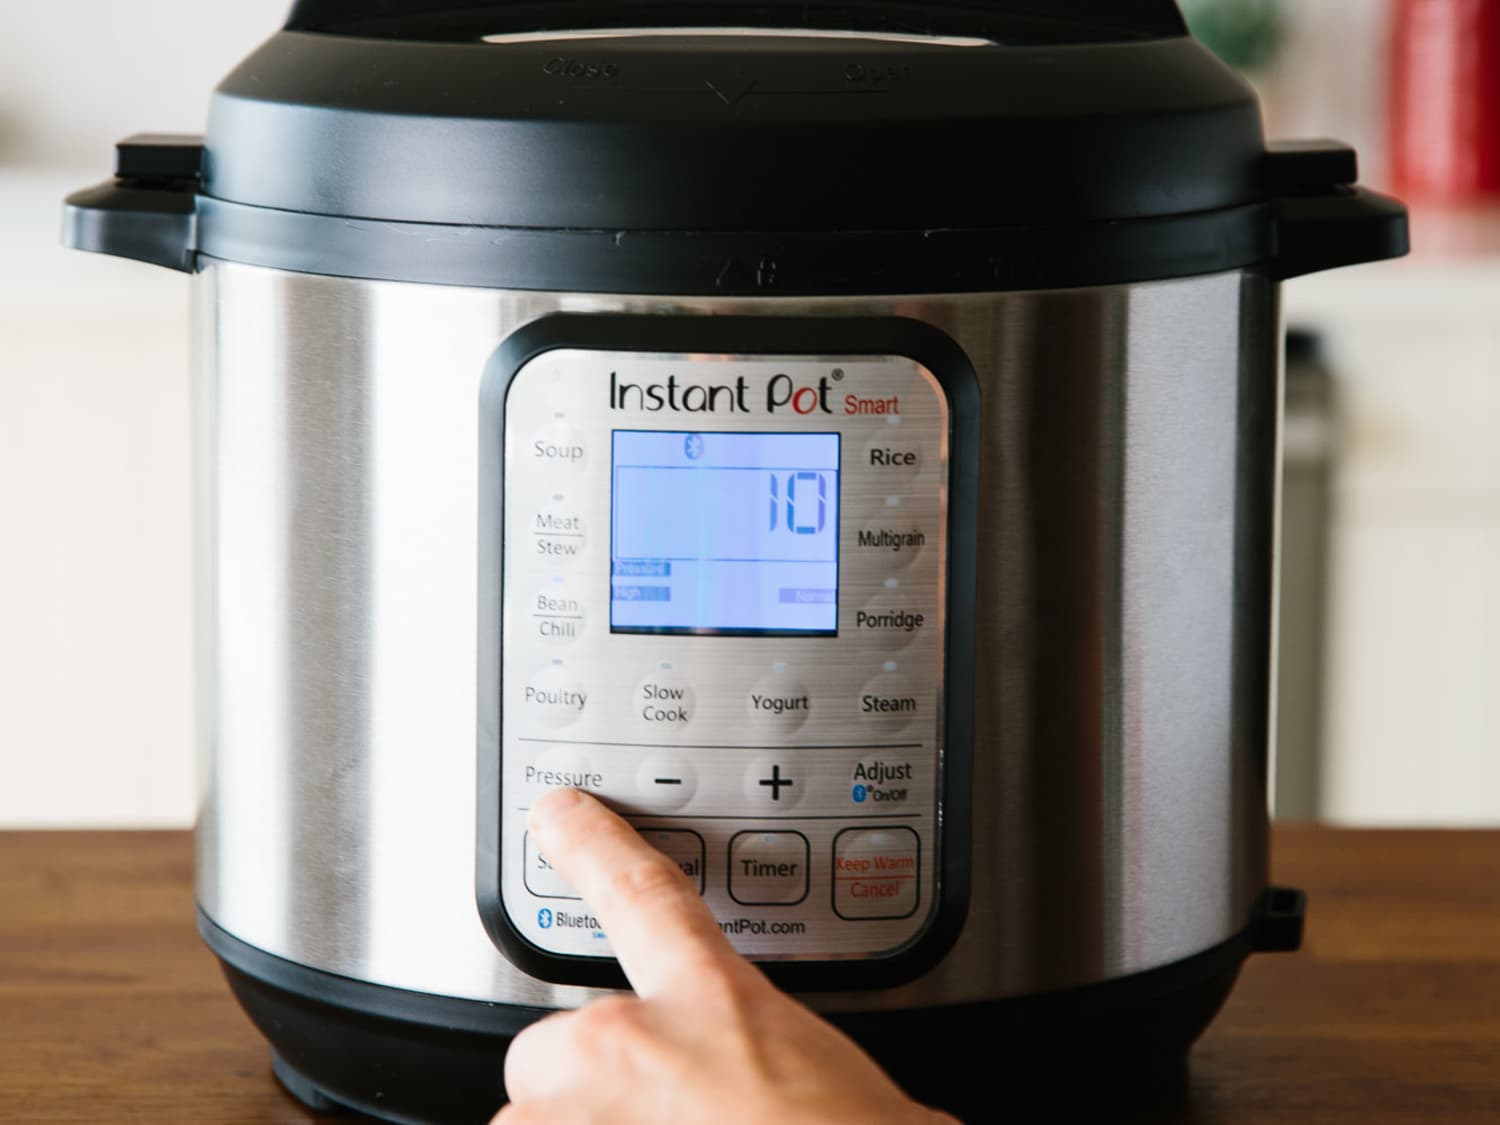
- Select the Cooking Program: Set the cooking program on the electric pressure cooker. Use the “Beans” or “Legumes” function if available. If not, select the manual/pressure cook function and set the timer for the recommended cooking time.
- Adjust Cooking Time: The cooking time will vary depending on the electric pressure cooker and the desired texture of the black eyed peas. Generally, cooking times can range from 8 to 15 minutes on high pressure. Refer to the specific model’s manual or recipe guidelines for precise cooking times.
- Start Cooking: Start the cooking process by pressing the “Start” button on the electric pressure cooker. The cooker will begin to heat up and build pressure.
- Cooking Under Pressure: Once the pressure is reached, the electric pressure cooker will automatically regulate the pressure and maintain a consistent temperature. The black eyed peas will cook under high pressure, ensuring they become tender and flavorful.
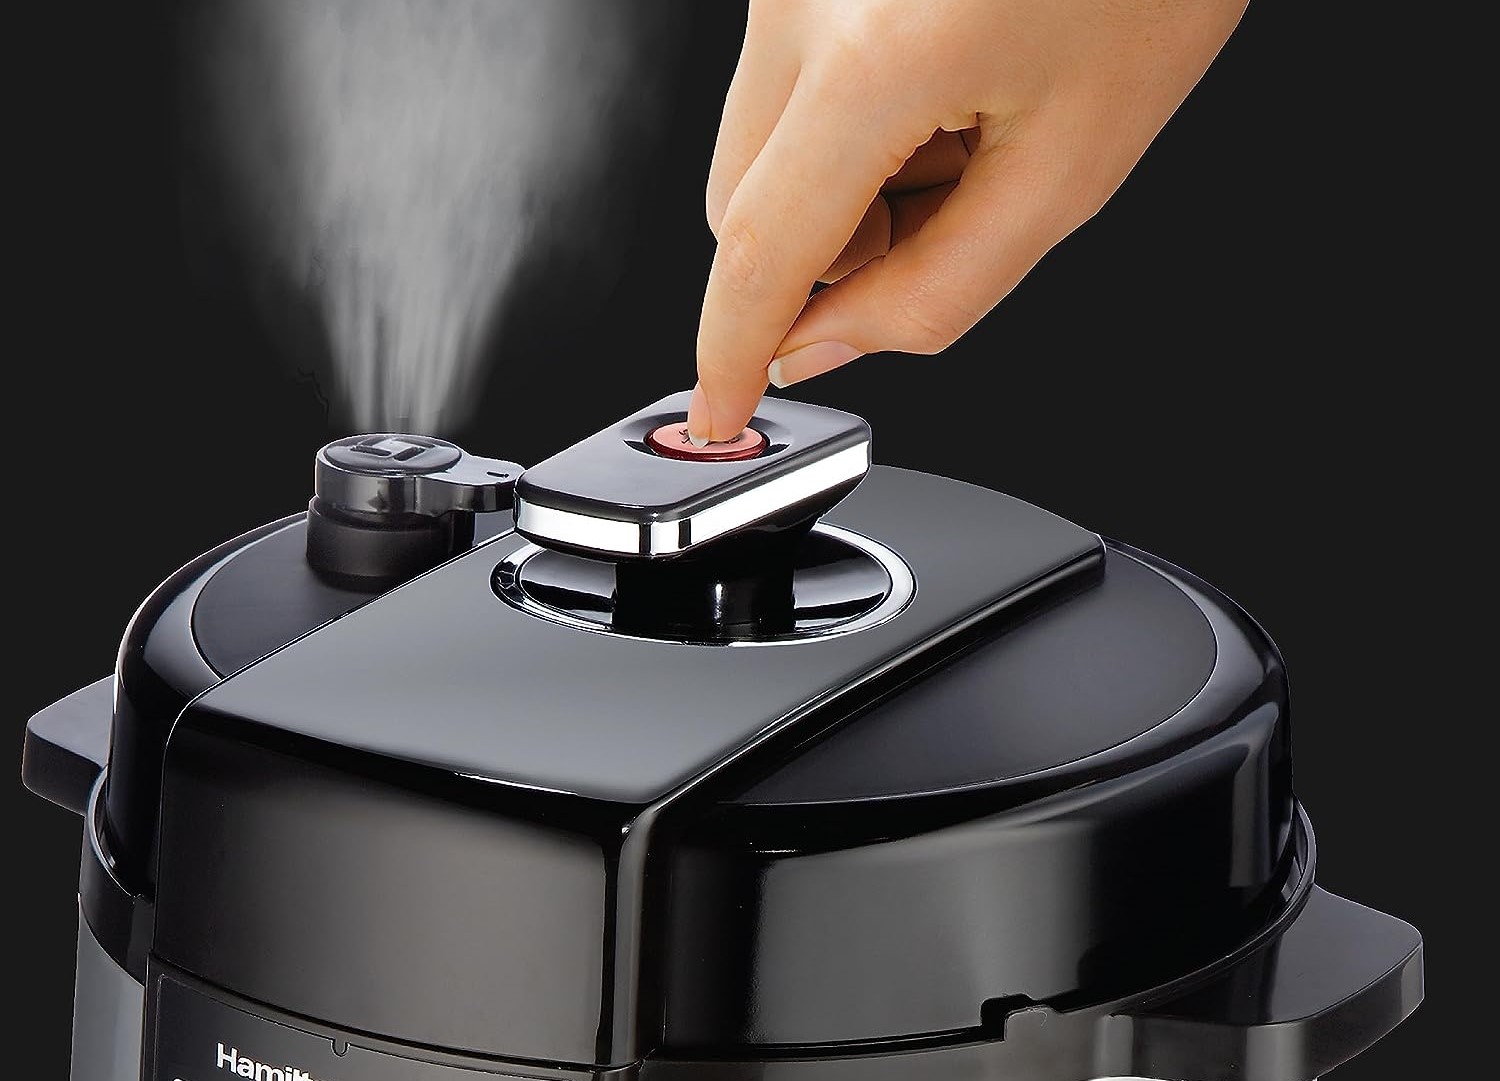
- Natural Pressure Release vs. Quick Release: After the cooking time is complete, you have two options for releasing the pressure. Natural pressure release involves letting the pressure release naturally over a period of time. This can take anywhere from 10 to 20 minutes. Quick release, on the other hand, involves manually releasing the pressure by turning the pressure release valve. Be cautious of the steam and always use utensils to prevent burning.
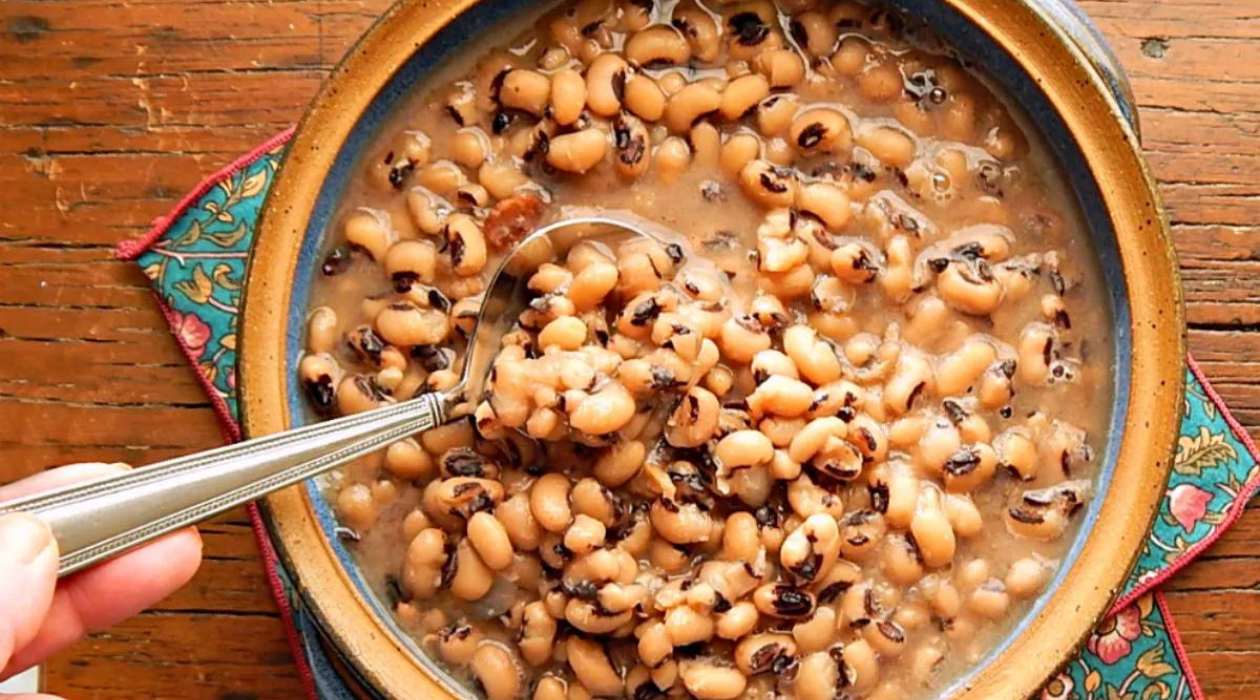
- Open the Lid: Once the pressure is released, carefully open the lid of the electric pressure cooker. Your black eyed peas should be cooked to perfection, tender and ready to be seasoned.
Congratulations! You have successfully cooked the black eyed peas in your electric pressure cooker. Now, let’s move on to the next section to learn about the different pressure release methods and some seasoning and serving suggestions for your black eyed peas.
Read more: How To Store Black Eyed Peas
Natural Pressure Release vs. Quick Release
After the cooking time is complete, you have two options for releasing the pressure in your electric pressure cooker: natural pressure release and quick release. Each method has its advantages and is suitable for different cooking scenarios. Let’s take a closer look at both options:
- Natural Pressure Release (NPR): Natural pressure release involves allowing the pressure inside the electric pressure cooker to release naturally over time, without any intervention. This process typically takes around 10 to 20 minutes after the cooking time is complete. NPR is ideal for dishes that benefit from additional cooking time or when you want to avoid the risk of overcooking more delicate ingredients. It also helps to retain the natural juices and flavors of the food. To perform a natural pressure release, leave the electric pressure cooker untouched and wait for the float valve to drop, indicating that the pressure has fully released. Once the float valve drops, it is safe to open the lid.
- Quick Release (QR): Quick release, as the name suggests, involves manually releasing the pressure in the electric pressure cooker. This method is useful when you want to stop the cooking process immediately or when you’re cooking ingredients that are more sensitive to overcooking, such as vegetables or seafood. To perform a quick release, carefully turn the pressure release valve to the “Venting” position. Be cautious of the hot steam and always use utensils to prevent burns. The pressure will rapidly release, and once the float valve drops, it is safe to open the lid.
It’s important to note that some recipes may recommend a combination of natural pressure release and quick release. In such cases, you may need to allow the pressure to release naturally for a specific period of time before manually releasing any remaining pressure.
Before opening the lid after performing a quick release or natural pressure release, ensure that the float valve has dropped entirely, indicating that all the pressure has been released. Once the lid is safely opened, you can proceed to season and serve your delicious black eyed peas.
Now that you’re familiar with the pressure release methods, let’s move on to explore some tempting seasoning and serving suggestions for your cooked black eyed peas.
Seasoning and Serving Suggestions for Black Eyed Peas
Cooked black eyed peas are incredibly versatile and can be seasoned to suit a variety of taste preferences. Here are some delicious seasoning and serving suggestions to elevate the flavor of your black eyed peas:
- Classic Southern Style: For a traditional Southern flavor, season the black eyed peas with salt, pepper, and a ham hock or smoked turkey leg. The smoky and savory flavors will infuse into the peas, creating a rich and comforting dish.
- Herbs and Spices: Experiment with different herbs and spices to add depth of flavor to your black eyed peas. Try adding bay leaves, thyme, rosemary, cumin, paprika, or chili powder for a touch of warmth and complexity.
- Vegetarian/Vegan Options: If you prefer a meatless version, you can use vegetable broth or add a combination of sautéed onions, garlic, and bell peppers for a flavorful vegetarian or vegan twist.
- Hot and Spicy: If you enjoy a spicy kick, consider adding jalapeños, crushed red pepper flakes, or hot sauce to your black eyed peas. These spicy elements will give your dish a fiery and vibrant taste.
- Acidic Touch: Add a splash of acidity to balance the flavors of your black eyed peas. A squeeze of fresh lemon or lime juice, or a dash of vinegar, can brighten up the dish and add a tangy finish.
- Garnishes: Enhance the presentation and taste of your black eyed peas with some delicious garnishes. Freshly chopped parsley, green onions, or cilantro can add a pop of color and freshness. Crumbled bacon, diced tomatoes, or grated cheese can also add a savory touch.
- Serving Suggestions: Black eyed peas can be served in a variety of ways. Enjoy them as a main dish accompanied by rice, cornbread, or biscuits. They can also be served as a side dish alongside grilled meats, roasted vegetables, or fried chicken. Consider incorporating them into salads, soups, or stews for added protein and flavor.
- Leftover Ideas: If you have any leftover black eyed peas, don’t let them go to waste. They can be transformed into delicious recipes like black eyed pea hummus, black eyed pea fritters, or added to casseroles and pasta dishes.
Remember, these are just a few suggestions to get you started. Feel free to get creative and tailor the seasonings to your own taste preferences. With the versatility of black eyed peas, the possibilities are endless!
Now that you have some ideas for seasoning and serving your black eyed peas, it’s time to get cooking and enjoy the delicious flavors of this nutritious legume.
Happy cooking!
Conclusion
Cooking black eyed peas in an electric pressure cooker is a fantastic way to save time, enhance flavors, and retain the nutritional value of this versatile legume. With the benefits of reduced cooking time, energy efficiency, and enhanced flavors, using an electric pressure cooker is a game-changer in the kitchen.
We explored the necessary equipment you will need, including the electric pressure cooker, inner pot, lid, and measuring tools. Soaking and preparing the black eyed peas before cooking is essential to achieve the desired texture and reduce cooking time.
The cooking process itself is made simple with the electric pressure cooker. Whether you choose the natural pressure release or quick release method, the result will be perfectly tender and flavorful black eyed peas every time.
To elevate the taste of your black eyed peas, we provided a range of seasoning suggestions to suit various palate preferences. From classic Southern flavors to spicy and tangy twists, the possibilities for seasoning are endless.
Finally, we offered serving suggestions to enjoy your cooked black eyed peas as a main dish or side dish. Whether paired with rice, cornbread, or used as an ingredient in other recipes, black eyed peas can be a delicious and nutritious addition to your meals.
So, why not give cooking black eyed peas in an electric pressure cooker a try? Say goodbye to long hours of simmering and hello to a convenient and flavorful cooking experience. Get creative with your seasonings, explore various serving options, and make the most of the versatility and health benefits of black eyed peas.
Get ready to savor the delightful flavors and enjoy the simplicity of cooking with an electric pressure cooker. Happy cooking!
Frequently Asked Questions about How To Cook Black Eyed Peas In Electric Pressure Cooker
Was this page helpful?
At Storables.com, we guarantee accurate and reliable information. Our content, validated by Expert Board Contributors, is crafted following stringent Editorial Policies. We're committed to providing you with well-researched, expert-backed insights for all your informational needs.


0 thoughts on “How To Cook Black Eyed Peas In Electric Pressure Cooker”