Home>Articles>How To Cook Ham Hocks In An Electric Pressure Cooker
Articles
How To Cook Ham Hocks In An Electric Pressure Cooker
Modified: December 6, 2023
Learn how to cook flavorful ham hocks in an electric pressure cooker with this informative article. Discover tips and techniques for delicious results!
(Many of the links in this article redirect to a specific reviewed product. Your purchase of these products through affiliate links helps to generate commission for Storables.com, at no extra cost. Learn more)
Introduction
Ham hocks are a flavorful and versatile cut of meat that can be used in a variety of dishes. From soups and stews to casseroles and braised dishes, ham hocks add depth and richness to any recipe. While traditional methods of cooking ham hocks require hours of simmering on the stovetop or in the oven, using an electric pressure cooker can significantly cut down the cooking time while still producing tender and flavorful results.
In this article, we will explore the benefits of cooking ham hocks in an electric pressure cooker and guide you through the process of preparing and cooking them. You will learn how to choose the right ham hocks and ingredients, set up the pressure cooker, cook the ham hocks to perfection, and serve them for a delicious meal. So let’s get started and discover the wonderful world of cooking ham hocks in an electric pressure cooker!
Key Takeaways:
- Cooking ham hocks in an electric pressure cooker saves time, retains nutrients, intensifies flavors, and offers versatility, resulting in tender and flavorful meat with minimal effort.
- By carefully choosing the right ham hocks and ingredients, preparing them adequately, and exploring tips and variations, you can personalize and elevate the flavor profile of your ham hocks for a truly unique culinary experience.
Read more: How To Test Electric Pressure Cooker
Benefits of Cooking Ham Hocks in an Electric Pressure Cooker
Cooking ham hocks in an electric pressure cooker comes with a myriad of benefits that make it a convenient and efficient cooking method. Here are the key advantages:
1. Time-Saving:
One of the major benefits of using an electric pressure cooker is its ability to significantly reduce cooking time. Ham hocks, being a tough and collagen-rich cut of meat, usually require hours of simmering to become tender. However, an electric pressure cooker can tenderize the ham hocks in a fraction of the time. The high-pressure environment created by the appliance breaks down the collagen fibers quickly, resulting in tender and succulent meat in a fraction of the time compared to traditional cooking methods.
2. Retains Nutrients:
When cooking ham hocks in an electric pressure cooker, the sealed environment helps retain more nutrients compared to traditional boiling or simmering methods. The shorter cooking time and the minimal amount of liquid required means that fewer nutrients leach out during the cooking process, resulting in a more nutritious and flavorful dish.
3. Intensified Flavors:
An electric pressure cooker locks in the flavors of the ingredients by trapping the steam and aromas within the sealed environment. This leads to more intense flavors in the final dish, as the flavors are concentrated and infused into the meat. The result is a more flavorful and satisfying ham hock dish that will impress your taste buds.
Read more: How To Can With An Electric Pressure Cooker
4. Versatility:
Electric pressure cookers are incredibly versatile kitchen appliances that allow you to cook a wide range of recipes. By using an electric pressure cooker for cooking ham hocks, you have the freedom to experiment with different flavors and ingredients. Whether you prefer a classic Southern-style ham hock dish or want to try a more exotic twist, an electric pressure cooker can help you achieve delicious results.
5. Energy Efficient:
Using an electric pressure cooker consumes less energy compared to traditional cooking methods. The shorter cooking time means less time spent using the stove or oven, resulting in lower energy consumption. This not only benefits the environment but also saves you money on your energy bills.
By harnessing the time-saving convenience and flavor-enhancing capabilities of an electric pressure cooker, you can enjoy tender and flavorful ham hocks with minimal effort. Now that we have explored the benefits, let’s move on to the next step: choosing the right ham hocks and ingredients.
Choosing the Right Ham Hocks and Ingredients
When it comes to cooking ham hocks in an electric pressure cooker, selecting the right ham hocks and ingredients is crucial for a successful and delicious outcome. Here are some tips to help you choose the best ham hocks and ingredients:
1. Freshness and Quality:
When purchasing ham hocks, it’s important to ensure they are fresh and of good quality. Look for ham hocks that have a pinkish color with white fat marbling throughout. Avoid ones that are discolored or have a foul odor, as this may indicate spoilage. Fresh and high-quality ham hocks will yield the best flavor and texture.
Read more: How To Use An Electric Pressure Cooker
2. Size and Weight:
The size and weight of the ham hocks are also important factors to consider. Larger ham hocks will require more cooking time to become tender. If you are short on time, opt for smaller ham hocks that will cook faster. However, keep in mind that larger ham hocks tend to have more meat and flavor.
3. Seasonings and Aromatics:
To enhance the flavor of your ham hocks, consider using seasonings and aromatics. Popular options include bay leaves, black peppercorns, onions, garlic, thyme, and herbs like rosemary or parsley. These ingredients will infuse the ham hocks with delicious flavors as they cook in the electric pressure cooker.
4. Liquid:
Choose the appropriate liquid to use when cooking the ham hocks. Popular choices include chicken or vegetable broth, water, or a combination of both. The liquid will not only help in the cooking process but also contribute to the overall flavor of the dish. Aim for enough liquid to cover the ham hocks halfway but avoid adding too much, as it can dilute the flavor.
5. Additional Ingredients:
Consider adding other ingredients to complement and enhance the flavor of the ham hocks. This can include vegetables like carrots, celery, and onions which will add depth to the broth. You can also add potatoes or beans to create a complete one-pot meal. Get creative with your choices to personalize the dish to your liking.
By carefully choosing the right ham hocks and ingredients, you are setting yourself up for a delicious and satisfying ham hock dish. Next, let’s move on to the preparation of the ham hocks before cooking them in the electric pressure cooker.
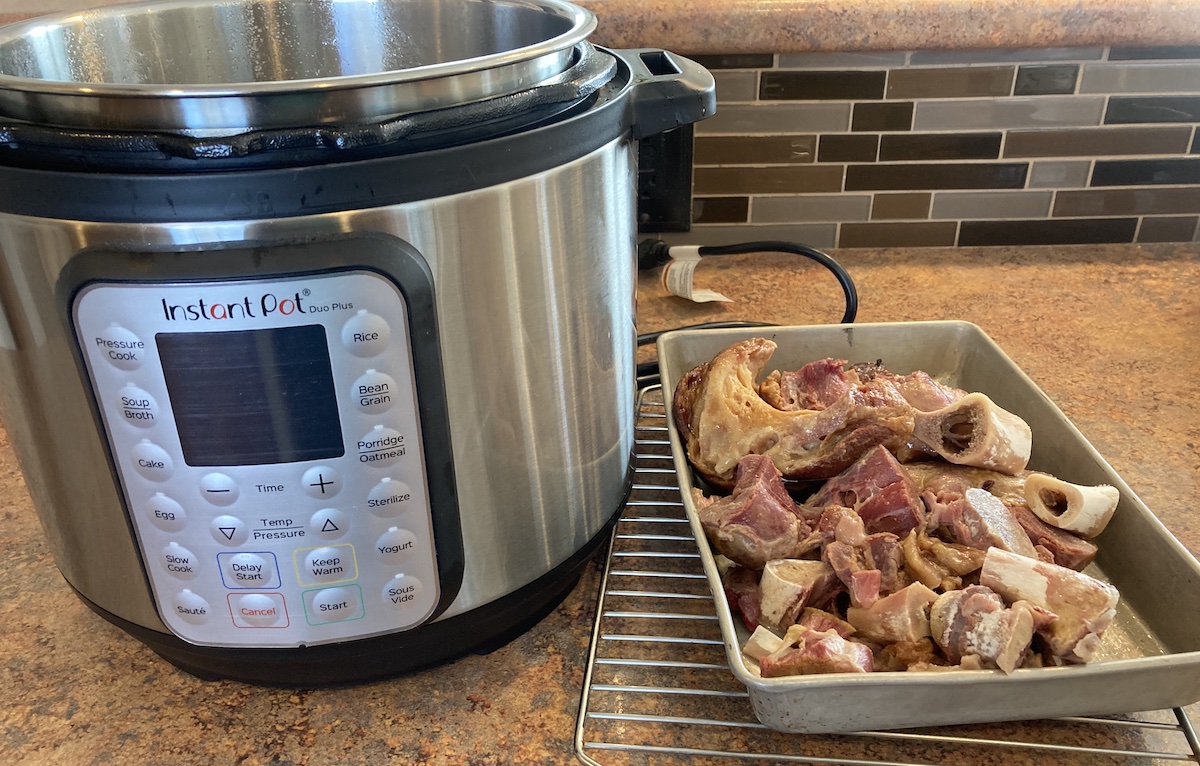
Preparing the Ham Hocks for Cooking
Before cooking the ham hocks in an electric pressure cooker, it’s important to properly prepare them to ensure optimal flavor and tenderness. Follow these steps for preparing the ham hocks:
1. Remove Excess Fat and Skin:
Start by trimming off any excess fat and skin from the ham hocks. While a little fat adds flavor, too much can make the dish greasy. Use a sharp knife to carefully remove the excess fat and skin, leaving a thin layer to enhance the taste and texture.
2. Rinse and Soak:
Thoroughly rinse the ham hocks under cold running water to remove any surface impurities. After rinsing, you can optionally soak the ham hocks in a bowl of cold water for about 30 minutes. This helps to remove any excess salt and further ensures the freshness of the meat.
3. Pat Dry and Season:
After soaking, pat the ham hocks dry with paper towels. This step helps to remove excess moisture and allows the seasonings to adhere better to the meat. Once dry, you can season the ham hocks with your desired spices, herbs, salt, and pepper. Gently massage the seasonings into the meat to ensure even distribution.
4. Optional Browning:
If desired, you can sear the ham hocks before cooking them in the electric pressure cooker. Searing creates a golden brown crust and adds depth of flavor to the dish. Heat a small amount of oil in a skillet over medium-high heat and brown the ham hocks on all sides until nicely caramelized. This step is optional but highly recommended for an extra layer of flavor.
By properly preparing the ham hocks, you are setting the stage for a delicious and tender end result. Now that the ham hocks are ready, let’s move on to setting up the electric pressure cooker for cooking.
Setting Up the Electric Pressure Cooker
Setting up the electric pressure cooker properly is essential to ensure safe and effective cooking of the ham hocks. Here’s a step-by-step guide to help you set up your electric pressure cooker:
1. Read the Manufacturer’s Instructions:
Before using your electric pressure cooker, it’s crucial to read the manufacturer’s instructions thoroughly. Different models may have specific requirements and guidelines, so familiarize yourself with the specific instructions for your appliance.
2. Insert the Inner Pot:
Insert the inner pot into the electric pressure cooker. Ensure that it is clean and properly seated in the cooker before proceeding. The inner pot is where the ham hocks and other ingredients will be placed for cooking.
Read more: Which Is The Best Electric Pressure Cooker?
3. Add Liquid:
Add the liquid of your choice to the inner pot. As mentioned earlier, this can be broth, water, or a combination of both. The liquid will help create the necessary steam and moisture to cook the ham hocks.
4. Arrange the Ham Hocks:
Place the prepared ham hocks into the inner pot, ensuring they are submerged at least halfway in the liquid. Arrange them so that they are not excessively crowded or stacked on top of each other. This will allow for even cooking and prevent them from sticking together.
5. Secure the Lid:
Securely place and lock the lid onto the electric pressure cooker. Make sure the lid is properly aligned and that the sealing ring is in place. Refer to your specific model’s instructions for the correct method of securing the lid.
6. Set the Pressure and Cooking Time:
Consult the recipe or your electric pressure cooker’s manual to determine the appropriate pressure level and cooking time for the ham hocks. Different recipes and models may require different settings, so it’s important to follow the instructions provided.
7. Start the Cooking Process:
Once the pressure and cooking time are set, start the cooking process. Depending on your electric pressure cooker, this may involve pressing a specific button or turning a dial. The cooker will gradually build up pressure and begin the cooking cycle.
By properly setting up your electric pressure cooker, you can ensure safe and efficient cooking of the ham hocks. Now that everything is in place, let’s move on to the exciting part — cooking the ham hocks in the electric pressure cooker!
Cooking the Ham Hocks in an Electric Pressure Cooker
Now that the electric pressure cooker is set up, it’s time to cook the ham hocks to perfection. Follow these steps for cooking the ham hocks in an electric pressure cooker:
1. Select the Cooking Mode:
Depending on your electric pressure cooker model, select the appropriate cooking mode for the ham hocks. This could be a specific preset mode for meats, or you may need to manually set the cooking time and pressure level.
2. Start the Cooking Process:
Press the start button or activate the cooking process according to your electric pressure cooker’s instructions. The cooker will now begin to build pressure and cook the ham hocks.
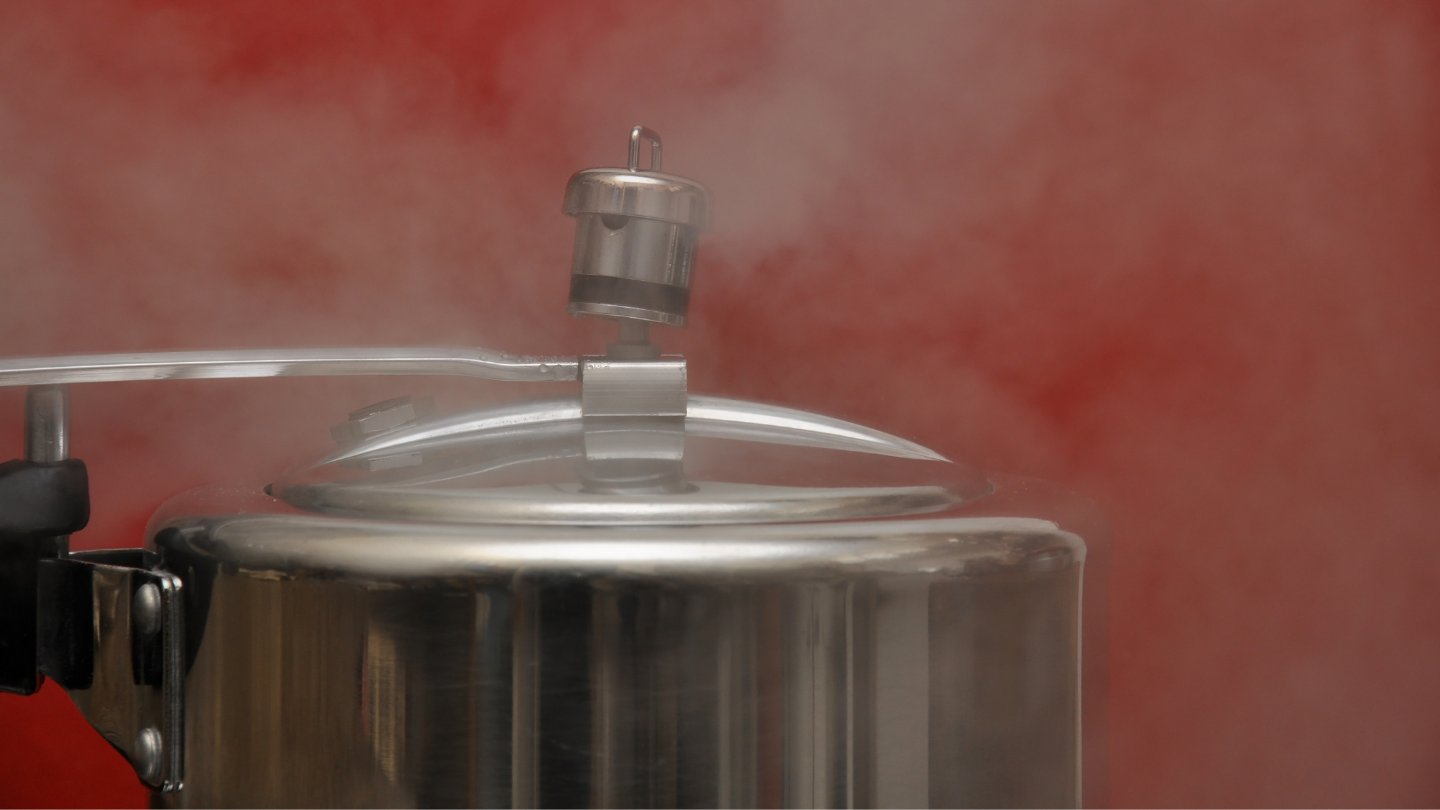
3. Allow Natural Pressure Release:
Once the cooking time has elapsed, allow the pressure to release naturally. This means letting the pressure cooker sit undisturbed until the pressure indicator drops, indicating that the pressure has released naturally. This can take anywhere from 10 to 20 minutes, depending on the cooker and the size of the ham hocks.
4. Quick Release the Remaining Pressure (Optional):
If you’re short on time and want to release the pressure more quickly, you can use the quick release method. Follow your electric pressure cooker’s instructions for safely performing a quick pressure release. Be cautious of the hot steam and always use a long-handled utensil to avoid any potential burns.
5. Check for Doneness:
After releasing the pressure, carefully open the lid of the electric pressure cooker. Test the ham hocks for doneness by inserting a fork or meat thermometer into the meat. The ham hocks should be tender and the internal temperature should reach at least 160°F (71°C) for safe consumption.
6. Adjust the Cooking Time (If Needed):
If the ham hocks are not yet fully cooked, you can return them to the pressure cooker and cook them for a few more minutes. Consult your electric pressure cooker’s instructions for how to adjust the cooking time without compromising the flavors or textures of the ham hocks.
7. Remove and Rest:
Once the ham hocks are fully cooked, carefully remove them from the electric pressure cooker using tongs or a slotted spoon. Allow the ham hocks to rest for a few minutes, which will help redistribute the juices and ensure a tender and flavorful result.
Now that the ham hocks are perfectly cooked, it’s time to move on to the next step — releasing the pressure and checking for doneness.
Releasing the Pressure and Checking for Doneness
After cooking the ham hocks in an electric pressure cooker, it’s important to properly release the pressure and ensure they are cooked to perfection. Follow these steps for releasing the pressure and checking for doneness:
1. Natural Pressure Release:
Once the cooking time is complete, allow the pressure to release naturally. This means leaving the electric pressure cooker undisturbed and allowing the built-up pressure to dissipate on its own. The pressure release process can take around 10 to 20 minutes, depending on the size of the ham hocks and the cooker’s specifications.
2. Quick Pressure Release (Optional):
If you’re short on time or need to release the pressure more quickly, you can use the quick release method. Refer to your electric pressure cooker’s instructions for performing a quick release safely. Typically, this involves turning or moving the pressure release valve to release the steam. Always use caution and keep your hands and face away from the steam to avoid burns.
3. Check for Doneness:
Once the pressure has been released, carefully open the lid of the electric pressure cooker. Use a fork or meat thermometer to check the doneness of the ham hocks. The meat should be tender and easily pull away from the bone.
4. Use a Meat Thermometer:
If you’re unsure about the doneness, you can use a meat thermometer to check the internal temperature. Make sure the thermometer is inserted into the thickest part of the meat without touching the bone. The ham hocks should have an internal temperature of at least 160°F (71°C) for safe consumption.
5. Adjust the Cooking Time (if Needed):
If the ham hocks are not yet fully cooked, you can return them to the pressure cooker and cook them for a few more minutes. Follow the electric pressure cooker’s instructions for adjusting the cooking time without compromising the texture or flavor of the ham hocks.
6. Rest the Ham Hocks:
Once you have verified the doneness of the ham hocks, remove them from the electric pressure cooker and let them rest for a few minutes. This allows the juices to redistribute, ensuring a moist and flavorful end result.
Now that the ham hocks have been released from the pressure cooker and checked for doneness, it’s time to move on to the next step — serving and enjoying the cooked ham hocks!
Serving and Enjoying the Cooked Ham Hocks
Now that the ham hocks are perfectly cooked and ready to be enjoyed, it’s time to serve and savor the delicious flavors. Here’s how you can serve and enjoy the cooked ham hocks:
1. Remove the Ham Hocks from the Pot:
Carefully remove the cooked ham hocks from the electric pressure cooker using tongs or a slotted spoon. Place them on a serving platter or individual plates.
2. Strain and Save the Broth (Optional):
If you cooked the ham hocks in a flavorful broth, you can strain and save the broth for future use. Just strain the broth to remove any solids and store it in an airtight container in the refrigerator or freezer. The broth can be used as a base for soups, stews, or sauces.
3. Serve with Accompaniments:
Ham hocks pair well with a variety of side dishes and accompaniments. Consider serving them with traditional Southern-style sides like collard greens, black-eyed peas, mashed potatoes, or cornbread. You can also serve them with steamed vegetables, rice, or crusty bread to soak up the delicious juices.
4. Garnish and Season:
For added flavor and visual appeal, garnish the ham hocks with fresh herbs like parsley or cilantro. You can also sprinkle some freshly ground pepper or drizzle a little extra sauce or broth over the ham hocks to enhance the flavors further.
5. Enjoy the Flavors:
Dig in and savor the tender and flavorful ham hocks. The meat should be moist, juicy, and fall-off-the-bone tender. Take your time to enjoy the rich flavors that develop during the cooking process.
6. Leftovers and Storage:
If you have any leftover ham hocks, you can store them in an airtight container in the refrigerator. They will keep well for 3-4 days. Leftover ham hocks can be used in various recipes like sandwiches, soups, or salads.
Now that you know how to serve and enjoy the cooked ham hocks, it’s time to explore some tips and variations for cooking ham hocks that will allow you to customize your dish to your liking.
Tips and Variations for Cooking Ham Hocks
When it comes to cooking ham hocks, there are several tips and variations you can explore to add your own personal touch and customize the dish. Here are some suggestions to help you make the most out of your ham hock cooking experience:
1. Enhance the Flavor:
For a deeper, richer flavor, consider marinating the ham hocks before cooking. You can create a marinade using ingredients like soy sauce, Worcestershire sauce, herbs, spices, and a touch of sweetness like brown sugar or maple syrup. Allow the ham hocks to marinate in the refrigerator for a few hours or overnight for maximum flavor infusion.
2. Smoke the Ham Hocks:
If you have access to a smoker, you can add a smoky flavor to the ham hocks by smoking them before pressure cooking. This step will infuse the meat with a delicious smoky aroma and taste. Follow your smoker’s instructions for smoking time and temperature and then transfer the smoked ham hocks to the pressure cooker to finish the cooking process.
3. Use Different Spices and Herbs:
Feel free to experiment with a variety of spices and herbs to season your ham hocks. Traditional spices like paprika, cayenne pepper, or dried thyme can add a flavorful kick. Fresh herbs like rosemary, sage, or bay leaves can impart a fragrant aroma. Mix and match the spices and herbs to create a flavor profile that suits your taste preferences.
4. Add Vegetables and Legumes:
To make a heartier and more wholesome dish, consider adding vegetables and legumes to the cooking process. Carrots, celery, onions, and bell peppers are commonly used vegetables that pair well with ham hocks. You can also include legumes like beans or lentils to create a complete one-pot meal packed with protein and fiber.
5. Make a Glaze or Sauce:
For an extra layer of flavor and a glossy finish, consider making a glaze or sauce to brush over the ham hocks before or after cooking. A glaze made with ingredients like honey, mustard, and spices can create a sweet and tangy coating. Alternatively, you can make a savory sauce using the cooking liquid, reducing it until thickened, and adding seasonings to taste.
6. Pressure Cook with Beer or Wine:
For a unique twist, consider using beer or wine as part of the cooking liquid for the ham hocks. These ingredients can add depth and complexity to the flavor profile. Just keep in mind that the alcohol will cook off during the pressure cooking process, leaving behind the flavors.
7. Debone and Shred the Meat:
If you prefer a boneless and more versatile option, you can debone the cooked ham hocks and shred the meat. This shredded ham hock can be used in various recipes like sandwiches, tacos, quesadillas, or even as a pizza topping.
By incorporating these tips and variations, you can elevate the flavors and make your ham hock dish truly unique. So let your culinary creativity guide you and enjoy the process of experimenting with different flavors and techniques.
With these tips and variations in mind, you are now equipped to embark on your ham hock cooking journey. Whether you stick to traditional flavors or experiment with bold new combinations, cooking ham hocks in an electric pressure cooker will surely yield delicious and satisfying results.
Conclusion
Cooking ham hocks in an electric pressure cooker is a game-changer when it comes to convenience, flavor, and tenderness. The benefits of using this modern kitchen appliance are undeniable. Not only does it save you time in the kitchen, but it also retains nutrients, intensifies flavors, and offers versatility in your cooking.
By carefully choosing the right ham hocks and ingredients, preparing them adequately, and setting up the electric pressure cooker correctly, you can achieve outstanding results. The cooking process itself is straightforward, with options for natural or quick pressure release, ensuring that the ham hocks are cooked to perfection.
Serving and enjoying the cooked ham hocks is a delight in itself. Whether you pair them with classic Southern sides or get creative with your accompaniments, the tender and flavorful meat will be a treat for your taste buds. Plus, you have the option to save and use the flavorful broth for future recipes.
With tips and variations like marinating, smoking, adding spices, vegetables, or legumes, and making glazes or sauces, you can personalize and elevate the flavor profile of your ham hocks. The possibilities are endless, allowing you to create a dish that suits your preferences and culinary style.
In conclusion, cooking ham hocks in an electric pressure cooker opens up a world of possibilities. The time-saving convenience and enhanced flavors make it an excellent choice for home cooks looking to create delicious, soul-warming dishes. So why not give it a try and experience the magic of cooking ham hocks in an electric pressure cooker for yourself?
Frequently Asked Questions about How To Cook Ham Hocks In An Electric Pressure Cooker
Was this page helpful?
At Storables.com, we guarantee accurate and reliable information. Our content, validated by Expert Board Contributors, is crafted following stringent Editorial Policies. We're committed to providing you with well-researched, expert-backed insights for all your informational needs.

0 thoughts on “How To Cook Ham Hocks In An Electric Pressure Cooker”