Articles
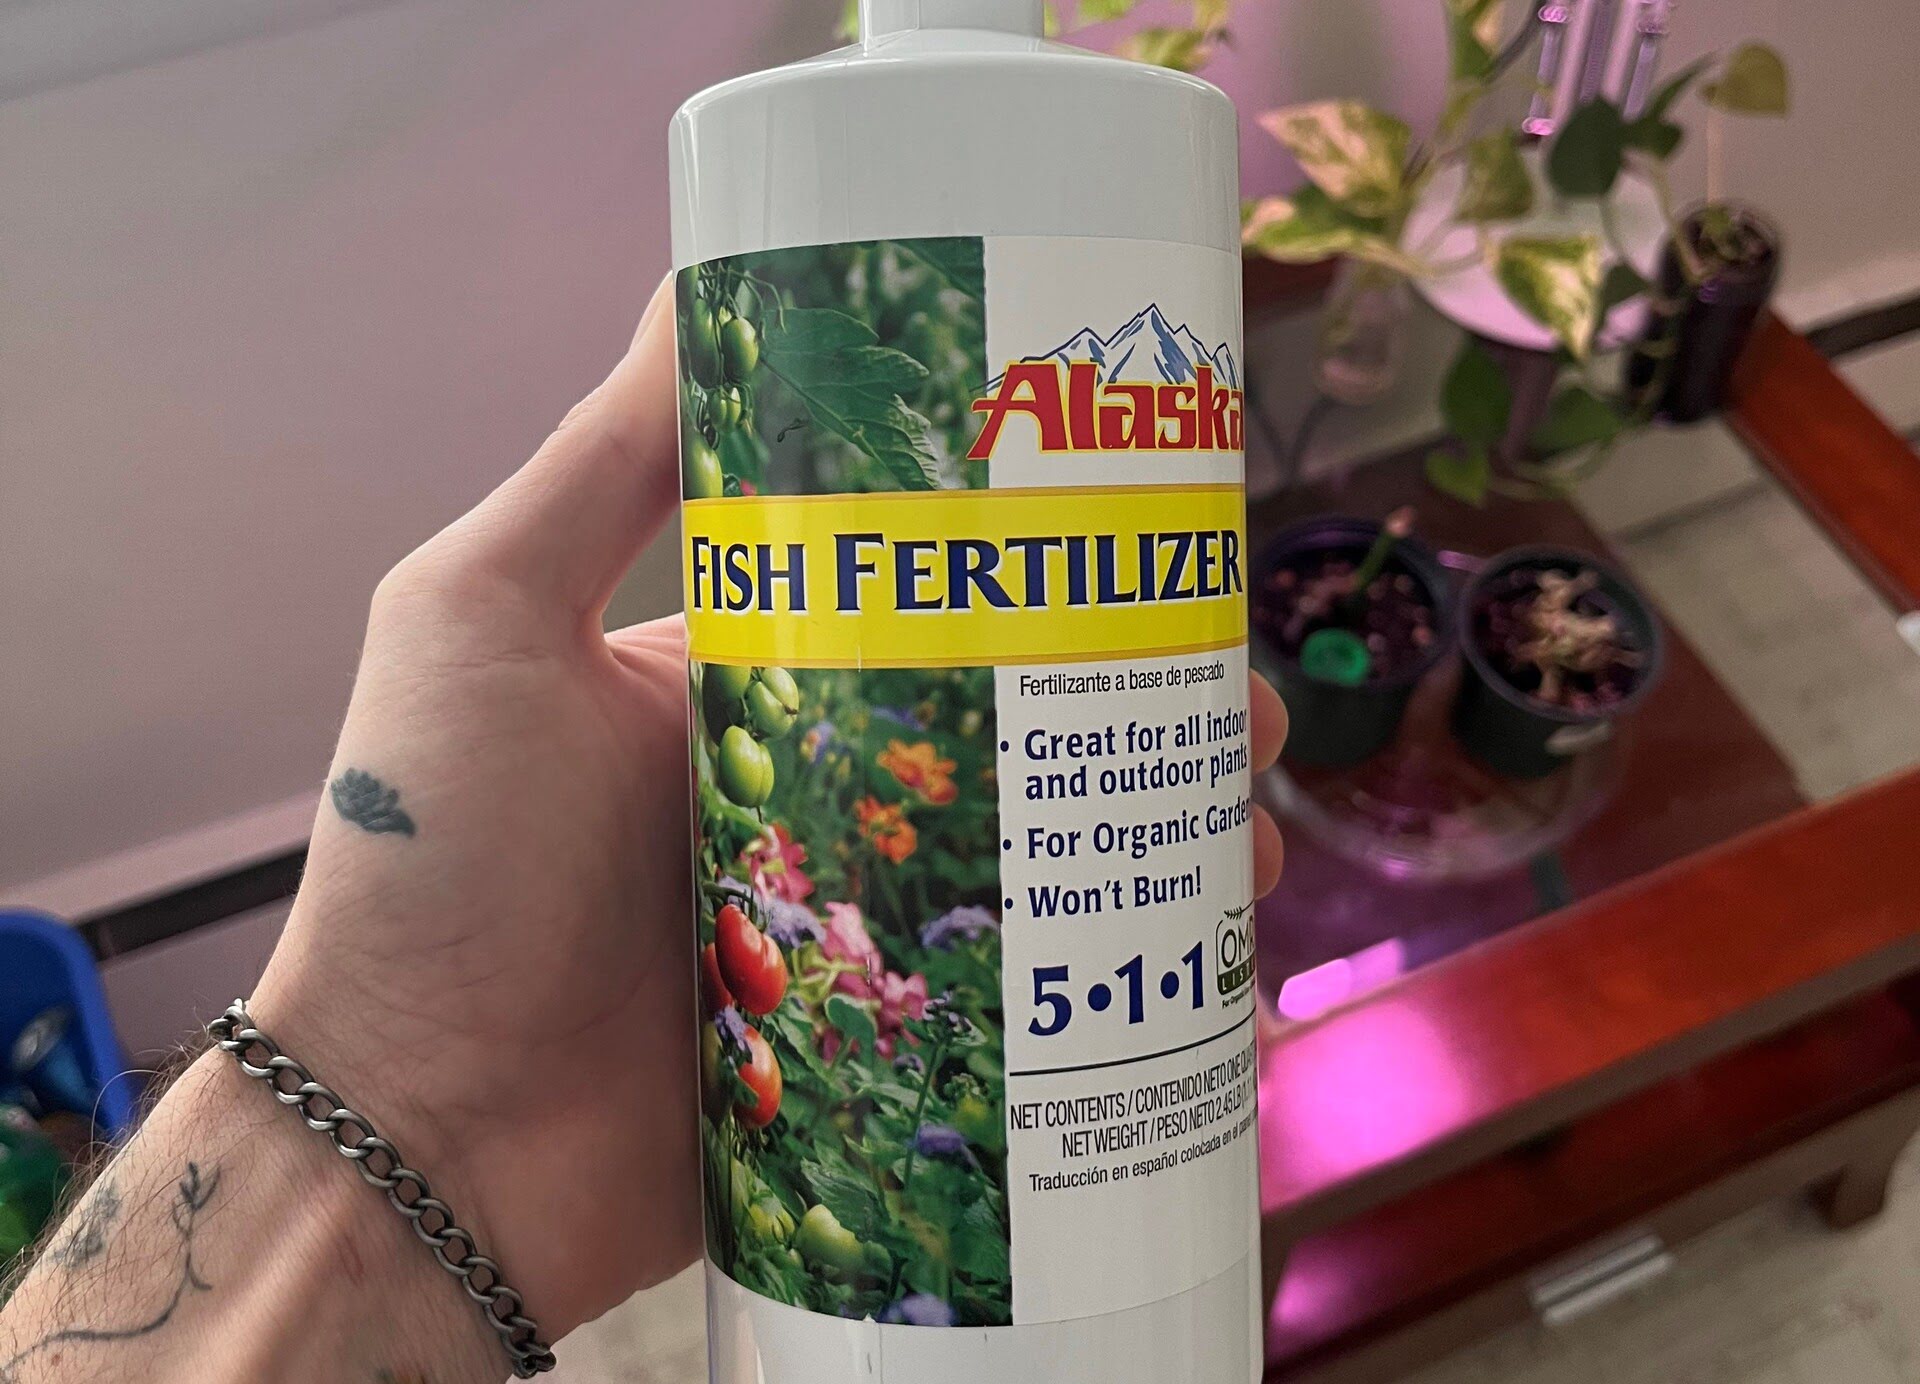
How To Make Fish Fertilizer
Modified: October 21, 2024
Learn how to make fish fertilizer with this informative article. Discover the benefits of using fish fertilizer in your garden for healthy and thriving plants.
(Many of the links in this article redirect to a specific reviewed product. Your purchase of these products through affiliate links helps to generate commission for Storables.com, at no extra cost. Learn more)
Introduction
Fish fertilizer is a natural and effective way to provide essential nutrients to your plants, helping them grow healthy and vibrant. It is a nutrient-rich liquid made from decomposed fish, and it has been used for centuries as a potent organic fertilizer. Not only does fish fertilizer provide a balanced blend of macronutrients and micronutrients, but it also contains beneficial compounds and minerals that are beneficial for the overall health of your plants.
In this article, we will guide you on how to make your own fish fertilizer at home, allowing you to harness the power of this organic fertilizer and give your plants the boost they need. You don’t need to be an expert gardener or have any special equipment to create your own fish fertilizer. With a few simple steps and some readily available materials, you can produce a nutrient-rich fish fertilizer that will benefit your garden.
Before we dive into the process of making fish fertilizer, let’s explore some of the benefits it offers for your plants.
Key Takeaways:
- Fish fertilizer is a natural, nutrient-rich option for plant growth, offering rapid absorption, improved soil quality, and enhanced plant health. It’s an eco-friendly choice that supports sustainable gardening practices.
- Creating fish fertilizer at home is simple and effective, requiring basic materials and steps. Diluting and applying the fertilizer properly can lead to healthy, vibrant plants in your garden.
Read also: 12 Best Fish Fertilizer for 2025
Benefits of Fish Fertilizer
Fish fertilizer provides numerous benefits for your plants, making it a valuable addition to your gardening routine. Here are some of the key advantages of using fish fertilizer:
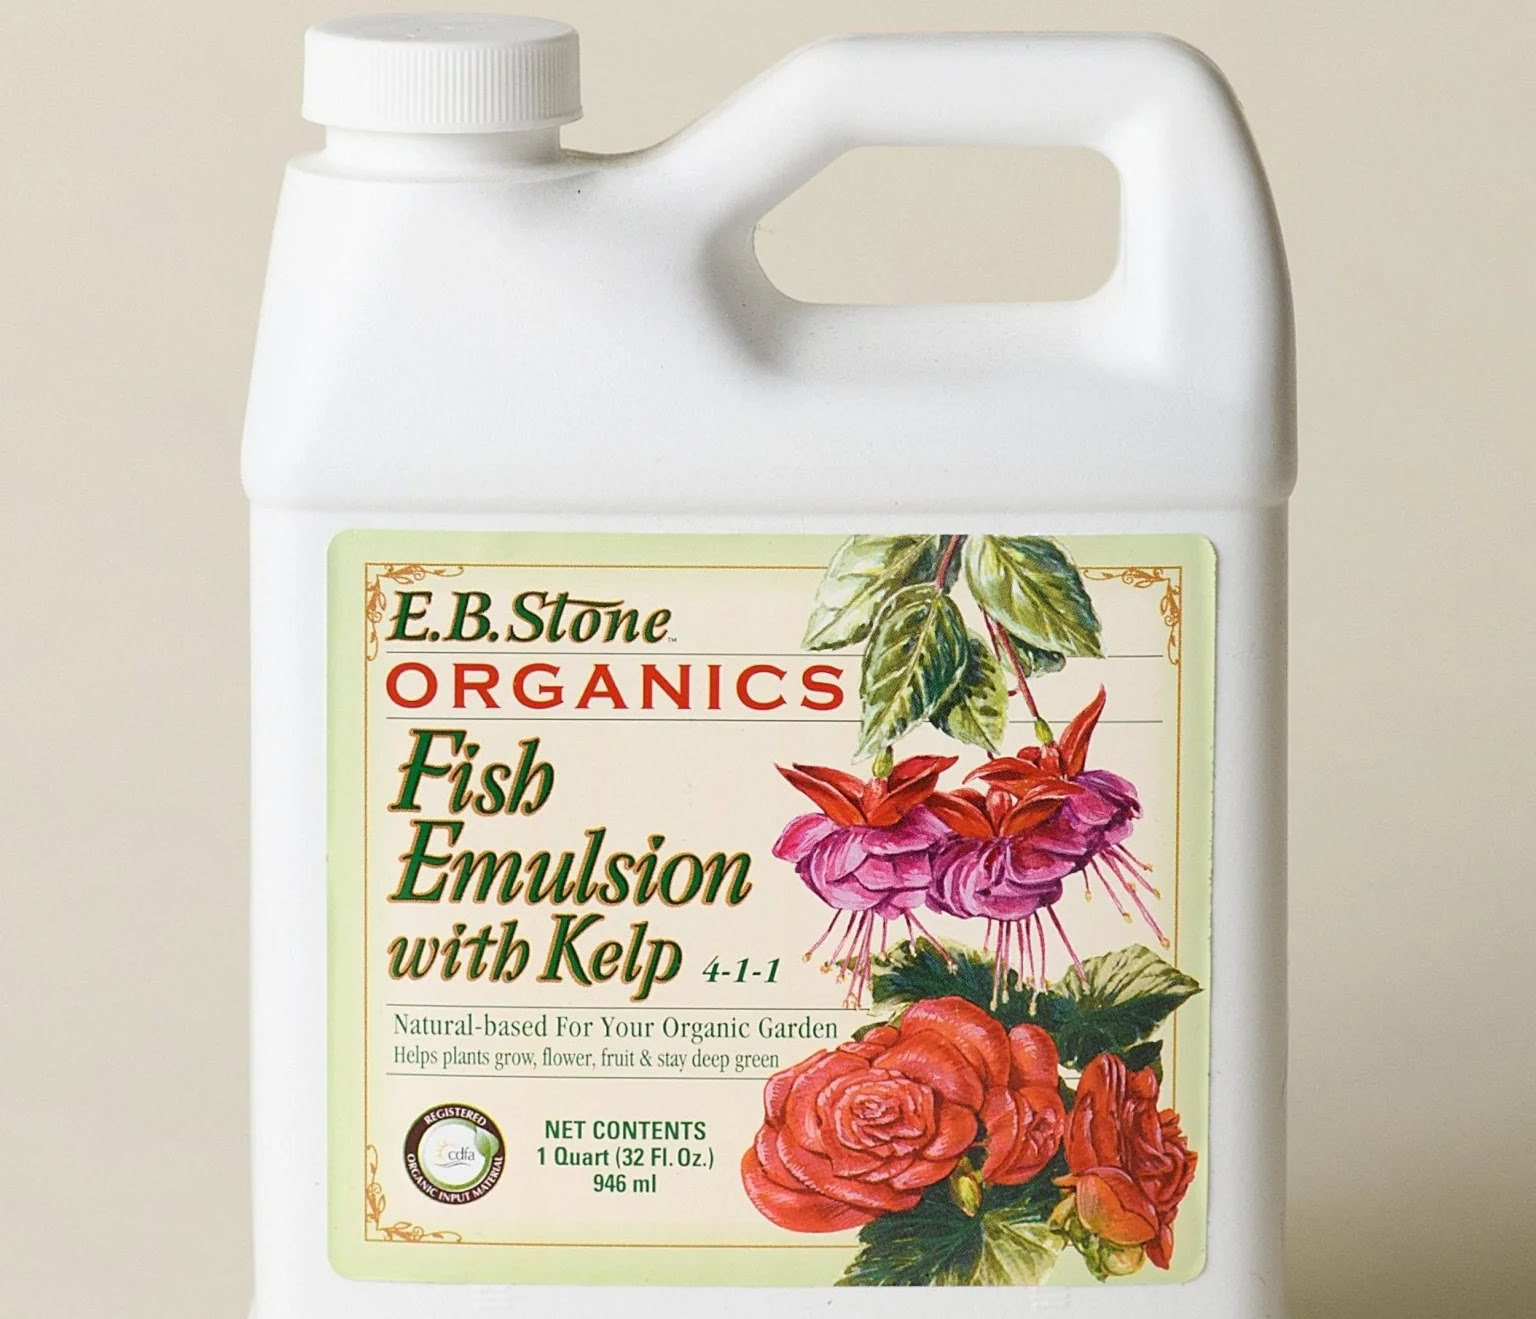
- Natural Nutrient Source: Fish fertilizer is derived from organic matter, specifically decomposed fish. This means that it provides a natural and sustainable source of nutrients for your plants. It contains essential macronutrients like nitrogen (N), phosphorus (P), and potassium (K), as well as micronutrients like calcium, magnesium, and trace minerals. These nutrients are essential for plant growth and development.
- Rapid Absorption: Fish fertilizer is quickly absorbed by plants, allowing them to take up the nutrients and utilize them efficiently. This means that your plants can access the nutrients they need in a timely manner, promoting faster growth and improved overall health.
- Improved Soil Quality: When you apply fish fertilizer to your garden, it helps improve the quality of the soil. The organic matter in fish fertilizer enhances soil structure, allowing for better water drainage and root development. It also promotes the growth of beneficial microorganisms in the soil, which aids in nutrient uptake by plants.
- Boosts Plant Health and Resilience: The nutrients and amino acids present in fish fertilizer help strengthen the plants’ immune system, making them more resistant to diseases and pests. Additionally, the organic matter in fish fertilizer improves the soil’s ability to retain moisture, reducing stress on plants during dry periods.
- Environmentally Friendly: Fish fertilizer is an eco-friendly choice for fertilizing your plants. It is made from natural, renewable resources and does not contain harmful chemicals or synthetic additives. By using fish fertilizer, you are promoting sustainable gardening practices and reducing your environmental impact.
With its all-natural composition and numerous benefits, fish fertilizer is a great choice for any gardener looking to nourish their plants in a sustainable and effective way. Now that you understand the advantages of fish fertilizer, let’s move on to the materials and equipment you will need to make your own.
Materials and Equipment Needed
Creating your own fish fertilizer requires a few basic materials and equipment that are easily accessible. Here is a list of what you will need:
- Fresh Fish: Choose fish that is fresh and preferably whole. Fish scraps or fish waste from cleaning fish can also be used. Make sure the fish is free of any additives or preservatives.
- Water: Use clean, non-chlorinated water. Ideally, collect rainwater or use filtered water to avoid any contaminants.
- Container: You will need a container to hold the fish and water mixture. A food-grade plastic or glass container with a tight-fitting lid works well. Make sure it is large enough to accommodate the fish and allow room for the liquid to expand during fermentation.
- Airlock (optional): If you want to create a fermentation container with an airlock, you can use a specialized fermentation lid or an airlock system. This helps release any built-up gases during the fermentation process.
- Strainer/Mesh: A strainer or a piece of mesh will be needed to strain out any solids from the liquid fertilizer.
- Bucket or Container: You will need a separate bucket or container to strain the liquid fertilizer into after fermentation.
- Gloves and Apron: To protect yourself from any unpleasant odors or potential splashes, it is recommended to wear gloves and an apron when handling the fish and fertilizer.
Now that you are familiar with the necessary materials and equipment, it’s time to move on to the step-by-step process of creating your own fish fertilizer. In the next section, we will guide you through the first step, which is choosing the right fish for your fertilizer.
Step 1: Choosing the Right Fish
When it comes to creating fish fertilizer, the type of fish you choose is crucial. It is important to select fish that are high in nutrients and free from additives or preservatives. Here are a few tips for choosing the right fish:
- Freshness: Opt for fresh fish whenever possible. If you have access to a local fish market or fisherman, you can inquire about any fish scraps or fish waste they may have available. Using whole fish is also a great option, as it provides a wider range of nutrients.
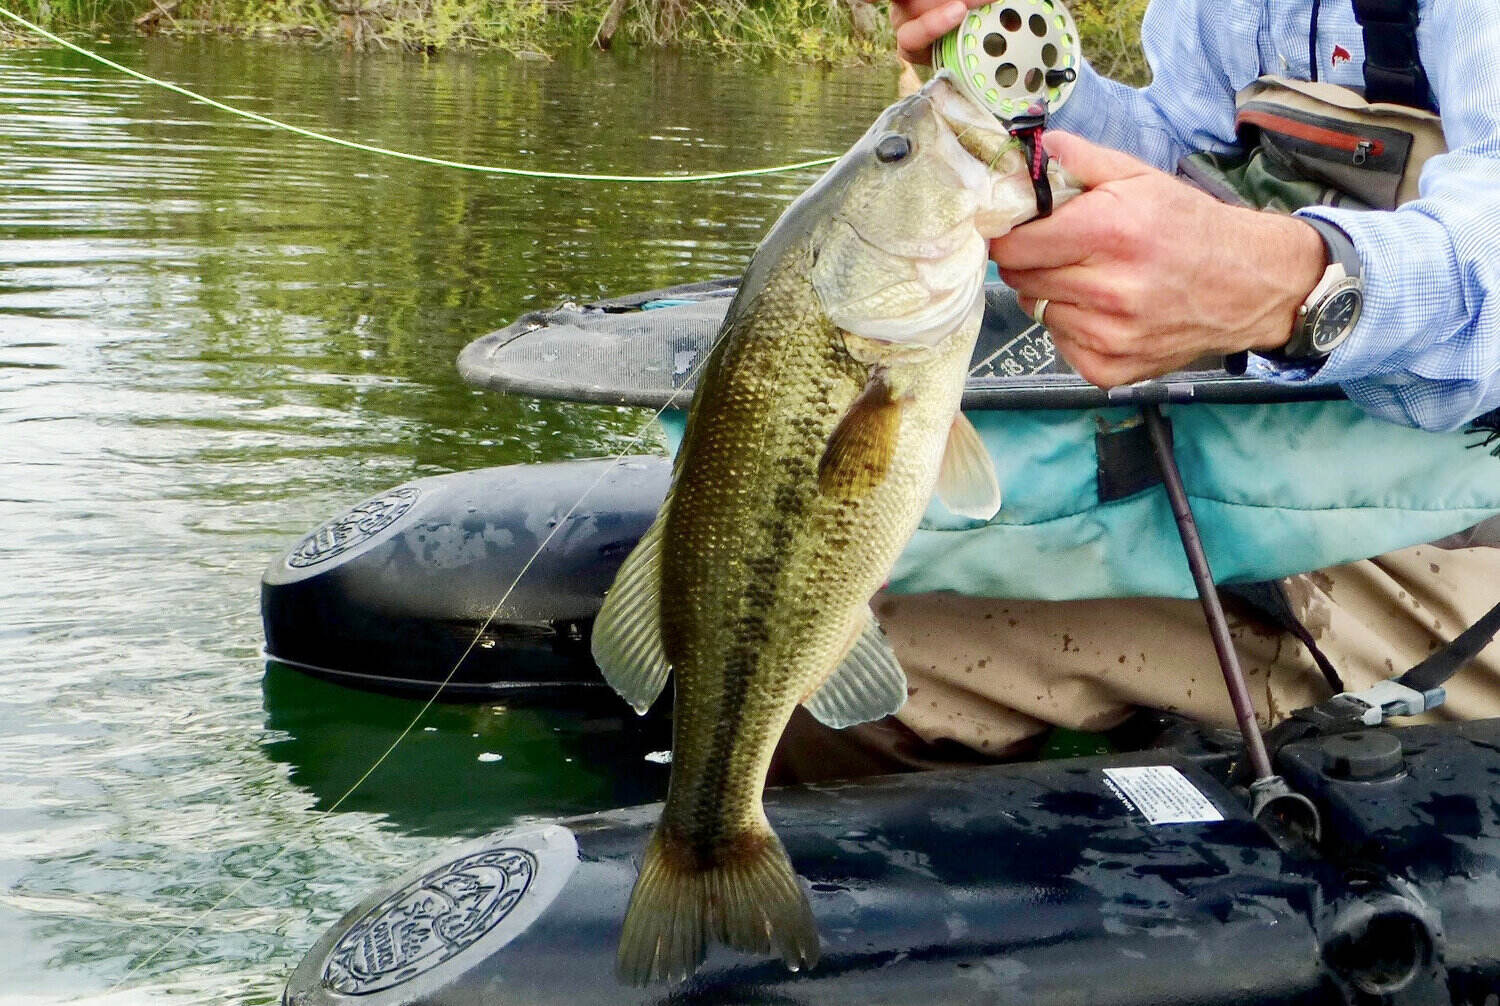
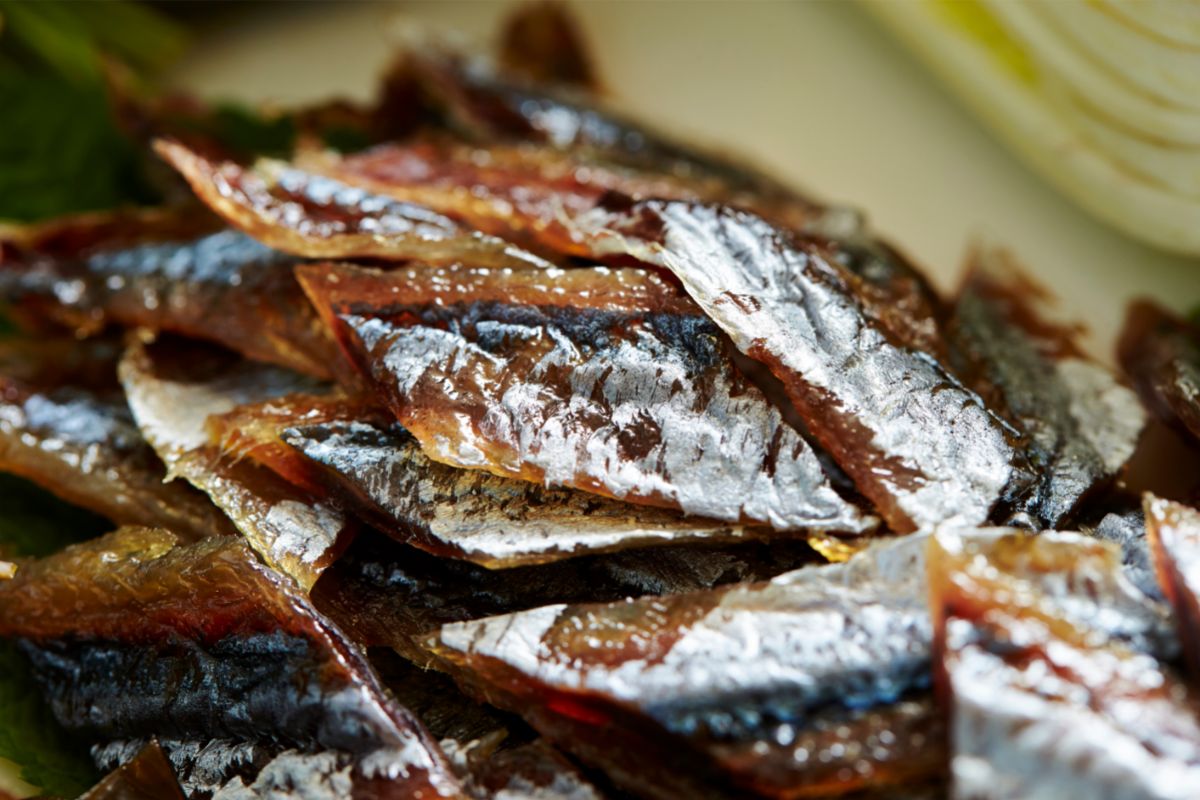
- Fish Species: Different fish species have varying nutrient content. Generally, oily fish such as mackerel, sardines, anchovies, or salmon are excellent choices for fish fertilizer as they are rich in omega-3 fatty acids and other beneficial compounds.
- Avoid Processed Fish: Avoid using processed or canned fish, as they may contain additives or high levels of sodium that can negatively affect your fertilizer. Fresh or frozen fish is the best option.
- Organic and Sustainable: If you are concerned about the quality and sustainability of the fish, look for sources that offer organic and sustainably caught fish. This ensures that you are using fish that are free from harmful chemicals or contaminants.
Remember, the quality of the fish you choose will directly impact the nutrient content of your fish fertilizer. Fresh, nutrient-dense fish will provide a higher concentration of essential nutrients for your plants. Once you have selected the appropriate fish, you are ready to move on to the next step: preparing the fish for the fertilizer-making process.
Step 2: Preparing the Fish
Now that you have chosen the right fish for your fish fertilizer, it’s time to prepare the fish for the fermentation process. Follow these steps to ensure proper preparation:
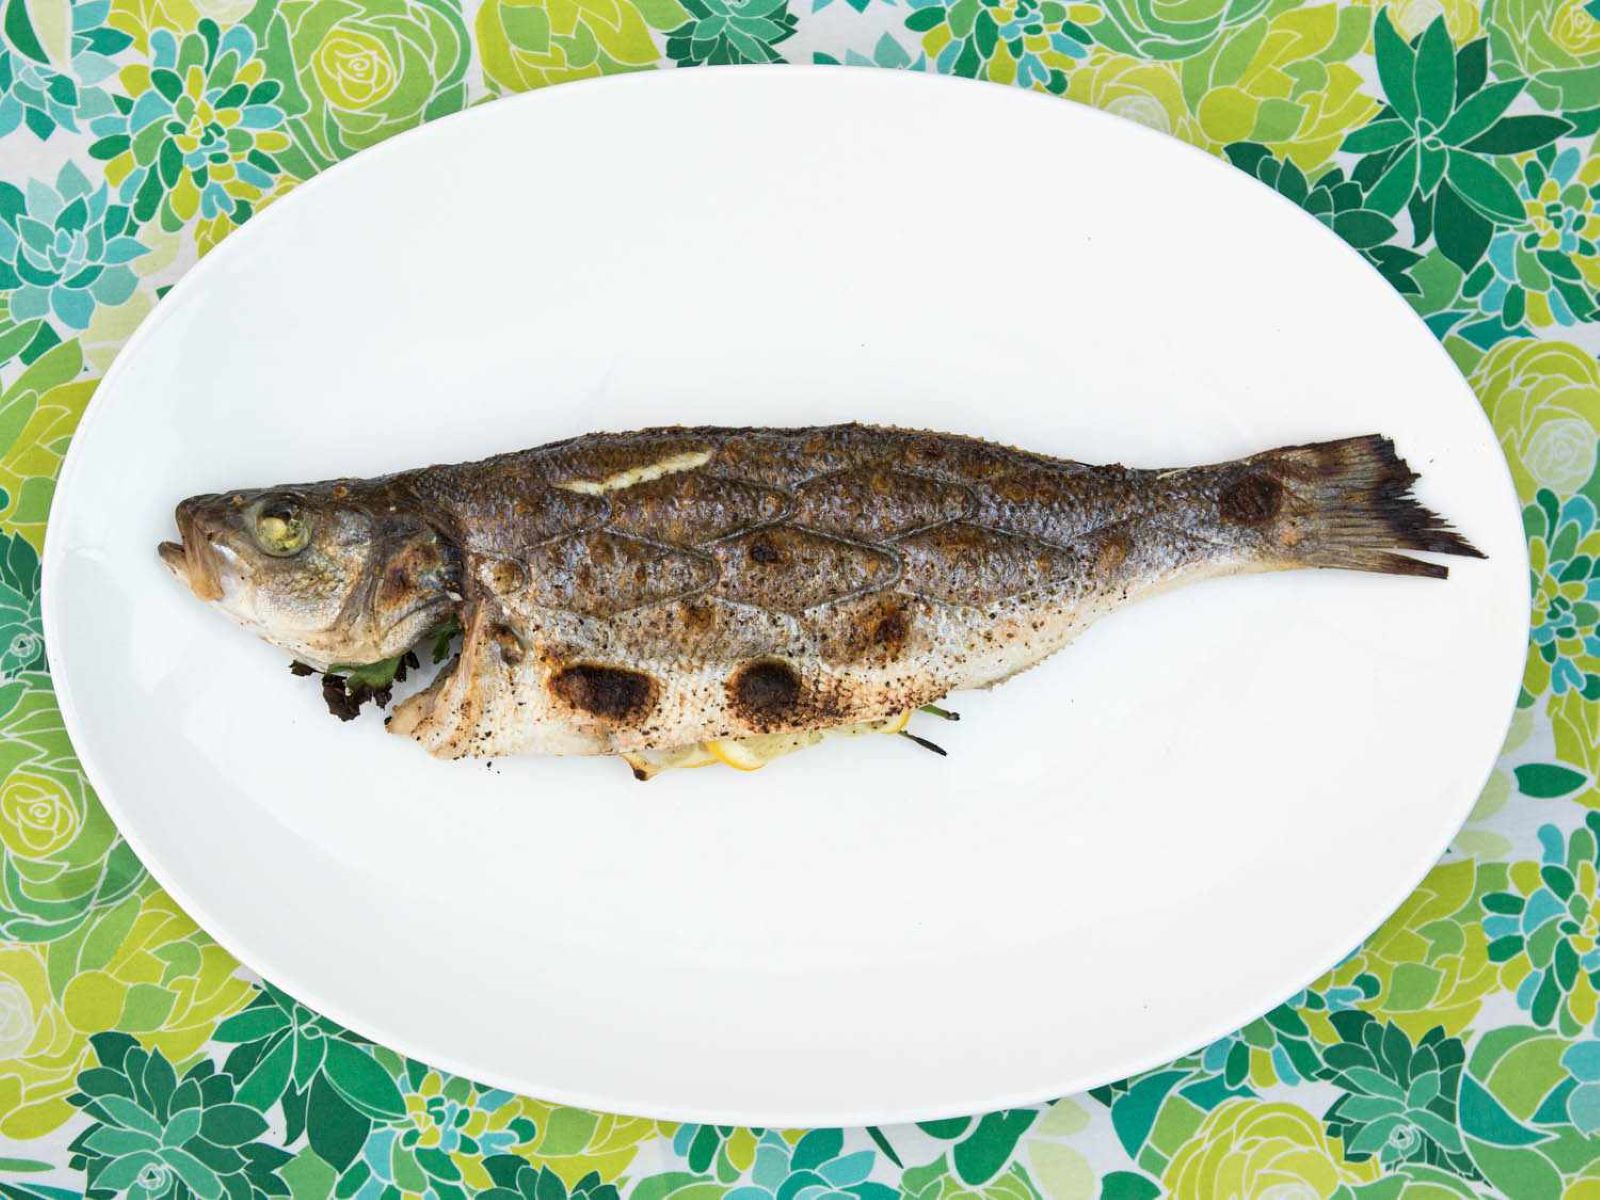
- Clean the Fish: If you are using whole fish, start by cleaning them thoroughly. Remove the scales, guts, and any other unwanted parts. Rinse the fish under cold water to remove any impurities.
- Cut into Smaller Pieces: If you are using larger fish, it is recommended to cut them into smaller pieces. This will help speed up the decomposition process and make it easier to handle.
- Remove the Bones: Depending on the fish species, you may need to remove the bones. Some fish have more noticeable bones, while others may have finer bones. Removing the bones will prevent any unwanted solids from getting into the liquid fertilizer.
- Break or Crush the Fish: To further accelerate the decomposition process, you can break or crush the fish into smaller pieces. This will increase the surface area and allow beneficial bacteria to access the fish easier.
- Consider Adding Enzymes (optional): If you want to speed up the decomposition process even more, you can add enzymes to the fish. Enzymes can be found in gardening stores and help break down the fish faster.
Once you have prepared the fish, you are ready to move on to the next step: creating the fish slurry. This is where the magic happens as the fish begins to decompose and release valuable nutrients into the liquid fertilizer. In the following section, we will guide you on how to create the fish slurry effectively.
When making fish fertilizer, use a 5-gallon bucket to mix 1 part fish scraps with 2 parts water. Let it ferment for 2 weeks, stirring occasionally. Strain and dilute before using.
Read also: 15 Amazing Organic Fish Fertilizer for 2025
Step 3: Creating the Fish Slurry
Creating the fish slurry is a crucial step in the fish fertilizer making process. This is where the decomposed fish will release its valuable nutrients into the liquid fertilizer. Follow these steps to create the fish slurry:
- Place the Prepared Fish in a Container: Transfer the prepared fish into a container that is suitable for fermentation. Ensure the container is clean and large enough to hold the fish and allow room for the liquid to expand during the fermentation process.
- Add Water: Pour water into the container until it covers the fish completely. Use clean, non-chlorinated water for the best results. You can use rainwater or filtered water to avoid any contaminants.
- Optional: Ratio of Fish to Water: If you want to follow a specific ratio for the fish to water, you can aim for a 1:3 or 1:4 ratio. For example, if you have 1lb of fish, add 3-4lbs of water. However, keep in mind that these ratios are not strict and can be adjusted based on personal preference.
- Stir the Mixture: Gently stir the mixture to ensure that all the fish pieces are submerged in water. This will help speed up the decomposition process and ensure better nutrient extraction.
- Seal the Container: Close the container tightly with a lid to prevent any unwanted odors from escaping. Make sure the lid is airtight to create an ideal environment for fermentation.
- Airlock (optional): If you have an airlock system or a specialized fermentation lid, you can use it to allow any built-up gases to escape during the fermentation process. This will enhance the fermentation process and prevent the container from bursting due to pressure.
Now that you have created the fish slurry, it’s time to let the magic happen. Place the container in a cool, dark place and leave it undisturbed for a few weeks. During this time, beneficial bacteria will decompose the fish, releasing valuable nutrients into the liquid fertilizer. In the next step, we will guide you on how to store the fish fertilizer properly after fermentation.
Step 4: Storing the Fish Fertilizer
After the fermentation process is complete and you have a nutrient-rich fish fertilizer, it’s important to store it properly to maintain its quality and effectiveness. Follow these steps to store your fish fertilizer:
- Strain the Liquid: Place a strainer or a piece of mesh over a separate container or bucket. Slowly pour the fermented mixture through the strainer, allowing the liquid fertilizer to pass through while separating any solids or fish remnants.
- Compost the Solids: Once you have strained the liquid, you can compost the leftover solids from the fermentation process. These can be used as a valuable addition to your compost pile or as a soil amendment in your garden.
- Transfer the Liquid into Storage Containers: Pour the strained liquid fertilizer into clean, airtight storage containers. Glass jars or plastic bottles with screw-on lids work well for this purpose. Make sure to leave some headspace in the containers to accommodate any expansion during freezing (if you choose to freeze the fertilizer, as discussed in the next step).
- Label and Date the Containers: To keep track of the freshness of your fish fertilizer, label each container with the date of preparation. This will help you in using the oldest fertilizer first and maintaining a rotation system.
- Store in a Cool, Dark Place: Fish fertilizer should be stored in a cool, dark place to maintain its quality and effectiveness. Exposing it to direct sunlight or extreme temperatures can degrade the nutrients and reduce its efficacy. A basement, storeroom, or garage can be suitable storage locations.
- Optional: Freezing the Fertilizer: If you have a large quantity of fish fertilizer or want to extend its shelf life, you can choose to freeze it. Pour the fertilizer into freezer-safe containers, leaving appropriate headspace for expansion. Freezing the fertilizer can help preserve its nutrients for several months.
By following these storage steps, you can ensure that your fish fertilizer remains fresh and potent for an extended period. When you’re ready to use the fertilizer on your plants, simply thaw it if it was frozen and proceed to the next step: applying the fish fertilizer to your plants.
Step 5: Applying Fish Fertilizer to Plants
Now that you have successfully created and stored your fish fertilizer, it’s time to apply it to your plants and reap the benefits of its nutrient-rich properties. Follow these steps to effectively apply fish fertilizer to your plants:
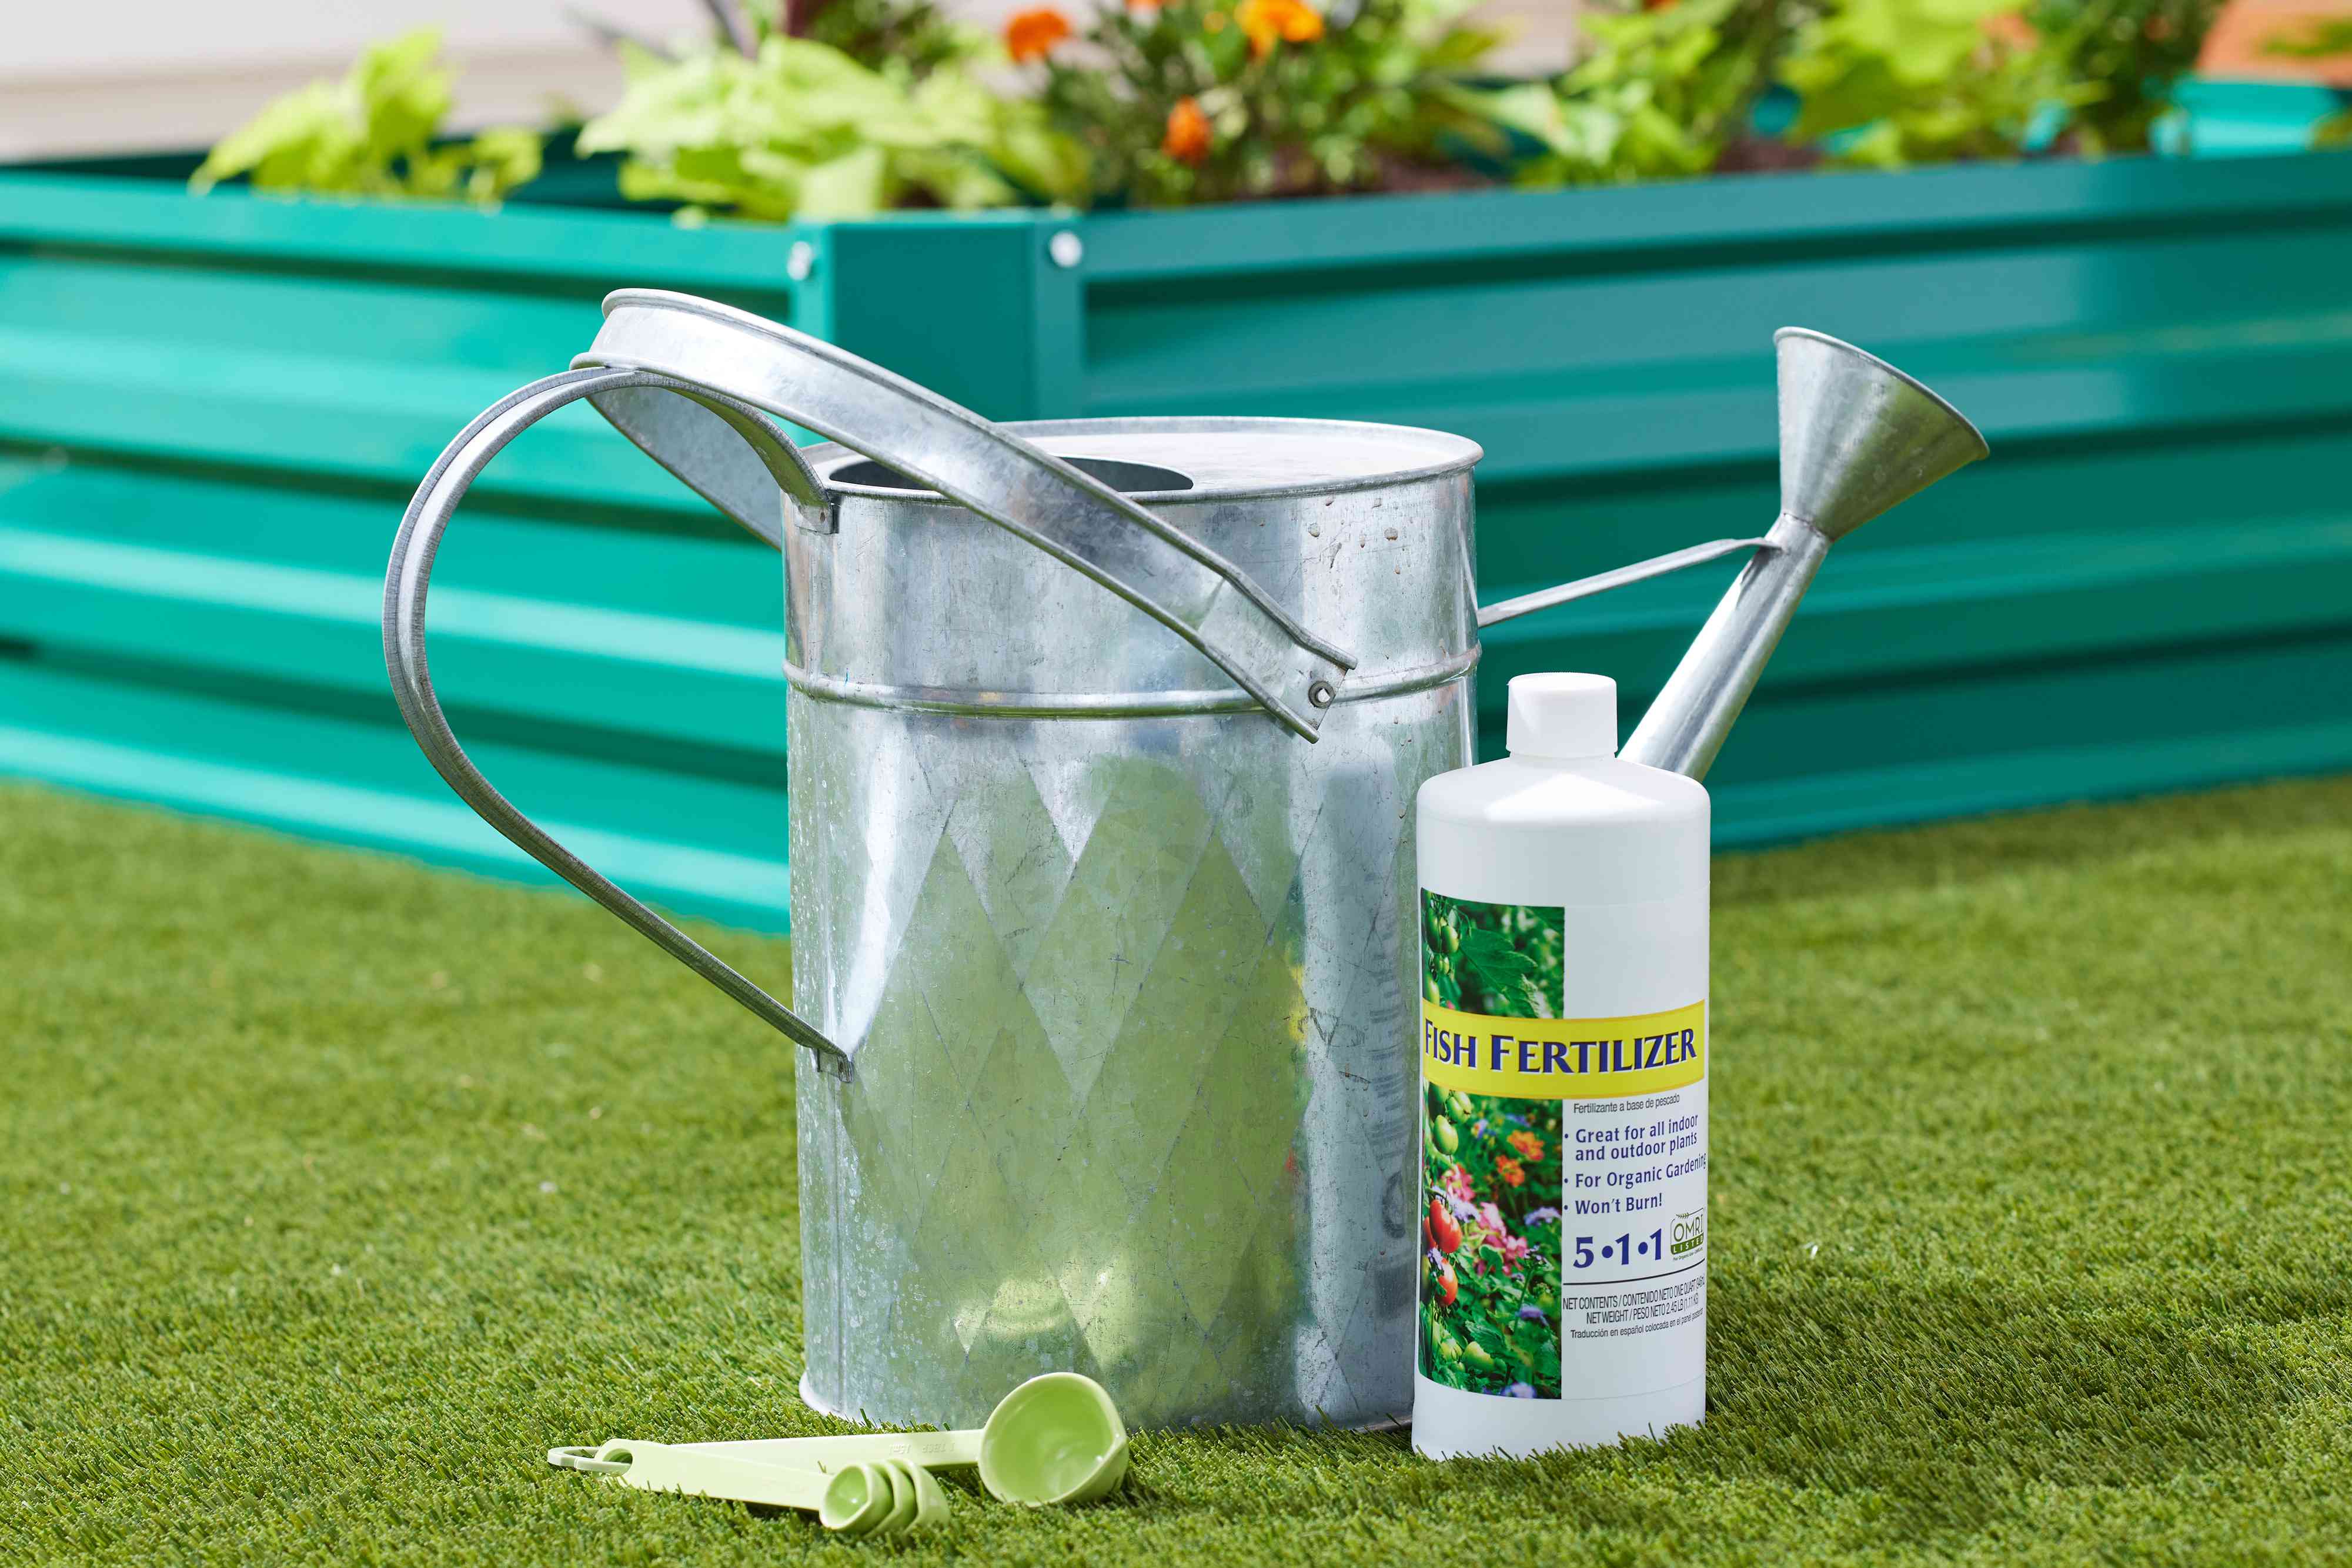
- Dilute the Fish Fertilizer: Fish fertilizer is highly concentrated, so it’s essential to dilute it before applying it to your plants. Mix one part fish fertilizer with three parts water to create a nutrient-rich fertilizing solution.
- Water the Plants: Before applying the fertilizer, water your plants with plain water. This ensures that the soil is moist, allowing the plants to absorb the nutrients more effectively.
- Apply to the Soil: Pour the diluted fish fertilizer around the base of your plants, directly onto the soil. Avoid getting the fertilizer on the leaves, as it may cause burning or damage. Use a watering can or a sprayer to apply the fertilizer evenly and avoid excessive runoff.
- Frequency of Application: Apply the fish fertilizer to your plants every two to four weeks during the growing season. This will provide a steady supply of nutrients to support healthy growth and development.
- Adjust the Dilution Ratio: Depending on the specific needs of your plants, you can adjust the dilution ratio of the fish fertilizer. If your plants require a stronger dose, you can increase the concentration of the fertilizer. However, always monitor your plants’ response to ensure they are not being over-fertilized.
It’s important to remember that fish fertilizer has a distinct odor which may linger after application. However, the odor dissipates over time and is completely natural. Additionally, make sure to follow any specific instructions or recommendations for the plants you are fertilizing, as different plants may have different nutrient requirements.
By applying fish fertilizer to your plants regularly, you are providing them with a nutrient boost that will support strong growth, robust foliage, and vibrant blooms. Your plants will thank you with their healthy and thriving appearance. With proper application and care, fish fertilizer can be a valuable addition to your gardening routine.
Now that you have learned how to create and apply fish fertilizer, let’s move on to some precautions and tips to ensure optimal results.
Precautions and Tips
While fish fertilizer is safe and beneficial for plants, it’s important to follow some precautions and tips to ensure optimal results. Here are a few things to keep in mind:
- Odor: Fish fertilizer has a strong odor, which is a natural byproduct of the fermentation process. If the smell is bothersome, consider applying the fertilizer when you won’t be spending much time in the garden or using it on outdoor plants.
- Avoid Overuse: While fish fertilizer is beneficial, it’s crucial to avoid over-fertilizing your plants. Follow the recommended dilution ratios and application frequencies to prevent nutrient imbalances or damage to your plants.
- Start with Small Amounts: If you’re new to using fish fertilizer, start with small amounts and observe how your plants respond. Gradually increase the quantity as needed, based on the growth and health of your plants.
- Store Properly: Store your fish fertilizer in a cool, dark place to maintain its potency. Check the containers periodically for any signs of spoilage or foul odor, and discard any fertilizer that appears spoiled or rancid.
- Test on a Patch: Before applying fish fertilizer to all of your plants, do a patch test on a small area to ensure compatibility and to observe how your plants react to it.
- Complement with Other Fertilizers: Fish fertilizer can be used alongside other organic or synthetic fertilizers to provide a comprehensive nutrient regimen for your plants. Be mindful of the specific needs of your plants and adjust the overall fertilizer program accordingly.
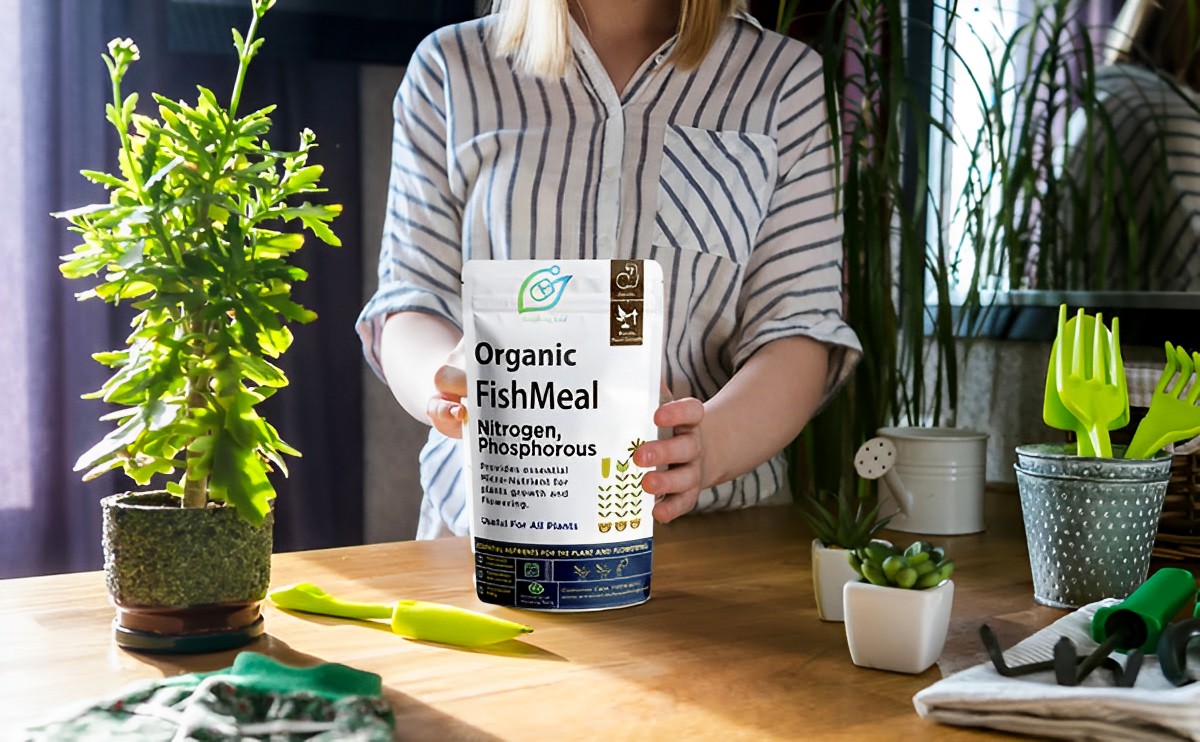
- Fish Bone Meal: If you have leftover fish bones from preparing the fish, you can dry and grind them into a fine powder. Fish bone meal is a phosphorus-rich organic fertilizer that can be added to your garden soil for additional benefits.
- Personal Protection: When handling fish fertilizer or working with it in your garden, wear gloves and an apron to protect your skin and clothing from any odors or potential splashes.
- Rotate Application Areas: To ensure even nutrient distribution in your garden, rotate the areas where you apply fish fertilizer. This way, all of your plants can benefit from its nutrients over time.
By following these precautions and tips, you can effectively use fish fertilizer to promote healthy plant growth and achieve successful results in your garden. Now, let’s wrap things up.
Conclusion
Creating your own fish fertilizer is an excellent way to provide your plants with the essential nutrients they need to thrive. With just a few simple steps and readily available materials, you can harness the power of this organic fertilizer and promote healthy growth in your garden.
We explored the benefits of fish fertilizer, which include being a natural nutrient source, promoting rapid absorption, improving soil quality, boosting plant health and resilience, and being environmentally friendly. By using fish fertilizer, you are adopting sustainable gardening practices and nourishing your plants in a natural and eco-friendly way.
Throughout the process, we covered how to choose the right fish, prepare it for the fertilizer-making process, create the fish slurry, store the fish fertilizer properly, and apply it to your plants effectively. We also provided precautions and tips to ensure optimal results and address any concerns you may have had.
Remember, fish fertilizer can be a valuable addition to your gardening routine, providing your plants with the vital nutrients they need for healthy and vibrant growth. However, it’s important to follow the recommended dilution ratios, avoid overuse, and store the fertilizer correctly to maintain its potency.
Now that you have the knowledge and tools to create your own fish fertilizer, go ahead and give it a try! Watch as your plants flourish and thrive, thanks to the nutrient-rich properties of this organic fertilizer. Happy gardening!
Disclaimer: The information provided in this article is for educational purposes only. Before using fish fertilizer or any other gardening product, it’s recommended to consult with local gardening experts or extension services to ensure it is suitable for your specific plants and soil conditions.
Frequently Asked Questions about How To Make Fish Fertilizer
Was this page helpful?
At Storables.com, we guarantee accurate and reliable information. Our content, validated by Expert Board Contributors, is crafted following stringent Editorial Policies. We're committed to providing you with well-researched, expert-backed insights for all your informational needs.


0 thoughts on “How To Make Fish Fertilizer”