Articles
13 Best Venetian Blinds for 2024
Modified: January 11, 2024
Discover the top 13 venetian blinds for 2023 and enhance your home decor. Choose from a wide range of styles, materials, and colors for the perfect window treatment.
(Many of the links in this article redirect to a specific reviewed product. Your purchase of these products through affiliate links helps to generate commission for Storables.com, at no extra cost. Learn more)
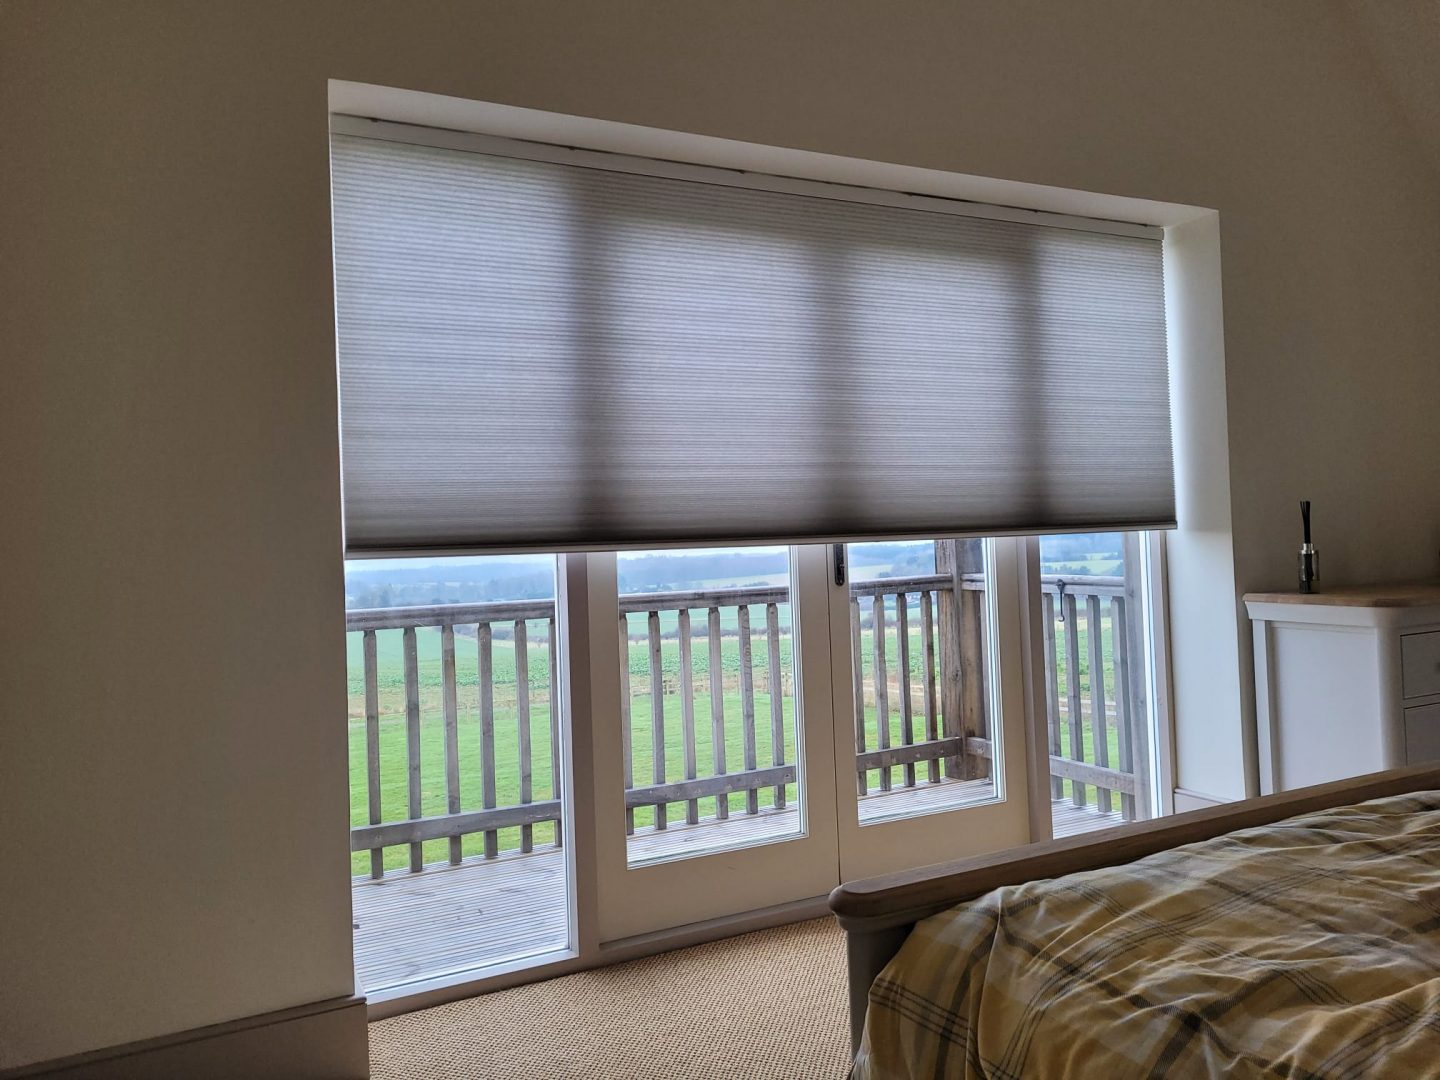
Introducing the 13 Best Venetian Blinds for 2023, a comprehensive guide to help you choose the perfect window covering for your home or office. With a wide range of options available, selecting the right Venetian blind can be a daunting task. That's where we come in as content writer experts, offering you valuable insights and recommendations. Whether you're looking for blinds that provide optimal privacy, light control, or stylish design, our curated list has something for everyone. Get ready to elevate your space with the best Venetian blinds that will enhance both functionality and aesthetics in 2023.

Overall Score: 9/10
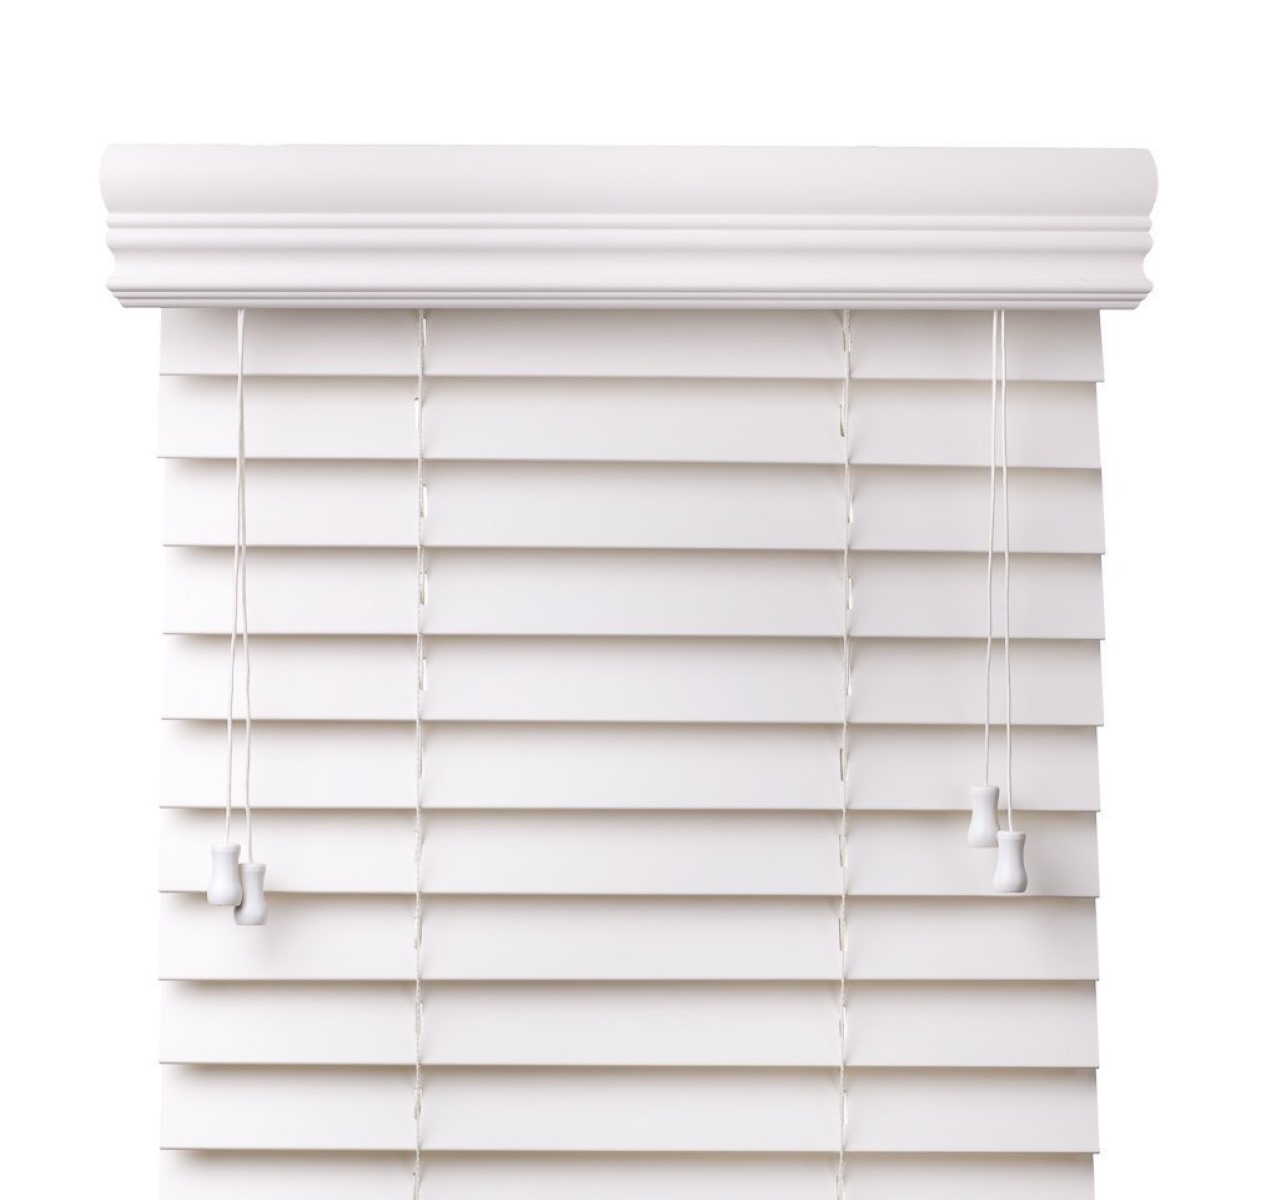
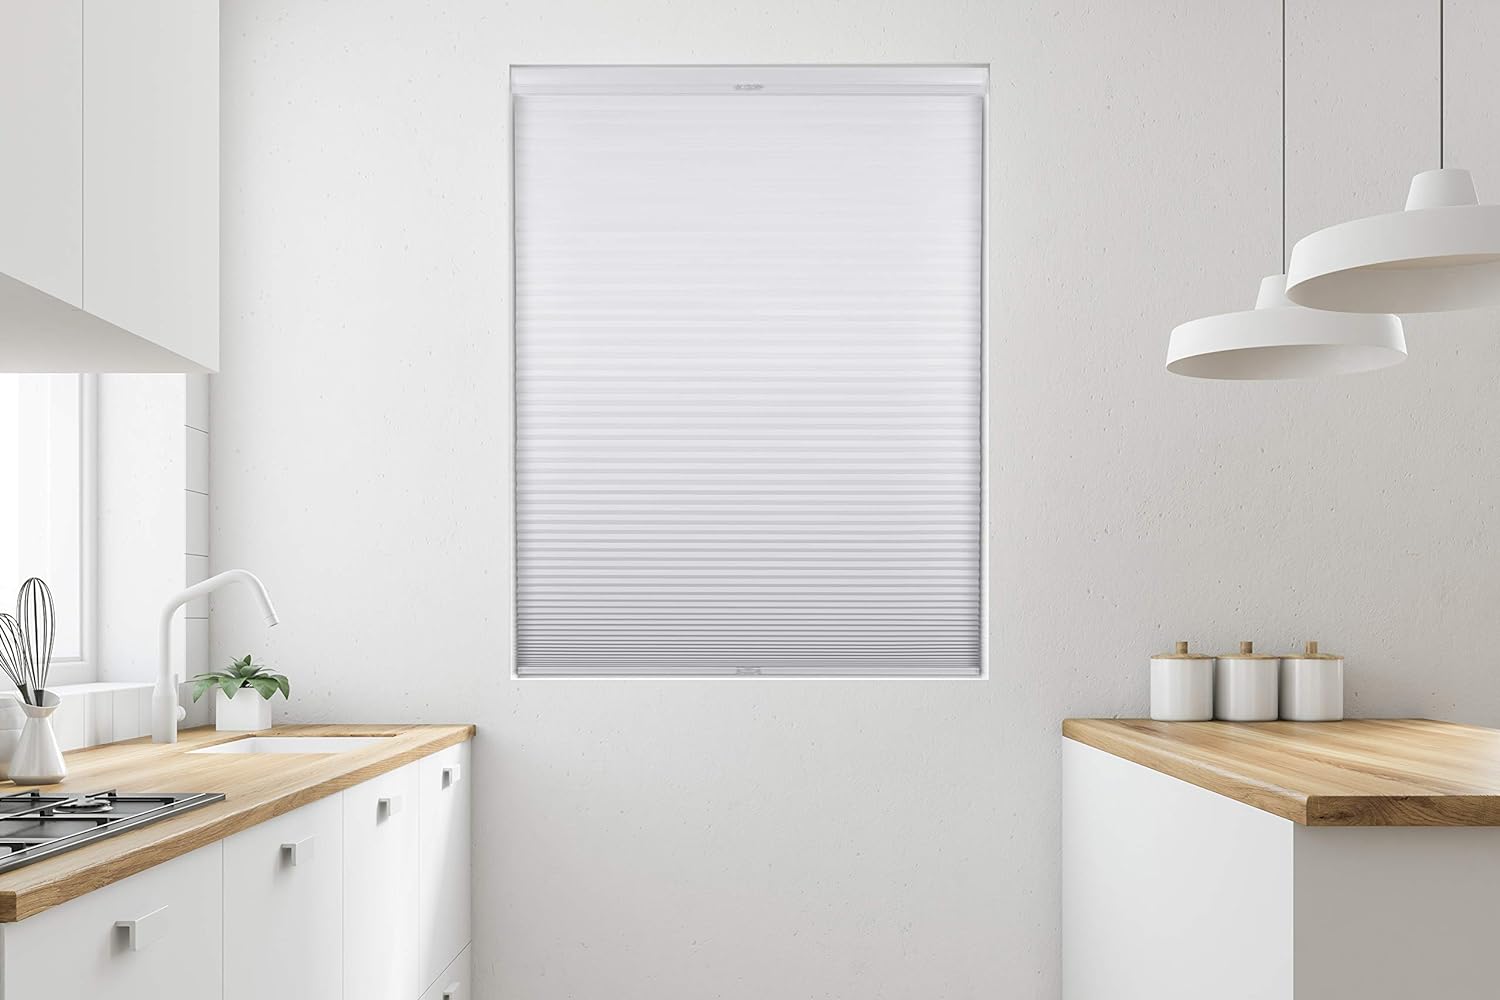
The ARLO BLINDS Faux Wood Blinds are a stylish and practical choice for any window or door. These blinds feature a decorative valance that adds a tailored look to your space. The durable 2-inch wide faux wood slats have a smooth finish, preventing warping, peeling, or staining. They are also moisture resistant and easy to clean. With no cords, these blinds are safe for children and pets. The wand tilt control allows for easy adjustment of the slats to control privacy and light. The blinds come in a white color and have a size of 24"W x 70"H. Installation is simple with all necessary hardware included. Overall, these blinds offer a combination of style, durability, and safety.
Key Features
- DECORATIVE VALANCE INCLUDED: The 3-1/4 inch tall crown valance with corner covering creates a tailored look to any window or door.
- DURABLE & MOISTURE RESISTANT: Durable 2-inch wide faux wood slats with smooth finish prevents warping, peeling, or staining and allows for easy cleaning.
- SAFE & EASY TO USE: No cords means safety for children and pets. The wand tilt control enables easy slat adjustment for privacy and light control.
- MEASUREMENT TIPS: This blind is 24 inches wide. For an inside mount with this size blind, your window recess (the area inside your window frame) needs to be at least 24-3/8 inches wide to accommodate the mounting bracket and 3 inches in depth if you want a flush fit. For an outside mount with this size blind, we recommend your window recess is 18 to 24 inches wide to provide optimal light control. All hardware is included.
Specifications
- Color: White
- Dimension: 24.00Lx2.00Wx0.00H
- Size: 24"W x 70"H
Pros
- Decorative valance adds a tailored look to windows
- Durable and moisture resistant faux wood material
- Safe for children and pets with no cords
- Easy slat adjustment with wand tilt control
- Includes all necessary hardware for installation
Cons
- Valance cannot be installed when blinds are recessed
The ARLO BLINDS Faux Wood Blinds are an excellent choice for anyone looking for stylish and practical window coverings. With their decorative valance and durable faux wood slats, these blinds add a tailored look to any space while also being easy to clean and resistant to warping. The cordless design ensures safety for children and pets, and the wand tilt control allows for easy adjustment of the slats. The included hardware makes installation a breeze. The only downside is that the valance cannot be installed when the blinds are recessed. Overall, these blinds offer great value for their price and are highly recommended.

Overall Score: 8.5/10
The Achim Home Decor CO GII Luna Cordless Room Darkening Blinds are designed to reduce heat and darken your room, while also providing privacy. These vinyl blinds are cordless, making them safe for children and pets. They are easy to install with hidden mounting brackets and can fit both inside and outside window frames. With a sturdy construction and available in two colors, these blinds are durable and won't chip, dent, or fade. The blinds can be easily adjusted to control the amount of light and privacy in a room. They are an affordable option for adding style and functionality to your windows.
Key Features
- Reduce heat and darken room
- Cordless design for safety
- Easy installation
- Adjustable to control light and privacy
- Durable and fade-resistant
Specifications
- Color: White
- Dimension: 46.00Lx4.00Wx2.00H
- Size: 43 x 64
Pros
- Affordable price
- Easy to install and use
- Good at darkening the room
- Sturdy and durable construction
- Easy to clean
- Attractive appearance
Cons
- Potential tightness on measurements
- Difficult to completely close
- May accumulate dust
The Cordless Room Darkening Venetian Blind by Achim Home Decor offers an affordable and stylish solution for reducing heat, controlling light, and providing privacy in any room. With its cordless design, it ensures the safety of children and pets. The blinds are easy to install and use, and their durable construction ensures long-lasting performance. While some users have reported potential tightness in measurements and difficulty in completely closing the blinds, overall, they deliver great value for the price. If you’re looking for functional and attractive window blinds, the Cordless Room Darkening Venetian Blind is definitely worth considering.

Overall Score: 8.4/10
Venetian Blind is the second book in the Colonel Russell series, a classic espionage thriller set in mid-50's Britain. This gripping novel explores the world of leaks and espionage surrounding research into "Negative Gravity." Colonel Russell trains Richard Wakeley, a former top lawyer, to head the Security Executive and investigate the leaks. As the story unfolds, Richard becomes entangled not only in his professional duties but also in a complicated love triangle. With private espionage company Kinder Three thrown into the mix, the book offers a thrilling plot, beautiful language, and finely drawn characters who continuously surprise readers.
Key Features
Specifications
- N/A
Pros
Cons
Venetian Blind delivers a classic espionage tale filled with intrigue, suspense, and unexpected twists. Haggard’s realistic approach to spy stories and his skillful language make this book a captivating read. Although it may not be his best work, the plot is exciting, and the finely drawn characters add depth to the story. The love triangle and the inclusion of Kinder Three, a private espionage company, provide an enjoyable and entertaining experience for fans of the genre. The book’s only downside is the absence of Kindle editions for Haggard’s entire series. Overall, Venetian Blind keeps readers hooked from start to finish, offering an immersive and satisfying espionage thriller.

Overall Score: 8/10
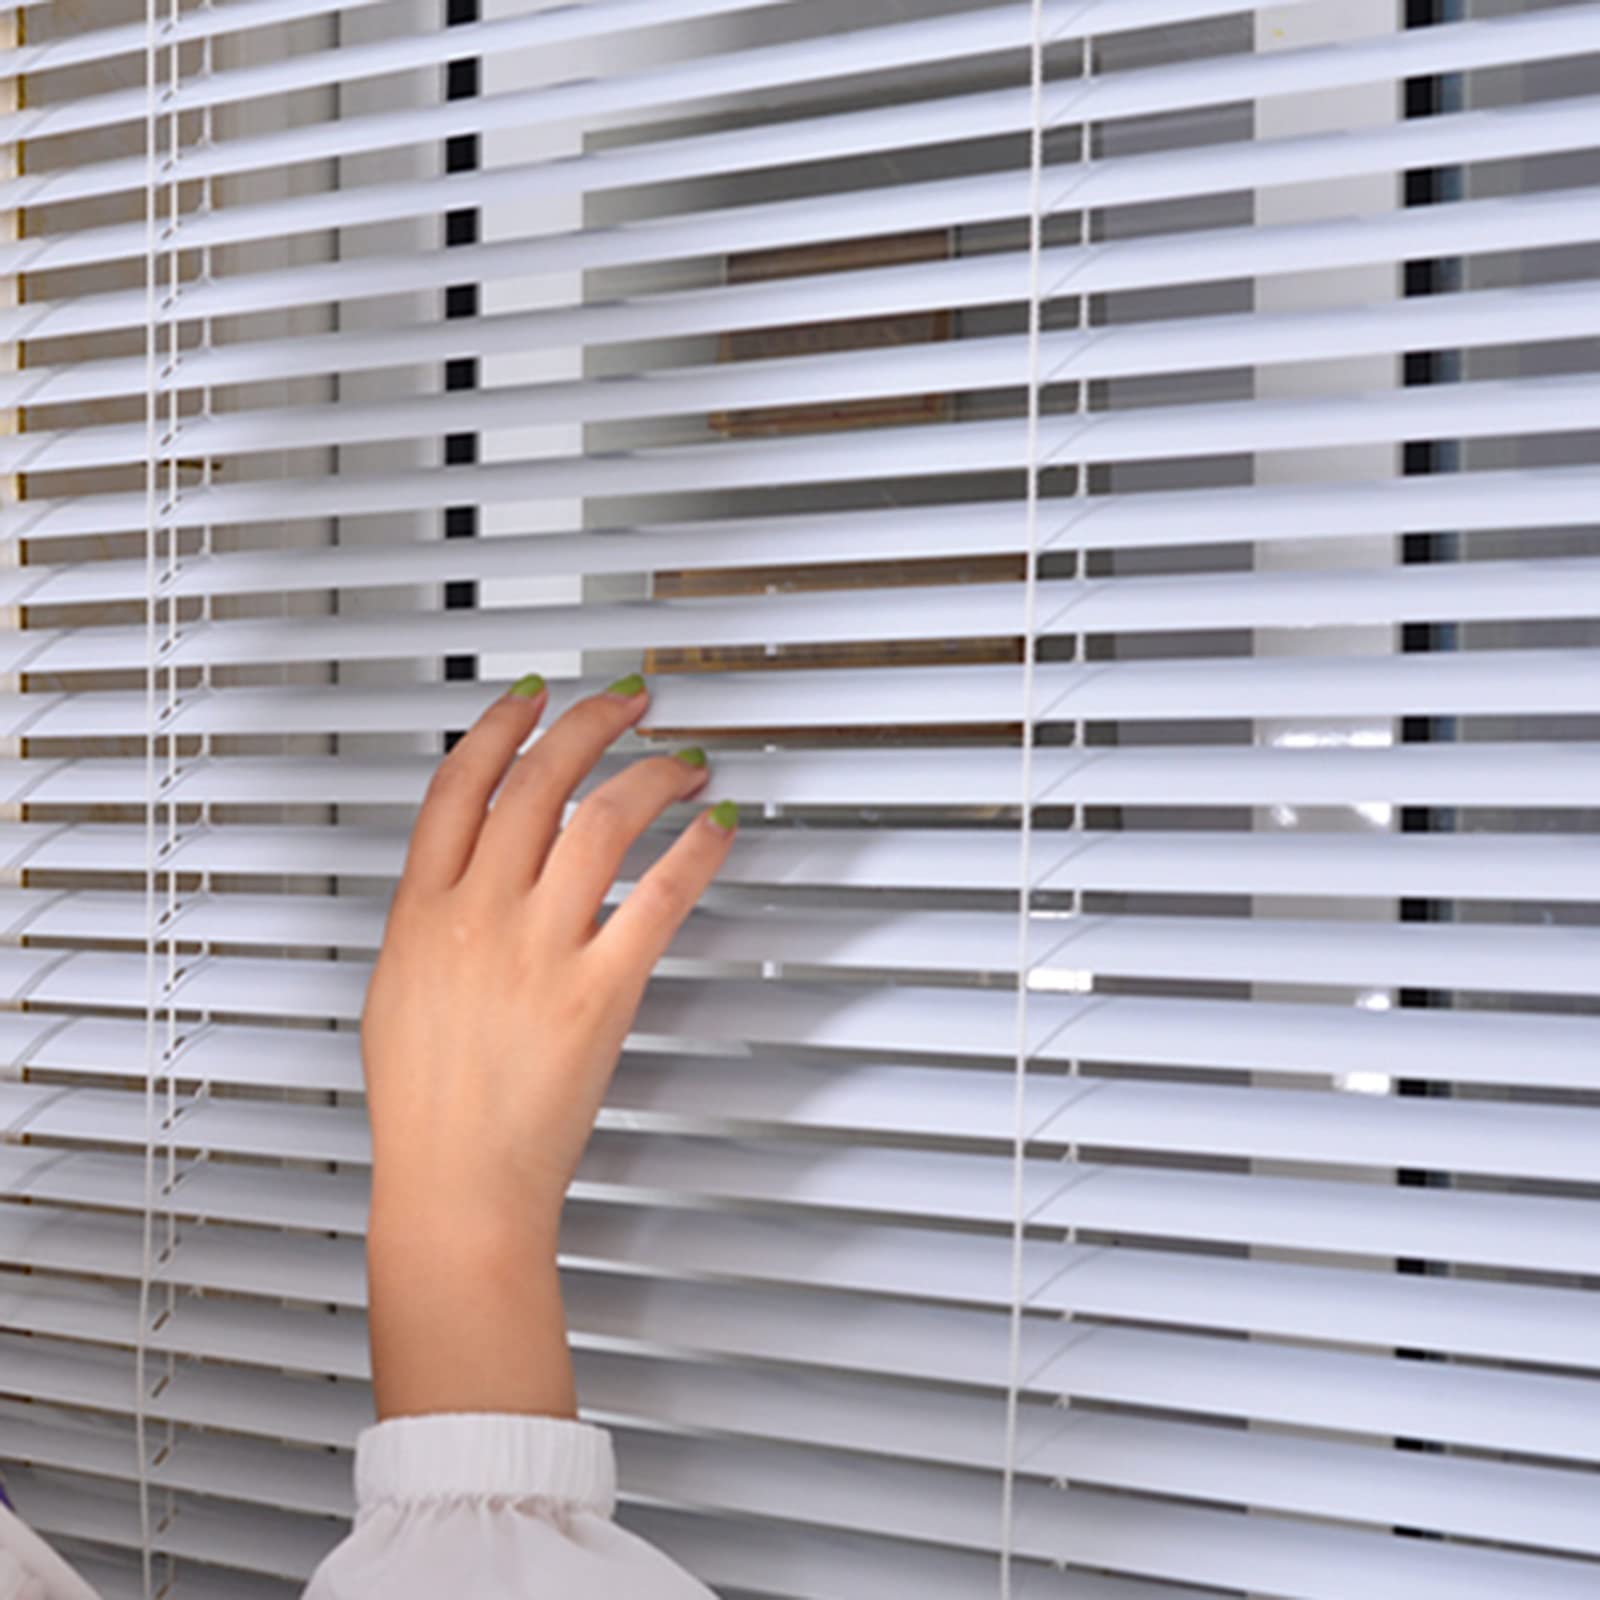
Upgrade your windows with the YIIBAII Mini Blinds! These 1" aluminum horizontal venetian blinds are designed to provide high privacy and light control. With an easy-to-use cord and wand mechanism, you can easily adjust the slats to control the sunlight and ensure privacy. These blinds are suitable for both internal and external installation, making them versatile for any window size. They are made of durable aluminum and are resistant to humidity, making them long-lasting and low maintenance. Perfect for any indoor area, these blinds are ideal for the kitchen, bedroom, living room, and more. Plus, with a 1-year satisfaction guarantee, you can buy with confidence!
Key Features
- IMPORTANT! – Internal and External Installation Problems
- High Privacy Blinds
- Features and Functions
- Use Occasion
- Easy to Maintain
- Guarantee and Description
Specifications
- Color: White
- Dimension: 62.99Lx35.43Wx0.01H
- Size: 24"W x 64"H
Pros
- Sturdy and nice-looking design
- Efficient light control and privacy
- Durable and resistant to humidity
- Versatile installation options
- Low maintenance
Cons
- Mount brackets may feel cheap and flimsy
- End-style brackets for better support not provided
- Occasional missing parts
The YIIBAII Mini Blinds offer a practical and stylish solution for your windows. With easy installation and versatile mounting options, these blinds are perfect for any room in your home. The high privacy feature, durable construction, and low maintenance make them a reliable choice. Although the mount brackets may not be the sturdiest and end-style brackets are not included, these blinds still provide excellent value for their price. Transform your windows with these YIIBAII Mini Blinds and enjoy seamless light control and privacy.

Overall Score: 9/10
If It Weren't for Venetian Blinds It Would Be Curtains for Us All is a stellar album by the band Piebald. With a perfect rating of 4.5/5, this album is a must-have for any rock music lover. The album features a mix of clever and funny lyrics, low-fi guitars, and break-heavy drums that will have you singing along. Piebald's unique sound sets them apart from other bands in the genre, making them a true standout. Some standout tracks from the album include 'Grace Kelly w/wings' and 'We Believe in Karma'. If you're looking for a top-notch rock album that will leave you wanting more, If It Weren't for Venetian Blinds It Would Be Curtains for Us All is the perfect pick.
Key Features
- Clever and funny lyrics
- Unique sound with low-fi guitars and break-heavy drums
- Standout tracks like 'Grace Kelly w/wings' and 'We Believe in Karma'
Specifications
- Dimension: 5.00Lx5.75Wx0.45H
Pros
- Stellar album for rock music lovers
- Mix of clever and funny lyrics
- Standout tracks that will have you singing along
Cons
- Not suitable for those who prefer music that whines about girls
If It Weren’t for Venetian Blinds It Would Be Curtains for Us All is an incredible rock album that showcases Piebald’s unique sound and lyrical style. With clever and funny lyrics, low-fi guitars, and break-heavy drums, this album is a true delight for any rock music lover. Standout tracks like ‘Grace Kelly w/wings’ and ‘We Believe in Karma’ will have you singing along and craving more. While it may not appeal to those who prefer music that whines about girls, if you appreciate good rock and roll, If It Weren’t for Venetian Blinds It Would Be Curtains for Us All is an absolute must-have. Get ready to rock out!

Overall Score: 8.5/10
The Blinds Cord String Window Wood Tassels/knobs are a perfect choice for replacing and repairing your shades blinds and louvers. Made of high-quality wood, these tassels/knobs are durable and reliable. With a size of approximately 3.2cm in total length and 1.9cm in bottom diameter, they are easy to handle and install. The white color adds a touch of elegance and matches any decor style. These cord tassels/knobs can be used with any corded blind as long as the cord is approximately 2mm in diameter or less. They are also suitable for venetian blinds, curtains, ceiling fans, and can be used for both indoor and outdoor shades. Upgrade your window blinds with these stylish and functional tassels/knobs.
Key Features
- Package: 8pcs Window Blind Wood Cord Knobs
- Material: Wood
- Size: Approx. 3.2cm in total length, 1.9cm in bottom diameter
- Color: White
- Compatible with corded blinds with cords of 2mm diameter or less
- Ideal for replacing and repairing shades, blinds, and louvers
- Suitable for venetian blinds, curtains, and ceiling fans
- Can be used for indoor and outdoor shades and blind repair
- Great for both functional and decorative purposes
Specifications
- Color: White
- Size: 3.2cm*1.9cm
Pros
- High-quality wood
- Durable and reliable
- Easy to handle and install
- Elegant white color
- Versatile use for various blinds and curtains
- Suitable for indoor and outdoor applications
Cons
- Limited compatibility with corded blinds with larger cords
- Designed specifically for a cord diameter of approximately 2mm or less
The Blinds Cord String Window Wood Tassels/knobs provide a stylish and functional solution to enhance your window blinds. Made of high-quality wood and featuring an elegant white color, these tassels/knobs are not only durable but also add a touch of sophistication to your home decor. With their compatibility with various blinds and curtains, both indoors and outdoors, they offer versatility in terms of functionality and aesthetics. However, it’s important to note that they are designed for cords with a diameter of approximately 2mm or less. Overall, if you’re looking for an affordable and reliable option to replace or repair your shades, blinds, or louvers, these tassels/knobs are worth considering.

Overall Score: 7.8/10
The Kokorona Cordless Mini Blinds are horizontal Venetian blinds made of durable vinyl. They feature a cordless design for safety and can be fully retracted or lowered by simply dragging the bottom rail. The blinds can switch between filtering and shading, providing both light control and complete privacy. Made of moisture and rust-resistant PVC slats, these blinds are ideal for high humidity rooms. The installation instructions ensure a proper fit for both inside and outside mounts. With the dimensions of 38" W X 64" H and a classic white color, these mini blinds can decorate any room in your home. Although not high-end, they offer sufficient quality, durability, and functionality.
Key Features
- Cordless design for safety
- Light control and privacy switch
- Durable and moisture-resistant vinyl construction
- Easy to clean and maintain
- Versatile installation options
Specifications
- Color: White
- Size: 38" W X 64" H
Pros
- Cordless design ensures safety for kids and pets
- Provides excellent room darkening and privacy
- Durable vinyl slats resist moisture and rust
- Easy to clean and maintain
Cons
- Low quality and flimsy construction
- Not truly room darkening as advertised
- Installation can be challenging
The Kokorona Cordless Mini Blinds offer a budget-friendly option for those seeking light control and privacy. While they may not be the highest quality blinds, they function well and are suitable for low-traffic areas. The cordless design ensures safety, and the durable vinyl construction resists moisture and rust. However, some customers have experienced issues with the quality and installation process. Overall, these blinds provide sufficient functionality and aesthetics, making them a decent choice for those on a budget.

Overall Score: 8.5/10
The Achim Home Furnishing Cordless GII Luna 2" Slat Mahogany Venetian Window Blinds are a stylish and practical addition to any room in your home. These blinds are designed with a 2" wide vinyl slat that allows you to control light and privacy with a tilt wand. The rich and vibrant embossed slats have a luxurious woodgrain appearance, adding an elegant touch to your space. With cordless operation, you can easily raise or lower the blinds by simply lifting the lower handle. These blinds are available in a mahogany color and can be installed inside or outside the window frame. Overall, they offer a great combination of style, functionality, and affordability.
Key Features
- -Actual Size: 39" (Width) x 64" (Length)
- -2" wide Vinyl slat with tilt want to control light and privacy
- -Rich And Vibrant Embossed Slats That Have A Very Luxurious Woodgrain Appearance.
- -Ideal for any room in your home. Can be installed inside or outside the window frame
- -Cordless operation – simply lift lower handle to raise or lower the blinds
Specifications
- Color: Mahogany
- Dimension: 42.00Lx4.00Wx2.00H
- Size: 39" x 64"
Pros
- Stylish and luxurious woodgrain appearance
- Easy to install and operate
- Affordable price
- Versatile for any room
Cons
- Some quality control issues reported
- Missing end piece on one blind
The Achim Home Furnishing Cordless GII Luna 2″ Slat Mahogany Venetian Window Blinds are a great choice for those who want a stylish and functional window treatment. With its rich and vibrant woodgrain appearance, these blinds add a touch of elegance to any room. The cordless operation makes it easy to raise or lower the blinds, while the affordable price makes it a practical option. However, there have been some quality control issues reported, so it is important to inspect the blinds upon arrival. Overall, these blinds offer a good balance between style, functionality, and affordability.

Overall Score: 8/10
Venetian Blinds: Solo Piano is a captivating book that features delightful piano compositions. With a total of 36 pages and beautiful instrumentation, this book is perfect for piano enthusiasts of all levels. The enchanting melodies will transport listeners to the romantic streets of Venice, evoking emotions and creating a serene ambiance. Whether you are a beginner or an experienced pianist, this book will inspire you to explore the depths of your musical talent. The pieces included are both relaxing and energizing, providing a balanced repertoire that caters to different moods and occasions. Experience the magic of solo piano with Venetian Blinds: Solo Piano.
Key Features
- Pages: 36
- Instrumentation: Piano
Specifications
- Dimension: 9.00Lx0.13Wx12.00H
Pros
- Beautiful and captivating piano compositions
- Suitable for piano enthusiasts of all levels
- Melodies transport listeners to the romantic streets of Venice
- Inspires exploration of musical talent
Cons
Venetian Blinds: Solo Piano is a must-have for piano enthusiasts. Whether you are a beginner or an experienced pianist, this book offers enchanting melodies that will captivate your heart. With a balanced repertoire of relaxing and energizing pieces, it caters to various moods and occasions. The book’s beautiful instrumentation and evocative compositions will transport you to the breathtaking streets of Venice. Whether you want to relax, find inspiration, or simply indulge in the magic of solo piano, Venetian Blinds is the perfect companion. Let the melodies guide you on a musical journey that will leave you feeling uplifted and inspired.

Overall Score: 8/10
The Blind Venetians is a storage solution that combines elegance and functionality. Available on Amazon, it offers a unique and stylish way to organize your belongings. With its sleek design and practical features, this product is perfect for any room in your home or office. The Blind Venetians allow you to conveniently store and easily access your items while adding a touch of sophistication to your space. Despite the lack of specific specifications, this versatile storage option is sure to impress. It has received positive reviews, with an average rating of 8 out of 10.
Key Features
- Elegant and stylish design
- Functional and practical
- Ideal for any room
- Convenient storage and easy access
Specifications
- N/A
Pros
- Unique and eye-catching
- Versatile storage option
- Positive customer reviews
- Adds sophistication to your space
Cons
The Blind Venetians is a fantastic storage solution that not only organizes your belongings but also elevates the aesthetic of any room. Its elegant and stylish design, combined with its practical features, make it a standout option for storage. The positive customer reviews and lack of cons further emphasize its appeal. Whether you need to store books, accessories, or any other items, this product offers convenience and elegance in one. If you’re looking for a storage solution that adds a touch of sophistication to your space, The Blind Venetians is the perfect choice.

Overall Score: 8.5/10
The esowemsn 8pcs Window Blind Wood Cord Knobs are a great accessory for blinds and shades, perfect for DIY home decoration. Made of sturdy wood, these knobs are durable and stylish. They can be used for replacing and repairing shades, blinds, and louvers. The knobs are compatible with any corded blind as long as the cord is approximately 2 mm in diameter or less. They are suitable for both indoor and outdoor use, making them versatile for various types of blinds and curtains. With their white color and elegant design, these wooden cord knobs add a nice touch to any window treatment.
Features:
– Package includes 8pcs Window Blind Wood Cord Knobs
– Made of wood
– Size: approximately 3.2cm in total length, 1.9cm in bottom diameter
– Color: white
Specifications:
– Color: White
– Size: 3.2cm*1.9cm
Score: 8.5
Key Features
- Package: 8pcs Window Blind Wood Cord Knobs
- Material: wood
- Size: approx 3.2cm in total length, 1.9cm in bottom diameter
- Color: white as the picture show
- Can be used with any corded blind as long as cord is approx 2 mm in diameter or less
- Good for replacing and repairing shades, blinds, and louvers
- Great for venetian blinds and other curtains
- Suitable for indoor and outdoor shades and blind repair and restringing, aluminum blind, ceiling fans, and also for decoration
Specifications
- Color: White
- Size: 3.2cm*1.9cm
Pros
- Sturdy wooden construction
- Easy to install
- Perfect for replacing plastic pulls
- Adds a nice touch to old blinds
- Versatile for various types of blinds and curtains
Cons
- One pull was missing the smaller center hole in one set
The esowemsn 8pcs Window Blind Wood Cord Knobs are a fantastic solution for those looking to enhance the functionality and aesthetic appeal of their blinds. With their sturdy wooden construction, these cord knobs are built to last. They are easy to install and can be used to replace plastic pulls, adding a touch of elegance to your window treatments. While there was a small issue with one set missing a center hole, overall, these cord knobs have received positive reviews for their quality and appearance. Whether you’re repairing blinds or simply updating their look, these wooden cord knobs are an excellent choice.

Overall Score: 8.5/10
The KCO Mini Blinds for Windows Cordless Horizontal Window Blinds and Shades provide a stylish and functional solution for your windows. With a cordless design, these blinds are safe for homes with pets and kids. The vinyl material offers privacy protection, allowing you to adjust the amount of light filtering into your space. These blinds are easy to maintain and made of durable, non-leaded PVC. Suitable for various rooms, such as kitchen, bedroom, living room, office, and bathroom. Available in a classic white color, these blinds are easy to install and use. They come in a size of 44" W x 64" L. Overall, these blinds offer a simple and elegant solution for your window treatment needs.
Key Features
- CORDLESS DESIGN: Safe for homes with pets and kids
- PRIVACY PROTECTION: Switch between light filtering and room darkening
- SIZE DETAILS: 44" W x 64" L, suitable for various rooms
- INSTALLATION INSTRUCTIONS: Inside mount or outside mount options
- EASY TO MAINTAIN: Durable and resistant to humidity
Specifications
- Color: White
- Size: 44" W x 64" L
Pros
- Cordless design for safety
- Easy to install and use
- Good light filtering and privacy
- Durable and resistant to humidity
Cons
- Bottom rail may not stay horizontal when partially opened
- Mounting screws may be of low quality
The KCO Mini Blinds for Windows offer a practical and stylish solution for your window treatment needs. With a cordless design, these blinds are safe for homes with pets and kids. They provide excellent light filtering and privacy options. The blinds are durable, easy to maintain, and resistant to humidity. Installation is straightforward, although some users reported issues with the bottom rail not staying horizontal when partially opened and the provided mounting screws being of low quality. However, the overall quality and functionality of these blinds make them a great choice for any room in your home.

Overall Score: 7/10
Enhance the beauty of your windows with the Achim Home Furnishing Cordless GII Luna 2" Slat Mahogany Venetian Window Blinds. These blinds feature a luxurious woodgrain appearance and can be installed inside or outside the window frame. With a cordless operation, you can easily control the light and privacy by simply lifting or lowering the blinds. The 2" wide vinyl slats are both rich and vibrant, adding a touch of elegance to any room in your home. Whether you need to create a cozy ambiance or block out the sun, these blinds are perfect for the job.
Key Features
- Actual Size: 43" (Width) x 64" (Length)
- 2" wide Vinyl slat for light and privacy control
- Rich And Vibrant Embossed Slats With Woodgrain Appearance
- Can be installed inside or outside the window frame
- Cordless operation for easy use
Specifications
- Color: Mahogany
- Dimension: 46.00Lx4.00Wx2.00H
- Size: 43" x 64"
Pros
- Luxurious woodgrain appearance
- Easy installation inside or outside window frame
- Cordless operation for convenient use
Cons
- Fragile rods that can break easily
- Some customers received blinds with faded ends
- String to open and close the blinds may break quickly
Overall, the Achim Home Furnishing Cordless GII Luna 2″ Slat Mahogany Venetian Window Blinds are a great addition to any home. They provide a luxurious woodgrain appearance and are easy to install. The cordless operation adds convenience, allowing for effortless control of light and privacy. However, some customers have reported issues with the durability of the blinds, such as fragile rods and easily broken strings. Nevertheless, if you are in need of blinds that are both aesthetically pleasing and functional, these blinds are worth considering.
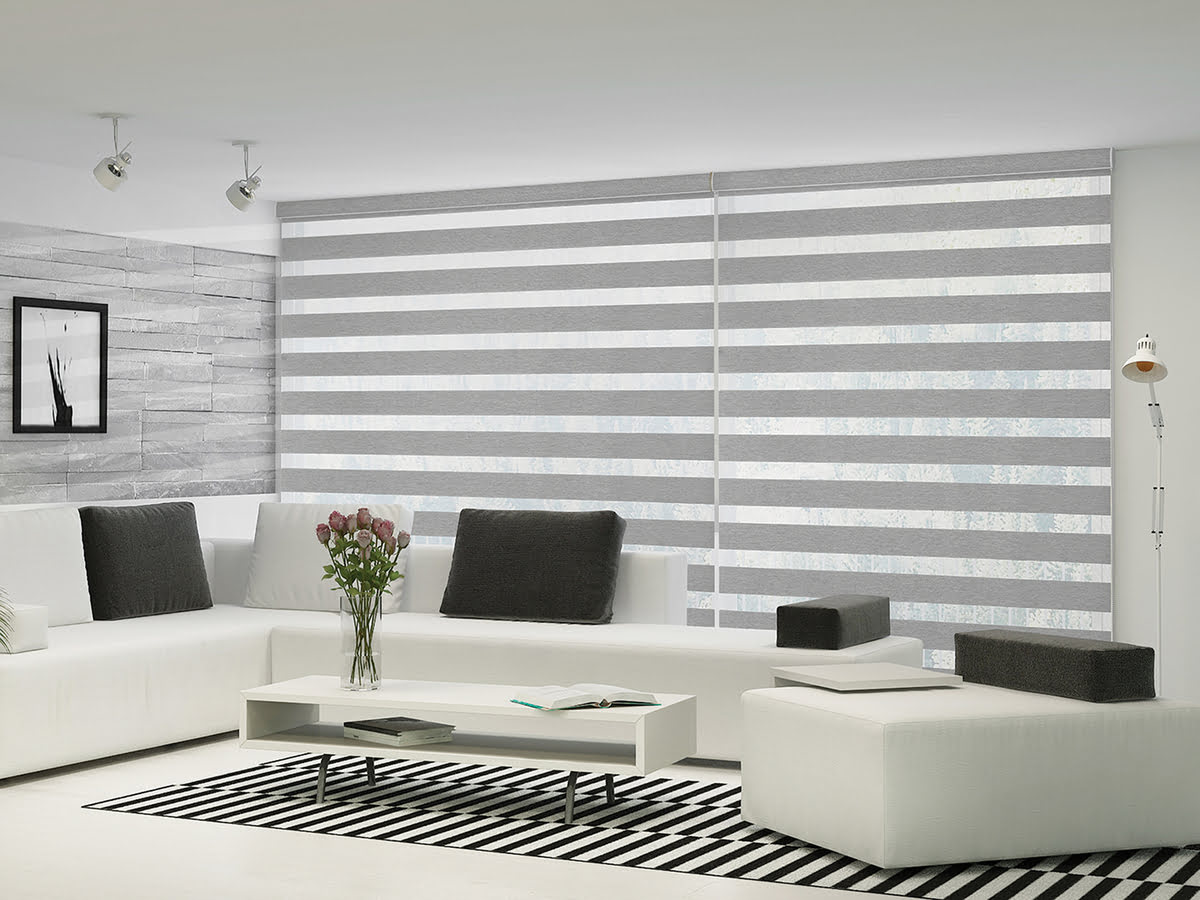
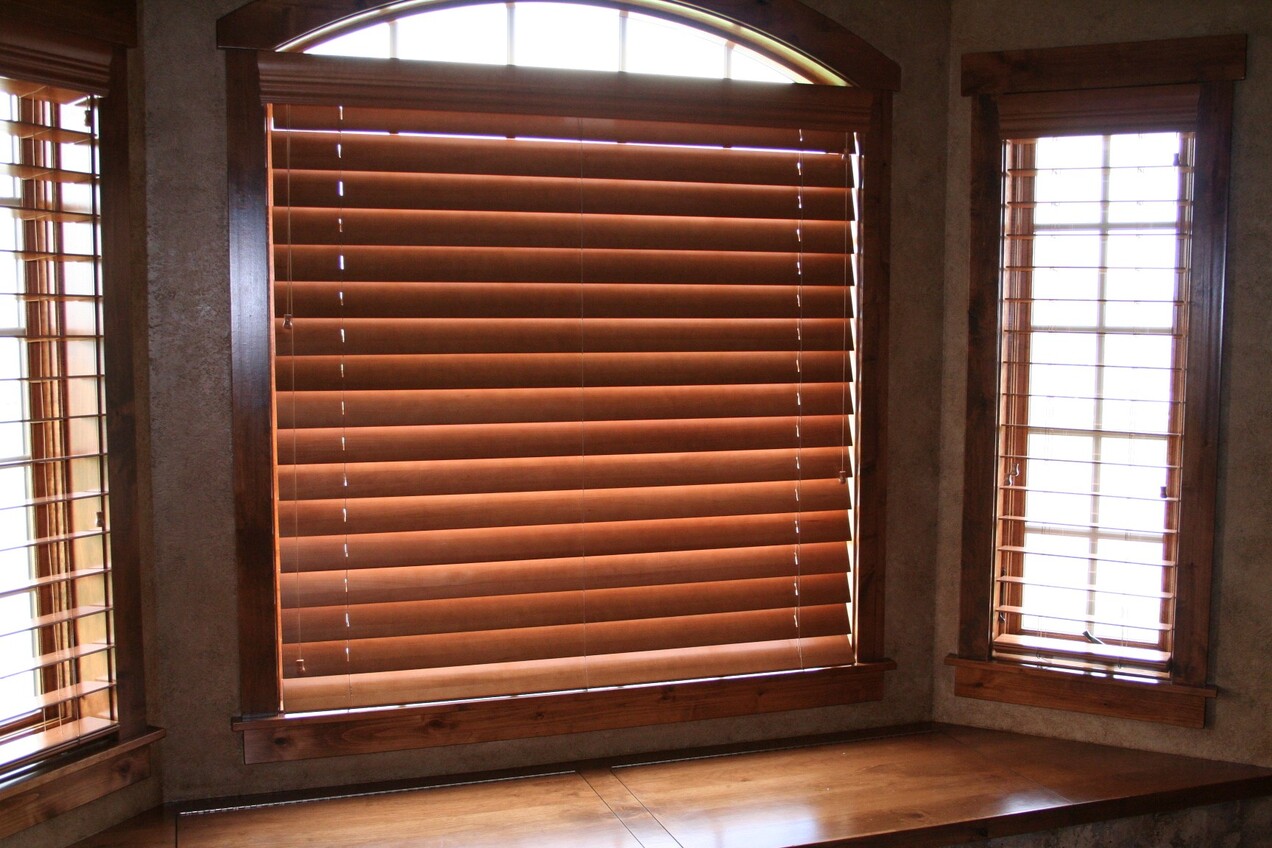
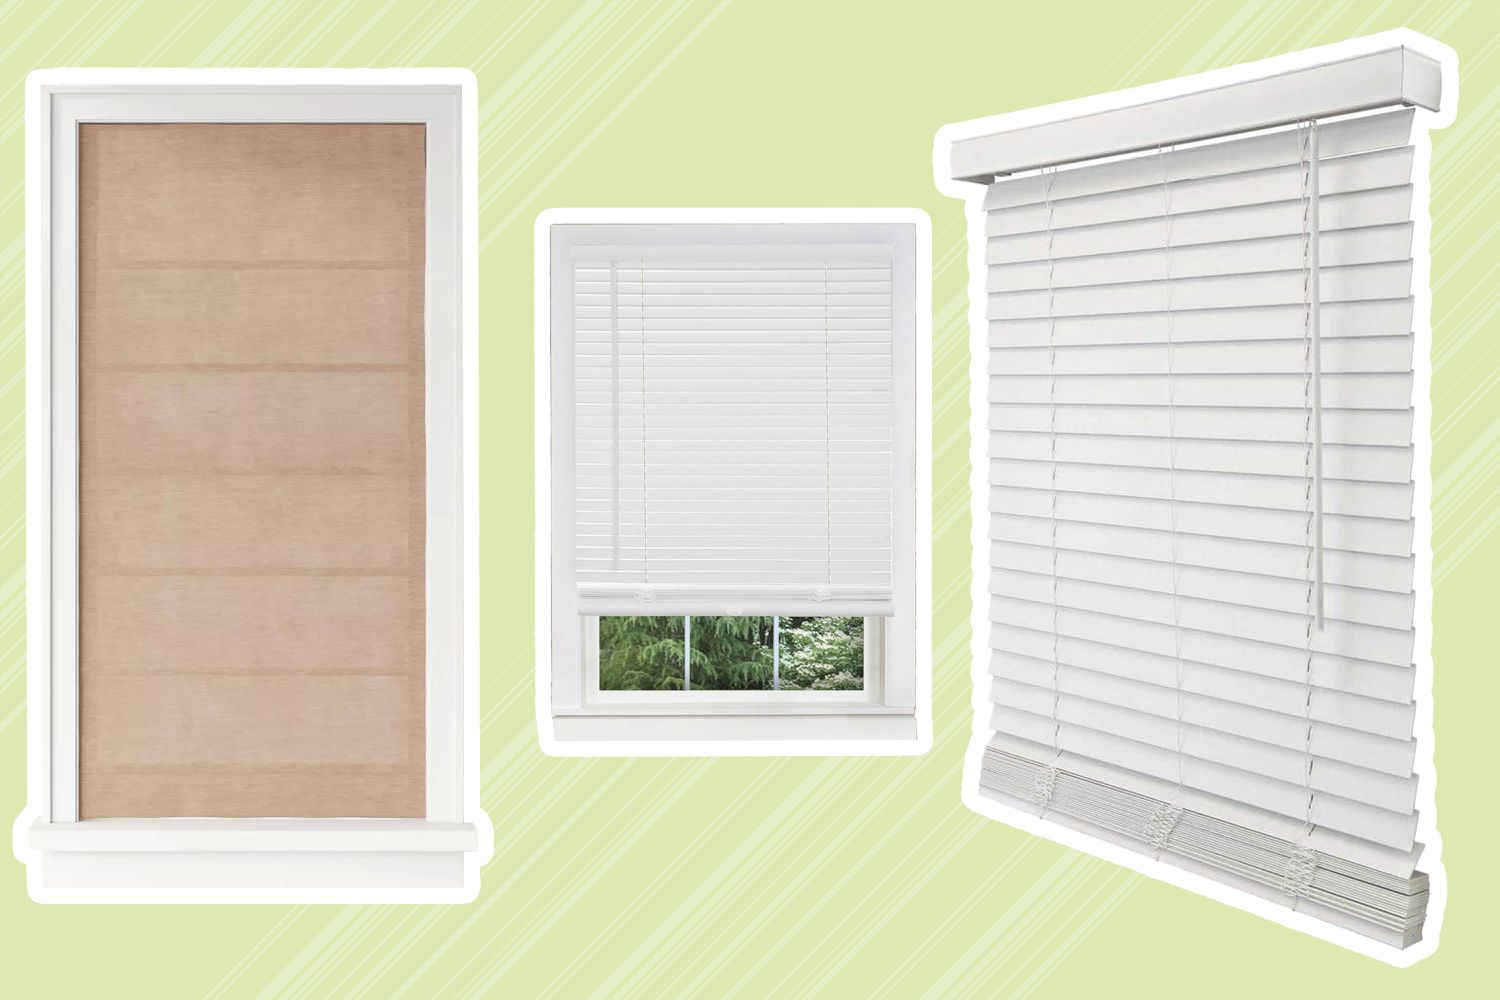
Buyer's Guide: Venetian BlindsVenetian blinds are a classic window covering that adds sophistication and functionality to any space. Whether you are looking to enhance your home or office décor, these stylish blinds offer great light control and privacy options. With countless options available in the market, it can be overwhelming to choose the perfect venetian blinds for your needs. Fear not! With our comprehensive buyer's guide, we'll help you navigate through the sea of options and make an informed decision.Why choose venetian blinds?
- Venetian blinds are versatile and suitable for any room or window size.
- They provide excellent control over privacy and natural light.
- These blinds offer a timeless and elegant look, complementing various interior styles.
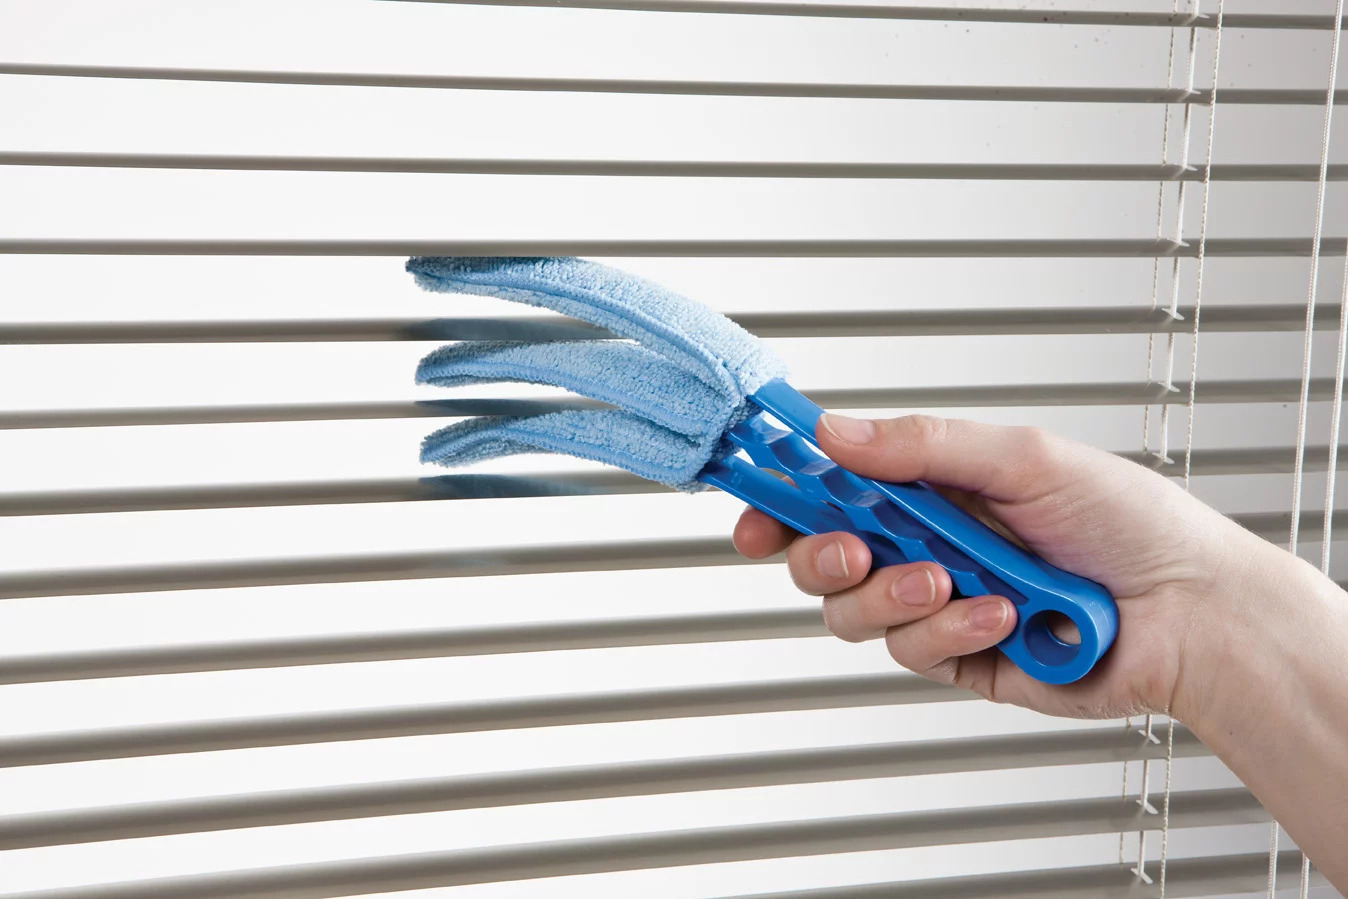
- Venetian blinds are generally easy to clean and maintain.
- They come in a wide range of materials, colors, and finishes to suit different tastes and preferences.
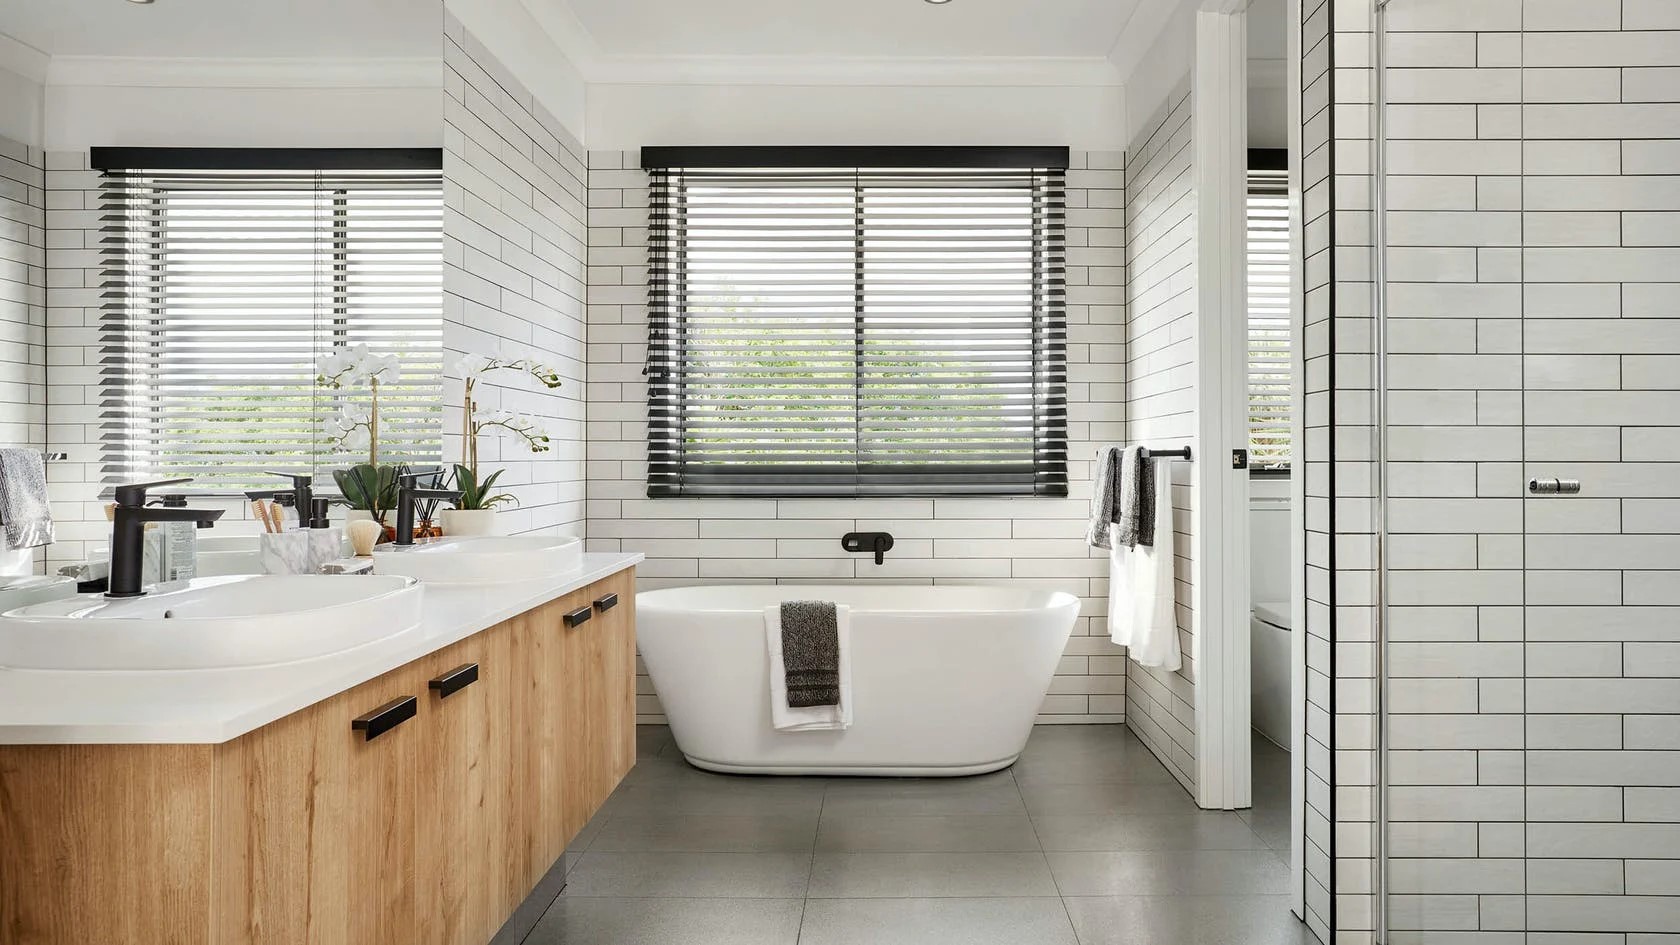
Things to consider before purchasing venetian blinds:1. Material:
- Wooden blinds exude a warm and natural ambiance while offering durability and long-lasting performance.
- Aluminum blinds are lightweight, affordable, and resistant to moisture, making them perfect for kitchens and bathrooms.
2. Slat Width:
- Narrower slats are ideal for small windows, providing a sleek and contemporary appearance.
- Wider slats are better suited for larger windows, giving a more traditional and substantial look.
3. Control Mechanism:
- Corded blinds are the classic choice for controlling the angle of the slats and raising or lowering the blinds.
- Cordless options are safer for households with children or pets, eliminating the risk of tangling hazards.
4. Light Control:
- Standard blinds allow you to adjust light levels by rotating the slats, providing varying degrees of sunlight or privacy.
- Room darkening blinds, with special light-blocking features, are perfect for bedrooms or media rooms where complete darkness is desired.
5. Privacy:
- Privacy is enhanced when the slats are tilted shut, preventing outside viewers from seeing in.
- Top-down/bottom-up blinds offer enhanced privacy by allowing you to adjust the positioning of the window coverage.
6. Window Size and Orientation:
- Consider the size and orientation of your windows to determine the appropriate width and length of the blinds.
- Wide windows may require multiple blinds or larger slat sizes for a balanced and proportional appearance.
7. Energy Efficiency:
- Insulating blinds made from materials like wood can help regulate indoor temperature, reducing heating and cooling costs.
8. Style and Color:
- Choose a style and color that complements your interior décor, blending harmoniously with the overall design scheme.
- Remember, neutral shades tend to be versatile and timeless, while bolder colors can make a statement but may be less adaptable.
9. Installation:
- Ensure the blinds come with easy-to-follow installation instructions or consider professional installation if needed.
- Check if the mounting brackets and hardware are included in the package or need to be purchased separately.
10. Budget:
- Establish a budget guideline before shopping to narrow down your choices and ensure cost-effective purchases.
Frequently Asked Questions about 13 Best Venetian Blinds For 2024
Measure the width and height inside your window frame and select blinds that fit within those measurements for an optimal fit.
Yes, aluminum venetian blinds are a great choice for high-humidity areas as they are moisture resistant.
Yes, venetian blinds can be an excellent choice for tall windows. Consider using longer cords or motorized options for easy operation.
Regular dusting or vacuuming helps keep your venetian blinds clean. For deeper cleaning, wipe the slats with a damp cloth or use mild soap and water.
Depending on your DIY skills and comfort level, you can install venetian blinds yourself using the provided instructions. If in doubt, it’s best to seek professional help for accurate installation.
Was this page helpful?
Trust Storables.com for unbiased and honest product reviews. Our reviews are rigorously assessed by our Expert Board Contributors and adhere to strict Editorial Standards. We ensure that each review is transparent and trustworthy, helping you make informed purchasing decisions.


0 thoughts on “13 Best Venetian Blinds for 2024”