
Articles
How To Steam A Shirt With A Steamer
Modified: September 1, 2024
Learn how to properly steam a shirt with a steamer in this informative article. Find step-by-step instructions and helpful tips to achieve wrinkle-free results.
(Many of the links in this article redirect to a specific reviewed product. Your purchase of these products through affiliate links helps to generate commission for Storables.com, at no extra cost. Learn more)
Introduction
Welcome to the world of steaming, where creases and wrinkles on your shirts become a thing of the past. There’s nothing quite like putting on a freshly-steamed shirt that looks crisp, sharp, and ready to conquer the day. Steaming your shirts not only helps to maintain their quality and appearance but it also saves you time and effort compared to traditional ironing methods. In this article, we will guide you through the step-by-step process of steaming a shirt with a steamer.
Steaming a shirt is a quick and effective way to remove wrinkles and refresh the fabric without any risk of burning or scorching it. Steaming is also suitable for a wider range of fabrics compared to ironing, as it is gentler on delicate materials. Whether you need to quickly freshen up a shirt before heading out or want to ensure your best and most presentable look for a special occasion, steaming is your go-to solution.
In order to successfully steam a shirt, it is important to have the right tools and materials on hand. Preparation is key to achieving the best results. So, let’s take a look at the essential items you will need before starting the steaming process.
Key Takeaways:
- Say goodbye to wrinkles and hello to convenience with steaming. Achieve a polished, professional look with the right tools and techniques, saving time and extending the lifespan of your shirts.
- Transform your rumpled shirts into crisp, wrinkle-free garments. With the gentle and versatile approach of steaming, you can confidently step out looking sharp and put-together every day.
Read more: How To Steam In A Bamboo Steamer
Tools and Materials Needed
Before you begin steaming your shirt, gather the following tools and materials:
- A garment steamer: This is the most important tool you’ll need. Invest in a reliable and high-quality garment steamer that produces consistent steam and comes with various attachments for different fabric types.
- A hanger: Choose a sturdy hanger that can support the weight of your shirt without causing it to sag or stretch.
- Distilled water: It’s important to use distilled water to fill your steamer’s water reservoir. Tap water contains minerals that can clog the steamer over time.
- A flat surface: Find a flat, stable surface like a table or countertop where you can set up your steamer and work comfortably.
- A clean and flat workspace: Make sure to start with a clean, clutter-free workspace to avoid any accidents or mishaps while steaming.
- A clean lint roller: Before steaming, run a lint roller over your shirt to remove any loose fibers, lint, or dust.
- A spray bottle: Fill a spray bottle with water to help to treat stubborn wrinkles or creases.
Having these tools and materials readily available will ensure a smooth and efficient steaming process. Once you have everything prepared, you’re ready to move on to the next step: preparing the steamer.
Step 1: Preparing the Steamer
Before you begin steaming your shirt, it’s important to properly prepare your steamer to ensure optimal performance. Follow these steps to prepare your steamer:
- Fill the water reservoir: Check the manufacturer’s instructions for your specific steamer model to determine the correct amount of water to fill the reservoir. Usually, you’ll need to use distilled water to prevent any mineral buildup. Be sure not to overfill the reservoir, as this can lead to leaks.
- Plug in the steamer: Find a nearby electrical outlet and plug in your steamer. Give it a few minutes to heat up and generate steam. Some steamers have a specific indicator or light that will let you know when it’s ready.
- Choose the appropriate attachment: Depending on the fabric of your shirt, select the appropriate attachment for your steamer. For most shirts, a standard clothes steaming attachment will suffice. However, if your shirt has delicate or intricate detailing, opt for a smaller, more precise attachment.
- Hang the shirt: Take your hanger and hang the shirt you want to steam. Make sure the shirt is fastened securely on the hanger and that it hangs freely, without any folds or overlapping fabric.
By following these steps, you’ll ensure that your steamer is ready to tackle the wrinkles on your shirt effectively. Now, let’s move on to preparing the shirt itself.
Step 2: Preparing the Shirt
Now that your steamer is ready, it’s time to prepare the shirt for steaming. Follow these steps to ensure the best results:
- Inspect the fabric: Before steaming, it’s important to check the care label on your shirt to determine the appropriate temperature and settings to use. Different fabrics require different steaming techniques, so make sure to familiarize yourself with the fabric’s requirements.
- Button up the shirt: Fasten all the buttons on the shirt, including the cuffs and collar. This will help maintain the shape of the shirt while steaming.
- Stretch the fabric: Gently tug on the sleeves, collar, and any other areas with wrinkles to stretch the fabric. This will make it easier for the steam to penetrate deep into the fibers and release the wrinkles.
- Smooth out the shirt: Use your hands to smooth out any major wrinkles or creases on the shirt. This step will help the steam work more efficiently and remove the wrinkles more effectively.
Properly preparing the shirt before steaming will ensure that the steam can penetrate the fabric effectively and eliminate wrinkles from all areas of the shirt. Keep in mind the fabric’s specific requirements and follow the care instructions provided to avoid any potential damage.
With your shirt prepared and ready, it’s time to move on to the next step: steaming the shirt.
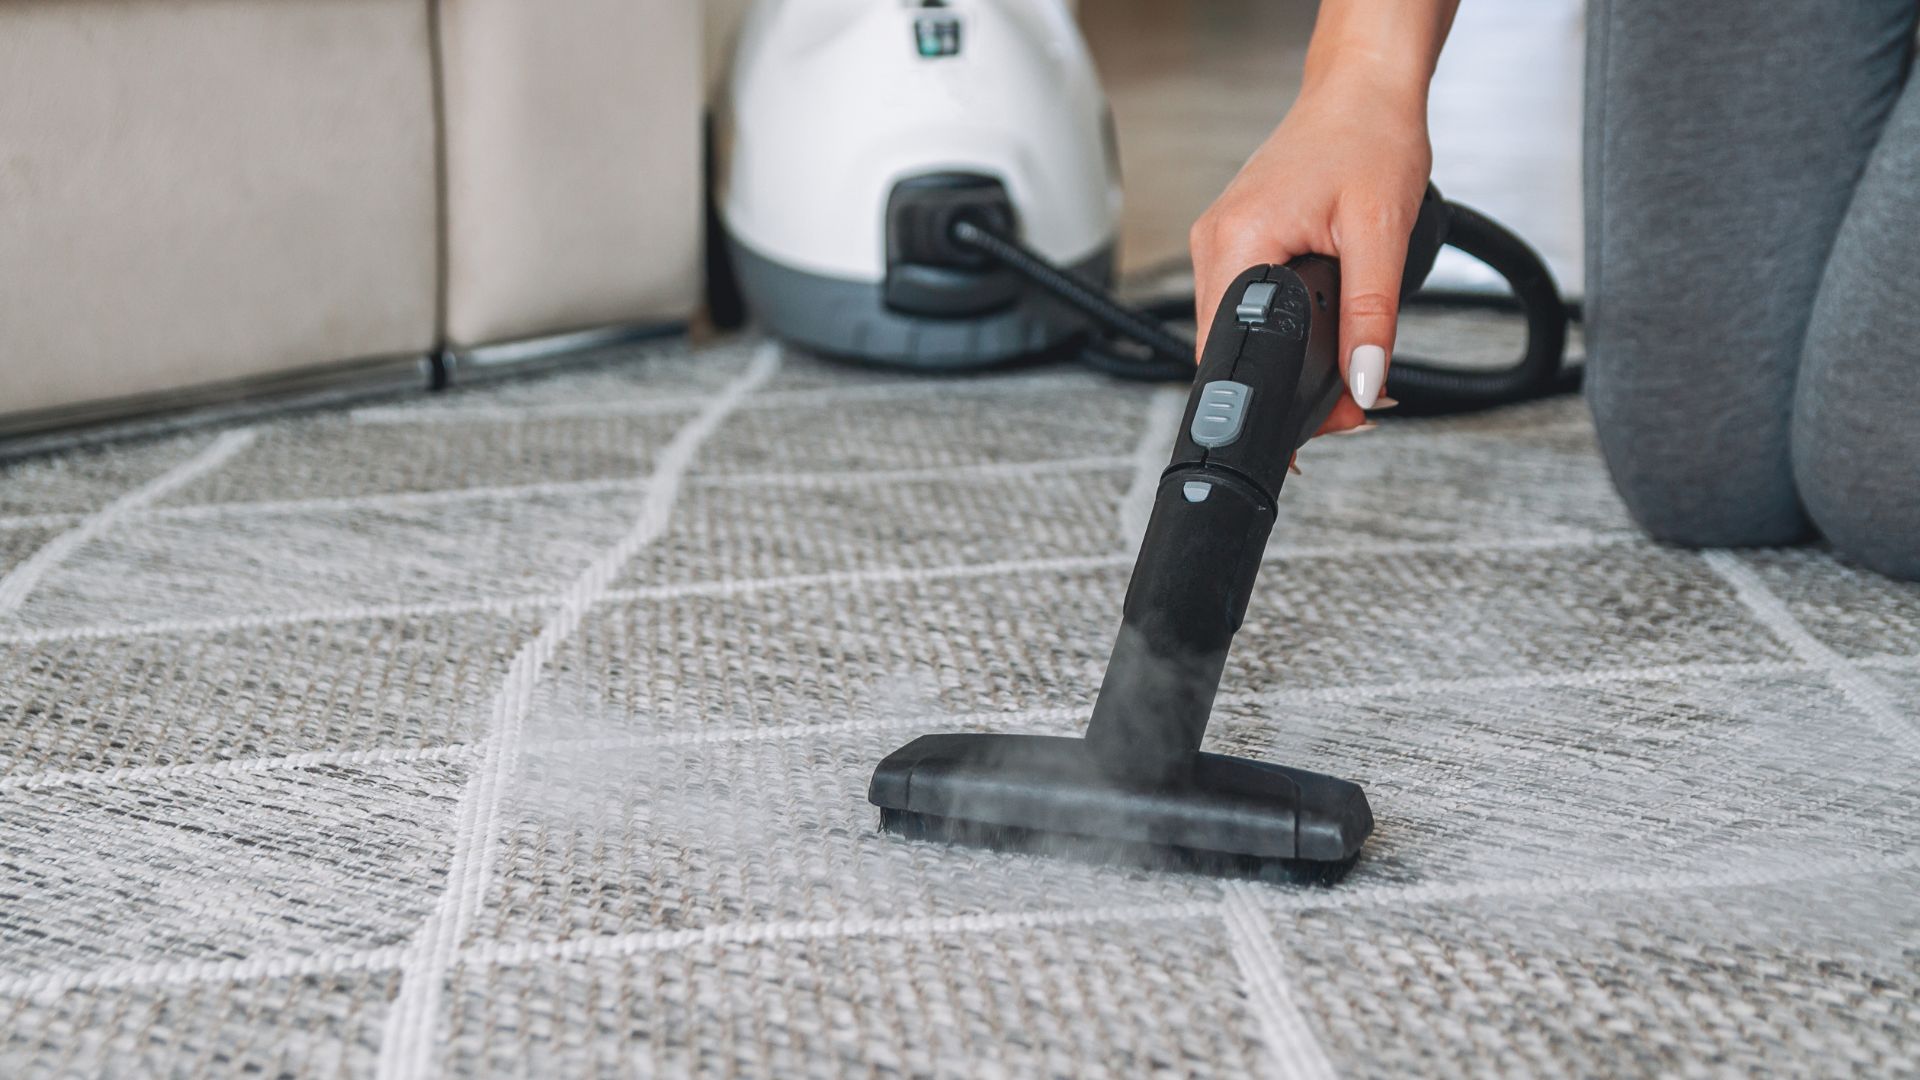
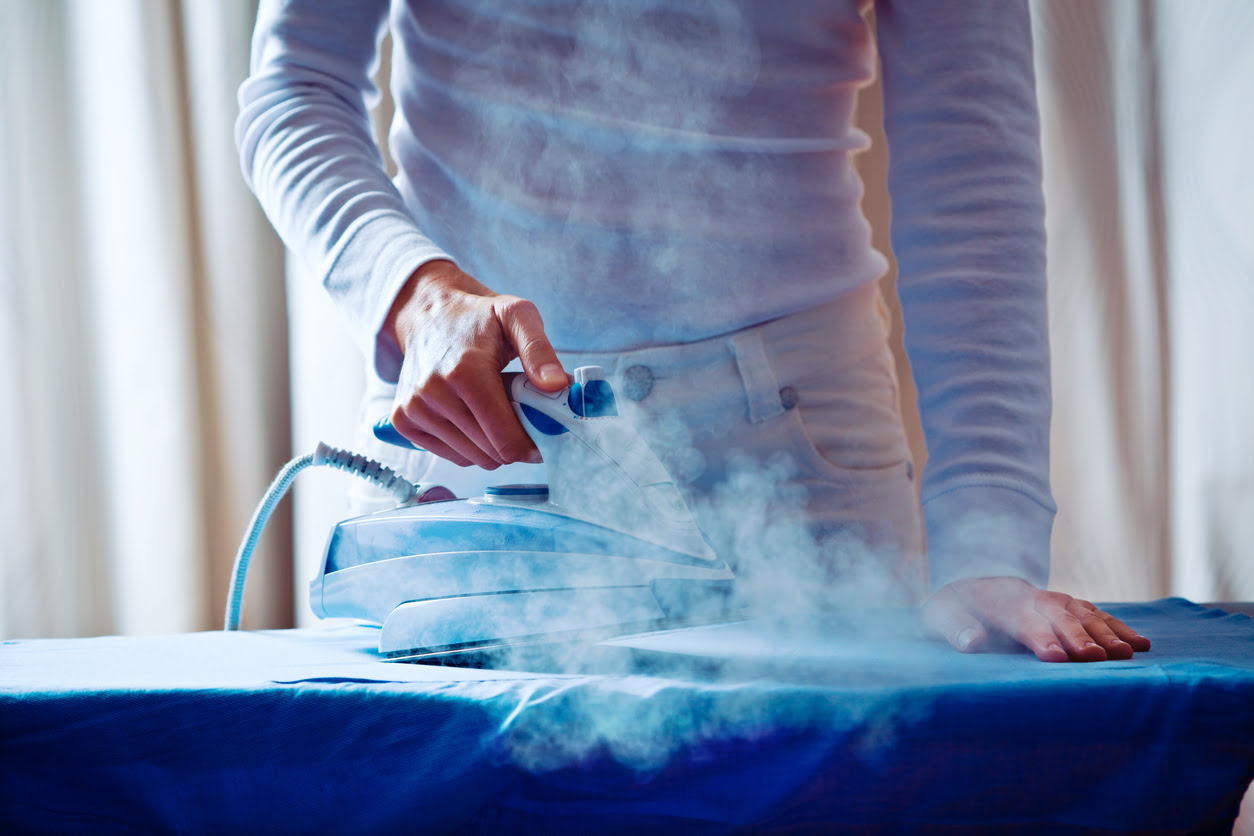
When steaming a shirt with a steamer, start from the top and work your way down, using long, vertical strokes to remove wrinkles effectively.
Step 3: Steaming the Shirt
Now that your steamer is prepared and your shirt is ready, it’s time to start steaming. Follow these steps to effectively steam your shirt:
- Position the steamer: Hold the steamer in one hand and position it vertically, allowing the steam to flow out in a consistent stream. Make sure the steam head is a few inches away from the fabric to avoid any direct contact that may result in watermarks.
- Start from the top: Begin steaming the shirt from the top, focusing on one section at a time. Move the steamer in upward strokes, starting from the collar and working your way down the front and back of the shirt.
- Steam the sleeves: After steaming the main body of the shirt, move on to the sleeves. Starting from the shoulders, glide the steamer down the length of each sleeve, ensuring you steam both the front and back sides.
- Pay attention to stubborn wrinkles: If you come across any stubborn wrinkles or creases, hold the steamer over the area and either gently tug on the fabric or use a spray bottle to mist the area with water. The combination of steam and moisture will help release the stubborn wrinkles.
- Work in sections: Divide the shirt into manageable sections and steam each section thoroughly. This will ensure that all areas of the shirt receive equal attention and that wrinkles are effectively removed.
As you steam, keep in mind that holding the steamer in one spot for too long can cause moisture buildup, leading to damp spots on the fabric. Continuously move the steamer in smooth, upward strokes to evenly distribute the steam throughout the shirt.
Now that you’ve steamed the main body and sleeves of the shirt, it’s time to move on to those troublesome areas that need extra attention. This brings us to the next step: paying attention to troublesome areas.
Read more: How To Steam Hair With Steamer
Step 4: Paying Attention to Troublesome Areas
Every shirt has its own set of troublesome areas where wrinkles tend to be more stubborn. By giving these areas some extra attention, you can achieve a perfectly steamed shirt. Here’s what you need to do:
- Collar: Start with the collar, as it is often a focal point of any outfit. Use the steamer to steam both the inside and outside of the collar, ensuring that it is completely wrinkle-free.
- Cuffs: Move on to the cuffs of the shirt. Unbutton any buttons and gently roll back the cuffs to expose the inner side. Steam both the inside and outside of each cuff, paying close attention to any creases or wrinkles.
- Plackets: The placket, which is the strip of fabric that runs along the front of the shirt where the buttons are located, can often have stubborn wrinkles. Steam along the length of the placket to smooth out any creases or fabric folds.
- Pockets: If your shirt has pockets, steam over them to remove any wrinkles that may have formed. Use your other hand to gently pull the fabric taut while steaming for better results.
- Button area: The area around the buttons can sometimes have creases or fabric folds. Steam carefully around the buttons, using your fingers to smooth out any wrinkles or fabric irregularities.
By paying extra attention to these troublesome areas, you’ll ensure that your shirt looks impeccable from every angle. Remember to take your time and be thorough when steaming each section. With the troublesome areas addressed, it’s time for the final step: adding the finishing touches.
Step 5: Finishing Touches
Now that you’ve successfully steamed your shirt and tackled the troublesome areas, it’s time to add the finishing touches to achieve that polished, crisp look. Follow these steps for the final touches:
- Let the shirt rest: After steaming, it’s important to let the shirt rest for a few minutes on the hanger. This allows the fabric to cool down and allows any remaining wrinkles to naturally relax.
- Smooth out any remaining wrinkles: If you notice any residual wrinkles or creases, quickly go over them with the steamer once again. Use the steam to smooth out the fabric and eliminate any last-minute imperfections.
- Hang the shirt to dry: Once you’re satisfied with the steaming, hang the shirt in a well-ventilated area to allow any moisture to evaporate. This will prevent dampness and ensure the shirt is dry and ready to wear.
- Inspect the results: Take a step back and admire the results of your steaming efforts. Your shirt should now be wrinkle-free, fresh, and ready to be worn.
By adding these finishing touches, you’ll be able to achieve a perfectly steamed shirt that exudes professionalism and style. Remember to always follow the care instructions provided by the garment manufacturer to ensure the longevity and quality of your shirts.
Congratulations! You’ve successfully steamed your shirt and transformed it from a rumpled mess into a perfectly pressed garment. Now, you can confidently put on your steamed shirt and tackle the day with a polished and put-together appearance.
By following these steps and taking the time to steam your shirts properly, you’ll be able to maintain their quality, prolong their lifespan, and always look your best. Happy steaming!
Conclusion
Steaming shirts is a convenient and effective method for removing wrinkles, refreshing fabrics, and achieving a polished look. With the right tools, preparation, and technique, you can easily transform wrinkled shirts into crisp, professional garments.
Throughout this article, we’ve covered the step-by-step process of steaming a shirt with a steamer. From preparing the steamer and the shirt to steaming each section and paying attention to troublesome areas, we’ve provided you with the knowledge and guidance to successfully steam your shirts.
Remember to always read the care labels on your shirts to ensure you are steaming them at the appropriate temperature and using the correct settings. Additionally, take your time when steaming, paying attention to details and focusing on those stubborn wrinkles in troublesome areas.
By incorporating steaming into your garment care routine, you’ll not only save time and effort compared to traditional ironing methods but also extend the lifespan of your shirts by preventing damage from excessive heat. Steaming is a gentle and versatile approach that can be used on a variety of fabrics, making it a valuable skill to have in your arsenal.
So, pick up a reliable garment steamer, gather the necessary tools and materials, and start steaming your shirts to perfection. Enjoy the ease and convenience of wrinkle-free clothing and confidently step out looking sharp and put-together every day.
Thank you for reading, and happy steaming!
Frequently Asked Questions about How To Steam A Shirt With A Steamer
Was this page helpful?
At Storables.com, we guarantee accurate and reliable information. Our content, validated by Expert Board Contributors, is crafted following stringent Editorial Policies. We're committed to providing you with well-researched, expert-backed insights for all your informational needs.


0 thoughts on “How To Steam A Shirt With A Steamer”