
Articles
How To Store Wooden Honey Dipper
Modified: December 7, 2023
Learn the best techniques for storing your wooden honey dipper articles to ensure their longevity and quality. Find tips and tricks for proper maintenance and preservation.
(Many of the links in this article redirect to a specific reviewed product. Your purchase of these products through affiliate links helps to generate commission for Storables.com, at no extra cost. Learn more)
Introduction
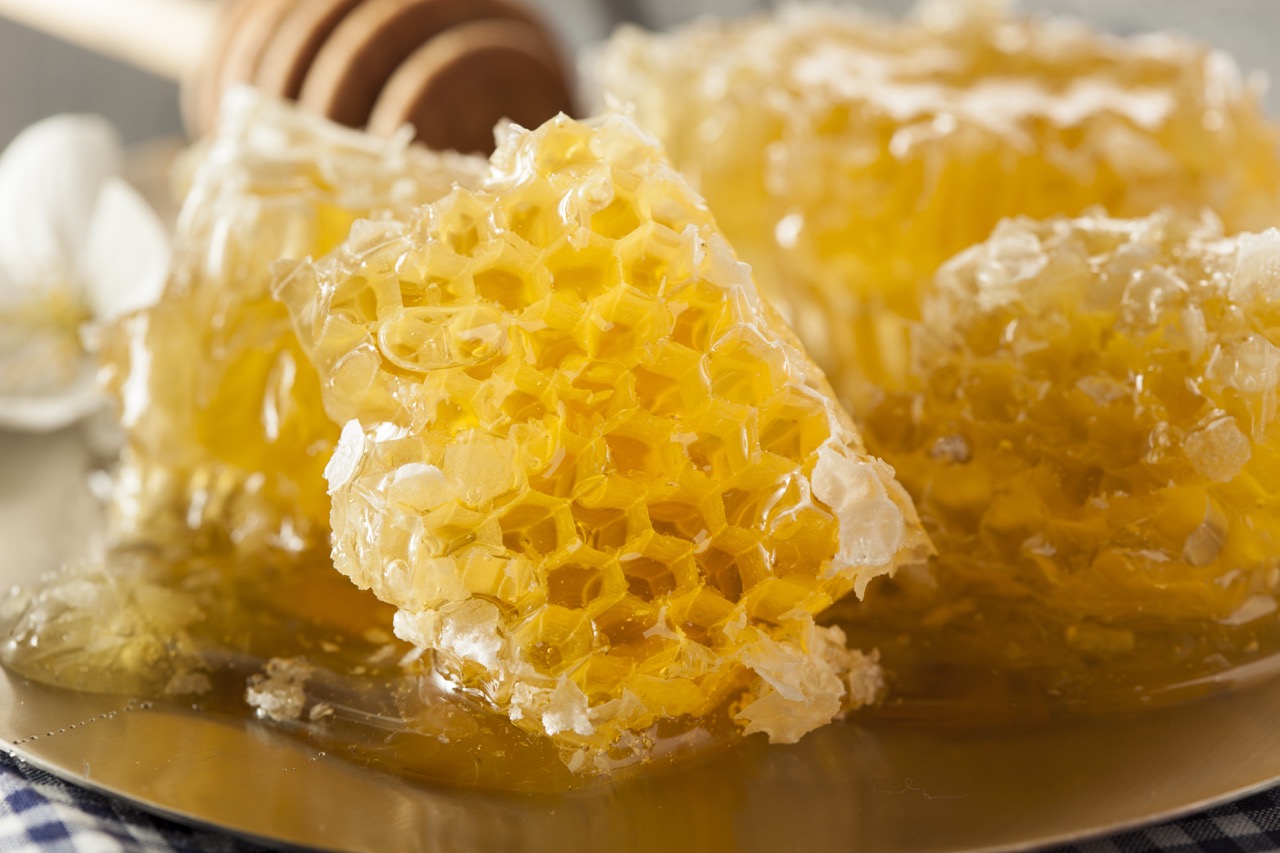
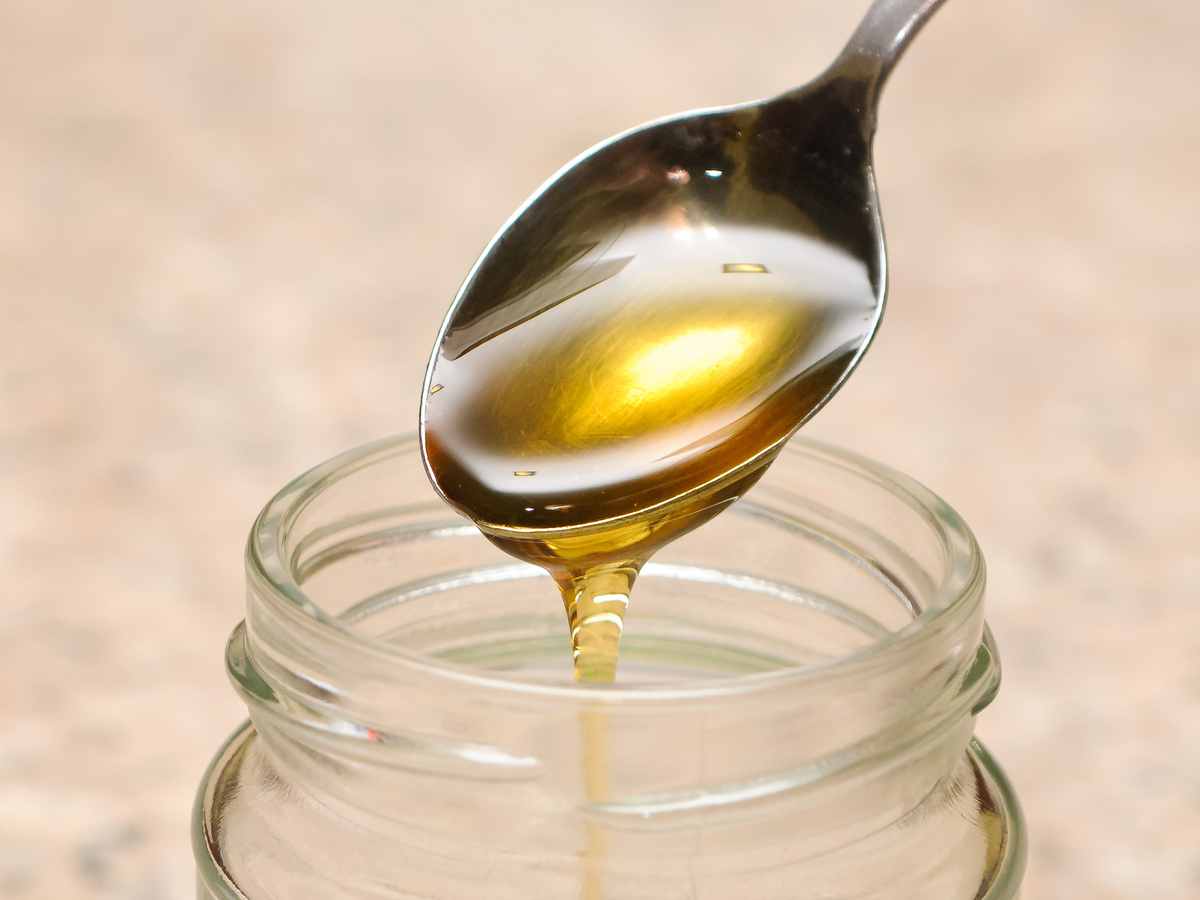
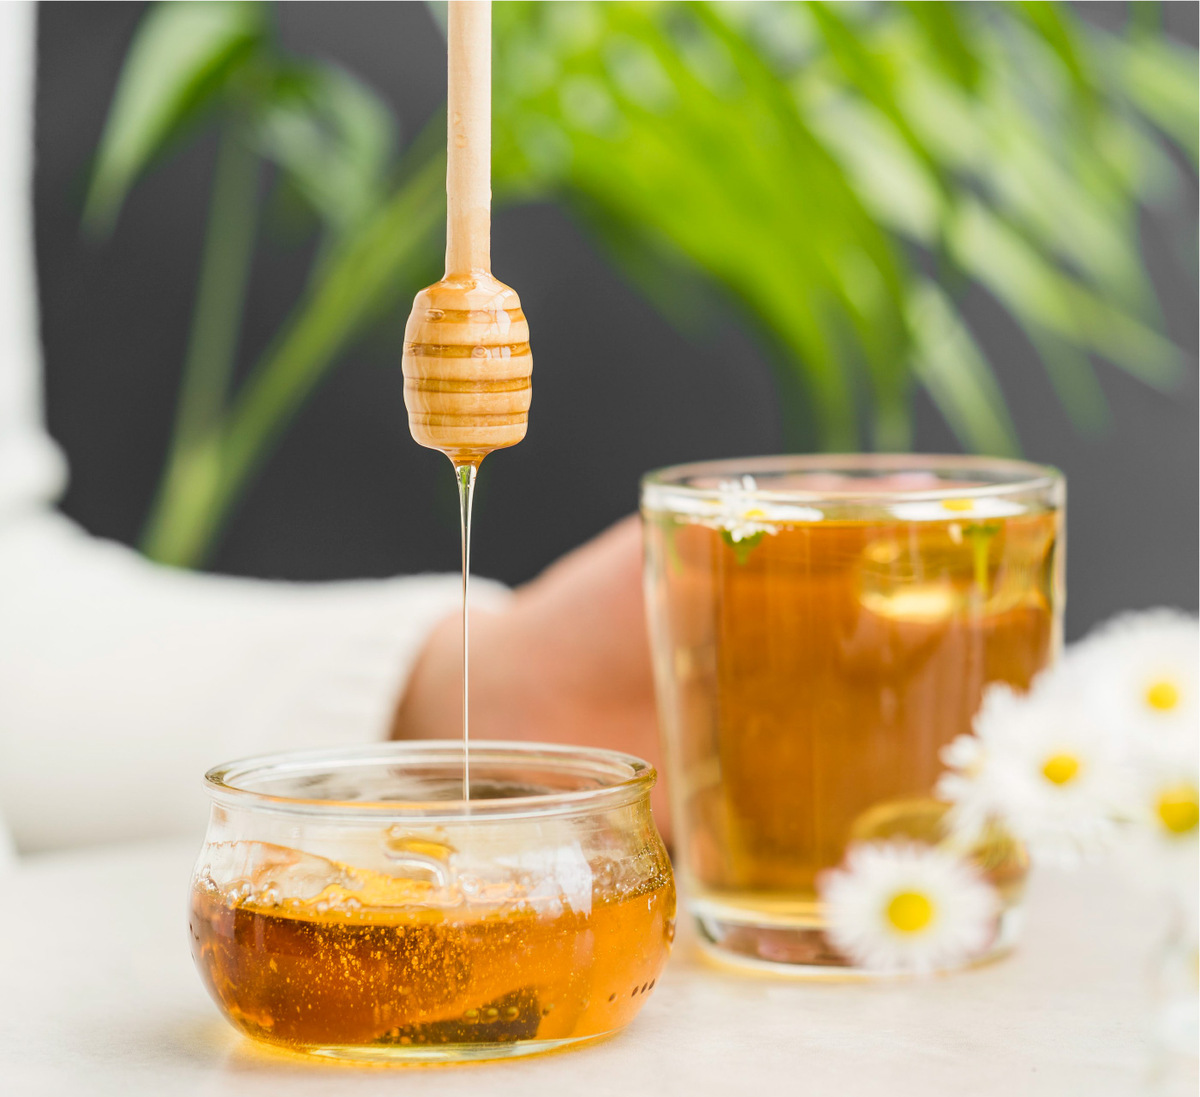
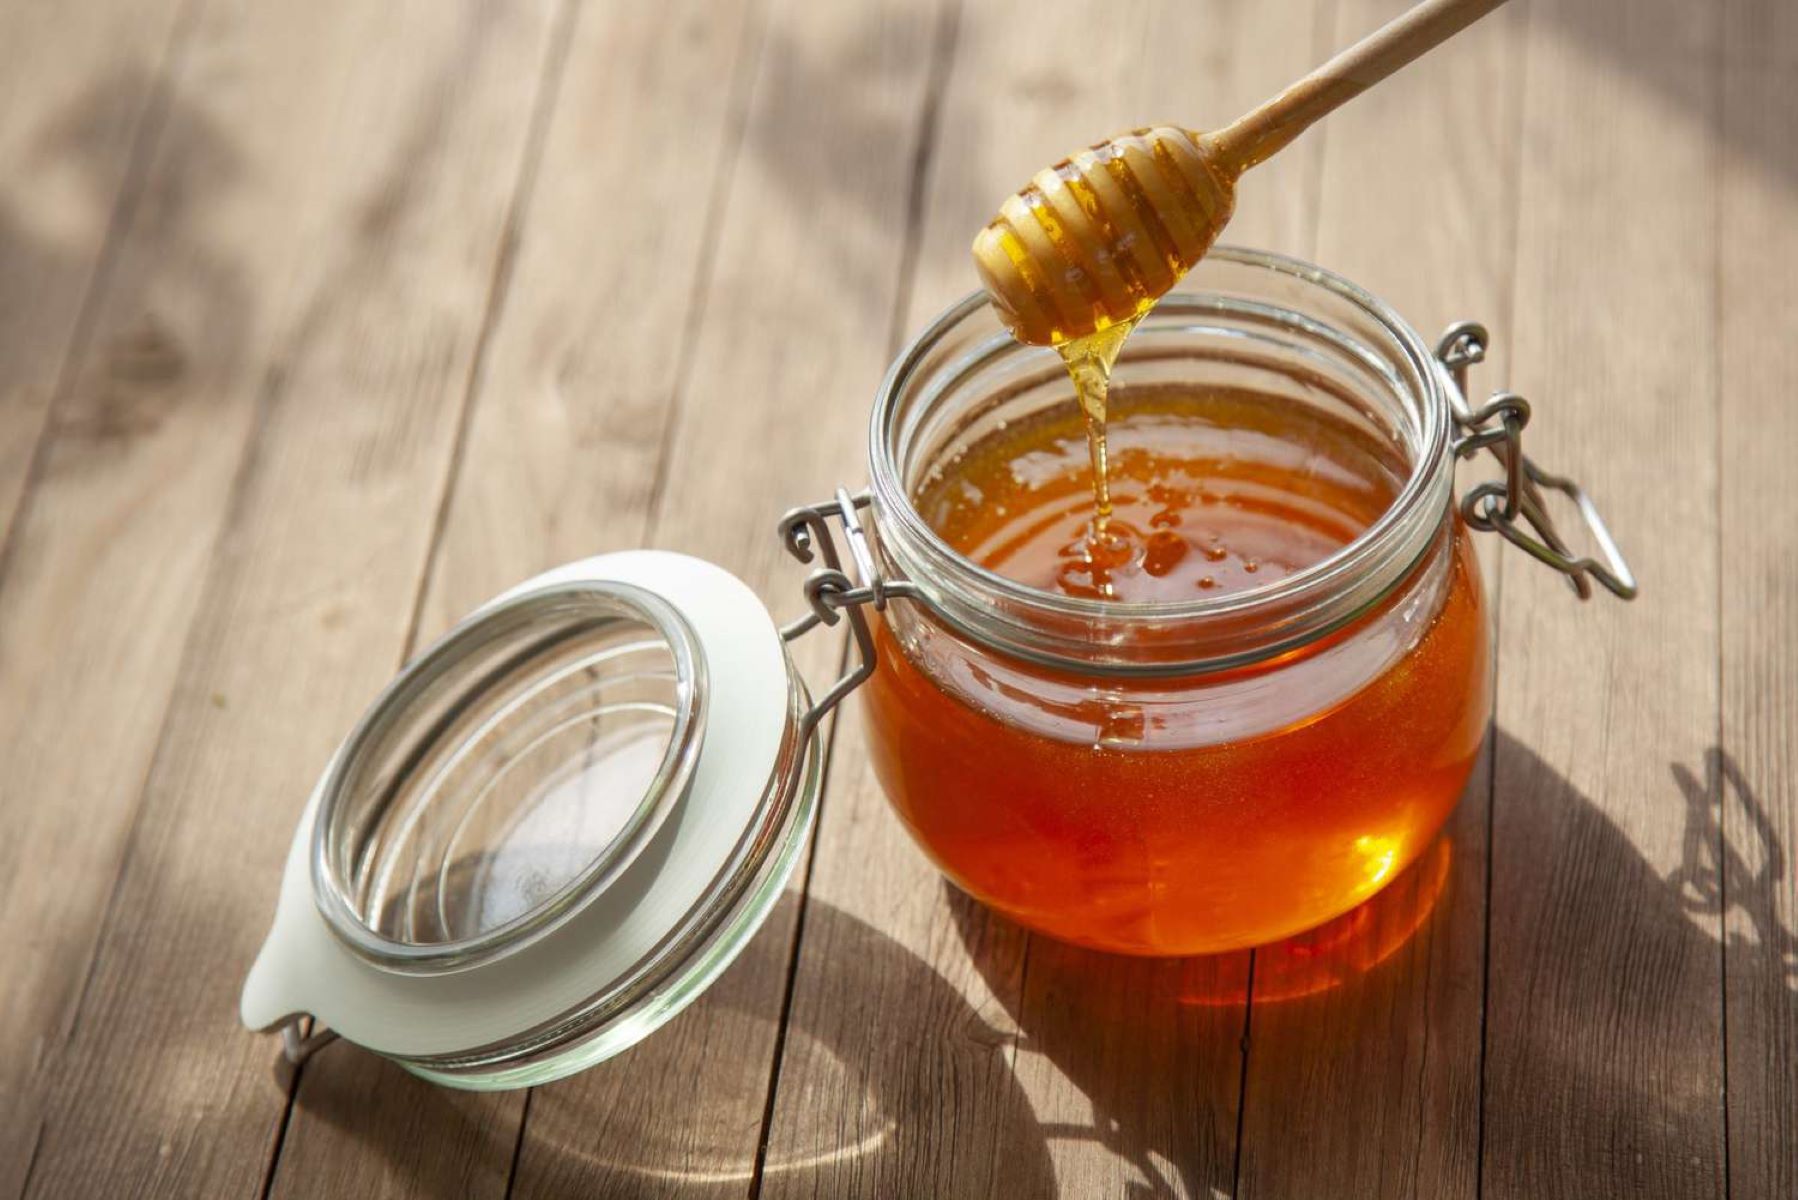
When it comes to enjoying the golden sweetness of honey, there’s nothing quite like using a wooden honey dipper. These timeless utensils are not only functional but also add a touch of rustic charm to any kitchen. However, to keep your wooden honey dipper in optimal condition and ensure its longevity, proper storage is key. By following a few simple steps, you can maintain the quality of your wooden honey dipper for years to come.
In this article, we will explore the importance of properly storing wooden honey dippers and provide some recommended storage options. Whether you’re a honey connoisseur or just a casual honey lover, these tips will help you keep your wooden honey dipper in excellent shape.
Key Takeaways:
- Properly storing your wooden honey dipper is crucial for preserving its quality, hygiene, and longevity. Follow recommended storage options to protect it from damage and ensure years of functional and rustic charm.
- Clean and dry your wooden honey dipper after each use, choose a dry and cool storage area, avoid excessive heat and direct sunlight, consider using an airtight container or bag, and periodically maintain it with food-safe oil or wax to ensure its longevity and quality.
Read more: How To Store Honey
Importance of Properly Storing Wooden Honey Dippers
Proper storage is essential for maintaining the quality and longevity of wooden honey dippers. Here are a few reasons why it’s important to store your wooden honey dipper correctly:
- Preserving the Wood: Wooden honey dippers are typically made from natural materials, such as beechwood or bamboo. These materials are susceptible to damage from moisture, heat, and exposure to the elements. By storing the dipper properly, you can prevent warping, cracking, or splitting of the wood.
- Maintaining Hygiene: Honey is a sticky substance that can easily cling to the surface of the dipper. Improper storage can lead to the growth of bacteria or the formation of mold, compromising the hygiene of the utensil. By storing the dipper correctly, you can minimize the risk of contamination.
- Prolonging the Lifespan: A well-cared-for wooden honey dipper can last for years. By storing it properly, you can extend its lifespan and avoid the need for frequent replacements.
Now that we understand the importance of proper storage, let’s explore some recommended options for storing your wooden honey dipper.
Recommended Storage Options for Wooden Honey Dippers
To ensure the longevity and quality of your wooden honey dipper, here are some recommended storage options:
- Clean and Dry the Wooden Honey Dipper: Before storing, make sure your wooden honey dipper is clean and dry. Rinse it with warm water and mild soap, then thoroughly dry it with a clean towel. Removing any residue or moisture helps prevent the growth of bacteria or mold.
- Use a Dry and Cool Storage Area: Choose a storage area that is away from excessive moisture, such as a dry pantry or kitchen cabinet. Avoid storing the dipper near the sink or in humid areas, as this can cause the wood to swell or warp.
- Avoid Excessive Heat or Direct Sunlight: Keep the wooden honey dipper away from direct sunlight or heat sources like stovetops or ovens. Prolonged exposure to high temperatures can cause the wood to dry out, crack, or become brittle.
- Store in an Airtight Container or Bag: To further protect the wooden honey dipper from moisture and contaminants, consider storing it in an airtight container or a sealable bag. This provides an extra layer of defense against humidity and helps maintain the dipper’s cleanliness.
- Consider Using Food-Safe Oil or Wax for Maintenance: Periodically treating the wooden honey dipper with a food-safe oil or wax can help preserve its natural beauty and protect it from damage. Beeswax or mineral oil are excellent options for sealing the wood and preventing it from drying out.
By following these storage options, you can ensure the longevity and quality of your wooden honey dipper, allowing you to continue enjoying its functionality and rustic charm for years to come.
Clean and Dry the Wooden Honey Dipper
The first step in properly storing a wooden honey dipper is ensuring that it is clean and dry.
After each use, rinse the dipper with warm water and mild soap to remove any honey residue. Use a soft-bristled brush or sponge to gently scrub away any sticky residue that may be stuck to the wood. Avoid using harsh chemicals or abrasive materials, as they can damage the wood’s surface.
Once cleaned, thoroughly dry the dipper with a clean towel. Make sure to remove all moisture from the surface, as any lingering moisture can lead to mold or bacterial growth.
If time allows, it’s best to air dry the dipper completely before storing it. This ensures that all surfaces are dry, preventing any moisture from getting trapped and causing damage.
By cleaning and drying your wooden honey dipper before storage, you can prevent the growth of bacteria, mold, or any other contaminants that could compromise the hygiene and longevity of the dipper.
Use a Dry and Cool Storage Area
Choosing the right storage area is crucial for preserving the quality of your wooden honey dipper. Opt for a dry and cool location to prevent damage to the wood.
Avoid storing the dipper near areas with high moisture content, such as sinks or dishwashers. Excessive moisture can cause the wood to swell, warp, or even develop mold. Instead, select a storage spot in your kitchen that is away from water sources and humidity.
Additionally, it’s important to keep the dipper in a cool area. Exposure to high temperatures can cause the wood to dry out and potentially crack. Therefore, avoid storing the dipper near stovetops, ovens, or any other heat sources.
A dry and cool pantry or kitchen cabinet would be an ideal storage location for your wooden honey dipper. The cabinet should provide protection from both moisture and heat, ensuring the longevity and quality of the dipper.
Remember, keeping your wooden honey dipper in a dry and cool storage area helps prevent warping, cracking, and other forms of damage that can occur due to moisture or excessive heat.
To store a wooden honey dipper, make sure it is completely dry before storing it in a cool, dry place away from direct sunlight to prevent warping or cracking.
Read more: How To Store Manuka Honey
Avoid Excessive Heat or Direct Sunlight
When it comes to storing your wooden honey dipper properly, it’s crucial to keep it away from excessive heat and direct sunlight. These conditions can cause damage to the wood and compromise its quality.
Excessive heat can dry out the wood, leading to cracking, warping, and splitting. It’s important to keep the dipper away from heat sources such as stovetops, ovens, or even heating vents. The intense heat can cause the wood to become brittle and weak over time.
Direct sunlight can also be harmful to the wooden honey dipper. Prolonged exposure to UV rays can fade the natural color of the wood and cause it to become discolored or bleached. Additionally, sunlight can contribute to the drying out of the wood, leading to the same risks mentioned above.
To protect your wooden honey dipper from these damaging elements, choose a storage location that is shielded from both excessive heat and direct sunlight. Place it in a shaded area or store it in a cabinet or pantry that is away from windows or other sources of sunlight.
By avoiding excessive heat and direct sunlight, you’ll help to preserve the integrity and appearance of your wooden honey dipper, ensuring it remains in optimal condition for many uses to come.
Store in an Airtight Container or Bag
To provide additional protection for your wooden honey dipper, consider storing it in an airtight container or a sealable bag.
An airtight container or bag helps to create a barrier between the dipper and the surrounding environment, preventing moisture, dust, and other contaminants from coming into contact with the wood.
When selecting a container, choose one that is large enough to accommodate the length of the dipper. Make sure it has a tight-fitting lid or seal to ensure an airtight closure.
If you prefer using a sealable bag, choose one made of food-safe materials, such as high-density polyethylene (HDPE) or polypropylene (PP). These materials are safe for storing food items and will not leach harmful chemicals into your dipper.
Before placing the wooden honey dipper in the container or bag, ensure that it is completely dry. Any moisture trapped inside the container or bag could promote the growth of mold or bacteria, leading to potential damage.
By storing your wooden honey dipper in an airtight container or bag, you can provide an extra layer of protection against moisture, dust, and contaminants, helping to preserve its cleanliness and prolong its lifespan.
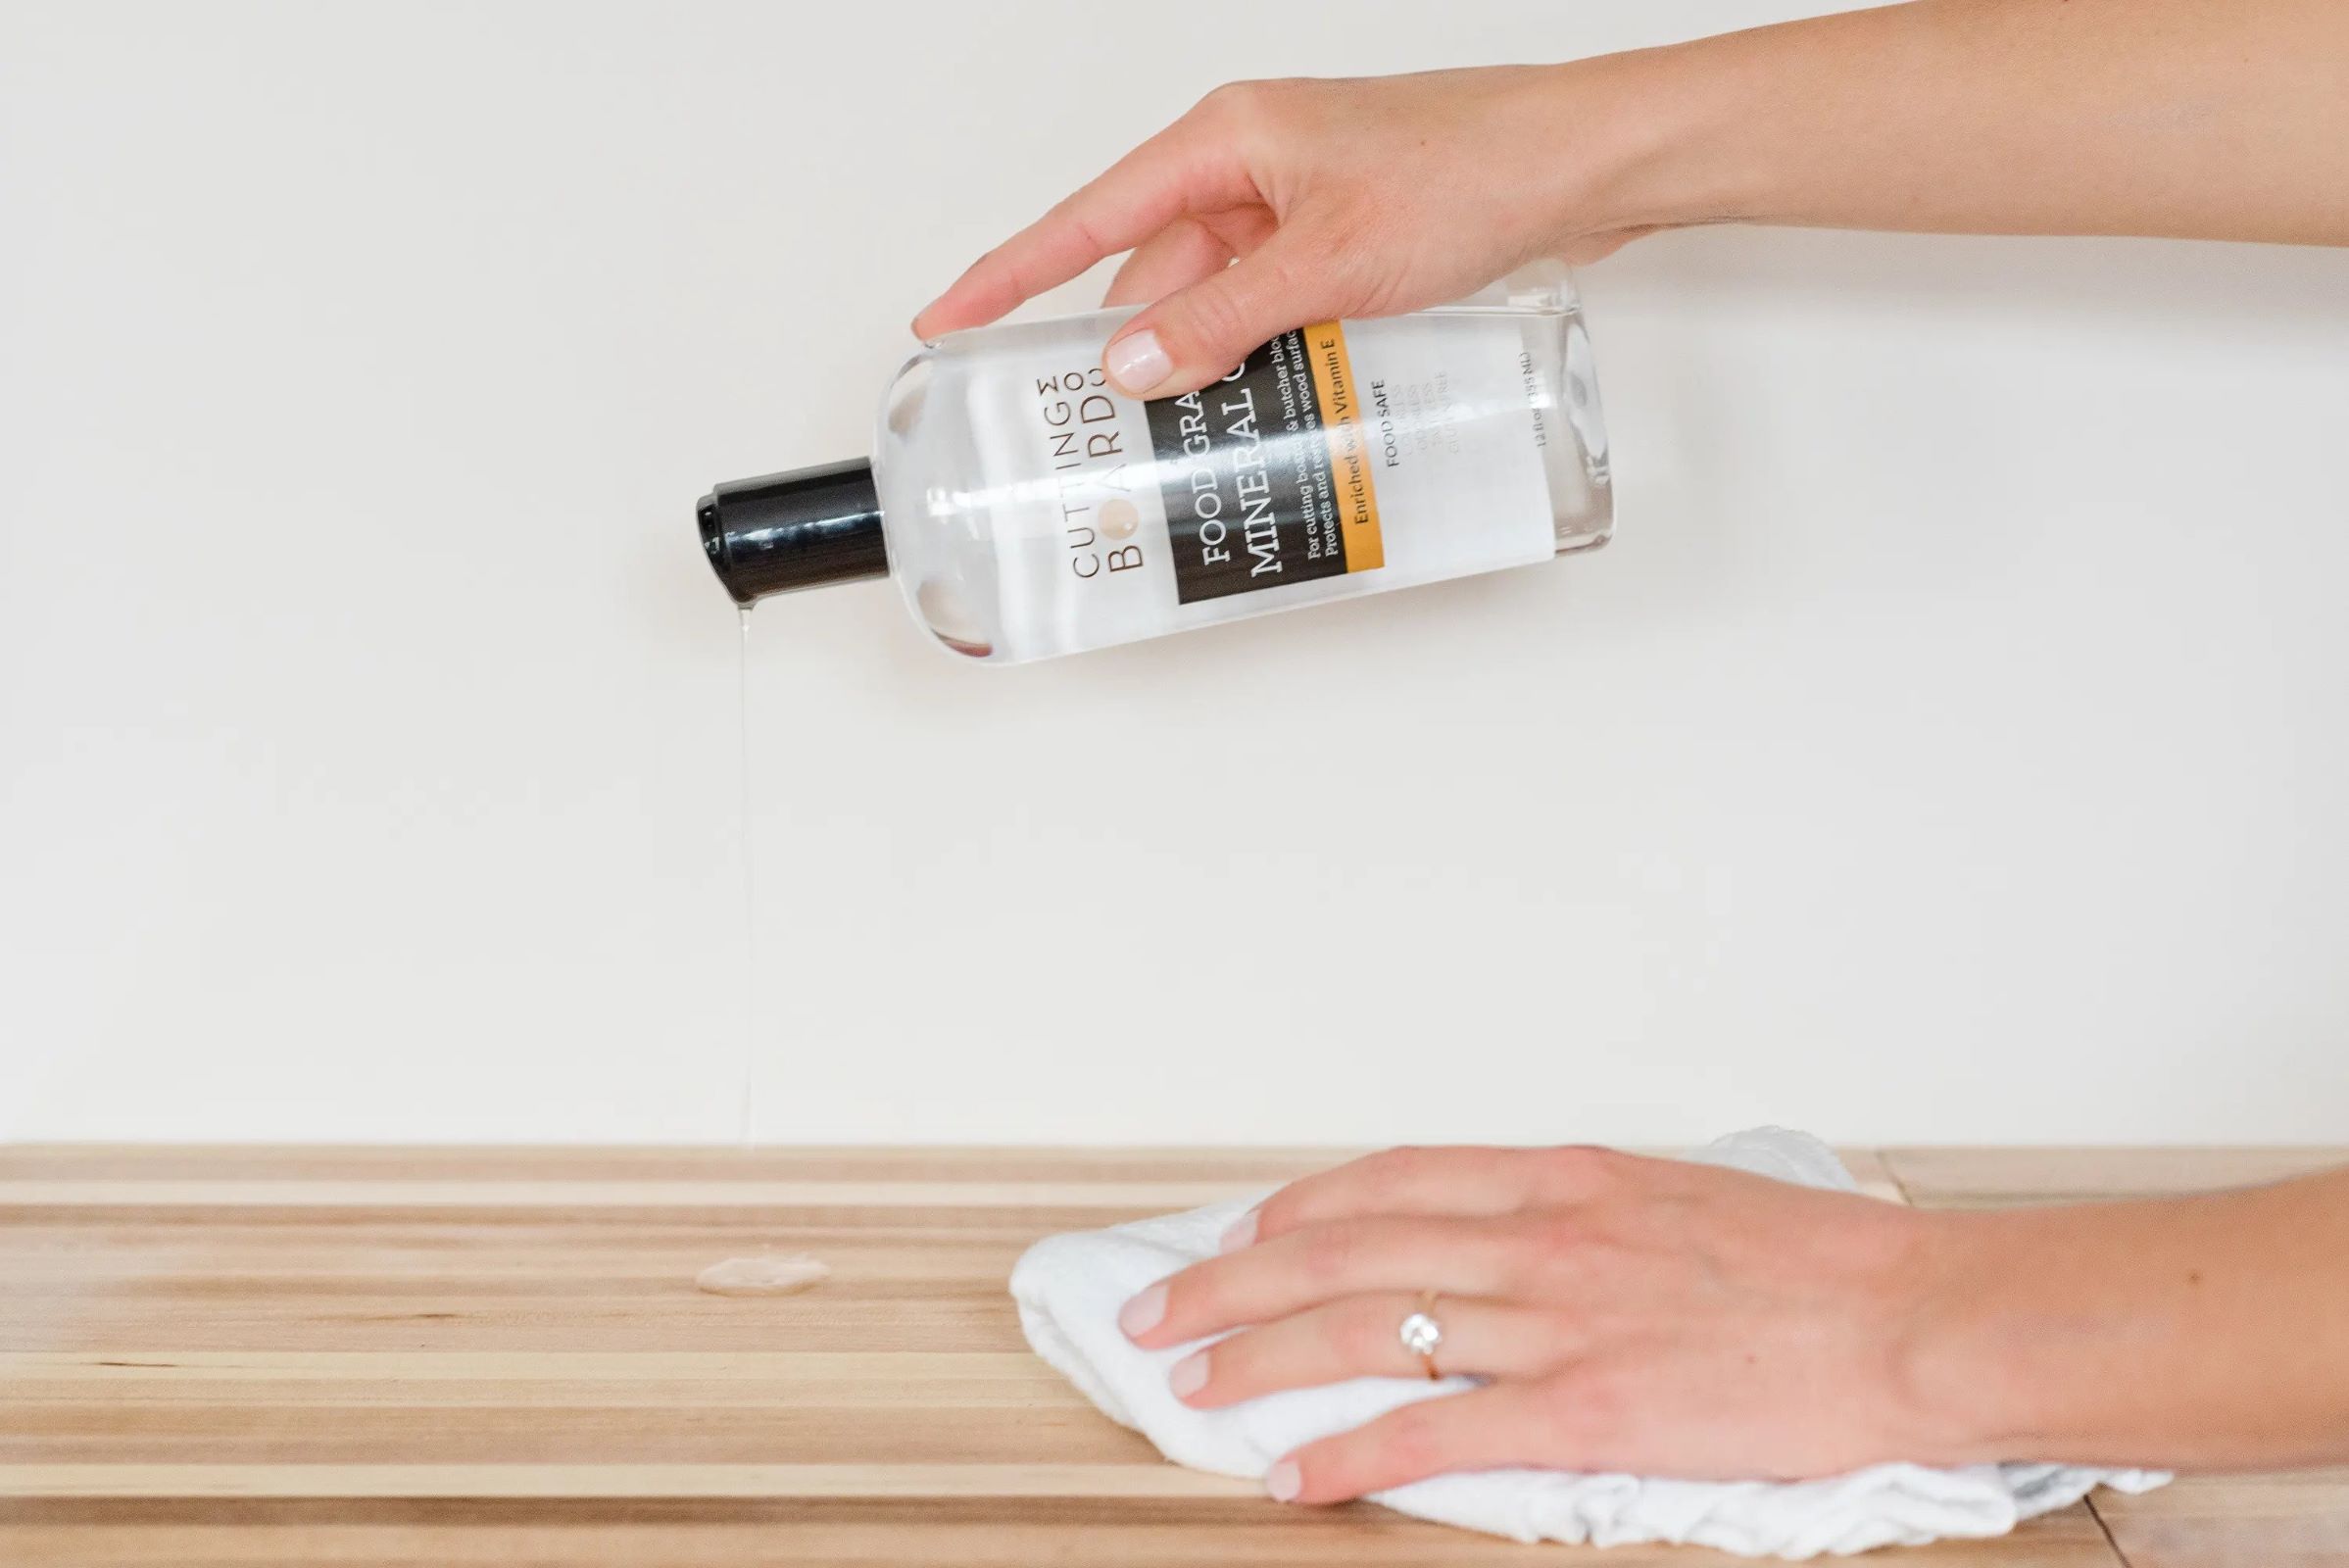
Consider Using Food-Safe Oil or Wax for Maintenance
To keep your wooden honey dipper in optimal condition, it’s worth considering the use of a food-safe oil or wax for regular maintenance.
Wood is a natural material that can dry out over time, especially when exposed to air and varying humidity levels. Using a food-safe oil or wax helps to hydrate the wood, preventing it from becoming dry and brittle.
When selecting an oil or wax for your wooden honey dipper, make sure it is specifically labeled as food-safe. Beeswax and mineral oil are two popular options that meet this requirement. These substances are safe for contact with food and won’t impart any harmful flavors or chemicals.
Before applying any oil or wax, ensure that the dipper is clean and dry. Use a clean cloth or brush to apply a thin layer of oil or wax to the entire surface of the dipper. Allow it to penetrate into the wood for a few hours or overnight, and then wipe off any excess oil or wax with a clean cloth.
Regularly applying a food-safe oil or wax to your wooden honey dipper not only helps to maintain its appearance but also provides a protective barrier against moisture and potential staining from honey or other liquids.
It’s important to note that while food-safe oils and waxes can help to maintain the wood, they are not a substitute for proper cleaning and drying. Regular cleaning and thorough drying should still be practiced to ensure the longevity and hygiene of the wooden honey dipper.
By considering the use of a food-safe oil or wax for maintenance, you can help preserve the natural beauty and structural integrity of your wooden honey dipper for years to come.
Conclusion
Properly storing your wooden honey dipper is essential for maintaining its quality, hygiene, and longevity. By following the recommended storage options, you can ensure that your honey dipper remains in excellent condition for many uses to come.
Remember to clean and dry the dipper thoroughly after each use to prevent the growth of bacteria or mold. Choose a dry and cool storage area, away from moisture and heat sources, to protect the wood from warping or drying out. Avoid excessive heat and direct sunlight, as they can cause damage to the dipper’s appearance and structural integrity.
Consider storing the wooden honey dipper in an airtight container or bag to further protect it from moisture and contaminants. Additionally, periodic maintenance with a food-safe oil or wax can help to hydrate the wood and maintain its natural beauty.
By practicing these storage techniques, you can prolong the lifespan of your wooden honey dipper and continue to enjoy its functionality and rustic charm. Take care of your dipper, and it will serve you well as you delve into the delightful world of honey.
So, go ahead and store your wooden honey dipper with care, and savor every sweet moment that it brings to your kitchen.
Frequently Asked Questions about How To Store Wooden Honey Dipper
Was this page helpful?
At Storables.com, we guarantee accurate and reliable information. Our content, validated by Expert Board Contributors, is crafted following stringent Editorial Policies. We're committed to providing you with well-researched, expert-backed insights for all your informational needs.
0 thoughts on “How To Store Wooden Honey Dipper”