Articles
How To Build Wooden Ladder
Modified: August 21, 2024
Learn how to build a sturdy wooden ladder with this comprehensive guide. Get step-by-step instructions and expert tips in our collection of articles.
(Many of the links in this article redirect to a specific reviewed product. Your purchase of these products through affiliate links helps to generate commission for Storables.com, at no extra cost. Learn more)
Introduction
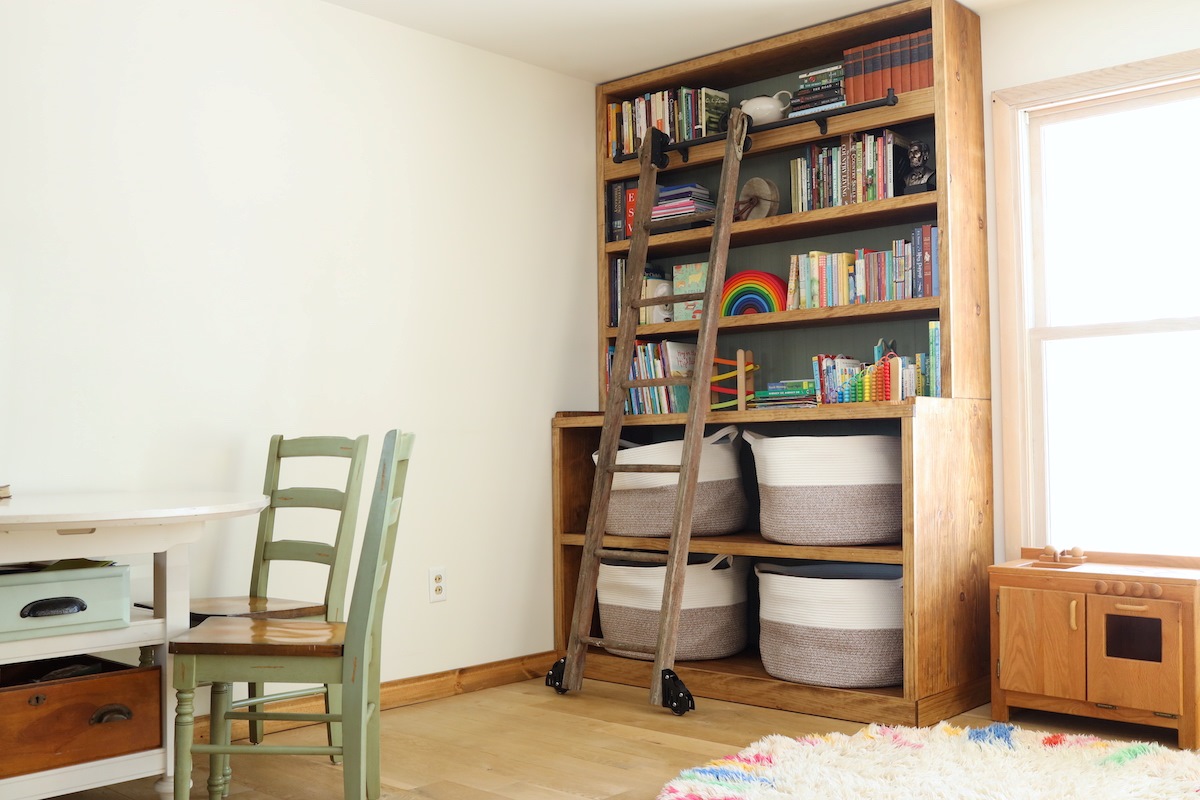
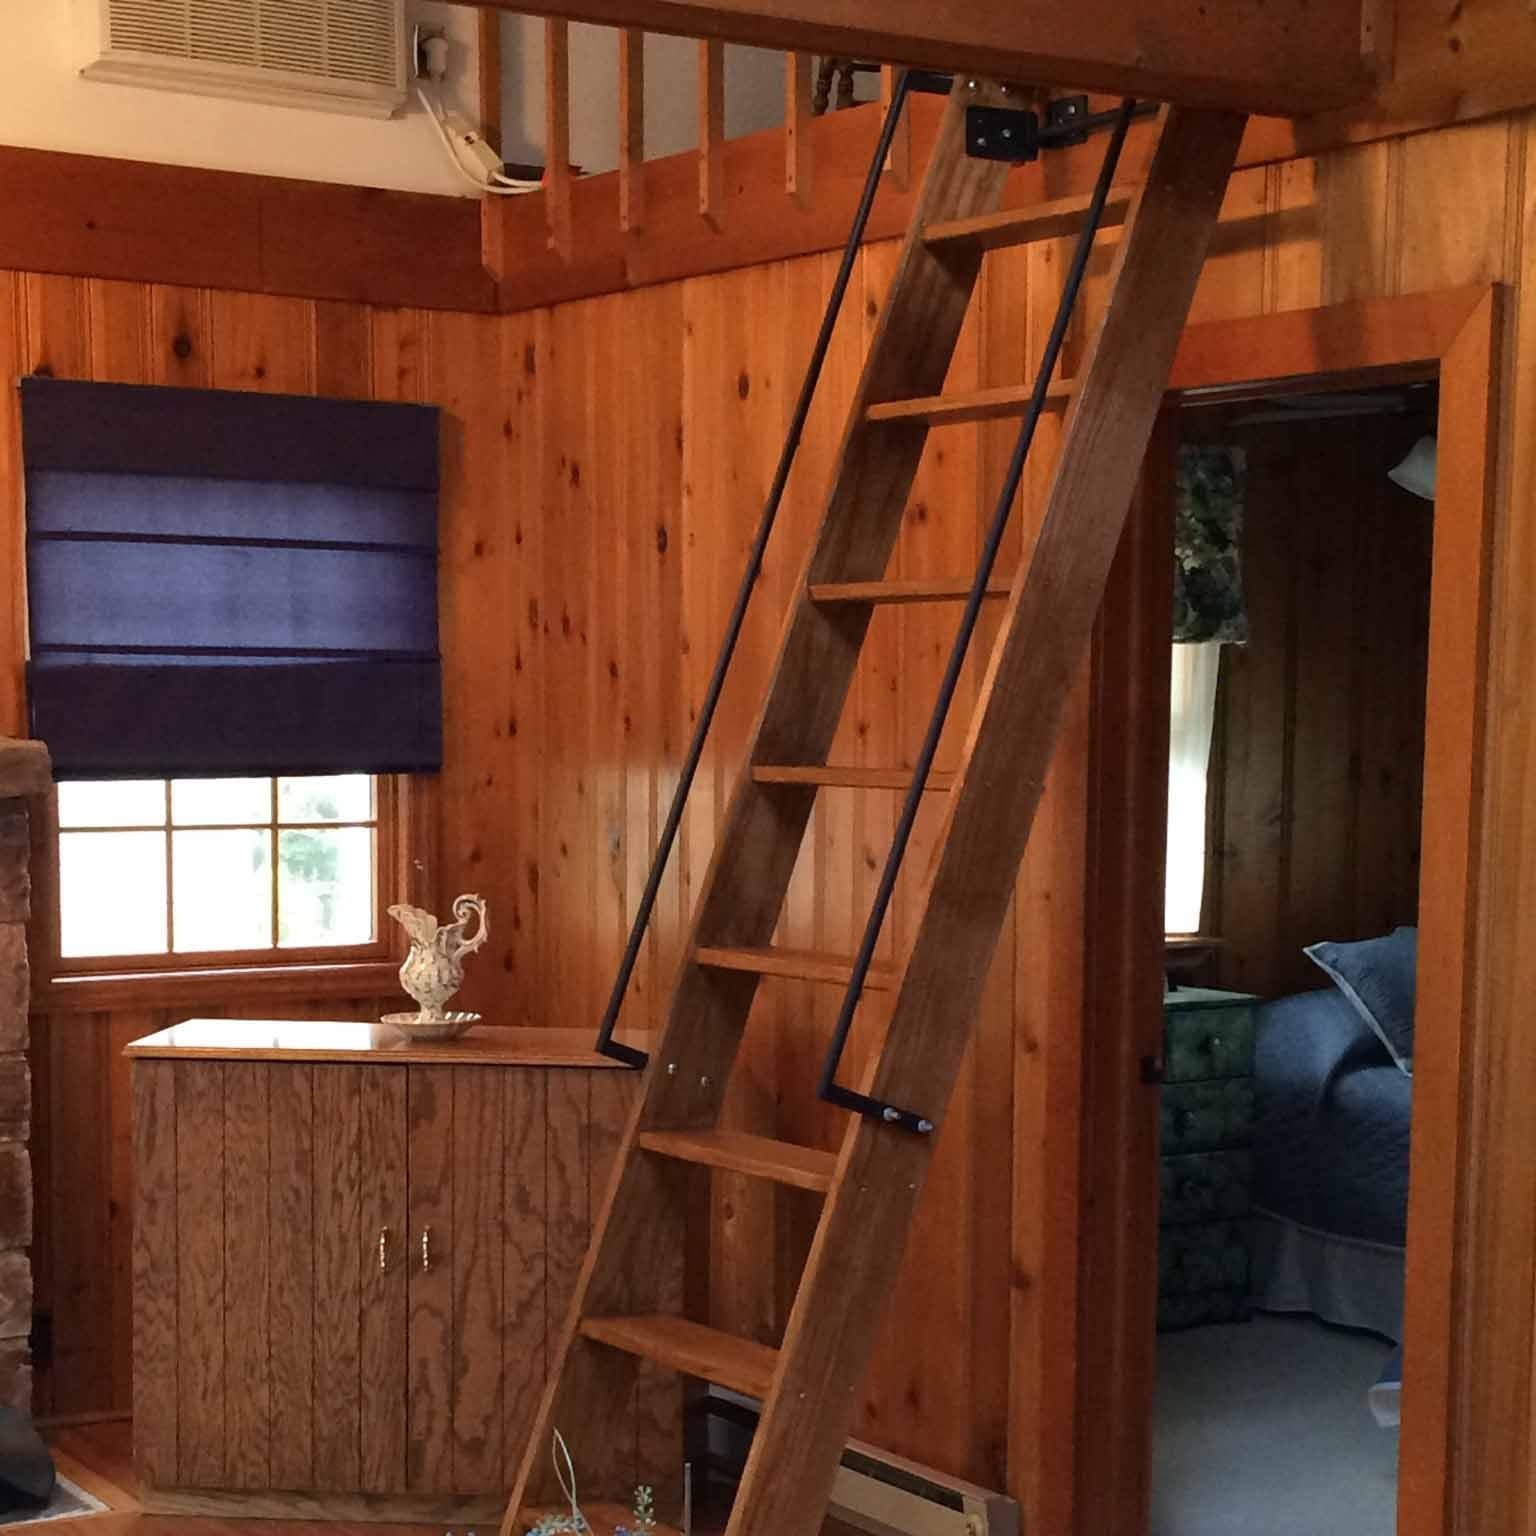
Building a wooden ladder can add a touch of rustic charm and functionality to your home or garden. Whether you need a ladder for reaching high shelves, accessing your attic, or simply as a decorative piece, constructing your own wooden ladder can be a rewarding and practical project.
In this article, we will guide you through the step-by-step process of building a wooden ladder. From gathering the necessary materials and tools, to measuring and cutting the ladder rungs, to reinforcing the ladder rails and finishing the ladder, we will cover all the essential steps to help you create a sturdy and visually appealing wooden ladder.
Before starting the project, it’s important to note that safety should be your top priority. Always wear protective gear, such as safety goggles and gloves, and work in a well-ventilated area. Additionally, make sure to follow the instructions carefully and ask for assistance if needed.
Now, let’s get started on creating your own wooden ladder!
Key Takeaways:
- Embrace the satisfaction of creating a sturdy and visually appealing wooden ladder by following the step-by-step guide. Prioritize safety, precision, and quality craftsmanship for a long-lasting and functional addition to your home or garden.
- Enjoy the benefits of your handcrafted wooden ladder, whether for practical use or as a decorative piece. Showcasing your woodworking skills and creativity, your ladder stands as a symbol of your craftsmanship, ready to serve you in style.
Read more: How Build A Wooden Tool Chest
Step 1: Gather Materials and Tools
Before you begin building your wooden ladder, it’s essential to assemble all the necessary materials and tools. Here’s a list of what you will need:
- Wood: Choose a sturdy and durable wood such as oak, pine, or cedar. The quantity of wood will depend on the height and width of your desired ladder.
- Saw: A circular saw or a handsaw will be needed to cut the wooden planks to the desired lengths.
- Measuring Tape: You will need a measuring tape to measure the length and width of the ladder rungs, as well as the spacing between them.
- Sander: A sander will be useful for smoothing the rough edges of the wooden planks.
- Drill: A power drill will be required to create holes for attaching the ladder rungs to the ladder rails.
- Screws: Choose screws that are appropriate for the size of your wooden planks. Galvanized or stainless steel screws are recommended for outdoor use.
- Wood Glue: Wood glue will provide additional strength and stability to the ladder joints.
- Clamps: Clamps will help hold the ladder pieces in place while you attach them together.
- Paint or Stain: If desired, you can add a finish to your wooden ladder with paint or stain.
- Paintbrushes or Stain Applicators: Use brushes or applicators to evenly apply paint or stain to the ladder.
- Protective Gear: Don’t forget to wear safety goggles and gloves to protect yourself during construction.
Once you have gathered all the necessary materials and tools, you will be ready to move on to the next step of measuring and cutting the ladder rungs.
Step 2: Measure and Cut the Ladder Rungs
With all the materials and tools at hand, it’s time to measure and cut the ladder rungs. Follow these steps to ensure accurate measurements and clean cuts:
- Measure the desired width of your ladder. This will determine the length of each ladder rung. Typically, a spacing of 12 to 18 inches between rungs is sufficient.
- Using a measuring tape, mark the length of the ladder rungs on the wooden planks. Double-check the measurements to ensure accuracy.
- Secure the wooden planks in place using clamps or by having someone hold them steady.
- Using a saw, carefully cut along the marked lines to create individual ladder rungs. Take your time and make steady, even cuts to achieve clean edges.
- Repeat the process to cut the desired number of ladder rungs, based on the height of your ladder and the chosen spacing between rungs.
Once all the ladder rungs are cut, remove any rough edges using a sander. This will not only enhance the appearance of the ladder, but also prevent splinters and create a smooth surface for attaching the rungs to the ladder rails.
With the ladder rungs prepared, it’s time to move on to the next step of preparing the ladder rails.
Step 3: Prepare the Ladder Rails
Now that you have the ladder rungs ready, it’s time to prepare the ladder rails. The ladder rails provide the main structural support for the ladder. Follow these steps to get the ladder rails ready:
- Choose two long, sturdy wooden planks for the ladder rails. The length of the planks will depend on the height of your ladder. Cut them to the desired length using a saw.
- Smooth the edges of the ladder rails with a sander to remove any roughness or splinters.
- Measure and mark the placements for the ladder rungs on the ladder rails. The spacing between the rungs should be consistent and match the measurements determined in Step 2.
- Using a drill, create pilot holes on the marked placements. The size of the pilot holes should match the diameter of the screws you will use to attach the ladder rungs.
Once the ladder rails are prepared, you can proceed to the next step of attaching the ladder rungs to the ladder rails.
Step 4: Attach Rungs to the Ladder Rails
Now that you have prepared the ladder rails, it’s time to attach the ladder rungs to them. Follow these steps to securely fasten the rungs:
- Position one of the ladder rails vertically on a flat surface, with the marked placements facing upwards.
- Apply wood glue to the ends of each ladder rung.
- Align the first ladder rung with the marked placement on the ladder rail.
- Insert screws through the pilot holes on the ladder rail and into the ladder rung. Use a drill to drive the screws, making sure they are tight and secure.
- Repeat the process for each ladder rung, ensuring that they are aligned properly and evenly spaced.
- Once all the ladder rungs are attached to one ladder rail, repeat the steps for the other ladder rail.
Make sure to check the stability of the ladder as you attach each rung. Adjust the ladder rail or rung alignment if necessary to ensure a sturdy and even ladder structure.
With the ladder rungs securely fastened to the ladder rails, you can proceed to the next step of reinforcing the ladder rails to further enhance stability.
When building a wooden ladder, make sure to use high-quality, straight-grain lumber to ensure strength and stability. Additionally, always use proper safety equipment and follow a detailed plan or guide to ensure the ladder is built safely and effectively.
Read more: How To Build Outdoor Wooden Table
Step 5: Reinforce the Ladder Rails
After attaching the ladder rungs, it’s important to reinforce the ladder rails to ensure maximum stability and durability. Follow these steps to reinforce the ladder rails:
- Measure the distance between the two ladder rails at the top and bottom ends.
- Cut two additional wooden planks to the measured lengths. These planks will serve as the reinforcement braces for the ladder rails.
- Position one reinforcement brace horizontally near the top end of the ladder rails.
- Using a drill and appropriate screws, attach the reinforcement brace to both ladder rails. Ensure that the screws penetrate both the reinforcement brace and the ladder rails for a strong connection.
- Repeat the process for the bottom end of the ladder rails, attaching the second reinforcement brace.
- Check the stability of the ladder and make any necessary adjustments to ensure a solid construction.
The addition of reinforcement braces will provide added strength and support to the ladder rails, making the wooden ladder more secure and capable of handling weight and pressure.
With the ladder rails reinforced, you can proceed to the next step of sanding and finishing the ladder to enhance its appearance and protect it from the elements.
Step 6: Sand and Finish the Ladder
Once the ladder structure is complete, it’s time to give it a smooth finish and add a protective layer. Follow these steps to sand and finish your wooden ladder:
- Start by using a coarse-grit sandpaper to remove any rough areas, splinters, or imperfections on the ladder. Sand the entire surface of the ladder, including the rungs and rails.
- Gradually switch to finer-grit sandpaper to achieve a smooth and polished surface. Sand the ladder in the direction of the wood grain for the best results.
- After sanding, use a damp cloth or tack cloth to remove any dust or debris from the ladder. Let it dry completely before proceeding.
- If you want to add color to your ladder, now is the time to apply paint or stain. Choose a color that complements your decor or matches the desired aesthetic. Use a paintbrush or stain applicator to evenly coat the ladder, applying multiple coats if needed.
- If you prefer a natural look, you can apply a clear wood finish or sealant to protect the ladder from moisture and UV damage. Follow the instructions on the product for application and drying times.
- Allow the paint, stain, or finish to dry completely before handling or using the ladder. This will ensure a durable and attractive finish.
By sanding and finishing your wooden ladder, you not only improve its overall appearance, but also protect it from wear and tear, extending its lifespan.
With the sanding and finishing complete, you can move on to the final step of testing and ensuring the stability of your newly built wooden ladder.
Step 7: Test and Ensure Stability
Before you start using your wooden ladder, it’s important to thoroughly test its stability and ensure its safety. Follow these steps to test and ensure the stability of your ladder:
- Set up the ladder in a safe and stable location, ensuring that it is on a flat surface and has proper support.
- Carefully climb up and down the ladder, putting weight on each rung to assess its strength.
- Check for any wobbling or instability. If you notice any issues, make sure that the ladder rungs are securely attached to the ladder rails and that the ladder rails are reinforced properly.
- Inspect the ladder for any cracks, breakages, or signs of damage. Pay attention to the joints and connections to ensure they are secure.
- Make sure the ladder can hold your weight and that it feels sturdy and dependable.
- If you are satisfied with the ladder’s stability and safety, you can confidently start using it for your intended purposes.
- Periodically inspect and maintain the ladder to ensure its continued stability and safety. Tighten any loose screws, repair any damages, and keep it clean.
Remember, safety should always be a top priority when using a ladder. Use caution, follow proper ladder usage guidelines, and do not exceed the ladder’s weight capacity.
Congratulations! You have successfully built your own wooden ladder. Enjoy the benefits of your handcrafted creation and use it with confidence for various tasks and activities.
With the completion of Step 7, your wooden ladder is ready for use. Ensure to follow safety precautions and use it responsibly for a long-lasting and functional addition to your home or garden.
Happy ladder climbing!
Conclusion
Building your own wooden ladder can be a rewarding and fulfilling project. Not only does it add a touch of rustic charm to your space, but it also provides a practical solution for accessing high shelves, attics, or other hard-to-reach areas. Throughout the steps we’ve outlined in this article, you’ve learned how to gather the necessary materials and tools, measure and cut the ladder rungs, prepare and attach the ladder rails, reinforce the structure, sand and finish the ladder, and finally, test and ensure its stability.
By following these steps and taking your time to ensure precision and quality craftsmanship, you’ve created a sturdy and visually appealing wooden ladder that can serve you for years to come. Remember to prioritize safety at all times when using your ladder, adhering to weight limits and proper ladder usage guidelines.
Whether you choose to use your wooden ladder for practical purposes or simply as a decorative piece, it adds a unique touch to your surroundings. Showcasing your woodworking skills and creativity, your ladder stands as a symbol of your craftsmanship.
Now that you’ve successfully completed the construction of your wooden ladder, take a moment to admire your handiwork. Embrace the satisfaction of your accomplishment and the knowledge that you have created something functional and beautiful with your own hands.
Enjoy the benefits of your homemade wooden ladder and make the most of its versatility and charm. From reaching high places to adding a rustic flair to your home or garden, your ladder is ready to serve you in style. So go ahead, step up, and reach new heights with confidence!
Now that you've mastered building a wooden ladder, why not broaden your carpentry skills further? If you're eager to discover more about crafting with wood, our upcoming article on the best woodworking projects for the upcoming year will surely catch your interest. Whether you're a seasoned woodworker or just starting, this guide offers a variety of inspiring projects that will fit any skill level and enhance your woodworking repertoire. Don't miss out on these creative ideas that could transform your approach to woodworking.
Frequently Asked Questions about How To Build Wooden Ladder
Was this page helpful?
At Storables.com, we guarantee accurate and reliable information. Our content, validated by Expert Board Contributors, is crafted following stringent Editorial Policies. We're committed to providing you with well-researched, expert-backed insights for all your informational needs.


0 thoughts on “How To Build Wooden Ladder”