Articles
How To Store A Bell Pepper
Modified: August 16, 2024
Learn the best techniques for storing bell peppers to keep them fresh and delicious for longer. Check out our informative articles for helpful tips and tricks.
(Many of the links in this article redirect to a specific reviewed product. Your purchase of these products through affiliate links helps to generate commission for Storables.com, at no extra cost. Learn more)
Introduction
When it comes to adding vibrant color and delicious flavor to your favorite dishes, bell peppers are a versatile and nutritious choice. Whether you grow your own or purchase them from the local market, knowing how to properly store bell peppers can help you keep them fresh for longer, ensuring their quality and taste.
In this article, we will guide you through the process of storing bell peppers to maximize their shelf life. From choosing the right peppers to proper preparation and storage techniques, we’ve got you covered. So let’s dive in and discover the secrets to storing your bell peppers with ease.
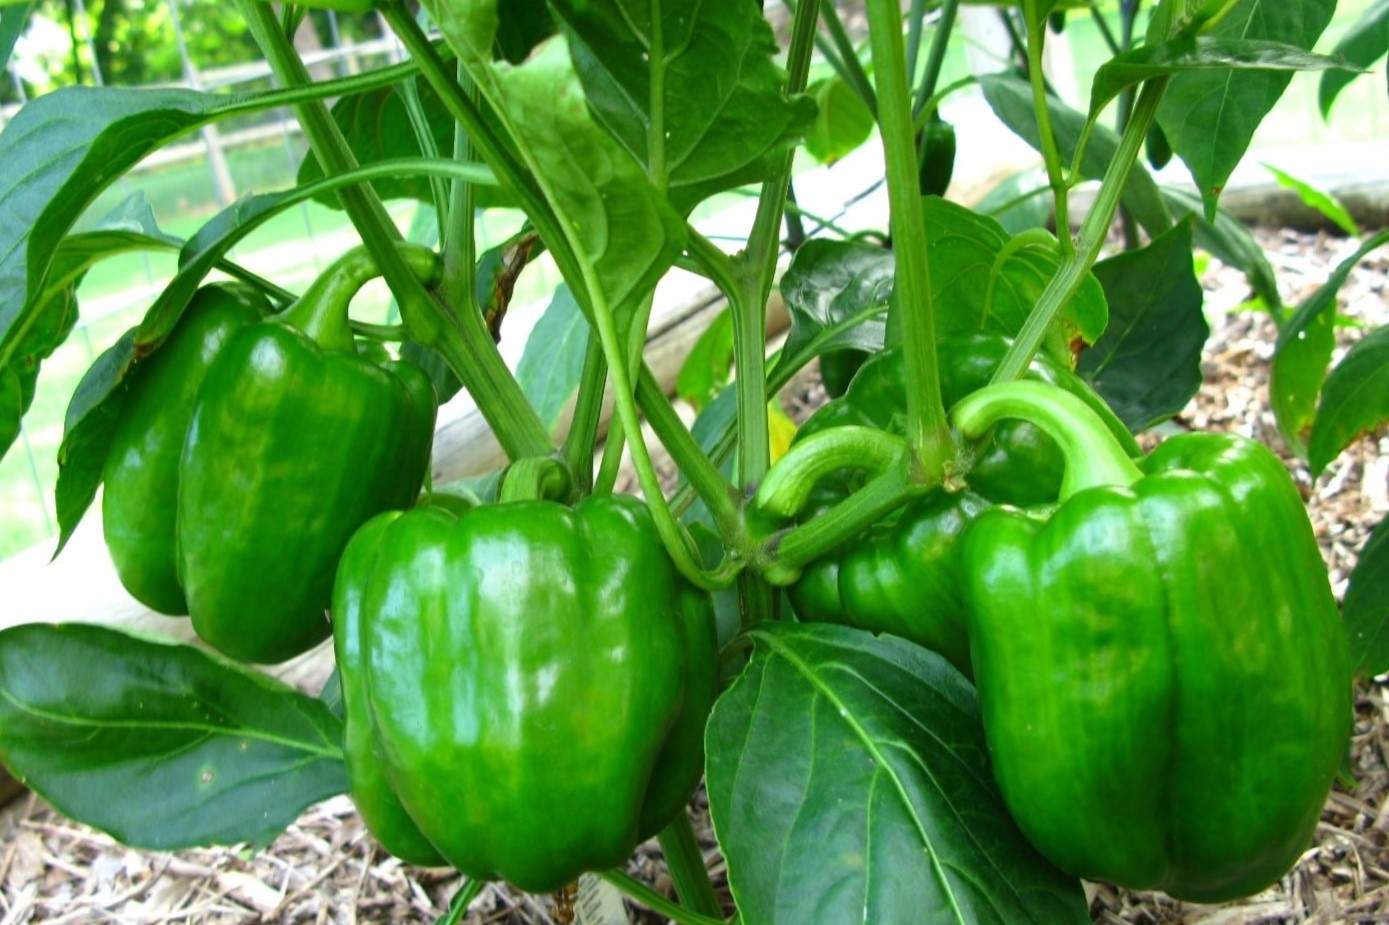
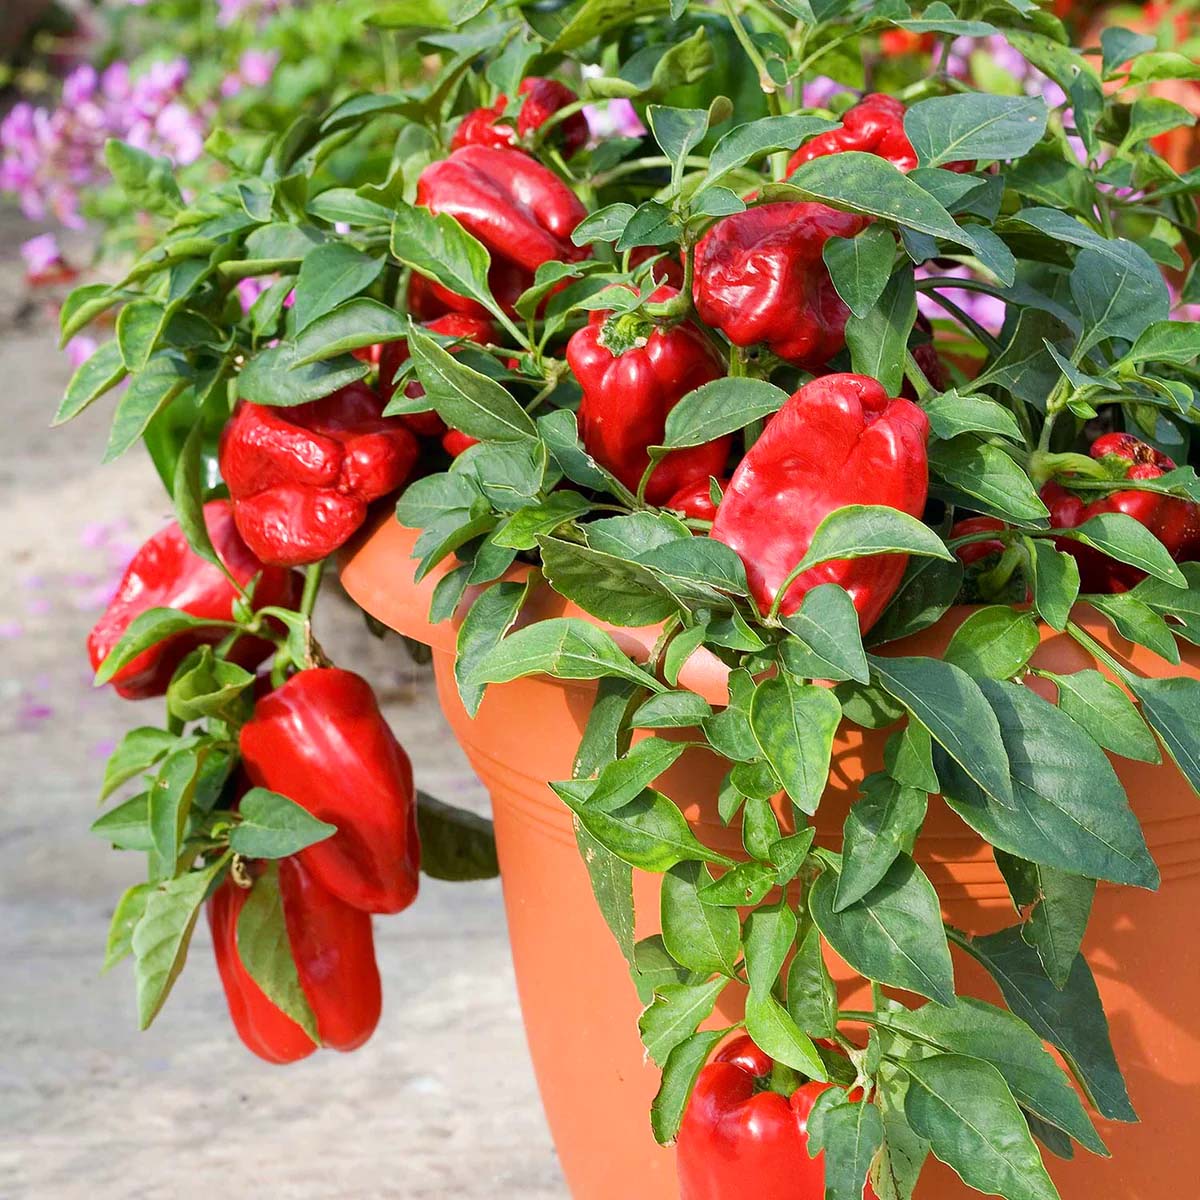
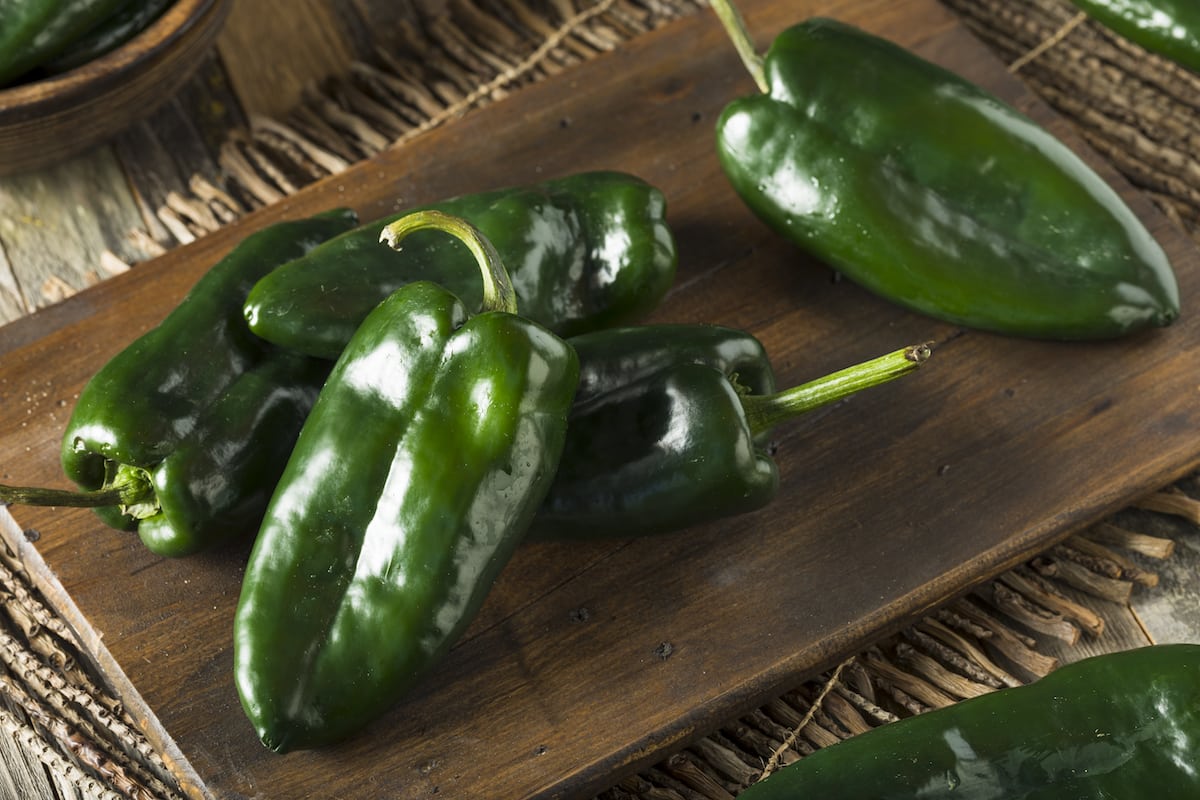
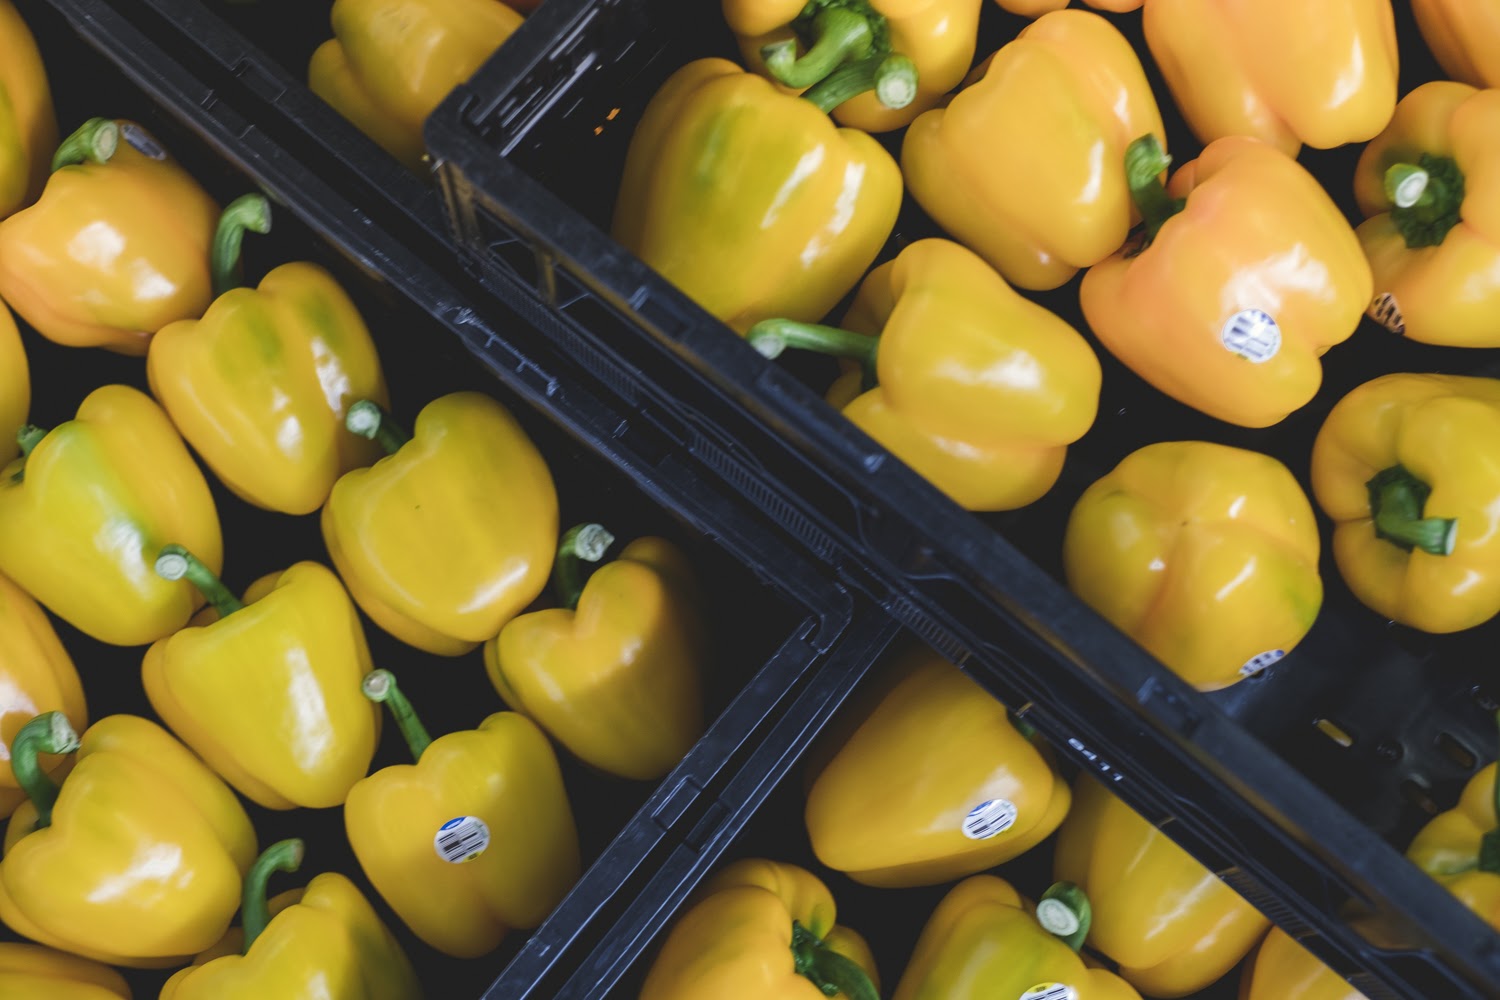
Before we get into the specifics of storing bell peppers, it’s essential to understand the different types of bell peppers available and how to choose the best ones for storage. Bell peppers come in various colors, including green, red, yellow, and orange. Each color indicates the level of ripeness, with green being the least ripe and red being the fully ripe stage.
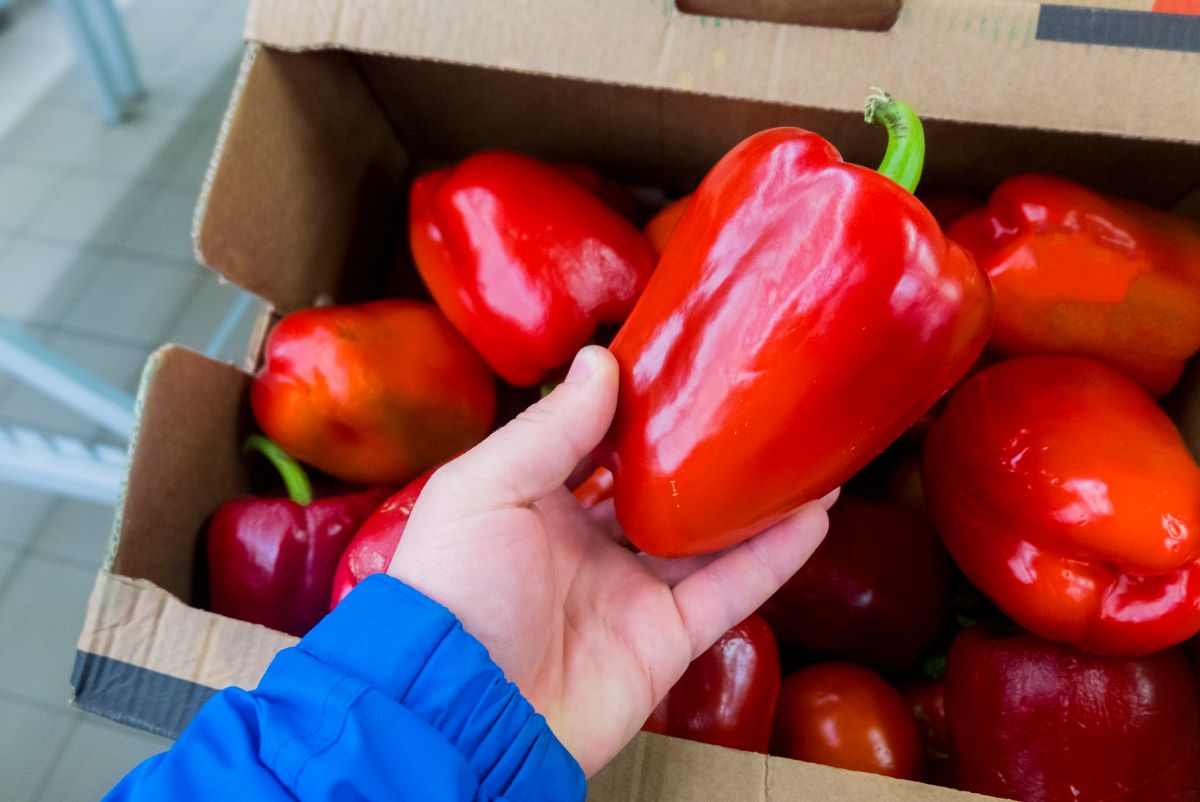
To choose the right bell pepper for storage, look for peppers that are firm, glossy, and have a vibrant color. Avoid peppers that have wrinkled or soft spots, as they may be overripe or damaged. It’s also beneficial to select peppers that are free from blemishes and have a tight skin.
Once you’ve selected the perfect bell peppers, it’s time to prepare them for storage. Start by rinsing the peppers under cold water to remove any dirt or residue. Gently pat them dry with a clean towel or paper towel to remove excess moisture.
Now that your bell peppers are clean and dry, it’s time to decide on how you want to store them. The most common methods for storing bell peppers include refrigeration, freezing, drying, or preserving them in oil or vinegar. Let’s explore each of these methods in detail.
Key Takeaways:
- Properly storing bell peppers, whether in the refrigerator, freezer, or preserved in oil or vinegar, ensures their freshness and vibrant flavors for extended periods, enhancing culinary experiences.
- Choosing high-quality bell peppers, proper preparation, and following storage tips can maximize their shelf life, allowing you to enjoy the delightful taste of bell peppers in various dishes.
Read more: How To Store Mini Bell Peppers
Choosing the Right Bell Pepper
When it comes to selecting the perfect bell pepper for storage, there are a few key factors to consider. The first is the color of the pepper. As mentioned earlier, bell peppers come in a variety of colors, including green, red, yellow, and orange. Each color represents a different stage of ripeness and offers a slightly different flavor profile.
Green bell peppers are the least ripe and have a slightly bitter taste. They are often used in savory dishes where a slightly tangy flavor is desired. Green bell peppers are also more firm and crunchy compared to their fully ripe counterparts.
Red, yellow, and orange bell peppers, on the other hand, are fully ripe and have a sweeter flavor. They are milder in taste and have a softer texture, making them perfect for eating raw or cooking in various dishes. These colorful bell peppers also provide a visual appeal to your meals.
When selecting bell peppers for storage, look for peppers that are firm and have a glossy exterior. Avoid peppers that have wrinkled or soft spots, as they may be overripe or starting to spoil. The skin of the pepper should be tight and free from blemishes or discoloration.
It’s also worth mentioning that the size of the bell pepper doesn’t necessarily indicate its quality. Both large and small bell peppers can be equally delicious and nutritious. Choose the size that suits your preference and recipe requirements.
Lastly, consider the intended use of the bell peppers. If you plan on consuming them within a few days, you can opt for peppers that are slightly softer or have a more vibrant color. However, if you want to store them for a longer period, choose peppers that are on the firmer side.
By paying attention to these factors and selecting high-quality bell peppers, you can ensure that your stored peppers will remain fresh and flavorful for an extended period.
Preparing Bell Peppers for Storage
Before storing bell peppers, it’s essential to properly prepare them to extend their shelf life and maintain their quality. The preparation process involves cleaning, removing the seeds and membranes, and deciding on the desired storage method. Let’s go through each step in detail.
The first step in preparing bell peppers for storage is to give them a thorough rinse under cold water. This will help remove any dirt or residue that may be clinging to the skin. Gently rub the peppers with your fingertips to ensure all surfaces are clean. Once rinsed, pat them dry with a clean towel or paper towel to remove excess moisture. This step is crucial as moisture can accelerate the deterioration of the peppers.
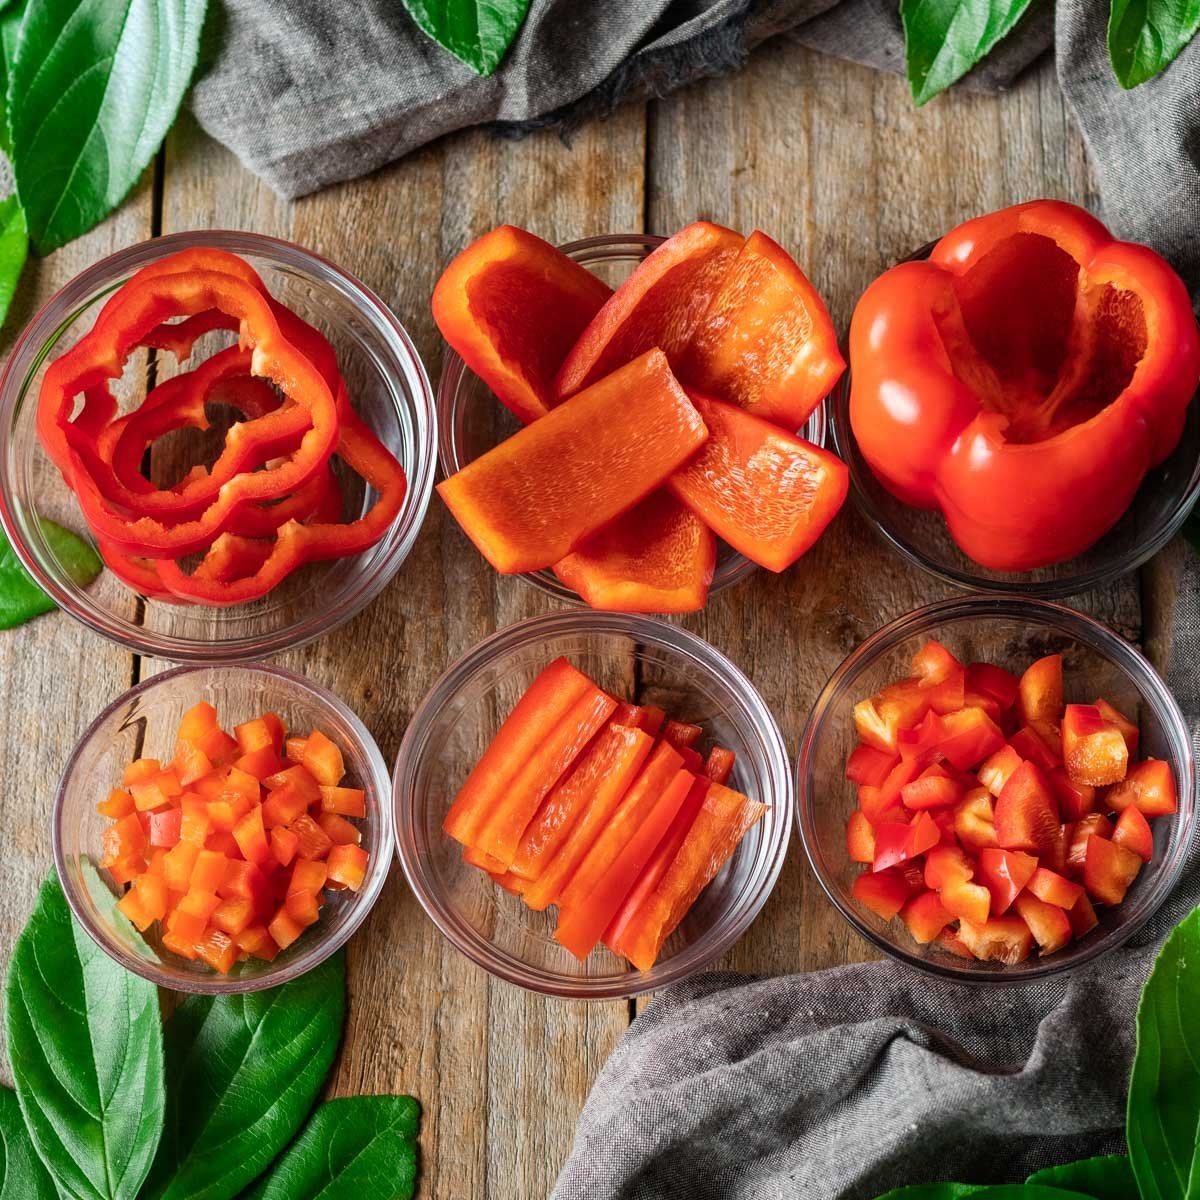
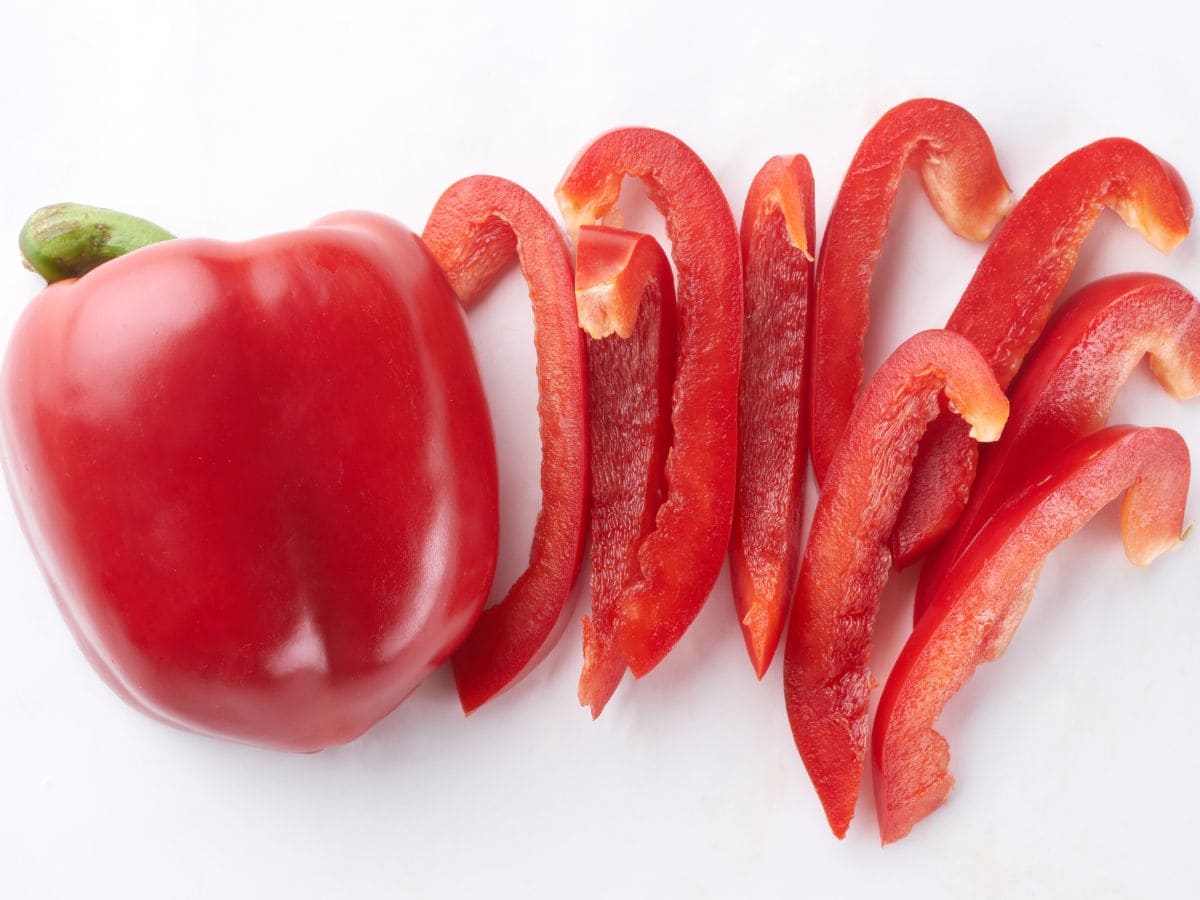
Next, you’ll want to remove the seeds and membranes from the inside of the bell peppers. Cut off the top of the pepper and make a vertical incision from the top down to the bottom. Open up the pepper and gently remove the cluster of seeds and white membranes. You can use a knife or your hands to scoop them out. Rinse the inside of the pepper under running water to ensure all the seeds are removed. The seeds and membranes can be discarded or used for composting.
Once the bell peppers are cleaned and emptied, you can decide on the preferred storage method. The choice of storage method will depend on factors such as the expected duration of storage and how you plan to use the peppers in the future.
If you want to store the bell peppers for a short period, such as a few days to a week, refrigeration is the best option. However, if you want to preserve them for a longer period, you can consider freezing, drying, or preserving them in oil or vinegar.
By following these preparatory steps, you can ensure that your bell peppers are clean, free from seeds, and ready for storage. This will help maintain their freshness and quality, allowing you to enjoy their flavorful goodness whenever you’re ready to use them.
Storing Bell Peppers in the Refrigerator
Refrigeration is one of the most common and convenient methods for storing bell peppers, especially if you plan to use them within a week or so. Proper storage in the refrigerator can help maintain the freshness and crispness of the peppers. Here’s how to do it:
1. Wrap Individual Bell Peppers: Start by individually wrapping each bell pepper in a paper towel or placing them in a perforated plastic bag. This will help absorb excess moisture and prevent condensation from forming on the peppers, which can lead to spoilage.
2. Store in the Crisper Drawer: Once wrapped, place the bell peppers in the crisper drawer of your refrigerator. This drawer is specifically designed to maintain optimal humidity levels, which is ideal for preserving the freshness of vegetables.
3. Avoid Crowding: Make sure not to overcrowd the crisper drawer. Leave some space between the bell peppers to allow for proper air circulation, which helps prevent the buildup of ethylene gas and maintains the peppers’ quality.
4. Check and Rotate: Periodically check the bell peppers for any signs of spoilage or wilting. If you notice any peppers starting to go bad, remove them from the batch to prevent the spread of decay. Additionally, it’s a good idea to rotate the peppers every few days to ensure even exposure to the cool temperature.
By storing bell peppers in the refrigerator following these steps, you can extend their shelf life and keep them fresh for up to a week or slightly longer. Remember to use any refrigerated bell peppers within a reasonable timeframe to enjoy their optimal taste and texture.
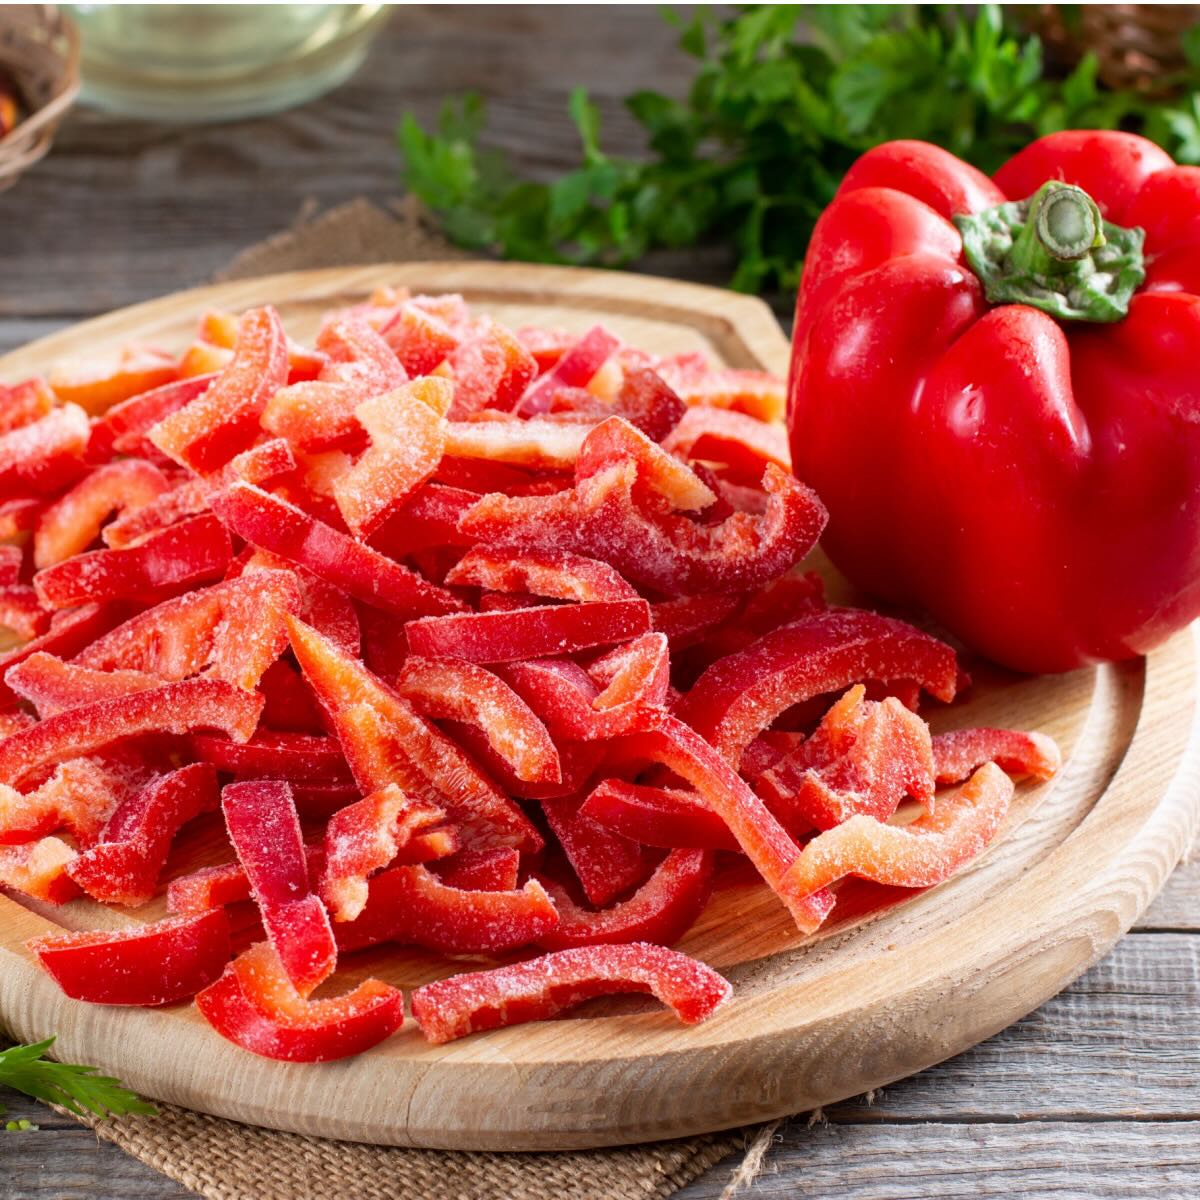
Freezing Bell Peppers
If you have an abundant supply of bell peppers and want to preserve them for an extended period, freezing is a fantastic option. Freezing bell peppers allows you to have a ready supply of peppers for cooking throughout the year. Here’s how you can freeze bell peppers:
1. Wash and Prepare: Start by washing the bell peppers under cold water to remove any dirt or residue. Pat them dry with a clean towel. Next, remove the stem, seeds, and membranes from the inside of the peppers. Cut the peppers into desired sizes or slices, depending on your preference and intended use.
2. Blanching: Blanching is a crucial step in the freezing process as it helps to preserve the color, texture, and taste of the bell peppers. Bring a large pot of water to a boil and prepare a bowl of ice water. Immerse the pepper slices in the boiling water for 1-2 minutes, then quickly transfer them to the ice bath. This will stop the cooking process and help retain the peppers’ vibrant color.
3. Drain and Dry: Once the bell peppers have been blanched, drain them well and lay them out on a clean kitchen towel or paper towels to remove excess moisture. Drying them thoroughly will prevent ice crystals from forming during freezing, which can result in a mushy texture.
4. Freezing: Arrange the dried bell pepper slices in a single layer on a baking sheet or tray. Place the tray in the freezer and let the peppers freeze for a few hours or until they are solid. Once frozen, transfer the bell peppers into airtight freezer bags or containers. Remove any excess air from the bags before sealing to prevent freezer burn.
5. Label and Store: Label the bags or containers with the date and contents. Store the frozen bell peppers in the freezer, ensuring they are kept flat to save space. They can be stored for up to 9-12 months, but it’s best to use them within 6-8 months for optimal taste and quality.
When you’re ready to use the frozen bell peppers, simply take out the desired amount and add them directly to your recipes. There’s no need to thaw them beforehand. Frozen bell peppers are excellent for stir-fries, soups, stews, and many other cooked dishes.
By following these steps, you can enjoy the flavors of bell peppers all year round, even when they’re out of season.
Store bell peppers in the crisper drawer of the refrigerator, unwashed and in a plastic bag. They will stay fresh for up to 1-2 weeks. Avoid storing them near ethylene-producing fruits to prevent them from ripening too quickly.
Read more: How To Store Half A Bell Pepper
Drying Bell Peppers
Drying bell peppers is a wonderful way to preserve their flavor and extend their shelf life. Dried bell peppers can be used in various dishes, such as soups, stews, sauces, and even as a flavorful addition to snacks or charcuterie boards. Here’s how you can dry bell peppers:
1. Wash and Prepare: Start by washing the bell peppers under cold water to remove any dirt or residue. Pat them dry with a clean towel. Remove the stem, seeds, and membranes from the inside of the peppers. Cut the peppers into thin strips or small pieces, removing any large white membranes.
2. Oven Drying: Preheat your oven to the lowest temperature setting, generally around 140°F (60°C). Place the cut bell peppers on a baking sheet lined with parchment paper or a baking rack. Make sure the pieces are spread out evenly and not overlapping. Leave the oven door slightly ajar to allow moisture to escape.
3. Drying Time: The time required for drying bell peppers will vary depending on the size, thickness, and moisture content of the peppers. Generally, it can take anywhere from 4 to 8 hours. Check the peppers periodically to ensure they are drying evenly and not becoming overly crispy or burnt.
4. Test for Dryness: To determine if the bell peppers are fully dried, select a piece and let it cool for a few minutes. It should be leathery, brittle, and should break easily when bent. If it feels soft or pliable, it needs more drying time in the oven. Continue drying until all the bell pepper pieces are fully dried.
5. Cool and Store: Once the bell peppers are dry, remove them from the oven and allow them to cool completely on a wire rack. Store the dried bell peppers in an airtight container or airtight bags. Keep them in a cool, dark place to maintain their flavor and quality. Properly dried bell peppers can last for several months.
When you’re ready to use the dried bell peppers, simply rehydrate them by soaking them in warm water for about 15-20 minutes. Once softened, drain any excess water and use the rehydrated bell peppers in your recipes. They will add a concentrated burst of flavor to your dishes.
By drying bell peppers, you can enjoy their delightful taste even when they’re out of season and add a unique twist to your culinary creations.
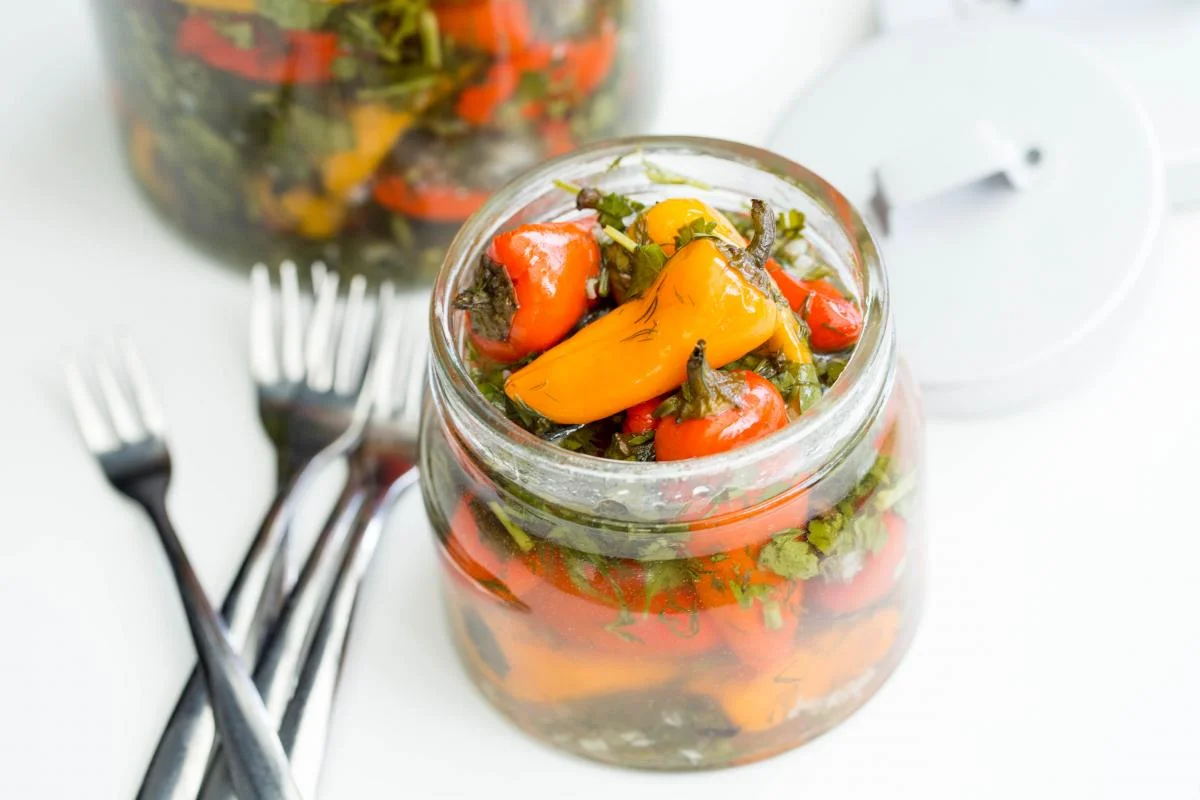
Preserving Bell Peppers in Oil or Vinegar
Preserving bell peppers in oil or vinegar is a fantastic way to capture their vibrant flavors and create a flavorful condiment or ingredient. The process involves pickling the peppers in a mixture of oil, vinegar, herbs, and spices, which not only enhances their taste but also extends their shelf life. Here’s how you can preserve bell peppers in oil or vinegar:
1. Wash and Prepare: Start by washing the bell peppers under cold water to remove any dirt or residue. Pat them dry with a clean towel. Remove the stem, seeds, and membranes from the inside of the peppers. Cut the peppers into desired sizes, such as strips or rings.
2. Sterilize Jars: To ensure proper preservation, it’s important to prepare clean and sterilized jars. Wash the jars and lids with hot soapy water, then rinse them thoroughly. You can also run them through a dishwasher cycle. Place the jars and lids upside down on a clean towel to air dry or dry them in a low-temperature oven (around 250°F or 120°C) for about 20 minutes.
3. Prepare the Pickling Liquid: In a saucepan, combine equal parts vinegar and water. Add spices and herbs of your choice, such as garlic cloves, peppercorns, bay leaves, or red pepper flakes. Bring the mixture to a simmer over medium heat, allowing the flavors to infuse for about 5 minutes.
4. Pack the Jars: Place the cut bell peppers into the sterilized jars, leaving about a ½-inch headspace from the top. Pour the hot pickling liquid over the peppers, making sure they are completely submerged. Use a clean utensil, like a wooden spoon or a chopstick, to remove any air bubbles and ensure the liquid reaches all the peppers.
5. Add Oil (Optional): If you prefer to preserve the bell peppers in oil, top each jar with a layer of olive oil, ensuring all the peppers are covered. This layer of oil acts as a seal and adds a rich, luxurious flavor to the preserved peppers. However, it’s important to note that peppers preserved in oil should be stored in the refrigerator and consumed within a few weeks.
6. Seal and Store: Wipe the rims of the jars to remove any residue or spills. Place the sterilized lids on the jars and tighten them securely. Allow the jars to cool at room temperature, then store them in a cool, dark place, such as a pantry or cellar. The pickled bell peppers will develop their flavors over time and can be enjoyed for several months.
When you’re ready to use the preserved bell peppers, simply remove them from the jar using clean utensils. They make a delightful addition to sandwiches, salads, antipasto platters, or as a flavorful topping for pizzas and bruschetta.
Preserving bell peppers in oil or vinegar is a wonderful way to capture their essence and enjoy their distinct taste throughout the year.
Tips for Keeping Bell Peppers Fresh
Keeping bell peppers fresh can be a challenge, but with proper care and storage techniques, you can extend their shelf life and maintain their optimal freshness. Here are some helpful tips to keep your bell peppers fresh:
- Store in the refrigerator: Bell peppers are best stored in the refrigerator to maintain their crispness and freshness. Place them in the crisper drawer, which provides the ideal humidity levels for vegetable storage. Keep them away from ethylene-producing fruits, such as apples or bananas, as this gas can accelerate the ripening process.
- Keep them dry: Excess moisture can cause bell peppers to spoil quickly. Before storing them, make sure the peppers are completely dry. After washing them, use a kitchen towel or paper towel to pat them dry.
- Avoid direct contact: When storing bell peppers, avoid direct contact with other produce or surfaces. Place them in a separate container or bag to prevent them from getting crushed or bruised.
- Don’t remove the stem: The stem helps to keep the moisture inside the pepper. It’s best not to remove the stem until you’re ready to use the pepper to help preserve its freshness.
- Check for spoilage: Regularly inspect your bell peppers for any signs of spoilage. Look for soft spots, wrinkled skin, or mold formation. If you spot any of these, remove the affected peppers to prevent the spread of decay.
- Use them in a timely manner: Bell peppers are at their best when consumed within a week or so. While they can last longer in the refrigerator, their quality may deteriorate after that. Cook or incorporate them into your meals before they start to show signs of aging.
- Preserve or freeze: If you have an abundance of bell peppers, consider preserving or freezing them for future use. This way, you can enjoy their flavors even when they’re out of season. Follow the proper preservation methods discussed earlier in this article.
- Grow your own: If possible, consider growing your own bell peppers. This way, you can harvest them at their peak freshness and use them immediately. Homegrown bell peppers can provide the ultimate freshness and taste.
By following these tips, you can keep your bell peppers fresh for longer and enjoy their crisp texture and vibrant flavors in your favorite recipes.
Conclusion
Bell peppers are a delightful addition to any culinary repertoire, adding vibrant colors and delicious flavors to a variety of dishes. By knowing how to properly store bell peppers, you can ensure their freshness and quality, allowing you to enjoy their delightful taste for longer periods. Whether you choose to store them in the refrigerator, freeze them, dry them, or preserve them in oil or vinegar, each method offers its own benefits and can cater to your specific needs.
When storing bell peppers, it’s important to choose the right ones based on their color and ripeness. Properly preparing the peppers by cleaning and removing the seeds and membranes is essential to maintaining their quality. Refrigerating bell peppers can help prolong their shelf life, while freezing them is an excellent option for long-term preservation. Drying bell peppers not only extends their shelf life but also enhances their flavors, making them a versatile ingredient in many recipes. Preserving bell peppers in oil or vinegar creates a delightful condiment that adds a burst of flavor to various dishes.
By following simple tips, such as keeping bell peppers dry, avoiding direct contact with other produce, and checking for spoilage regularly, you can maximize the freshness and longevity of your bell peppers. Remember to use them in a timely manner and consider preserving or freezing any excess to enjoy their flavors even when they are out of season.
Whether you grow your own bell peppers or purchase them from the local market, knowing how to properly store them will ensure that you always have a supply of fresh and delicious peppers on hand. So, the next time you have bell peppers in your kitchen, utilize the storage methods that best suit your needs and preferences, and savor the fresh taste of these vibrant vegetables for weeks or even months to come.
Frequently Asked Questions about How To Store A Bell Pepper
Was this page helpful?
At Storables.com, we guarantee accurate and reliable information. Our content, validated by Expert Board Contributors, is crafted following stringent Editorial Policies. We're committed to providing you with well-researched, expert-backed insights for all your informational needs.


0 thoughts on “How To Store A Bell Pepper”