Articles
How To Store Boiled Chicken
Modified: August 25, 2024
Learn the best methods and tips on how to properly store boiled chicken in this informative article. Preserve its freshness and maximize its shelf life.
(Many of the links in this article redirect to a specific reviewed product. Your purchase of these products through affiliate links helps to generate commission for Storables.com, at no extra cost. Learn more)
Introduction
Boiling chicken is a versatile and convenient cooking method that yields tender, juicy meat. It can be used in various dishes such as salads, sandwiches, soups, and casseroles. Whether you are planning your meals in advance or have leftover boiled chicken on hand, knowing how to store it properly is essential to maintain its freshness and flavor.
In this article, we will provide you with valuable tips on buying and boiling chicken, as well as step-by-step instructions on how to store boiled chicken effectively. We will also share some handy tips for handling and using stored boiled chicken safely. So, let’s dive in and learn how to make the most of your leftover or pre-cooked chicken!
Key Takeaways:
- Store boiled chicken by dividing into portions, wrapping tightly, and labeling with the date. Use within 1-2 months for the best flavor and quality.
- Thaw frozen boiled chicken in the refrigerator and reheat gently to prevent dryness. Use in salads, soups, and casseroles for quick and tasty meals.
Read more: How To Store Boiled Pasta
Tips for Buying and Boiling Chicken
When it comes to buying chicken for boiling, there are a few key considerations to ensure that you get the best quality meat and optimal results. Here are some tips to keep in mind:
- Choose fresh chicken: Look for chicken pieces that have a firm texture, pinkish color, and no unpleasant odor. The fresher the chicken, the better the taste and texture of the boiled meat.
- Consider the cut: Different cuts of chicken may require different boiling times. Bone-in chicken with the skin on tends to have more flavor but will take longer to cook. Boneless, skinless chicken breasts are a popular choice for boiling as they cook relatively quickly and are leaner.
- Opt for organic or free-range chicken: If possible, choose chicken that has been raised without antibiotics or hormones. Organic or free-range chicken is not only healthier but also offers better flavor and texture.
- Remove excess fat: Before boiling the chicken, trim any excess fat from the pieces. This will help prevent a greasy texture in the boiled meat.
- Season the water: To add flavor to the chicken while boiling, consider seasoning the water with herbs, spices, or aromatics such as onion, garlic, or bay leaves. This will infuse the meat with subtle flavors.
Now that you have some guidelines for buying the right chicken, let’s move on to the next section where we will discuss how to prepare the chicken for boiling.
Step 1: Preparing the Chicken
Before you start boiling the chicken, it is important to properly prepare the meat to ensure optimal results. Here is how you can prepare the chicken for boiling:
- Wash the chicken: Rinse the chicken pieces under cold running water to remove any potential debris or contaminants.
- Pat dry: Use a paper towel to pat the chicken pieces dry. This helps the seasonings and flavors to adhere better to the meat.
- Season the chicken: Season the chicken pieces with your preferred spices, herbs, and seasonings. You can use a simple combination of salt, pepper, and garlic powder, or get creative with your favorite flavorings.
- Marinate (optional): If you have time, consider marinating the chicken for a few hours or overnight. This will infuse the meat with additional flavors and make it even more delicious.
Once the chicken is properly prepared, you are ready to move on to the next step: boiling the chicken. Let’s find out how in the next section.
Step 2: Boiling the Chicken
Boiling chicken is a simple and straightforward process. Follow these steps to boil the chicken to perfection:
- Choose a pot: Select a pot that is large enough to comfortably hold the chicken pieces. A deep pot with a lid is ideal for retaining heat and moisture.
- Add liquid: Pour enough water or chicken broth into the pot to cover the chicken pieces. The liquid will contribute to the flavor of the boiled chicken.
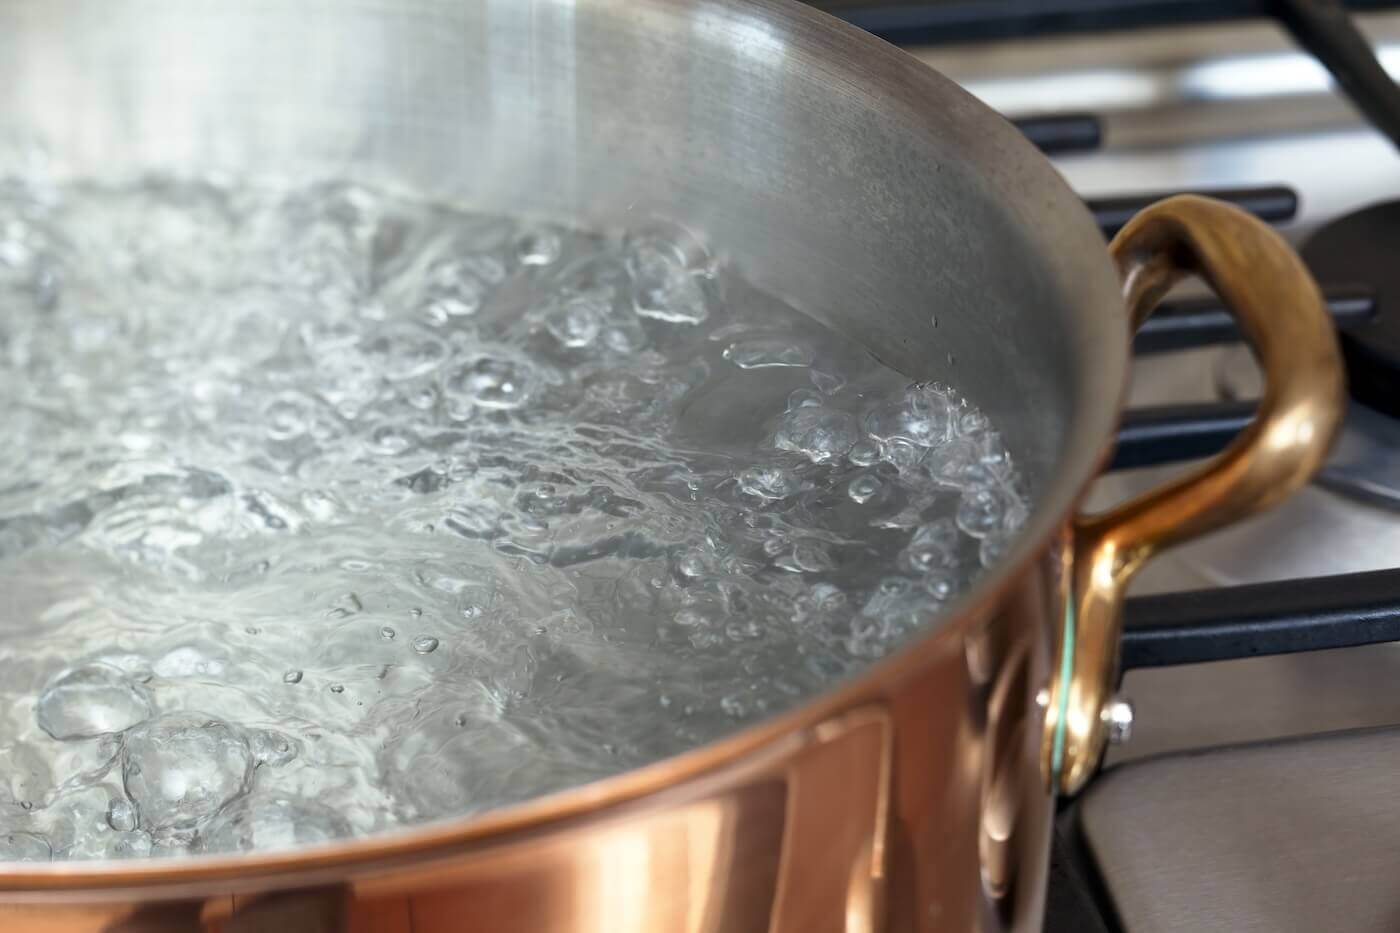
- Bring to a boil: Place the pot on the stovetop over medium-high heat. Allow the liquid to come to a rolling boil.
- Add the chicken: Carefully add the prepared chicken pieces to the boiling liquid. Make sure they are fully submerged.
- Reduce heat: Once you add the chicken, reduce the heat to low or medium-low to maintain a gentle simmer. Too high of a heat can cause the meat to become tough.
- Cook time: The cooking time will vary depending on the size and type of chicken pieces. Boneless, skinless chicken breasts generally take around 10-15 minutes to cook, while bone-in pieces may require 30-45 minutes. Use a meat thermometer to ensure that the internal temperature reaches 165°F (74°C) for proper doneness.
- Skim off foam: As the chicken boils, you may notice some foam or impurities rising to the surface. Use a slotted spoon or skimmer to skim off any foam during the cooking process.
Once the chicken is fully cooked, it’s time to move on to the next step: cooling and straining the chicken. Let’s go through the process in the following section.
After boiling chicken, let it cool before storing it in an airtight container in the refrigerator for up to 4 days. This will help keep it fresh and safe to eat.
Step 3: Cooling and Straining the Chicken
Cooling and straining the boiled chicken is an important step to ensure proper handling and storage of the meat. Follow these steps to effectively cool and strain the chicken:
- Remove from heat: Once the chicken is fully cooked, turn off the heat and carefully remove the pot from the stove.
- Cooling option 1: Ice bath: The quickest way to cool down the chicken is by placing the pot in an ice bath. Fill a larger bowl or sink with ice and water, then place the pot with the chicken in the ice bath. Stir the chicken gently to help cool it evenly.
- Cooling option 2: Air cooling: If you don’t have access to an ice bath, you can allow the chicken to cool at room temperature. Place the pot on a heat-resistant surface and let the chicken cool down for about 30 minutes.
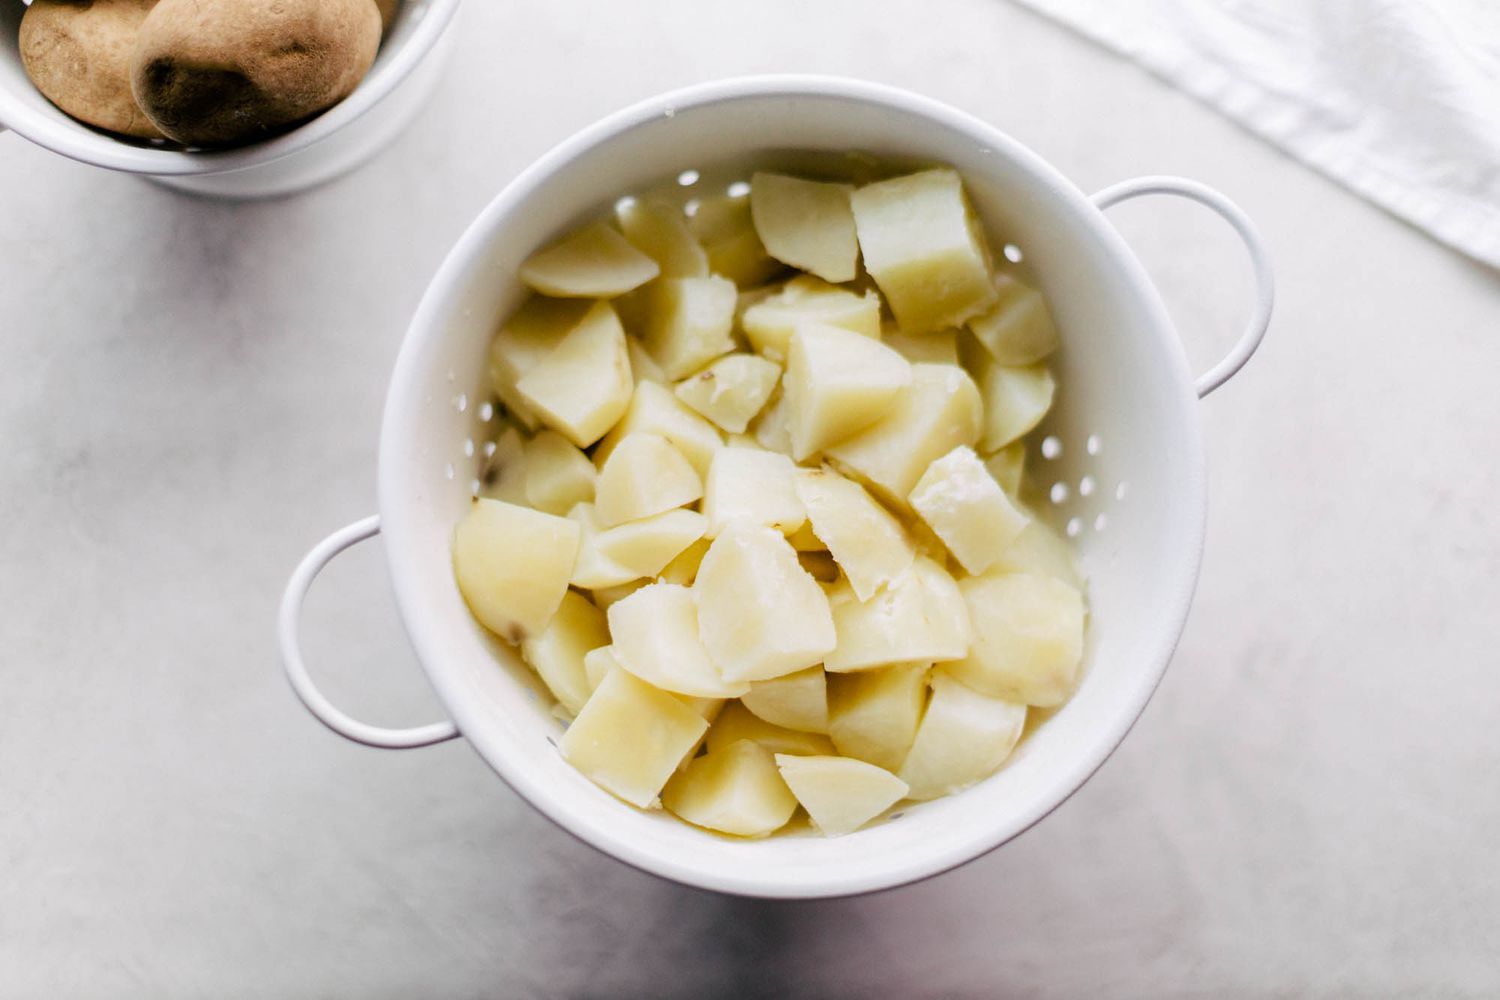
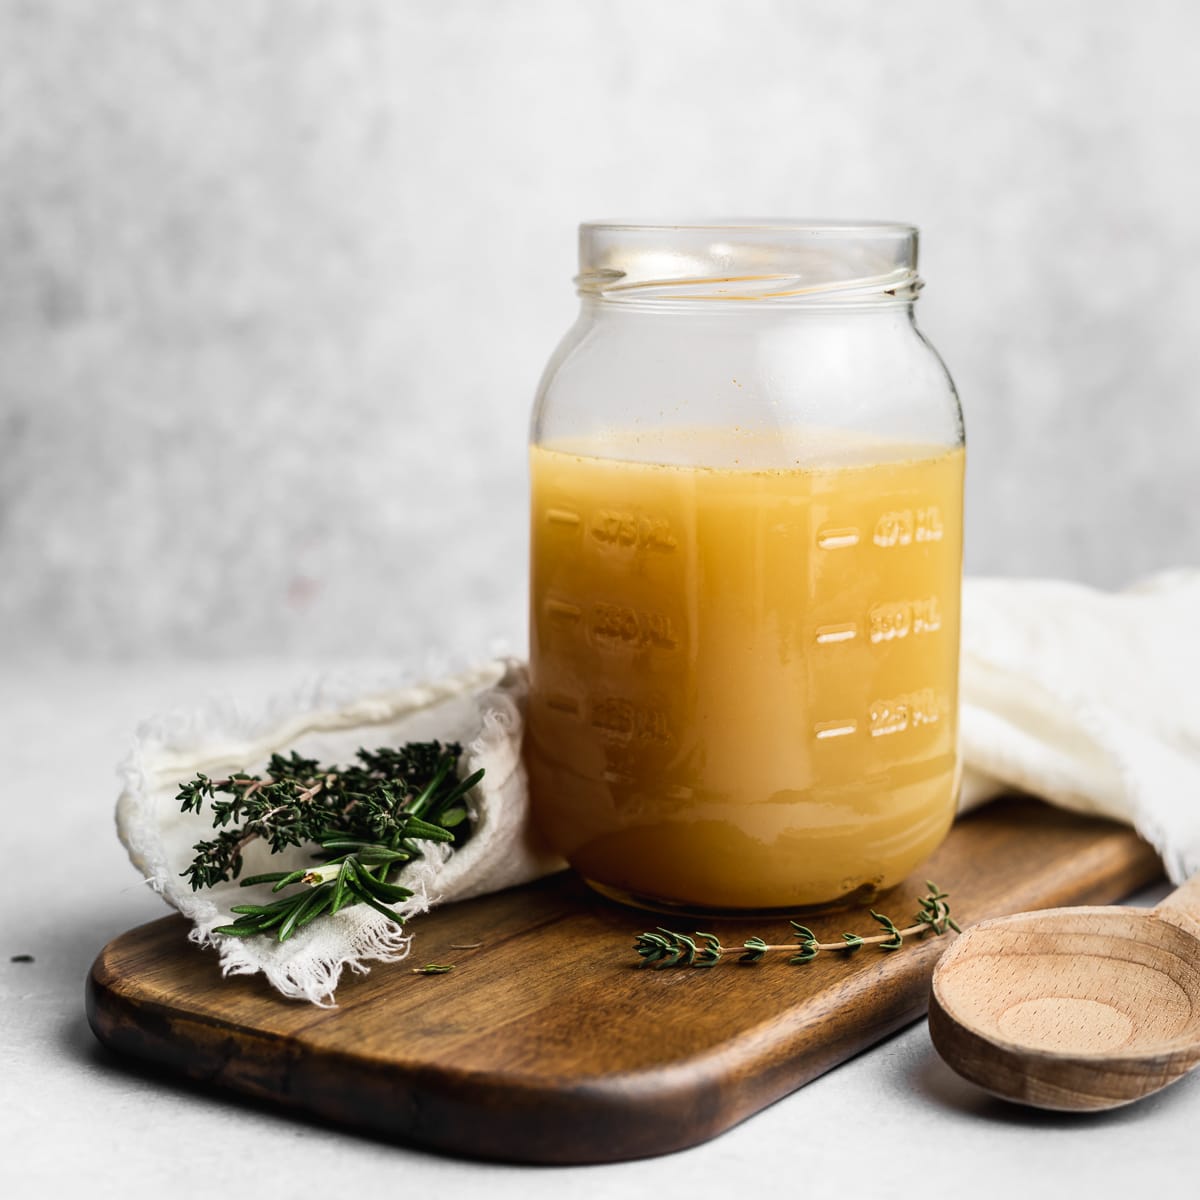
- Strain the chicken: Once the chicken has cooled, carefully remove it from the pot and strain the liquid. Use a colander or a fine-mesh sieve to separate the chicken from the cooking liquid. Discard the liquid or save it for use in soups or stocks.
Now that the chicken is cooled and strained, it’s time to move on to the final step: storing the boiled chicken. Discover the best methods for storing boiled chicken in the next section.
Read more: How To Store Boiled Peanuts
Step 4: Storing the Boiled Chicken
Proper storage is crucial to maintain the quality, flavor, and safety of boiled chicken. Follow these steps to store the boiled chicken effectively:
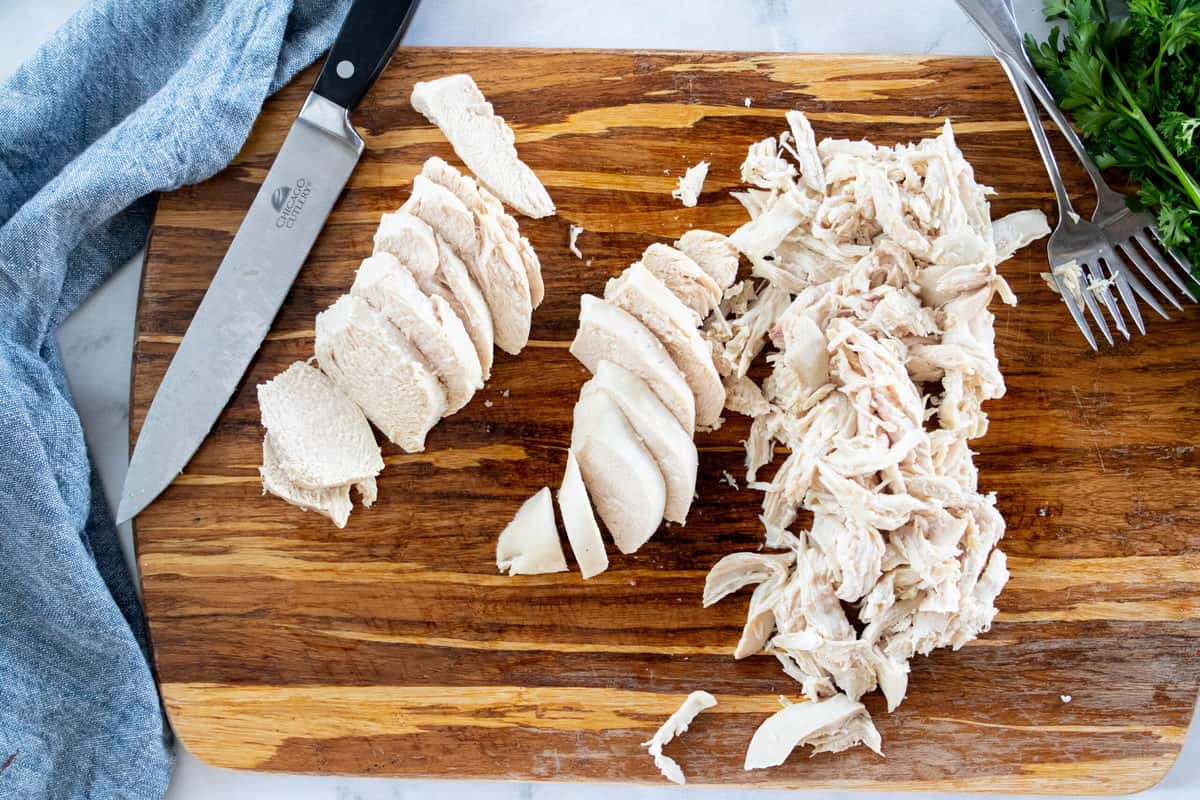
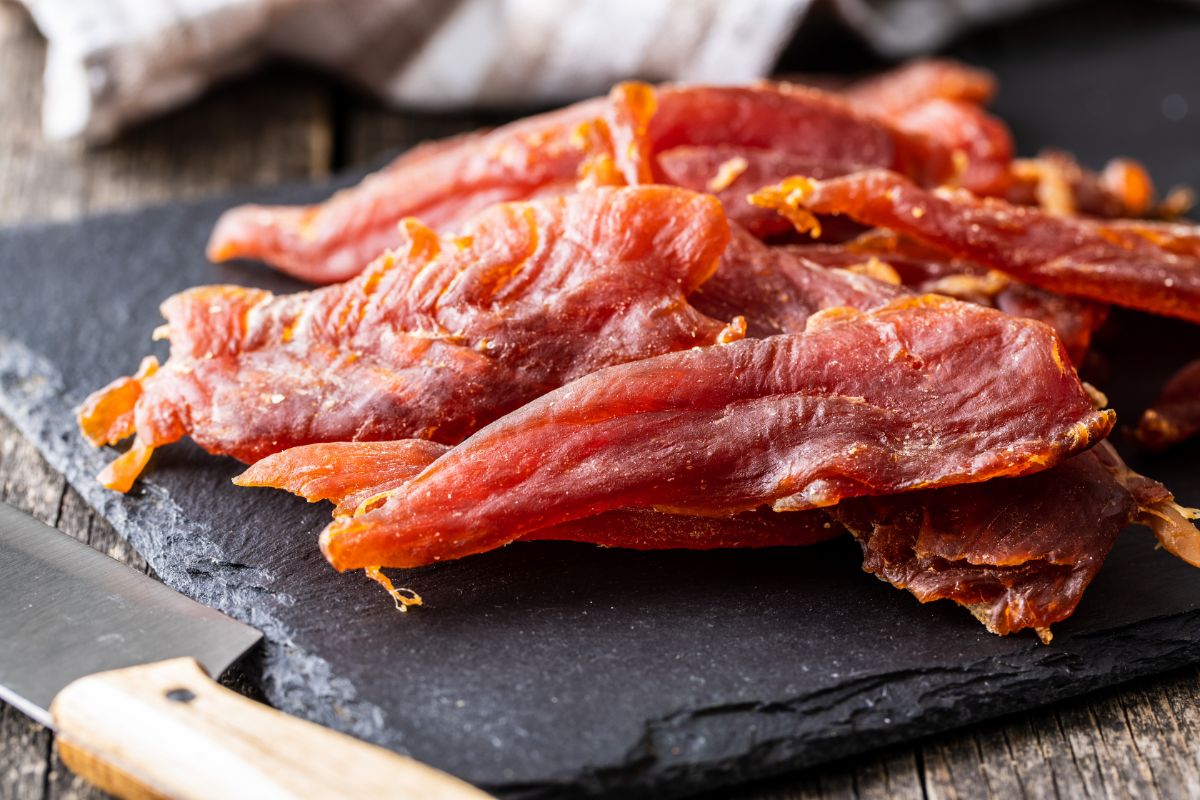
- Cut or shred the chicken: Depending on your preference and intended use, you can either leave the chicken pieces whole or shred them into smaller chunks. Cutting or shredding the chicken makes it easier to use in various dishes.
- Divide into portions: If you have a large quantity of boiled chicken, consider dividing it into smaller portions. This allows you to defrost only the amount you need, reducing waste.
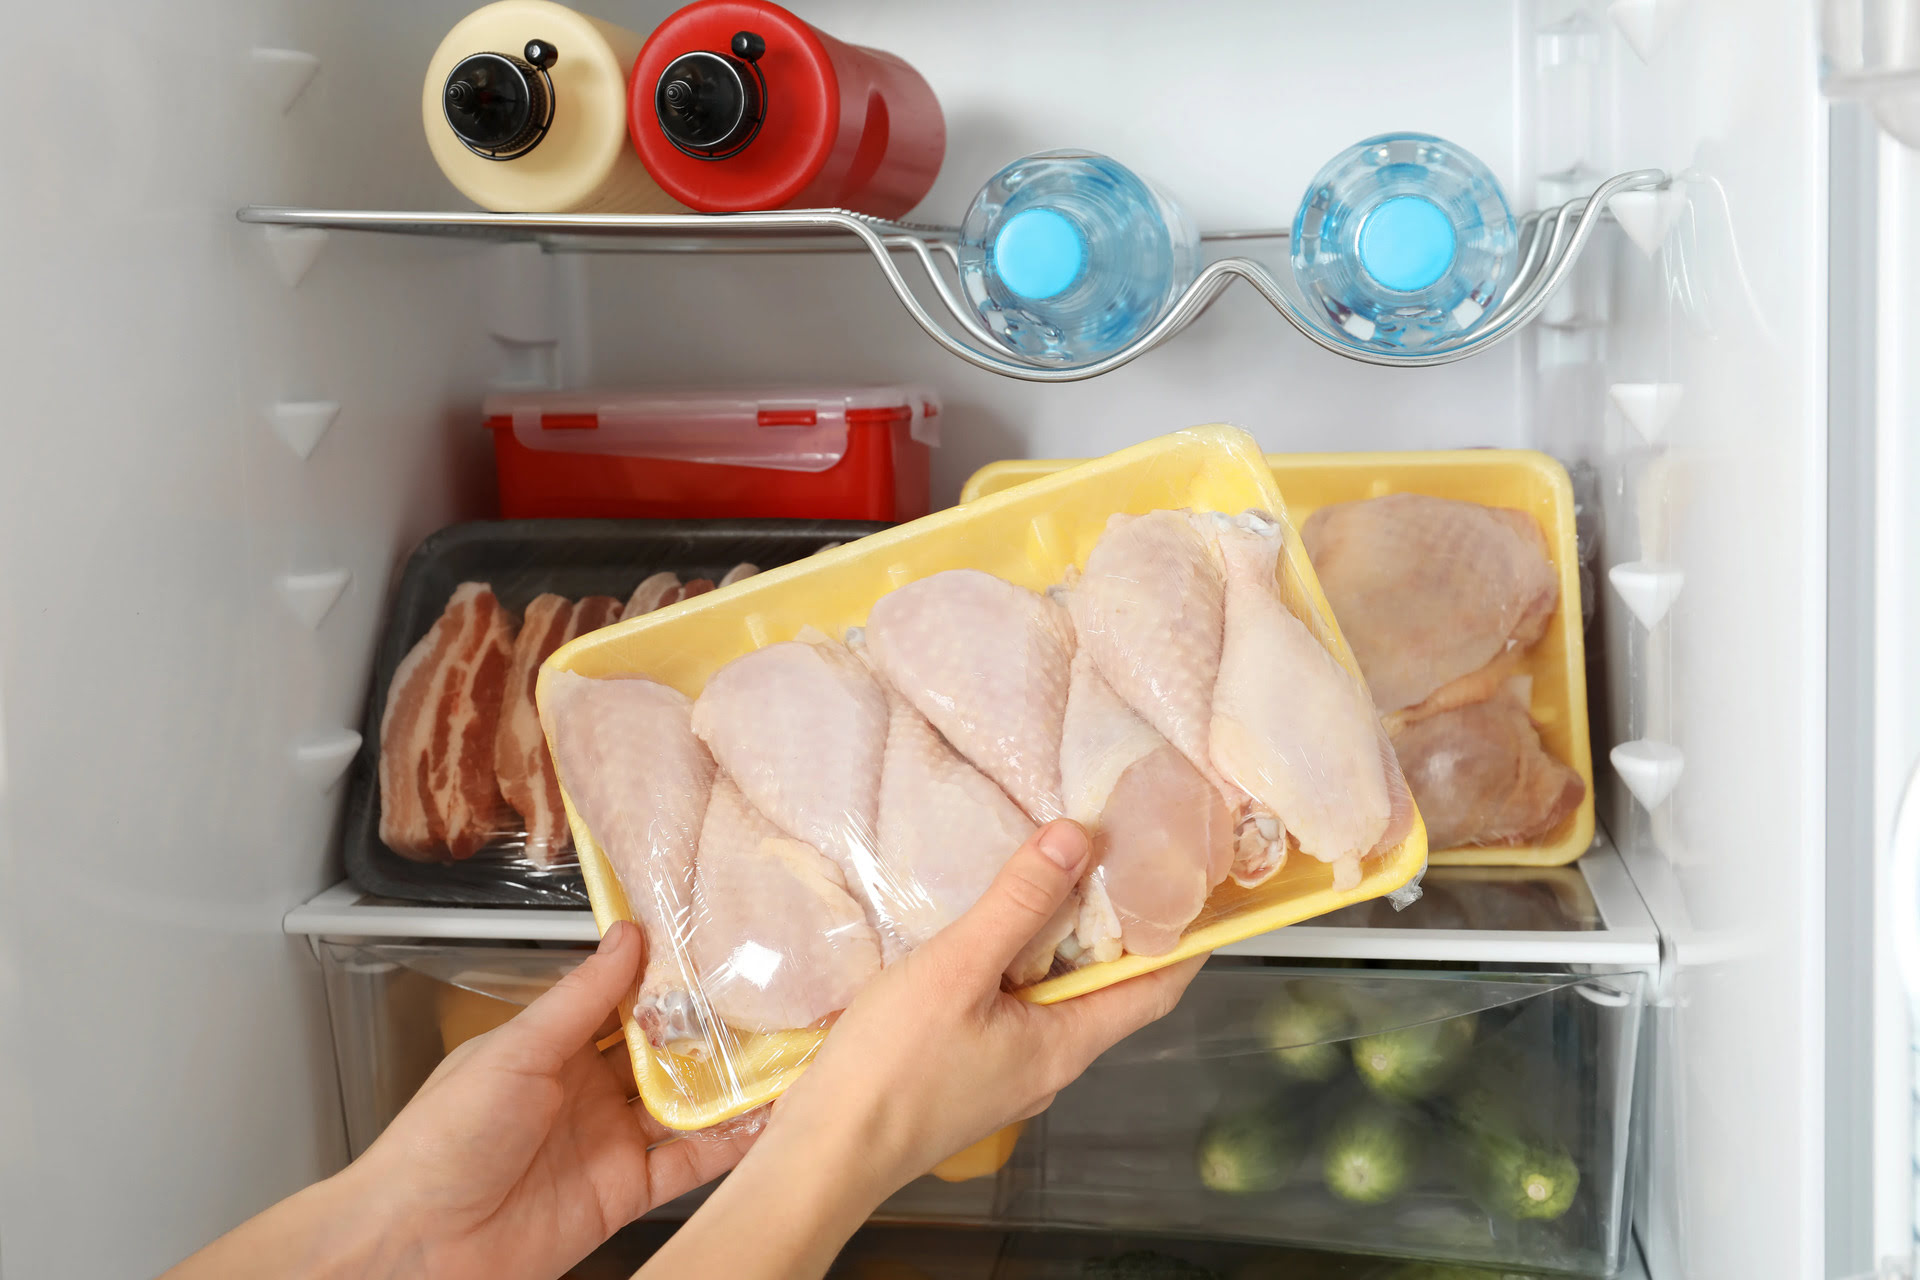
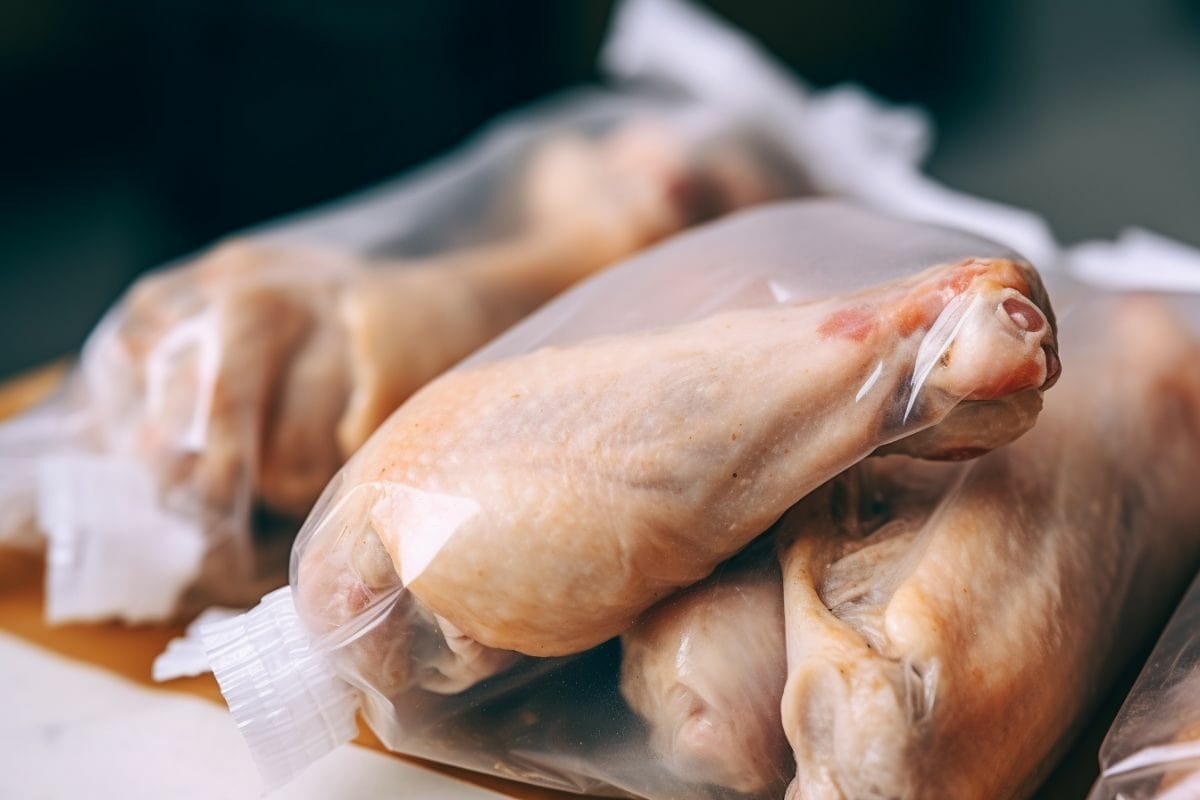
- Wrap or place in airtight containers: To prevent freezer burn and maintain freshness, wrap the chicken tightly in plastic wrap or place it in airtight containers. Alternatively, you can use freezer bags, removing any excess air before sealing.
- Label and date: Don’t forget to label each package or container with the contents and date of freezing. This way, you can keep track of the storage time and ensure you use the oldest chicken first.
- Store in the freezer: Place the wrapped or sealed chicken in the freezer. Ensure your freezer is set to the appropriate temperature to keep the chicken properly frozen (-18°C or 0°F).
- Use within the recommended timeframe: While properly stored boiled chicken can last in the freezer for up to 3 months, it is best to use it within 1-2 months for the best flavor and quality.
By following these steps, you can safely store your boiled chicken for future use. Now that you’ve learned how to store it, let’s move on to some helpful tips for handling and using stored boiled chicken.
Tips for Handling and Using Stored Boiled Chicken
Stored boiled chicken can be a convenient and versatile ingredient for a variety of dishes. Here are some tips to keep in mind when handling and using your stored boiled chicken:
- Thaw properly: If you have frozen your boiled chicken, make sure to thaw it properly before use. The safest way to thaw frozen chicken is by transferring it to the refrigerator and allowing it to thaw overnight. Avoid thawing chicken at room temperature to prevent the growth of harmful bacteria.
- Reheat gently: When reheating boiled chicken, it’s best to do it gently to prevent dryness or overcooking. You can reheat the chicken by placing it in the oven at a low temperature, briefly microwaving it, or sautéing it in a pan with a little oil or butter.
- Use in a variety of dishes: Stored boiled chicken can be used as a protein-rich ingredient in various dishes. Add it to salads, wraps, sandwiches, or stir-fries for quick and easy meals. It can also be used in soups, casseroles, or pasta dishes for added flavor and texture.
- Enhance the flavor: If you find the taste of the boiled chicken to be bland, you can enhance the flavor by marinating it or adding spices and seasonings before using it in your recipes. This will infuse the chicken with extra flavor.
- Add moisture when necessary: Boiled chicken can sometimes be dry. To add moisture, consider mixing it with a sauce or dressing, or adding some broth or cooking liquid to the dish you are preparing.
- Discard if in doubt: If your stored boiled chicken develops an off smell, strange texture, or shows signs of freezer burn, it’s best to discard it. Trust your senses and prioritize food safety.
By following these tips, you can maximize the usage of your stored boiled chicken and enjoy tasty meals without any compromise on quality. Now, let’s wrap up this article.
Conclusion
Knowing how to store boiled chicken properly can save you time, money, and effort in the kitchen. By following the steps outlined in this article, you can ensure that your boiled chicken retains its flavor, texture, and nutritional value when stored for future use.
From buying fresh chicken and properly preparing it for boiling to cooling, straining, and storing the cooked meat, each step plays a crucial role in maintaining the quality of the chicken. Additionally, the tips provided for handling and using stored boiled chicken offer creative ways to incorporate this versatile ingredient into your meals.
Whether you’re planning your meals in advance or have leftover boiled chicken from a previous cooking session, storing it properly allows you to have a readily available protein source for a variety of dishes. Whether it’s a quick salad, a comforting soup, or a hearty casserole, your stored boiled chicken can be a time-saving and convenient option for any meal.
Remember to always follow food safety guidelines and trust your senses when it comes to the quality of stored chicken. If in doubt, it’s better to discard it and prioritize your well-being.
So, the next time you boil chicken, make sure to utilize these tips and techniques for storing and using the boiled chicken effectively. With a little planning and preparation, you can enjoy the convenience and deliciousness of boiled chicken whenever you desire.
Frequently Asked Questions about How To Store Boiled Chicken
Was this page helpful?
At Storables.com, we guarantee accurate and reliable information. Our content, validated by Expert Board Contributors, is crafted following stringent Editorial Policies. We're committed to providing you with well-researched, expert-backed insights for all your informational needs.
0 thoughts on “How To Store Boiled Chicken”