Articles
How To Store Cake Batter For Later Use
Modified: December 7, 2023
Learn how to store cake batter for later use with these helpful articles. Keep your batter fresh and ready to use whenever you need it.
(Many of the links in this article redirect to a specific reviewed product. Your purchase of these products through affiliate links helps to generate commission for Storables.com, at no extra cost. Learn more)
Introduction
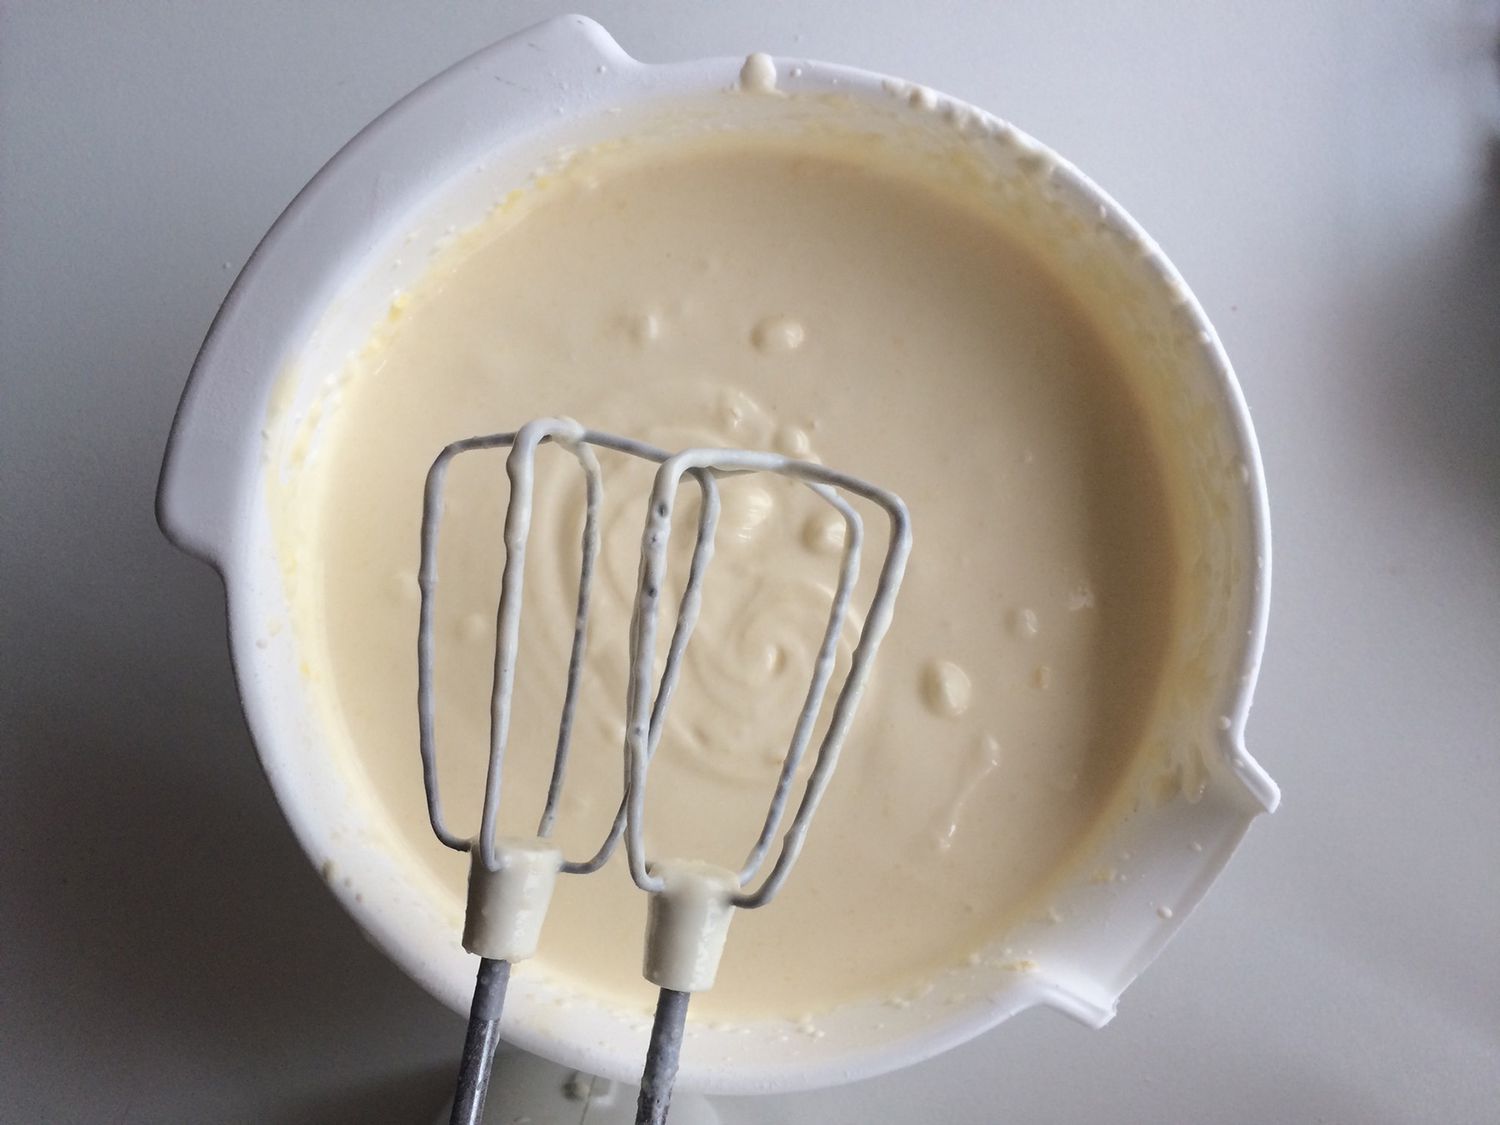
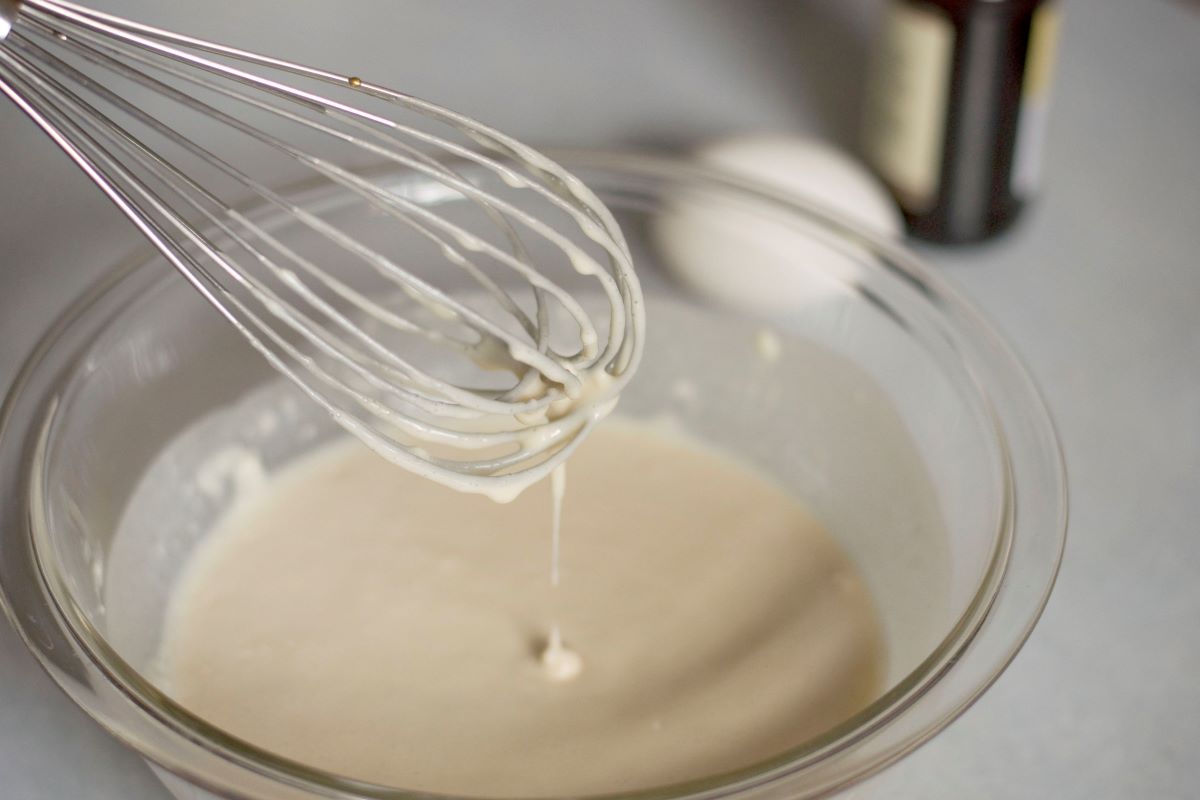
When it comes to baking cakes, there’s nothing quite like the delight of indulging in a freshly baked, homemade treat. But what happens when you find yourself with leftover cake batter? Do you throw it away or let it go to waste? Absolutely not! With a few handy tips and tricks, you can easily store cake batter for later use, ensuring that every ounce of that delicious batter is put to good use.
Whether you have extra batter from a large recipe or you simply want to prepare ahead for future baking projects, knowing how to store cake batter properly can be a game-changer. It not only saves you time but also allows you to have that same fresh, homemade taste whenever you’re in the mood for cake.
In this article, we’ll explore different methods for storing cake batter and share valuable tips to help you make the most of your baking endeavors. So, let’s dive in and discover the secrets to preserving that precious cake batter!
Key Takeaways:
- Store cake batter for convenience, variety, and emergency preparedness. Use airtight containers, label and date, and freeze for longer storage. Thaw slowly and discard if in doubt to ensure freshness and safety.
- Freezing cake batter extends shelf life, providing ready-to-bake options. Thaw overnight and use immediately. Refrigeration is suitable for short-term storage, maintaining quality and taste. Enjoy homemade cakes at your convenience!
Read more: How To Mix Cake Batter Without A Mixer
Why Store Cake Batter
Storing cake batter can be a lifesaver in many situations. Here are a few reasons why you might want to consider storing your extra cake batter:
- Convenience: By storing cake batter, you can have pre-made portions ready to use whenever you feel like baking. It saves time and effort, especially for busy individuals or those with unexpected guests.
- Variety: Storing different flavors of cake batter allows you to have a variety of options at your fingertips. You can experiment with different flavors and combinations without having to go through the process of making batter from scratch each time.
- Portion Control: If you’re baking for a smaller group or prefer individual servings, storing cake batter in smaller portions allows you to have control over the quantity you bake. It minimizes waste and ensures that you have just the right amount of cake for your needs.
- Emergency Preparedness: Having stored cake batter can be incredibly helpful during times when unexpected events or emergencies occur. It allows you to whip up a homemade cake quickly, providing comfort and a sense of normalcy when other baking supplies may be scarce.
Overall, storing cake batter provides flexibility and convenience, allowing you to enjoy freshly baked cakes at your convenience and tailor them to your specific preferences or needs. It’s a practical solution that can enhance your baking experience and ensure that no batter goes to waste.
Tips for Storing Cake Batter
Properly storing cake batter is crucial to maintaining its freshness and quality. Here are some helpful tips to keep in mind when storing your cake batter:
- Cool the Batter: Before storing the cake batter, make sure it has cooled down completely. Hot or warm cake batter can create condensation inside the storage container, leading to a loss of texture and flavor.
- Choose the Right Container: Use airtight containers or resealable plastic bags for storing cake batter. Make sure the container is clean, dry, and free from any odors that could transfer to the batter.
- Label and Date: Be sure to label your stored cake batter with the flavor, date of storage, and any other relevant information. This will help you keep track of what you have and ensure you use the oldest batter first.
- Portion Control: Divide the cake batter into individual portions before storing. This allows you to easily thaw or use only the amount you need without having to thaw the entire batch.
- Freeze for Longer Storage: If you don’t plan on using the cake batter within a few days, freezing it is the best option. Freezing extends the storage life of the batter and maintains its freshness for future use.
- Refrigerate for Short-Term Storage: If you only need to store the batter for a few days, refrigeration is a suitable option. However, keep in mind that the batter may lose some of its leavening power over time.
- Avoid Overfilling Containers: Leave some space at the top of the container or bag to allow for expansion when freezing. This prevents containers from bursting or leaking.
- Thaw Slowly: When you’re ready to use the stored cake batter, thaw it slowly in the refrigerator overnight. Avoid microwaving or using high heat, as it can affect the texture and quality.
- Discard if in Doubt: If the cake batter has been stored for an extended period or shows signs of spoilage, such as off smells or off colors, it’s best to discard it to avoid any risk of foodborne illness.
By following these tips, you can ensure that your stored cake batter remains fresh, delicious, and ready to be transformed into a mouthwatering baked masterpiece whenever the craving strikes.
Freezing Cake Batter
Freezing cake batter is an excellent way to extend its shelf life and have homemade cake readily available whenever you want it. Here’s how to freeze cake batter properly:
- Cool the Batter: Allow the cake batter to cool completely before freezing. You can either refrigerate it for a few hours or let it come to room temperature naturally.
- Portion and Package: Divide the cake batter into individual portions that are suitable for your baking needs. Consider the size of your baking pans or molds and portion accordingly. Place each portion into airtight containers or resealable freezer bags.
- Remove Air: Squeeze out as much air as possible from the containers or bags to prevent freezer burn and maintain the quality of the cake batter.
- Label and Date: Clearly label each container or bag with the flavor, date, and portion size of the cake batter. This will help you keep track of what you have and ensure you use the oldest batter first.
- Freeze: Place the labeled containers or bags in the freezer, making sure they are placed in a flat position to prevent leakage or spills. Ensure that the freezer temperature is set to 0°F (-18°C) or lower for optimal storage.
- Thawing and Using Frozen Cake Batter: When you’re ready to use the frozen cake batter, transfer it to the refrigerator and allow it to thaw overnight. Once thawed, the batter should be used immediately and not refrozen.
It’s important to note that freezing cake batter may slightly alter its texture and structure. The leavening agents in the batter may not be as effective after freezing, resulting in a denser cake. However, if properly stored and thawed, the frozen cake batter can still produce delicious cakes with minimal difference in taste and quality.
By freezing your cake batter, you’ll always have your favorite flavors and ready-to-bake options available without the need for extensive preparation. It’s a fantastic way to save time and have homemade cakes on hand for impromptu celebrations or whenever the cake craving strikes.
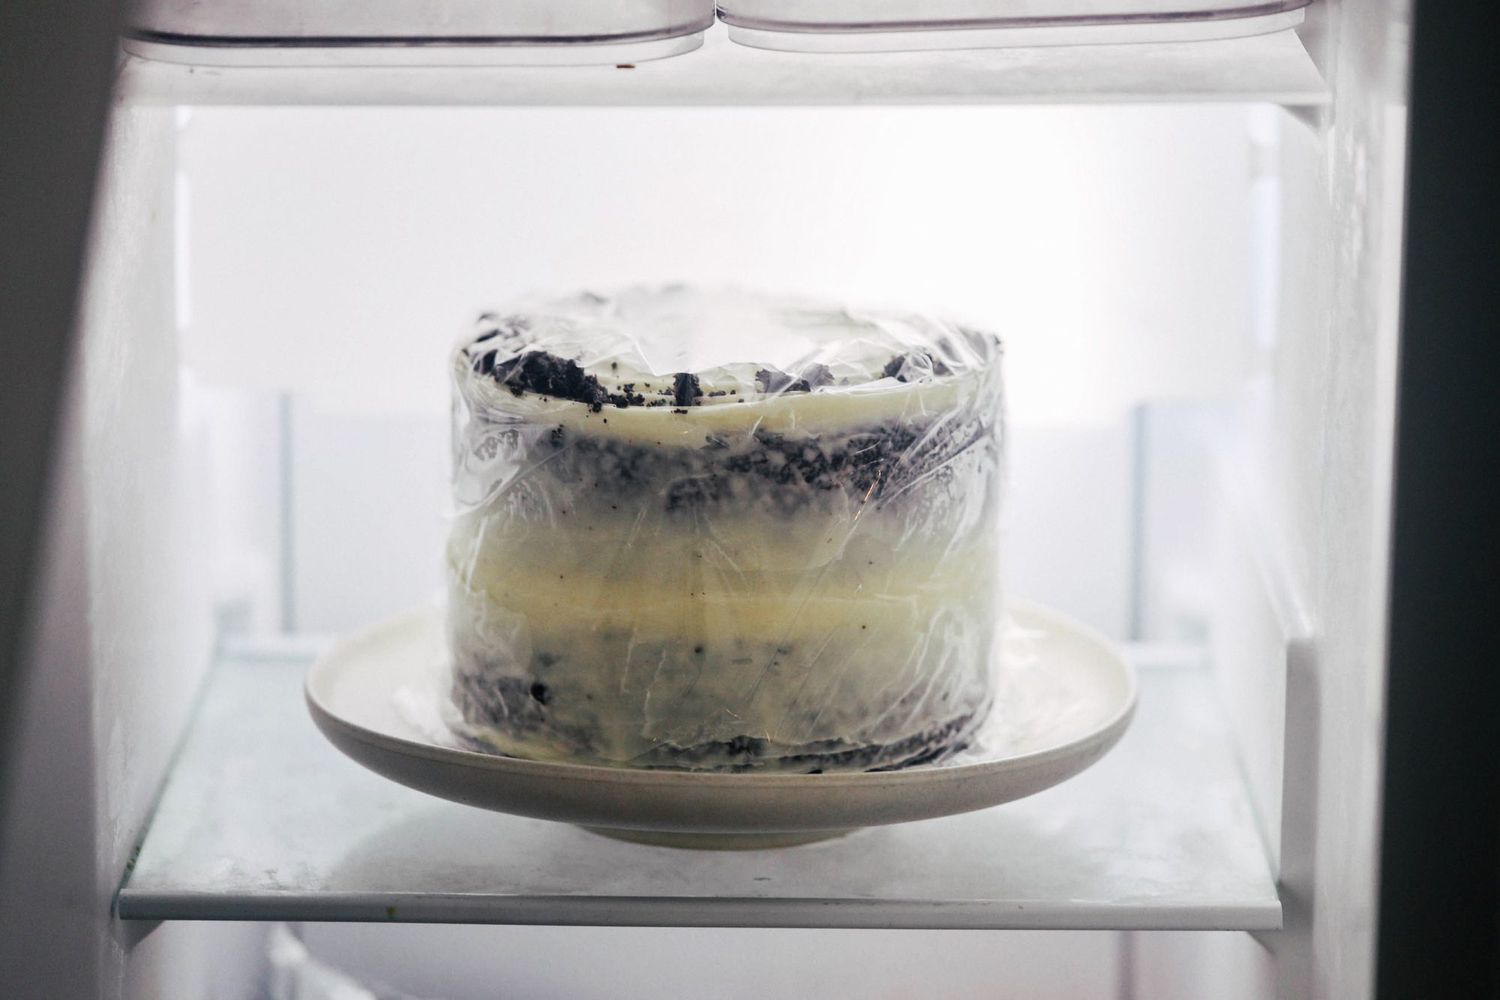
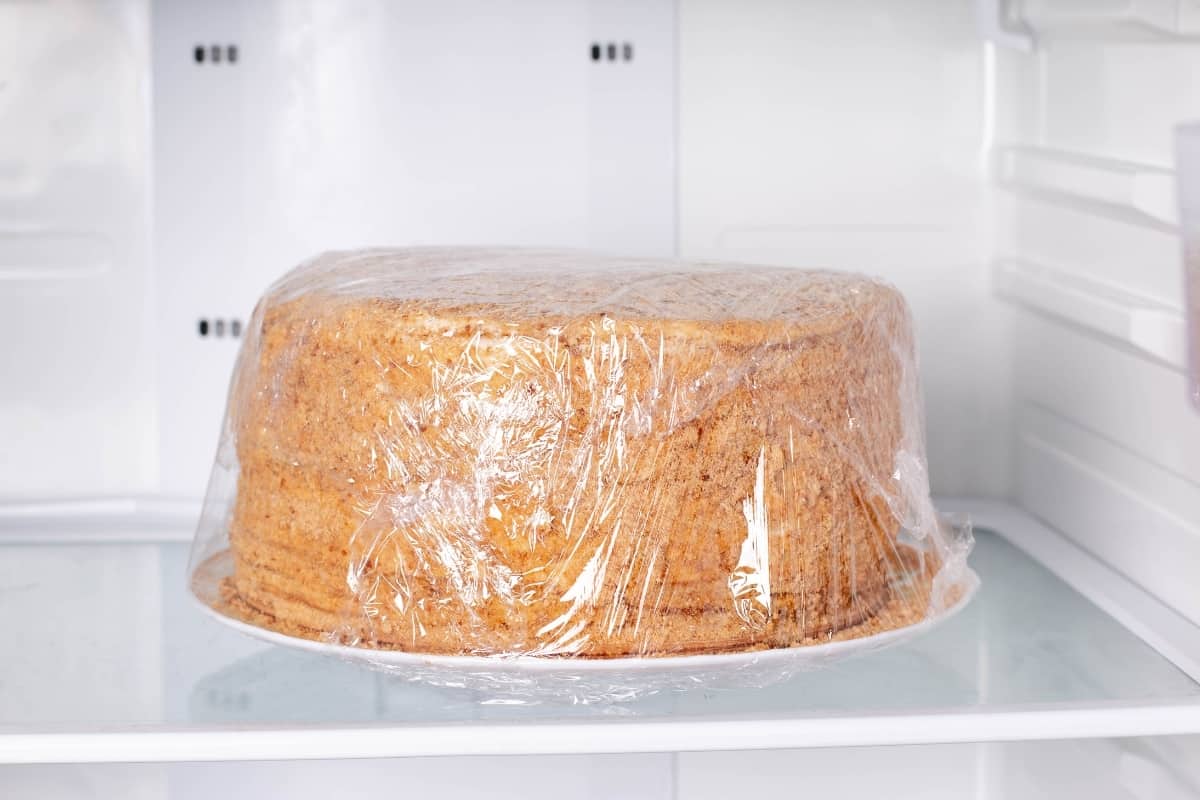
You can store cake batter in an airtight container in the refrigerator for up to 24 hours. Be sure to bring it to room temperature before baking for best results.
Refrigerating Cake Batter
If you only need to store cake batter for a short period, refrigeration is an effective method. Here’s how to refrigerate cake batter properly:
- Cool the Batter: Allow the cake batter to cool completely before refrigerating. This helps prevent condensation and maintains the quality of the batter.
- Airtight Container: Transfer the cake batter to an airtight container. Choose a container that is appropriate in size and has a tight-fitting lid to prevent air exposure and odor contamination.
- Label and Date: Clearly label the container with the flavor, date, and any other necessary information. This will help you keep track of the freshness and ensure you use the batter within a safe time frame.
- Refrigerate: Place the labeled container of cake batter in the refrigerator. The batter can typically be stored in the fridge for up to three days, depending on the ingredients used.
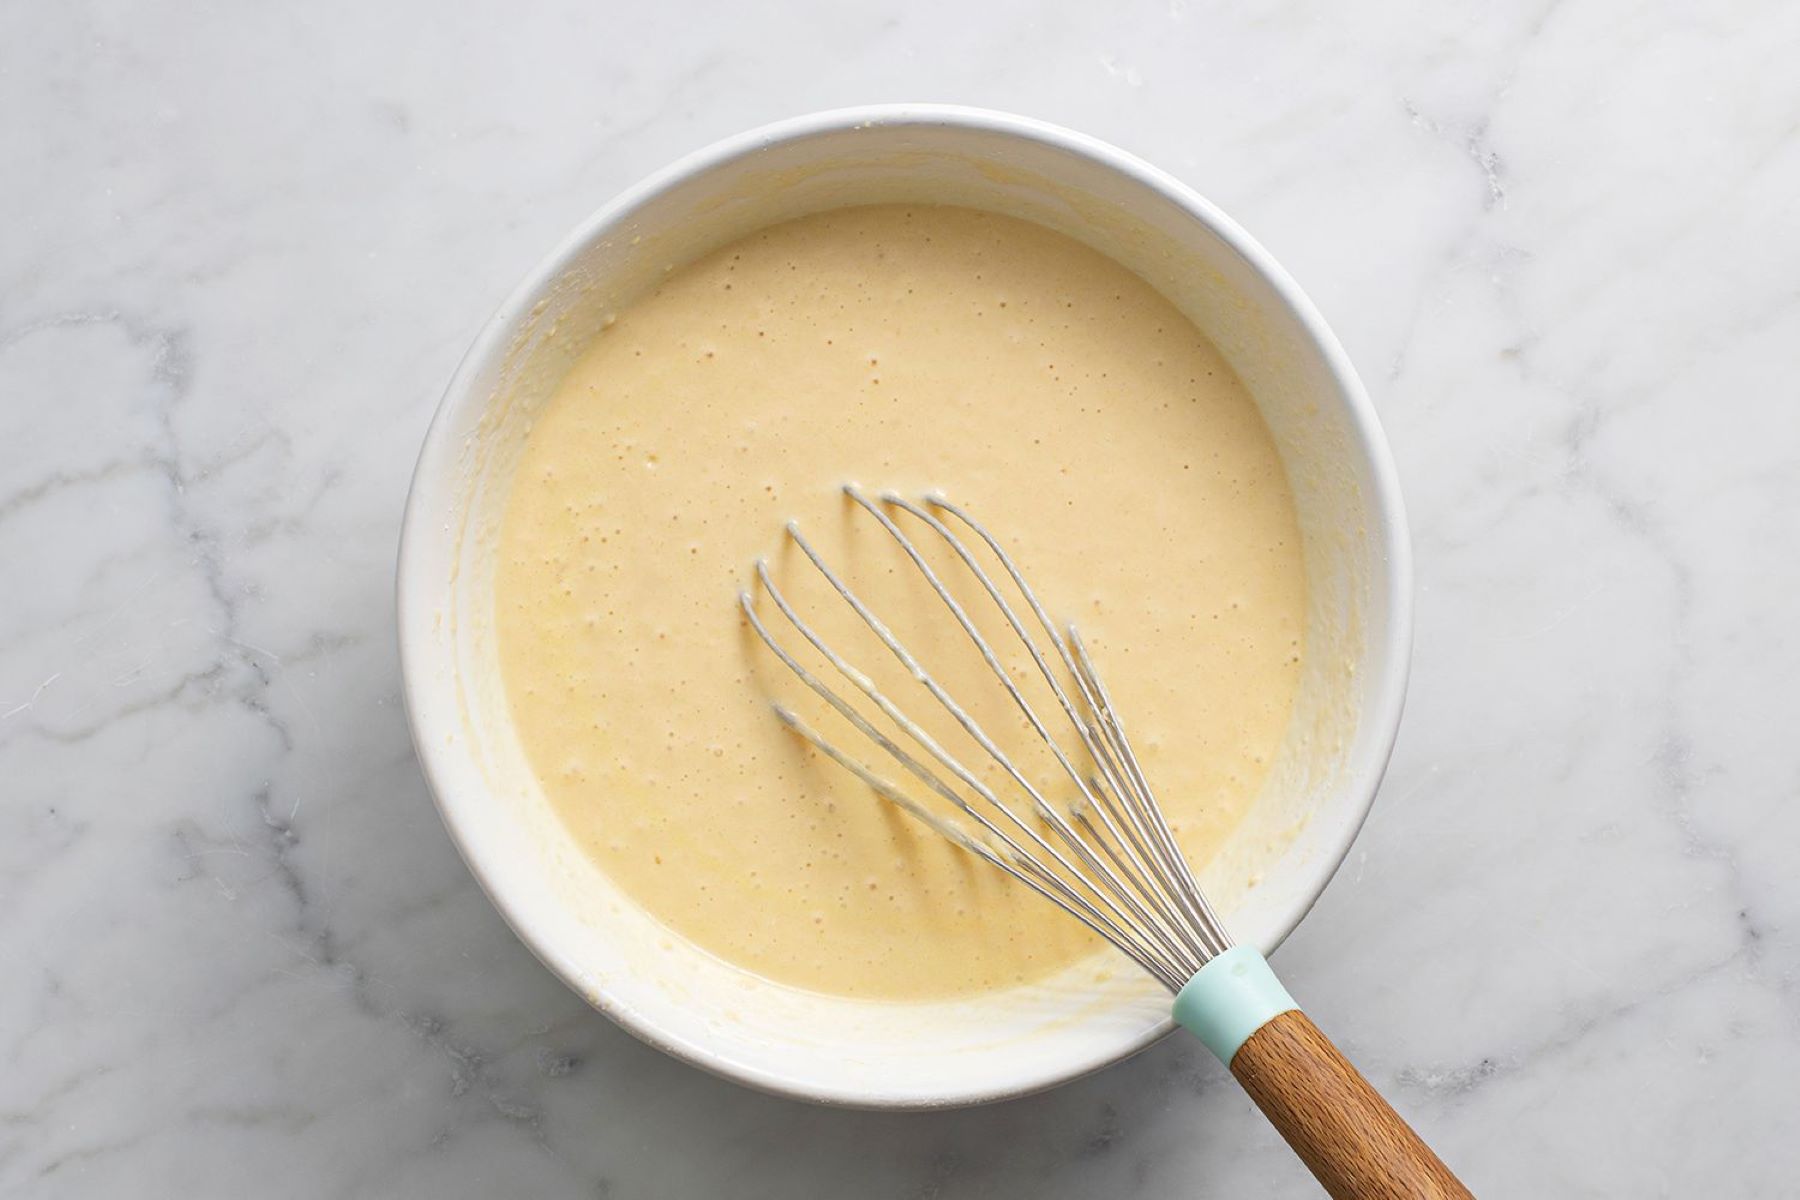
- Using Refrigerated Cake Batter: When you’re ready to use the refrigerated batter, give it a gentle stir to mix any separated ingredients. The batter may have thickened slightly due to refrigeration, so you can add a small amount of milk or liquid to adjust the consistency, if needed.
- Baking with Refrigerated Batter: Refrigerated cake batter may produce slightly denser cakes compared to fresh batter. However, as long as it was properly stored and remains within the recommended storage period, the difference in texture should be minimal.
Refrigerating cake batter is a convenient option when you’re planning to bake within a few days or need to keep the batter fresh for a short time. It helps preserve the quality and taste, ensuring that your cakes turn out delicious and satisfying.
Remember to use your judgement when using refrigerated cake batter. If it appears or smells off, or if it has been stored for an extended period, it’s best to discard it to avoid any potential food safety risks.
Read more: How To Store Sperm For Later Use
Storing Cake Batter in an Airtight Container
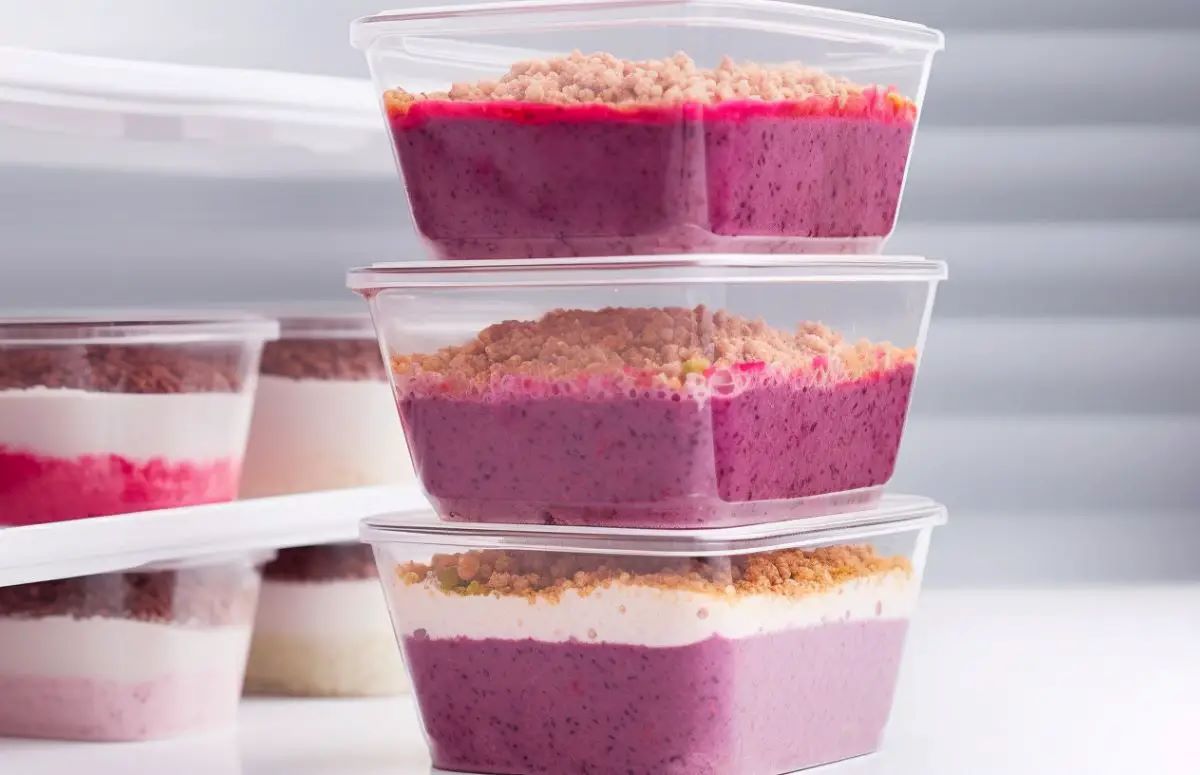
Using an airtight container is one of the best methods for storing cake batter. It helps maintain the freshness and quality of the batter, ensuring that it’s ready to use whenever you need it. Here’s how to store cake batter in an airtight container:
- Cool the Batter: Allow the cake batter to cool completely before transferring it to the airtight container. This prevents condensation and helps maintain the integrity of the batter.
- Select a Suitable Container: Choose an airtight container that is large enough to accommodate the cake batter without being overfilled. Plastic or glass containers with a tight-fitting lid work well for this purpose. Make sure the container is clean, dry, and odor-free.
- Divide the Batter: If you have a larger batch of cake batter, divide it into smaller portions that you can use separately. This allows you to thaw or use only the amount you need at a given time, without having to defrost the entire batch.
- Transfer the Batter: Carefully pour or spoon the cake batter into the airtight container, leaving some space at the top for expansion if freezing. Smooth the top surface of the batter to ensure even freezing or refrigeration.
- Seal the Container: Ensure that the container is tightly sealed to prevent any air from entering. This helps maintain the freshness and prevents any odors from permeating the batter.
- Label and Date: Label the airtight container with the flavor of the cake batter and the date of storage. This will help you keep track of your stored batter and use the oldest one first.
- Storage Temperature: Depending on the storage method (freezing or refrigerating), place the airtight container in the freezer or the refrigerator. Follow the appropriate storage guidelines for the specific method you choose.
- Thawing and Using the Batter: When you’re ready to use the stored cake batter, thaw it slowly in the refrigerator overnight if frozen. If refrigerated, simply remove it from the fridge and bring it to room temperature before using. It’s now ready to be incorporated into your favorite cake recipe.
Storing cake batter in an airtight container is a reliable method for preserving its freshness and taste. By following these steps, you can ensure that your batter is well-preserved and ready to be transformed into delectable cakes whenever the occasion calls for it.
Using Stored Cake Batter
Using stored cake batter is as simple as thawing or bringing it to room temperature before incorporating it into your favorite cake recipe. Here are some tips and guidelines to ensure successful results:
- Thawing Frozen Cake Batter: If your cake batter has been stored in the freezer, transfer the container to the refrigerator and allow it to thaw overnight. Thawing slowly in the refrigerator helps maintain the texture and consistency of the batter.
- Bringing Refrigerated Batter to Room Temperature: For refrigerated cake batter, remove it from the fridge and let it sit at room temperature for about 30 minutes to an hour. Allowing it to come to room temperature helps ensure even mixing and better results.
- Stirring and Mixing: Once the stored cake batter has thawed or come to room temperature, give it a gentle stir to combine any separated ingredients. Make sure the batter is well-mixed before proceeding with your recipe.
- Adjusting Consistency: Depending on the specific recipe and the consistency of the stored batter, you may need to add a small amount of liquid, such as milk or water, to adjust the consistency. This helps ensure that the batter is smooth and easy to work with.
- Baking Instructions: Follow the baking instructions in your chosen recipe. While the stored cake batter may result in slightly denser cakes compared to fresh batter, the difference should be minimal if the batter has been stored properly and used within a reasonable time frame.
- Testing for Doneness: Use the recommended baking times and methods specified in your recipe, and periodically check for doneness by inserting a toothpick or skewer into the center of the cake. If it comes out clean or with a few crumbs clinging to it, the cake is ready.
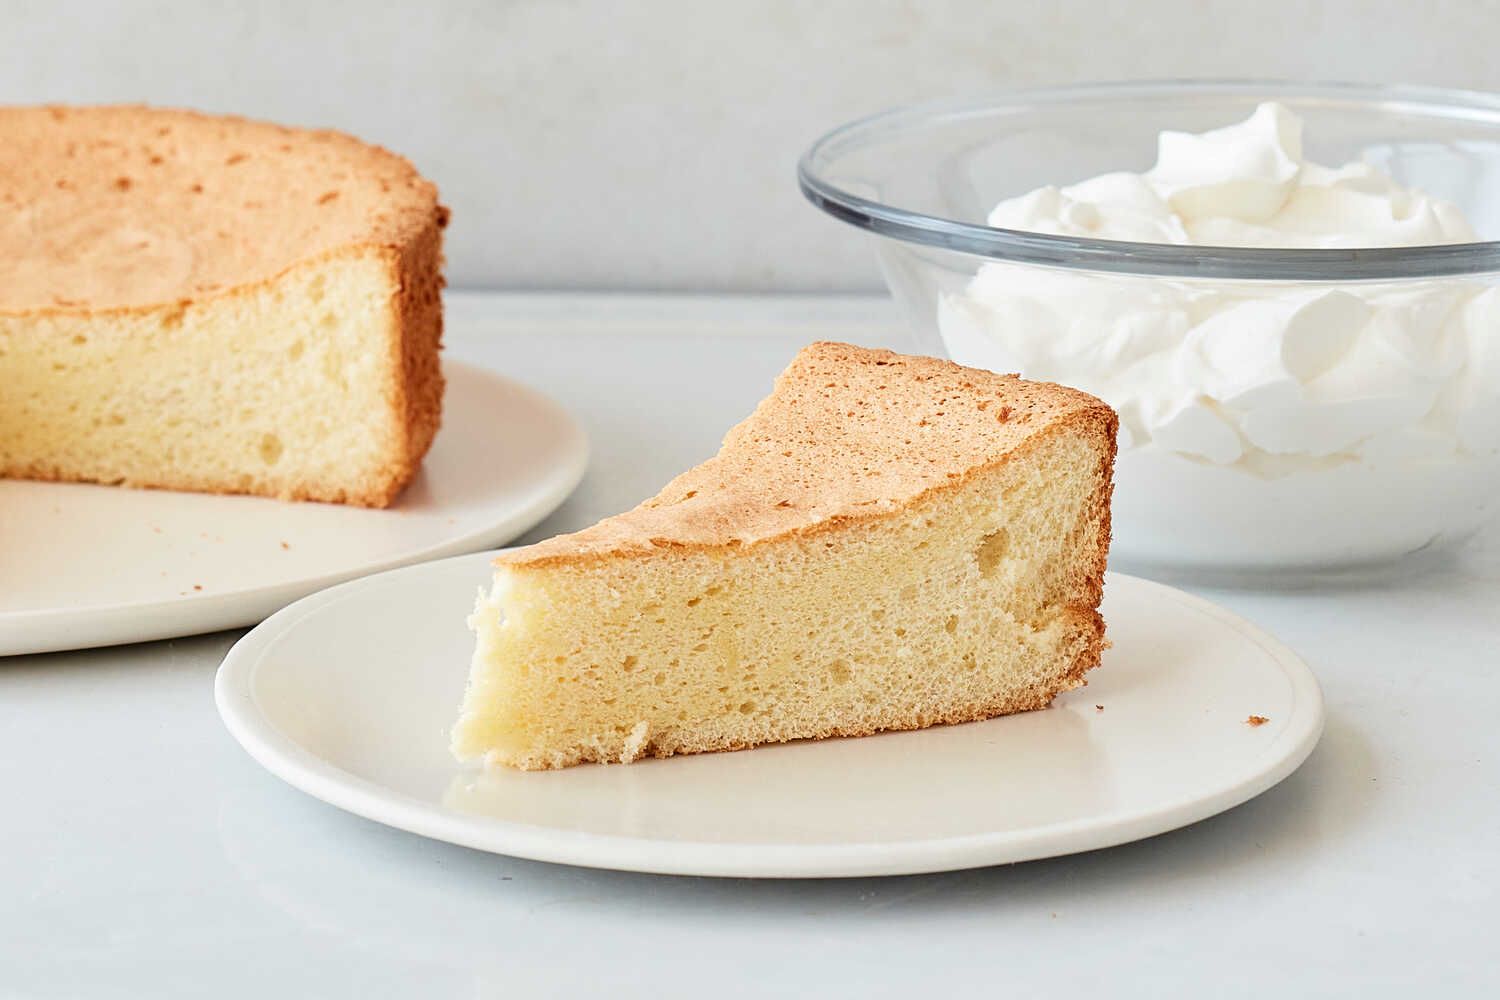
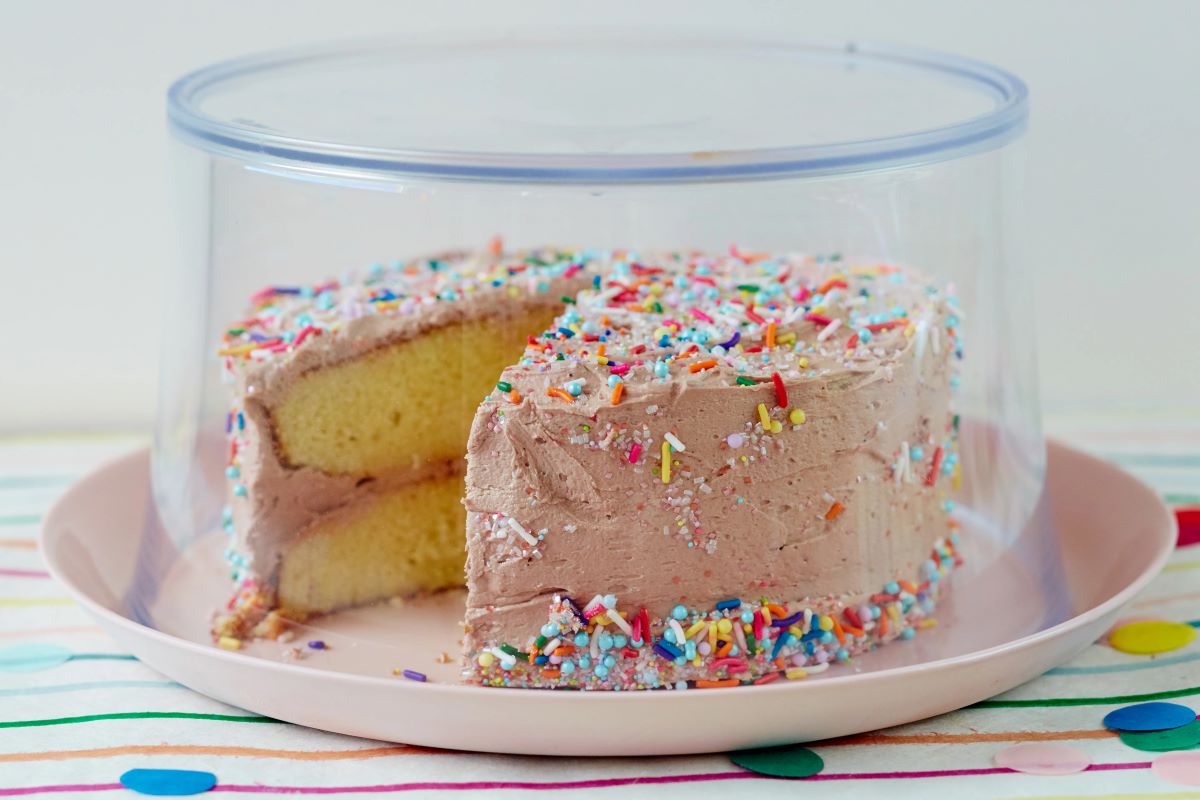
- Enjoying the Results: Once your cake is baked and cooled, you can indulge in the delicious results of your stored cake batter. Serve it as is or frost and decorate it according to your preference. The convenience of using stored cake batter allows you to whip up a homemade cake in no time whenever the craving strikes.
Remember that the texture and rise of the cake may vary slightly compared to using fresh batter, but it should still result in a tasty and enjoyable baked treat. The joy of using stored cake batter is the convenience and flexibility it offers, allowing you to have homemade cake at your disposal whenever you desire.
So, grab that stored batter, preheat the oven, and get ready to enjoy a delicious cake made with the added convenience of your stored cake batter!
Conclusion
Storing cake batter for later use is a game-changer for any baking enthusiast. It allows you to enjoy the convenience of having freshly baked cakes at your fingertips, while also minimizing waste and maximizing the flavors and variety of your creations.
In this article, we explored various methods for storing cake batter, including freezing and refrigerating. We discussed the importance of cooling the batter before storage and using airtight containers to maintain freshness and prevent odors from contaminating the batter.
Whether you choose to freeze or refrigerate your cake batter, proper labeling and portion control are essential. Labeling your stored batter ensures you use the oldest one first, while portioning allows you to thaw or use only the amount you need without any unnecessary waste.
Thawing frozen batter or bringing refrigerated batter to room temperature ensures that it’s ready to be incorporated into your favorite cake recipes. Gentle stirring and adjusting the consistency, if necessary, help ensure smooth and well-mixed batter.
While stored cake batter may result in slightly denser cakes compared to fresh batter, the difference is minimal when the batter has been stored properly and used within a reasonable time frame.
By utilizing these tips and techniques, you can have the convenience and joy of homemade cakes whenever the mood strikes. Whether it’s for a special celebration, unexpected guests, or simply indulging in a sweet treat at your own pace, stored cake batter opens up a world of possibilities for your baking adventures.
So, the next time you find yourself with leftover cake batter, don’t let it go to waste. Store it properly, unleash your creativity in the kitchen, and enjoy the magic of freshly baked cakes whenever you desire!
Frequently Asked Questions about How To Store Cake Batter For Later Use
Was this page helpful?
At Storables.com, we guarantee accurate and reliable information. Our content, validated by Expert Board Contributors, is crafted following stringent Editorial Policies. We're committed to providing you with well-researched, expert-backed insights for all your informational needs.

0 thoughts on “How To Store Cake Batter For Later Use”