Articles
How To Store Cans
Modified: October 19, 2024
Learn how to properly store cans with these helpful articles. Find tips and tricks to keep your canned goods fresh and organized.
(Many of the links in this article redirect to a specific reviewed product. Your purchase of these products through affiliate links helps to generate commission for Storables.com, at no extra cost. Learn more)
Introduction
Storing cans is an essential part of managing your pantry and ensuring you have a well-stocked supply of food. Canned goods have a long shelf life and provide convenience, making them a popular choice for long-term storage. However, proper storage techniques are crucial to maintain the quality and freshness of the canned items.
In this article, we will guide you through the steps to store cans effectively. From choosing the storage area to maintaining the storage space, we will cover everything you need to know to store your canned goods properly.
By following these guidelines, you can protect your investment and ensure that your canned foods are readily available for consumption when needed. So let’s dive right in and learn how to store cans like a pro!
Key Takeaways:
- Properly storing canned goods involves choosing the right storage area, organizing cans by category and expiration date, and regularly checking for damage and expiration. This ensures a well-stocked and efficient pantry.
- Maintaining a clean and organized storage area, practicing good hygiene, and rotating inventory are essential for prolonging the shelf life of canned goods. By following these steps, you can ensure a reliable and safe food supply for your family.
Read more: How To Store A Gas Can
Step 1: Choosing the Storage Area
Before you start storing your cans, it’s important to select the right storage area. Here are some factors to consider:
- Temperature: Choose a cool and dry location for storing your canned goods. The ideal temperature range is between 50 to 70 degrees Fahrenheit (10 to 21 degrees Celsius). Avoid areas that are susceptible to extreme temperature fluctuations, such as near heating vents, windows, or appliances that generate heat.
- Humidity: High humidity can affect the quality of canned foods and even cause rusting. Look for a storage area with low humidity levels. Basements and garages are generally not recommended due to their higher humidity levels. Instead, opt for a pantry, cupboard, or a dedicated area in your kitchen.
- Away from sunlight: Exposure to sunlight can lead to heat buildup and degradation of the canned goods. Choose a storage area away from direct sunlight or use opaque storage containers to block out light.
- Pest control: Ensure the storage area is clean and free from pests. Protect your cans by using airtight containers or placing them on elevated shelves to prevent access by rodents or insects.
- Accessibility: Consider how easily you can access the stored cans. Arrange the area in a way that allows you to quickly find and retrieve the cans when needed. Thus, it’s important to organize the storage space efficiently, as we’ll discuss in the next step.
By selecting an appropriate storage area, you can create an environment that will help prolong the shelf life of your canned goods and maintain their quality over time.
Step 2: Preparing the Storage Space
Once you have chosen the ideal storage area, it’s time to prepare the space to ensure optimal conditions for storing your cans. Here are some steps to follow:
- Clean the area: Before you start organizing your canned goods, clean the storage area thoroughly. Remove any dirt, dust, or debris that may be present. Wipe down shelves, sweep the floor, and ensure the area is free from any potential contaminants.
- Inspect for leaks or moisture: Check the storage space for any signs of leaks or water damage. Moisture can cause cans to rust and compromise the quality of the food inside. Address any leaks or moisture issues before proceeding with storage.
- Consider shelving options: Evaluate your shelving options and determine the best way to store your cans. Opt for sturdy and adjustable shelves that can accommodate different can sizes and weights. Ensure the shelves are properly secured to prevent accidents or collapse.
- Organize space effectively: Plan the layout of your storage space to maximize efficiency. Group similar items together and allocate specific areas for different categories of canned goods. This will make it easier to find and access items when needed. Consider using storage bins or baskets for better organization.
- Provide adequate airflow: Proper airflow helps prevent the buildup of stale air and moisture. Avoid overcrowding shelves, as this can impede airflow. Leave some space between cans to allow for ventilation.
- Consider temperature control: If your storage area is prone to temperature fluctuations, you may need to take additional measures to regulate the temperature. This can include using a dehumidifier or a small fan to maintain a stable environment.
- Install adequate lighting: Ensure the storage area is well-lit to facilitate easy navigation and visibility. Bright lighting can also deter pests from occupying the space.
By properly preparing the storage space, you create a clean, organized, and conducive environment for storing your cans. This not only ensures the longevity of your canned goods but also makes the retrieval process more efficient and convenient.
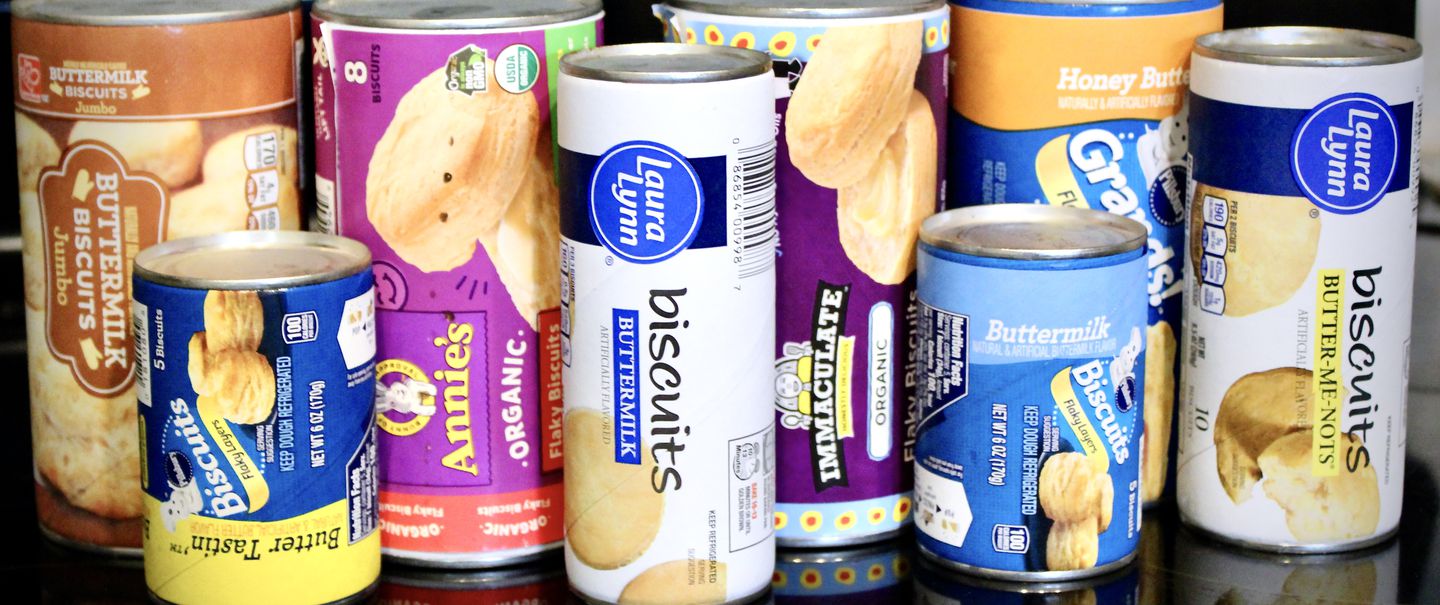
Step 3: Sorting and Organizing the Cans
Now that you have prepared the storage space, it’s time to sort and organize your cans. This step will help you maintain an efficient and well-structured storage system. Follow these guidelines:
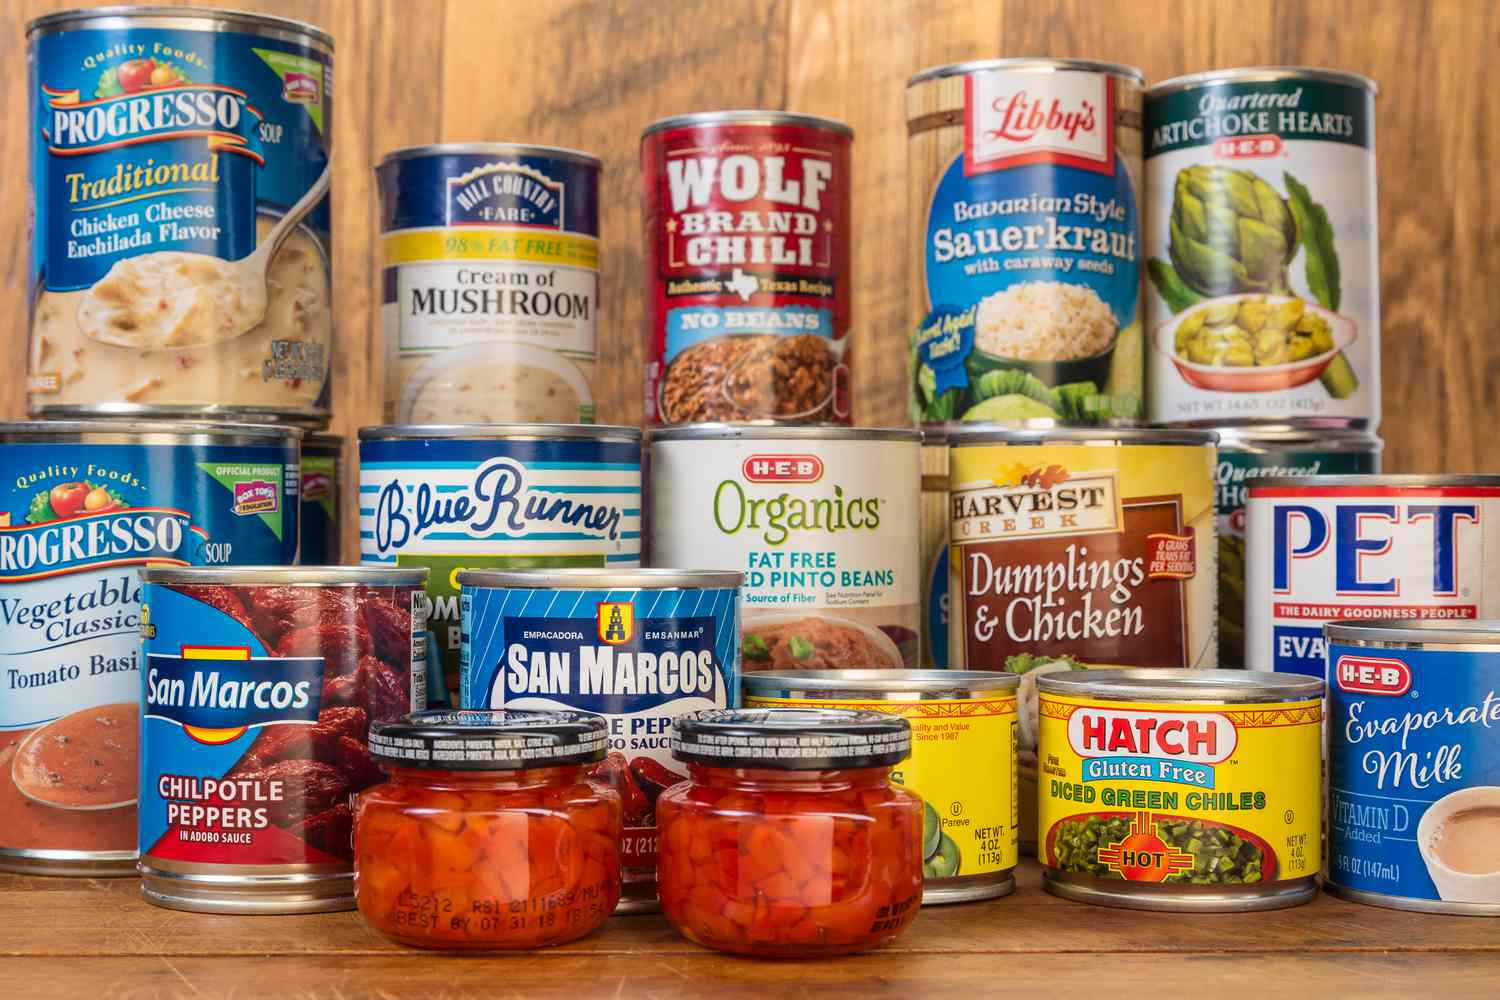
- Sort by category: Begin by grouping your canned goods into categories, such as vegetables, fruits, soups, and proteins. This makes it easier to locate specific items when needed.
- Check expiration dates: Assess the expiration dates on your cans and prioritize the items with the closest expiration dates. Place them at the front of the storage area to ensure they are used before they expire.
- Consider can sizes: Arrange your canned goods by size. Stack cans of the same size together for a neat and organized appearance. This also allows for efficient use of space on your shelves.
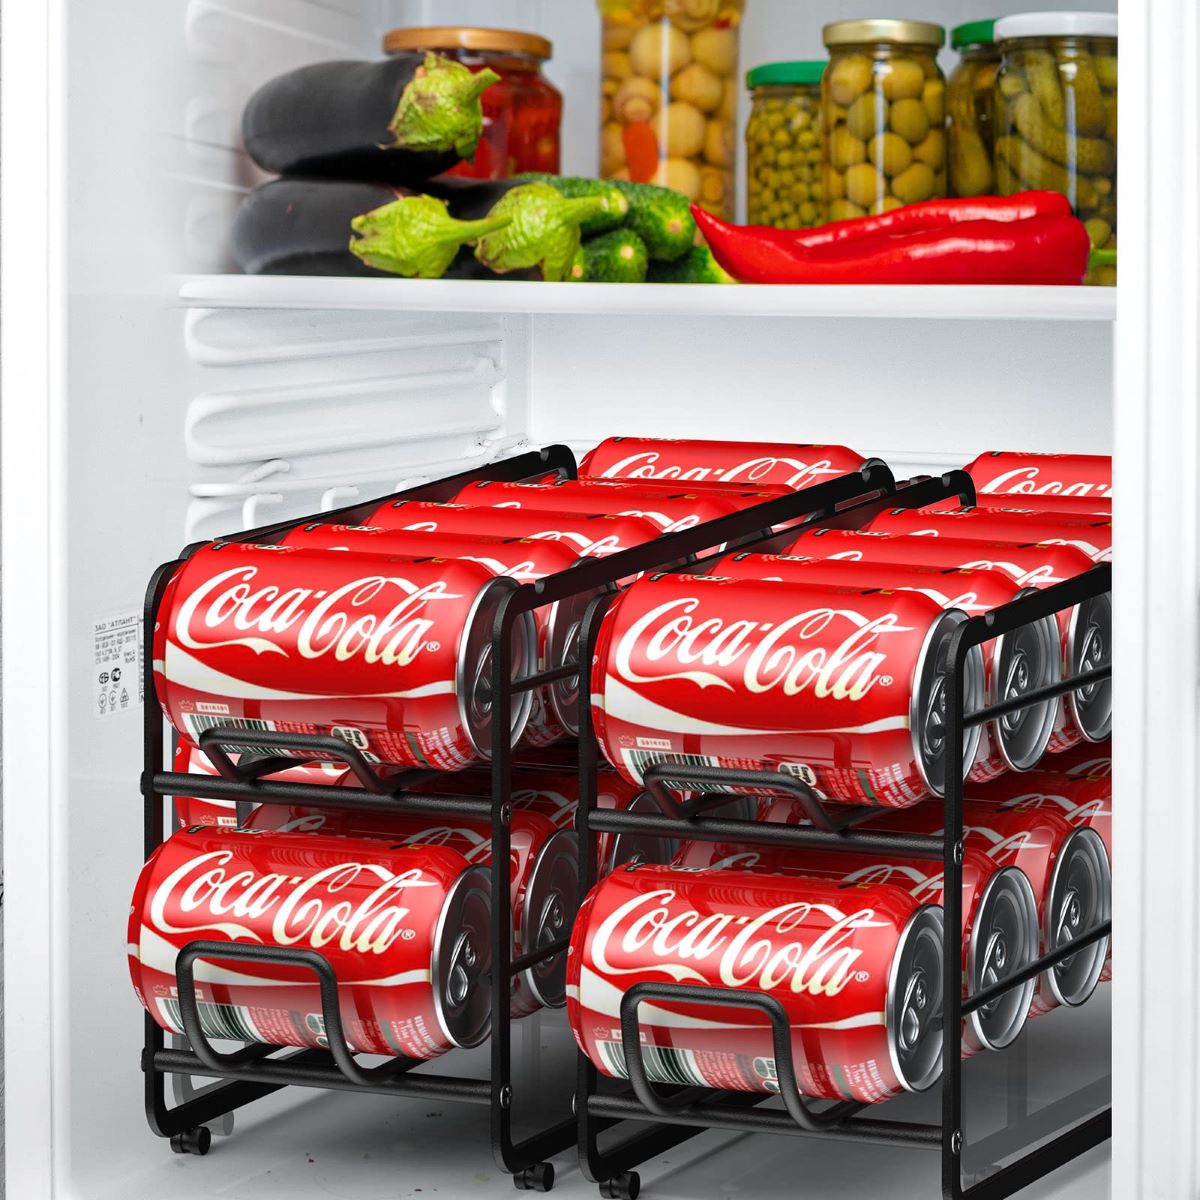
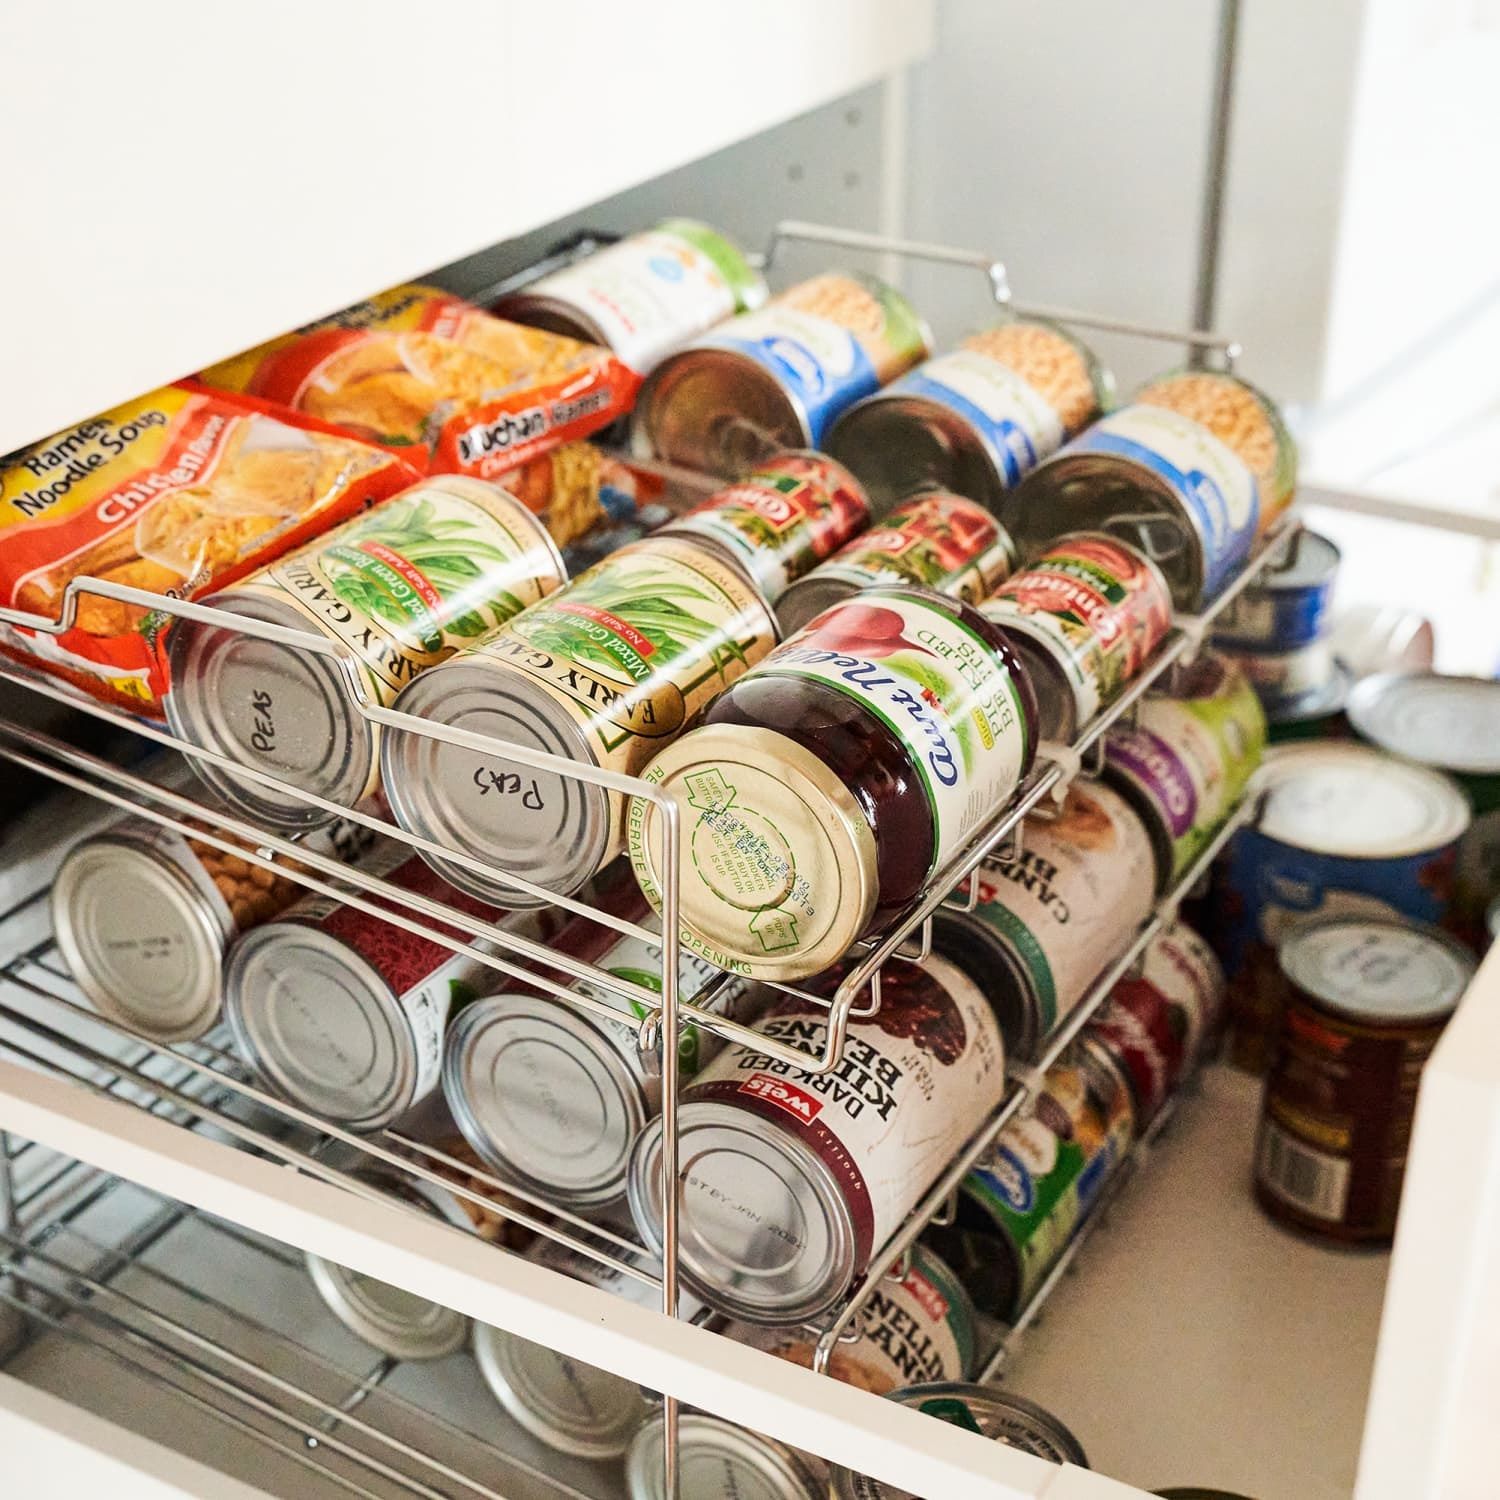
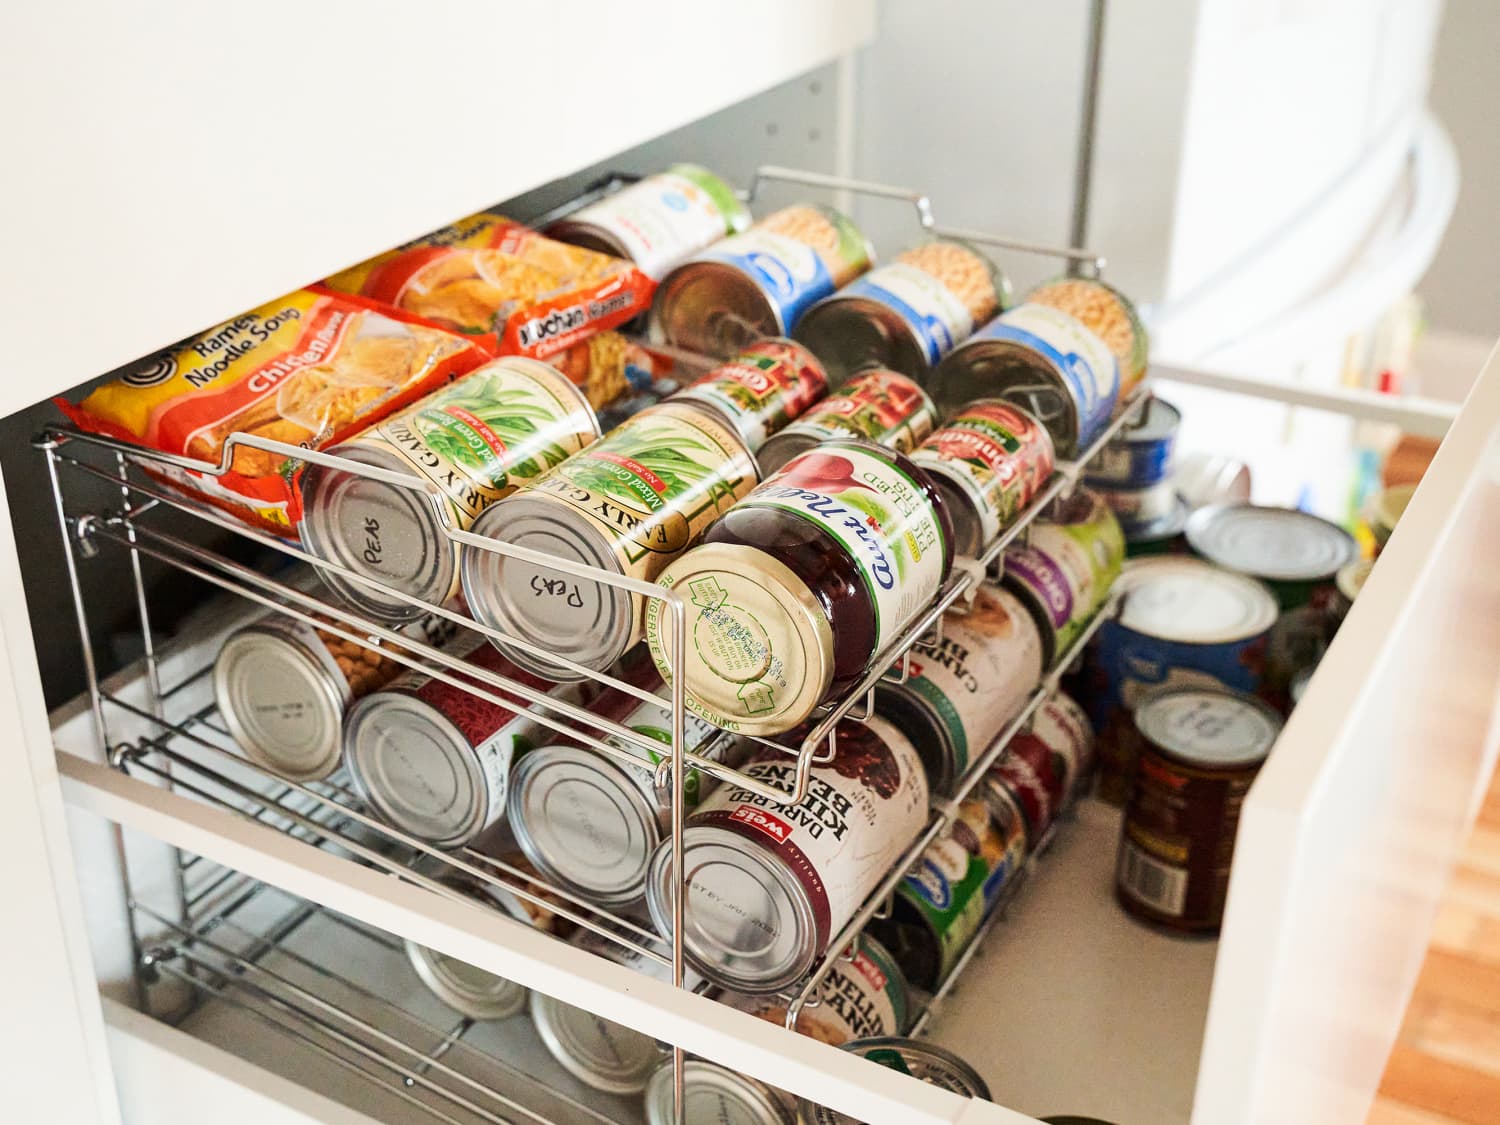
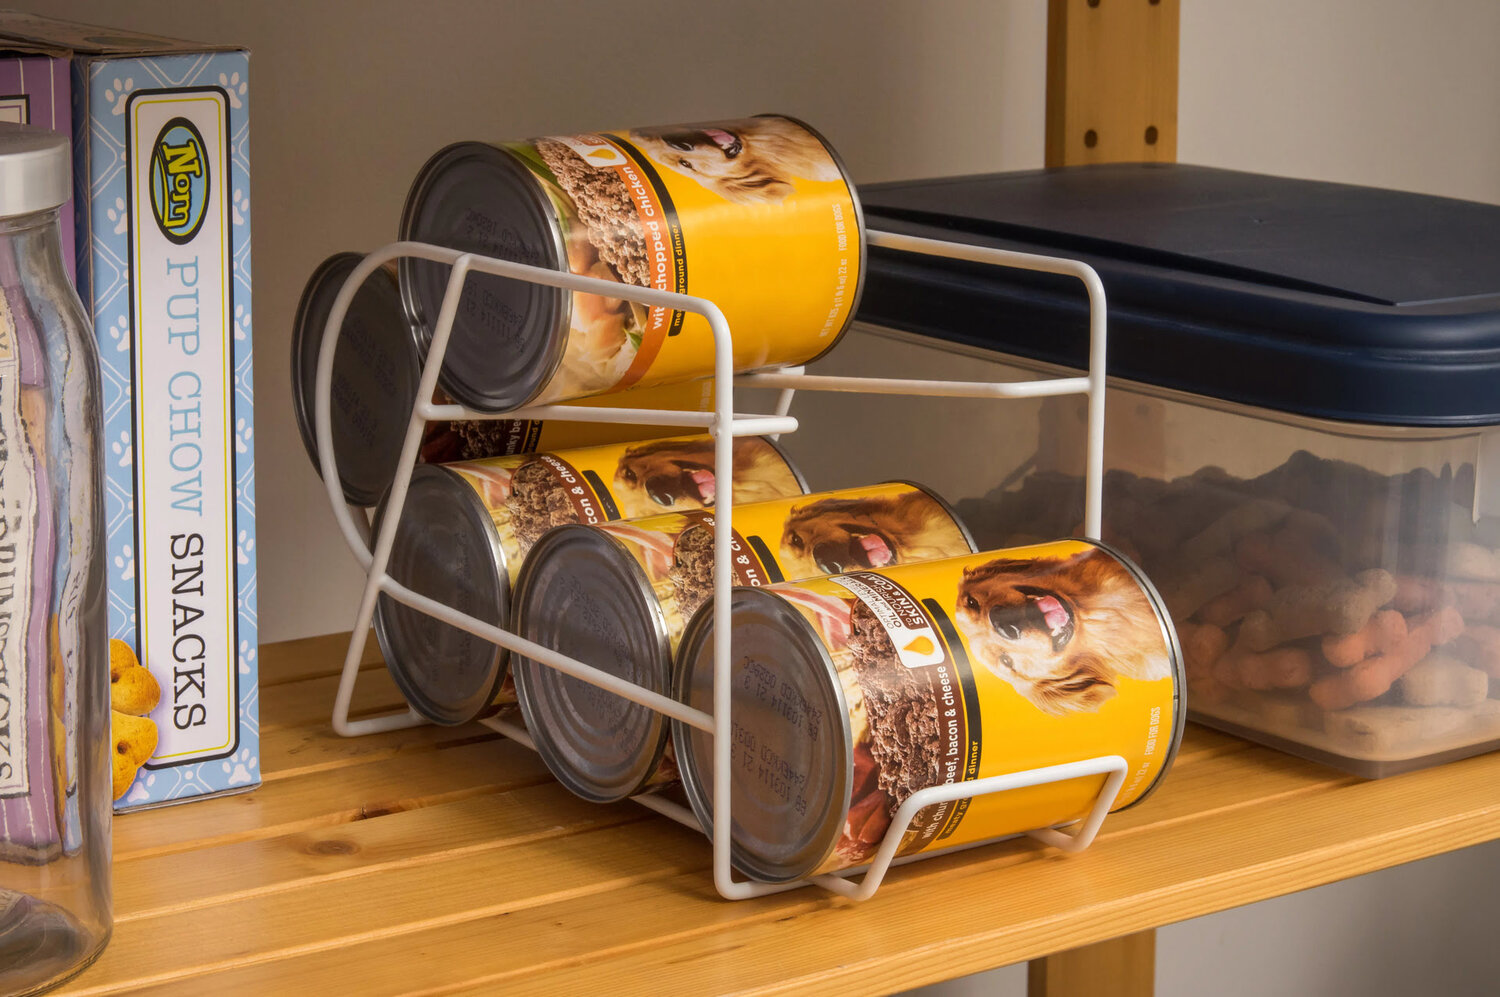
- Utilize risers or can organizers: To maximize storage space, consider using risers or can organizers that allow you to stack cans vertically. This helps prevent cans from rolling and makes it easier to see and access items at the back of the shelf.
- Label shelves or containers: Use labels or markers to identify the different categories or contents of each shelf or container. This ensures easy identification of items and helps maintain the organization over time.
- Consider frequency of use: Place frequently used items within easy reach, either at eye level or on lower shelves. Reserve higher or less accessible shelves for items that are used less frequently.
- Keep a list or inventory: Maintain a list or inventory of your canned goods. Update it regularly to track what you have and what needs to be replenished. This helps avoid unnecessary duplication and ensures you always have a well-stocked pantry.
By sorting and organizing your cans, you create a visually appealing and efficient storage system. This makes it easier to locate and access specific items, reduces the risk of cans expiring unnoticed, and helps you to maintain an inventory of your supplies.
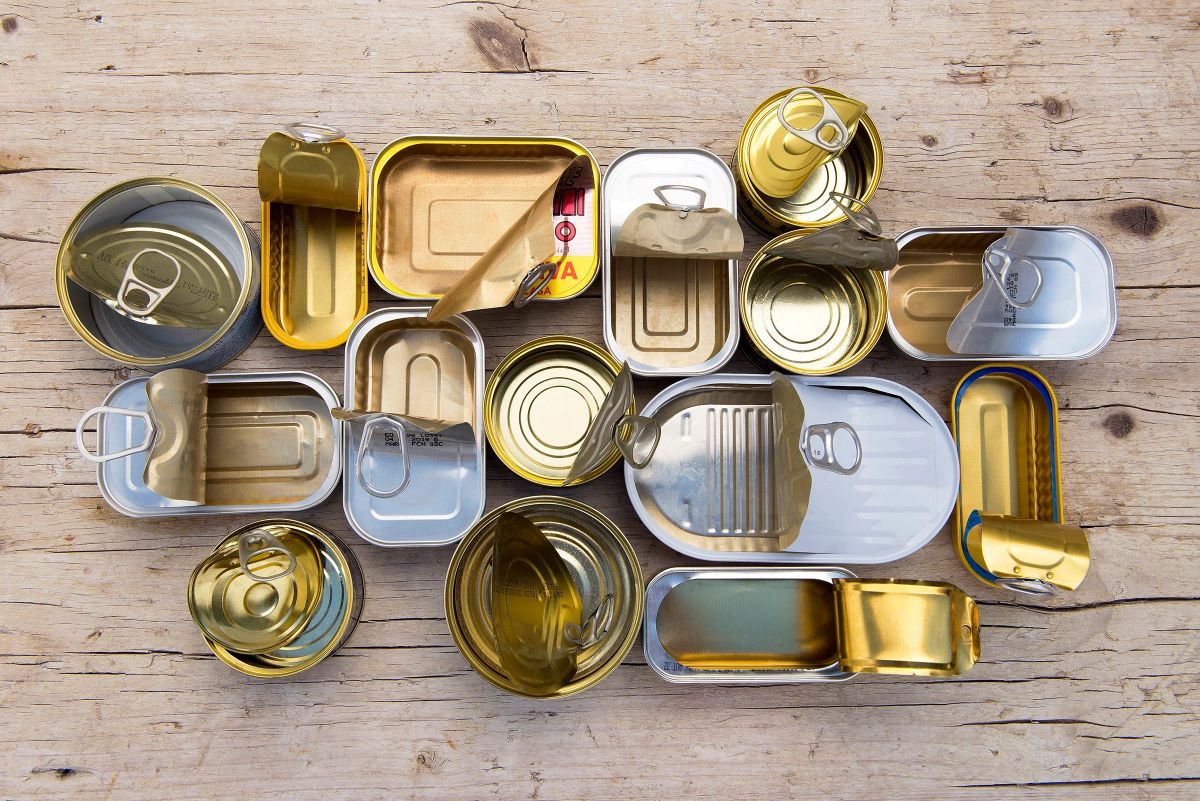
Step 4: Storing the Cans Properly
Now that you have sorted and organized your cans, it’s time to focus on the proper storage techniques to maintain the quality and freshness of your canned goods. Follow these guidelines:
- Leave cans in their original packaging: Whenever possible, keep the cans in their original packaging. This helps protect them from external factors and preserves the integrity of the cans.
- Avoid stacking too high: While it may be tempting to stack cans high to save space, avoid stacking them too high as this can increase the risk of toppling or falling. Opt for stable and balanced stacks, with heavier cans at the bottom and lighter cans on top.
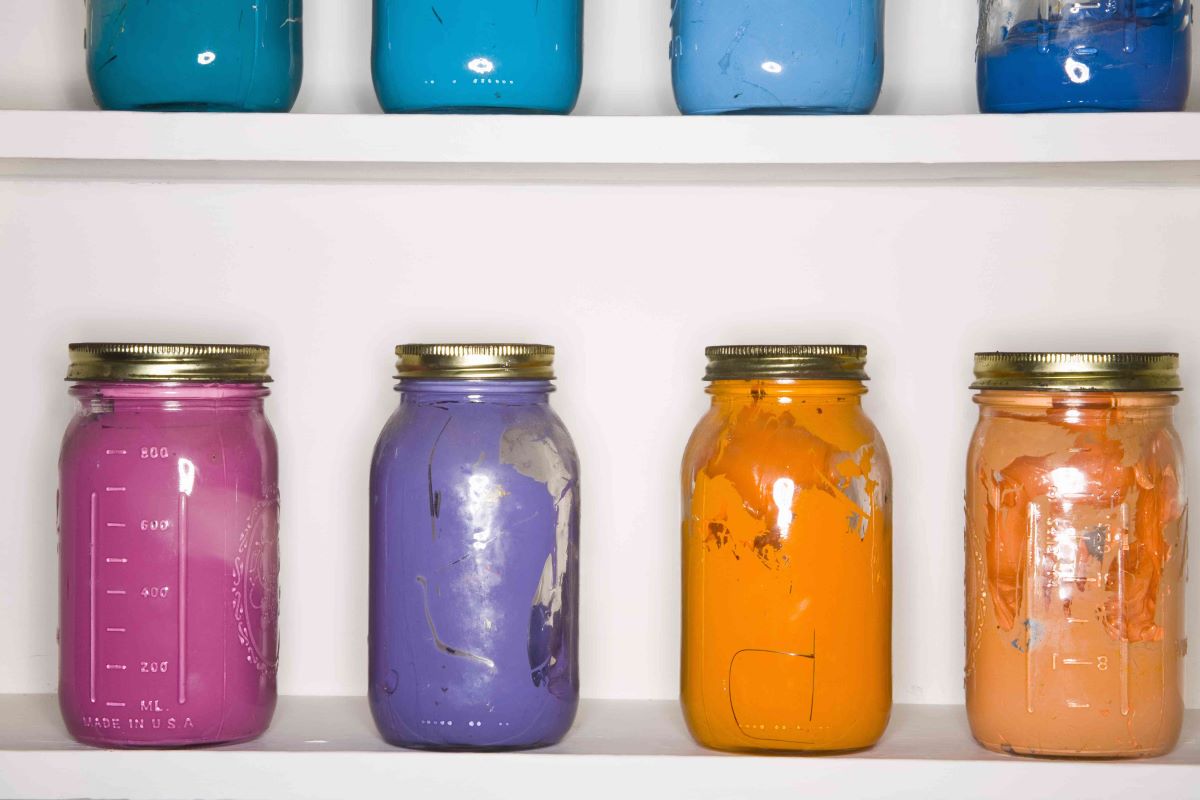
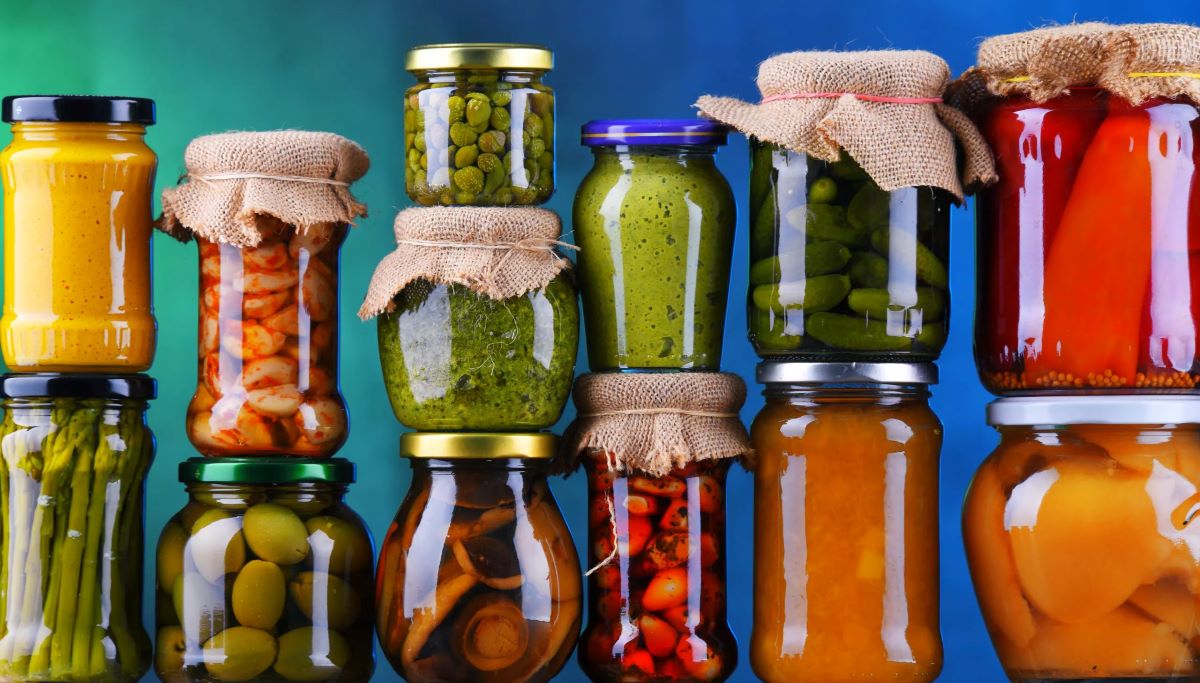
- Use sturdy storage containers: If you choose to transfer cans to storage containers, make sure they are sturdy and airtight. Consider using plastic or metal containers that can protect the cans from moisture, pests, and potential damage.
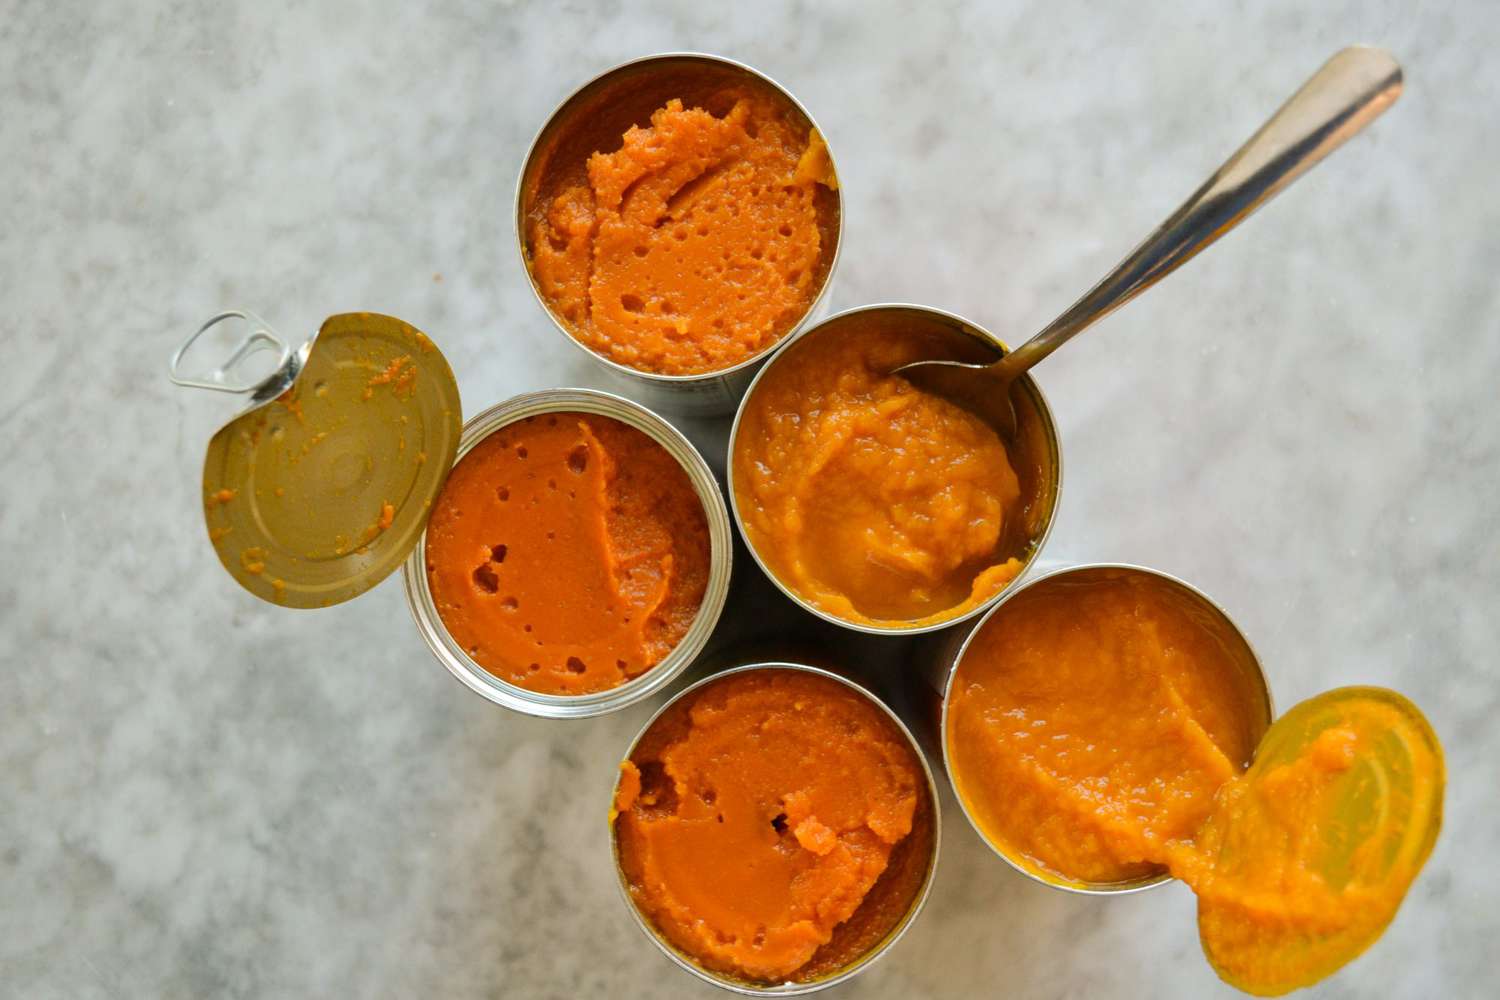
- Store opened cans properly: If you have partially used cans, transfer the contents into airtight containers and label them with the date they were opened. Place them in the refrigerator if necessary, and use them within the recommended time frame.
- Keep liquids and solids separate: If you have cans with liquids, ensure they are stored separately from cans with solid foods. This minimizes the risk of cross-contamination and prevents any potential leaks from affecting the other cans.
- Consider can dispensers: For larger quantities of the same item, such as canned soups or beverages, consider using can dispensers. These specially designed racks or organizers make it easy to rotate the cans and ensure that the oldest can is used first.
- Avoid extreme temperatures: Keep your storage area within the recommended temperature range and avoid exposing the cans to extreme heat or cold. Fluctuations in temperature can affect the quality of the food and shorten its shelf life.
- Store cans away from chemicals: Avoid placing cans near chemicals, cleaning agents, or other household items that may emit strong odors or fumes. These substances can permeate the cans and potentially affect the food inside.
By following these storing techniques, you can protect the integrity and quality of your canned goods, ensuring that they remain safe and edible for an extended period of time.
Store cans in a cool, dry place away from direct sunlight and heat sources. Keep them off the ground to prevent rusting and organize them by expiration date for easy rotation.
Read more: How To Store Sterno Cans
Step 5: Labeling the Storage Containers
Properly labeling your storage containers is crucial for easy identification and organization of your canned goods. Follow these steps to ensure that everything is clearly labeled:
- Use clear and legible labels: Choose labels that are clear and easy to read. Use a permanent marker or label maker to write the contents of each container.
- Include important information: In addition to the contents, consider including other relevant information on the label, such as the date of purchase or expiration, lot numbers, or any special instructions for storage or use.
- Label both sides of the containers: To make it easier to identify items regardless of how they are placed on the shelf, label both sides of the storage containers.
- Choose a consistent labeling system: Develop a consistent labeling system that works for you. Whether it’s color-coding, using specific symbols, or organizing by categories, find a system that suits your preferences and helps you quickly locate specific items.
- Place labels on the front or top: Ensure that the labels are placed on the front or top of the containers where they are easily visible and accessible.
- Re-label as needed: As you consume or replenish your canned goods, make sure to update and re-label the containers accordingly. This helps maintain accurate inventory and prevents confusion.
- Regularly review and adjust: Take the time to periodically review your labeled containers and adjust as needed. Remove any outdated or expired items and update labels, if necessary.
- Consider using shelf labels: If you have multiple shelves with different categories of canned goods, consider using shelf labels or signage to provide an overview and make finding specific items even easier.
By labeling your storage containers, you create a system that streamlines the organization and retrieval of your canned goods. This allows you to easily locate and access the items you need, reducing waste and ensuring efficient pantry management.
Step 6: Checking and Rotating the Cans
Regularly checking and rotating your canned goods is crucial to ensure that you use them before they expire and maintain a well-stocked pantry. Follow these guidelines to effectively check and rotate your cans:
- Inspect expiration dates: Periodically go through your canned goods and check the expiration dates. Remove any cans that are past their expiration date to prevent consuming spoiled or unsafe food.
- First in, first out (FIFO) method: Implement the “first in, first out” method to ensure older cans are used before newer ones. Place recently purchased cans at the back and older cans towards the front of the storage area. This helps prevent cans from expiring unused.
- Regularly assess inventory: Take the time to review and assess your inventory. Know what you have on hand and plan your meals accordingly to incorporate the canned goods that are closest to their expiration dates.
- Rotate the cans: When organizing your cans, rotate the stock by placing newer cans in the back and moving older cans towards the front. This ensures that cans are used in the order they were purchased.
- Check for damage or swelling: Examine each can for any signs of damage, such as dents, bulging, or leaks. If a can shows any of these signs, it may be compromised, and it’s best to discard it to avoid the risk of spoilage or contamination.
- Replenish and restock: As you use your canned goods, make it a habit to replenish your stock. Ensure that you have a sufficient supply of your commonly used items and add them to your shopping list when needed.
- Record your inventory: Keep a record of the canned goods you consume and restock. This helps maintain an accurate inventory and allows you to plan your purchases more effectively.
- Educate yourself on shelf life: Understand the typical shelf life of various canned goods. Some items, like canned vegetables or fruits, can last for several years, while others, like canned meats or fish, may have a shorter shelf life.
By regularly checking and rotating your cans, you ensure that your inventory is up-to-date, minimize wastage, and consume your canned goods at their freshest. This practice also allows for better meal planning and prevents the accumulation of expired items in your storage area.
Step 7: Maintaining the Storage Area
Maintaining the storage area for your canned goods is essential to prolong their shelf life and prevent any issues that may arise from improper storage conditions. Follow these steps to keep your storage area clean, organized, and conducive to the longevity of your canned goods:
- Regular cleaning: Regularly clean and dust the storage shelves and containers to remove any dirt, debris, or spills. Wipe down surfaces with a damp cloth and mild cleaning solution, taking care not to damage or contaminate the canned goods.
- Check for pests: Inspect the storage area for signs of pests, such as rodents or insects. Seal any entry points, use traps or deterrents as needed, and keep the area free from food crumbs or spillage that may attract pests.
- Monitor temperature and humidity: Regularly check and maintain the temperature and humidity levels in the storage area. Ensure that the area remains within the recommended range to prevent spoilage, mold growth, or any adverse effects on the canned goods.
- Inspect storage containers: Periodically assess the condition of your storage containers. Replace any damaged or worn-out containers to maintain airtight and secure storage for your canned goods.
- Be mindful of expiration dates: Regularly review the expiration dates of your canned goods and remove any expired items. Keeping your inventory up-to-date helps maintain the quality of your pantry and prevents the consumption of expired products.
- Practice good hygiene: Before handling canned goods, ensure that your hands are clean to prevent any contamination. Avoid touching the inside of cans or the food itself whenever possible.
- Rotate inventory: Continuously rotate your inventory by using older canned goods first and replenishing them with newer ones. This ensures that the cans are consumed within their recommended shelf life and reduces the chances of consuming expired items.
- Regularly check for leaks or damage: Routinely inspect your cans for any signs of damage, leakage, or rust. Discard any cans that show signs of compromise to maintain the quality and safety of your canned goods.
By maintaining the storage area, you create an environment that supports the longevity and freshness of your canned goods. A clean and well-organized storage area reduces the risk of spoilage, ensures the safety of the items, and makes it easier to manage your pantry efficiently.
Conclusion
Properly storing your cans is crucial for maintaining the quality, freshness, and longevity of your food supply. By following the steps outlined in this guide, you can establish a well-organized and efficient system for storing and managing your canned goods.
From choosing the right storage area and preparing the space to sorting, organizing, and labeling your cans, each step plays a vital role in maintaining an effective storage system. Checking and rotating your cans helps ensure that you use them before they expire, minimizing waste and maximizing the value of your investment. Regularly maintaining the storage area and practicing good hygiene are essential for maintaining a clean and safe environment for your canned goods.
By implementing the tips and techniques provided in this article, you can enjoy the convenience, versatility, and long shelf life that canned goods offer. A well-stocked pantry with properly stored cans provides peace of mind, ensuring that you have a readily available food supply during emergencies or times when fresh ingredients are not easily accessible.
Remember to regularly check your inventory, replenish as needed, and be mindful of expiration dates. Keep track of what you have and use a system that works best for your storage area. With proper storage and maintenance, your canned goods will be a reliable source of nourishment for you and your family.
So, take the time to organize your storage area, implement the proper storage techniques, and enjoy the convenience and peace of mind that comes with a well-stocked and well-maintained canned goods pantry.
Frequently Asked Questions about How To Store Cans
Was this page helpful?
At Storables.com, we guarantee accurate and reliable information. Our content, validated by Expert Board Contributors, is crafted following stringent Editorial Policies. We're committed to providing you with well-researched, expert-backed insights for all your informational needs.

0 thoughts on “How To Store Cans”