Articles
How To Organize Cans In Pantry
Modified: October 30, 2024
Learn how to efficiently organize cans in your pantry with our pantry storage tips and tricks. Maximize space and easily find what you need with our helpful suggestions.
(Many of the links in this article redirect to a specific reviewed product. Your purchase of these products through affiliate links helps to generate commission for Storables.com, at no extra cost. Learn more)
Introduction
Welcome to the ultimate guide on how to organize cans in your pantry! Keeping your pantry neat and organized not only makes it easier to find what you need, but it also maximizes your storage space and ensures that your canned goods stay fresh for longer. In this article, we will walk you through a step-by-step process to help you master the art of organizing your canned food items.
When it comes to organizing cans in your pantry, there are various factors to consider, such as available space, sorting methods, storage containers, and labeling systems. By implementing an effective organization system, you’ll be able to streamline your cooking and shopping routines, saving you time and energy in the long run.
Whether you have a small pantry or a spacious one, these tips and techniques will help you conquer the can chaos and transform your pantry into a well-organized haven of nutritious ingredients. So, let’s dive in and start organizing!
Key Takeaways:
- Master the art of pantry organization by clearing, cleaning, and assessing available space. Sort and group cans, choose the right storage containers, and use organizational tools for an efficient and visually appealing pantry.
- Label cans, maintain an inventory, and regularly reorganize to sustain a well-organized pantry. Encourage household involvement and stay adaptable to meet evolving needs for a functional and stress-free cooking experience.
Read more: How To Store Canned Food In Pantry
Clearing and Cleaning the Pantry
The first step in organizing your cans is to clear out your pantry and give it a good cleaning. Start by taking everything out of your pantry, including the cans, and placing them on a clean surface. This allows you to assess what you have, check for any expired or damaged cans, and get a clear picture of how much space you need.
As you remove the cans, check the expiry dates and dispose of any that have passed their prime. This not only ensures that you are only keeping fresh and safe-to-use items, but it also creates more space for organizing the remaining cans. Additionally, inspect each can for any damage, such as dents or bulges, which can indicate spoilage or contamination.
Once your pantry is empty, give it a thorough cleaning. Wipe down the shelves, vacuum any crumbs or debris, and sanitize the surfaces. This step not only creates a clean and welcoming space for your organized cans but also helps prevent any pests or bacteria from thriving in your pantry.
Now that your pantry is ready, it’s time to move on to the next step: assessing the available space in your pantry.
Assessing the Available Space
Before you start organizing your cans, it’s important to take stock of the available space in your pantry. This step will help you determine how to best utilize the area and make the most of your storage options.
Begin by measuring the dimensions of your pantry, including the height, width, and depth of the shelves. This will give you a clear understanding of the space you have to work with and help you determine the best storage solutions for your cans.
Next, consider the layout of your pantry. Take note of any built-in shelving, adjustable shelves, drawers, or other storage features. This will help you plan how to divide and organize your cans efficiently.
Once you have an idea of the available space, consider how you want to arrange your cans. Think about whether you prefer a system where cans are displayed at eye level or if you want to maximize vertical space by stacking cans on top of one another. This will guide your decision-making process when it comes to selecting storage containers later on.
It’s also essential to consider any other items you store in your pantry, such as boxed goods, jars, or spices. Take note of their sizes and quantities as well, as this will influence your overall organization plan.
By assessing the available space in your pantry, you’ll have a solid foundation for the rest of the can organization process. Now, let’s move on to sorting and grouping your cans.
Sorting and Grouping Cans
Now that you have assessed the available space in your pantry, it’s time to sort and group your cans. This step is crucial for creating an organized and easily accessible pantry.
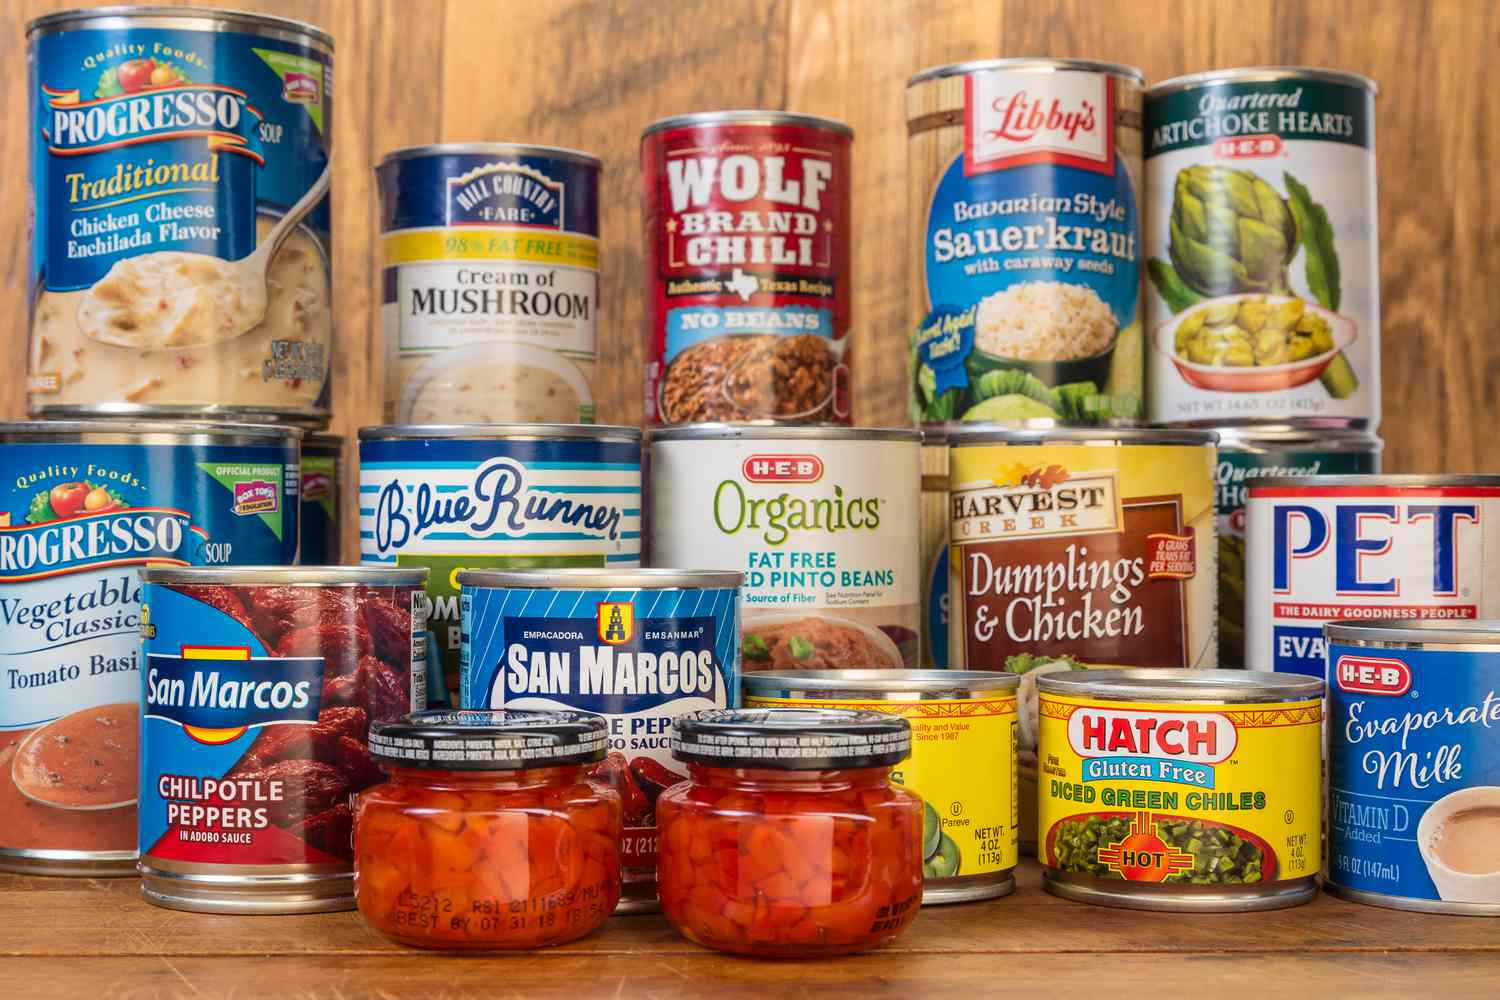
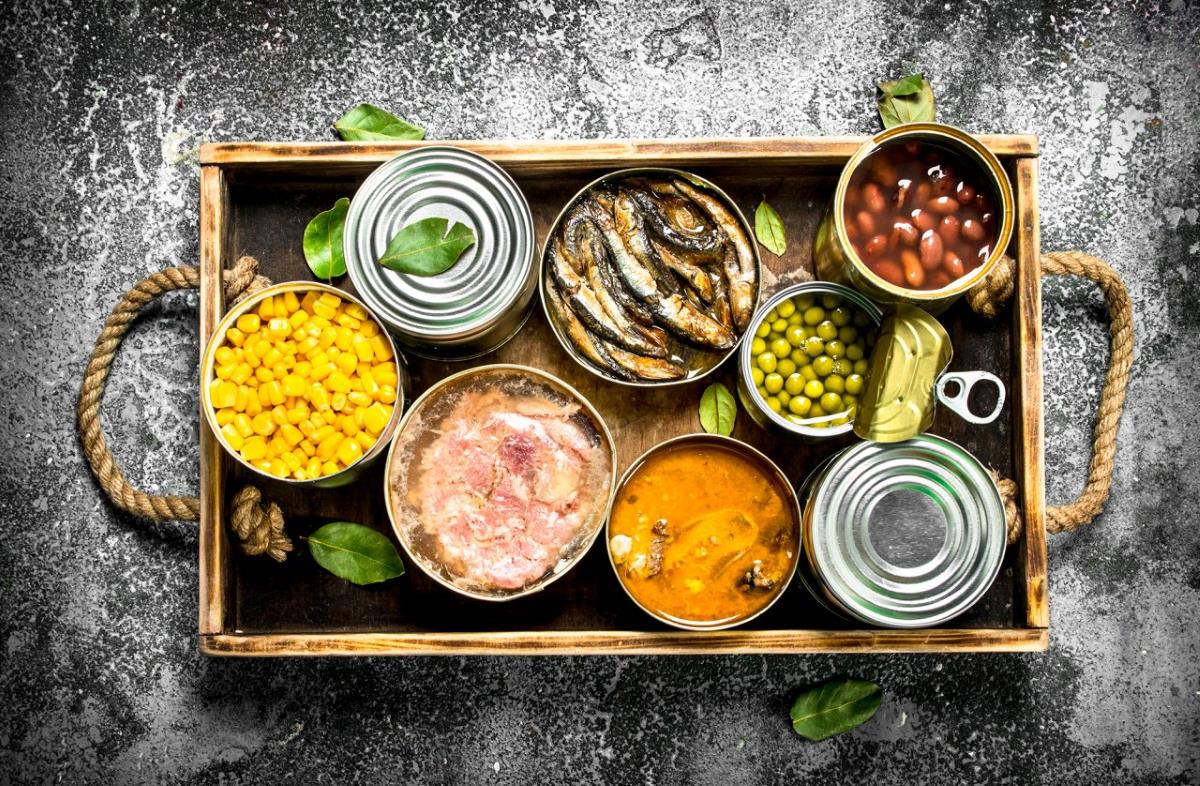
Start by categorizing your cans based on their contents. Common categories include vegetables, soups, sauces, beans, fruits, and proteins. This will make it easier for you to locate specific items when you need them and ensure that similar cans are stored together.
Next, within each category, sort the cans by size. This step is particularly important if you have limited shelf space or prefer a visually appealing arrangement. Smaller cans can be neatly stacked or placed in storage bins, while larger cans can be placed side by side.
If you have a large collection of cans, consider subcategorizing them further. For example, within the vegetable category, you can have separate sections for corn, peas, and carrots. This level of organization can be particularly helpful if you frequently use specific types of canned goods or want to have a clear inventory of what you have on hand.
As you sort and group your cans, take note of any duplicates or excess cans. This is an excellent opportunity to donate cans to local food banks or charities, reducing clutter in your pantry and helping those in need.
By sorting and grouping your cans, you’ll create a more visually appealing and organized pantry. Now, let’s move on to selecting the right storage containers.
Choosing the Right Storage Containers
When it comes to organizing your cans, selecting the right storage containers is key to maintaining a tidy and efficient pantry. The right containers will not only help you maximize space but also protect your cans from damage and keep them easily accessible.
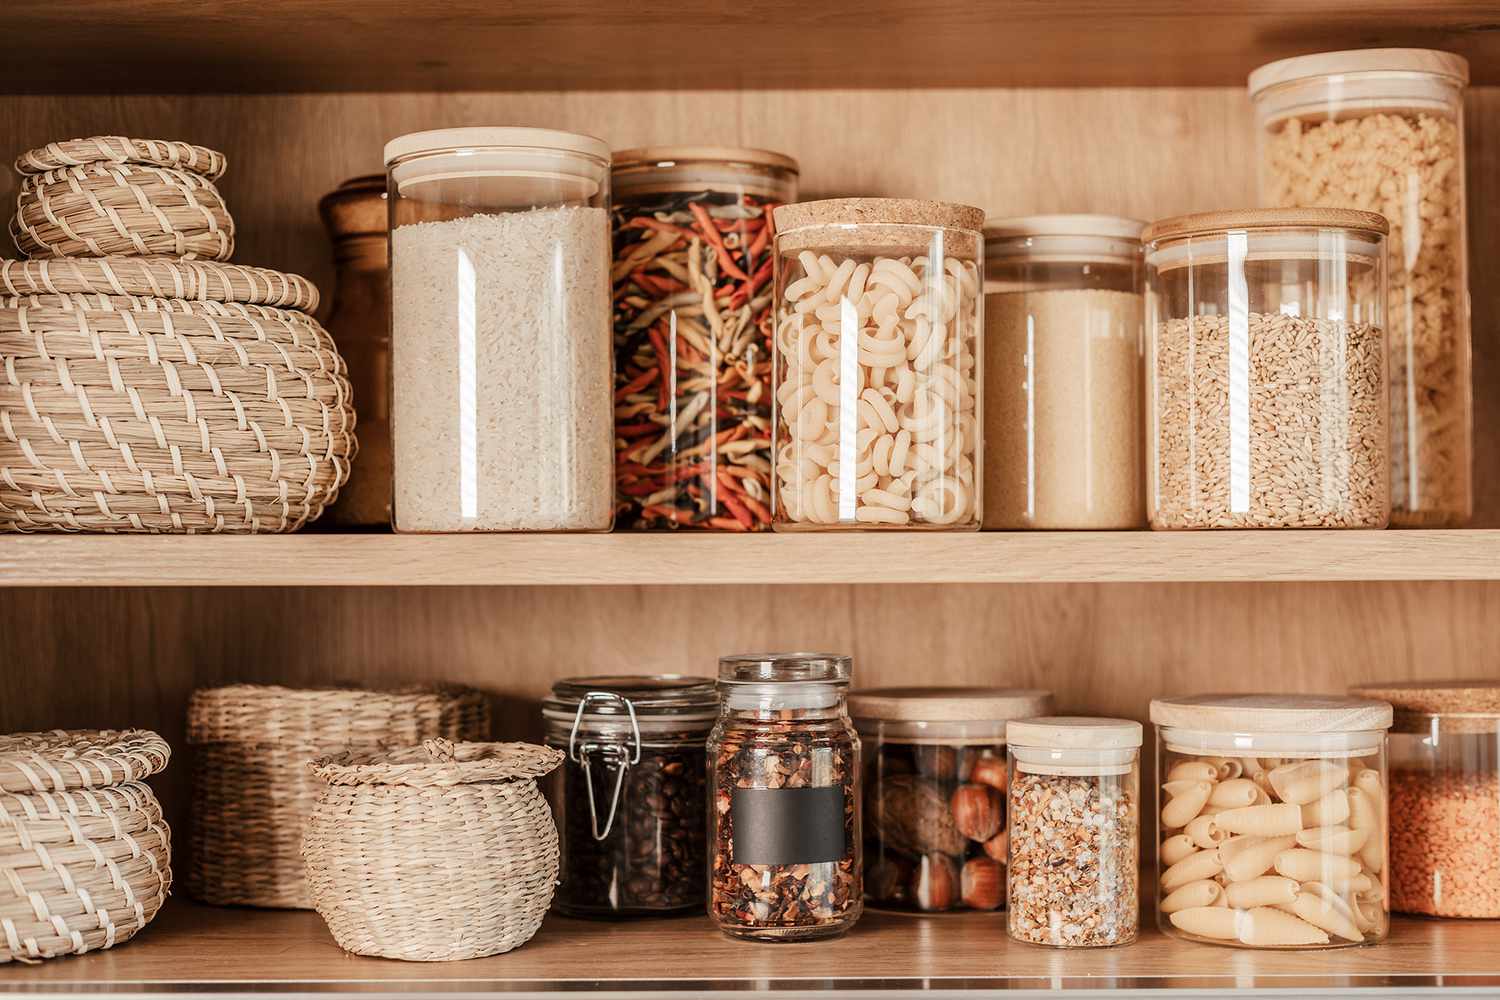
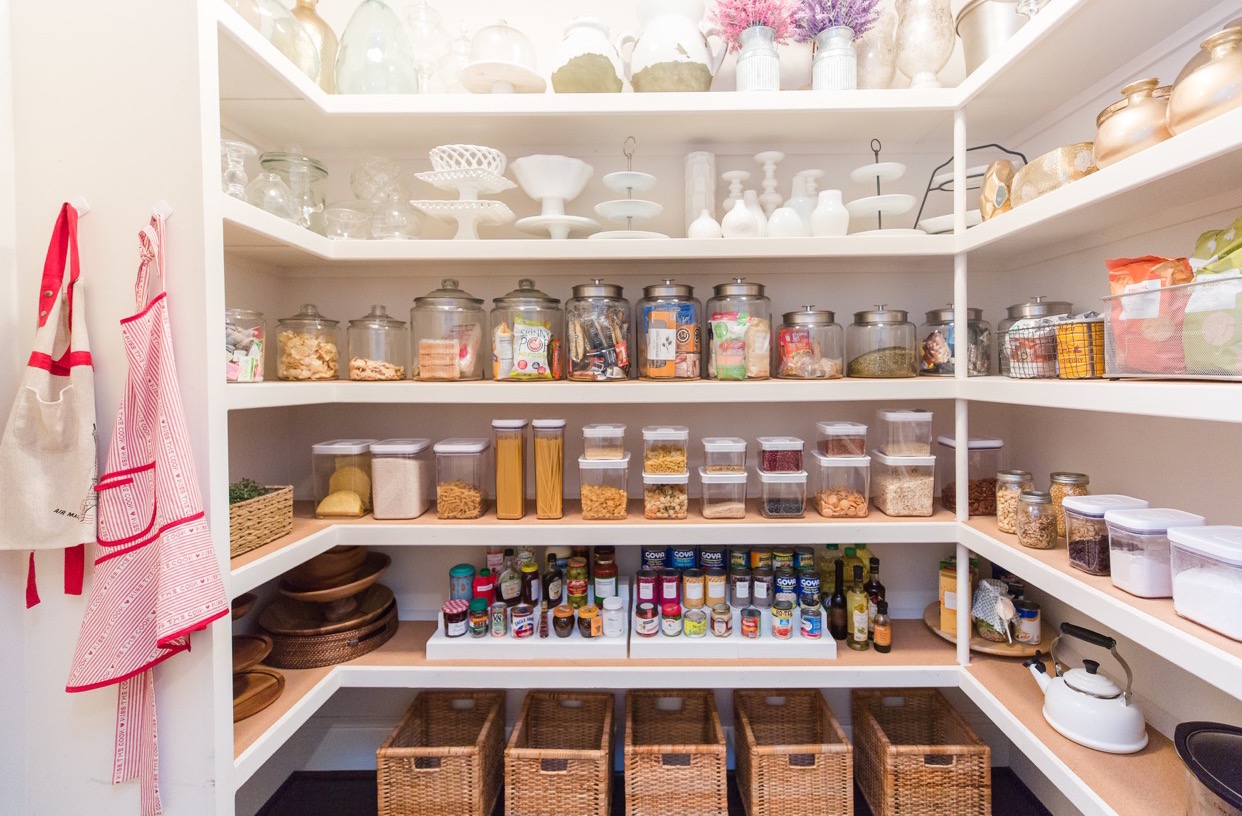
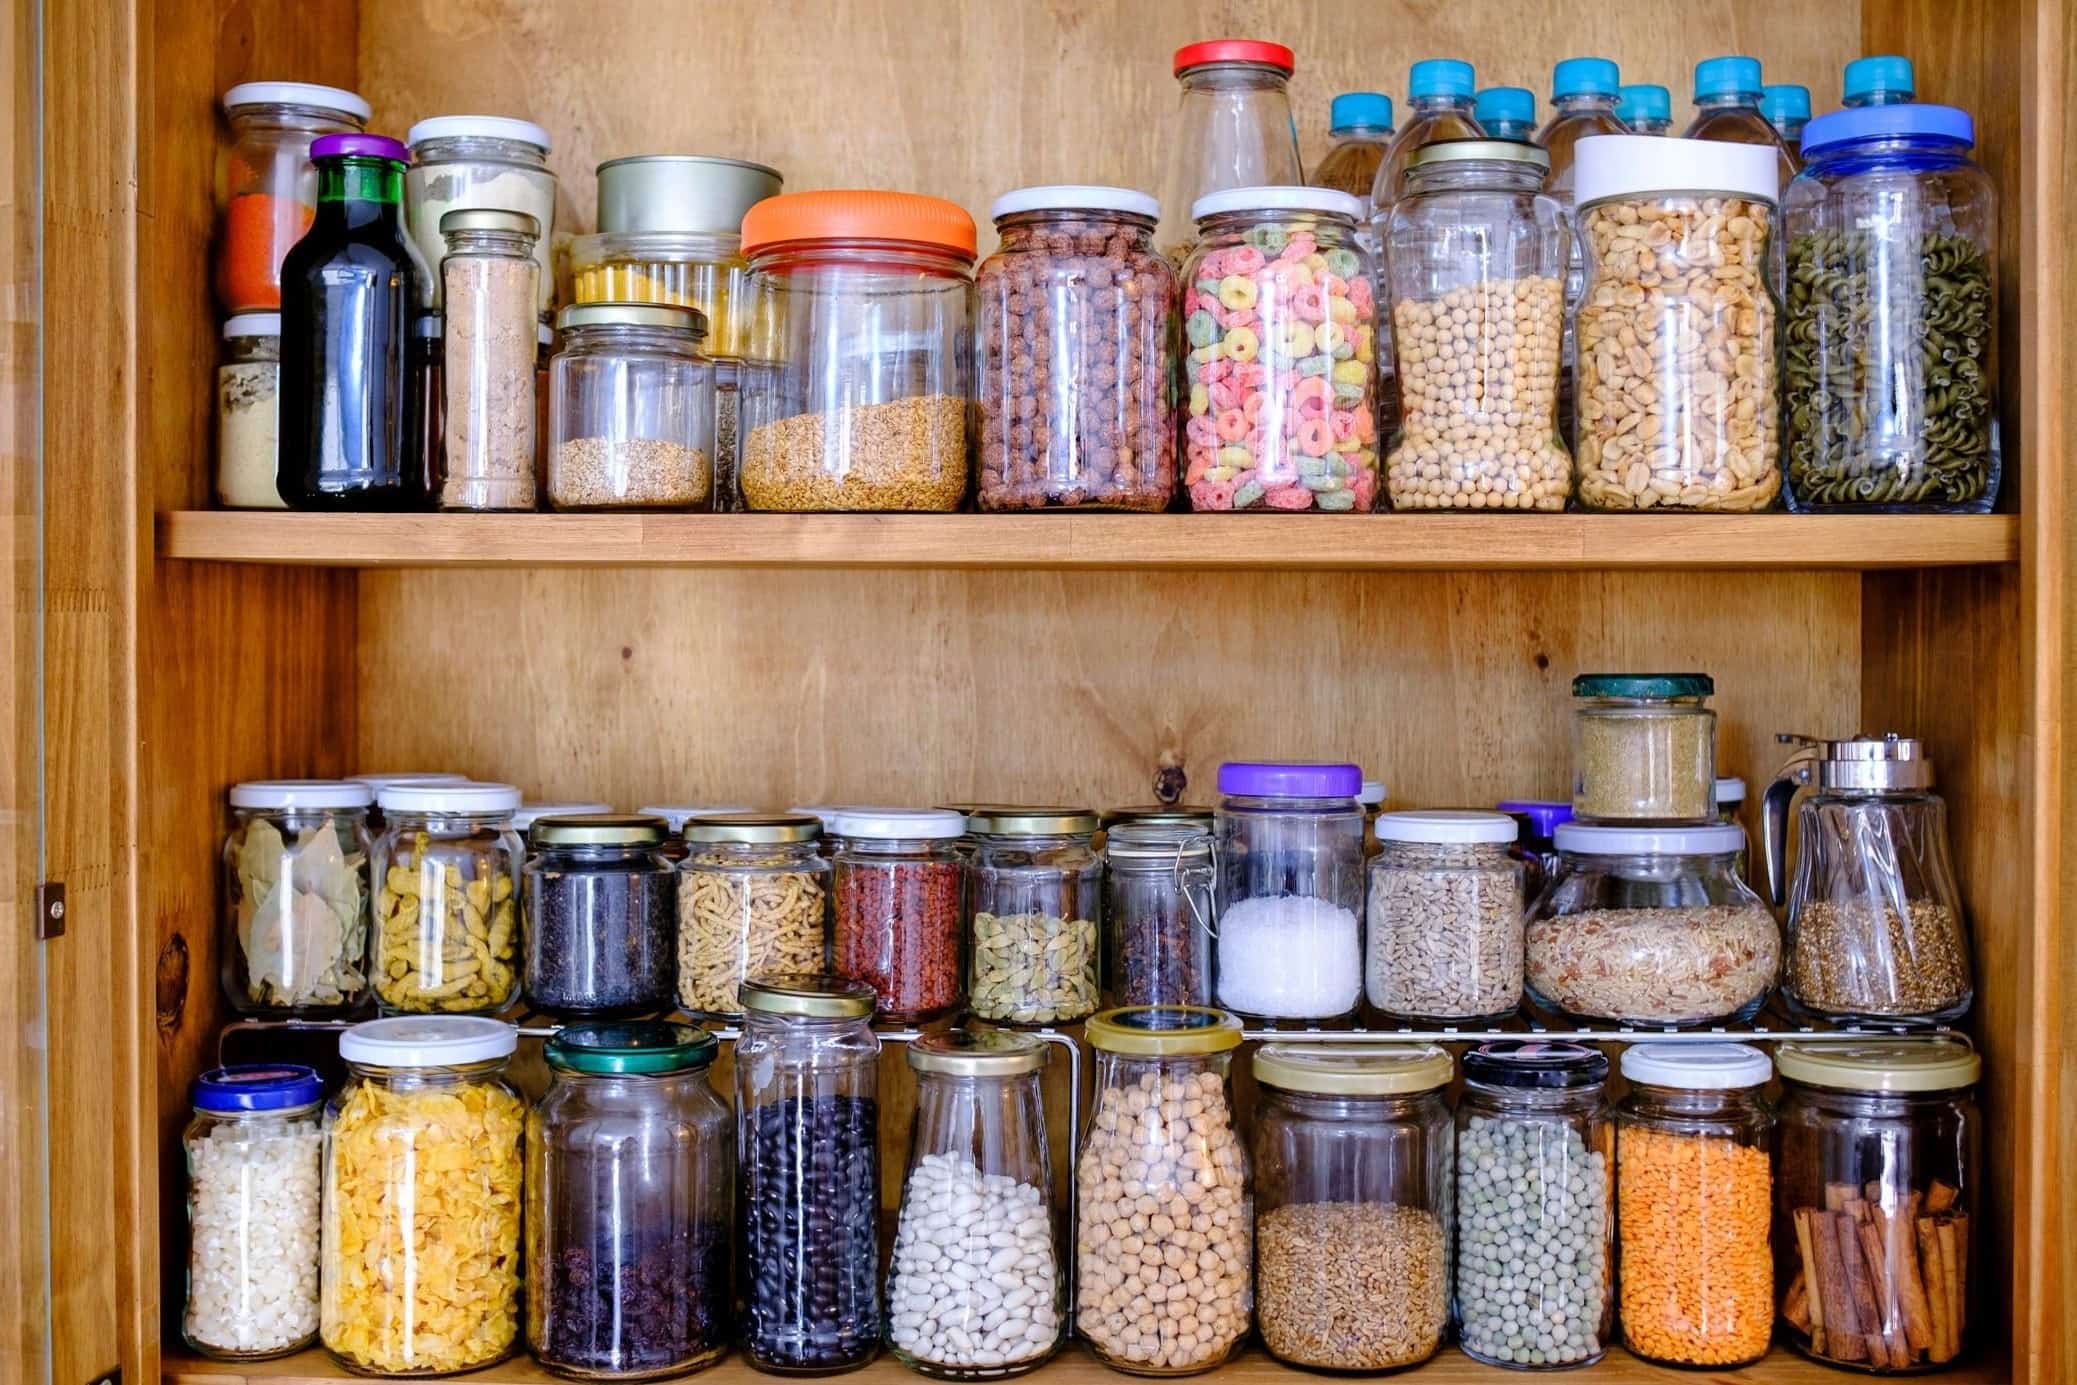
One popular option for storing canned goods is clear plastic bins or organizers. These containers allow you to see the contents at a glance, making it easier to locate specific cans. Look for bins that are stackable, as this helps utilize vertical space and prevents cans from toppling over.
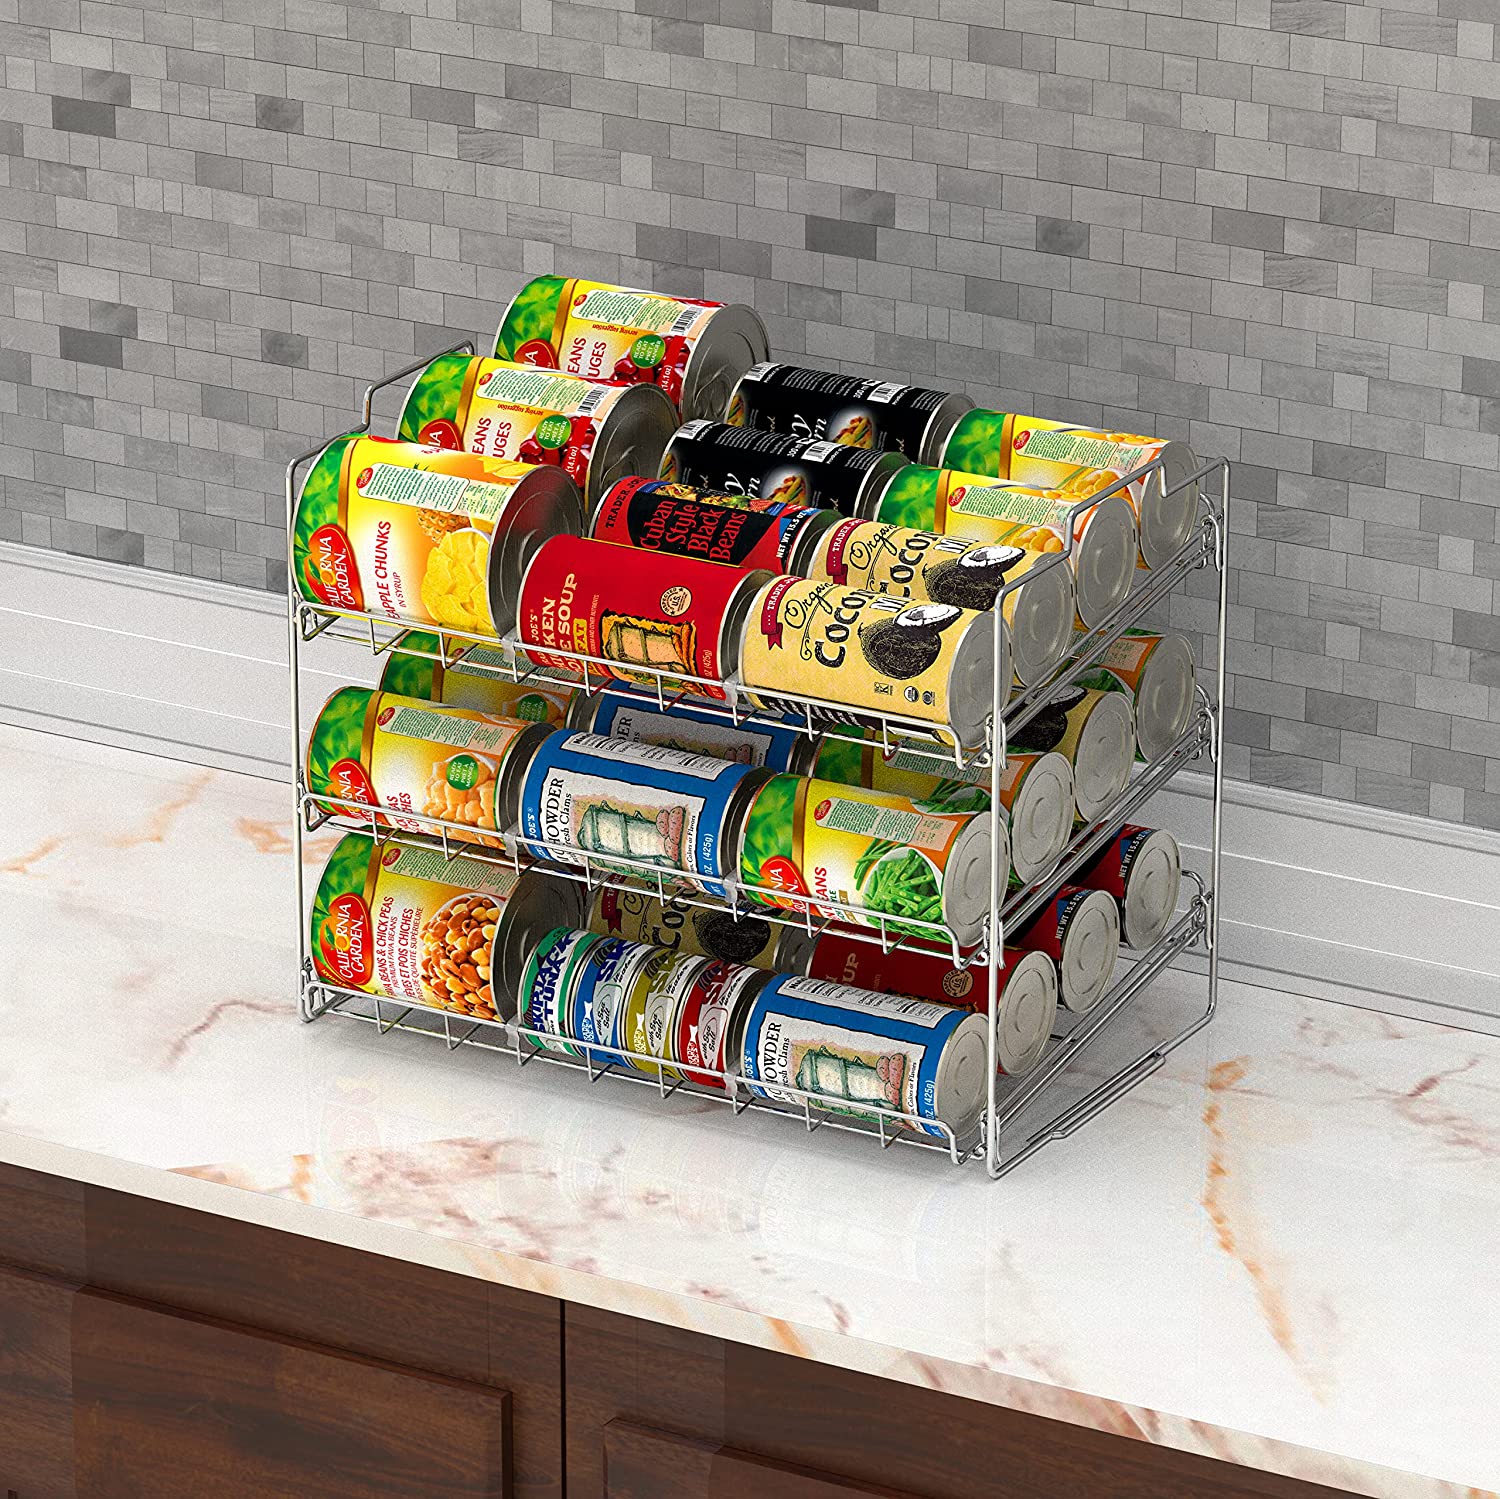
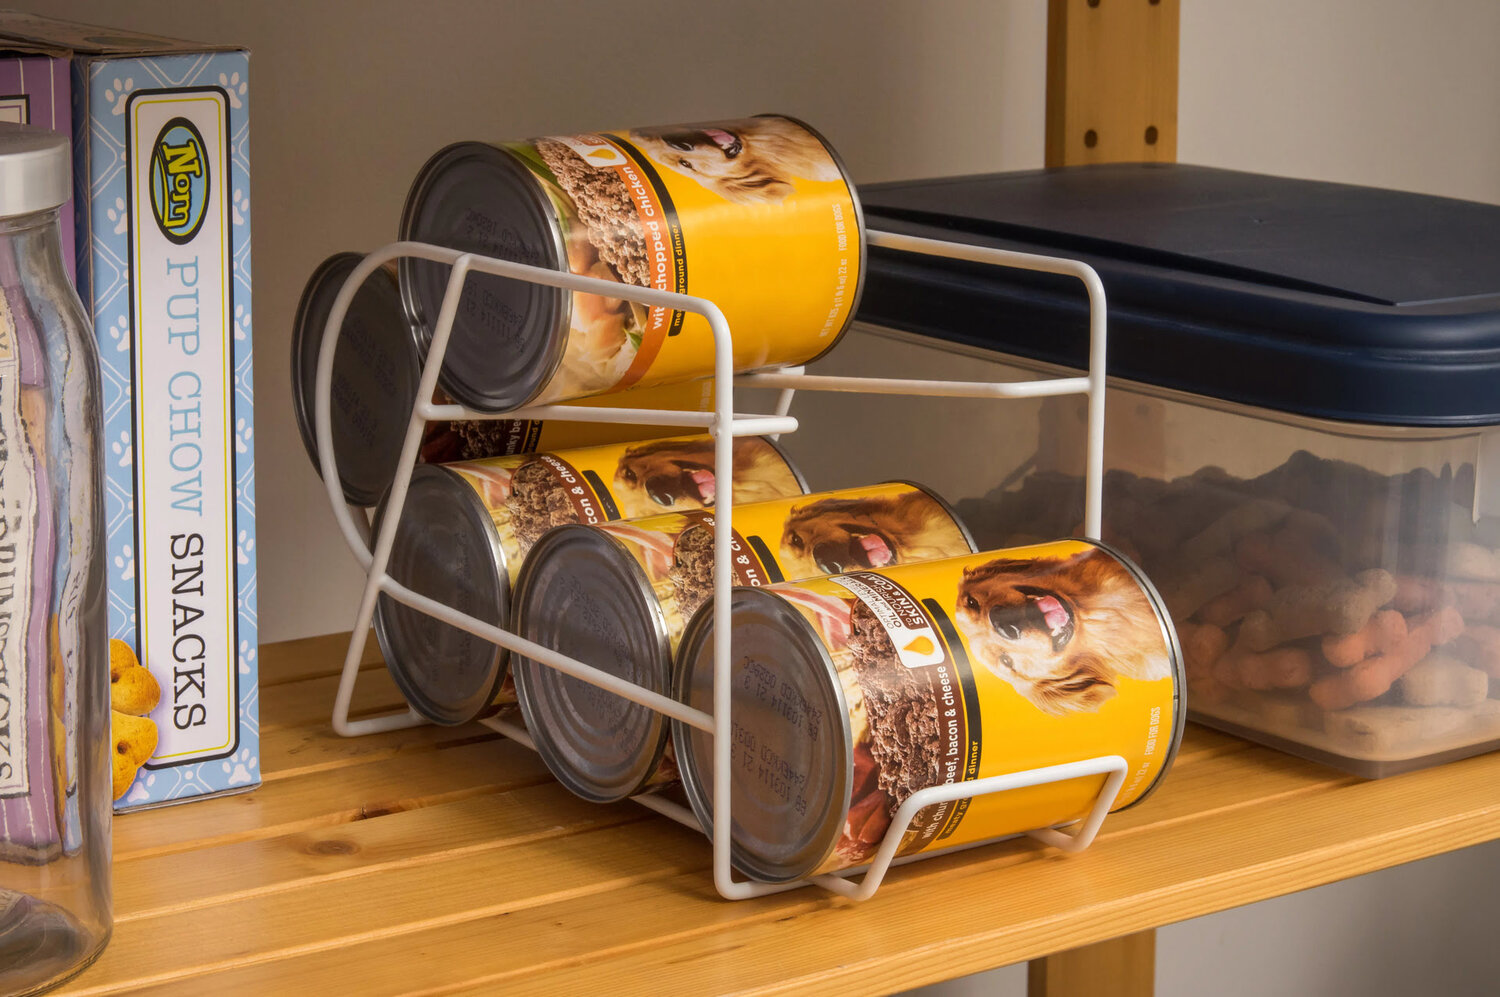
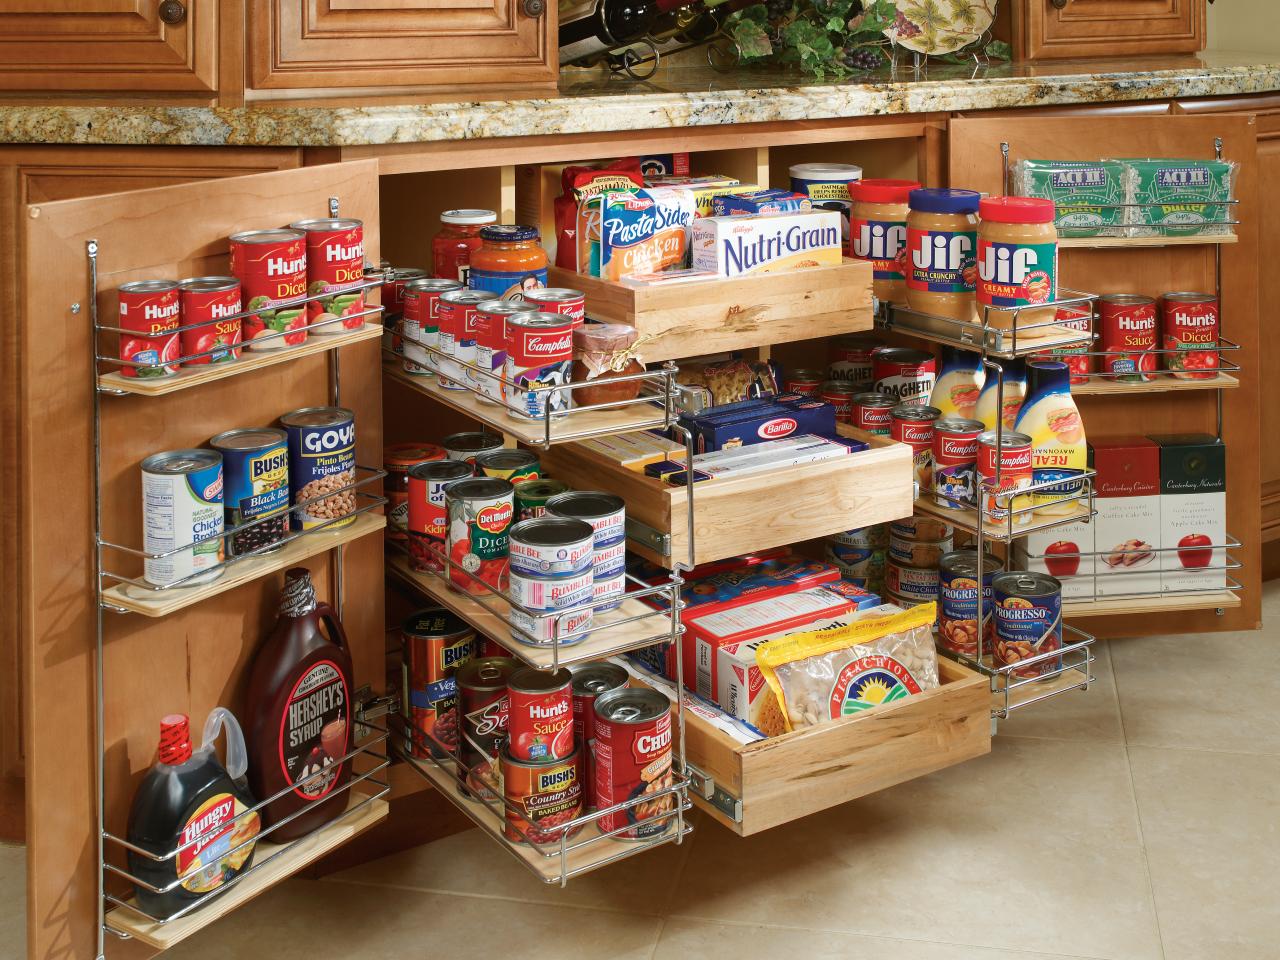
Another option is wire or metal can dispensers. These can be mounted to the inside of your pantry door or onto a shelf, providing easy access to cans and maximizing space. These dispensers work especially well for storing larger quantities of a particular type of can.
If you prefer a more DIY approach, consider repurposing items you already have at home. For example, a repurposed shoe organizer with pockets can be hung over the pantry door and used to store smaller cans and pouches. Alternatively, cardboard dividers placed strategically on the pantry shelves can help keep cans neatly separated.
Regardless of the storage containers you choose, ensure they are sturdy and can support the weight of your cans. Additionally, opt for containers that are easy to clean and maintain, as this will help keep your pantry hygienic and prevent any unpleasant odors or spills.
Remember, the goal is to find a storage solution that works for your specific pantry layout and organizational preferences. By selecting the right containers, you’ll have a solid foundation for creating an organized and functional pantry.
Now that you have chosen the storage containers, let’s move on to using organizational tools to enhance the organization of your cans.
Use stackable or tiered shelves to maximize space and keep cans visible. Group similar items together and label shelves for easy access. Rotate older cans to the front to ensure they are used first.
Using Organizational Tools
Organizational tools can be incredibly helpful in maintaining an orderly pantry and keeping your cans neatly arranged. These tools can help maximize space, add convenience, and make it easier to locate specific cans when you need them.
One useful tool is a can rotation system. These systems are designed to automatically rotate your cans, ensuring that older ones are used first. They typically consist of shelves that are slightly tilted, allowing cans to roll forward as new ones are added. This is especially beneficial for perishable items or cans with shorter shelf lives.
For cans that are difficult to stack or tend to roll around, consider using risers or shelf dividers. Risers can elevate cans at the back of the shelf, making them more visible and easily reachable. Shelf dividers, on the other hand, create separate sections and keep cans in place, preventing them from toppling over.
Another helpful organizational tool is a can dispenser rack. These racks can be placed on a shelf or inside a cabinet, providing easy access to cans while keeping them organized and neatly lined up. Dispenser racks are particularly useful for smaller cans that tend to get lost or buried in larger pantries.
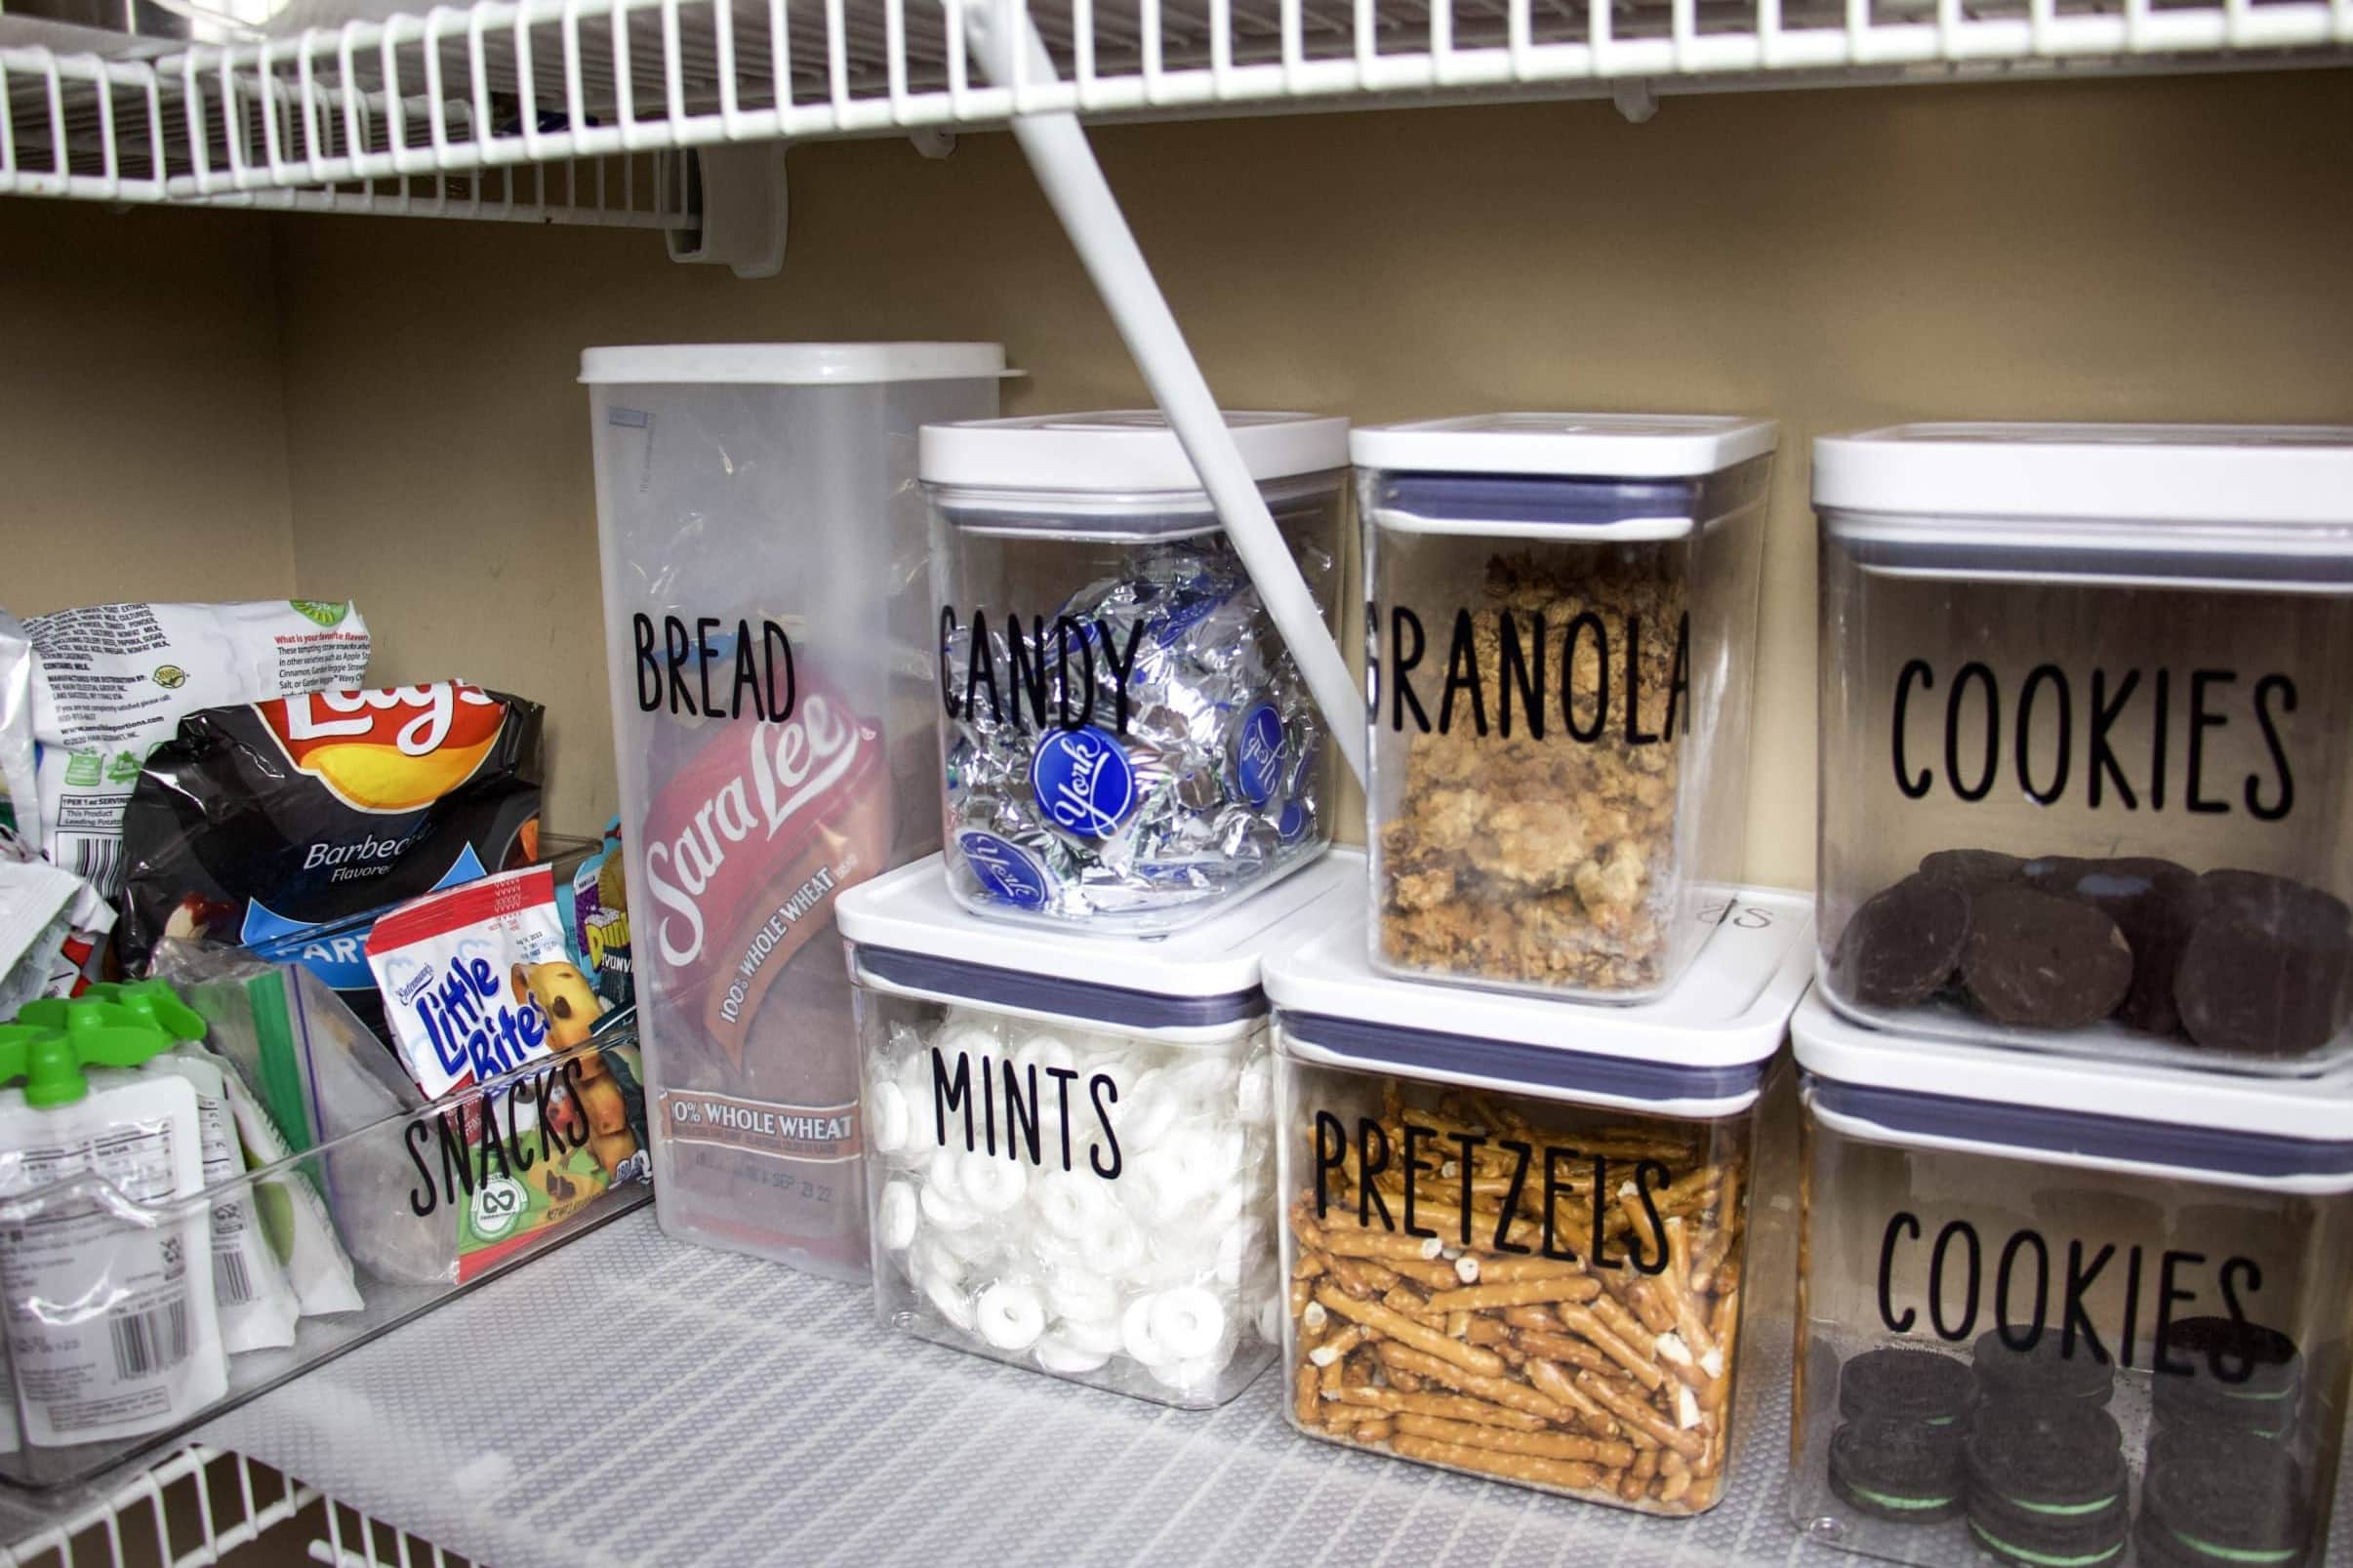
If you want to take your organization a step further, consider using labels or tags. Labeling each section or container with the corresponding category or type of cans makes it simple to find what you need at a glance. You can use adhesive labels or even create your own labels using a label maker or markers.
Lastly, consider utilizing the vertical space in your pantry by using hooks or magnetic strips. These can be used to hang small cans or attach magnetic containers, creating additional storage options. Hanging items can also free up valuable shelf space for larger cans or other pantry essentials.
By incorporating these organizational tools into your pantry, you can optimize your storage space and make it easier to maintain a well-organized system. Now, let’s dive into arranging the cans within your pantry.
Arranging Cans by Size or Category
Once your pantry is cleaned, sorted, and equipped with the right storage containers, it’s time to arrange your cans in a way that makes them easily accessible and visually appealing. Two common approaches to arranging cans are by size or by category.
If you choose to arrange your cans by size, start by placing the larger cans at the back of the shelves or bottom of the storage bins. This allows for a stable base and prevents smaller cans from getting lost or hidden. Gradually stack smaller cans on top, ensuring that each layer is visible and easily reachable. This arrangement not only maximizes vertical space but also creates a clean and organized look.
Alternatively, you can arrange your cans by category. Group cans of similar contents together, such as all vegetables in one section, soups in another, and so on. Place larger cans toward the back and smaller cans at the front of each section for easy access. This method allows you to quickly find cans based on the type of food you need for a specific recipe or meal.
Consider utilizing the inside of cabinet doors or the back of pantry shelves for extra storage. Attach hooks or adhesive magnetic strips to hang small cans or create storage space for spices and seasoning packets. This helps further maximize your pantry’s available space and keeps everything organized.
Remember to regularly rotate your inventory, placing newer cans behind older ones to ensure that nothing expires. A well-arranged pantry not only makes it easier to find what you need but also reduces food waste by keeping track of expiration dates.
Whichever method you choose, the key is to maintain a consistent arrangement system that works for you. With a well-organized and visually pleasing pantry, meal preparation and grocery shopping become a breeze.
Now, let’s move on to the importance of labeling and inventory management in pantry organization.
Labeling and Inventory
Labeling your cans and maintaining an inventory system are essential steps in pantry organization. These practices help you quickly locate specific items, keep track of your stock, and ensure that nothing goes to waste. Let’s explore the importance of labeling and inventory management in more detail.
Labeling your cans is an effective way to add clarity to your pantry. Use adhesive labels or sticky notes to mark the category or contents of each section or storage container. This makes it easy to find what you’re looking for, especially when you’re in a rush or have limited time to prepare a meal. You can also add labels to the lid or front of individual cans to easily identify them at a glance.
In addition to labeling, maintaining an inventory system helps you stay organized and prevents any surprises when you’re meal planning or grocery shopping. Keeping a simple inventory list on your phone, tablet, or a notepad allows you to track the quantity of each item and note when it needs to be restocked. This helps you avoid duplicates and ensures that you always have the necessary ingredients on hand.
You can also utilize various pantry organization apps available on smartphones or online platforms. These apps allow you to scan the barcode of each can and automatically track your inventory. They often have features that alert you when items are approaching their expiration date or when it’s time to restock. This digital approach streamlines the inventory management process and keeps you well-informed about your pantry’s contents.
Regularly updating your inventory and checking expiration dates is essential for keeping your pantry organized and maintaining food safety. Dispose of any cans that have expired or show signs of spoilage to prevent any health risks. This practice not only keeps your pantry clutter-free but also ensures that you are consuming fresh and safe food.
In summary, labeling your cans and implementing an inventory system are crucial steps in pantry organization. These practices make it easy to locate specific items, track your stock, and maintain a clean and efficient pantry. Take the time to label your cans and establish an inventory system that works for you. Your future self will thank you when it comes to meal planning and grocery shopping.
Now, let’s move on to the final step: maintaining the organization system in your pantry.
Maintaining the Organization System
Creating an organized pantry is a fantastic accomplishment, but the real challenge lies in maintaining its organization over time. To ensure that your pantry stays neat and functional, it’s important to establish a maintenance routine. Let’s explore some tips on how to maintain the organization system in your pantry.
First and foremost, make it a habit to regularly check and reorganize your pantry. Set aside a specific day or time each month to assess the contents of your pantry, discard any expired items, and rearrange cans as necessary. This helps prevent clutter from building up and ensures that your pantry remains organized and efficient.
As you use up cans and restock your pantry, be sure to maintain the same organizational system. Return cans to their designated sections or containers and keep the categories consistent. Resisting the temptation to throw items haphazardly back into the pantry will help maintain the structure and ease of finding items when needed.
Another helpful tip is to perform regular inventory checks. Use your inventory list or the pantry organization app to assess the quantities of each item. This will allow you to restock items that are running low and stay on top of any upcoming expiration dates. By keeping track of your inventory, you can avoid unnecessary purchases and ensure that you’re making the most of your pantry’s contents.
Additionally, encourage other family members or housemates to follow and respect the organization system. Communicate the importance of keeping the pantry organized and explain the benefits it provides, such as saving time and reducing food waste. By establishing a team effort, everyone can contribute to maintaining an orderly pantry.
Finally, remain adaptable and open to adjusting your organization system as needed. Over time, you may find that certain categories need to be rearranged or that you require additional storage containers. Pay attention to any inefficiencies or areas that could be improved and make the necessary adjustments to ensure the pantry continues to meet your needs.
By maintaining an organized pantry, you’ll experience the long-term benefits of easy meal planning, efficient grocery shopping, and a stress-free cooking experience. Dedicate a little time and effort to regularly assess and maintain your pantry’s organization, and you’ll enjoy a functional and tidy space for years to come.
Now, let’s conclude our guide on organizing cans in your pantry.
Read more: How To Store Canned Goods
Conclusion
Congratulations on completing our ultimate guide on how to organize cans in your pantry! By following the step-by-step process outlined in this article, you have learned valuable tips and techniques to create a well-organized and efficient pantry space.
We began by clearing and cleaning the pantry, creating a fresh canvas for our organization efforts. Next, we assessed the available space to tailor our organization system to fit the dimensions and layout of our pantry. Sorting and grouping cans by size or category allowed us to create logical sections and make finding specific items a breeze.
Choosing the right storage containers and using organizational tools added further efficiency and convenience to our pantry. These tools optimize space, prevent cans from toppling, and help maintain a clean and cohesive look. Labeling cans and implementing an inventory system allow for easy identification and tracking of stock, reducing waste and optimizing meal planning.
Finally, we explored the importance of maintaining the organization system in our pantry. Regular upkeep, consistent organization practices, and involving household members in the effort contribute to a long-lasting and functional pantry space.
Remember, organizing your pantry is an ongoing process. As your needs change and your stock evolves, be open to adjusting and refining your organization system. By doing so, you’ll ensure that your pantry remains a well-organized and efficient space for all your culinary adventures.
Now it’s time to put your newly acquired knowledge into action and transform your pantry into a haven of organized cans and culinary inspiration. Happy organizing!
Frequently Asked Questions about How To Organize Cans In Pantry
Was this page helpful?
At Storables.com, we guarantee accurate and reliable information. Our content, validated by Expert Board Contributors, is crafted following stringent Editorial Policies. We're committed to providing you with well-researched, expert-backed insights for all your informational needs.


0 thoughts on “How To Organize Cans In Pantry”