Articles
How To Store Cleaned Strawberries
Modified: December 7, 2023
Learn the best methods for storing cleaned strawberries in this helpful article. Keep your berries fresh and delicious for longer!
(Many of the links in this article redirect to a specific reviewed product. Your purchase of these products through affiliate links helps to generate commission for Storables.com, at no extra cost. Learn more)
Introduction
Strawberries are a delicious and nutritious fruit that can be enjoyed in various ways. Whether you picked them yourself at a local farm or bought them from the grocery store, it’s essential to store them properly to maintain their freshness and flavor. Storing cleaned strawberries correctly will help extend their shelf life, allowing you to enjoy them for longer periods.
In this article, we will guide you through the steps on how to store cleaned strawberries to keep them fresh and tasty. By following these simple guidelines, you can ensure that your strawberries stay in prime condition for snacking, baking, or adding to your favorite recipes.
Key Takeaways:
- Keep your strawberries fresh by gathering clean supplies, assessing their condition, rinsing and patting them dry, storing in an airtight container, refrigerating, and checking for spoilage before consumption.
- Enjoy your strawberries longer by following simple steps: gather supplies, assess, rinse, pat dry, store in an airtight container, refrigerate, and check for spoilage. Remember, they have a short shelf life even with proper storage.
Read more: How To Store Sliced Strawberries
Step 1: Gather the Supplies
Before you begin storing your cleaned strawberries, it’s essential to gather all the necessary supplies. Having everything ready will make the process more efficient and help ensure that your strawberries are stored properly.
Here are the supplies you will need:
- A colander or strainer
- A clean towel or paper towels
- An airtight container
Make sure that the colander or strainer you use is clean and free of any dirt or residue. The same goes for the towels and paper towels. Using clean supplies will prevent any contaminants from affecting your strawberries’ freshness.
The airtight container is crucial in preventing moisture and air from reaching the strawberries, which can cause them to spoil more quickly. Choose a container that is appropriate for the amount of strawberries you have and ensure it has a tight-fitting lid.
Once you have gathered all the necessary supplies, you are ready to move on to the next step of assessing the condition of your strawberries.
Step 2: Assess the Condition of Strawberries
Before storing your cleaned strawberries, it’s important to assess their condition. This step will help you identify any bruised, overripe, or moldy strawberries that should be discarded to prevent spoiling the rest.
Here are a few things to look for when assessing the condition of your strawberries:
- Bruising: Look for any strawberries with soft spots, mushiness, or discoloration. These are signs of bruising and indicate that the fruit may be past its prime.
- Overripeness: Check for strawberries that are overly soft or have a wrinkled appearance. These are likely overripe and may have a mushy texture and less flavor.
- Mold: Inspect each strawberry for any signs of mold growth. If you notice fluffy white or green patches on the fruit, it’s an indication of mold, and those strawberries should be discarded.
Remove any strawberries that show signs of bruising, overripeness, or mold. This will help ensure that the remaining strawberries stay fresh and maintain their quality during storage.
Once you have assessed the condition of your strawberries and removed any damaged ones, you can proceed to the next step of rinsing them properly.
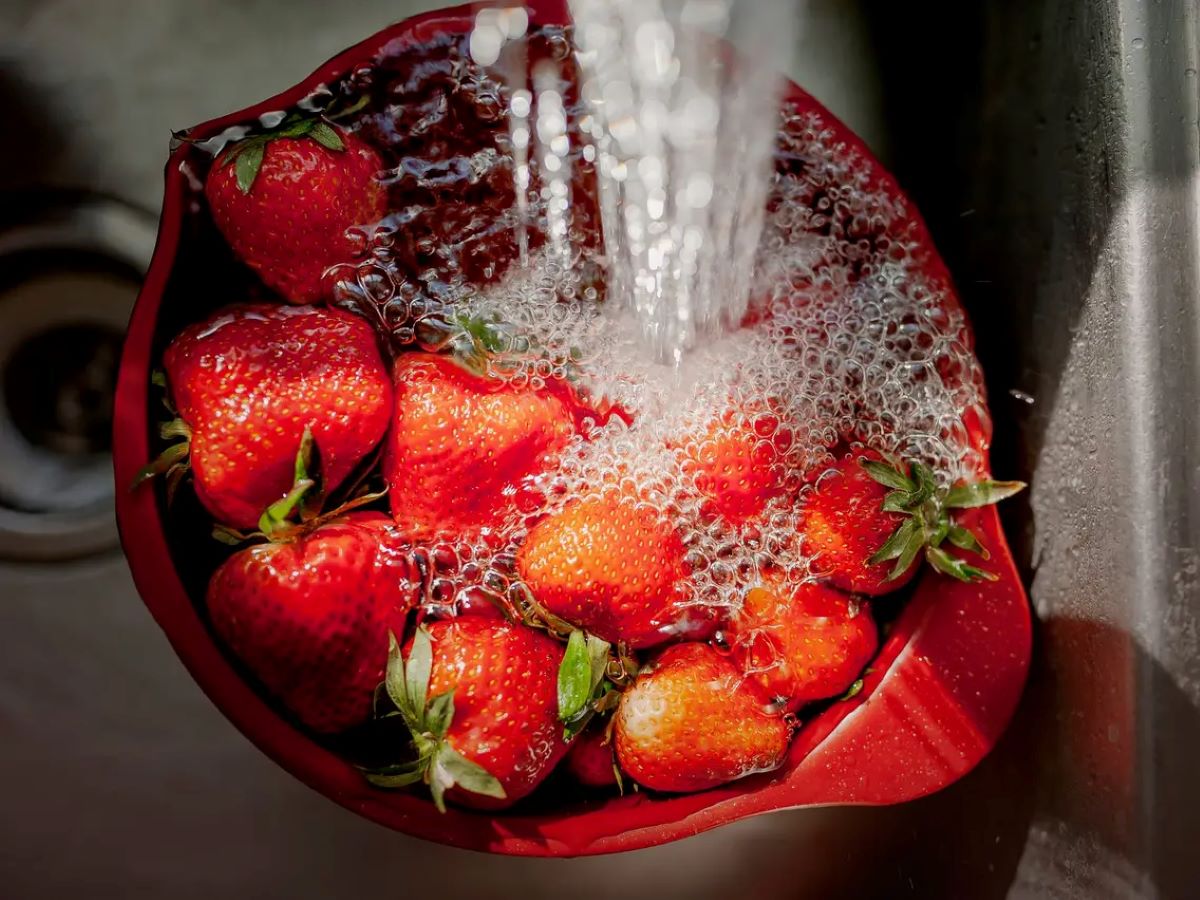
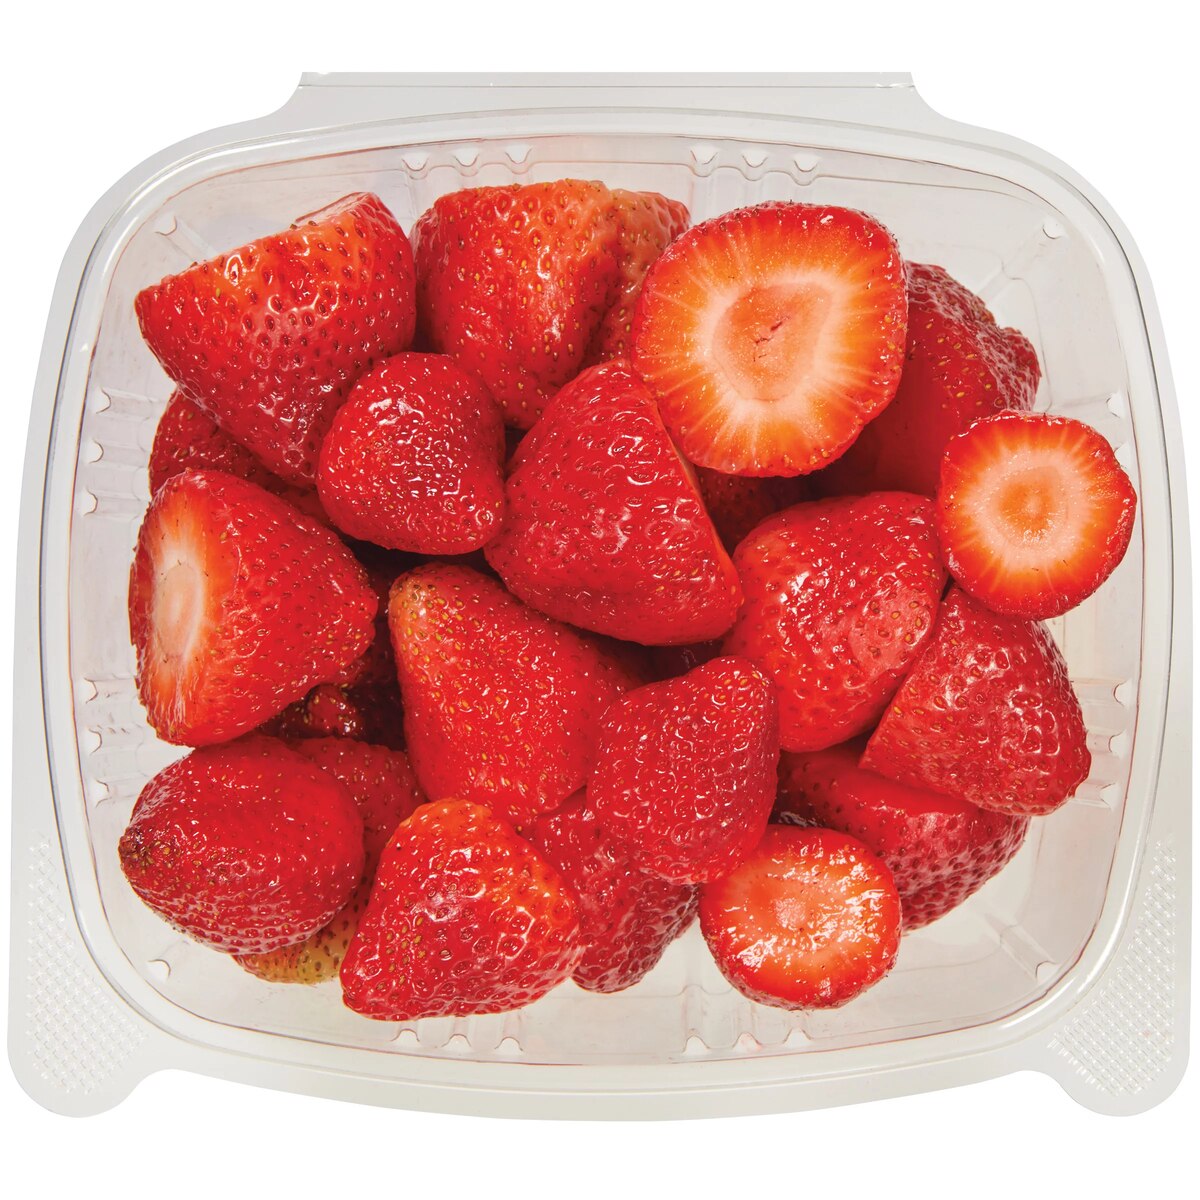
Step 3: Rinse the Strawberries
Properly rinsing your strawberries is crucial to remove any dirt, residues, or pesticides that may be present on the surface of the fruit. This step helps ensure that your strawberries are clean and safe to consume.
Follow these steps to rinse your strawberries:
- Place the strawberries in a colander or strainer.
- Gently rinse the strawberries under cold running water.
- Using your hands, gently rub each strawberry to remove any dirt or residues.
- Continue rinsing until all the strawberries are thoroughly cleaned.
It’s important to avoid soaking the strawberries in water or using warm water as it can cause them to become waterlogged and lose their texture.
After rinsing, inspect each strawberry to ensure that they are clean and free from any remaining dirt or residues.
Once the strawberries are properly rinsed, move on to the next step of patting them dry.
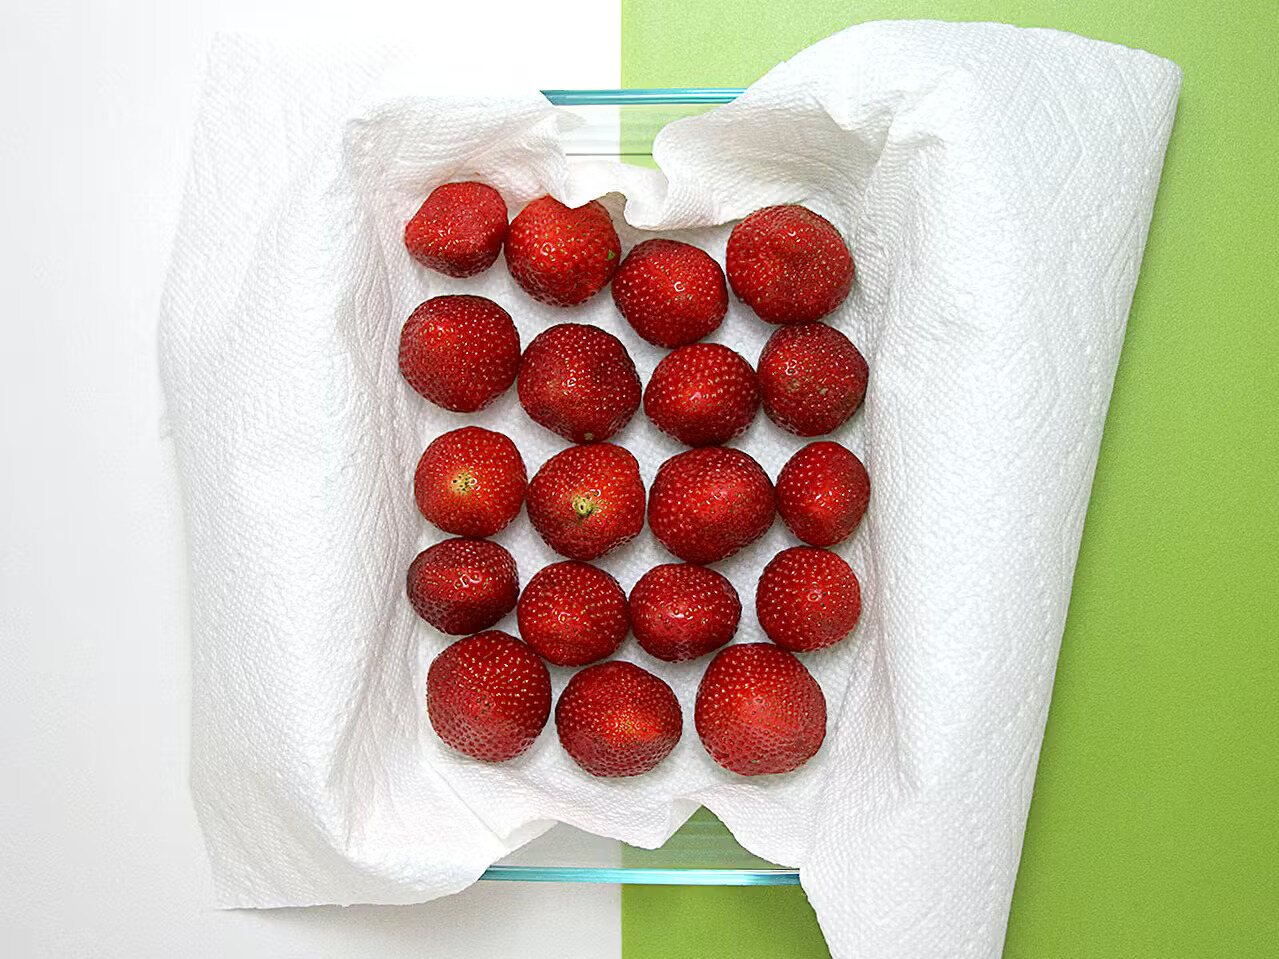
Step 4: Pat Dry the Strawberries
After rinsing your strawberries, it’s important to pat them dry to remove any excess moisture. Excess moisture can promote the growth of mold and cause the strawberries to spoil more quickly.
Follow these steps to pat dry your strawberries:
- Place the rinsed strawberries on a clean towel or paper towels.
- Gently pat the strawberries dry using the towel or paper towels.
- Ensure that all the strawberries are thoroughly dried.
It’s important to use a gentle patting motion rather than rubbing the strawberries, as rubbing can damage the delicate fruit.
Ensure that all the excess moisture is removed from the strawberries before moving on to the next step of storing them.
Now that your strawberries are dry, it’s time to store them in an airtight container.
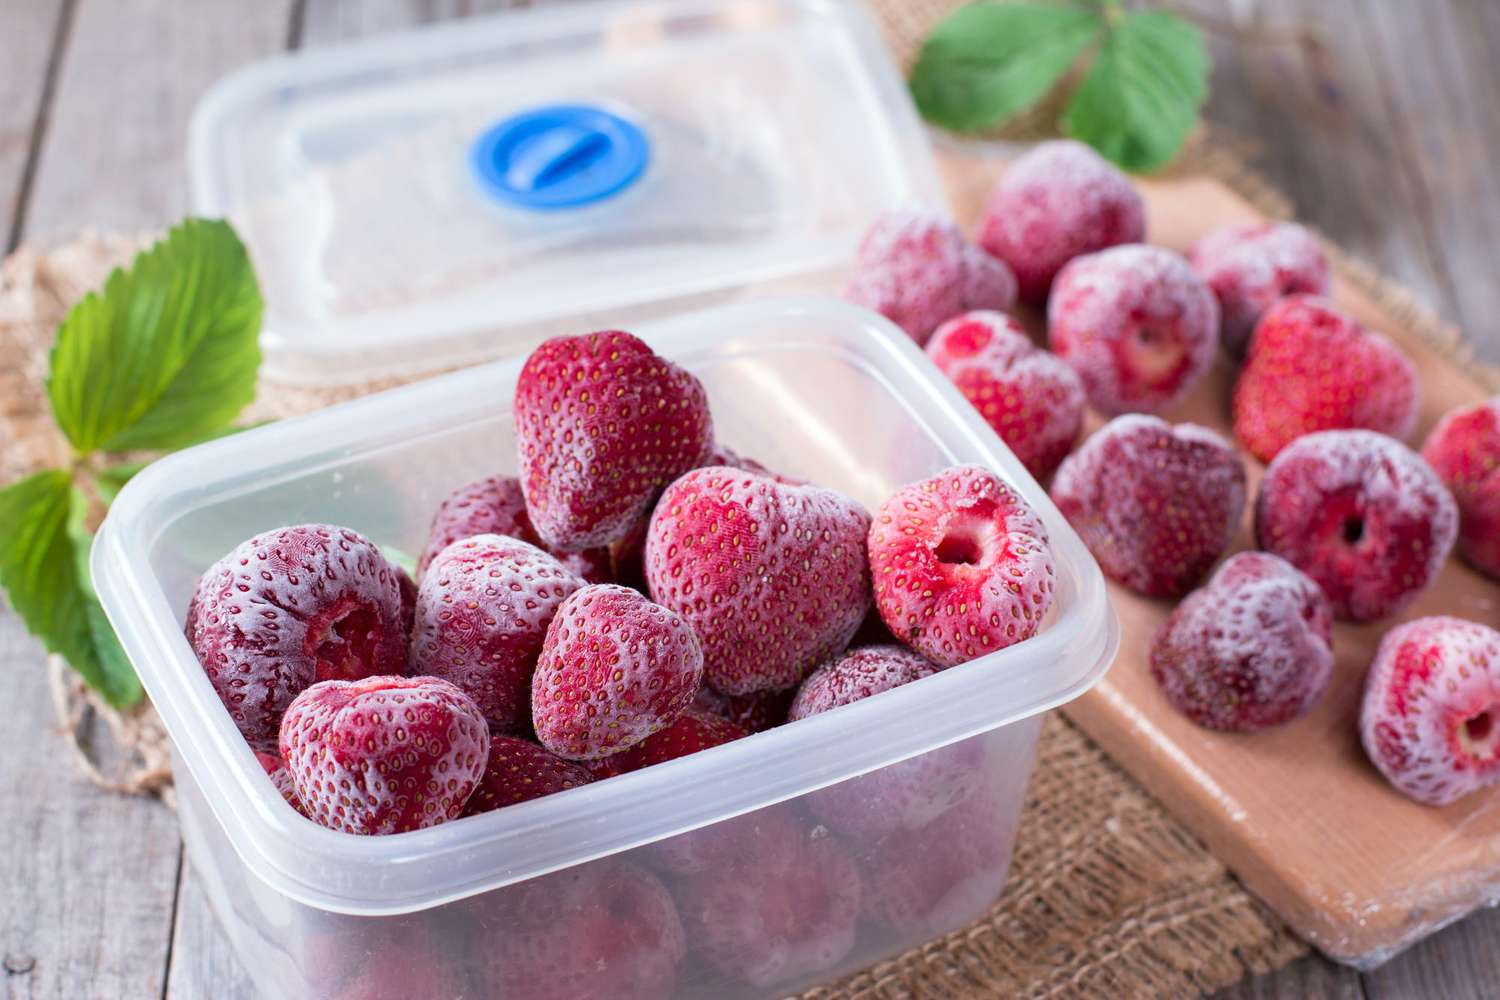
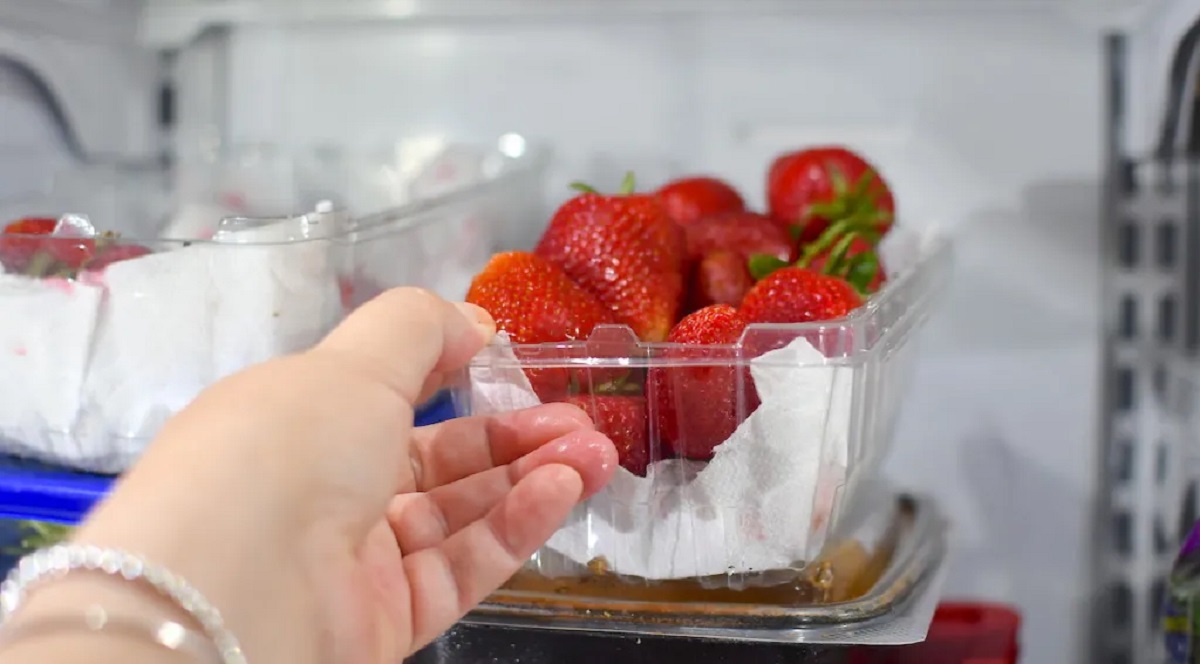
After cleaning strawberries, store them in a single layer on a paper towel-lined container to prevent moisture buildup and extend their freshness. Keep them in the refrigerator for up to 3-5 days.
Read more: How To Store Strawberries In Refrigerator
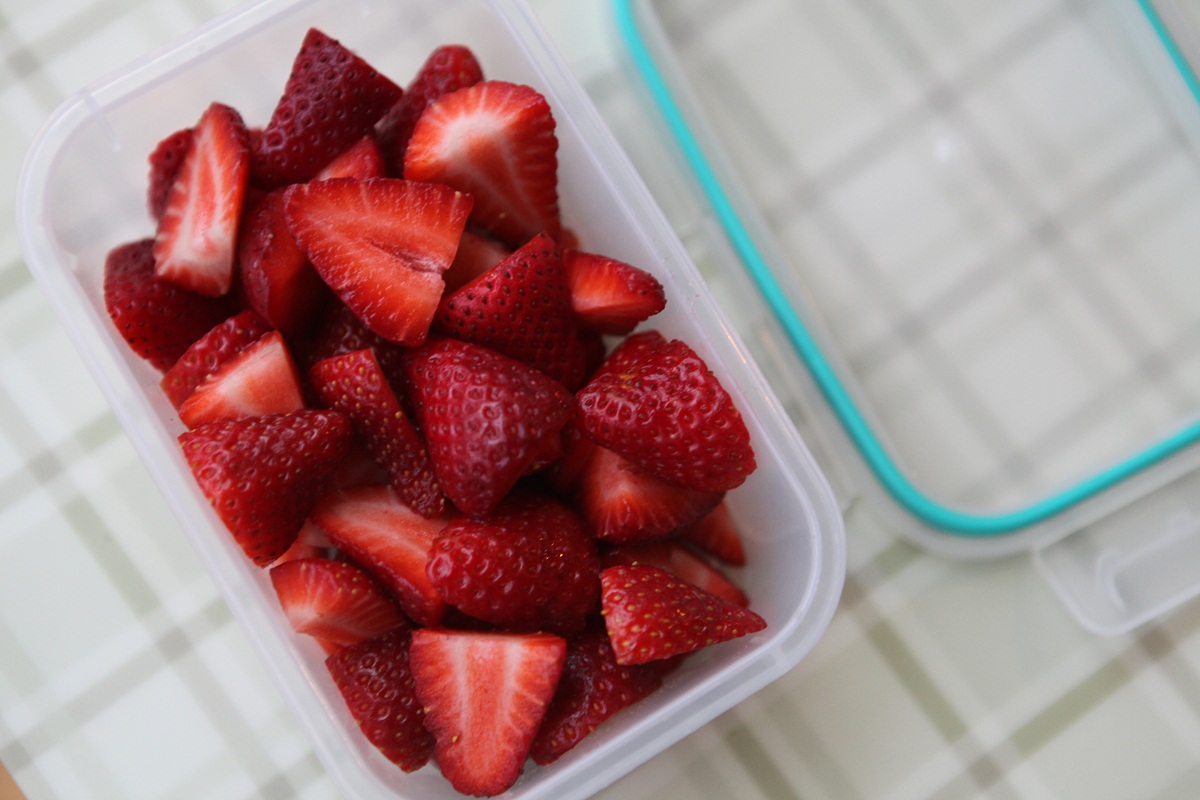
Step 5: Store in Airtight Container
Proper storage is key to maintaining the freshness and flavor of your cleaned strawberries. Storing them in an airtight container will help prevent moisture loss and protect them from exposure to air, which can cause them to spoil quickly.
Here’s how to store your strawberries in an airtight container:
- Ensure that your airtight container is clean and dry.
- Place the dried strawberries gently into the container, taking care not to overcrowd them.
- If you have a large number of strawberries, consider layering them with parchment paper or paper towels to prevent them from sticking together.
- Close the lid tightly to create an airtight seal.
Using an airtight container will not only keep your strawberries fresh but also protect them from absorbing any odors from the refrigerator.
Now that your strawberries are securely stored in an airtight container, it’s time to move on to the next step of refrigerating them.
Step 6: Refrigerate
After placing your cleaned and properly stored strawberries in an airtight container, it’s time to refrigerate them. Refrigeration helps to slow down the ripening process and keeps your strawberries fresh for a longer period.
Follow these steps to refrigerate your strawberries:
- Find a suitable spot in your refrigerator where the temperature is consistently cool. The ideal temperature for storing strawberries is between 32°F (0°C) and 40°F (4°C).
- Place the airtight container with the strawberries on one of the refrigerator shelves.
- Avoid storing the strawberries in the crisper drawer, as this area tends to have higher humidity levels that can cause the fruit to spoil more quickly.
It’s important to note that strawberries have a relatively short shelf life, even in the refrigerator. Therefore, it’s best to consume them within a few days of storing them.
Now that your strawberries are safely stored in the refrigerator, it’s essential to check for any signs of spoilage before consuming them.
Step 7: Check for Spoilage Before Consumption
Before enjoying your stored strawberries, it’s crucial to check for any signs of spoilage. This step helps ensure that the strawberries are still fresh and safe to consume.
Here are a few things to look for when checking for spoilage:
- Appearance: Inspect the strawberries for any mold growth, significant discoloration, or a shriveled appearance. These are indications that the fruit has started to spoil.
- Smell: Take a sniff of the strawberries. If you notice a strong, unpleasant odor, it’s a sign that they have gone bad and should be discarded.
- Texture: Gently squeeze a strawberry. If it feels mushy or excessively soft, it is likely overripe and may not be suitable for consumption.
If you notice any signs of spoilage during the inspection, it’s best to discard the affected strawberries to avoid any potential health risks.
It’s important to note that even with proper storage, strawberries have a relatively short shelf life. Therefore, it’s advisable to consume them within a few days to enjoy their optimal flavor and texture.
By following these steps and checking for spoilage, you can ensure that your stored strawberries are in good condition and ready to be enjoyed.
Conclusion
Properly storing cleaned strawberries is essential to maintain their freshness, flavor, and quality. By following the steps outlined in this article, you can ensure that your strawberries stay in prime condition for longer periods, allowing you to enjoy them to the fullest.
Gathering the necessary supplies, assessing the condition of the strawberries, rinsing them properly, and patting them dry are crucial steps to prepare them for storage. Storing the strawberries in an airtight container and refrigerating them at the appropriate temperature will help slow down the ripening process and prevent spoilage.
Before consuming the stored strawberries, it’s important to check for any signs of spoilage such as mold, significant discoloration, or unpleasant odor. If any strawberries show these signs, it’s best to discard them to avoid any potential health risks.
Remember, strawberries have a relatively short shelf life even with proper storage. It’s best to consume them within a few days to enjoy their optimal taste and texture.
By following these guidelines, you can confidently store your cleaned strawberries, knowing that they will remain fresh and ready to be enjoyed in various recipes or as a delightful snack.
So go ahead, store your strawberries with care, and savor the deliciousness they bring to your meals and desserts.
Frequently Asked Questions about How To Store Cleaned Strawberries
Was this page helpful?
At Storables.com, we guarantee accurate and reliable information. Our content, validated by Expert Board Contributors, is crafted following stringent Editorial Policies. We're committed to providing you with well-researched, expert-backed insights for all your informational needs.


0 thoughts on “How To Store Cleaned Strawberries”