
Articles
How To Store Chocolate Strawberries
Modified: August 28, 2024
Learn how to store chocolate strawberries with these helpful articles. Keep your strawberries fresh and delicious for longer!
(Many of the links in this article redirect to a specific reviewed product. Your purchase of these products through affiliate links helps to generate commission for Storables.com, at no extra cost. Learn more)
Introduction
Welcome to the delightful world of chocolate-covered strawberries! These luxurious treats are the perfect blend of sweet, juicy fruit and rich, velvety chocolate. Whether you’re celebrating a special occasion or simply indulging in a sweet treat, knowing how to store chocolate strawberries properly is essential to ensure their freshness and taste.
Creating your own chocolate-covered strawberries is a fun and rewarding experience. The process involves dipping fresh strawberries into melted chocolate and allowing them to cool and harden. However, once you’ve mastered the art of making these delectable treats, it’s important to know how to store them correctly to maintain their quality and flavor.
In this article, we’ll guide you through the steps of preparing and storing chocolate strawberries, ensuring that you can enjoy them for as long as possible. So, let’s gather the ingredients, grab our equipment, and get ready to make and store some mouthwatering chocolate-covered strawberries!
Key Takeaways:
- Indulge in the art of creating and storing chocolate-covered strawberries with high-quality ingredients, creative decorations, and proper storage techniques for a delightful and long-lasting treat.
- Master the process of preparing, dipping, decorating, and storing chocolate strawberries to enjoy the perfect blend of juicy fruit and decadent chocolate, ensuring their freshness and flavor for any occasion.
Ingredients
Before you begin the process of making and storing chocolate strawberries, let’s gather all the ingredients you’ll need. Here’s what you’ll require:
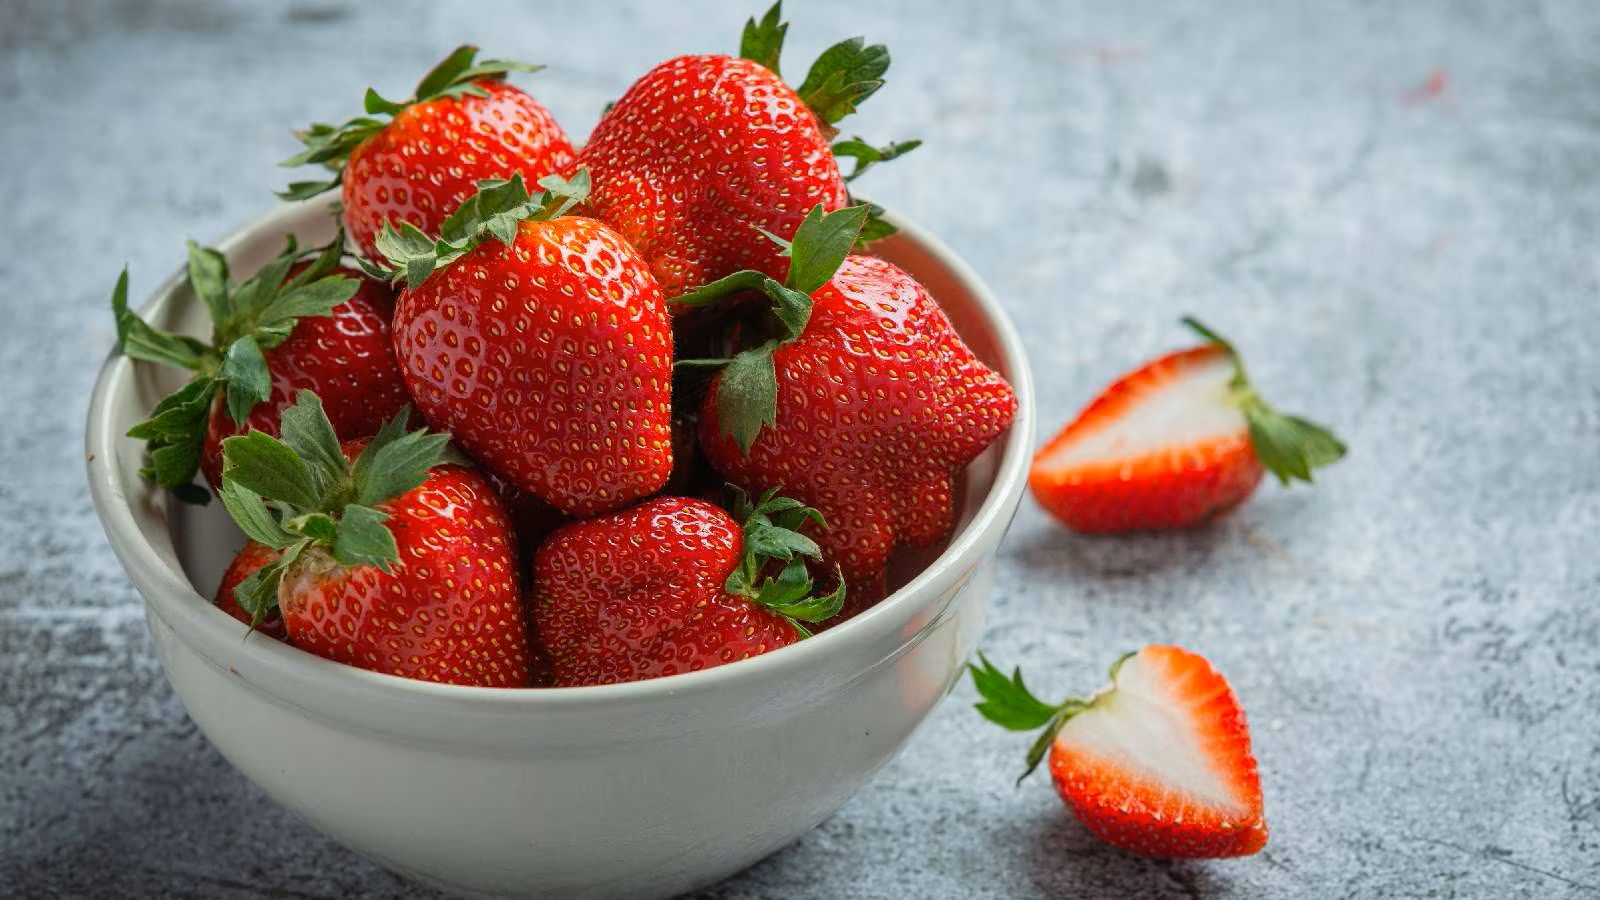
- Fresh strawberries – Choose strawberries that are ripe, firm, and free from any blemishes.
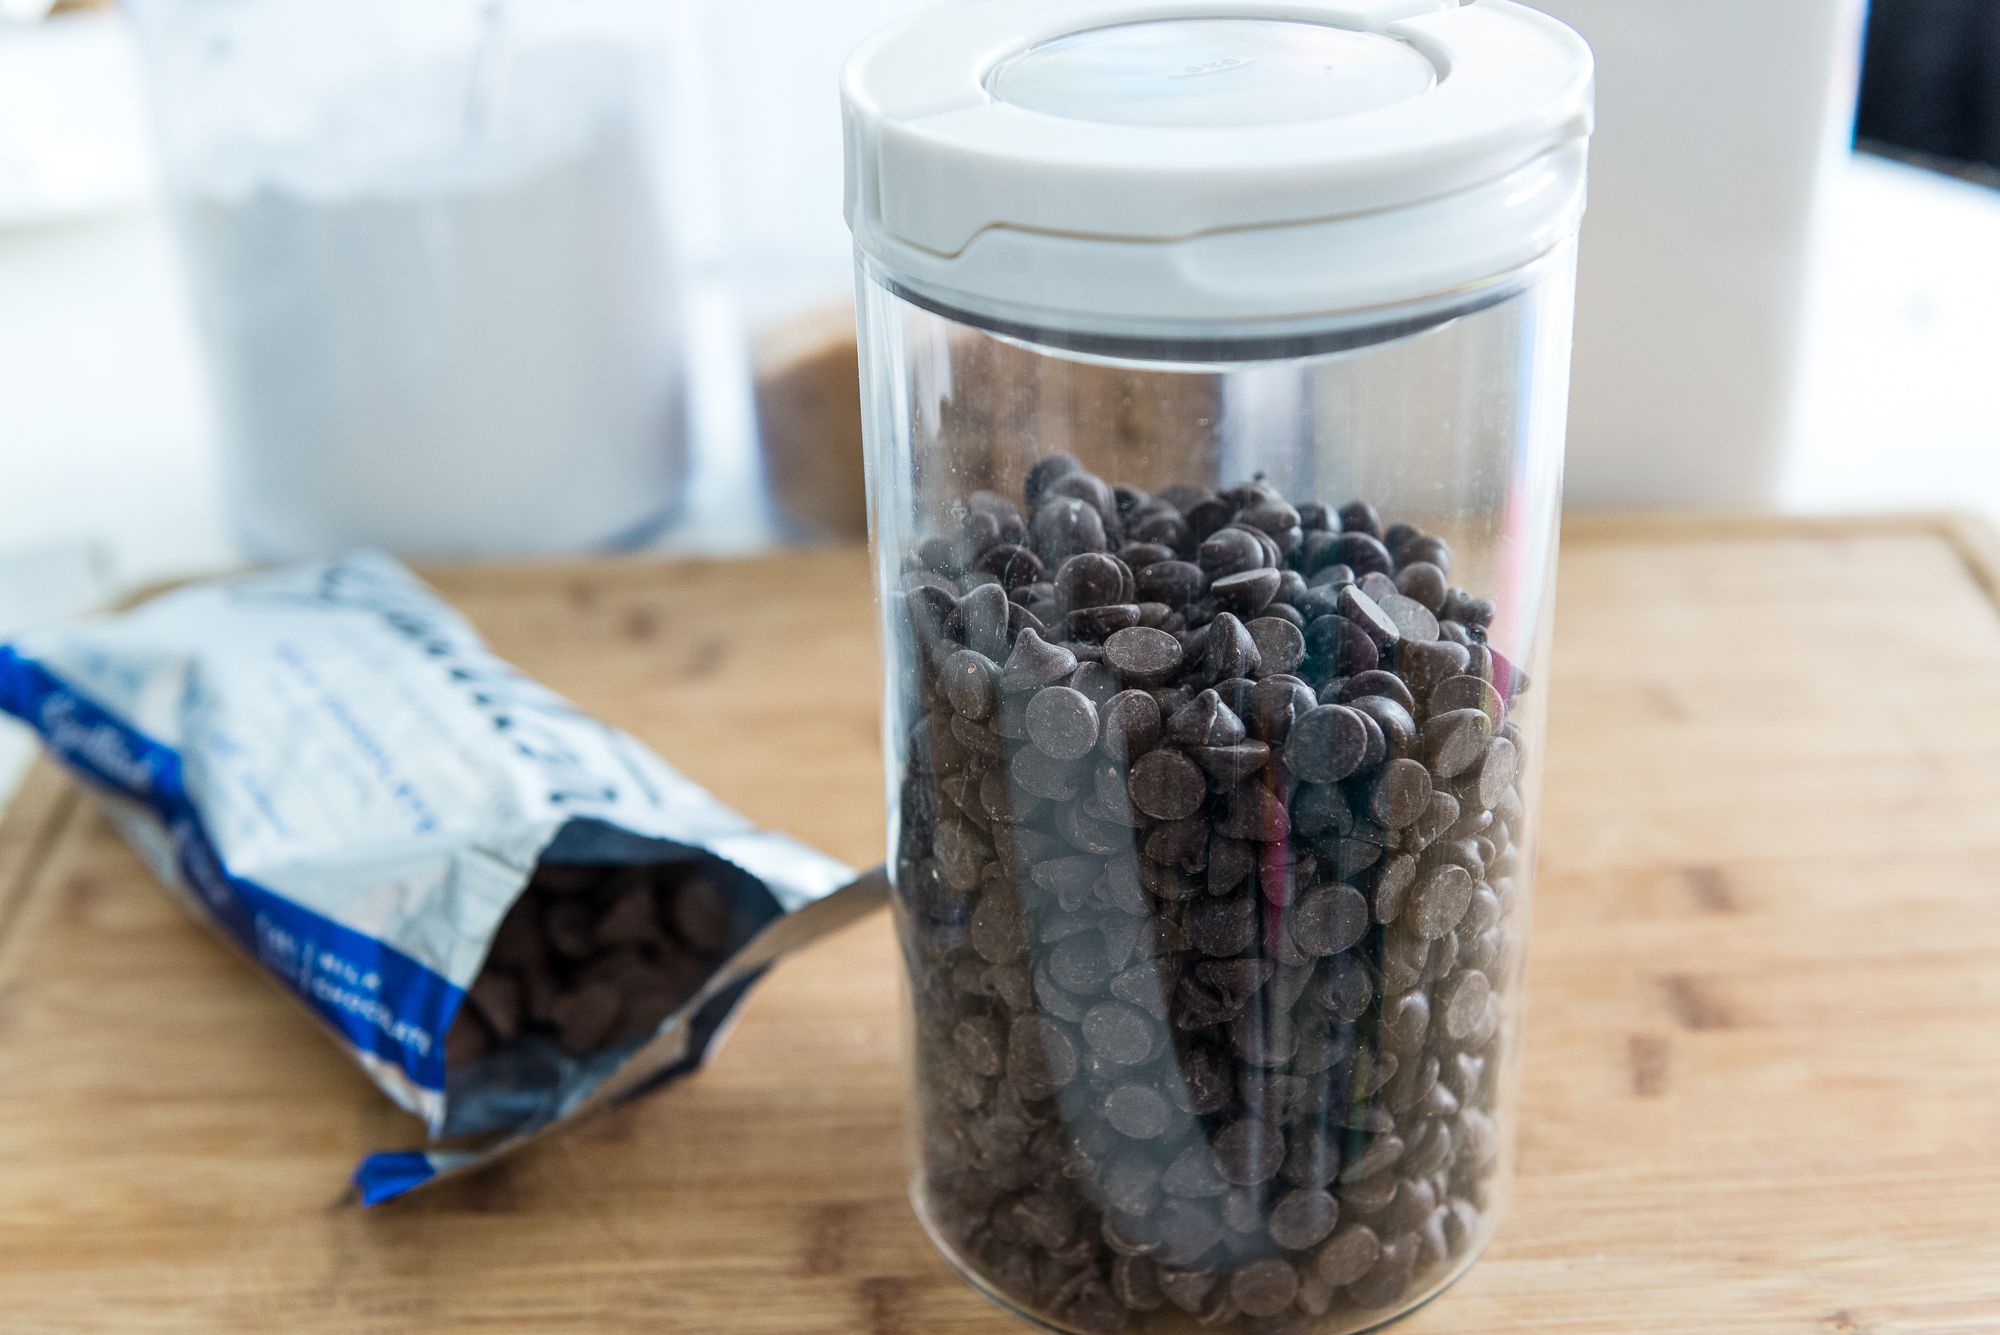
- High-quality chocolate – Opt for good-quality chocolate, such as dark, milk, or white chocolate, based on your preference. You can use chocolate chips or bars, but make sure it is meant for melting and dipping.
- Optional toppings – You can add an extra touch of flavor and decoration by using crushed nuts, sprinkles, shredded coconut, or any other toppings of your choice.
That’s it! With just a few simple ingredients, you’re on your way to creating tantalizing chocolate-covered strawberries.
Now that you have your ingredients ready, let’s move on to the next section to check out the equipment you’ll need for the process.
Equipment Needed
To create and store chocolate strawberries, you’ll need a few essential tools and equipment. Don’t worry; you probably have most of these items in your kitchen already. Here’s what you’ll need:
- Baking sheet or tray – Use a baking sheet or tray lined with parchment paper or a silicone mat to place the dipped strawberries for cooling and hardening.
- Double boiler or microwave-safe bowl – A double boiler or a microwave-safe bowl is crucial for melting the chocolate. If using a microwave, make sure the bowl is microwave-safe and can withstand the heat.
- Heat-resistant spatula or spoon – A heat-resistant spatula or spoon is essential for stirring and dipping the strawberries into the melted chocolate.
- Optional: Candy thermometer – If you want to ensure that the chocolate is at the ideal temperature, you can use a candy thermometer to monitor it. However, this is not necessary.
- Airtight container or storage box – Once the strawberries are dipped and decorated, you’ll need an airtight container or storage box to keep them fresh during storage.
That’s it! With these simple tools, you’re all set to begin creating and storing your chocolate-covered strawberries.
Now that you have your ingredients and equipment ready, let’s dive into the step-by-step process of preparing and storing the chocolate strawberries.
Step 1: Preparing the Strawberries
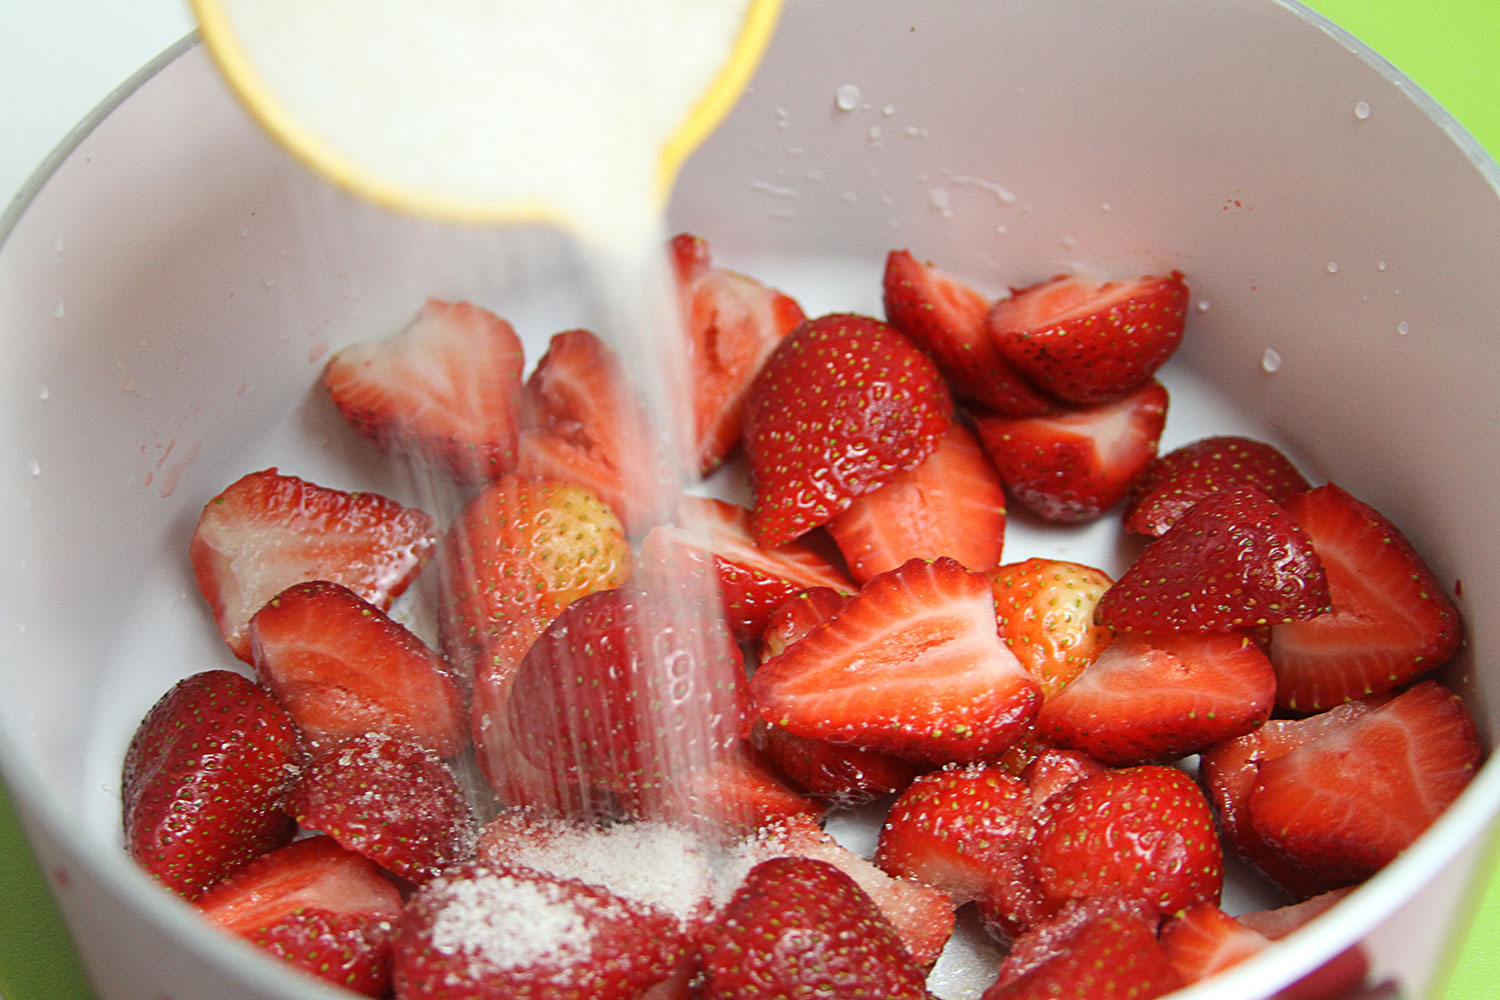
The first step in creating delicious chocolate strawberries is to properly prepare the strawberries. Follow these simple steps to ensure that your strawberries are washed, dried, and ready for dipping:
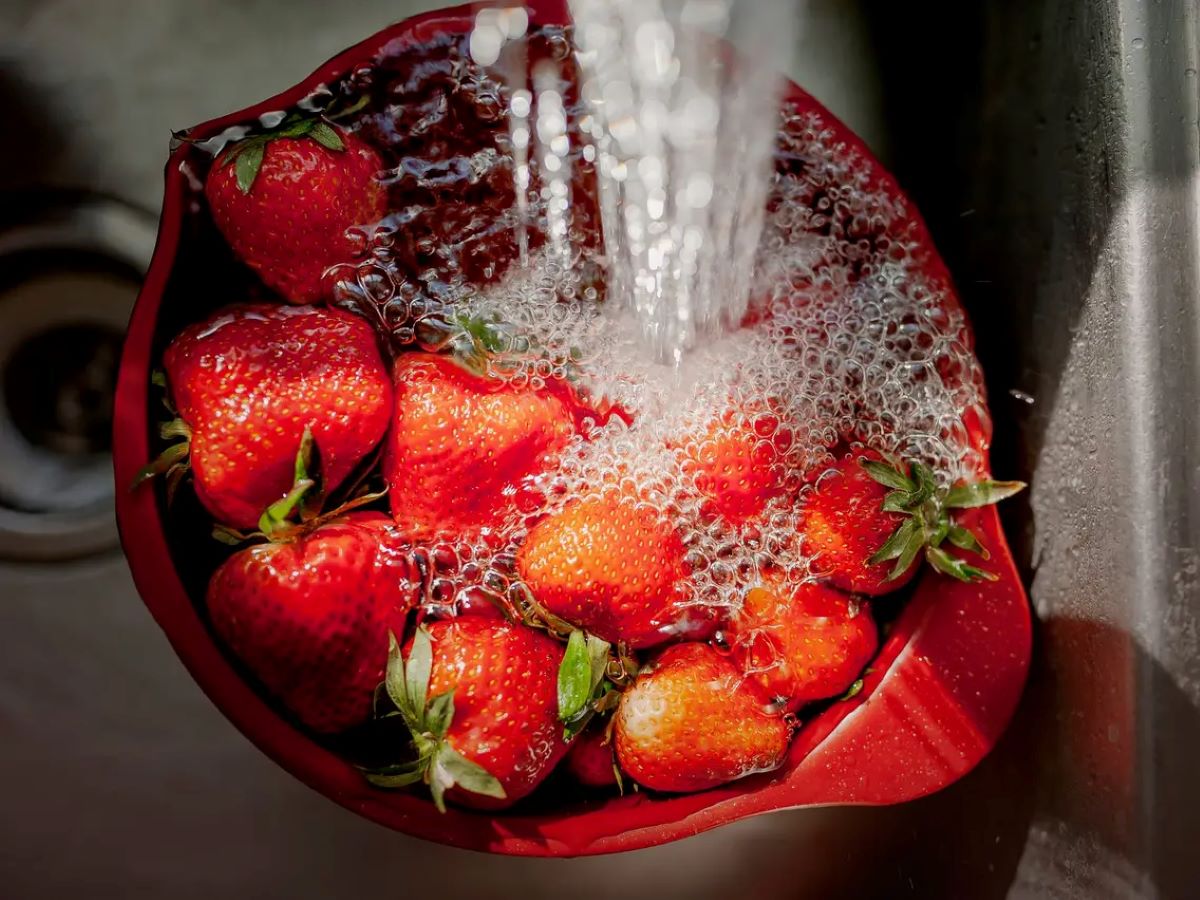
- Wash the strawberries: Rinse the strawberries gently under cool water to remove any dirt or debris. Pat them dry with a paper towel or a clean kitchen towel.
- Remove the stems: Using a small knife or a strawberry huller, carefully remove the green stems from the strawberries. Be sure not to remove too much of the strawberry flesh.
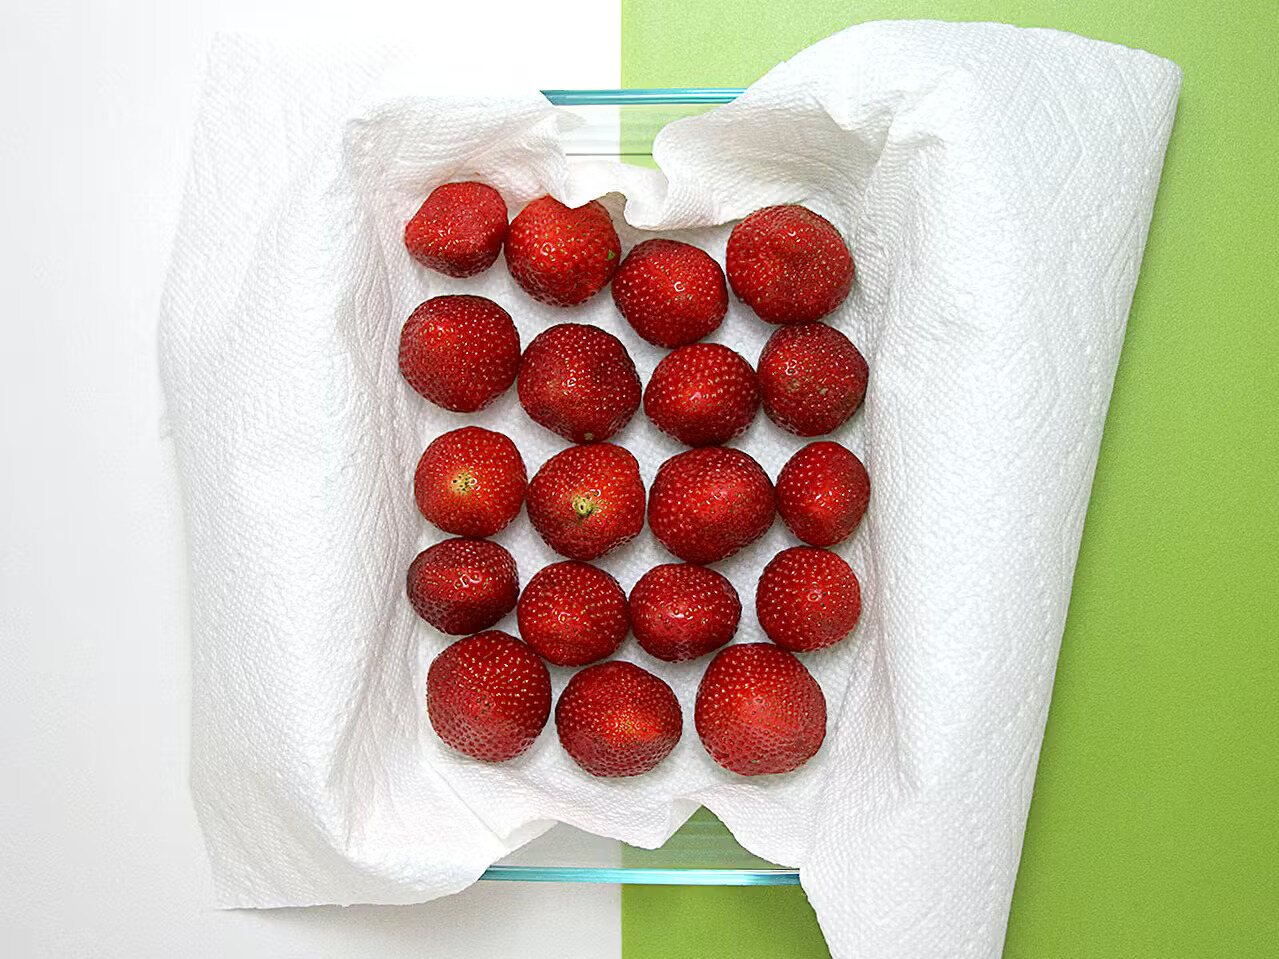
- Dry the strawberries: Place the strawberries on a paper towel and allow them to air dry completely. It’s important to remove any excess moisture from the strawberries to prevent the chocolate from seizing or becoming watery during the dipping process.
Once the strawberries are washed, stem-free, and completely dry, you’re now ready to move on to the next step: melting the chocolate.
Keep in mind that it’s best to prepare the strawberries just before you’re ready to dip them in chocolate. This helps to maintain their freshness and prevents them from becoming too soft or mushy.
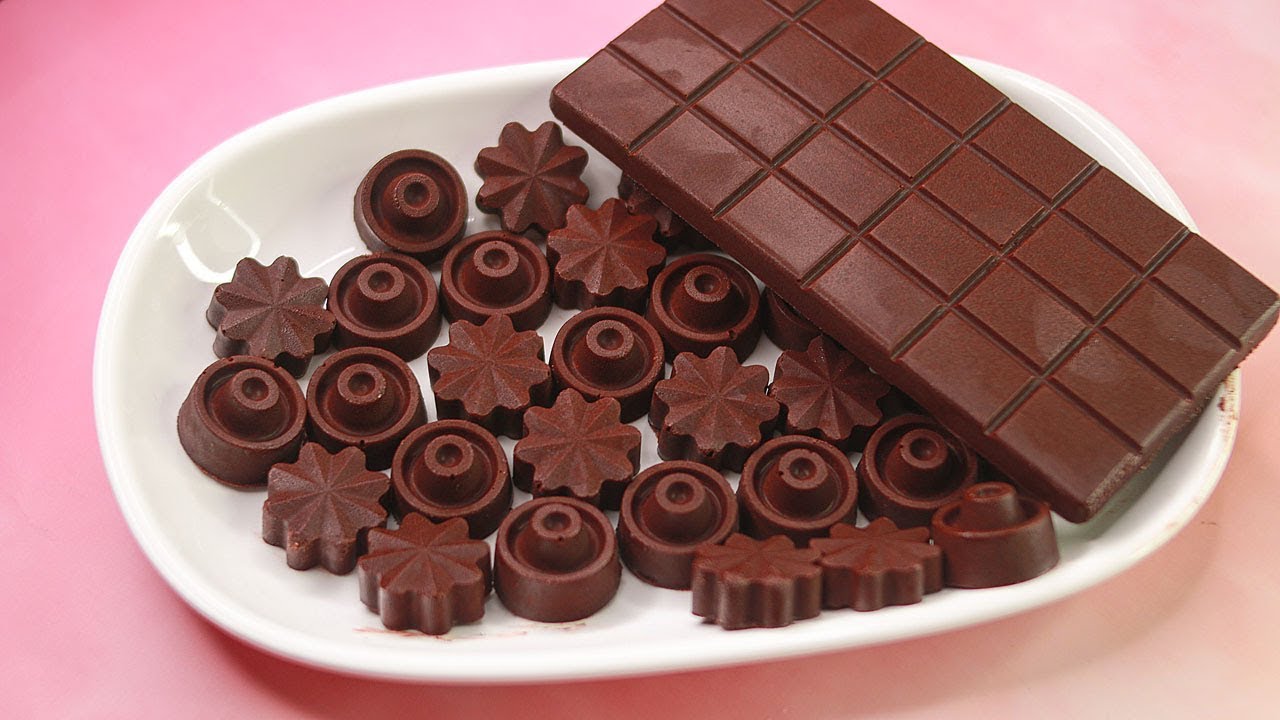
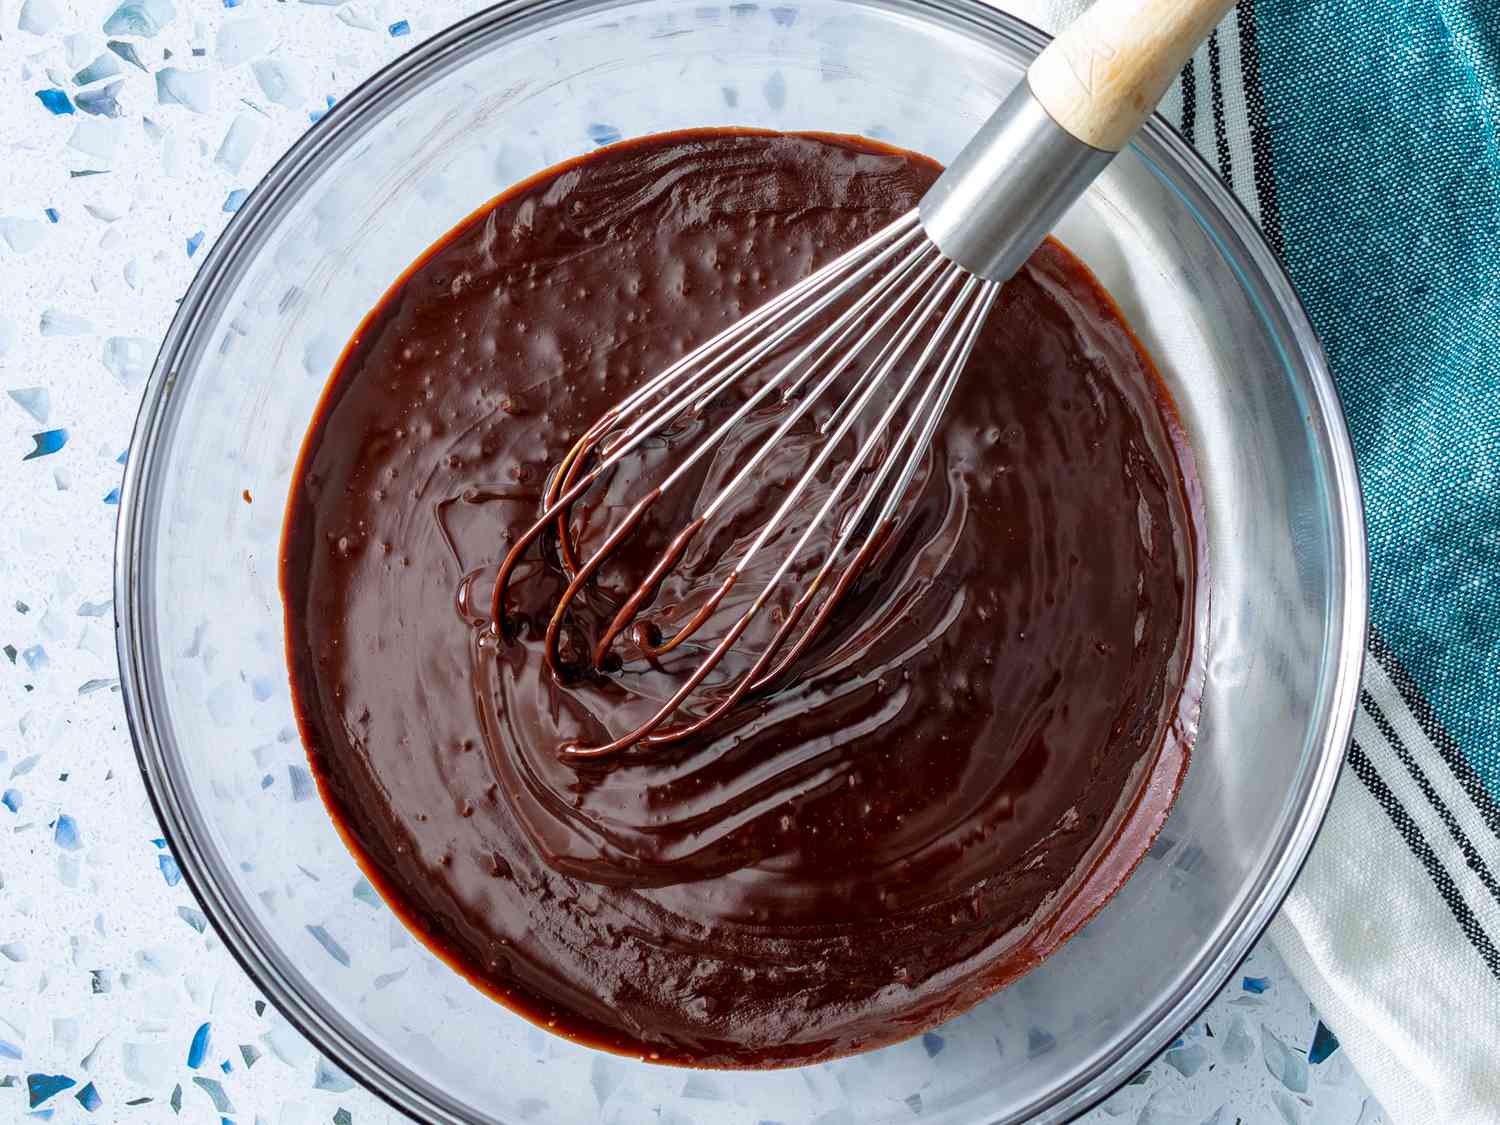
Step 2: Melting the Chocolate
Now that your strawberries are prepared, it’s time to melt the chocolate. Follow these steps to achieve smooth, melted chocolate for dipping:
- Break the chocolate: If you’re using chocolate bars, break them into small, evenly sized pieces. This allows for easier and more even melting. If you’re using chocolate chips, you can skip this step.
- Double boiler method: Fill a saucepan with a small amount of water and place it over low heat. Place a heat-safe bowl on top of the saucepan, ensuring that the bottom of the bowl does not touch the water. Add the chocolate pieces to the bowl and stir occasionally with a heat-resistant spatula or spoon until the chocolate is completely melted and smooth. Be careful not to overheat the chocolate, as it can scorch or seize.
- Microwave method: Place the chocolate pieces in a microwave-safe bowl. Microwave the chocolate in short intervals of 15-20 seconds, stirring well after each interval. Continue microwaving and stirring until the chocolate is fully melted and smooth. Be cautious not to overheat the chocolate, as it can burn easily.
- Optional: Use a candy thermometer to check the temperature of the chocolate. The ideal temperature for dipping strawberries is around 88°F (31°C) for dark chocolate and 84°F (29°C) for milk or white chocolate. This ensures that the chocolate will coat the strawberries smoothly and set properly.
Remember to handle the melted chocolate with care, as it can be hot. Stir the chocolate gently to avoid incorporating air bubbles and maintain its smooth texture.
Once the chocolate is melted to perfection, it’s time to move on to the next step: dipping the strawberries.
Store chocolate strawberries in the refrigerator on a parchment-lined tray to prevent sticking. Keep them in an airtight container for up to 2 days for the best taste and texture.
Read more: How To Store Melted Chocolate
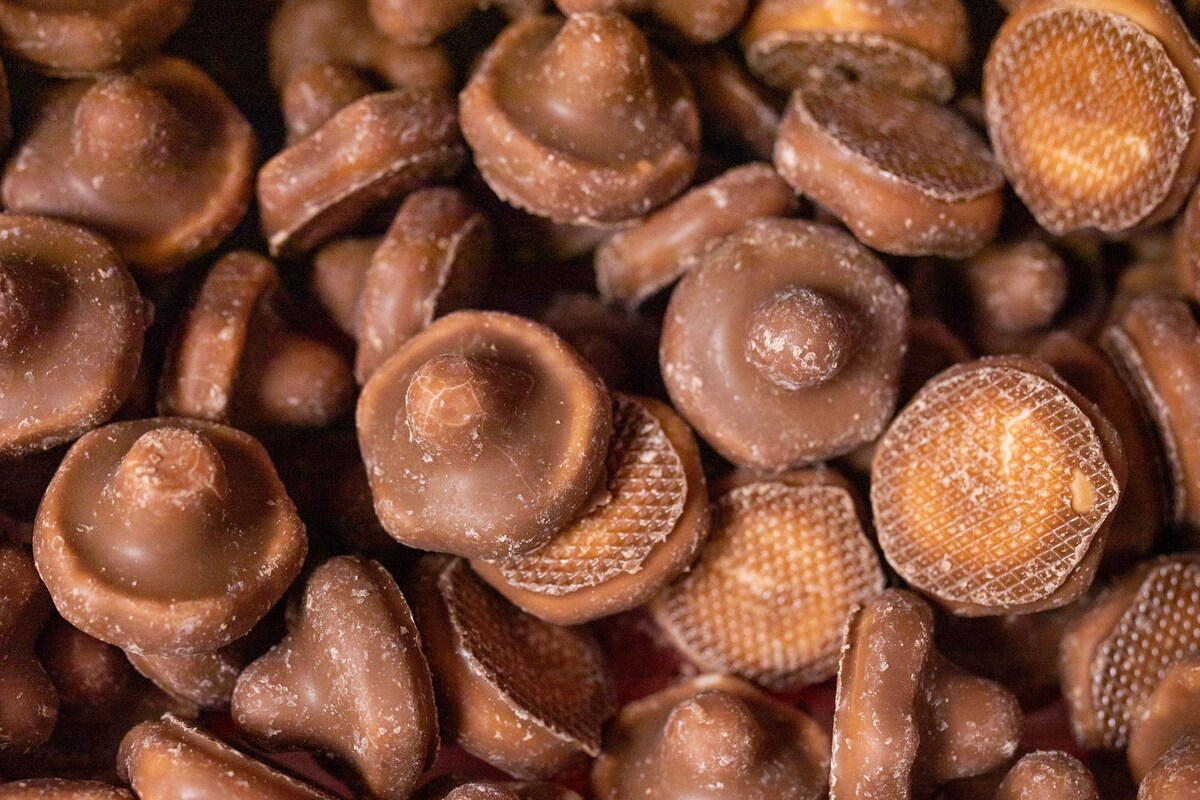
Step 3: Dipping the Strawberries
With your melted chocolate ready, it’s time to dip the prepared strawberries. Follow these steps to achieve perfectly coated chocolate strawberries:
- Hold the strawberry by its stem or use a toothpick: There are a few ways to hold the strawberry while dipping. You can either hold it gently by the stem or insert a toothpick into the top of the strawberry for easier dipping and handling. Choose the method that feels more comfortable for you.
- Dip the strawberry: Take one strawberry and carefully dip it into the melted chocolate. Submerge it fully, coating it up to the base of the stem or toothpick. Swirl the strawberry gently to ensure even coating and allow any excess chocolate to drip off.
- Place the dipped strawberry: Once the strawberry is coated, place it on a baking sheet or tray lined with parchment paper or a silicone mat. Arrange the strawberries with a little space between them to prevent sticking.
- Repeat with the remaining strawberries: Dip and coat the remaining strawberries using the same process. If the chocolate begins to thicken or harden during the dipping process, gently reheat it using the double boiler or microwave method.
Remember to work efficiently while dipping the strawberries, as the chocolate may harden quickly. If desired, you can also sprinkle or decorate the strawberries with optional toppings at this stage, while the chocolate is still wet.
Once all the strawberries are dipped and decorated, it’s time to move on to the next step: storing the chocolate strawberries.
Step 4: Decorating the Strawberries
Now that you’ve successfully dipped the strawberries in luscious melted chocolate, it’s time to add those final decorative touches. Here are some creative ideas for decorating your chocolate-covered strawberries:
- Drizzle: Melt contrasting chocolate (such as white chocolate if you used dark chocolate for dipping) and drizzle it over the strawberries using a spoon or a piping bag with a small opening. This adds a beautiful visual element to the strawberries.
- Sprinkles: Sprinkle your favorite sprinkles or edible glitter over the freshly dipped strawberries. This adds a pop of color and texture to the chocolate coating.
- Nuts: Roll the chocolate-covered strawberries in chopped nuts, such as almonds or pistachios. This provides a delightful crunch and adds a touch of nuttiness to the flavor.
- Shredded coconut: Roll the strawberries in shredded coconut to give them a tropical twist. This adds a sweet and chewy texture to the chocolate coating.
- Edible flowers: Place edible flowers, such as pansies or rose petals, on top of the chocolate coating. This adds an elegant and decorative element to the strawberries.
Feel free to get creative with your decorations and experiment with different toppings and flavors. The possibilities are endless!
Once the strawberries are beautifully decorated, it’s time to move on to the final step: storing the chocolate strawberries to maintain their freshness.
Step 5: Storing the Chocolate Strawberries
After all the hard work of creating and decorating your chocolate-covered strawberries, it’s important to store them correctly to maintain their freshness and flavor. Follow these guidelines to ensure that your chocolate strawberries stay delicious:
- Cool and harden the chocolate: Allow the chocolate-coated strawberries to cool and harden completely at room temperature. This usually takes about 30 minutes to an hour, depending on the ambient temperature.
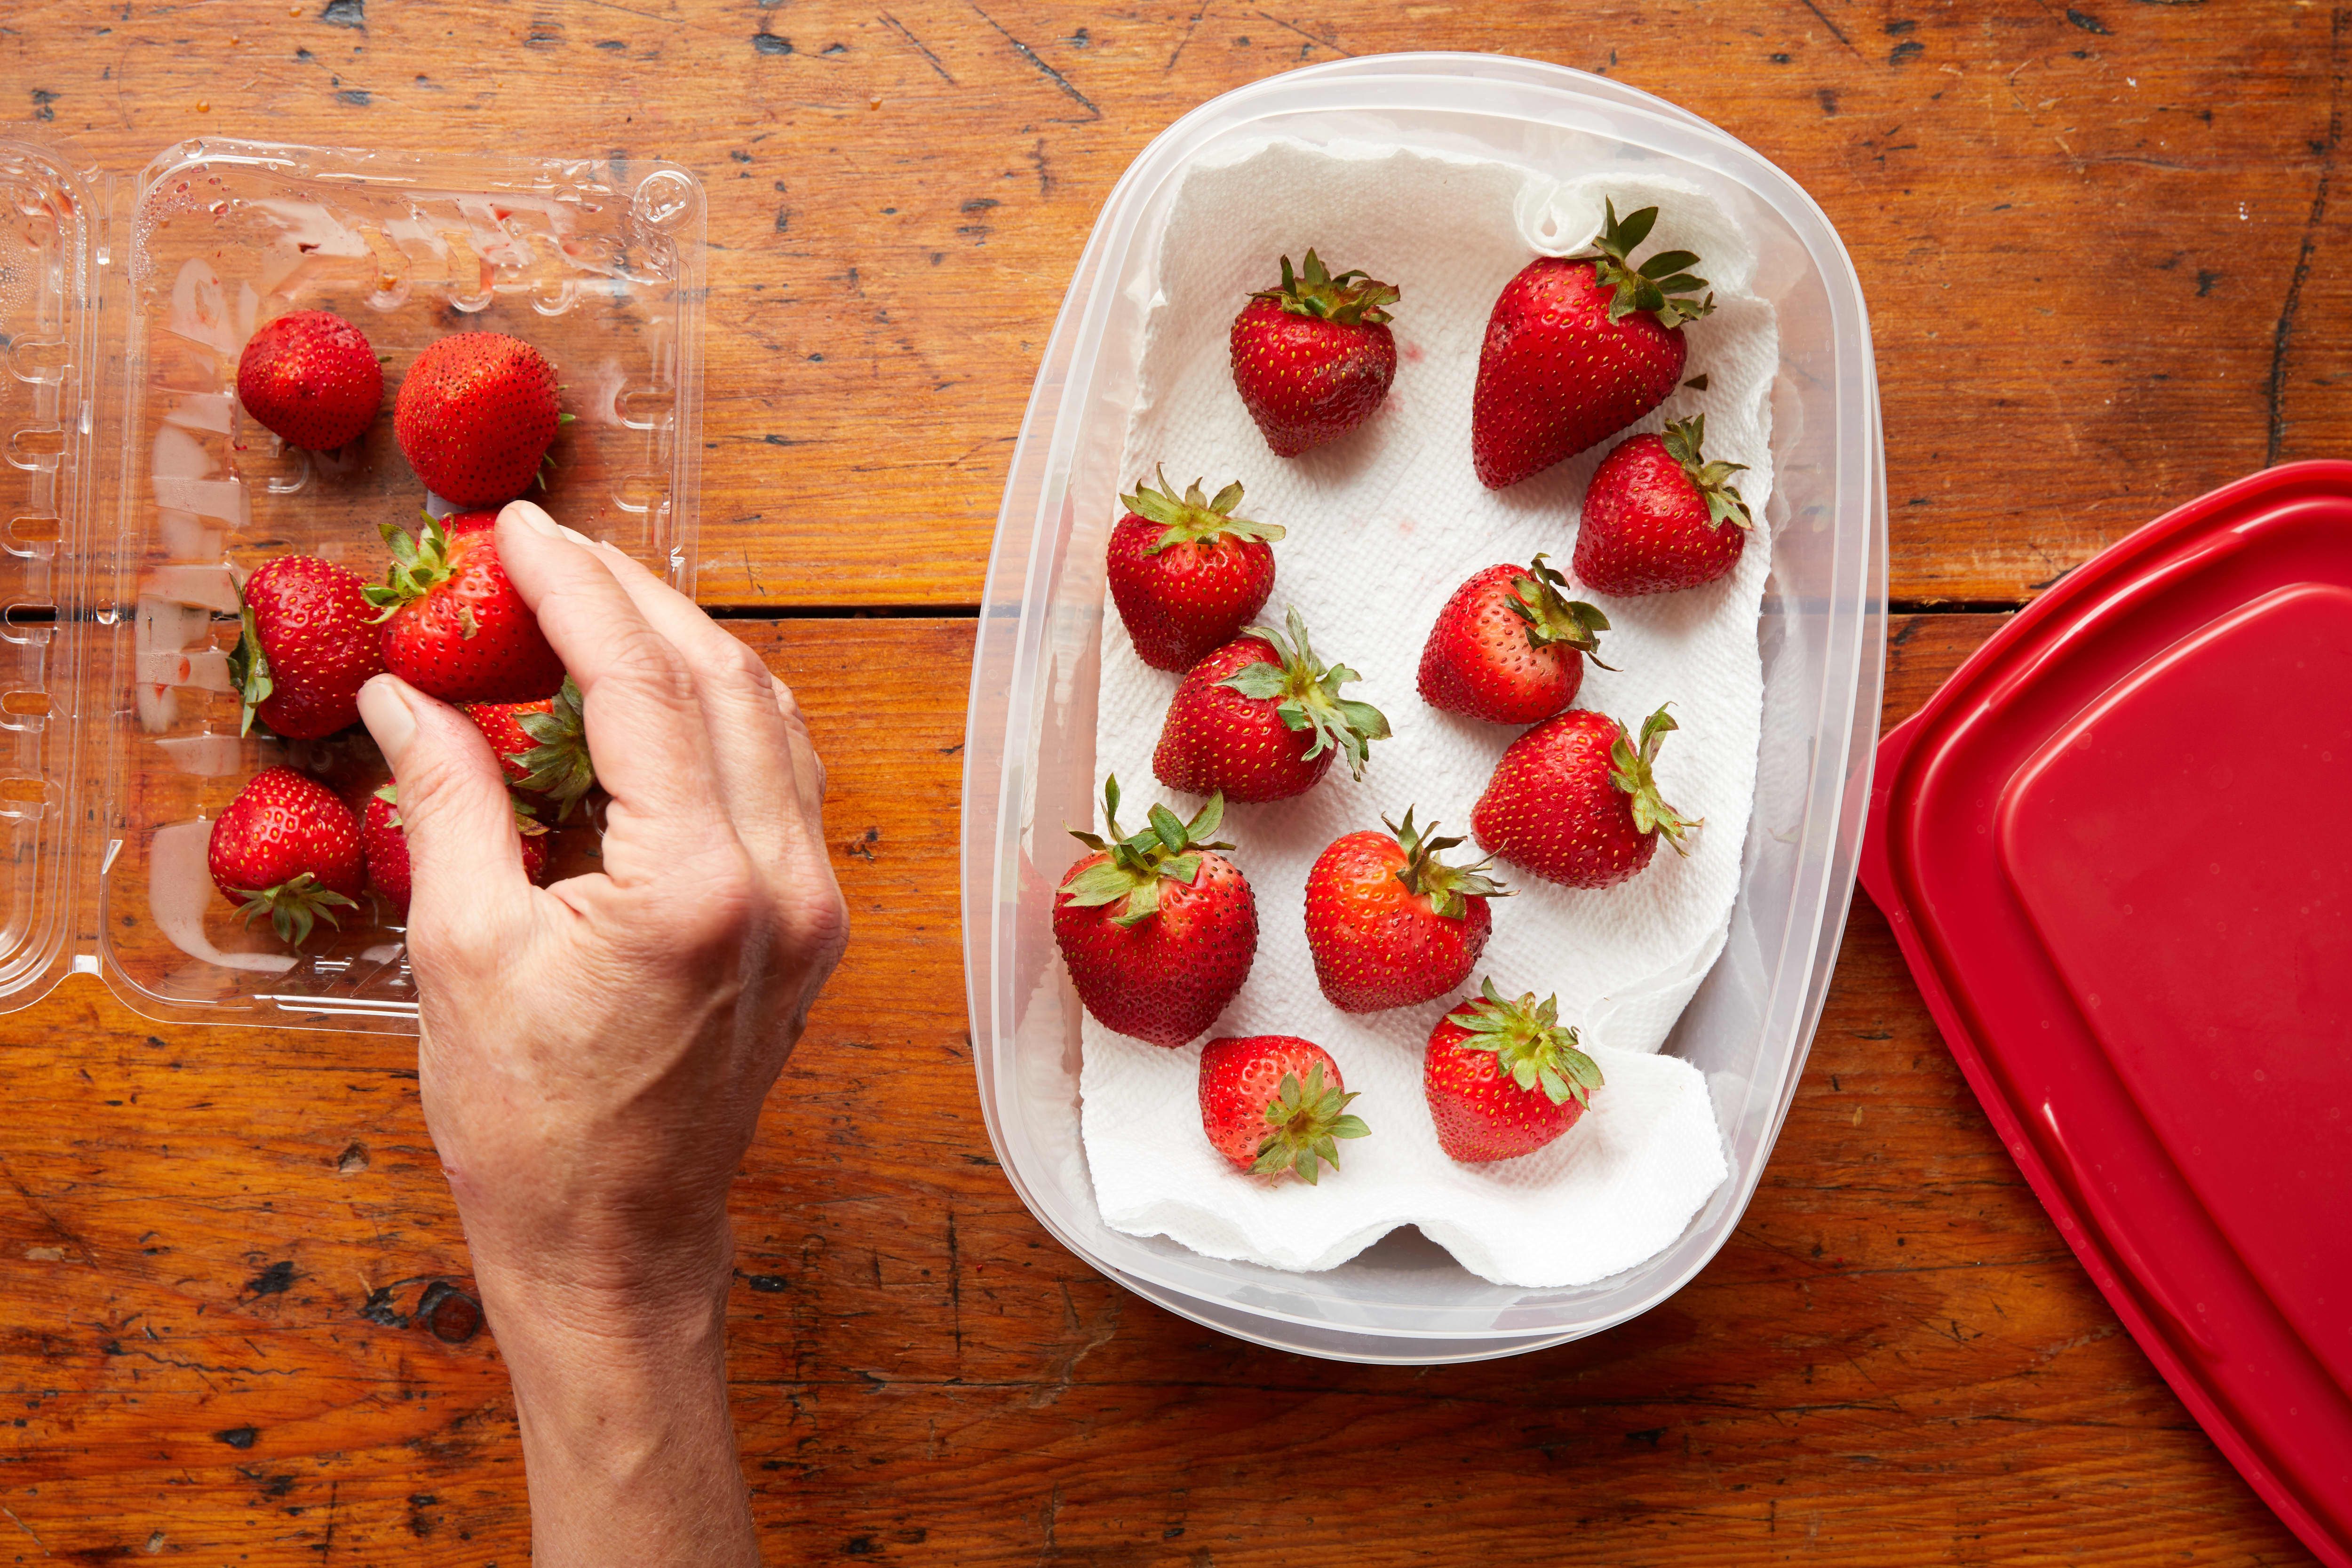
- Refrigerate for short-term storage: If you plan to consume the strawberries within 1-2 days, store them in an airtight container or storage box in the refrigerator. This helps to prolong their freshness and prevents the chocolate from melting. However, keep in mind that refrigeration may cause condensation on the chocolate’s surface. To avoid this, place a paper towel in the container to absorb any excess moisture.
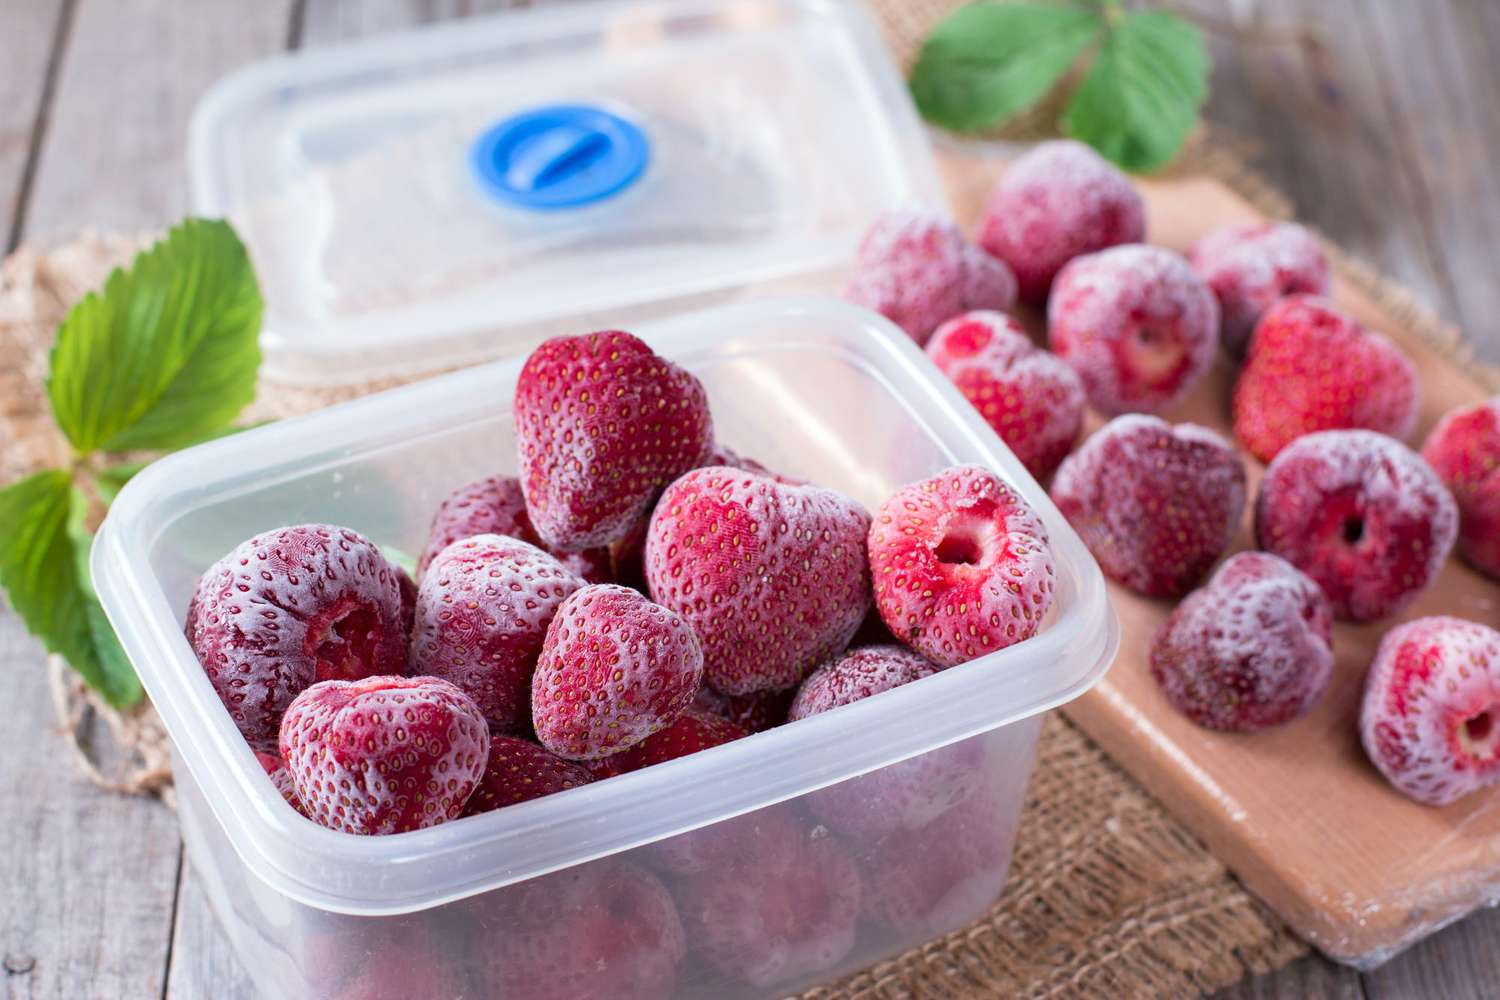
- Freeze for long-term storage: If you want to store the chocolate strawberries for a longer period, freezing is the best option. Place the strawberries in a single layer on a baking sheet and freeze for about an hour. Once frozen, transfer them to an airtight container or freezer bags. They can be stored in the freezer for up to 2 months. To thaw, transfer the frozen strawberries to the refrigerator and allow them to thaw slowly overnight.
- Serve at room temperature: When you’re ready to enjoy your chocolate strawberries, remove them from the refrigerator or freezer and let them come to room temperature for about 15 minutes. This allows the flavors to develop and enhances the eating experience.
Remember, chocolate-covered strawberries are best enjoyed fresh. While they can be stored, their quality may diminish over time. So, try to consume them within a reasonable time frame for the best taste and texture.
Now that you know how to store chocolate strawberries, it’s time to savor the fruits of your labor!
Tips for Long-Term Storage
If you’re looking to store chocolate-covered strawberries for an extended period, here are some additional tips to ensure their longevity and quality:
- Properly wrap them: Before freezing the strawberries, ensure each one is individually wrapped in plastic wrap or placed in a freezer-safe container. This prevents them from sticking together and helps maintain their shape.
- Label and date: When storing in the freezer, it’s helpful to label the container or freezer bag with the date of preparation. This makes it easier to keep track of their freshness.
- Use airtight containers: Whether storing in the refrigerator or freezer, choose airtight containers or freezer bags to prevent any air exposure. This helps to preserve the texture and prevent freezer burn.
- Avoid moisture exposure: Moisture can cause the chocolate to become soggy or develop mold. Ensure that your storage containers are tightly sealed and protected from any potential moisture sources in the refrigerator or freezer.
- Separate layers: If you need to stack the chocolate-covered strawberries in the storage container, place a layer of parchment paper or wax paper between the layers. This prevents them from sticking together or getting damaged.
- Avoid temperature fluctuations: Temperature fluctuations can affect the texture and taste of the chocolate strawberries. Try to minimize opening and closing the container or freezer to maintain a consistent temperature.
- Consider vacuum sealing: If you have access to a vacuum sealer, it can further prolong the freshness of the chocolate strawberries. Vacuum sealing removes air and helps prevent any potential freezer burn.
By following these tips, you can enjoy your delectable chocolate-covered strawberries even after an extended period of storage.
Now that you’re equipped with the knowledge of storing chocolate strawberries, you can confidently enjoy your homemade treats whenever you crave a bite of sweetness!
Read more: How To Store Chocolate Candy
Conclusion
Congratulations! You’ve now mastered the art of creating and storing chocolate-covered strawberries. By following the steps outlined in this article, you can enjoy the perfect blend of juicy fruit and decadent chocolate, all while ensuring their freshness and flavor.
From preparing the strawberries to melting the chocolate, dipping, decorating, and storing them, each step is crucial in creating delectable chocolate strawberries. Remember to choose high-quality ingredients, use the right equipment, and personalize your creations with creative decorations and toppings.
Whether you’re indulging in these treats for yourself or sharing them with others, the satisfaction of making your own chocolate strawberries is unmatched. With proper storage techniques, you can enjoy them for a few days in the refrigerator or even freeze them for longer-term enjoyment.
So, why not whip up a batch of chocolate strawberries for your next special occasion, dessert table, or as a thoughtful gift? They are sure to impress and tantalize your taste buds.
Now that you have all the knowledge and tips needed, it’s time to embark on your chocolate strawberry adventure. Have fun, get creative, and enjoy every bite of these delightful treats!
Frequently Asked Questions about How To Store Chocolate Strawberries
Was this page helpful?
At Storables.com, we guarantee accurate and reliable information. Our content, validated by Expert Board Contributors, is crafted following stringent Editorial Policies. We're committed to providing you with well-researched, expert-backed insights for all your informational needs.


0 thoughts on “How To Store Chocolate Strawberries”