
Articles
How To Store Cooked Shrimp
Modified: May 6, 2024
Learn the best methods for storing cooked shrimp to maintain its freshness and flavor. Read our informative articles for expert tips and techniques.
(Many of the links in this article redirect to a specific reviewed product. Your purchase of these products through affiliate links helps to generate commission for Storables.com, at no extra cost. Learn more)
Introduction
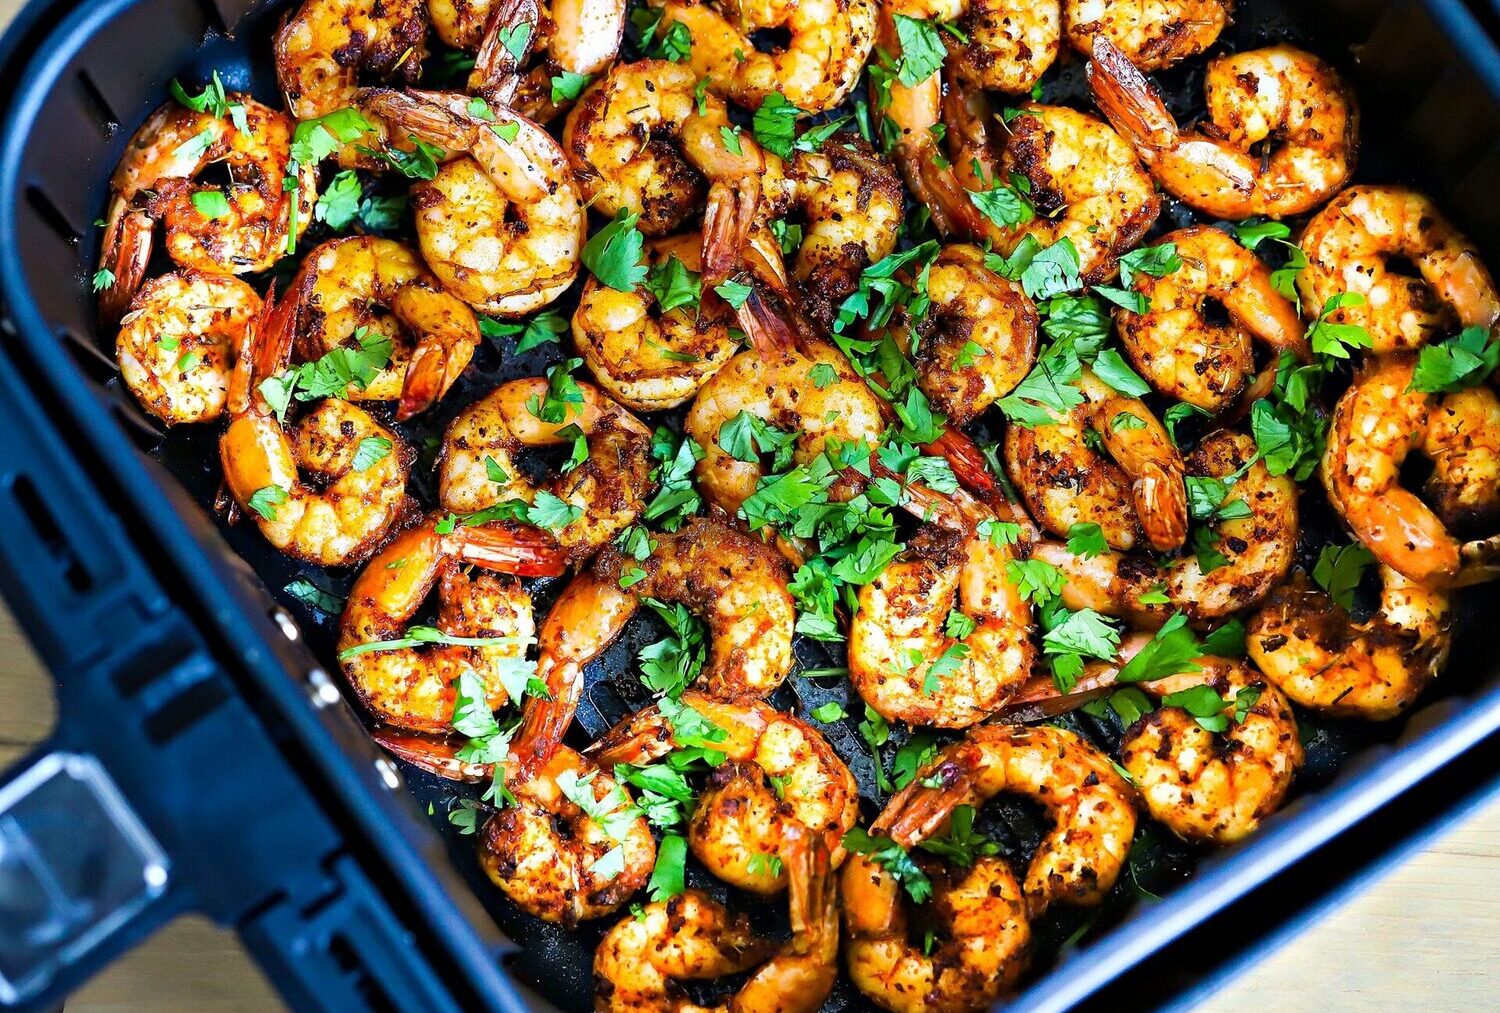
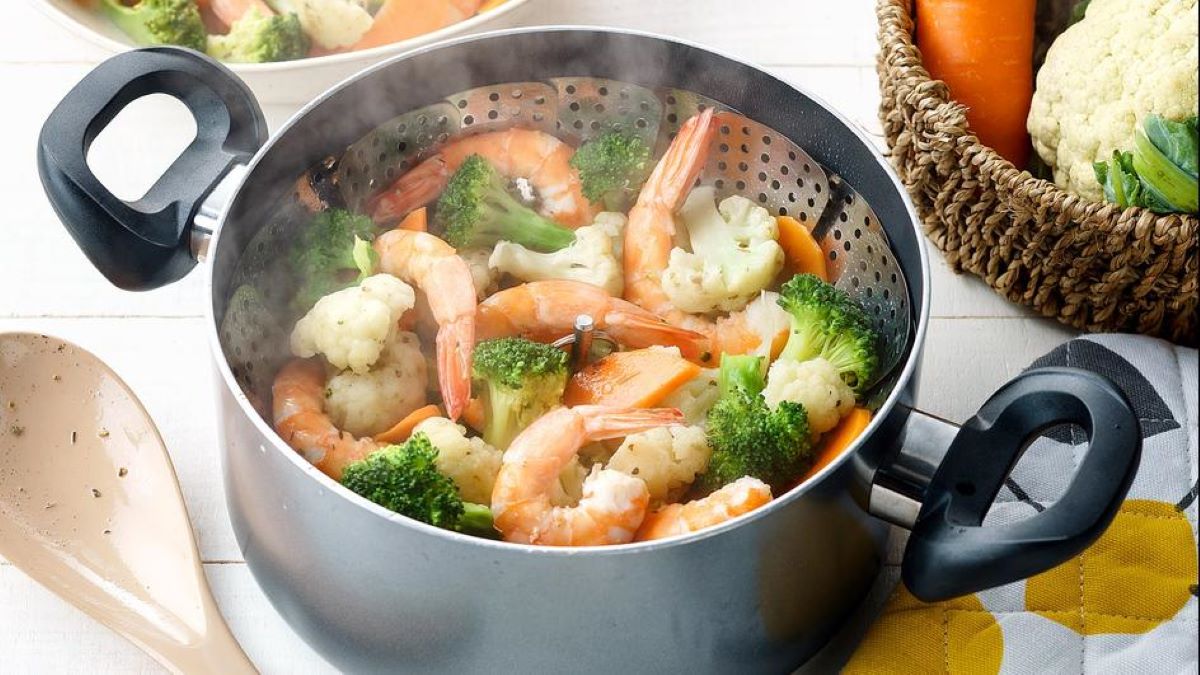
When it comes to preparing a delicious seafood dish, shrimp often takes center stage. Whether it’s grilled, sautéed, or boiled, shrimp is a versatile and flavorful ingredient that can elevate any meal. However, there may be occasions where you have cooked shrimp leftover and need to store it properly to maintain its freshness and taste.
In this article, we will guide you on how to store cooked shrimp to ensure it remains safe and delicious for later consumption. By following these simple steps, you can preserve the quality of your cooked shrimp and enjoy it in various dishes, from salads to pasta or even as a tasty shrimp cocktail.
So, let’s dive in and learn the best practices for storing cooked shrimp!
Key Takeaways:
- Preserve the Flavor: Properly store cooked shrimp by allowing it to cool, choosing an airtight container, and adding moisture if desired. Regularly check for freshness to ensure safe consumption within 3-4 days.
- Enhance Convenience: Consider removing shells and tails before storing cooked shrimp to save space and time. Store in the refrigerator and follow the FIFO method for optimal freshness and safety.
Read more: How To Store Shrimp In Freezer
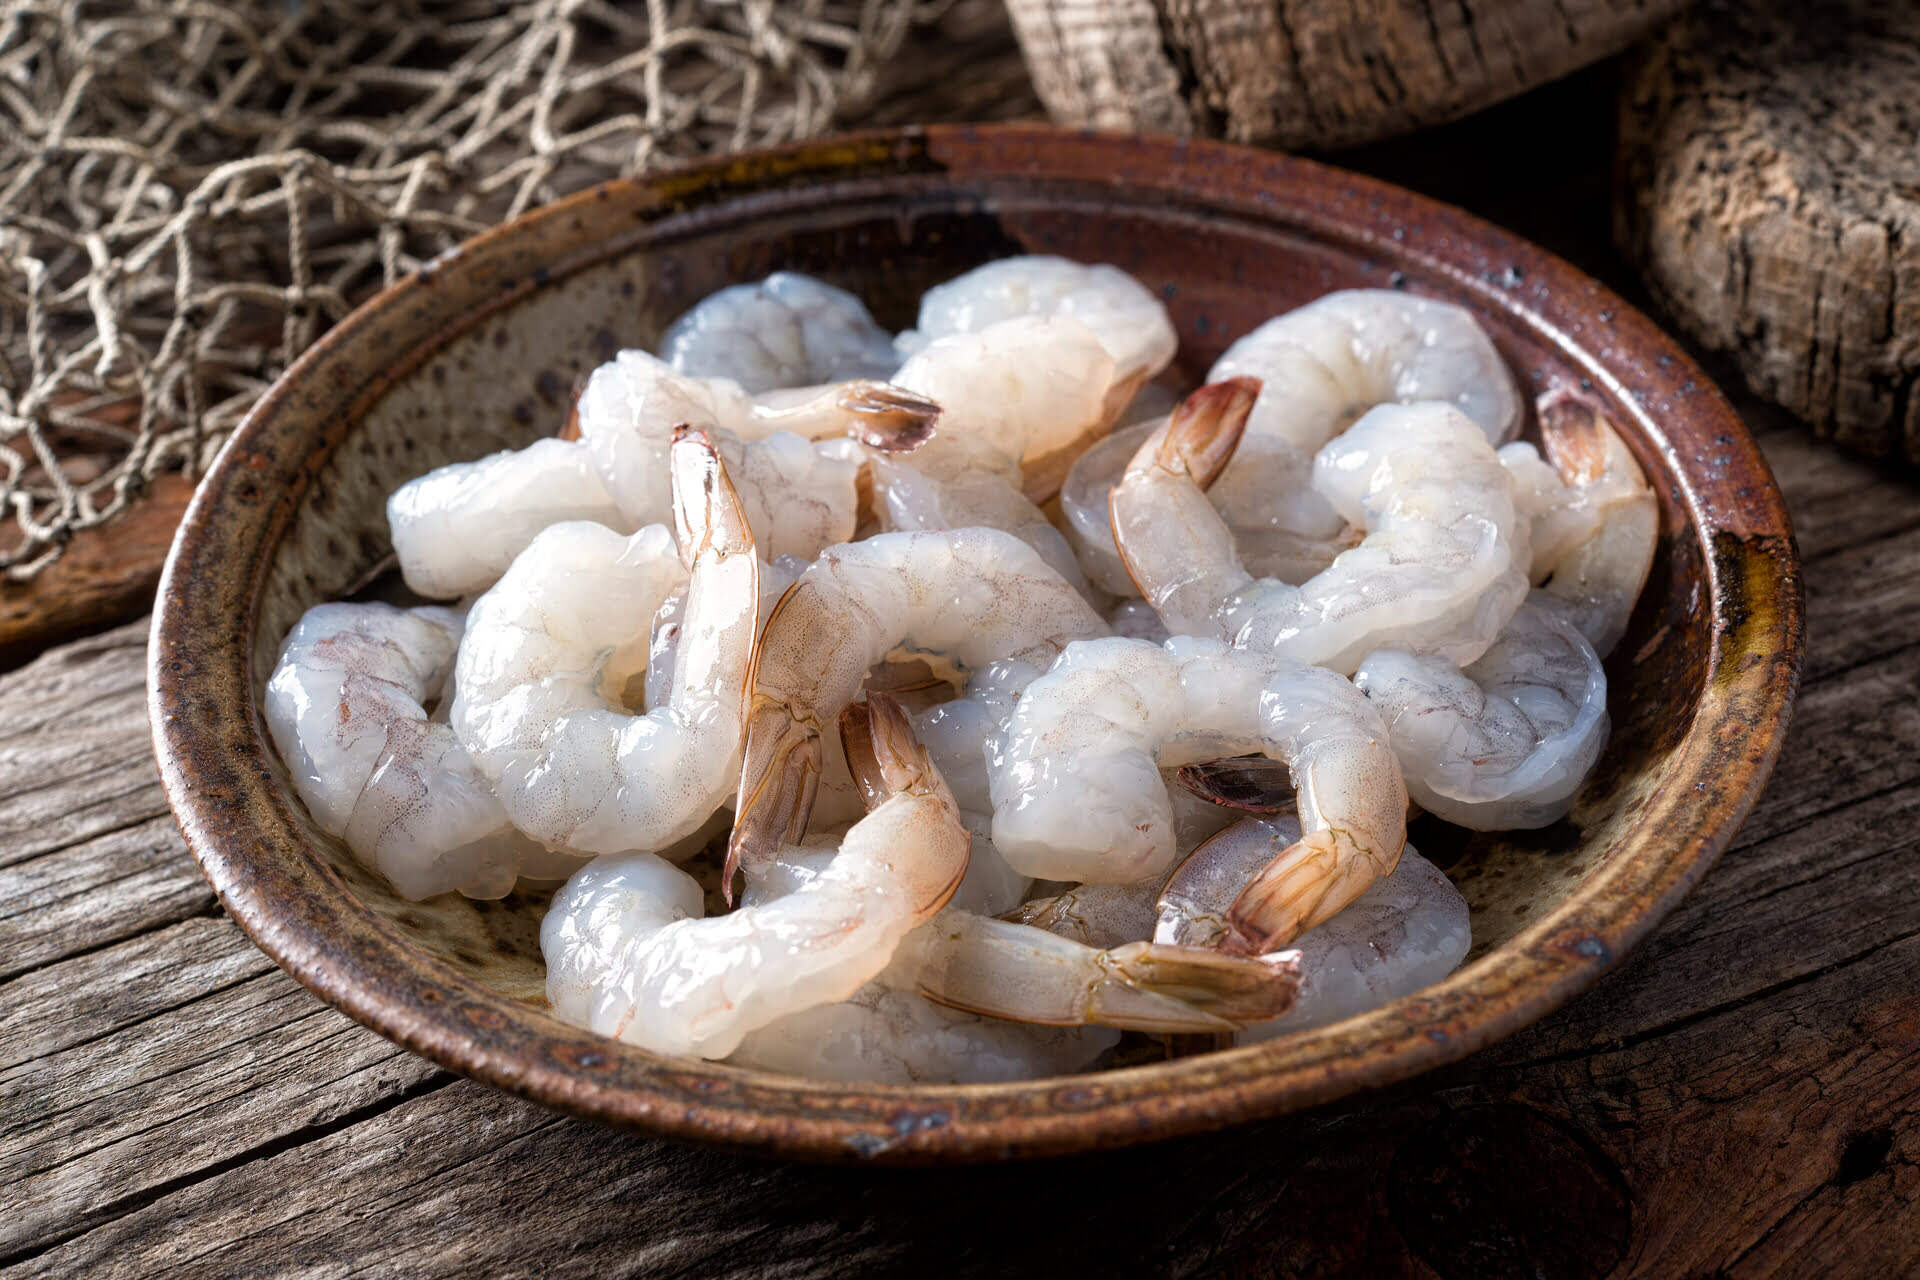
Step 1: Let the Shrimp Cool
After cooking your shrimp, it’s essential to allow it to cool before storing it. Allowing the shrimp to cool naturally helps prevent the growth of bacteria and the risk of foodborne illnesses. When shrimp is cooked, it reaches a high temperature, and if stored while still hot, it can create a breeding ground for bacteria.
To cool the shrimp, transfer it to a clean plate or tray, spreading it out to increase surface area and promote faster cooling. You can also rinse the shrimp with cool water to speed up the cooling process. However, be sure not to leave the shrimp sitting in water for an extended period as it may negatively affect the texture and taste.
Depending on the quantity of shrimp and room temperature, it may take anywhere from 10 to 30 minutes for the shrimp to cool down to room temperature. Once the shrimp is cool to the touch, you can proceed to the next step of the storage process.
By allowing the shrimp to cool thoroughly before storing, you are taking a crucial step in maintaining its quality and reducing the risk of spoilage. This simple precaution can go a long way in preserving the flavor and texture of the cooked shrimp, ensuring a delightful dining experience when you’re ready to enjoy your leftovers.
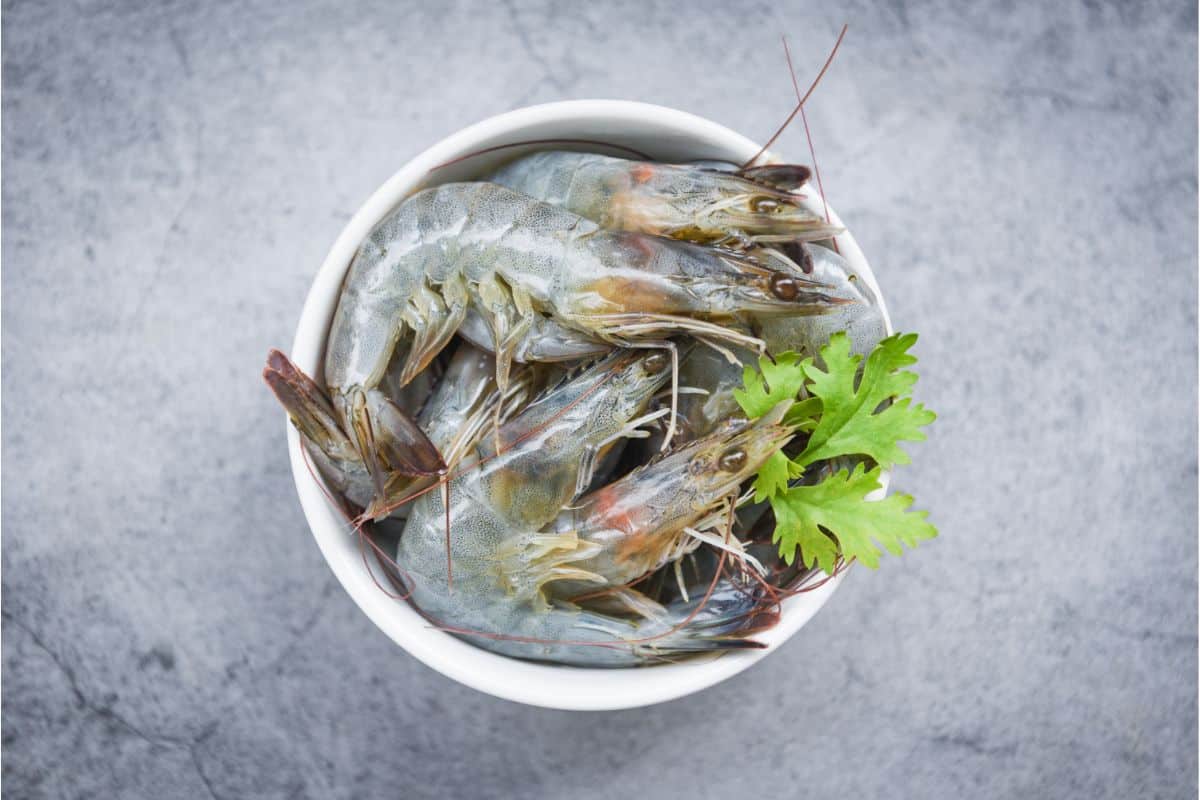
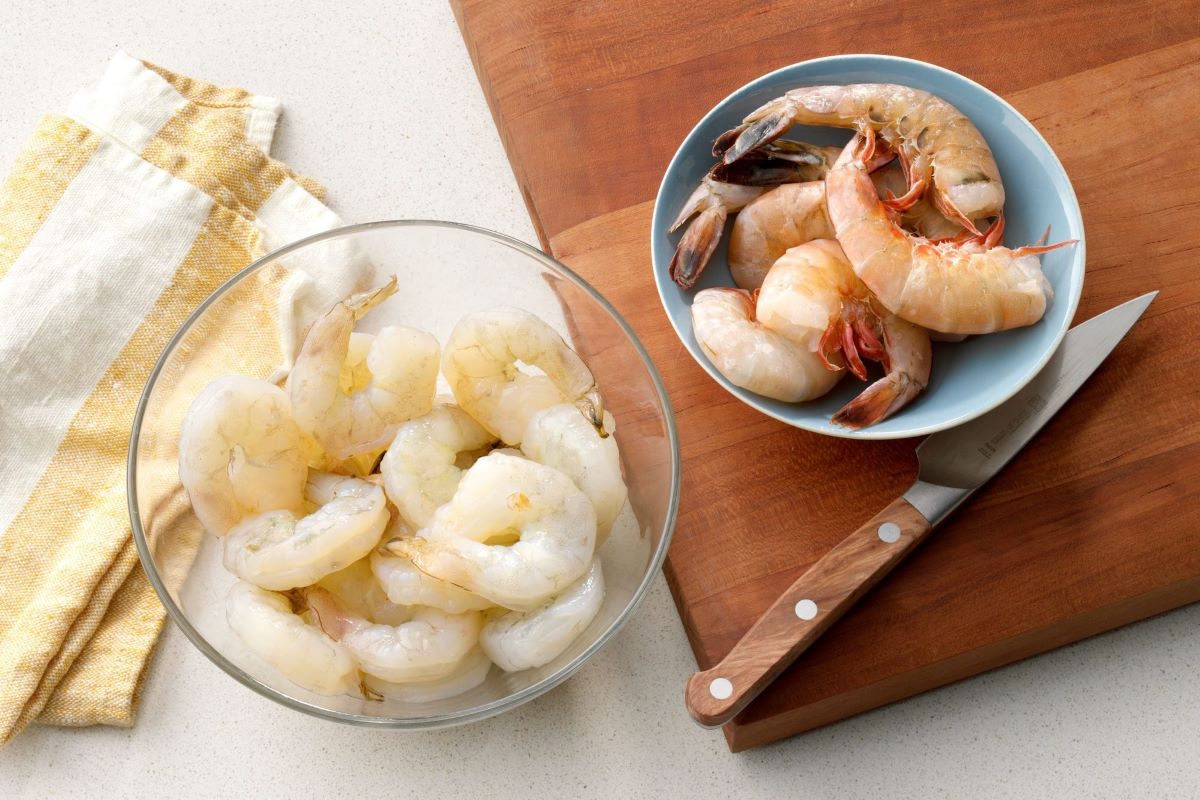
Step 2: Remove Shells and Tails (Optional)
One optional step in storing cooked shrimp is to remove the shells and tails before storing. While the shells and tails can add flavor to dishes when cooked, they are not necessary for storage purposes and can take up extra space in the container.
If you choose to remove the shells and tails, there are a few different methods you can use. One common way is to simply peel the shells off the shrimp starting from the legs and working your way towards the tail. Gently twist the tail to remove it, being careful not to tear the meat. Alternatively, you can also use kitchen shears to cut along the back of the shrimp and remove the vein along with the shell.
Removing the shells and tails can make the shrimp more convenient to use in various recipes. It saves time when it comes to preparing meals as you won’t need to peel the shrimp before cooking with it. Additionally, it reduces the amount of space needed for storage, allowing you to store more shrimp in a smaller container.
However, if you prefer to keep the shells and tails intact, you can certainly do so. Just make sure to account for the extra space they will occupy when choosing your storage container. Whichever option you choose, remember that removing the shells and tails is purely optional and does not affect the safety or quality of the cooked shrimp during storage.
Step 3: Choose an Airtight Container
Choosing the right container is crucial when it comes to storing cooked shrimp. To maintain its freshness and prevent any odor or flavors from seeping in, opt for an airtight container. Airtight containers create a sealed environment, reducing the exposure to air and minimizing the risk of bacterial growth.
When selecting an airtight container, consider the size based on the quantity of shrimp you plan to store. It should be large enough to accommodate the shrimp without causing them to be crowded or squished together. Overcrowding can lead to faster spoilage and loss of texture.
There are various types of containers you can use, such as food-grade plastic containers, glass containers with tight-fitting lids, or even resealable plastic bags. Glass containers are often a preferred choice as they are nonporous and do not absorb odors. However, whichever container you choose should have a secure and reliable seal to ensure optimal freshness.
Prior to storing the cooked shrimp, it’s important to ensure that the container is clean and free from any residual food particles or contaminants. Wash it thoroughly with hot soapy water, rinse well, and allow it to dry completely before use. This step helps maintain the hygiene of the stored shrimp and prevents any unwanted cross-contamination.
By selecting an airtight container for storing your cooked shrimp, you are creating a protective barrier against external elements, preserving the flavor and quality for an extended period.
Step 4: Line the Container with Paper Towels
Before placing the cooked shrimp in the chosen airtight container, it’s beneficial to line the bottom with paper towels. Paper towels serve as an absorbent layer that helps to wick away any excess moisture from the shrimp, keeping them dry and preventing them from becoming soggy or mushy.
To line the container with paper towels, start by selecting a few sheets of plain white paper towels. Avoid using colored or patterned paper towels as they may contain dyes or chemicals that can transfer to the shrimp. Place the sheets of paper towels flat on the bottom of the container, ensuring that they cover the entire surface area.
The paper towels act as a barrier between the shrimp and any accumulated moisture, helping to maintain their texture and prevent them from sticking together. They also provide some cushioning to prevent any accidental damage to the shrimp during storage.
If you have a large quantity of shrimp to store, you may also consider layering paper towels between the different layers of shrimp within the container. This can further help absorb any moisture and provide additional protection for the delicate flesh.
Remember to check and replace the paper towels when they become damp or saturated. This helps to maintain their effectiveness in keeping the shrimp dry and fresh. Regularly replacing the paper towels also prevents any unpleasant odors from developing that could potentially affect the flavor of the cooked shrimp.
By lining the container with paper towels, you are taking a proactive step to preserve the quality of the shrimp and ensure that they maintain a desirable texture and taste during storage.
Read more: How Long To Cook Shrimp On Stove Top
Step 5: Place Shrimp in the Container
Once you have prepared the airtight container and lined it with paper towels, it’s time to place the cooked shrimp inside. Carefully transfer the cooled shrimp to the container, arranging them in a single layer if possible.
It’s best to avoid overcrowding the container to ensure proper air circulation and prevent the shrimp from becoming squished. If you have a large quantity of shrimp, it may be necessary to store them in multiple containers or use dividers to create separate sections within the container.
When arranging the shrimp, make sure to position them with some space between each piece. This helps to maintain their individual shape and prevents them from sticking together. If the shrimp overlap or touch too closely, they may become difficult to separate and might lose their aesthetic appeal.
If you have removed the shells and tails as mentioned in the previous step, you can arrange the shrimp with the meat side facing up for a more visually pleasing presentation. However, if you prefer to keep the shells and tails intact, simply place the shrimp in the container without any particular orientation.
As you place the shrimp in the container, be mindful of their delicate texture. Avoid handling them too roughly to prevent any damage or breakage. It’s best to use clean utensils or your hands (properly washed and sanitized) to transfer the shrimp into the container.
Once all the shrimp are neatly arranged in the container, it’s time to move on to the next step of the storage process. Properly placing the shrimp in the container ensures that they are well-organized, easily accessible, and maintain their shape and appearance during storage.
After cooking shrimp, store them in an airtight container in the refrigerator for up to 3 days. To maintain freshness, place a paper towel in the container to absorb excess moisture.
Step 6: Add Moisture (Optional)
Adding moisture to your stored cooked shrimp is an optional step that can help prevent them from drying out during storage. While shrimp naturally contain some moisture, storing them in the refrigerator for an extended period can lead to the loss of moisture and potential dryness.
If you would like to maintain the moisture content of the shrimp, there are a few methods you can use. One approach is to lightly mist the shrimp with water before placing them in the container. Using a clean spray bottle, spritz a fine mist of water over the shrimp, taking care not to oversaturate them.
Another option is to add a small amount of moisture indirectly. You can place a damp paper towel or a piece of damp cheesecloth on top of the shrimp before sealing the container. The moisture from the towel or cloth will help create a humid microenvironment within the container, reducing the risk of drying out.
However, it’s important not to add too much moisture, as excessive moisture can lead to a soggy texture or promote bacterial growth. The goal is to provide enough moisture to keep the shrimp moist without making them excessively wet.
Remember, adding moisture is an optional step, and it may not be necessary depending on the duration of storage and the type of dishes you plan to use the shrimp in. If you anticipate using the cooked shrimp within a day or two, the natural moisture content should be sufficient to maintain their freshness.
Consider your personal preference and the intended use of the cooked shrimp when deciding whether or not to add moisture. Experimentation may be necessary to determine the ideal level of moisture that suits your taste and storage conditions.
By adding moisture to the container, if desired, you can ensure that your stored cooked shrimp remains succulent and juicy for longer periods.
Step 7: Seal the Container
Once the cooked shrimp is properly arranged in the airtight container, it’s crucial to seal the container tightly to maintain optimal freshness and prevent any cross-contamination. Sealing the container creates a barrier against external factors such as air, moisture, and other odors.
Ensure that the lid or cover of the container is securely fastened, creating a tight seal. If using a container with a snap-on lid, press firmly around the edges to ensure a snug fit. If using a container with a screw-on lid, twist it tightly until it is completely closed.
Inspect the container to ensure there are no gaps or openings that could compromise the seal. Even a small gap can allow air or contaminants to enter, potentially causing the shrimp to spoil more quickly. It’s advisable to run your fingers along the edges of the container to ensure a tight and secure seal.
If using resealable plastic bags, squeeze out as much excess air as possible before sealing. This helps to minimize the oxygen exposure, which can lead to faster degradation of the shrimp. Use the zip-lock feature or twist-tie tightly to secure the bag and prevent any air from entering.
Properly sealing the container or bag helps to maintain the internal environment and protect the cooked shrimp from external factors that can affect their quality. It also allows for easier organization and stacking of containers in the refrigerator, minimizing the risk of accidental spills or leaks.
Remember to label the container with the date of storage to ensure you can keep track of how long the shrimp has been stored. This will help you determine its freshness and make sure you consume it within a reasonable timeframe.
By sealing the container tightly, you ensure that the cooked shrimp remains protected and maintains its freshness until it’s time to enjoy it in your next meal.
Step 8: Store in the Refrigerator
After sealing the container, it’s time to move the cooked shrimp to the refrigerator for proper storage. The refrigerator provides a cool and controlled environment, helping to preserve the freshness and quality of the shrimp for an extended period.
Choose a designated area in your refrigerator where the temperature remains consistently cold, ideally between 32°F (0°C) and 40°F (4°C). This temperature range inhibits the growth of bacteria and helps to prevent spoilage.
Place the sealed container with the cooked shrimp in a convenient location in the refrigerator, making sure it is not in direct contact with any raw meat or seafood. Cross-contamination can occur if the cooked shrimp comes into contact with raw ingredients, increasing the risk of foodborne illnesses.
It’s also important to keep the shrimp away from strong-smelling foods or ingredients that could easily absorb their aroma. This helps to maintain the distinct flavor and aroma of the cooked shrimp.
When storing the cooked shrimp in the refrigerator, it’s essential to follow the guideline of the first-in, first-out (FIFO) method. This means placing the newest containers at the back of the refrigerator and bringing the older containers to the front for easier access. This ensures that you use them in a timely manner and minimizes any potential waste.
Keep in mind that cooked shrimp are typically safe to consume for up to three to four days when stored properly in the refrigerator. If you plan to store them for a longer period, consider freezing them for prolonged freshness.
Regularly check the refrigerator temperature to ensure it remains within the recommended range. If there are any fluctuations or issues with your refrigerator, take steps to address them promptly to maintain the quality and safety of your stored cooked shrimp.
By storing the cooked shrimp in the refrigerator, you create an optimal environment that helps to keep them fresh and safe for consumption until you’re ready to enjoy their flavors in your next dish.
Read more: How To Reheat Shrimp In Air Fryer
Step 9: Check for Freshness
While storing cooked shrimp in the refrigerator can help maintain their freshness, it’s essential to periodically check for any signs of spoilage. This step ensures the quality and safety of the shrimp and helps prevent the consumption of spoiled seafood, which can lead to foodborne illnesses.
When checking for freshness, start by examining the appearance of the shrimp. Fresh cooked shrimp should have a vibrant and translucent color. They should appear firm and plump, without any signs of discoloration or browning. If the shrimp’s color looks dull or if there are any noticeable changes in texture, it may be an indication of spoilage.
Next, assess the smell of the cooked shrimp. Fresh shrimp should have a subtle, pleasant aroma reminiscent of the sea. However, if you notice any strong or unpleasant odors, such as a strong fishy or ammonia-like smell, it is a sign that the shrimp is no longer fresh and should not be consumed.
Give the cooked shrimp a gentle touch. Fresh shrimp should feel slightly springy and have a firm texture. If they feel mushy, slimy, or excessively soft, it is an indication of spoilage. Avoid consuming shrimp with these characteristics, as they may be a breeding ground for harmful bacteria.
Lastly, trust your taste buds. Take a small bite of the cooked shrimp and assess its flavor. Fresh shrimp should have a clean, sweet, and slightly briny taste. If you detect any sour or off flavors, it is best to discard the shrimp to avoid the risk of food poisoning.
It’s important to note that proper storage and timely consumption play a significant role in the overall freshness of the shrimp. While refrigeration can extend the shelf life, it is still essential to use the shrimp within a reasonable time frame, typically within three to four days.
Remember, when in doubt, it is always better to err on the side of caution and discard any shrimp that show signs of spoilage. Consuming spoiled seafood can lead to foodborne illnesses and should be avoided.
By regularly checking for freshness, you can enjoy the delicious flavors of cooked shrimp while ensuring your health and well-being.
Conclusion
Storing cooked shrimp properly is essential to maintain their freshness, flavor, and texture for future enjoyment. By following the steps outlined in this article, you can ensure that your cooked shrimp remains safe and delicious, ready to be used in a variety of dishes.
From letting the shrimp cool to choosing an airtight container, lining it with paper towels, and properly sealing it, each step plays a crucial role in preserving the quality of the shrimp. The optional steps, such as removing shells and tails or adding moisture, can further enhance the storage process based on personal preference.
Storing the cooked shrimp in the refrigerator provides a cool and controlled environment, delaying spoilage and reducing the risk of bacterial growth. Regularly checking for signs of spoilage, including appearance, smell, texture, and taste, ensures that you consume only fresh and safe shrimp.
Remember that the quality of stored cooked shrimp will gradually degrade over time, so it’s best to consume them within three to four days. If longer storage is required, consider freezing the shrimp for extended freshness.
By employing these storage techniques, you can make the most of your cooked shrimp, reducing waste and enjoying delicious seafood dishes even after the initial cooking process. Whether you’re saving leftovers for a quick meal or preparing ahead for a gathering, proper storage ensures that the shrimp remains a delectable ingredient in a variety of culinary creations.
So, the next time you find yourself with cooked shrimp to store, follow these steps, and rest assured that you’ll have tender, flavorful, and safe shrimp ready to be utilized whenever your cravings strike.
Now that you've mastered storing cooked shrimp, why not delve into other savvy preservation methods? Our next piece offers a deep dive into the best food storage solutions available for the upcoming year. From innovative containers to smart tips on keeping your groceries fresh, this guide is perfect for anyone looking to improve their kitchen organization. Don't miss out on expert advice that can transform your culinary storage game!
Frequently Asked Questions about How To Store Cooked Shrimp
Was this page helpful?
At Storables.com, we guarantee accurate and reliable information. Our content, validated by Expert Board Contributors, is crafted following stringent Editorial Policies. We're committed to providing you with well-researched, expert-backed insights for all your informational needs.
0 thoughts on “How To Store Cooked Shrimp”