Articles
How To Store Squash After Cutting
Modified: December 7, 2023
Learn how to properly store squash after cutting in this helpful article. Keep your squash fresh and delicious with these storage tips.
(Many of the links in this article redirect to a specific reviewed product. Your purchase of these products through affiliate links helps to generate commission for Storables.com, at no extra cost. Learn more)
Introduction
Squash is a versatile and nutritious vegetable that can be used in a variety of dishes. Whether you’ve harvested your own squash from the garden or bought it fresh from the market, it’s important to know how to store it properly after cutting. Proper storage not only helps to maintain the quality and flavor of the squash, but also extends its shelf life, allowing you to enjoy it for longer periods.
When squash is cut or exposed to air, it starts to lose moisture and become more susceptible to spoilage. Without the right storage techniques, you can end up with mushy, discolored, or moldy squash, which is not only unappetizing but can also be a waste of your time and money.
In this article, we will discuss the importance of storing squash properly after cutting and explore the best methods for doing so. Whether you plan to store it in the refrigerator or freezer, we will provide you with useful tips to maintain the freshness and quality of your squash for as long as possible.
Key Takeaways:
- Properly storing cut squash is essential to preserve freshness, prevent spoilage, and reduce waste. Whether in the fridge or freezer, follow specific methods to maintain optimal quality and extend shelf life.
- Choose fresh squash, handle with care, and store promptly to maintain freshness. Use sharp knives, wrap tightly, and check for spoilage regularly. Enjoy the versatility of squash while minimizing waste.
Read more: How To Store Cut Butternut Squash
Why is it important to store squash properly after cutting?
Properly storing squash after cutting is essential for several reasons:
- Preserving freshness: When squash is cut or sliced, its exposed surface starts to oxidize, causing it to lose moisture and nutrients. By storing it properly, you can slow down this process and maintain the freshness of the squash.
- Preventing spoilage: Squash, like any other vegetable, is prone to spoilage if not stored correctly. Without proper storage, the cut squash can develop a slimy texture, mold, or a foul smell, rendering it unfit for consumption.
- Preventing waste: By storing squash properly after cutting, you can extend its shelf life and reduce food waste. This is especially beneficial if you have a surplus of squash or if you want to enjoy it over an extended period.
- Maximizing nutritional value: Proper storage helps to retain the nutritional value of squash. Vitamins, minerals, and other beneficial compounds can degrade over time, but by storing it properly, you can minimize nutrient loss and ensure you’re getting the most out of your squash.
Whether you plan to use the squash in soups, stews, salads, or other dishes, storing it correctly will ensure that it remains fresh, flavorful, and safe to eat.
Best methods for storing squash after cutting
When it comes to storing squash after cutting, there are two main methods you can utilize: storing in the refrigerator or freezing it. The method you choose depends on your specific needs and preferences. Let’s explore both methods in detail:
Storing squash in the refrigerator
The refrigerator is an excellent option for short-term storage of cut squash. Here’s how you can do it:
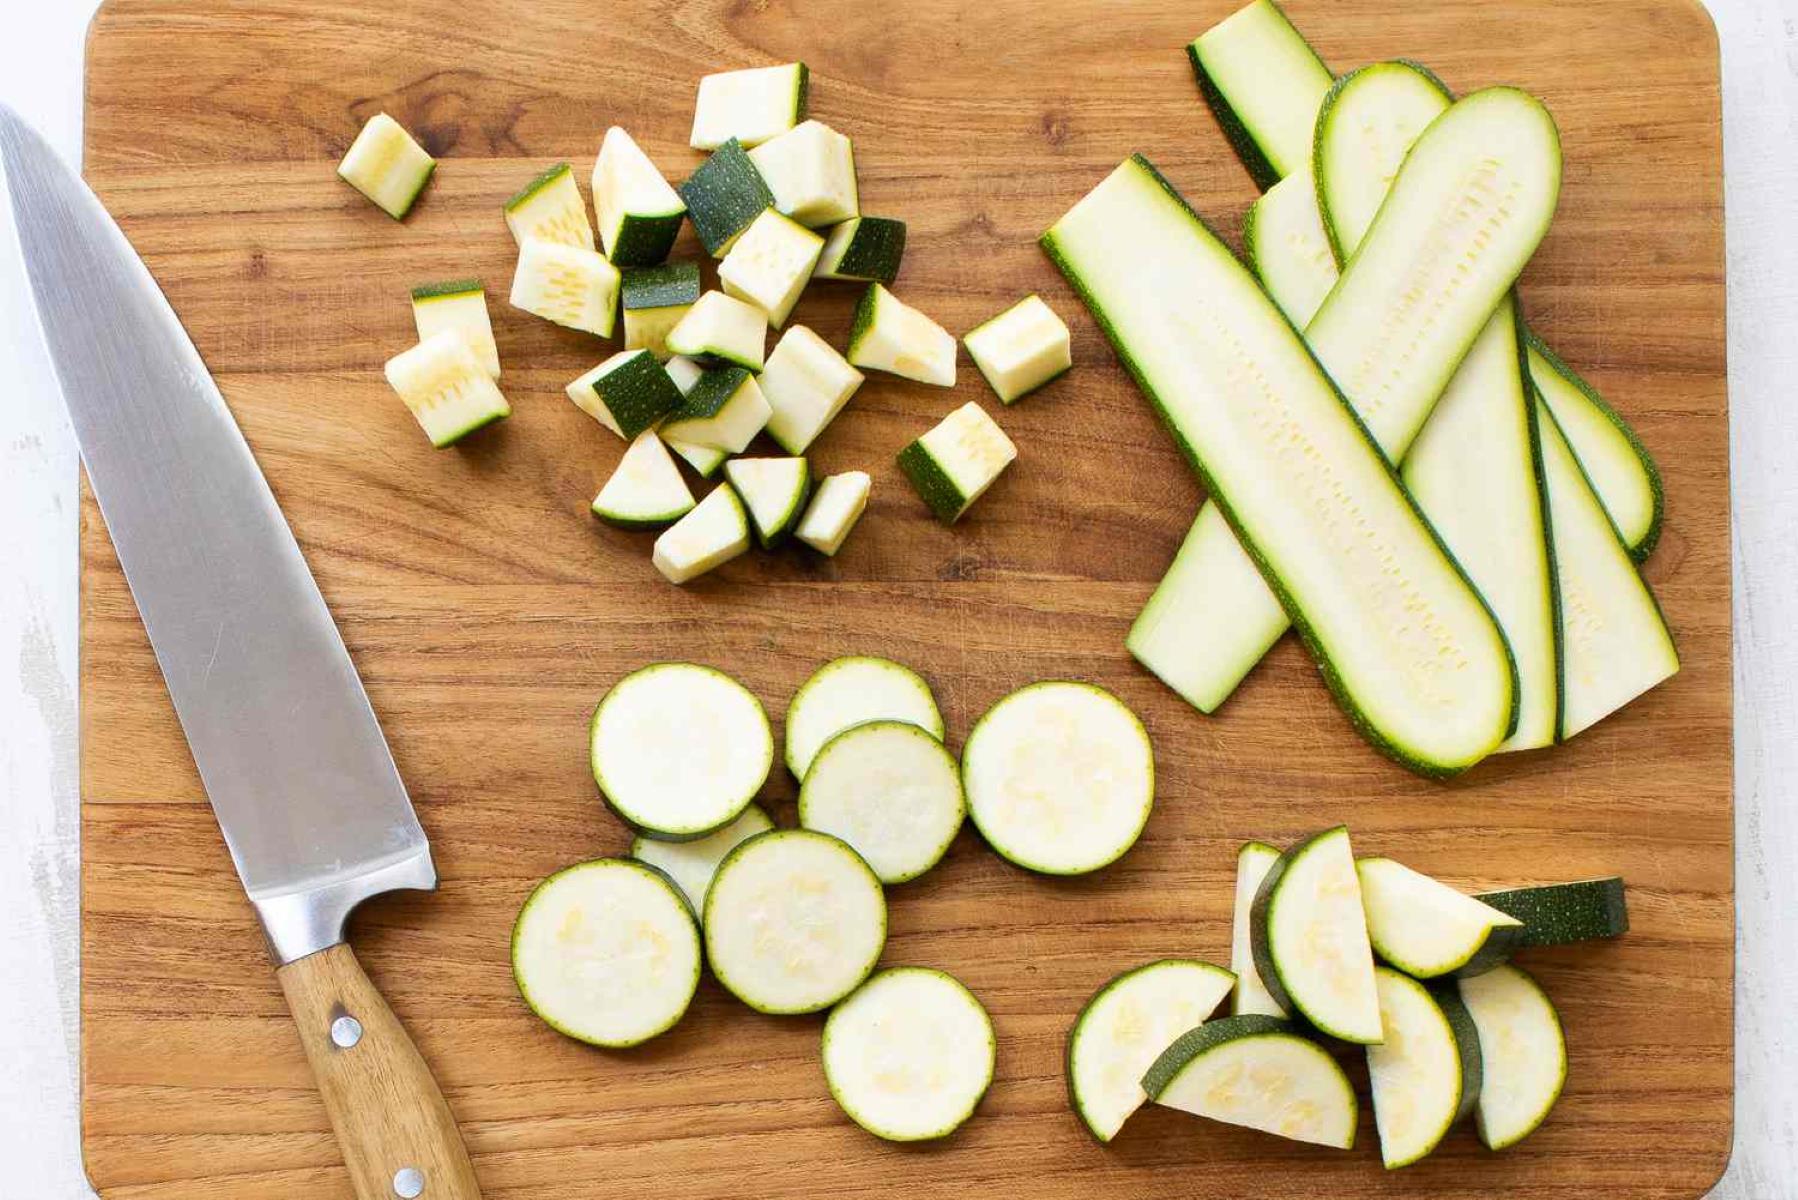
- Cut the squash into the desired shape or size.
- Wrap the cut pieces tightly in plastic wrap or place them in airtight containers.
- Label the containers with the date to keep track of the freshness.
- Store the squash in the vegetable crisper drawer of your refrigerator.
- Make sure the temperature in the refrigerator is set between 40-45°F (4-7°C) to maintain optimal freshness.
- Use the cut squash within 3-5 days for the best flavor and texture.
Storing squash in the freezer
If you have a surplus of cut squash or want to store it for an extended period, freezing is the best option. Here’s how to freeze cut squash:
- Blanch the cut squash by briefly immersing it in boiling water for 2-3 minutes.
- Transfer the blanched squash to an ice bath to stop the cooking process.
- Drain the squash and pat it dry with a clean kitchen towel or paper towels.
- Transfer the squash to freezer-safe bags or containers.
- Remove as much air as possible from the bags or containers before sealing them.
- Label the containers with the date and the contents.
- Place the squash in the freezer and store it at 0°F (-18°C) or below.
- Frozen cut squash can last for up to 8-12 months, but for the best quality, try to use it within 3-6 months.
Remember to thaw frozen squash before using it in recipes. You can do this by transferring it to the refrigerator overnight or using a microwave on the defrost setting.
By following these storage methods, you can ensure that your cut squash remains fresh, flavorful, and safe to eat, regardless of whether you choose refrigeration or freezing.
Read more: How To Store Jackfruit After Cutting
Storing squash in the refrigerator
The refrigerator is an ideal option for short-term storage of cut squash. Here’s a step-by-step guide on how to store squash in the refrigerator:
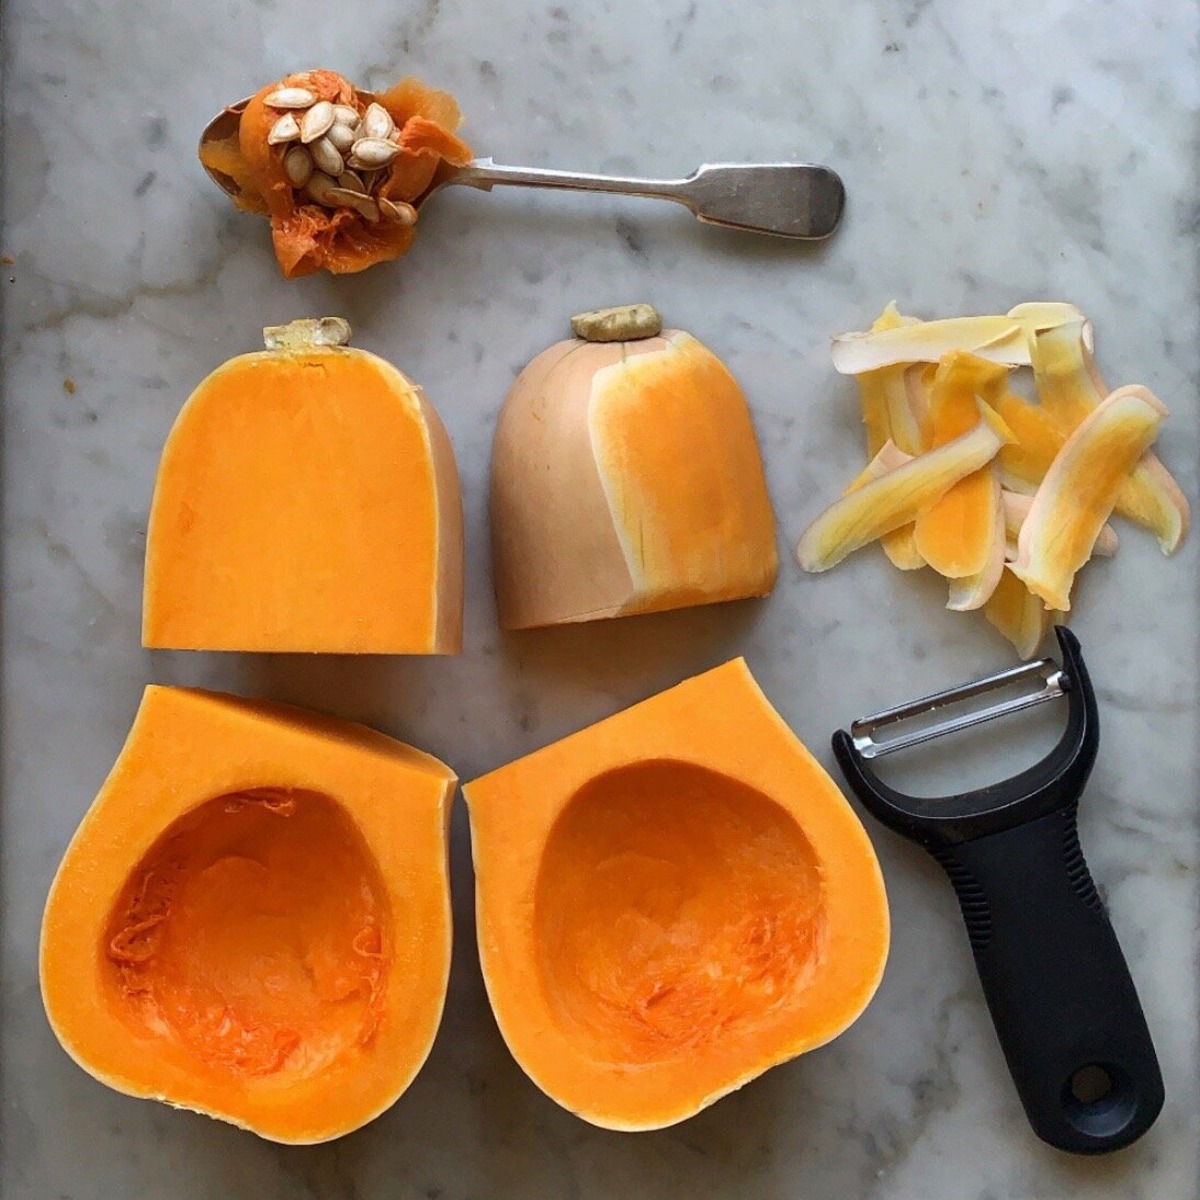
- Cut the squash into the desired shape or size. Ensure that you remove the seeds and any tough skin before cutting.
- Wrap the cut pieces tightly in plastic wrap or place them in airtight containers. This helps to maintain the moisture and prevent the squash from drying out.
- Label the containers with the date to keep track of the freshness. It’s good practice to use the squash within 3-5 days to ensure optimal flavor and quality.
- Store the wrapped or containerized squash in the vegetable crisper drawer of your refrigerator. The crisper drawer provides a slightly higher humidity environment, which helps to prolong the shelf life of the squash.
- Make sure the temperature in the refrigerator is set between 40-45°F (4-7°C). This temperature range is optimal for preserving the texture and flavor of the squash.
- Avoid placing other strong-smelling foods near the squash, as it can absorb those odors. Additionally, try not to overcrowd the crisper drawer to allow for proper air circulation.
When you’re ready to use the stored squash, simply remove it from the refrigerator, unwrap or unseal it, and prepare it according to your desired recipe. If you notice any signs of spoilage, such as mold growth or unusual odor, discard the squash immediately.
By storing squash in the refrigerator using these guidelines, you can extend its freshness and enjoy its delicious taste in various culinary creations.
Storing squash in the freezer
If you have a surplus of cut squash or want to store it for an extended period, freezing is an excellent option. Freezing helps to preserve the flavor and texture of the squash. Follow these steps to store squash in the freezer:
- First, blanch the cut squash. Blanching involves briefly immersing the squash in boiling water to help retain its color, texture, and nutritional value. Bring a pot of water to a boil and carefully add the cut squash.
- Allow the squash to cook in boiling water for about 2-3 minutes. Avoid overcooking, as this can result in mushy squash.
- After blanching, transfer the squash to an ice bath. The ice bath helps to cool the squash quickly and halt the cooking process.
- Drain the squash and pat it dry with a clean kitchen towel or paper towels. Removing excess moisture helps to prevent ice crystals from forming during freezing.
- Transfer the dry squash to freezer-safe bags or containers. It’s best to use airtight containers or freezer bags specifically designed for freezer storage. Remove as much air as possible before sealing to minimize freezer burn.
- Label the containers with the date and the contents. This will help you keep track of the storage time and easily identify the squash when you’re ready to use it.
- Place the squash in the freezer and make sure the temperature is set at 0°F (-18°C) or below. Keeping the squash at a consistent freezing temperature helps to maintain its quality.
- Frozen cut squash can last for up to 8-12 months in the freezer. However, for the best flavor, texture, and nutritional value, it’s recommended to use the squash within 3-6 months.
When you want to use the frozen squash, it’s important to thaw it properly. You can thaw it by transferring it from the freezer to the refrigerator overnight or using the defrost setting on your microwave. Avoid thawing at room temperature, as this can lead to bacterial growth.
By following these steps, you can store cut squash in the freezer, preserving its taste and quality for future culinary delights.
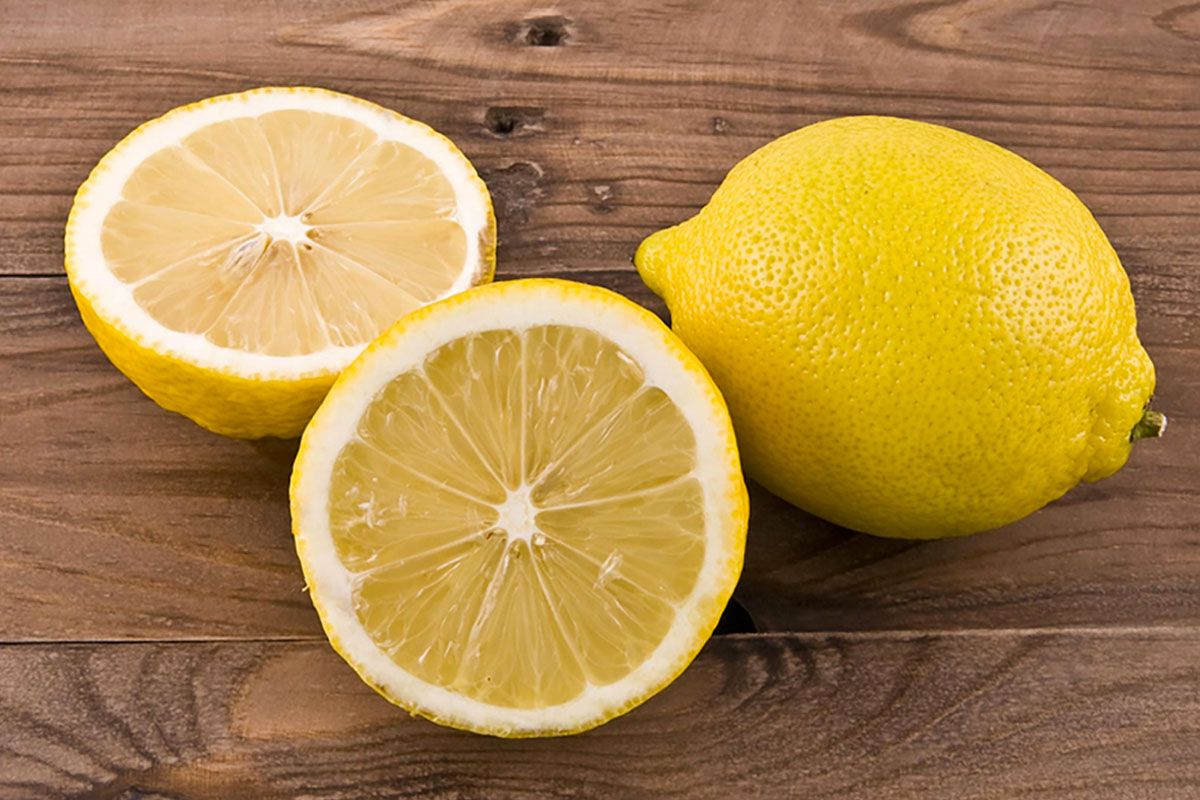
Store cut squash in an airtight container in the refrigerator for up to 5 days. To prevent browning, sprinkle with lemon juice before sealing.
Tips for maintaining squash freshness
To ensure that your squash stays fresh and flavorsome for as long as possible, here are some helpful tips:
- Choose fresh squash: When buying squash, select ones that are firm, with no soft spots or blemishes. Freshly harvested squash will have a longer shelf life.
- Store uncut squash properly: If you have whole, uncut squash, store them in a cool, dry, and well-ventilated area, away from direct sunlight. This will help to prevent premature spoilage.
- Handle with care: Squash can be delicate, so handle it gently to prevent any bruising or damage that can accelerate spoilage.
- Wash before cutting: Prior to cutting the squash, wash it thoroughly under running water to remove any dirt or debris on the surface.
- Cut only what you need: To prevent unnecessary waste, cut only the amount of squash you plan to use. The remaining uncut portion will last longer.
- Use sharp knives: When cutting squash, use sharp knives to ensure clean cuts and minimize damage to the flesh. Dull knives can result in uneven surfaces and increased exposure to air.
- Store cut squash promptly: If you’ve cut more squash than you need, store the leftovers immediately to minimize moisture loss and prevent spoilage.
- Properly wrap or containerize: Whether storing squash in the refrigerator or freezer, ensure that it is wrapped tightly in plastic wrap or placed in airtight containers. This helps to retain moisture and protect against freezer burn.
- Regularly check for spoilage: Periodically check any stored squash for signs of spoilage, such as mold, foul smell, or sliminess. Remove any spoiled pieces to prevent contamination.
- Use FIFO technique: FIFO stands for “first in, first out.” When using stored squash, try to use the oldest pieces first to prevent any from going bad.
By following these tips, you can maintain the freshness and quality of your squash for longer periods, ensuring that it is always ready to be used in your favorite recipes.
Conclusion
Properly storing squash after cutting is crucial for preserving its freshness, preventing spoilage, and reducing food waste. Whether you choose to store it in the refrigerator or freezer, following the right methods will help extend the shelf life of your squash and ensure its optimal quality.
When storing squash in the refrigerator, make sure to wrap the cut pieces tightly in plastic wrap or place them in airtight containers. Label them with the date and store them in the vegetable crisper drawer at a temperature between 40-45°F (4-7°C).
If you have excess squash or want to store it for a longer period, freezing is an excellent option. Blanch the cut squash, dry it thoroughly, transfer it to freezer-safe bags or containers, and label them with the date. Store the squash in the freezer at 0°F (-18°C) or below for the best results.
Remember to thaw frozen squash properly before using it in recipes by transferring it to the refrigerator or using the defrost setting on the microwave.
To maintain squash freshness, choose fresh squash, handle it with care, and cut only what you need. Use sharp knives for clean cuts, and promptly wrap or containerize any leftover cut squash. Regularly check for spoilage and use the FIFO technique to ensure you utilize the oldest pieces first.
By following these guidelines and implementing the best storage methods, you can enjoy the delicious taste and versatility of squash for a longer period while minimizing waste and maximizing its nutritional value.
So, next time you have cut squash on hand, remember to store it properly to make the most out of this fantastic vegetable!
Frequently Asked Questions about How To Store Squash After Cutting
Was this page helpful?
At Storables.com, we guarantee accurate and reliable information. Our content, validated by Expert Board Contributors, is crafted following stringent Editorial Policies. We're committed to providing you with well-researched, expert-backed insights for all your informational needs.


0 thoughts on “How To Store Squash After Cutting”