
Articles
How To Store Fertilized Eggs
Modified: January 6, 2024
Learn the best methods for storing fertilized eggs with our informative articles. Ensure the health and viability of your eggs for incubation.
(Many of the links in this article redirect to a specific reviewed product. Your purchase of these products through affiliate links helps to generate commission for Storables.com, at no extra cost. Learn more)
Introduction
When it comes to agriculture and poultry farming, fertilized eggs are a key component. These eggs have the potential to hatch into healthy chicks and contribute to the growth and sustainability of a poultry operation. However, proper storage of fertilized eggs is crucial to maintain their viability and ensure successful hatching.
In this article, we will explore the importance of storing fertilized eggs correctly and provide you with a comprehensive guide on how to do so. Whether you are a poultry farmer or someone interested in incubating eggs at home, understanding the proper storage techniques will help maximize your success rate.
Effective storage techniques involve creating the optimal environment for the fertilized eggs, which includes maintaining the right temperature, humidity levels, and preventing contamination. By following the right steps and best practices, you can significantly increase the chances of successfully incubating fertilized eggs and obtaining healthy chicks.
Before we dive into the details of proper storage techniques, let’s first understand what fertilized eggs are and the factors to consider before storing them.
Key Takeaways:
- Proper storage of fertilized eggs is crucial for successful incubation. Factors like age, handling, and environmental conditions play a key role in maintaining egg viability and increasing hatchability.
- Choosing the right storage container, controlling temperature and humidity, and monitoring for contamination are essential steps in ensuring the successful storage of fertilized eggs. Troubleshooting common issues promptly can optimize the storage environment for better hatchability.
Read more: How To Store Fertilized Eggs For Eating
Understanding Fertilized Eggs
Fertilized eggs are the result of a female poultry bird’s reproductive process, where the egg is fertilized by the male’s sperm. In poultry farming, this fertilization process is essential to ensure the production of chicks for breeding or meat purposes. Understanding the basic structure and development of fertilized eggs is crucial when it comes to their proper storage.
Once an egg is fertilized, a series of changes occur within the egg’s structure, leading to the development of an embryo. The nucleus of the sperm fuses with the egg’s nucleus, initiating cell division and growth. The embryo grows and forms the vital structures necessary for hatching and developing into a healthy chick.
It is important to note that not all eggs laid by poultry birds are fertilized. In commercial egg production, hens are typically not accompanied by roosters, so the eggs laid are unfertilized. However, in situations where roosters are present and allowed to mate with the hens, a portion of the eggs laid will be fertilized. These fertilized eggs have the potential to hatch into chicks if incubated under the right conditions.
When it comes to storing fertilized eggs, the age of the egg plays a crucial role. Fertilized eggs have a limited viability period during which they can be stored and incubated successfully. As time passes, the likelihood of successful hatchability decreases. It is important to understand that the fertilized egg’s viability depends on factors such as the breed of bird, how the egg was handled before storage, and the specific conditions under which it is stored.
Now that we have a basic understanding of fertilized eggs, let’s explore the factors that you need to consider before storing these valuable assets.
Factors to Consider Before Storage
Before you embark on storing fertilized eggs, there are several important factors to consider to ensure the best possible outcome and increase the chances of successful incubation. These factors include the age of the eggs, egg handling practices, and the breed of bird. Let’s take a closer look at each of these factors:
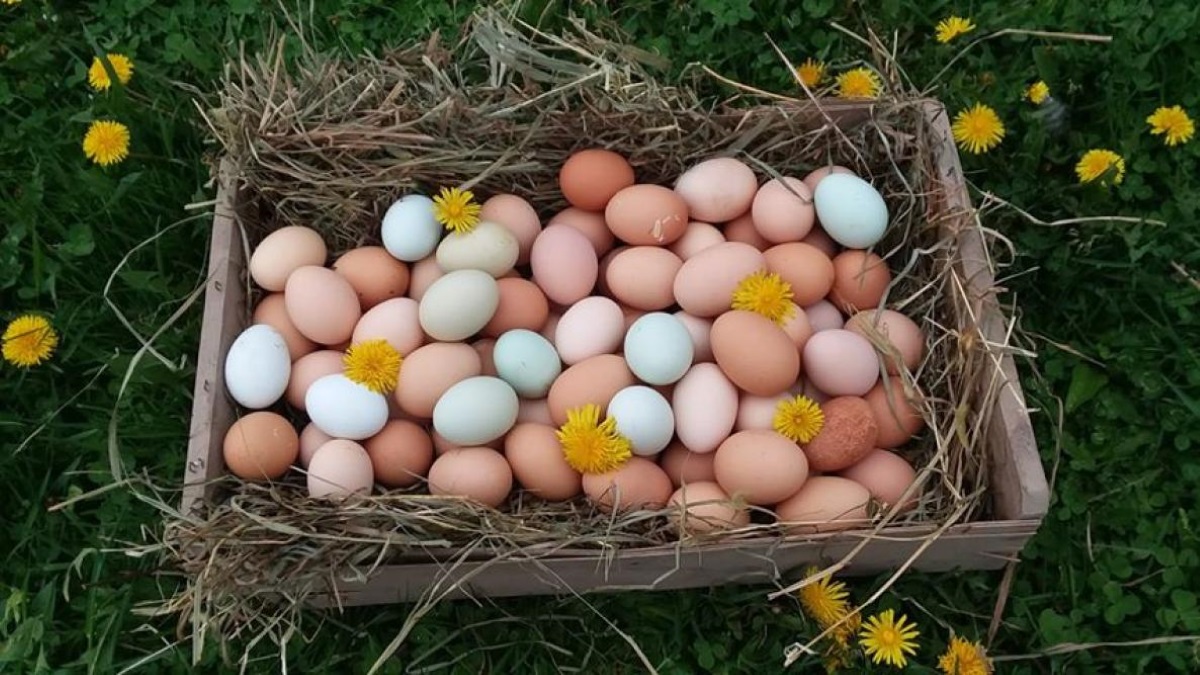
- Age of the eggs: The age of the fertilized eggs is a critical factor to consider before storage. Freshly laid eggs have a higher chance of successful incubation compared to eggs that have been stored for a longer period. Ideally, eggs should be collected for incubation within 7 days of being laid.
- Egg handling practices: Proper handling of fertilized eggs is crucial to maintain their viability. Eggs should be handled with care to avoid any damage to the delicate embryo inside. Avoid rough or excessive handling, and always handle the eggs with clean hands to prevent any contamination.
- Breed of bird: Different breeds of birds have specific requirements for successful incubation. It is important to understand the characteristics and needs of the breed you are working with. Some breeds may have higher hatchability rates, while others may require stricter temperature and humidity control.
- Visual inspection: Before storing fertilized eggs, it is wise to conduct a visual inspection. Look for any visible cracks or abnormalities on the eggshell. Eggs with damaged or cracked shells should not be stored, as they are more likely to be contaminated or have a lower chance of successful hatching.
- Environmental conditions: Lastly, consider the environmental conditions in which the eggs were laid. Extreme temperatures, high humidity, and poor air quality can negatively impact the viability of fertilized eggs. Collecting eggs from a clean and healthy environment will contribute to their overall quality and likelihood of successful incubation.
By taking these factors into account and ensuring optimal conditions, you can set the stage for successful egg storage and increase the chances of obtaining healthy chicks. Now that we have discussed the factors to consider, let’s move on to understanding the importance of proper storage for fertilized eggs.
The Importance of Proper Storage
Proper storage of fertilized eggs is crucial to maintain their viability and increase the chances of successful hatching. Fertilized eggs are delicate and require specific environmental conditions to support the development of the embryo inside. Here are some key reasons why proper storage is important:
- Preservation of viability: Fertilized eggs have a limited viability period, during which they can be successfully incubated. By storing the eggs correctly, you can extend their viability and increase the chances of successful hatching. Improper storage conditions, such as extreme temperatures or high humidity, can negatively impact the egg’s viability and decrease the likelihood of a healthy chick hatching.
- Prevention of contamination: Proper storage helps minimize the risk of contamination, which can lead to the growth of harmful bacteria and fungi. Contaminated eggs have a higher chance of developing into unhealthy chicks or not hatching at all. By providing a clean and controlled environment, you can reduce the risk of contamination and ensure a healthier incubation process.
- Maintaining appropriate moisture levels: Moisture control is essential for the development of the embryo inside the fertilized egg. Proper storage conditions help maintain the right moisture levels, allowing the embryo to grow and develop without dehydration or excessive moisture. This is crucial for the overall health and vitality of the developing chick.
- Optimal temperature regulation: Temperature control is one of the most critical factors in successful egg storage. Proper storage ensures that the eggs are kept at the correct temperature, which is generally around 50-65 degrees Fahrenheit (10-18 degrees Celsius) for most poultry species. Deviations from this temperature range can result in poor development or even egg spoilage.
- Prevention of egg turning: During storage, it is important to prevent the eggs from turning. Constantly turning the eggs can interrupt the development process and harm the growing embryo. Proper storage containers and methods ensure that the eggs remain in a stable position during the storage period.
By understanding the importance of proper storage, you can take the necessary steps to create the optimal environment for your fertilized eggs. In the next section, we will discuss the steps to store fertilized eggs correctly, ensuring their viability and increasing the chances of a successful hatch.
Steps to Store Fertilized Eggs Correctly
Properly storing fertilized eggs is essential to maintain their viability and increase the chances of a successful hatch. Following the correct steps will help create the optimal environment for the eggs during the storage period. Here are the key steps to store fertilized eggs correctly:
- Clean and sanitize: Before storing fertilized eggs, ensure that the storage area and equipment are clean and sanitized. Use a mild disinfectant to clean the storage containers, removing any potential contaminants that could harm the eggs.
- Collect eggs promptly: Collect the fertilized eggs as soon as possible after they are laid. Delaying the collection can negatively affect their viability and increase the chances of contamination. Ideally, collect the eggs within the first 24 hours after they have been laid.
- Inspect the eggs: Before storage, inspect each egg for any visible cracks or abnormalities on the shell. Discard any eggs that are damaged, as they have a higher risk of contamination and lower chances of successful incubation.
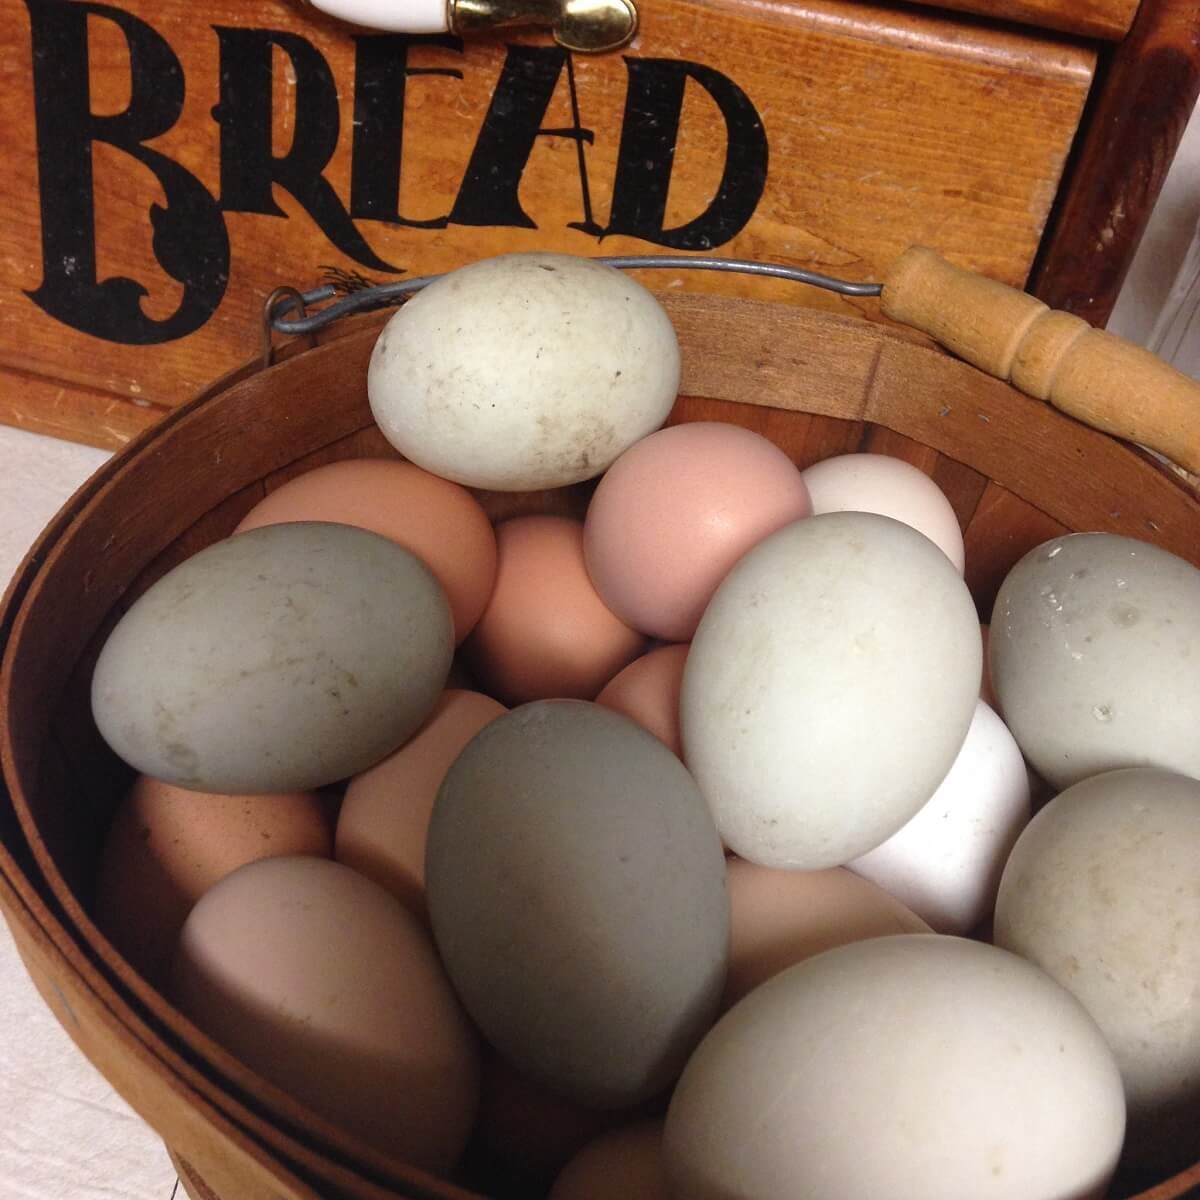
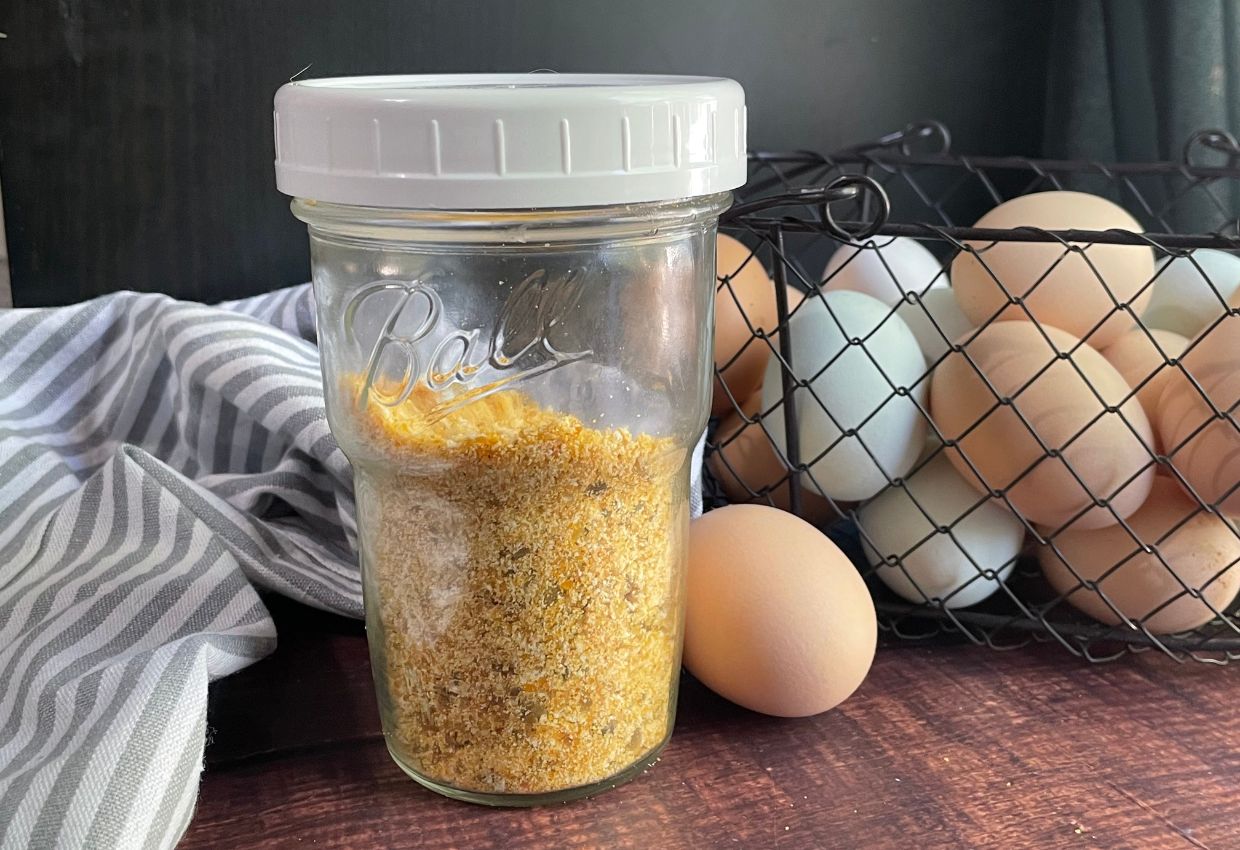
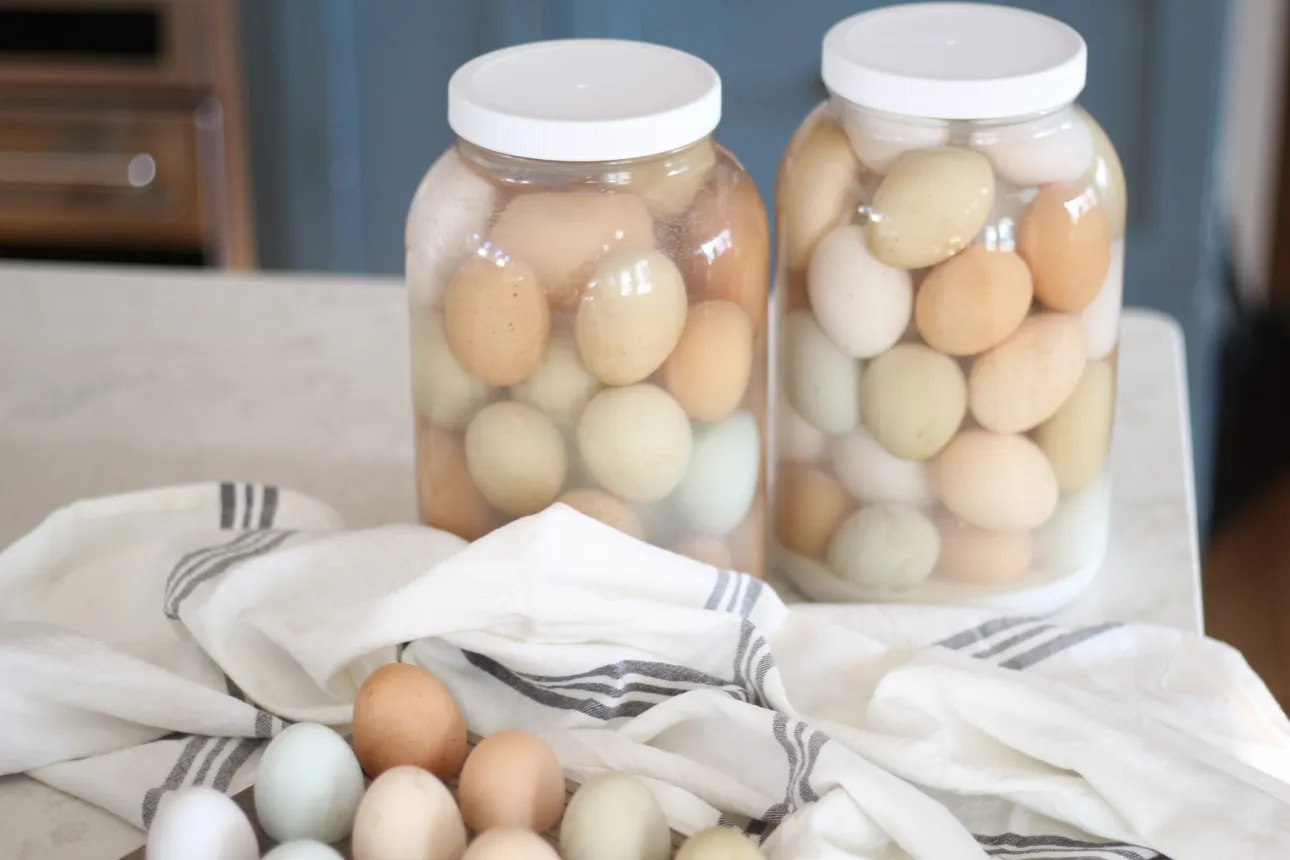
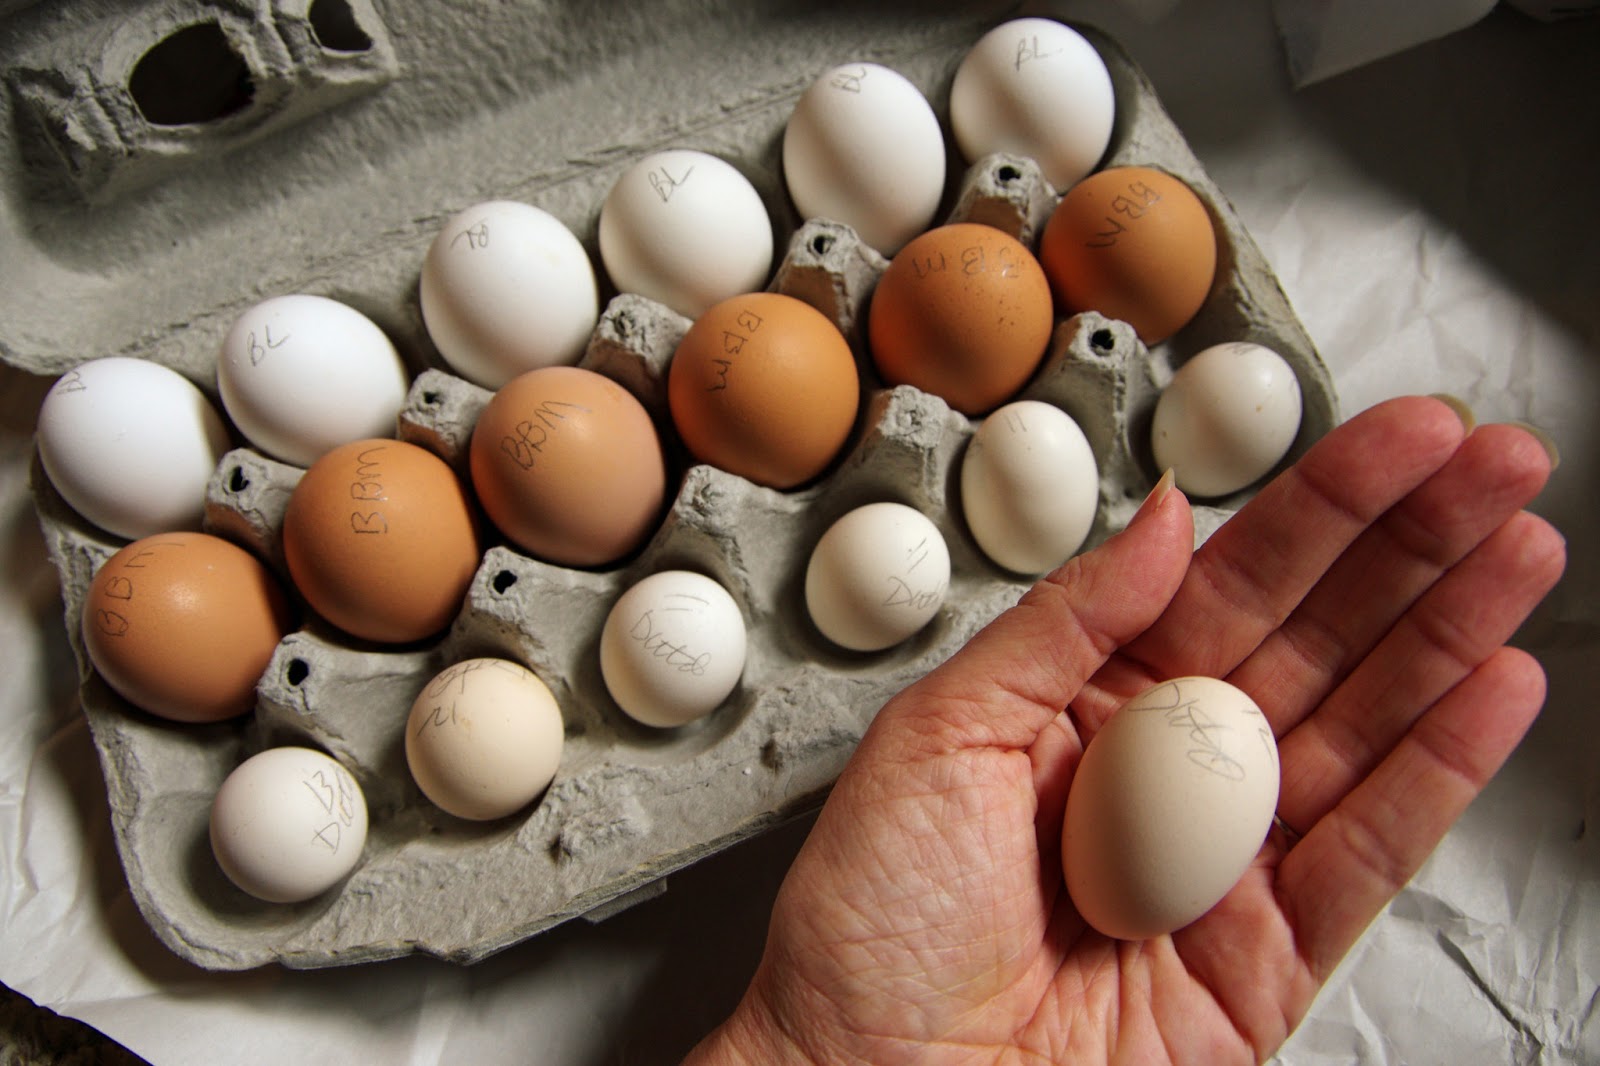
- Choose the right storage container: Select a suitable storage container for the eggs. It should be clean, dry, and provide adequate airflow to prevent excessive humidity. Egg cartons or egg flats with divots are ideal for keeping the eggs in a stable position during storage.
- Position the eggs: Place the fertilized eggs in the storage container with the pointed end facing downwards. This helps maintain the correct orientation and prevents the embryo from sticking to the inner membrane of the eggshell during storage.
- Set the temperature: Maintain the storage temperature in the range of 50-65 degrees Fahrenheit (10-18 degrees Celsius). Use a thermometer to monitor the temperature and make adjustments if necessary. Avoid drastic temperature fluctuations, as they can harm the eggs.
- Control humidity: Maintain the right humidity levels in the storage area. Aim for a humidity level of around 50-70% to prevent excessive moisture loss or condensation on the eggs. Use a hygrometer to monitor the humidity and adjust as needed.
- Regularly monitor the eggs: Check the eggs periodically during the storage period. Look for any signs of contamination, such as mold or unusual odors. Remove any eggs that show signs of deterioration or contamination.
- Rotate the eggs: Gently rotate the eggs stored for more than a week once a day. This helps prevent the embryo from sticking to the inner shell membrane and promotes even development.
By following these steps, you can ensure that your fertilized eggs are stored correctly, maximizing their viability and increasing the chances of successful incubation. In the next sections, we will delve into specific aspects of proper storage, such as choosing the right storage container and controlling temperature and humidity levels.
Read more: How To Store Fertile Eggs Before Incubation
Choosing the Right Storage Container
Choosing the right storage container for fertilized eggs is essential to maintain their integrity and maximize their viability. The storage container should provide a clean and stable environment for the eggs, ensuring they remain in optimal condition during the storage period. Here are some factors to consider when selecting a storage container:
- Material: Look for storage containers made of materials that are easy to clean and sanitize. Plastic or food-grade cardboard containers are commonly used for storing eggs. Avoid containers made of porous materials that can absorb moisture or harbor bacteria.
- Size and shape: Consider the size and shape of the storage container, depending on the number of eggs you are storing. Egg cartons or egg flats with divots are ideal as they provide individual spaces for each egg, keeping them stable and preventing movement during storage.
- Construction: Ensure that the construction of the storage container is sturdy and durable. It should be able to withstand handling and stacking without collapsing or damaging the eggs. Look for containers with secure closures, such as lids or covers, to prevent any external contaminants from entering.
- Airflow: Good airflow is crucial for proper egg storage. Choose a container that allows for adequate ventilation to prevent the buildup of excess moisture. Some containers have perforations or vents to facilitate airflow, ensuring a healthy environment for the eggs.
- Labels: Consider using storage containers that have spaces for labeling. This allows you to record important information such as the date the eggs were collected, the breed of bird, and any other relevant details. Proper labeling helps with organization and monitoring during the storage period.
It is important to clean and sanitize the storage container before using it for egg storage. Wash the container with warm soapy water and rinse thoroughly. Afterward, use a mild disinfectant solution to sanitize the container, paying close attention to any crevices or corners where bacteria may hide. Allow the container to dry completely before placing the fertilized eggs inside.
Remember to handle the eggs and storage container with clean hands to avoid any contamination. Additionally, ensure that the storage area is clean, well-ventilated, and away from any potential sources of contamination.
By choosing the right storage container for your fertilized eggs, you can create a clean and stable environment that maximizes their viability and sets the stage for successful incubation. In the next sections, we will discuss key aspects of temperature and humidity control during egg storage.
Store fertilized eggs in a clean, dry carton with the pointed end down to keep the air cell in the right position. Store in a cool (45-55°F), humid (70-80%) environment for best results.
Temperature and Humidity Control
Temperature and humidity control are vital factors in successfully storing fertilized eggs. Proper control of these variables creates an optimal environment for the eggs, ensuring their viability and increasing the chances of successful hatching. Here are some guidelines for temperature and humidity control during egg storage:
Temperature:
- Maintain a consistent temperature for the storage area, ideally between 50-65 degrees Fahrenheit (10-18 degrees Celsius).
- Avoid extreme temperature fluctuations, as they can harm the eggs. Sudden temperature changes can disrupt the internal environment of the egg, affecting the development of the embryo.
- Use a reliable thermometer to monitor the temperature regularly. Place the thermometer inside the storage area close to the eggs for accurate readings.
- If necessary, adjust the temperature using methods such as insulation, heating pads, or cooling devices. Consult an expert or refer to specific guidelines for the breed of bird you are working with for the optimal temperature range.
Humidity:
- Maintain the humidity level in the storage area between 50-70%, which helps prevent excessive moisture loss or condensation on the eggs.
- Excessively high humidity can lead to mold growth and reduce the egg’s viability, while low humidity can cause dehydration and damage the developing embryo.
- Use a hygrometer to monitor the humidity level regularly. Place the hygrometer inside the storage area, close to the eggs, to ensure accurate readings.
- If the humidity is too high, increase airflow in the storage area and ensure proper ventilation to reduce moisture buildup. If the humidity is too low, you can increase it by using a humidifier or placing a pan of water inside the storage area.
Remember to maintain a clean and well-ventilated storage area to minimize the risk of contamination and excessive humidity levels. Regularly check the temperature and humidity levels and make adjustments as needed to create the optimal conditions for the eggs.
Proper temperature and humidity control contribute to maintaining the integrity of the eggs and supporting the development of the embryos inside. By ensuring the correct temperature range and humidity levels, you enhance the viability of the eggs, increasing the likelihood of healthy and successful hatching.
In the next sections, we will discuss the importance of monitoring and rotating the eggs during storage, as well as checking for contamination to ensure the eggs remain in optimal condition.
Monitoring and Rotation
Monitoring and rotating fertilized eggs during storage is an important aspect of maintaining their viability and promoting successful incubation. Regularly assessing the eggs and implementing a rotation schedule helps prevent the embryos from sticking to the inner shell membrane and ensures even development. Here’s what you need to know about monitoring and rotating fertilized eggs:
Monitoring:
- Regularly monitor the eggs during the storage period to check for any signs of deterioration or contamination.
- Visually inspect the eggs for any changes in appearance. Look for discoloration, cracks, or unusual odors, which may indicate spoilage or contamination.
- If you notice any eggs that show signs of deterioration, promptly remove them from storage to prevent potential contamination of the remaining eggs.
Rotation:
- Rotate the eggs that have been stored for more than a week, gently turning them once a day.
- Rotating the eggs helps prevent the developing embryo from sticking to the inner shell membrane, ensuring proper development.
- When rotating the eggs, be gentle to avoid damaging the embryo or the delicate veins within the egg.
- A common method of rotation is to mark an “X” on one side of the egg and an “O” on the other side, then flipping the eggs so that the markings alternate each day.
Ensure that your hands are clean before handling the eggs to avoid introducing any contaminants. Proper egg rotation promotes even distribution of nutrients and gases within the egg, contributing to healthier embryo development.
By monitoring the eggs closely and implementing a regular rotation schedule, you can maximize the chances of successful incubation. Consistent monitoring allows you to promptly address any issues that may arise during the storage period, ensuring the highest possible egg quality and viability.
In the next section, we will discuss the importance of ensuring egg viability and checking for contamination before proceeding with incubation.
Ensuring Egg Viability
Ensuring the viability of fertilized eggs is crucial for successful incubation and hatching. By maintaining optimal storage conditions and implementing proper handling techniques, you can maximize the chances of a healthy embryo developing inside the egg. Here are some key aspects to consider when ensuring egg viability:
Storage duration:
- Keep in mind that the longer eggs are stored, the lower their viability becomes. Freshly laid eggs have the highest chances of successful incubation.
- Collect the eggs for storage within the first 7 days after they are laid to maximize the likelihood of healthy embryo development.
Proper storage conditions:
- Maintain the storage temperature between 50-65 degrees Fahrenheit (10-18 degrees Celsius) to prevent premature development or spoilage.
- Control humidity levels between 50-70% to prevent excessive moisture loss or condensation, which can negatively impact the embryo.
- Regularly monitor the storage environment and make adjustments to temperature and humidity as needed.
Egg handling:
- Handle the eggs with care to avoid any damage or impact to the delicate embryo inside.
- Wash your hands before handling the eggs to minimize the risk of contamination.
- Inspect each egg before storage and discard any that show signs of damage, cracks, or abnormalities on the shell.
Timing of incubation:
- Aim to begin incubation as soon as possible after storing the eggs to maintain their viability.
- Consider the breed-specific recommendations for incubation timing. Different breeds may have varying optimal incubation periods.
By focusing on these aspects of egg viability, you increase the chances of successful incubation and hatching. Remember that not all stored eggs will hatch, as viability can be influenced by various factors. However, by implementing proper storage techniques and ensuring optimal conditions, you improve the overall chances of obtaining healthy chicks.
In the next section, we will discuss the importance of checking for contamination and how to troubleshoot common issues that may arise during egg storage.
Read more: How To Store Egg
Checking for Contamination
Checking for contamination is an essential step when storing fertilized eggs. Contaminated eggs can lead to poor hatchability, unhealthy chicks, or even the loss of the entire batch. It is important to monitor the eggs regularly and take necessary precautions to prevent contamination. Here are some key points to consider when checking for contamination:
Visual inspection:
- Visually inspect each egg before and during storage for any signs of contamination.
- Look for discolored spots, fungal growth, or any abnormalities on the eggshell.
- Contaminated eggs may show signs of mold, mildew, or an unusual odor.
- If you notice any visual signs of contamination, remove the affected eggs from storage immediately to prevent the spread of contamination to other eggs.
Odor detection:
- Regularly sniff the eggs during storage for any unusual or foul odor.
- Healthy eggs should have a neutral or slightly eggy smell.
- If you detect a strong, unpleasant odor, it might indicate bacterial contamination.
Humidity control:
- Maintain the humidity levels within the recommended range to prevent the growth of mold or fungi.
- Excess moisture can create a favorable environment for microbial contamination.
- Adequate ventilation and airflow in the storage area can help prevent excess humidity and reduce the risk of contamination.
Sanitation practices:
- Keep the storage area clean and free from potential sources of contamination.
- Regularly clean and sanitize the storage containers to remove any bacteria or fungi that may have accumulated.
- Wash your hands thoroughly before handling the eggs to minimize the transfer of contaminants.
By diligently checking for contamination and taking the necessary precautions, you can minimize the risk of spoilage and ensure the preservation of the egg’s quality and viability. Promptly removing contaminated eggs from storage helps safeguard the remaining eggs and increases the chances of a successful hatch.
In the next section, we will discuss common issues that may arise during egg storage and share tips on troubleshooting them effectively.
Troubleshooting Common Issues
During the storage of fertilized eggs, certain issues may arise that can impact their viability and chances of successful incubation. It is important to promptly address and resolve these issues to ensure the best possible outcome. Here are some common issues that may occur during egg storage and tips for troubleshooting them:
Poor hatchability:
- If you are experiencing low hatch rates, evaluate the storage conditions and make sure they are within the recommended temperature and humidity range.
- Review your storage practices to ensure eggs are collected promptly and handled carefully to minimize any damage or contamination.
- If the storage duration has exceeded the recommended time period, consider adjusting the storage period to optimize hatchability.
Cracked or damaged eggs:
- Inspect the eggs carefully before placing them in storage. Discard any eggs with visible cracks or damages on the shell, as they are more susceptible to contamination and have a lower chance of successful hatching.
- Re-evaluate your handling practices to ensure eggs are not subjected to excessive pressure or rough treatment during collection and storage.
- Consider improving the storage container or adjusting the storage environment to minimize any potential impacts on the eggs.
High contamination rates:
- If you are noticing frequent cases of contamination, evaluate your storage area and containers for possible sources of contamination.
- Ensure that the storage area is clean and well-maintained, and regularly sanitize the storage containers to prevent the growth of bacteria or fungi.
- Check the humidity levels in the storage area. Excess moisture can create a breeding ground for contaminants.
Inconsistent temperature or humidity:
- Verify the accuracy of your temperature and humidity monitoring equipment to ensure their reliability.
- Consider using multiple monitoring devices distributed strategically throughout the storage area to obtain more accurate readings.
- If there are variations in temperature or humidity, adjust the storage environment accordingly. Insulate the storage area or use heating/cooling devices to maintain the desired conditions.
Contaminated storage containers:
- Regularly inspect and clean the storage containers to remove any potential sources of contamination.
- Use a mild disinfectant solution to sanitize the containers before each use.
- Consider using disposable or easily cleanable containers to minimize the risk of contamination.
By troubleshooting and addressing these common issues promptly, you can optimize the storage conditions and increase the chances of successful incubation and hatching. Monitoring the eggs closely and making necessary adjustments will contribute to the overall health and viability of the fertilized eggs.
Now that you are equipped with troubleshooting tips, you are well-prepared to overcome any challenges that may arise during egg storage. In the final section, we will summarize the key points discussed in this article and emphasize the importance of proper storage techniques for fertilized eggs.
Conclusion
Proper storage of fertilized eggs is crucial for maintaining their viability and increasing the chances of successful incubation. By understanding the factors to consider before storage, the importance of proper storage techniques, and the necessary steps to store eggs correctly, you can greatly improve your outcomes in hatching healthy chicks.
Before storing fertilized eggs, be mindful of their age, handling practices, and the breed of bird. Collect the eggs promptly and inspect them for any damage or abnormalities before placement in the storage container. Choosing the right storage container that allows for proper airflow and stability is essential to maintaining the integrity of the eggs.
Control temperature and humidity levels within the recommended range to provide the optimal conditions for egg storage. Regular monitoring, rotation, and sanitation practices help prevent contamination and ensure even development of the embryo.
Check for signs of contamination and address them promptly to safeguard the remaining eggs. Troubleshoot common issues such as poor hatchability, cracked or damaged eggs, high contamination rates, inconsistent temperature or humidity, and contaminated storage containers to optimize the storage environment.
By following these guidelines and investing careful attention to the storage of fertilized eggs, your chances of successful incubation and hatching will increase significantly. The result will be healthy and thriving chicks that contribute to the growth and sustainability of your poultry operation.
Remember, every step matters, from the moment the eggs are laid to their storage and eventual incubation. By prioritizing proper storage techniques, you set the stage for successful hatching and ensure the future of your poultry farming endeavors.
So, take the time to understand fertilized eggs, create the right storage conditions, and handle them with care. With the right knowledge and dedication, you’ll be on your way to a fruitful and fulfilling hatchery experience.
Frequently Asked Questions about How To Store Fertilized Eggs
Was this page helpful?
At Storables.com, we guarantee accurate and reliable information. Our content, validated by Expert Board Contributors, is crafted following stringent Editorial Policies. We're committed to providing you with well-researched, expert-backed insights for all your informational needs.


0 thoughts on “How To Store Fertilized Eggs”