Articles
How To Store Hatching Eggs
Modified: February 22, 2024
Discover the best way to store hatching eggs with our comprehensive articles. Learn essential tips for preserving egg quality and maximizing hatch rates.
(Many of the links in this article redirect to a specific reviewed product. Your purchase of these products through affiliate links helps to generate commission for Storables.com, at no extra cost. Learn more)
Introduction
When it comes to hatching eggs, proper storage is crucial for successful incubation. Whether you are a poultry enthusiast or a farmer looking to hatch your own chicks, understanding how to store hatching eggs correctly is essential. The quality and viability of the eggs play a significant role in the hatching process, and improper storage can lead to poor hatch rates or even failure.
In this article, we will explore the step-by-step process of storing hatching eggs to maximize their hatchability. From selecting the right eggs to preparing them for incubation, we will cover everything you need to know to ensure optimal results.
So, let’s dive in and discover the secrets of storing hatching eggs!
Key Takeaways:
- Selecting the right hatching eggs from healthy parent stock and maintaining optimal storage conditions are crucial for maximizing hatchability and ensuring healthy chick development.
- Proper cleaning, positioning, and preparation of hatching eggs for incubation are essential steps that contribute to successful hatching and the growth of vibrant chicks.
Read more: How To Store Eggs For Hatching
Selecting Hatching Eggs
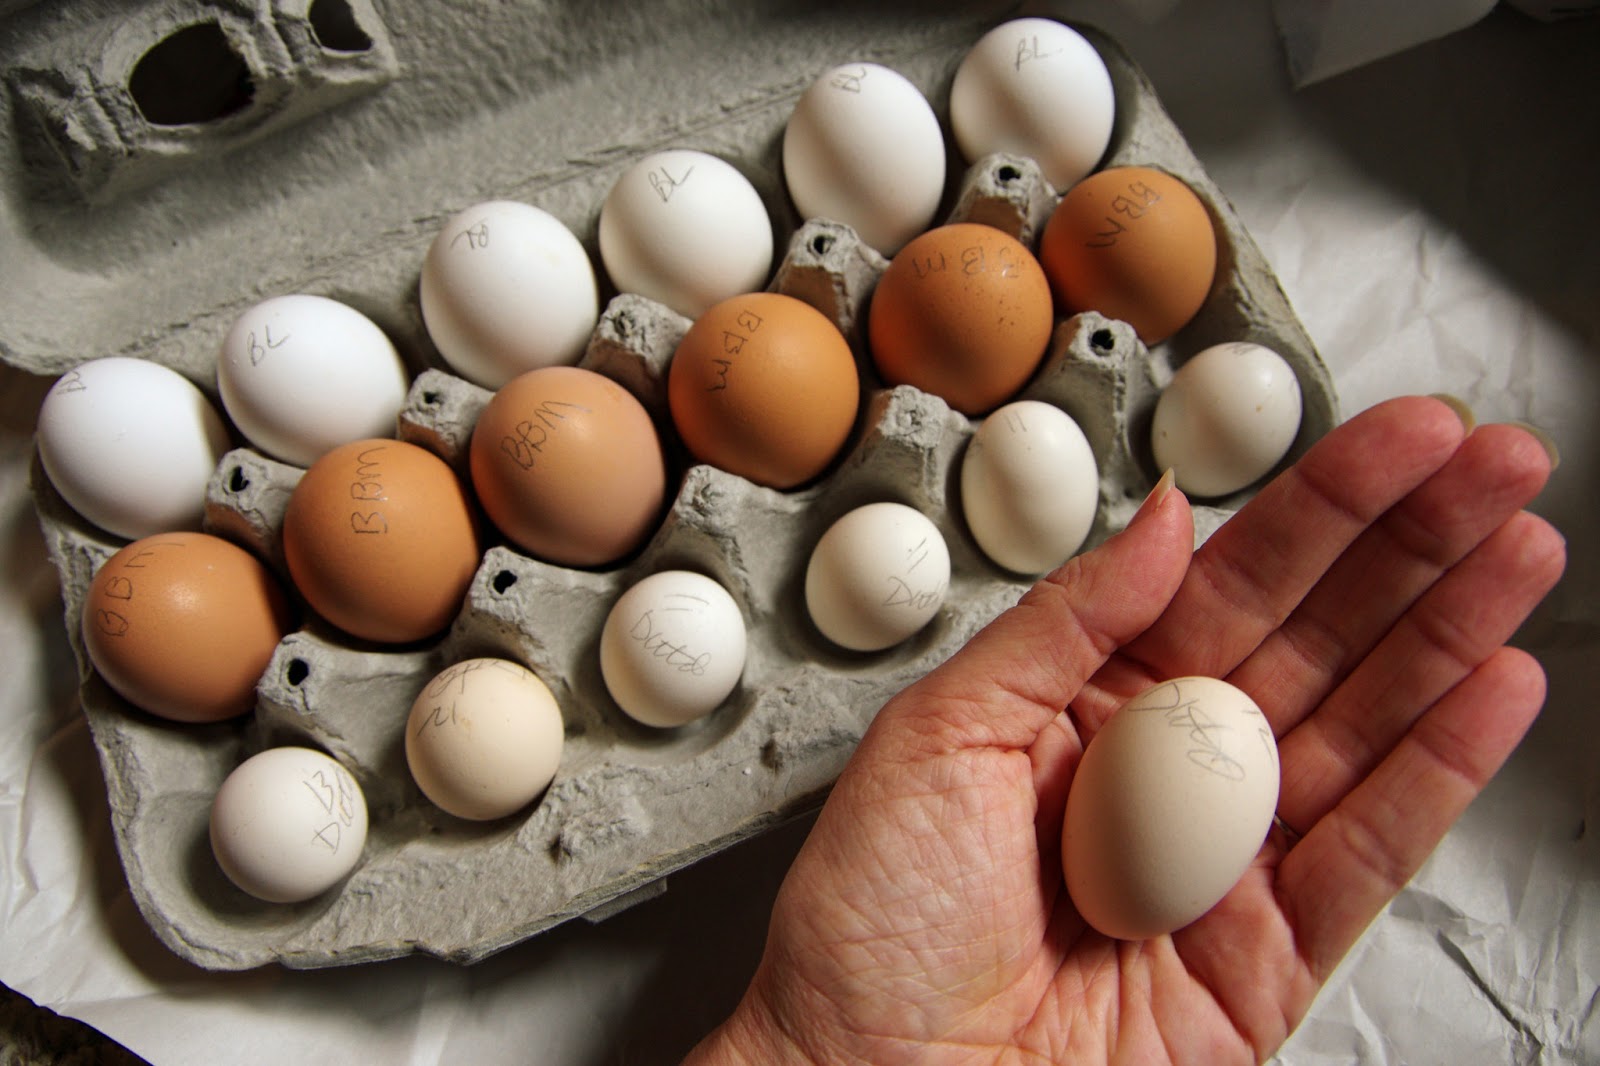
When it comes to hatching eggs, not all eggs are created equal. To increase your chances of a successful hatch, it is important to select the right eggs for incubation. Here are some key factors to consider when selecting hatching eggs:
- Quality of Parent Stock: Choose eggs from healthy and well-maintained parent stock. The quality of the parent birds directly affects the quality of the eggs and the chicks that will hatch from them.
- Size and Shape: Select eggs that are of average size and have a consistent shape. Avoid unusually large or small eggs, as they may be less viable.
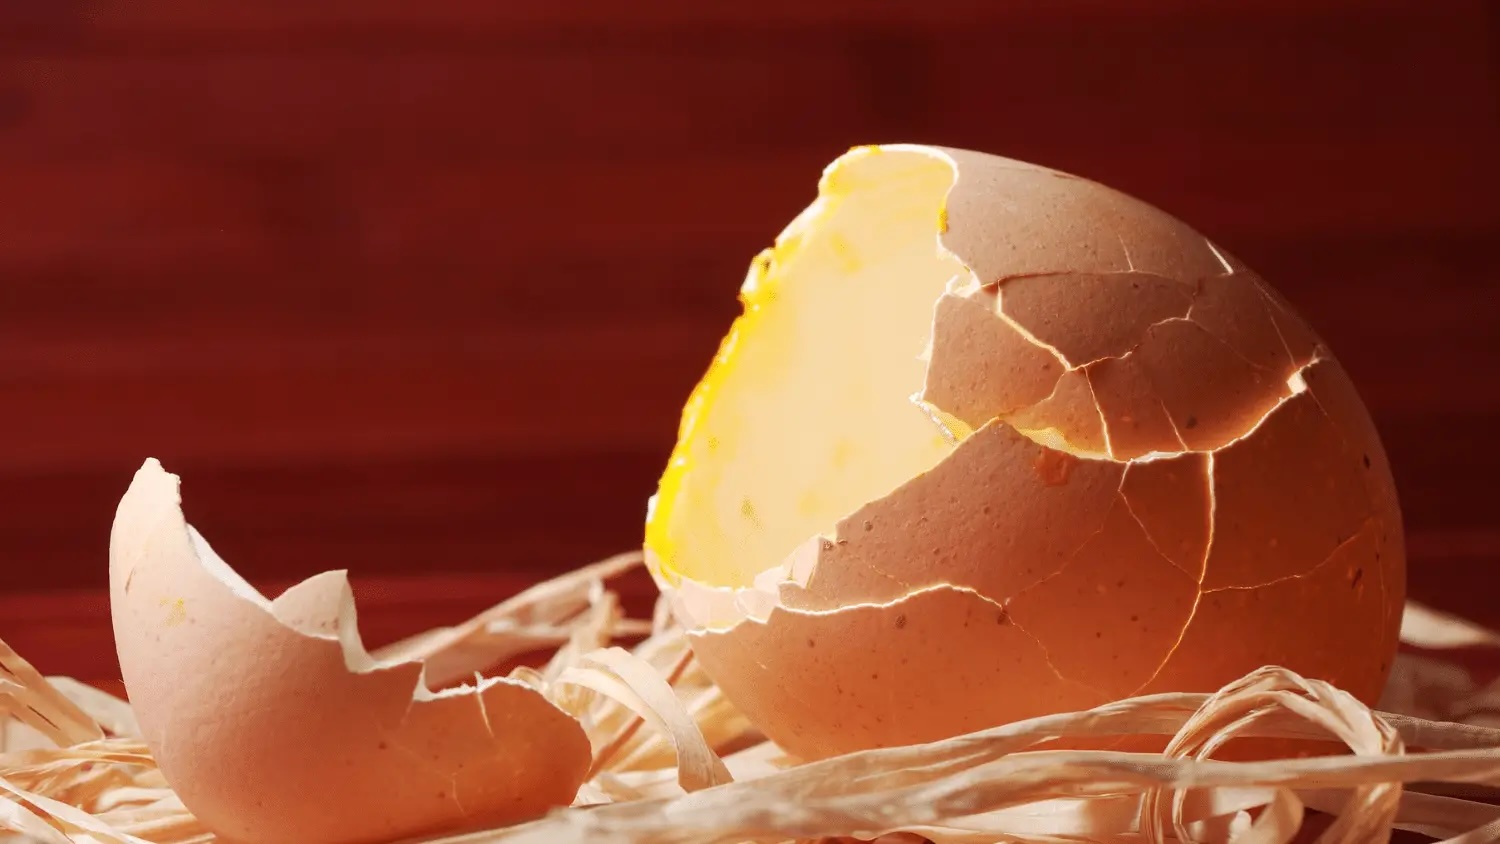
- Shell Integrity: Inspect the eggshell for any cracks or abnormalities. Cracked eggs are more prone to contamination and may not hatch successfully.
- Age: Fresh eggs have a higher hatchability rate compared to older eggs. Ideally, select eggs that are no more than 7-10 days old.
It is also important to note that different species have specific requirements for egg selection. For example, poultry eggs should have a glossy shell, while reptile eggs may need to be incubated in a specific position. Research the specific needs of the species you are working with to ensure proper selection of hatching eggs.
By carefully selecting the right hatching eggs, you set the foundation for a successful incubation process. Remember to collect the eggs promptly and handle them with care to maintain their viability.
Proper Cleaning and Sanitization Techniques
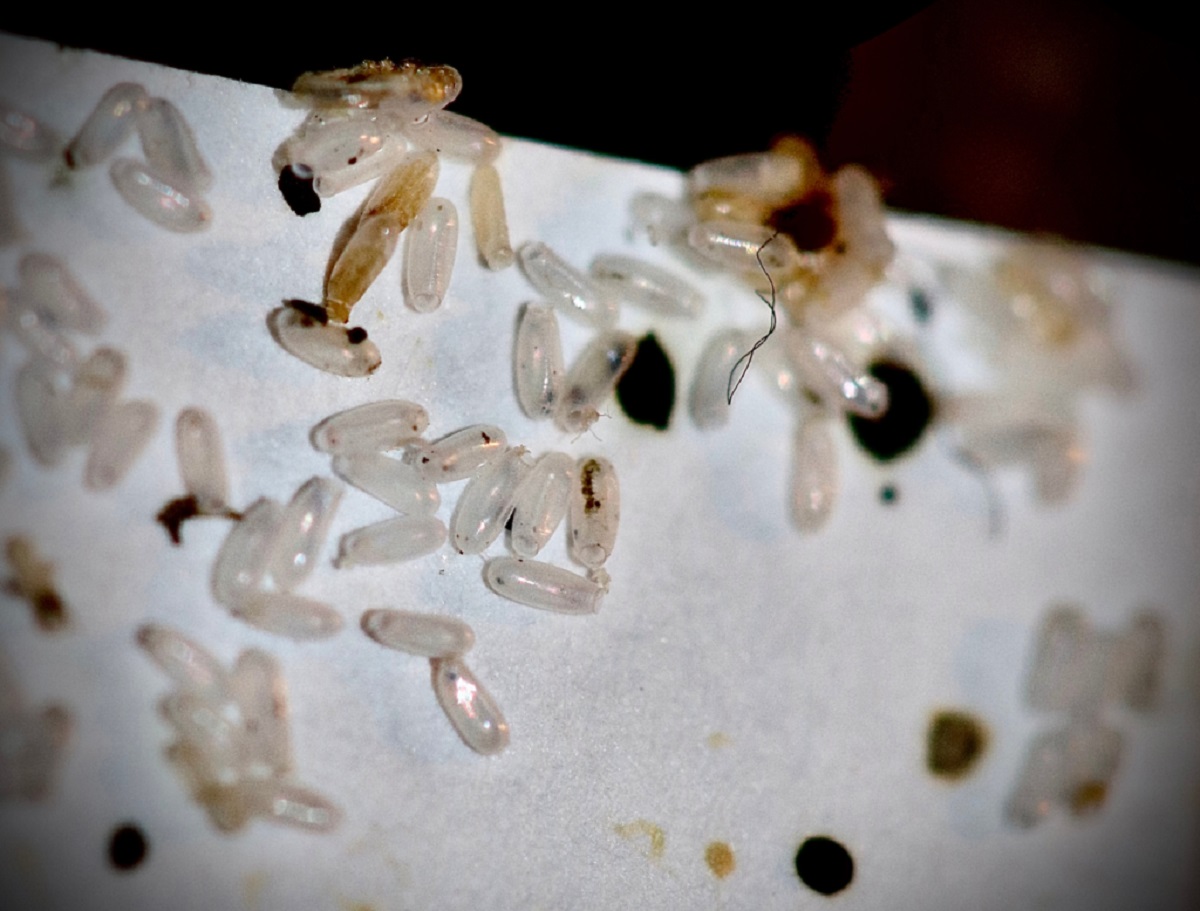
Before storing hatching eggs, it is crucial to ensure that they are clean and free from any potential contaminants. Proper cleaning and sanitization techniques play a vital role in maintaining egg quality and minimizing the risk of bacterial growth. Here are some steps to follow:
- Collect eggs with clean hands to avoid transferring dirt or bacteria onto the shell.
- Inspect the eggs for any visible dirt or debris. Gently wipe off any surface dirt with a clean, damp cloth.
- Avoid using water that is too hot or too cold, as extreme temperature changes can cause the eggshell to contract or expand, potentially leading to cracks.
- Use a mild detergent specifically designed for egg cleaning. Dilute the detergent according to the manufacturer’s instructions.
- Gently submerge the eggs in the diluted detergent solution and lightly scrub them with a soft brush or sponge.
- Rinse the eggs thoroughly under running water to remove any soap residue.
- After rinsing, sanitize the eggs by soaking them in a sanitizing solution. This solution can be prepared using recommended commercial sanitizers or a mixture of one part bleach to nine parts water.
- Allow the eggs to air dry naturally before storing them. Avoid using a towel or any drying method that may introduce additional contaminants.
It is important to note that eggs have a natural protective coating called the “bloom” or “cuticle.” This coating helps to prevent bacteria from penetrating the eggshell. Therefore, it is generally recommended not to wash eggs immediately after collection, especially if they are intended for incubation.
In cases where the eggs are excessively dirty or soiled, gentle cleaning may be necessary, but it should be done with caution to avoid damaging the natural protective coating.
By following these proper cleaning and sanitization techniques, you can ensure that the hatching eggs are in optimum condition for storage and subsequent incubation, maximizing the chances of a successful hatch.
Optimal Temperature and Humidity for Storage
Proper temperature and humidity control are crucial factors in storing hatching eggs. Maintaining the right conditions during storage helps to preserve the viability of the eggs and increases the chance of a successful hatch. Here are some guidelines for achieving the optimal temperature and humidity levels:
- Temperature: The recommended temperature for storing hatching eggs is between 50°F (10°C) and 55°F (13°C). Avoid extreme temperature fluctuations, as they can impact the egg’s internal structure and viability. It is important to store the eggs in a cool and consistent environment.
- Humidity: Relative humidity levels should be maintained between 75% and 80%. This moisture level helps to prevent excessive moisture loss from the eggs, which can decrease hatchability. Use a hygrometer to monitor and adjust the humidity levels accordingly.
- Ventilation: Proper ventilation is essential to prevent the buildup of stale air and excess moisture. Ensure that the storage area is well-ventilated to maintain a healthy environment for the eggs.
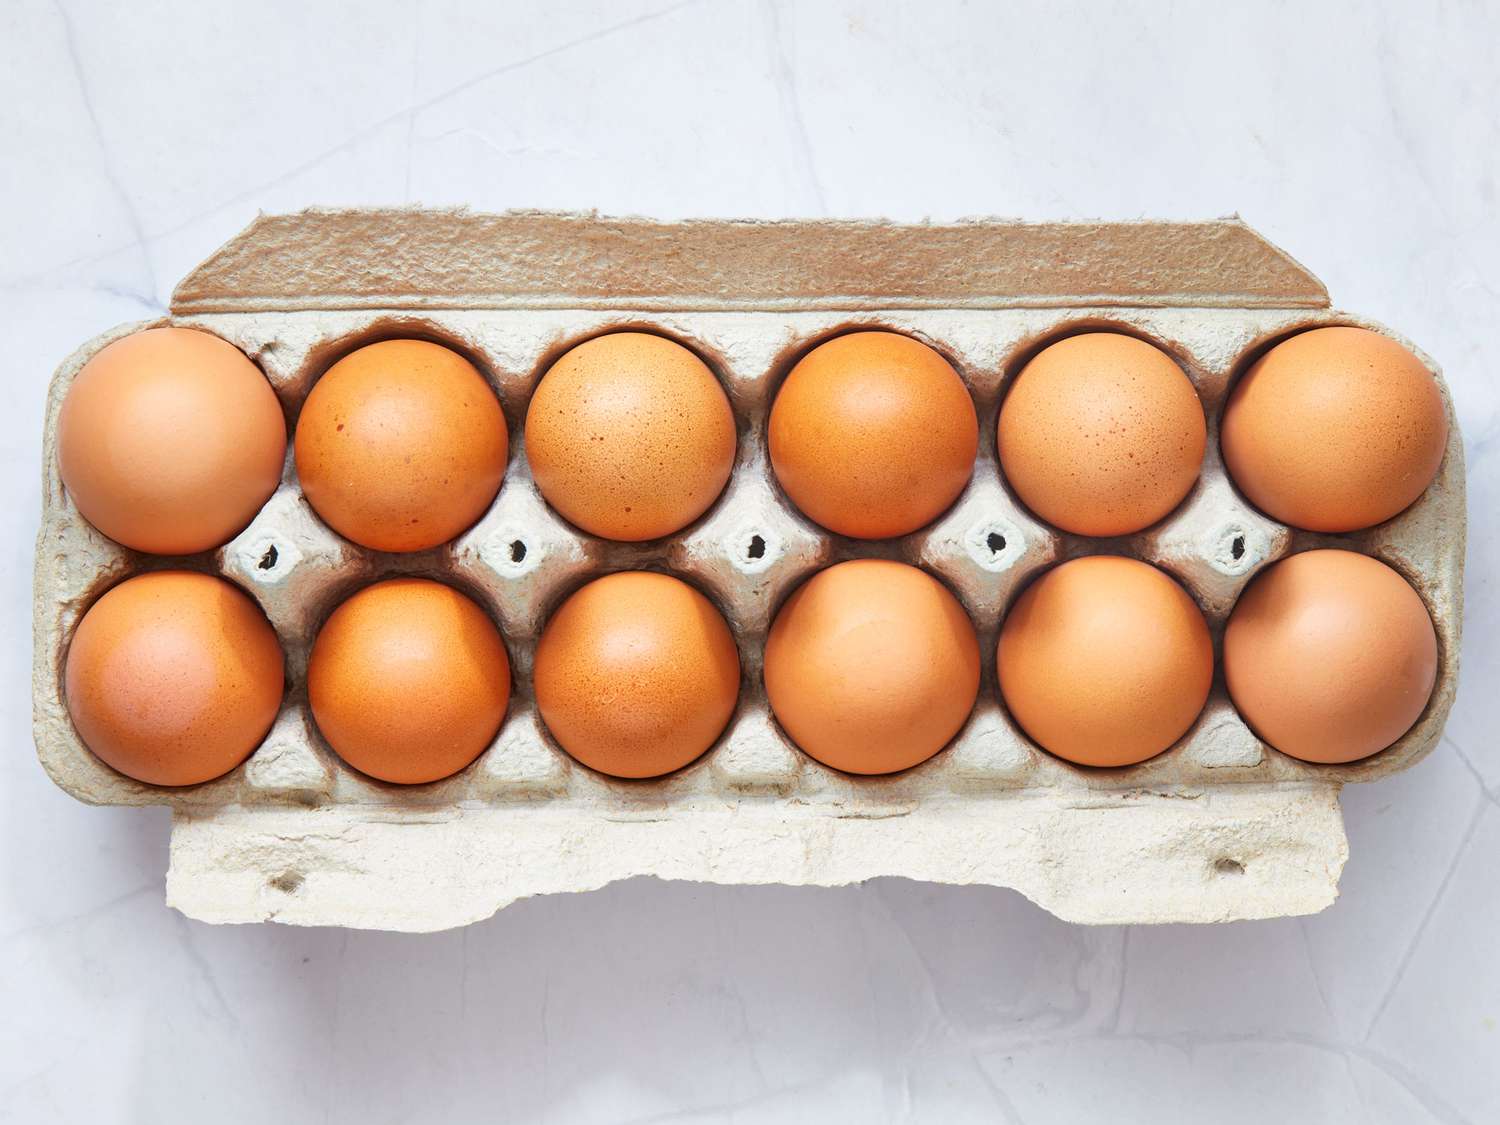
- Storage Containers: Use clean and ventilated egg cartons or trays for storing the eggs. Avoid overcrowding the eggs, as this can restrict airflow and lead to higher humidity levels within the container.
It is important to regularly monitor the temperature and humidity levels in the storage area. Fluctuations in temperature or humidity can negatively affect the eggs and reduce their hatchability. Additionally, storing the eggs near strong odors or chemicals should be avoided, as these can also impact the egg’s viability.
Keep in mind that different species may have specific temperature and humidity requirements, so it is essential to research and cater to their specific needs. Adjustable thermostats and humidifiers can help maintain consistent levels if necessary.
By ensuring optimal temperature and humidity conditions for egg storage, you create a suitable environment that promotes the preservation of embryo development, increasing the chances of a successful hatch.
Positioning and Turning of Hatching Eggs
Proper positioning and regular turning of hatching eggs during storage are essential for maintaining embryo development and ensuring a successful hatch. Here are some important considerations for positioning and turning hatching eggs:
- Positioning: Eggs should be stored with the pointed end facing downwards. This is because the air cell, located at the larger end of the egg, expands as the embryo develops. Storing the eggs with the pointed end down helps to keep the air cell positioned correctly and allows for proper gas exchange.
- Turning: To simulate the natural nesting conditions, hatching eggs should be turned regularly during storage. Turning the eggs prevents the embryo from sticking to the shell and helps distribute nutrients and moisture evenly. Ideally, eggs should be turned at least three times a day.
- Manual Turning: If you are storing a small number of eggs, manual turning can be done by gently rolling the eggs between your hands. Be careful not to shake or rotate the eggs too vigorously, as this can cause damage to the developing embryos.
- Automatic Turning: For larger egg quantities, using an automatic egg turner is recommended. These devices are designed to gently rotate the eggs at regular intervals, ensuring consistent turning without the risk of excessive handling.
It is important to note that turning hatching eggs should be discontinued a few days before incubation. This provides a settling period for the embryos and allows them to position themselves properly for hatching. It also prevents any disruption during the critical stage of hatching.
Remember to keep track of the turning schedule and ensure that each egg receives equal attention. This helps maintain the embryo’s health and development, increasing the likelihood of a successful hatch.
Store hatching eggs in a cool, humid environment, ideally around 55-60°F and 75% humidity. Turn the eggs at least 3 times a day to prevent the embryo from sticking to the shell.
Read more: How To Store Quail Eggs For Hatching
Duration of Egg Storage
The duration of egg storage plays a crucial role in determining their viability and hatchability. While it is best to incubate the eggs as soon as possible after being laid, there are instances where storing the eggs for a certain period may be necessary. Here are some guidelines for the duration of egg storage:
- Freshness: Freshly laid eggs have the highest hatchability rate. If possible, incubate the eggs within a week of being laid to maximize the chances of successful hatching.
- Short-Term Storage: If you need to store the eggs for a short period, such as a few days to a week, make sure to maintain the optimal storage conditions of temperature, humidity, and turning. Regularly check the eggs for any signs of deterioration or damage.
- Medium-Term Storage: If you plan to store the eggs for a longer period, such as several weeks, it is recommended to prioritize the freshest eggs for incubation first. Eggs that have been stored for a longer duration may experience a decrease in hatchability due to natural deterioration over time.
- Extended Storage: Some species, like reptiles, may require extended periods of egg storage before incubation. In these cases, it is crucial to research specific requirements for each species. Properly adjust storage conditions and be attentive to any changes or signs of deterioration during this extended duration.
- Record Keeping: Maintaining accurate records of the date of egg laying and storage is essential. This allows you to prioritize the eggs for incubation based on their freshness and helps track the duration of storage for each batch.
It is important to note that as the eggs age, their hatchability rate gradually decreases. While some eggs may still hatch beyond the ideal storage period, the chances of successful hatch will be lower compared to fresh eggs.
Therefore, it is recommended to plan the incubation process in a way that minimizes the need for long-term storage, ensuring optimal hatch rates and healthy chicks.
Identifying Viable and Non-viable Eggs
When storing hatching eggs, it is important to identify and separate viable eggs from non-viable ones. Properly identifying non-viable eggs helps prevent wasted time and resources on eggs that will not hatch. Here are some tips for identifying viable and non-viable eggs:
- Egg Candling: Egg candling is a common method used to examine the contents of an egg without breaking it. By holding the egg up to a bright light source, you can see the internal contents. Viable eggs will show clear signs of development such as visible veins and a dark shadow indicating the growing embryo.
- Smell Test: Non-viable eggs may emit an unpleasant odor when candled. In some cases, a rotten or foul smell can indicate that the egg is not viable. However, be cautious as some non-viable eggs may not produce a noticeable odor initially.
- Float Test: The float test is performed by placing the egg in a container of water. Viable eggs will generally sink and lie horizontally, while non-viable eggs may float or stand upright. This test is not always definitive, but it can provide some indication of the egg’s viability.
- Weight: Non-viable eggs are often lighter than viable ones due to the absence of an embryo or fewer developing contents. By gently holding the eggs and comparing their weight, you may be able to detect differences.
- Shell Condition: Eggs with cracked or damaged shells are more prone to contamination and may not be viable. Inspect the eggshell for any abnormalities or signs of damage that could potentially affect the embryo’s development.
It is important to keep in mind that some non-viable eggs may not show obvious signs of being non-viable, especially in the early stages of incubation. Monitoring the development of the embryos through regular candling is the most accurate way to determine viability as the incubation progresses.
By identifying non-viable eggs during the storage period, you can focus your efforts and resources on the eggs that have the highest potential for successful hatching, increasing your overall hatch rates.
Preparing Eggs for Incubation
Before placing hatching eggs in the incubator, it is vital to prepare them properly to ensure optimal conditions for embryo development. Here are some essential steps to follow when preparing eggs for incubation:
- Allow Eggs to Rest: After storing the eggs for the recommended duration, allow them to rest at room temperature for a few hours before placing them in the incubator. This helps the eggs adjust to the temperature change and settle within their natural position.
- Inspect for External Damage: Check each egg for any external damage or abnormalities. Cracked, dented, or significantly misshapen eggs should not be incubated, as they may have compromised structural integrity.
- Disinfect Incubator: Prior to placing the eggs, thoroughly clean and disinfect the incubator to ensure a sterile environment. Follow the manufacturer’s guidelines for disinfection, and allow sufficient time for the incubator to dry completely before adding the eggs.
- Set Up Proper Temperature and Humidity: Set the incubator to the appropriate temperature and humidity levels according to the species-specific requirements. Allow the incubator to stabilize for a few hours before placing the eggs inside.
- Positioning in the Incubator: Place the eggs in the incubator with the pointed end facing downward. This helps to maintain the correct orientation for optimal development and ensures proper air cell positioning.
- Minimize Egg Handling: Avoid excessive handling of the eggs during placement in the incubator. Gently place them in the designated holders or trays without shaking or jostling, to prevent damage to the developing embryo.
- Record Keeping: Maintain a detailed record of the date and time the eggs were placed in the incubator. This information will be helpful when monitoring their progress and determining hatch dates accurately.
Once the eggs are in the incubator, it is important to maintain stable temperature and humidity levels throughout the incubation period. Regularly monitor these conditions, candle the eggs periodically to check for development, and ensure proper ventilation in the incubator to promote healthy embryo growth.
By following these preparation steps, you create an optimal environment for egg incubation and increase the chances of a successful hatch, resulting in healthy and thriving chicks.
Conclusion
Properly storing hatching eggs plays a crucial role in maximizing their viability and ensuring a successful hatch. By following the guidelines outlined in this article, you can improve the chances of hatching healthy and vibrant chicks.
From selecting the right eggs to preparing them for incubation, each step in the storage process plays an important role in maintaining egg quality. Choosing eggs from healthy parent stock, cleaning and sanitizing them properly, and implementing optimal temperature and humidity conditions are all essential factors to consider.
Additionally, positioning the eggs correctly, regular turning, and mindful storage durations contribute to maintaining embryo development and viability. Identifying non-viable eggs and preparing the viable ones for incubation ensure the best possible outcome for successful hatching.
Remember to follow species-specific guidelines and adjust storage and incubation conditions accordingly. Regular monitoring, record-keeping, and maintaining a sterile incubator environment are essential practices to promote healthy embryo growth and increase hatch rates.
By implementing these techniques and paying attention to the details, you can enjoy the rewarding experience of hatching your own chicks while contributing to the growth and sustainability of your flock or poultry venture.
Now that you have a comprehensive understanding of how to store hatching eggs, it’s time to put your knowledge into action. Happy hatching!
Frequently Asked Questions about How To Store Hatching Eggs
Was this page helpful?
At Storables.com, we guarantee accurate and reliable information. Our content, validated by Expert Board Contributors, is crafted following stringent Editorial Policies. We're committed to providing you with well-researched, expert-backed insights for all your informational needs.

0 thoughts on “How To Store Hatching Eggs”