
Articles
How To Store Fresh Green Beans Long Term
Modified: March 24, 2024
Learn the best methods for storing fresh green beans long term with our informative articles. Keep your beans fresh and flavorful for months to come.
(Many of the links in this article redirect to a specific reviewed product. Your purchase of these products through affiliate links helps to generate commission for Storables.com, at no extra cost. Learn more)
Introduction
Are you a fan of fresh green beans but find yourself overwhelmed with a surplus from your garden or the farmers’ market? Don’t worry, you can store fresh green beans long-term so that you can enjoy their crisp and flavorful taste even after the harvest season is over. In this article, we will explore different methods for preserving green beans and keeping them fresh for an extended period.
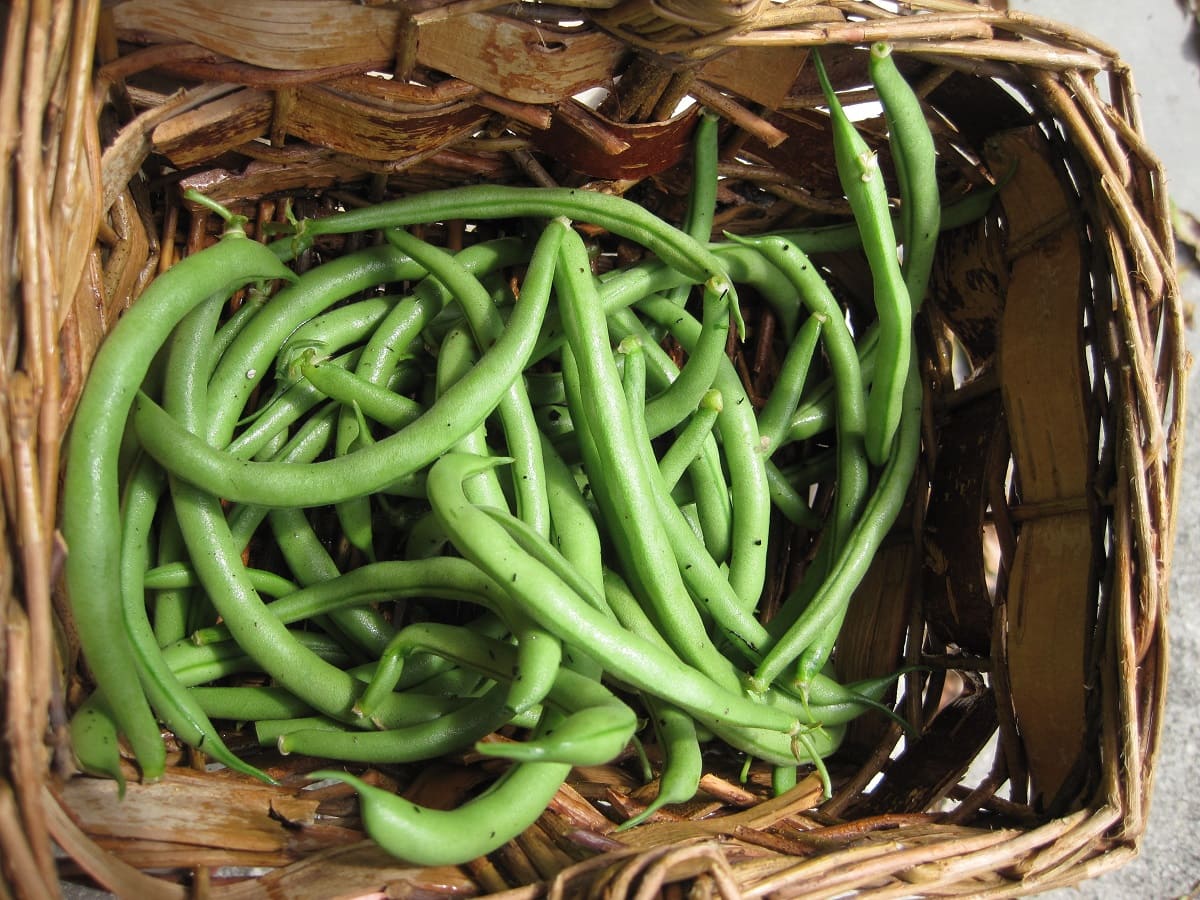
Green beans, also known as string beans or snap beans, are a versatile and nutritious vegetable. With their vibrant color and tender texture, they make a delightful addition to various dishes, including stir-fries, salads, and casseroles. However, green beans have a relatively short shelf life, and if not properly stored, they can become limp and lose their vibrant color.
The key to preserving the freshness of green beans lies in blanching and drying them before storing. Blanching involves briefly boiling or steaming the beans to halt enzyme activity and preserve their color and texture. Drying ensures that any remaining moisture is removed, reducing the risk of spoilage and freezer burn.
Once properly prepared and dried, you have multiple options for storing green beans: freezing and vacuum sealing. Freezing is a simple and convenient method that allows you to store green beans for up to a year without significant loss in quality. Vacuum sealing, on the other hand, provides an airtight environment, maintaining the beans’ freshness to its fullest extent.
When you’re ready to use the stored green beans, you can easily incorporate them into your favorite recipes. Whether you’re cooking frozen green beans or vacuum-sealed ones, you’ll enjoy the rich flavor and crispness that they retain even after months of storage.
In the next sections, we’ll guide you through the process of choosing and preparing green beans, blanching and drying them, as well as storing and using them for future meals. Let’s dive into the world of long-term storage for fresh green beans, so you can savor their taste all year round!
Key Takeaways:
- Preserve the vibrant flavor and crisp texture of fresh green beans by blanching, drying, and storing them long-term through freezing or vacuum sealing. Enjoy their rich taste in various dishes all year round!
- Ensure the quality and freshness of stored green beans by properly thawing and cooking frozen beans or using vacuum-sealed beans for quick and convenient meal preparation. Savor the flavor and versatility of preserved green beans in your favorite recipes!
Read more: How To Store Green Coffee Beans Long Term
Choosing and preparing the green beans
Before you can store fresh green beans long-term, it’s essential to start with high-quality beans and give them proper preparation. Here are the steps to follow for selecting and cleaning your green beans:
Selecting fresh green beans
When choosing green beans, look for ones that are firm, crisp, and vibrant in color. Avoid beans that appear wilted, discolored, or have noticeable blemishes. Size doesn’t necessarily indicate quality, so you can opt for either thin or thick green beans depending on your preference.
If you have access to freshly picked green beans, that’s your best bet. However, if you’re purchasing them from a store or the farmers’ market, try to select beans that have been recently harvested, as they will have better flavor and texture.
Cleaning and trimming the beans
Once you have your green beans, it’s important to give them a thorough cleaning to remove any dirt or debris. Start by rinsing them under cool running water. You can use your hands to gently rub the beans to help remove any surface dirt.
After cleaning, trim the ends of the beans. Hold a bean between your fingers and use a sharp knife to cut off the stem end. Repeat this process for all the beans in your batch. Trimming the ends not only improves the appearance of the beans but also helps with even cooking and ensures that any tough parts are removed.
It’s worth noting that some green beans have a string-like fiber that runs along the seam. This string can be tough and unpleasant to eat. Check if your beans have strings and remove them by snapping off the stem end and pulling down along the length of the bean.
Once your green beans are cleaned and trimmed, they are ready for blanching and drying, which we’ll discuss in the next section.
Blanching the green beans
Blanching is a crucial step in preserving the quality and color of green beans. It involves briefly cooking the beans in boiling water or steam and then quickly cooling them down. Blanching halts enzyme activity, preserves the vibrant green color, and helps retain the beans’ crisp texture. Here are two common methods for blanching green beans:
Boiling water blanching method
Start by bringing a large pot of water to a rolling boil. You’ll need approximately 1 gallon of water per pound of green beans. While the water is heating, prepare a separate bowl of ice water. This will be used to cool the blanched beans quickly.
Once the water is boiling, carefully drop the trimmed green beans into the pot. Allow them to cook for 2 to 3 minutes, keeping an eye on them to ensure they don’t overcook. The blanching time may vary slightly depending on the size and tenderness of the beans, so it’s best to do a quick taste test for doneness.
After the beans have been blanched, quickly remove them from the boiling water and transfer them to the bowl of ice water. This shocking process stops the cooking process and helps preserve their color and texture. Let the beans sit in the ice bath for about the same amount of time they were boiled.
Once the beans are completely cooled, remove them from the ice water and drain them well. They are now ready to be dried and stored for long-term use.
Steam blanching method
If you prefer to steam your green beans, you’ll need a steamer or a large pot with a steamer basket. Fill the pot with a few inches of water and bring it to a boil. Place the trimmed green beans in the steamer basket, making sure they are in a single layer, allowing steam to circulate evenly.
Once the water is boiling, carefully place the steamer basket with the green beans over the pot. Cover the pot with a lid and steam the beans for about 3 to 4 minutes. Again, the steaming time may vary depending on the size and tenderness of the beans.
After steaming, remove the basket from the pot and immediately transfer the beans to the bowl of ice water. Just like with the boiling water method, allow the beans to cool in the ice bath for the same amount of time they were steamed.
After the beans have cooled, drain them well before proceeding to the drying and storing process.
Drying the green beans
Once you have blanched the green beans, the next step is to dry them thoroughly before storing. Proper drying removes any remaining moisture from the beans, preventing spoilage and freezer burn. Here are two common methods for drying green beans:
Air drying method
The air drying method is simple and requires minimal equipment. Start by spreading the blanched beans in a single layer on a clean kitchen towel or a mesh drying rack. Make sure the beans are not touching each other to allow for proper airflow.
Place the beans in a well-ventilated area, away from direct sunlight and moisture. Depending on the humidity level, it can take anywhere from a few days to a week for the beans to fully dry. During this time, you can turn the beans occasionally to ensure even drying.
Once the beans are completely dry, they should feel firm and brittle. At this point, you can proceed to store them using the method of your choice or use them right away in your favorite recipes, knowing that they will maintain their quality for an extended period.
Read more: How To Store Beans Long Term
Oven drying method
If you’re looking for a quicker drying method, you can opt for oven drying. Preheat your oven to a low temperature, around 150°F (65°C). Line a baking sheet with parchment paper or a silicone baking mat.
Spread the blanched beans on the baking sheet in a single layer, ensuring they are not touching each other. Place the baking sheet in the preheated oven and leave the oven door slightly ajar to allow for airflow and moisture to escape.
Let the beans dry in the oven for about 2 to 3 hours, or until they are completely dry and brittle. Keep an eye on them to prevent over-drying and to ensure that they don’t brown or burn.
Once the beans are dry, remove them from the oven and let them cool completely. You can then proceed to store them using your preferred method or use them in various recipes.
Remember that properly dried green beans are crucial for long-term storage, so make sure they are completely dry before moving on to the storage step.
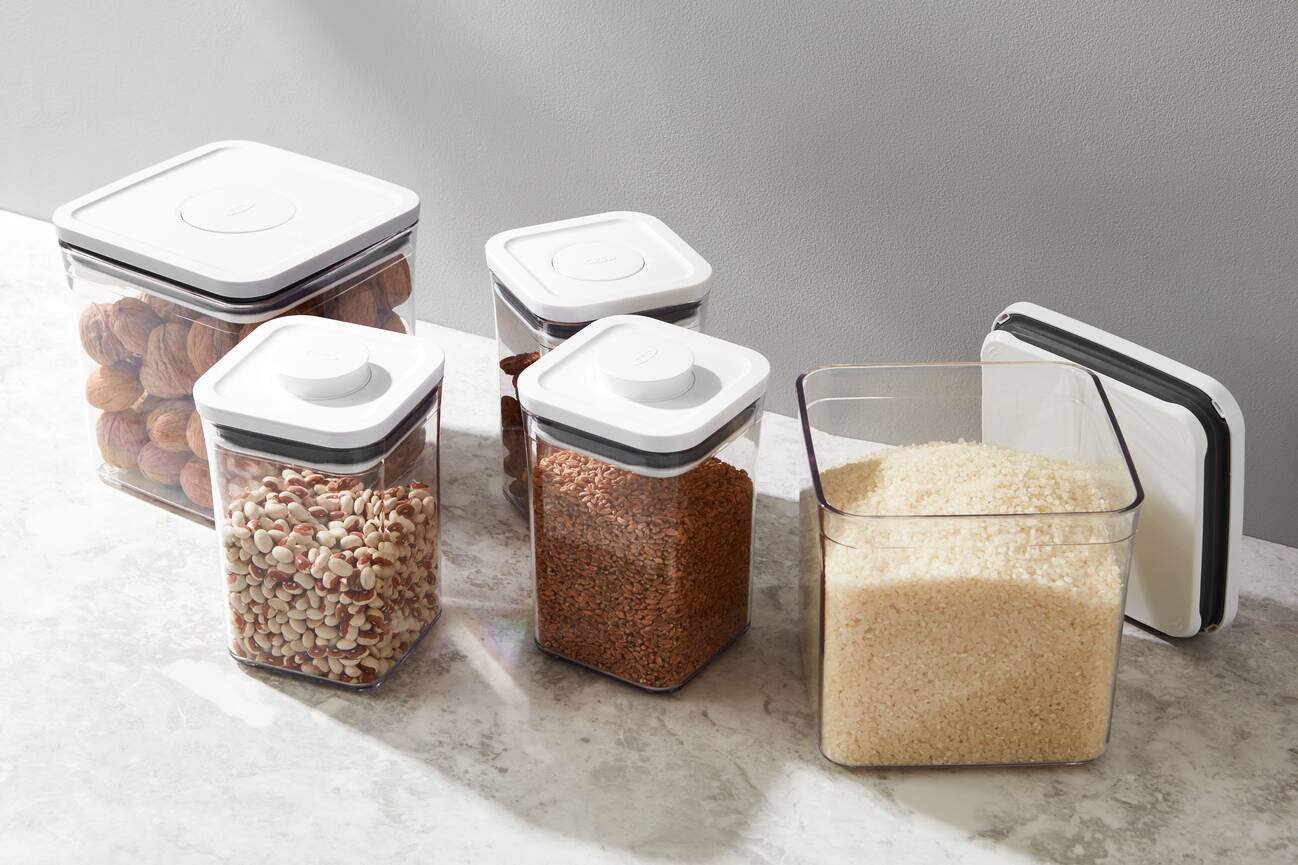
Storing the green beans
After blanching and drying your green beans, it’s time to store them for long-term use. There are two popular methods for storing green beans: freezing and vacuum sealing.
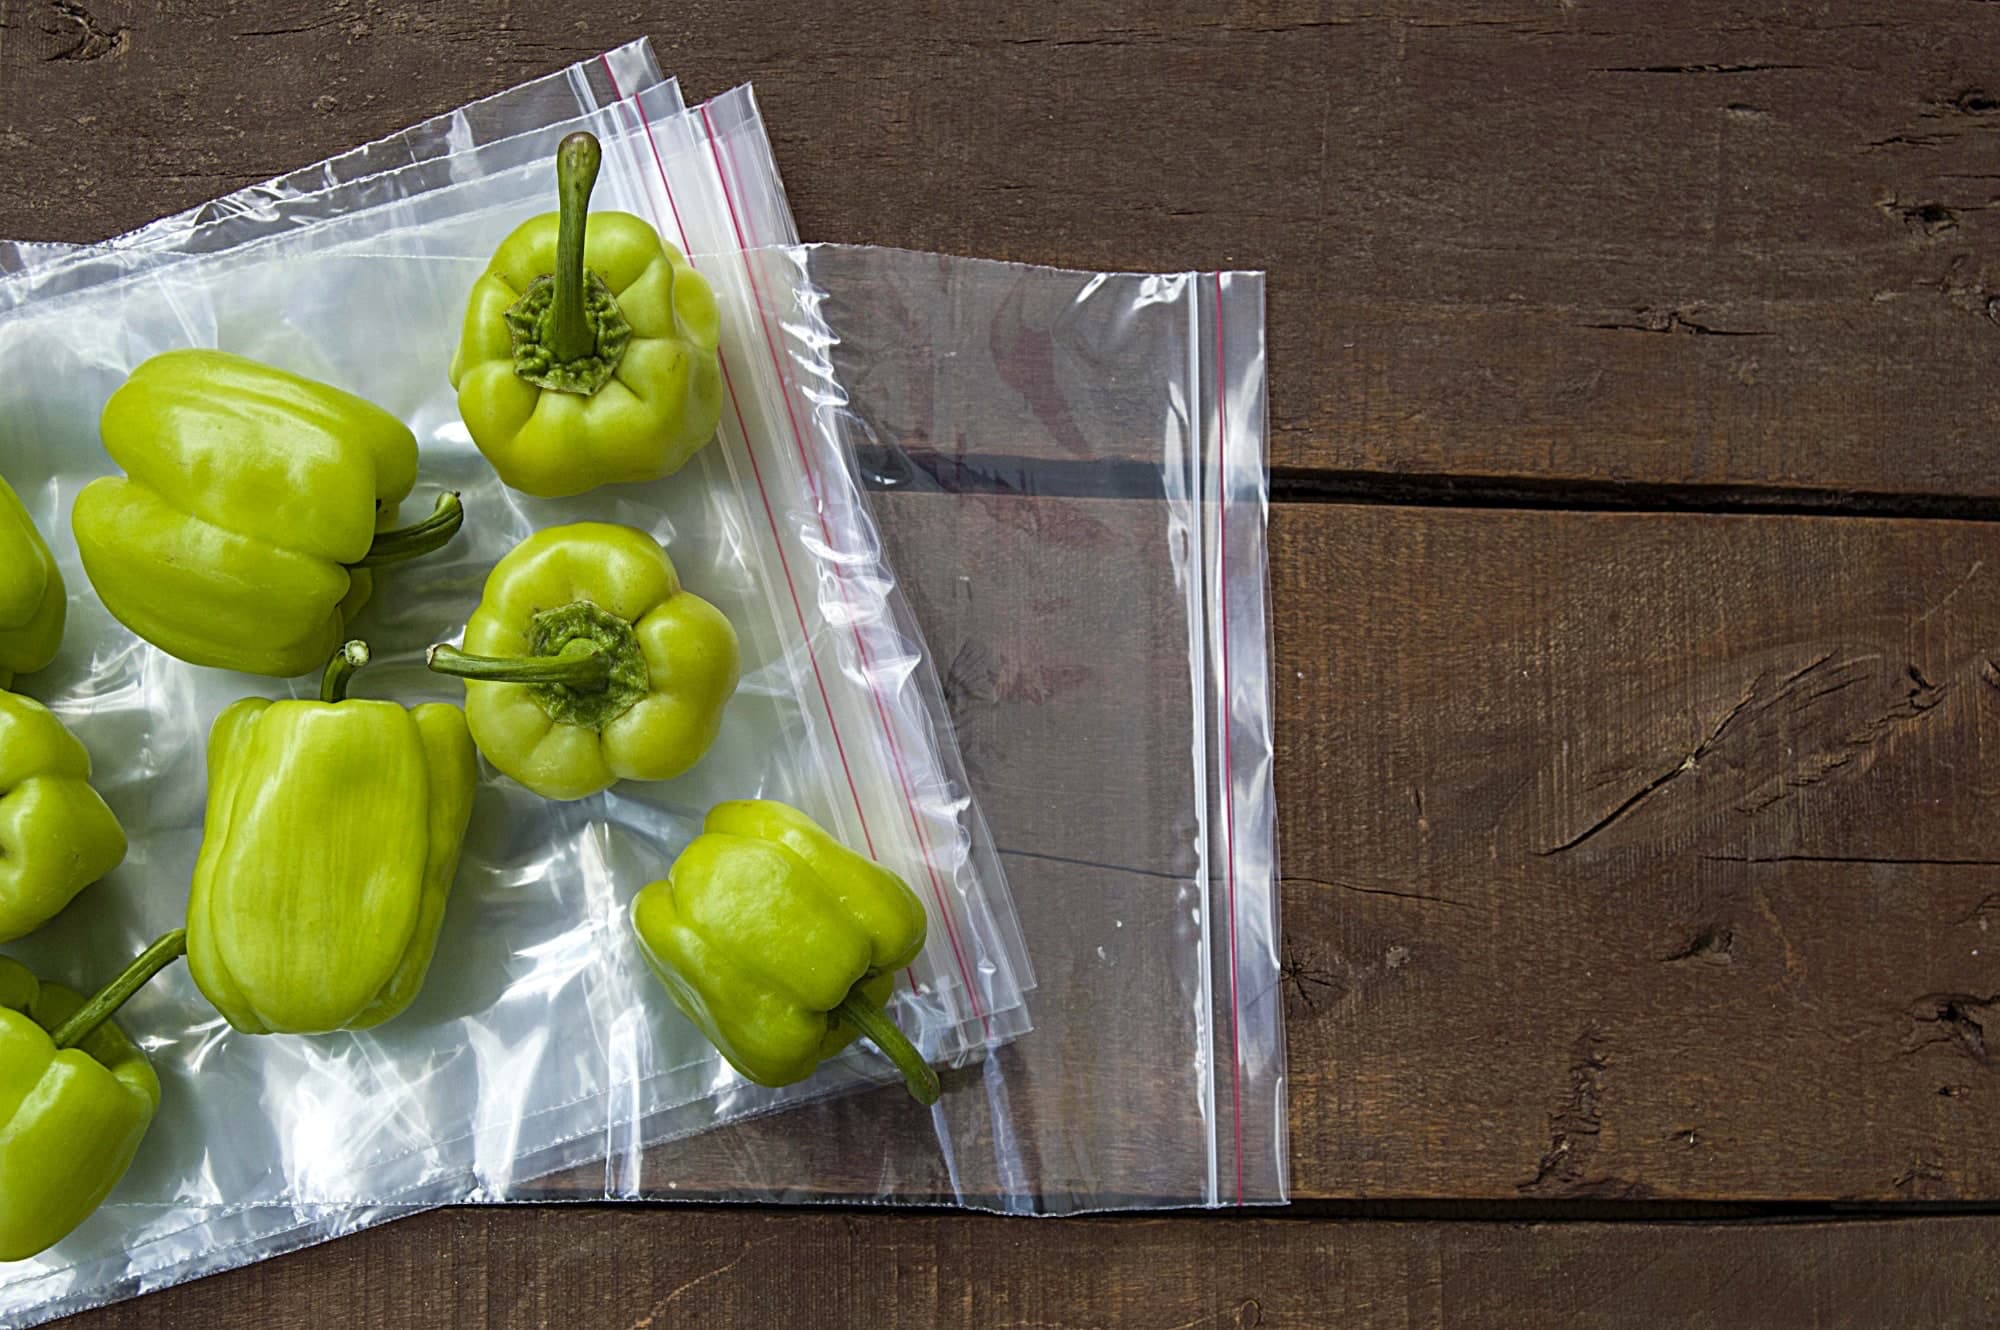
Freezing the green beans
Freezing is a convenient method that allows you to store green beans for an extended period without significant loss in quality. Here’s how to freeze your green beans:
- Divide the dried green beans into portion sizes that you’ll typically use in recipes. You can separate them into freezer bags or airtight containers.
- Make sure to squeeze out as much air as possible from the bags or containers to minimize the risk of freezer burn.
- Label the bags or containers with the date of freezing for easy reference.
- Place the bags or containers in the freezer, ensuring they are in a flat position to prevent the beans from freezing in clumps.
Frozen green beans can be stored for up to a year, but for the best quality, try to use them within 6 to 8 months. When you’re ready to use them, simply remove the desired amount from the freezer and thaw before cooking.
Vacuum sealing the green beans
Vacuum sealing provides an airtight environment, preserving the freshness and flavor of the green beans to its fullest extent. Here’s how to vacuum seal your green beans:
- Divide the dried green beans into portion sizes suitable for your needs.
- Place the beans into vacuum-sealer bags or vacuum-sealer canisters, following the manufacturer’s instructions.
- Seal the bags or canisters using a vacuum sealer.
- Label the bags or canisters with the date of sealing.
- Store the vacuum-sealed green beans in a cool, dark place, such as a pantry or a cupboard.
Vacuum-sealed green beans can last for up to 2 years. When you’re ready to use them, simply open the bag or canister, and the beans will be ready to cook.
Whether you choose to freeze or vacuum seal your green beans, make sure to monitor the storage conditions to maintain the quality and flavor of the beans for as long as possible.
Read more: How To Store Fresh Picked Green Beans
Using the stored green beans
Now that you have your stored green beans, you can easily incorporate them into your favorite recipes. Here are some guidelines on how to use both thawed frozen green beans and vacuum-sealed green beans:
Thawing and cooking frozen green beans
When you’re ready to use your frozen green beans, you’ll need to thaw them before cooking. Follow these steps for thawing and cooking frozen green beans:
- Remove the desired amount of frozen green beans from the freezer. You can take out as much as you need for your recipe.
- Thaw the green beans by placing them in a colander and running cool water over them. Alternatively, you can thaw them overnight in the refrigerator.
- Once the green beans are thawed, they are ready to be cooked according to your recipe. You can sauté them, steam them, or incorporate them into soups, casseroles, or stir-fries.
- Cook the thawed green beans until they are tender but still have a slight crispness. Cooking times may vary depending on the recipe and your personal preference.
Thawed frozen green beans can be used as a convenient substitute for fresh beans in any recipe. They retain their taste and texture, making them a versatile ingredient for various dishes.
Cooking vacuum-sealed green beans
If you have vacuum-sealed green beans, the cooking process is even more straightforward. Follow these steps to cook your vacuum-sealed green beans:
- Remove the vacuum-sealed bag or open the vacuum-sealed canister containing the green beans.
- Transfer the desired amount of green beans to a pot or skillet for cooking.
- Cook the green beans according to your recipe, whether it is sautéing, steaming, or any other preferred cooking method.
- Monitor the cooking time and adjust accordingly based on the recipe and your desired level of doneness. Vacuum-sealed green beans may cook slightly faster than fresh or thawed beans, so keep an eye on them.
With vacuum-sealed green beans, you’ll enjoy the same freshness and flavor as when they were first sealed. They make for a great option when you want to have green beans readily available for a quick and easy meal.
Whether you’re using thawed frozen green beans or vacuum-sealed green beans, let your creativity guide you as you incorporate them into your favorite recipes. From side dishes to main courses, these preserved green beans will add a burst of flavor and nutritional value to your meals.
Frequently Asked Questions about How To Store Fresh Green Beans Long Term
Was this page helpful?
At Storables.com, we guarantee accurate and reliable information. Our content, validated by Expert Board Contributors, is crafted following stringent Editorial Policies. We're committed to providing you with well-researched, expert-backed insights for all your informational needs.
0 thoughts on “How To Store Fresh Green Beans Long Term”