Articles
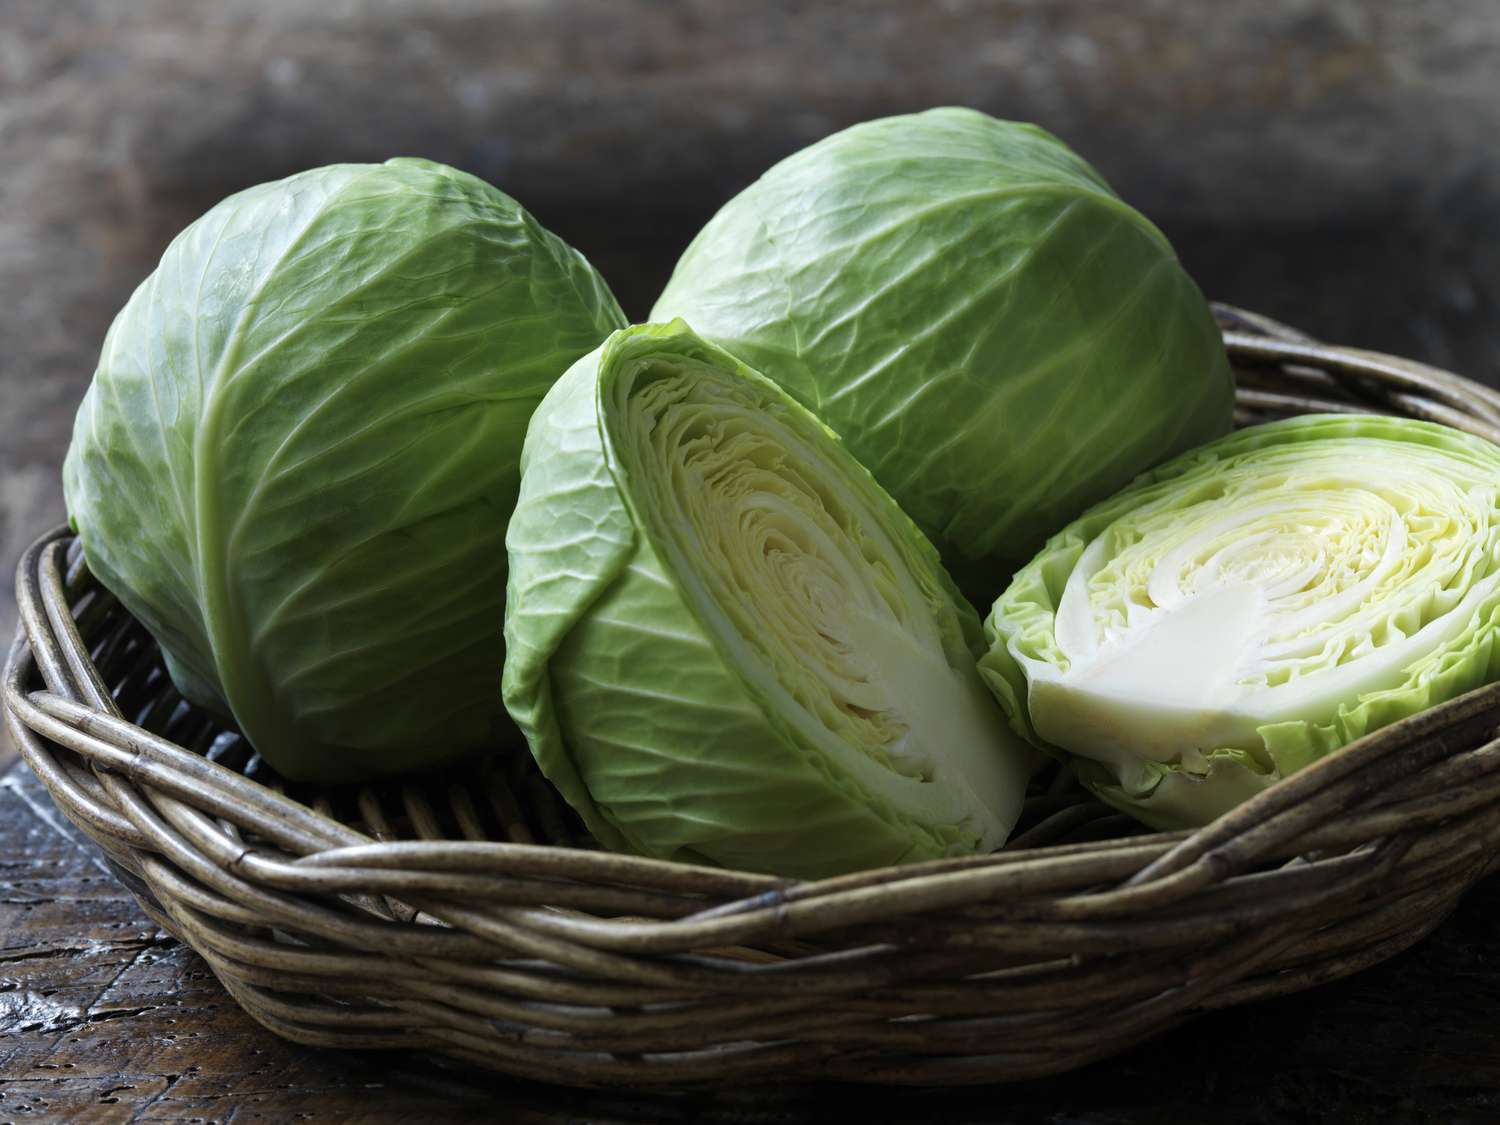
How To Store Green Vegetables To Last Longer
Modified: September 1, 2024
Discover the best methods to store greens and keep them fresh for longer. Read our informative articles for expert tips and tricks.
(Many of the links in this article redirect to a specific reviewed product. Your purchase of these products through affiliate links helps to generate commission for Storables.com, at no extra cost. Learn more)
Introduction
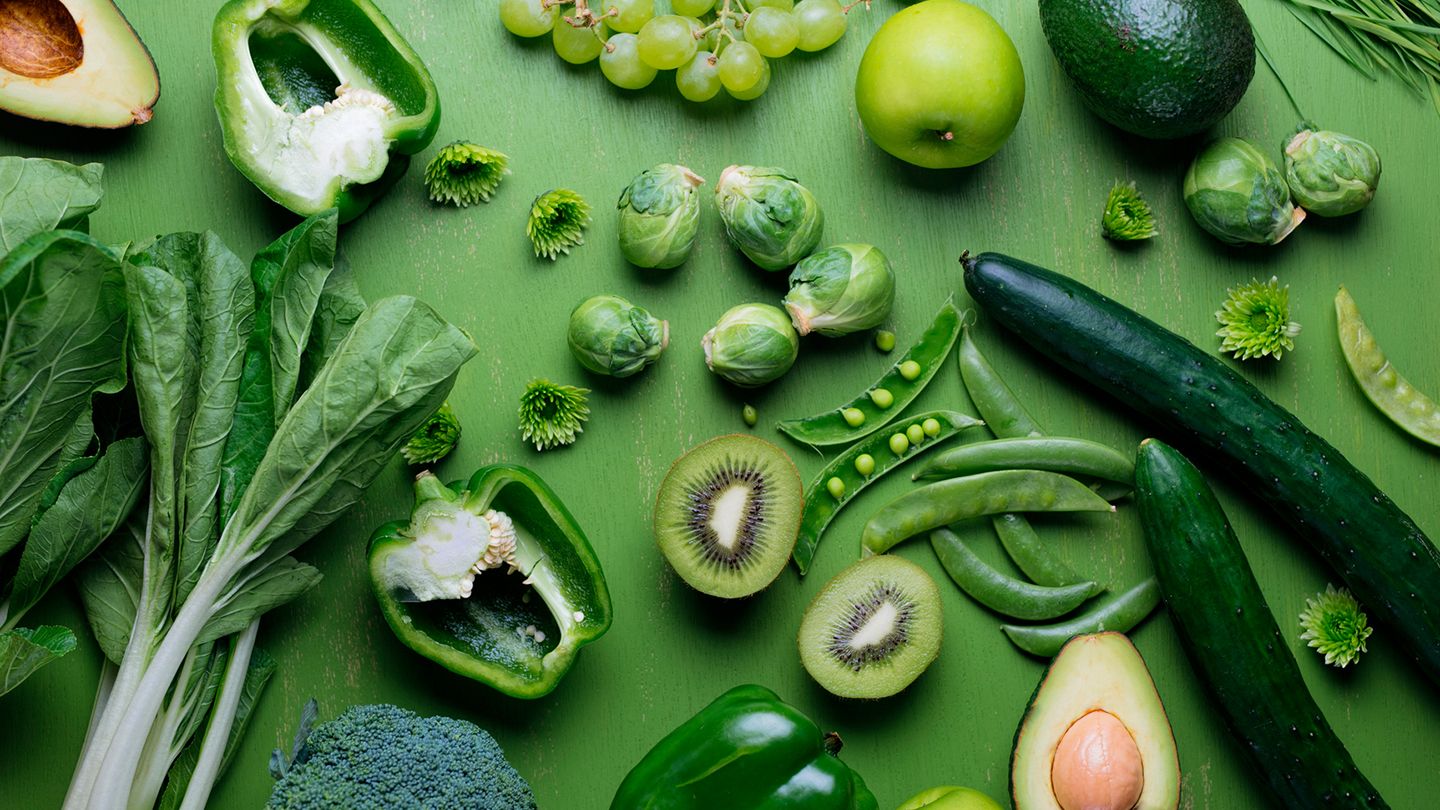
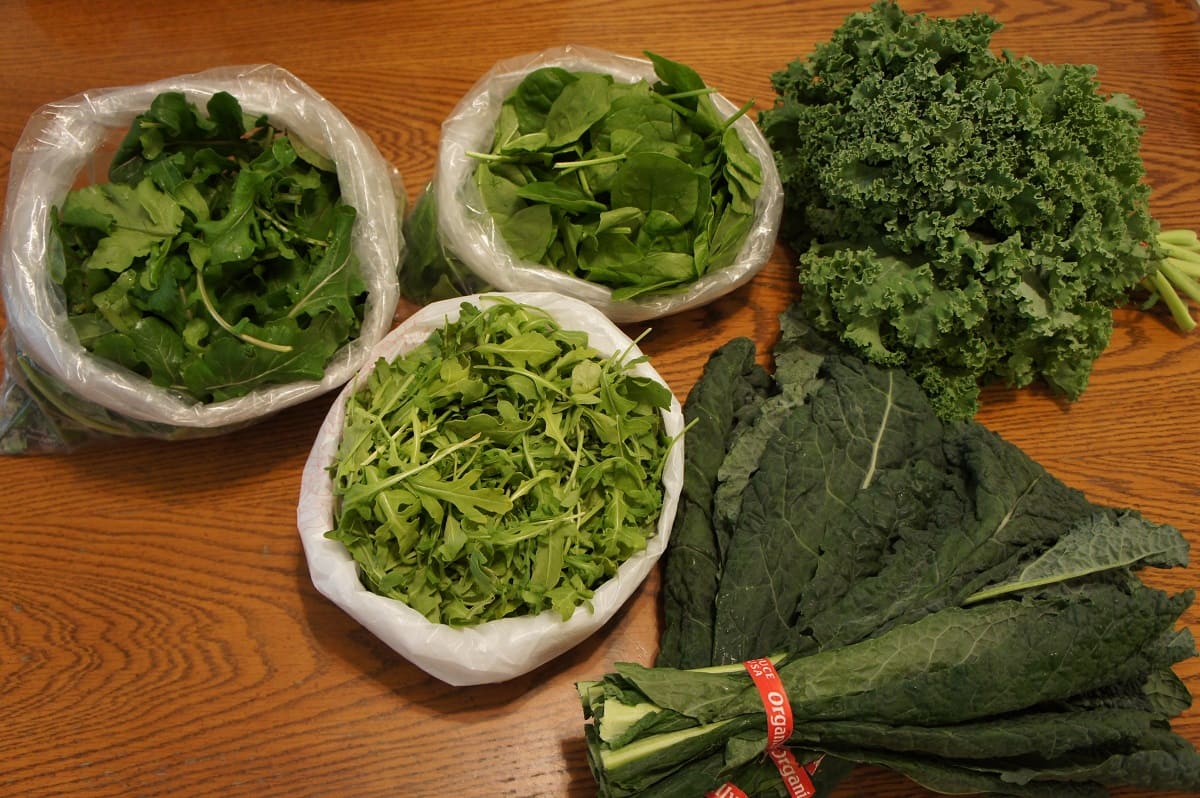
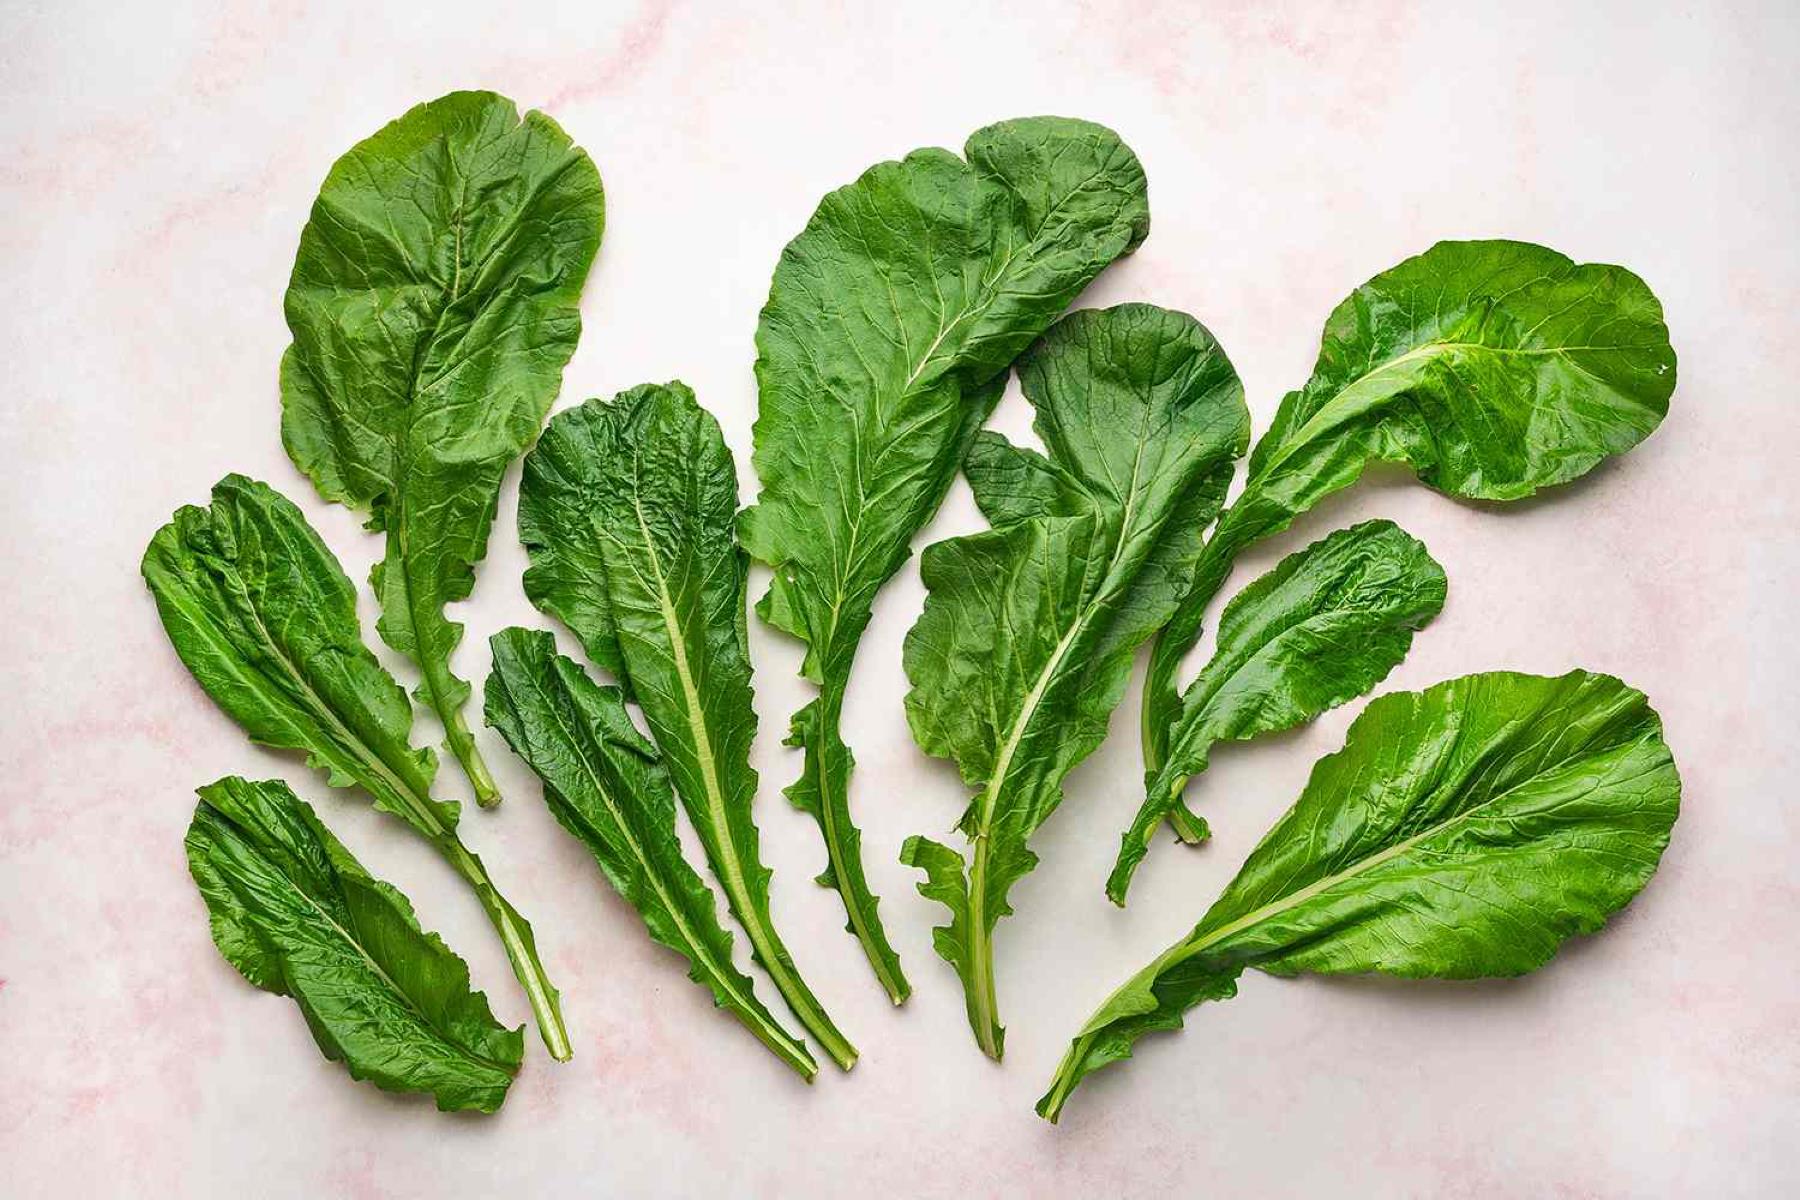
Welcome to the world of green vegetables! Whether it’s spinach, kale, lettuce, or any other leafy greens, they are incredibly nutritious and a crucial part of a healthy diet. But, as with any fresh produce, greens have a limited lifespan. If not stored properly, they can quickly wilt, lose their flavor, and become less appealing.
That’s why it’s important to understand how to store greens to make them last longer. By implementing a few simple techniques, you can extend the shelf life of your greens and ensure that they stay fresh, crisp, and full of flavor for as long as possible.
In this article, we will explore the importance of storing greens properly and provide you with practical tips and tricks to help you make the most out of your greens. From choosing the freshest greens at the store to utilizing airtight containers and even freezing greens for future use, we’ve got you covered.
So, let’s dive in and discover the secrets to keeping your greens fresh and vibrant for an extended period of time!
Key Takeaways:
- Extend the lifespan of your greens by choosing fresh, vibrant leaves, cleaning and drying them thoroughly, and utilizing airtight containers to preserve their moisture and flavor. Proper storage ensures maximum freshness and nutritional value.
- Revive wilted greens by trimming the stems, soaking them in cold water with ice cubes, and patting them dry. Prevention is key, so store greens properly to maintain their crispness and vitality.
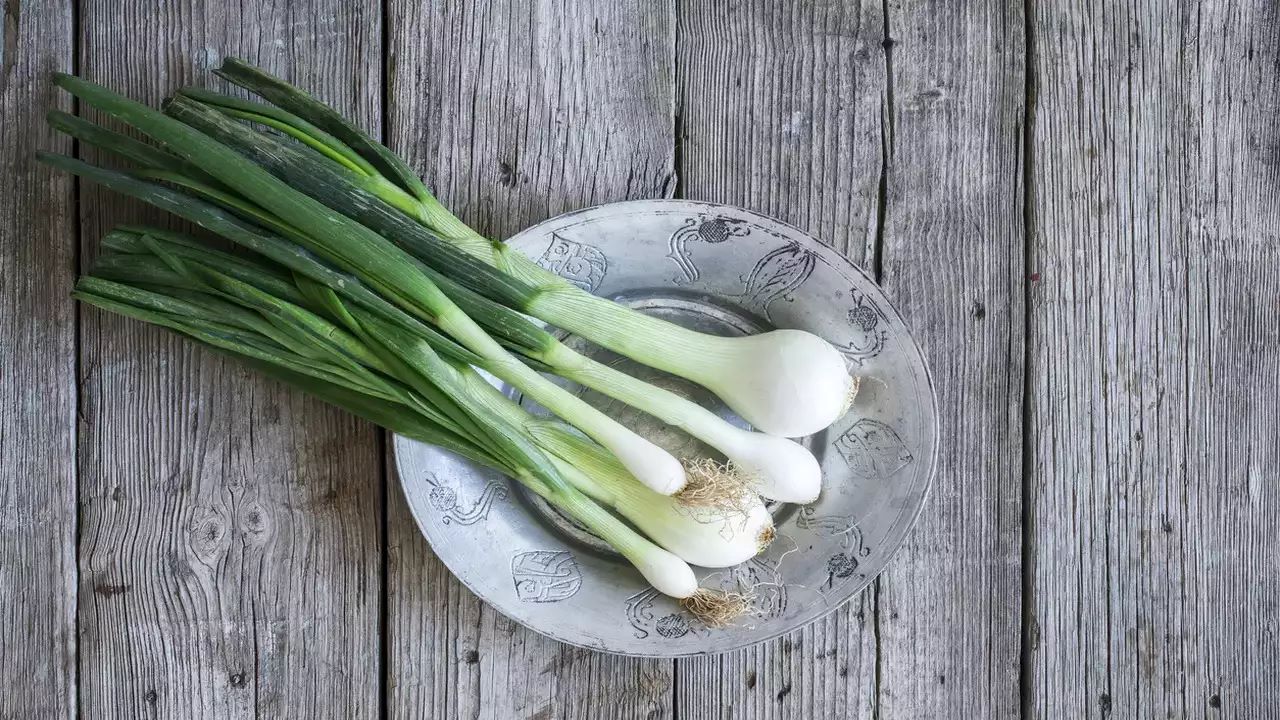
Read more: How To Store Green Onions To Last Longer
Importance of Storing Greens Properly
Storing greens properly is essential for maintaining their freshness, texture, and nutritional value. When greens are not stored correctly, they can wilt, become limp, develop unpleasant odors, and lose their vibrant color. Additionally, improper storage can lead to a quicker breakdown of vitamins, minerals, and antioxidants, which are vital for our overall health.
Proper storage not only ensures that your greens stay fresh for longer but also helps minimize food waste. By extending the shelf life of your greens, you can reduce the frequency of grocery shopping and make the most out of your produce, saving both money and resources.
Furthermore, storing greens properly can enhance the taste and texture of your dishes. Nobody enjoys a soggy salad or wilted spinach in their smoothie. By taking a few extra steps to store your greens correctly, you can preserve their crispness, crunch, and natural flavors, making your meals more enjoyable and appetizing.
Not only does proper storage benefit your greens, but it also benefits you as a consumer. By optimizing the freshness and quality of your greens, you can derive maximum nutritional benefits from them. Leafy greens are rich in vitamins A, C, K, and essential minerals like iron and calcium. By storing them well, you can ensure they retain their nutrient content, helping you maintain a healthy and balanced diet.
Overall, taking the time to learn and implement proper storage techniques for greens is an investment worth making. It not only saves you money and reduces food waste but also allows you to savor the full freshness, flavor, and nutritional value of your greens for longer periods of time.
Choosing Fresh Greens
Choosing fresh greens is the first step in ensuring their longevity. When shopping for greens, keep the following tips in mind to select the best quality:
- Look for vibrant colors: Choose greens that have bright, vibrant hues. Avoid those that appear dull or yellowing, as this indicates age or deterioration.
- Inspect the leaves: Examine the leaves for any signs of wilting, browning, or yellow spots. Opt for greens with crisp and firm leaves, as opposed to ones that appear limp.
- Check for freshness indicators: Some greens come with attached roots or stems. Make sure these parts are still intact and look fresh. Additionally, if the greens are pre-packaged, check the expiration or “best by” date to ensure they are still within their freshness window.
- Consider the fragrance: Give the greens a quick sniff to gauge their freshness. They should have a clean, slightly earthy smell. Avoid greens with a strong or unpleasant odor.
- Choose organically grown greens: If possible, opt for organically grown greens to avoid exposure to pesticides and other chemicals. These greens are generally fresher and have a higher nutrient content.
By carefully selecting fresh greens at the store, you are setting the foundation for successful storage and prolonged freshness. Remember, fresh greens will have a better texture, taste, and overall quality, making your meals more delightful and nutritious.
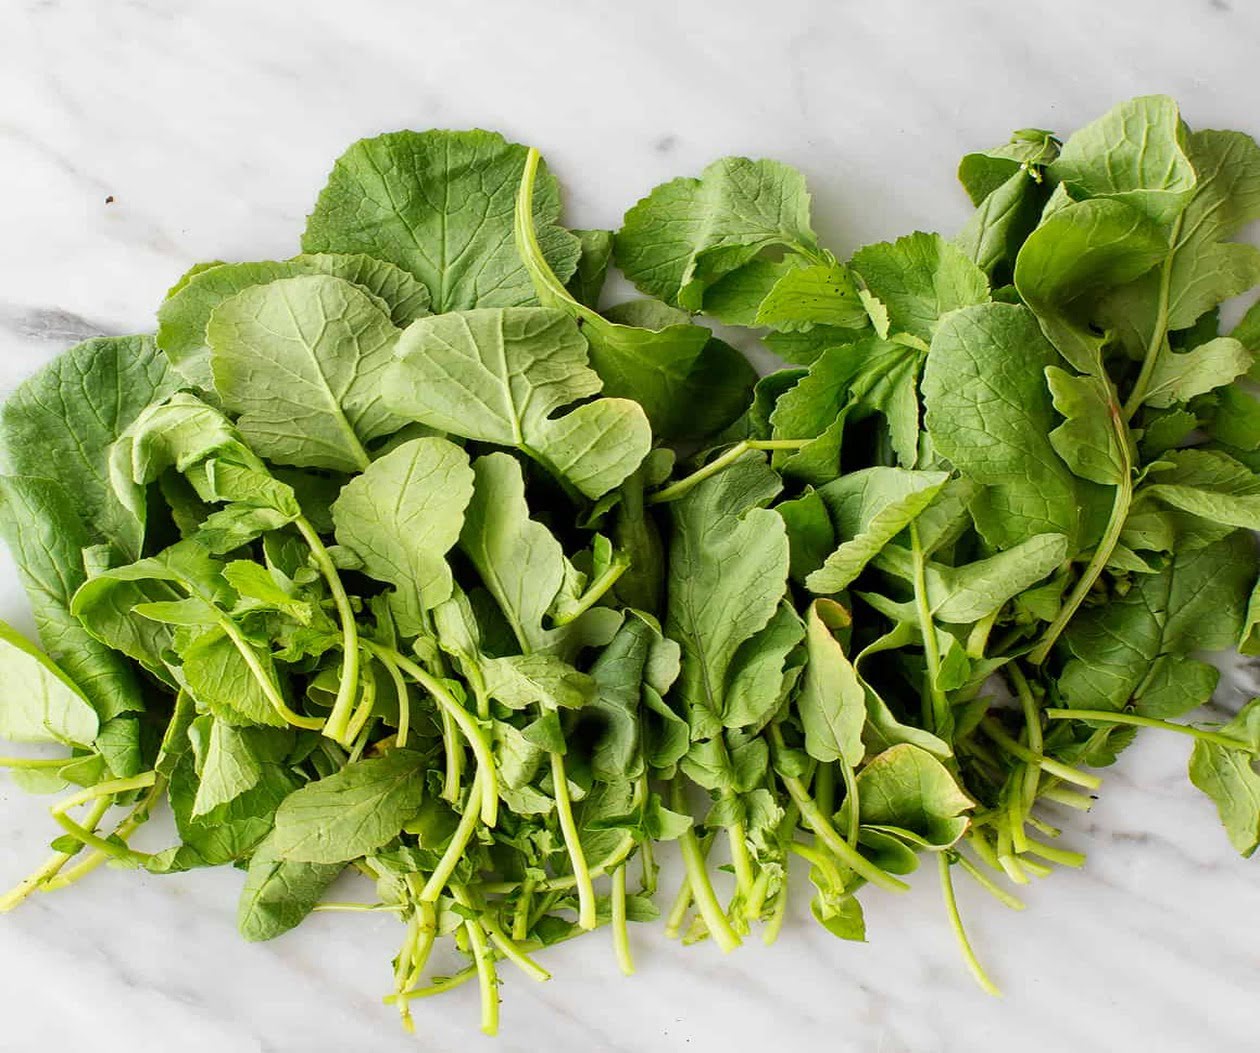
Cleaning and Drying Greens
Before storing your greens, it is important to properly clean and dry them to remove any dirt, bacteria, or debris that may be present. Follow these steps to ensure your greens are clean and ready for storage:
- Separate the leaves: Start by separating the individual leaves from the main stem. This allows for thorough cleaning and prevents any lingering dirt or bacteria from getting trapped between the leaves.
- Rinse under cold water: Place the leaves in a colander or large bowl and rinse them under cold running water. Gently rub each leaf with your fingers to remove any visible dirt or residue.
- Soak in water and vinegar solution: Fill a clean sink or a large bowl with water and add a tablespoon of white vinegar for every five cups of water. Submerge the greens in this solution and let them soak for a few minutes. The vinegar helps remove any remaining dirt and helps kill bacteria.
- Rinse again with cold water: After soaking, lift the greens out of the vinegar solution and rinse them once more under cold water. Make sure to rinse off any vinegar or soap residue.
- Pat dry with paper towels: Gently remove excess water from the leaves by patting them dry with clean paper towels. Avoid rubbing the leaves vigorously, as this can bruise them and cause damage.
Once your greens are clean and dry, they are ready to be stored. It is crucial to ensure that the leaves are completely dry before storing, as any residual moisture can lead to wilting and decay. Taking the time to clean and dry your greens properly not only promotes their longevity but also helps maintain their freshness and quality.
Storing Greens in the Refrigerator
When it comes to storing greens, the refrigerator is your best friend. Here are some guidelines to ensure that your greens stay fresh and crisp in the refrigerator:
- Prep and store in breathable bags: After cleaning and drying your greens, store them in breathable bags or containers. Avoid using plastic bags that can trap moisture, as this can lead to spoilage. Instead, opt for reusable produce bags or storage containers with ventilation holes to allow airflow.
- Optimal temperature and humidity: Greens prefer cool temperatures and high humidity to maintain their freshness. Set your refrigerator’s temperature to around 40°F (4°C) to ensure an optimal environment for your greens. If your refrigerator has a humidity control feature, adjust it to maintain a humidity level of about 90-95%.
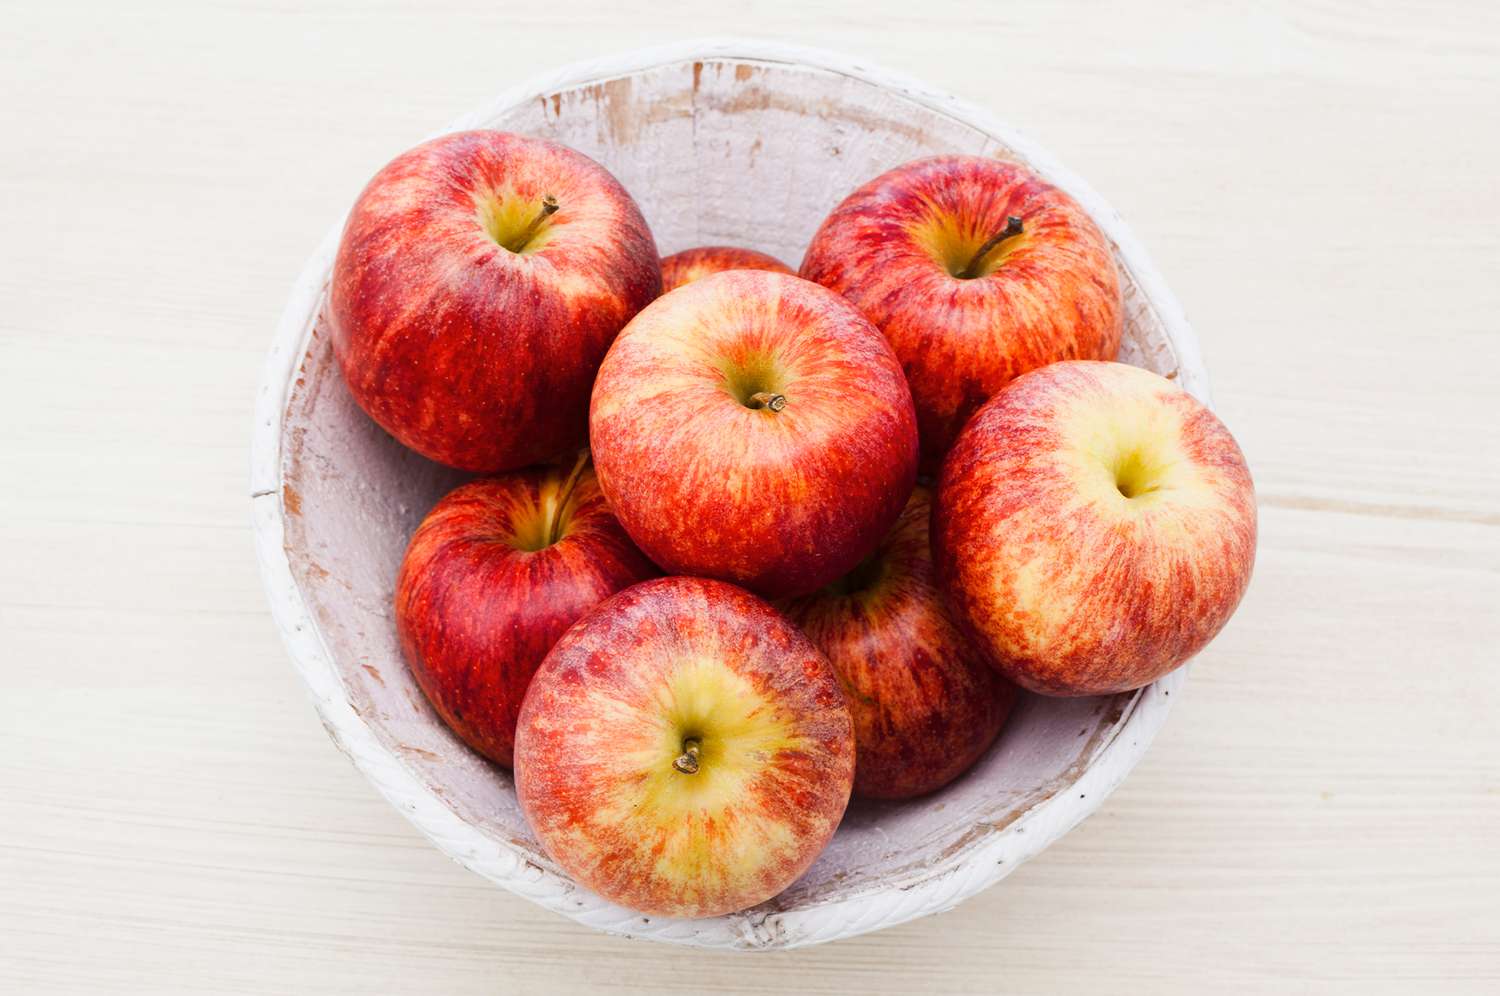
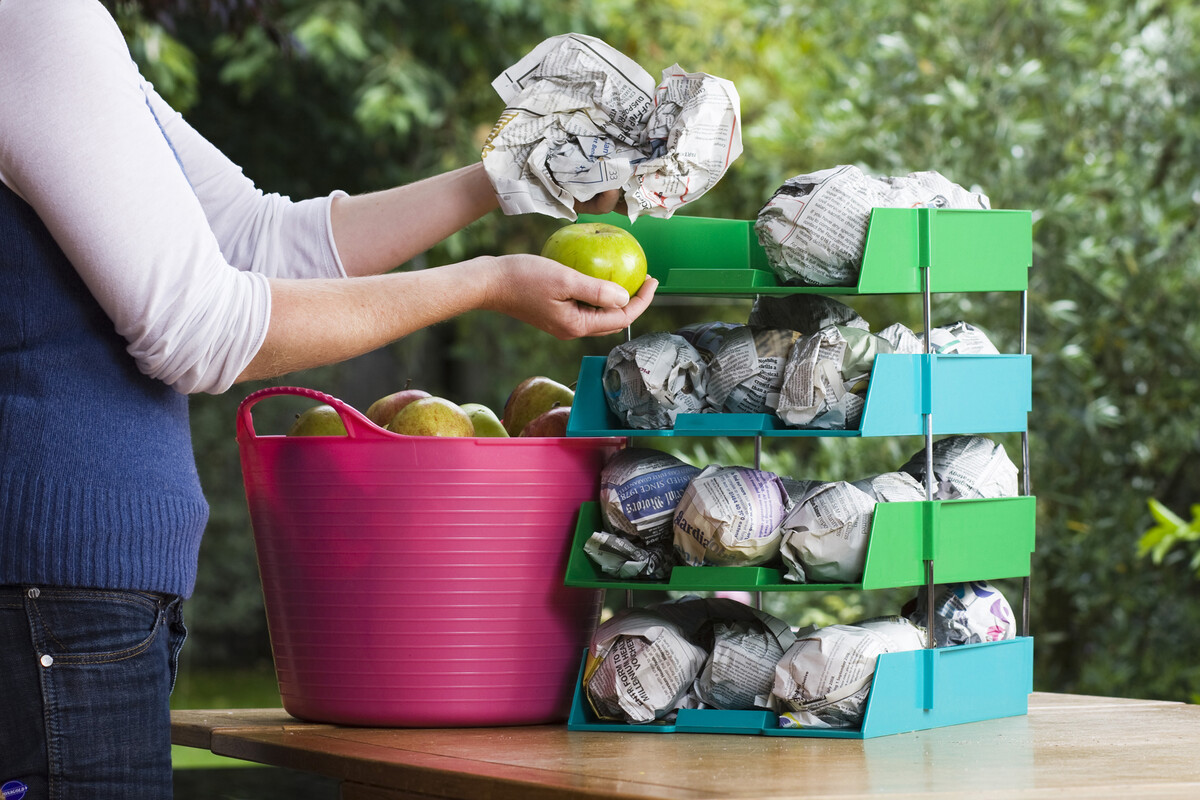
- Store away from ethylene-producing fruits: Certain fruits, such as apples, bananas, and tomatoes, produce ethylene gas, which can accelerate the ripening process and cause greens to wilt more quickly. Keep your greens away from these fruits to avoid premature spoilage.
- Place in the crisper drawer: Most refrigerators have a designated crisper drawer with adjustable humidity settings. Place your greens in this drawer to help maintain their moisture levels and prevent them from drying out.
- Use within a week: While proper storage techniques can extend the shelf life of your greens, it’s still best to consume them within a week. As time passes, greens will gradually lose their freshness and nutritional value, so try to incorporate them into your meals as soon as possible.
By following these tips, you can ensure that your greens maintain their crispness, color, and nutritional value for longer periods in the refrigerator. Proper storage in the refrigerator helps slow down the natural deterioration process and allows you to enjoy fresh and nutritious greens throughout the week.
Read more: How To Store Peaches To Last Longer
Using Airtight Containers
Another effective way to store greens and extend their lifespan is by using airtight containers. Here’s why airtight containers are beneficial and how to use them:
Benefits of Airtight Containers:
- Preserve freshness: Airtight containers create a sealed environment that helps retain the natural moisture of the greens. This prevents them from drying out and keeps them fresh for a longer period.
- Prevent cross-contamination: Airtight containers provide a barrier that protects greens from coming into contact with other strong-smelling foods in the refrigerator. This helps maintain the flavor and aroma of the greens.
- Minimize oxidation: Exposure to air can accelerate the oxidation process, causing greens to become limp and lose their nutritional value. Airtight containers reduce the amount of oxygen that comes into contact with the greens, preserving their texture and nutrients.
Using Airtight Containers:
- Ensure greens are completely dry: Before transferring the greens to the container, make sure they are thoroughly dry to prevent the growth of mold or bacteria.
- Choose the right size container: Select an airtight container that is spacious enough to comfortably accommodate the greens without overcrowding. This prevents them from getting crushed or damaged.
- Place a paper towel in the container: Line the bottom of the container with a dry paper towel. This helps absorb any excess moisture and prevents the greens from becoming soggy.
- Add the greens: Carefully place the cleaned and dried greens inside the container, ensuring they are not stacked too tightly. Avoid overfilling, as this can lead to compression and wilting.
- Seal the container tightly: Once the greens are inside, seal the container tightly to create an airtight environment. Make sure the container is closed properly to prevent air from entering.
- Label and date the container: To keep track of the freshness, consider labeling the container with the name of the greens and the date of storage. This helps you identify which greens need to be used first.
By utilizing airtight containers, you can effectively prolong the freshness and quality of your greens, allowing you to enjoy them at their best for an extended period of time.
Store greens in a perforated plastic bag in the crisper drawer of the refrigerator. The perforations allow for air circulation, keeping the greens fresh for longer.
Removing Excess Moisture
Excess moisture is one of the main culprits behind the wilting and decay of greens. By effectively removing excess moisture, you can significantly extend the shelf life and freshness of your greens. Here’s how to do it:
- Use a salad spinner: After washing the greens, place them in a salad spinner. Spin the greens gently to remove excess water. If you don’t have a salad spinner, you can also pat them dry with clean kitchen towels or paper towels. Be sure to handle the greens delicately to avoid damaging the leaves.
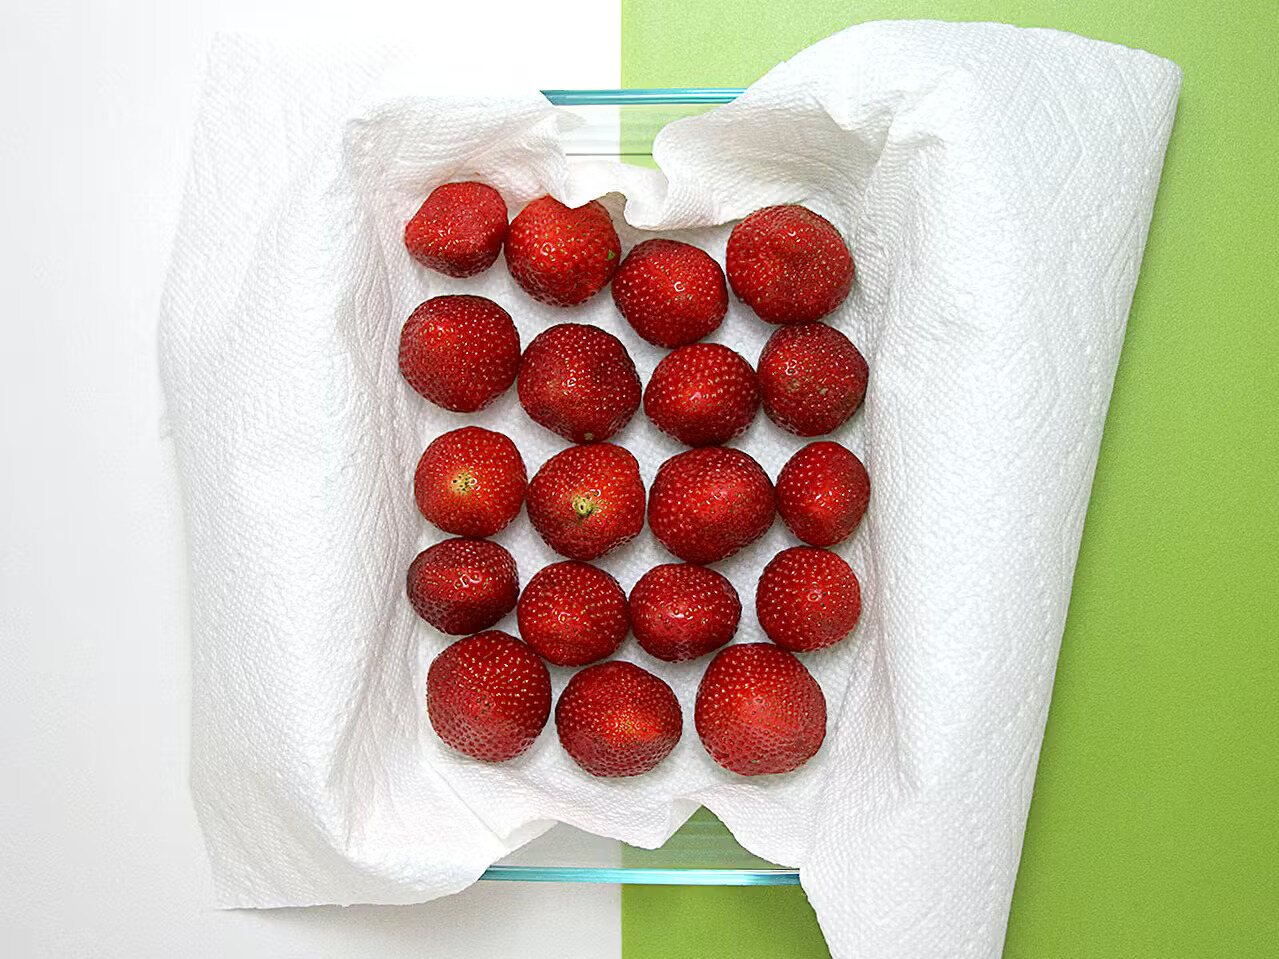
- Wrap in paper towels: Another effective method to remove excess moisture is to wrap the greens in paper towels. Lay a clean, dry paper towel on a flat surface and place a single layer of greens on top. Gently roll them up in the paper towel to absorb any remaining moisture.
- Store with a desiccant pack: To further prevent moisture buildup, you can add a desiccant pack to your storage container. Desiccant packs, commonly found in packaged food or medicine, help absorb excess moisture and maintain a drier environment for the greens.
- Replace damp paper towels: If you notice that the paper towels become damp or wet during storage, replace them with fresh, dry ones. This ensures that the greens remain in a dry environment and helps prevent bacterial growth.
By removing excess moisture before storing your greens, you can prevent wilting and extend their freshness. The key is to keep the greens as dry as possible without causing any damage or bruising. Taking the time to remove excess moisture is a simple yet effective step in maximizing the lifespan of your greens.
Avoiding Exposure to Light
Exposure to light can have a negative impact on the quality and freshness of greens. Light can cause greens to lose their vibrant color, become discolored, and deteriorate more quickly. Therefore, it is important to store greens in a way that minimizes their exposure to light. Here are some tips to help you avoid exposure to light:
- Choose opaque containers: When storing greens, opt for opaque containers instead of transparent ones. Opaque containers block out light, helping to preserve the color and vitality of the greens. If transparent containers are the only option available, consider wrapping them with a dark kitchen towel or placing them in a dark plastic bag to minimize light exposure.
- Store in a dark part of the refrigerator: Position your greens in the refrigerator where they are shielded from direct light. This can be a crisper drawer or any other section that is relatively dark. Avoid storing greens on open shelves or near fridge lights, as these areas tend to have more exposure to light.
- Avoid leaving greens on the countertop: Leaving greens on the countertop, especially in direct sunlight, can lead to rapid wilting and discoloration. Instead, transfer the greens directly into the refrigerator after purchase or preparation to keep them fresh for longer.
By minimizing the exposure of greens to light, you help preserve their visual appeal and quality. Greens that are shielded from light tend to retain their vibrant color, texture, and nutrients for a longer period of time.
Preserving Greens with Paper Towels
Using paper towels to preserve greens is an effective technique that helps absorb excess moisture and maintain the crispness and freshness of the leaves. Here’s how you can use paper towels to preserve your greens:
- Prepare the greens: Start by cleaning and drying the greens thoroughly. Remove any damaged or wilted leaves and discard them.
- Line a container with paper towels: Take a clean, dry container and line the bottom with a layer of paper towels. The paper towels will help absorb any moisture and prevent the greens from becoming damp.
- Add the greens: Place the prepared greens on top of the layer of paper towels. Ensure that the greens are loosely packed and spread out evenly to allow for proper air circulation.
- Separate the layers: If you have multiple bunches of greens or a large quantity, it is advisable to place a sheet of paper towel between the layers. This will further absorb moisture and prevent the greens from sticking together.
- Seal the container: Once the greens are in the container, seal it tightly with a lid or plastic wrap to create a secure and airtight environment. This will help maintain the freshness and crispness of the greens.
- Check and replace paper towels: Periodically check the container and replace the paper towels if they become damp or wet. This will prevent the buildup of excess moisture that can cause the greens to wilt more quickly.
Preserving greens with paper towels not only helps absorb moisture but also prevents the leaves from touching the container directly, reducing the risk of wilting or rotting. By following this method, you can extend the shelf life of your greens and keep them fresh and crisp until you’re ready to use them.
Read more: How To Store Lemons To Last Longer
Freezing Greens
Freezing greens is a great way to preserve their freshness and nutritional value for an extended period. While freezing can slightly alter the texture of some greens, it allows you to enjoy them even when they are out of season. Here’s how to freeze greens effectively:
- Choose fresh and young greens: Opt for fresh and young greens as they tend to freeze better than older, tougher ones. Make sure to clean and dry the greens thoroughly before freezing.
- Blanch the greens: Blanching is a quick cooking process that helps preserve the color, texture, and nutrients of the greens. Fill a large pot with water and bring it to a boil. Submerge the greens in the boiling water for a brief period, typically 1-2 minutes for delicate greens and 2-3 minutes for heartier greens. Then, transfer the greens to an ice bath to halt the cooking process.
- Drain and pat dry: After blanching, drain the greens and pat them dry with paper towels to remove any excess water. Excessive moisture can lead to freezer burn and deterioration of the greens.
- Portion and store in freezer bags: Divide the blanched and dried greens into portion-sized servings. Place them in freezer-safe bags, removing as much air as possible before sealing. Label the bags with the date to keep track of their freshness.
- Freeze promptly: Put the bags of greens in the freezer, ensuring they are laying flat for easy storage and maximum preservation. Avoid overcrowding the freezer to allow for proper air circulation.
- Thawing and using frozen greens: When you’re ready to use the frozen greens, thaw them in the refrigerator overnight or quickly defrost them in the microwave. Frozen greens are best used in cooked dishes such as soups, stews, stir-fries, or sautés.
By freezing greens, you can enjoy their benefits even when they are not readily available or in season. While they may not retain the exact same texture as fresh greens, they still offer a nutritious addition to your meals.
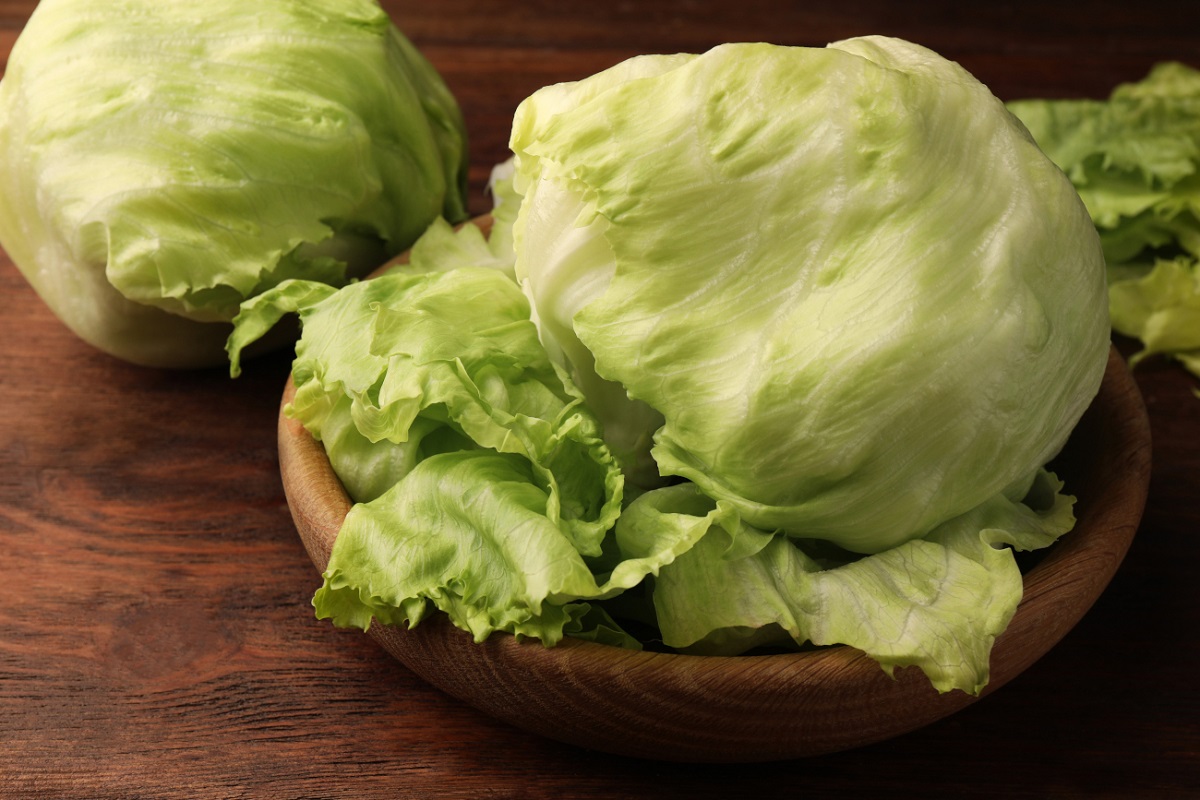
Note: Not all greens are suitable for freezing. Delicate and tender greens like spinach, kale, and chard freeze well, while lettuce and other leafy greens with high water content may become mushy after freezing.
Reviving Wilted Greens
Discovering wilted greens in your refrigerator can be disappointing, but fear not! There are a few simple methods to help revive them and bring back their crispness and vitality. Here’s how to revive wilted greens:
- Trim the stems: Begin by trimming off the ends of the stems. This helps remove any dry or damaged portions and allows the greens to take in water more effectively.
- Fill a bowl with cold water: Fill a bowl or basin with cold water. Submerge the wilted greens completely in the water and gently swish them around. This helps rehydrate the leaves and refresh their texture.
- Add ice cubes: To further rejuvenate the greens, place a few ice cubes into the water. The cold temperature helps crisp up the leaves and improves their overall appearance.
- Soak for 15-30 minutes: Allow the greens to soak in the water for approximately 15-30 minutes. This gives them enough time to absorb the moisture and regain their crispness.
- Pat dry with paper towels: After soaking, remove the greens from the water and gently pat them dry with paper towels. Avoid rubbing or squeezing them too harshly to prevent damage.
- Refrigerate if necessary: If you’re not using the greens right away, store them in a clean, airtight container and refrigerate until needed. The additional time in the refrigerator can help the greens regain their firmness and freshness.
Following these steps should help revive your wilted greens and make them more enjoyable to eat. However, it’s important to note that this method works best for slightly wilted greens. If the greens are severely wilted or slimy, it may be best to discard them to avoid any food safety issues.
Remember, prevention is better than a cure. To prevent greens from wilting in the first place, be sure to store them properly, keep them hydrated, and use them within a reasonable timeframe.
Conclusion
Properly storing greens is essential to maintain their freshness, flavor, and nutritional value. By following a few simple techniques, you can extend the lifespan of your greens and reduce food waste. From choosing fresh greens and cleaning them thoroughly to utilizing airtight containers and freezing, these methods can help you make the most out of your leafy greens.
When selecting greens, opt for vibrant, crisp leaves and avoid any signs of wilting or discoloration. Cleaning the greens with cold water and drying them thoroughly ensures they are free from dirt and excess moisture, preventing spoilage.
Storing greens in the refrigerator is an effective way to maintain their freshness. Use breathable bags or containers, set the temperature to an optimal level, and keep them away from ethylene-producing fruits. By implementing these steps, you can extend the life of your greens and enjoy them for longer.
Airtight containers play a crucial role in preserving greens by creating a sealed environment that helps retain their moisture and prevent cross-contamination. Additionally, removing excess moisture with the help of paper towels, and avoiding exposure to light are key factors in maintaining the quality and texture of your greens.
If you find yourself with excess greens, freezing is an excellent option. Blanching them briefly before freezing helps preserve their color and nutrients, and portioning them into freezer-safe bags ensures easy retrieval and freshness for future use.
Lastly, when you come across wilted greens, don’t despair. With the right techniques, you can revive them and restore their crispness. Trimming the stems, soaking in cold water, and patting them dry can bring wilted greens back to life.
In conclusion, by following the guidance provided in this article, you can store greens effectively, reduce waste, and enjoy fresh, vibrant greens for longer periods. With a little effort and know-how, you can ensure that your greens remain a nutritious and delicious part of your diet.
Frequently Asked Questions about How To Store Green Vegetables To Last Longer
Was this page helpful?
At Storables.com, we guarantee accurate and reliable information. Our content, validated by Expert Board Contributors, is crafted following stringent Editorial Policies. We're committed to providing you with well-researched, expert-backed insights for all your informational needs.


0 thoughts on “How To Store Green Vegetables To Last Longer”