Home>Storage Ideas>Bathroom Storage>How To Clean A Bathroom Sink: Experts Offer Their Tips
Bathroom Storage
How To Clean A Bathroom Sink: Experts Offer Their Tips
Modified: August 31, 2024
Learn the best tips from experts on how to clean a bathroom sink and maximize bathroom storage. Transform your bathroom with these easy cleaning hacks!
(Many of the links in this article redirect to a specific reviewed product. Your purchase of these products through affiliate links helps to generate commission for Storables.com, at no extra cost. Learn more)
Introduction
Keeping your bathroom sink clean and well-organized is essential for maintaining a hygienic and visually appealing bathroom. A clean sink not only enhances the overall look of your bathroom but also helps prevent the spread of germs and bacteria. However, knowing the right techniques and using the appropriate products can make all the difference in achieving a spotlessly clean and sanitized sink.
In this article, we will provide you with expert tips and guidance on how to clean your bathroom sink effectively. Whether you have a porcelain, stainless steel, or ceramic sink, these tips will help you tackle dirt, grime, stains, and build-up, ensuring that your sink shines like new.
Before we dive into the cleaning process, let’s gather the necessary supplies. Having the right tools and cleaning products at hand will make the process much easier and more efficient.
Key Takeaways:
- Keep your bathroom sink clean and hygienic by gathering the right supplies, clearing the area, and addressing stains and build-up. Add finishing touches for an organized and visually appealing sink area.
- Regular maintenance and cleaning, along with incorporating finishing touches, will ensure a spotlessly clean and inviting bathroom sink. Show your sink some love and enjoy a fresh and pristine bathroom experience.
Read more: How To Clean A Bathroom: An Expert Guide
Gather the necessary supplies
Before you start cleaning your bathroom sink, it’s important to gather all the necessary supplies. This will save you time and ensure that you have everything you need to tackle any stains or grime that may be present. Here are the essential supplies you’ll need:
- A gentle multi-purpose cleaner: Look for a cleaner that is specifically formulated for use on bathroom surfaces. Opt for one that is non-abrasive and safe to use on your specific sink material.
- A soft sponge or microfiber cloth: These tools will help you scrub away dirt and grime without scratching the surface of your sink.
- An old toothbrush: Use this to reach into crevices and corners that may be difficult to clean with a sponge or cloth.
- A bowl or bucket: Fill this with warm water to rinse your sponge or cloth during the cleaning process.
- Vinegar or lemon juice: These natural ingredients can be used to tackle stubborn stains and mineral deposits.
- Rubber gloves: Protect your hands from any harsh chemicals in the cleaning products.
- Optional: Baking soda and hydrogen peroxide. These can be used as a natural alternative to commercial cleaners, particularly for tough stains.
Once you have gathered all the necessary supplies, you are ready to move on to the next step: clearing out the sink area.
Clear out the sink area
Before you start cleaning your bathroom sink, it’s important to clear out the area surrounding it. Remove any items such as toothbrushes, soap dispensers, or cosmetics from the sink surface to ensure that you have easy access to every part of the sink and prevent any damage or spills during the cleaning process.
Additionally, if you have any decorative items or storage containers on or around the sink, take a moment to remove them as well. This will make it easier to clean the sink and prevent any potential damage to these items. Set them aside in a safe place until you have finished cleaning.
Once the sink area is clear, it’s time to move on to the next step: removing dirt and grime from the sink surface.
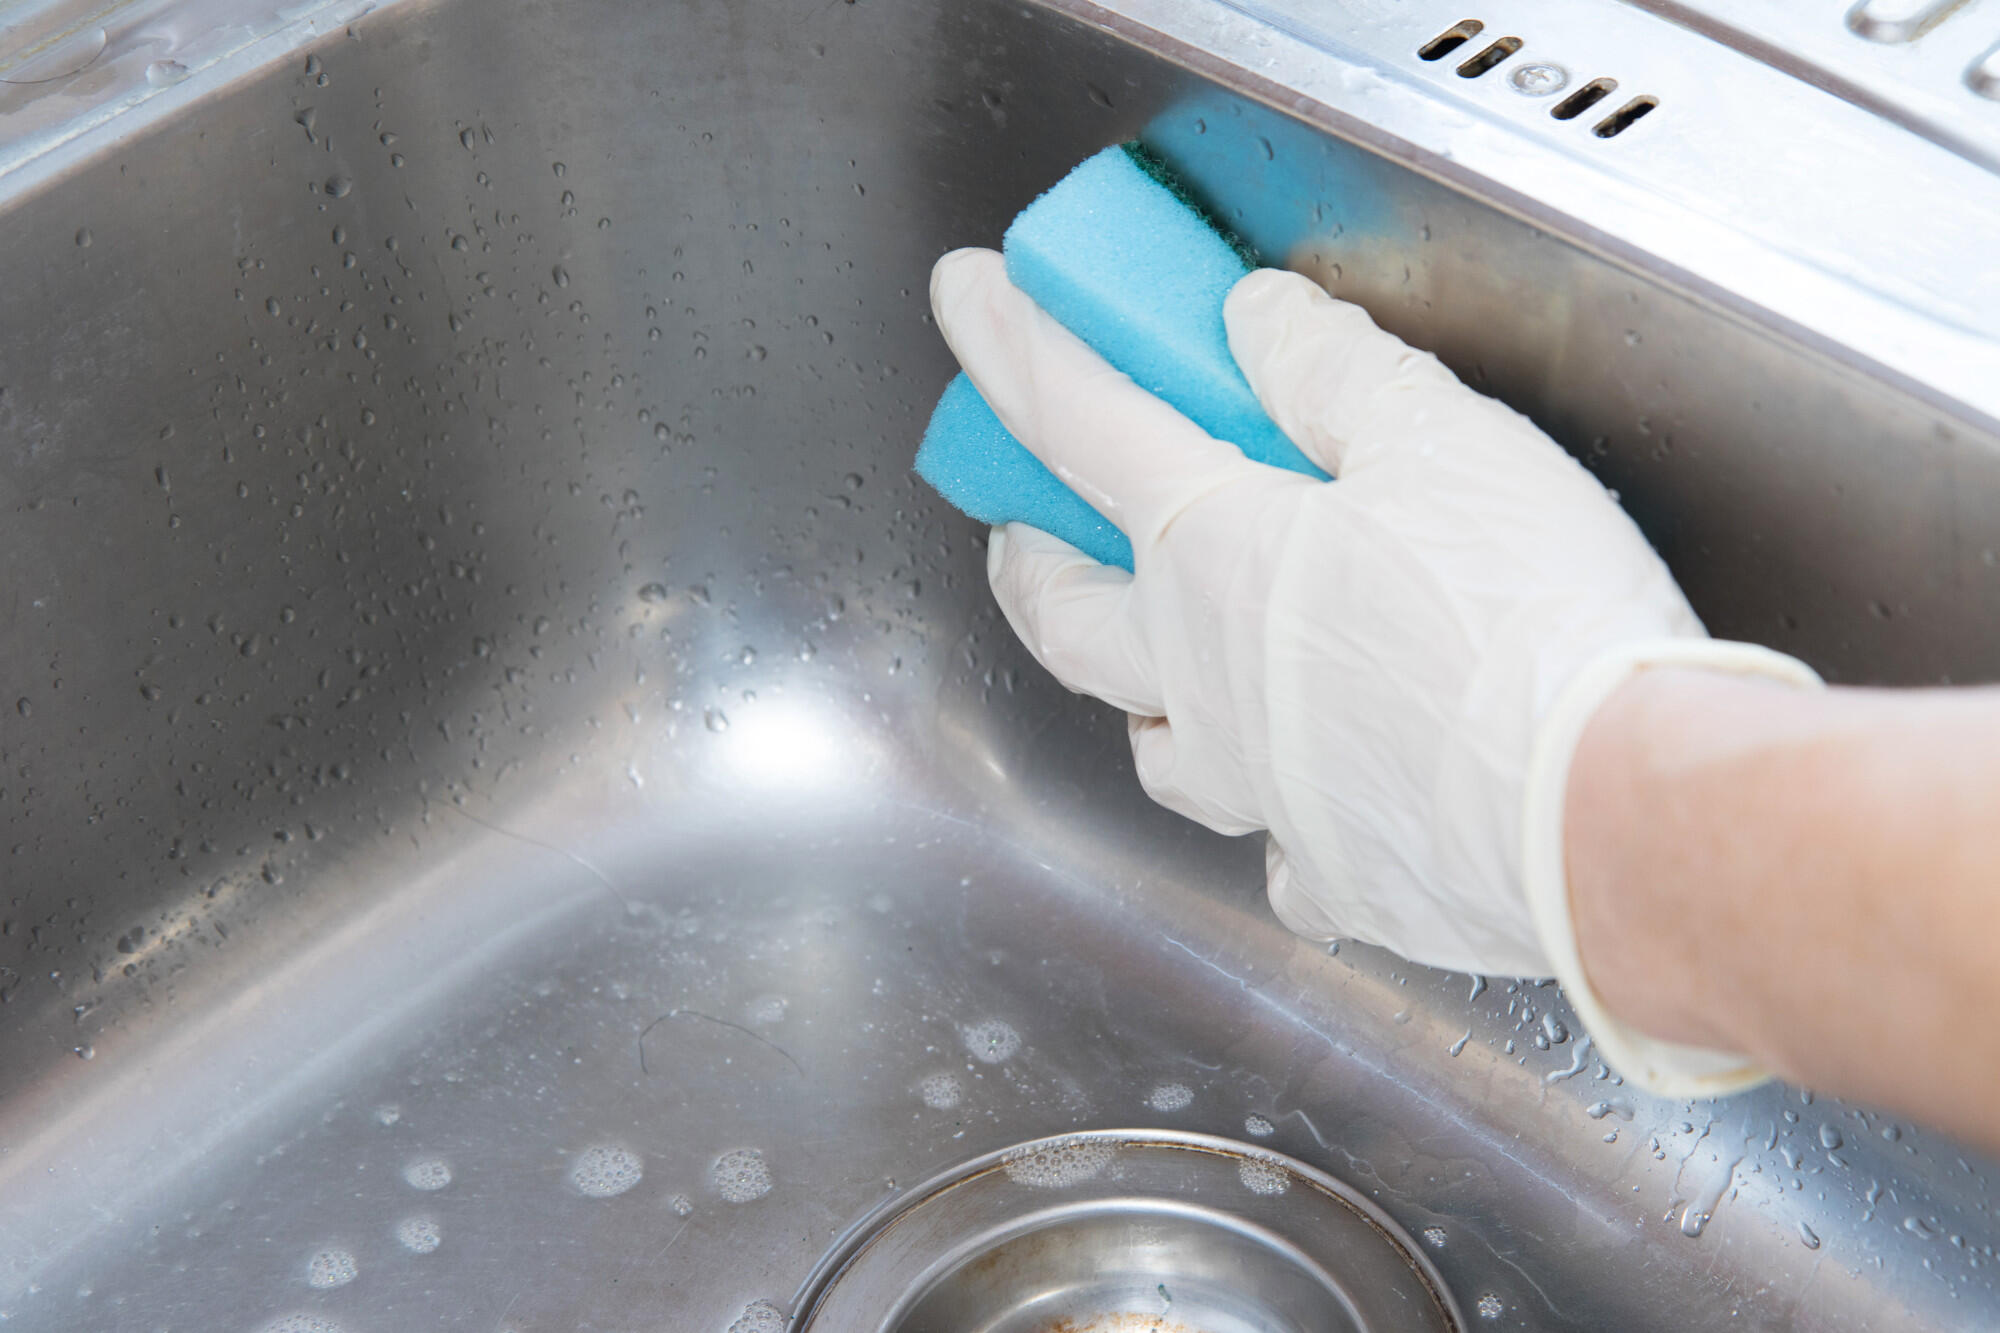
Remove dirt and grime from the sink surface
Now that the sink area is clear, it’s time to tackle the dirt and grime that may have accumulated on the surface of your bathroom sink. Follow these steps to ensure a thorough cleaning:
- Wet the sponge or microfiber cloth with warm water and wring out any excess moisture.
- Apply a small amount of the gentle multi-purpose cleaner to the dampened sponge or cloth.
- Gently scrub the entire surface of the sink, paying special attention to the areas around the drain and any visible stains.
- If there are any stubborn spots or stains, you can use an old toothbrush to scrub them away. Apply a bit of additional cleaner to the toothbrush and scrub in a circular motion until the stain is lifted.
- Rinse the sponge or cloth frequently in the bowl or bucket of warm water to remove any dirt or residue.
- Continue cleaning the sink surface until all dirt and grime are removed.
Remember to be gentle when scrubbing the sink to avoid scratching the surface, especially if you have a delicate material such as porcelain. Take your time and ensure that you thoroughly clean every nook and cranny.
Once you are satisfied that the sink surface is clean, it’s time to move on to cleaning the faucet and handles.
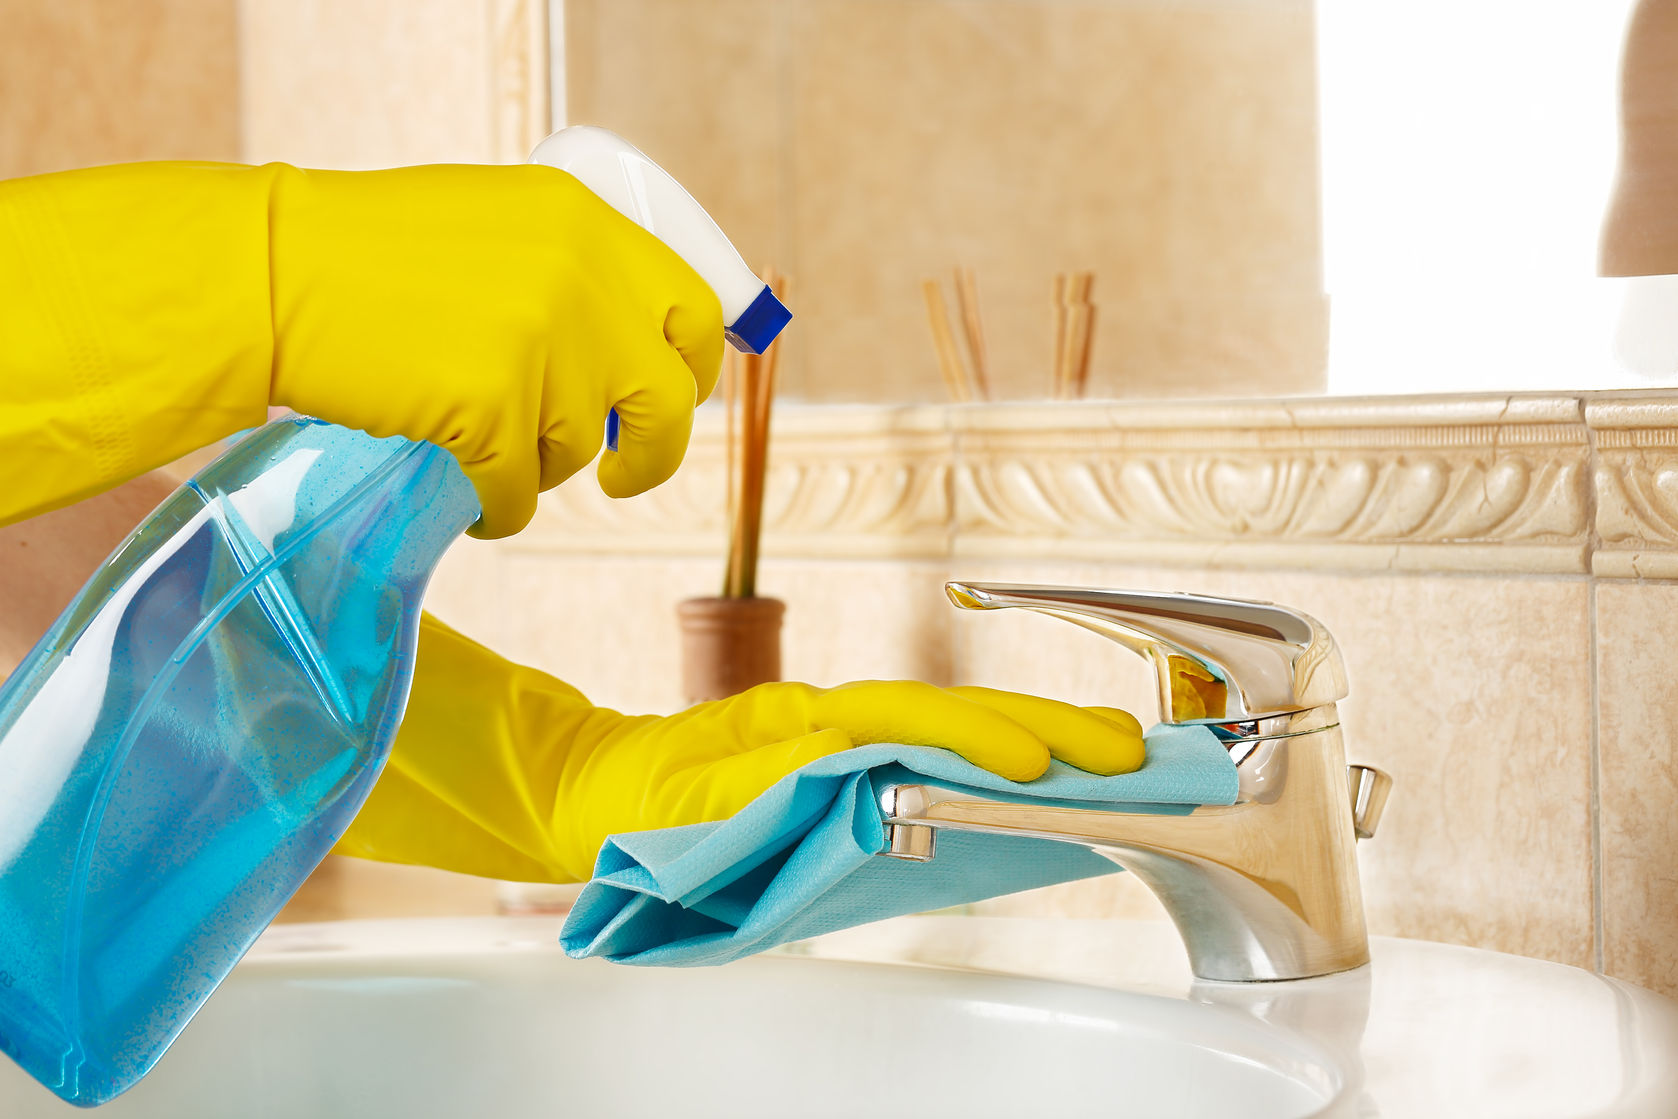
Clean the faucet and handles
The faucet and handles of your bathroom sink are often overlooked when it comes to cleaning, but they can accumulate dirt, grime, and water spots over time. Follow these steps to effectively clean and shine your faucet and handles:
- Dampen a clean cloth or sponge with warm water.
- Apply a small amount of the multi-purpose cleaner to the cloth or sponge.
- Gently scrub the faucet and handles, paying attention to any visible stains or water spots.
- For hard-to-reach areas, use an old toothbrush to scrub away any grime or build-up.
- Rinse the cloth or sponge frequently in warm water to remove any cleaning residue.
- Continue cleaning the faucet and handles until they are sparkling clean.
For stainless steel faucets, you can boost their shine by wiping them down with a cloth moistened with vinegar or lemon juice. This will help remove any water spots or mineral deposits and leave them looking as good as new.
Once the faucet and handles are clean, it’s time to address any clogged drains that may be causing water to pool in your sink.
To clean a bathroom sink, mix equal parts water and white vinegar in a spray bottle, then spray the sink and wipe with a microfiber cloth. This will help remove soap scum and mineral deposits.
Read more: How To Clean A Sink Faucet Head
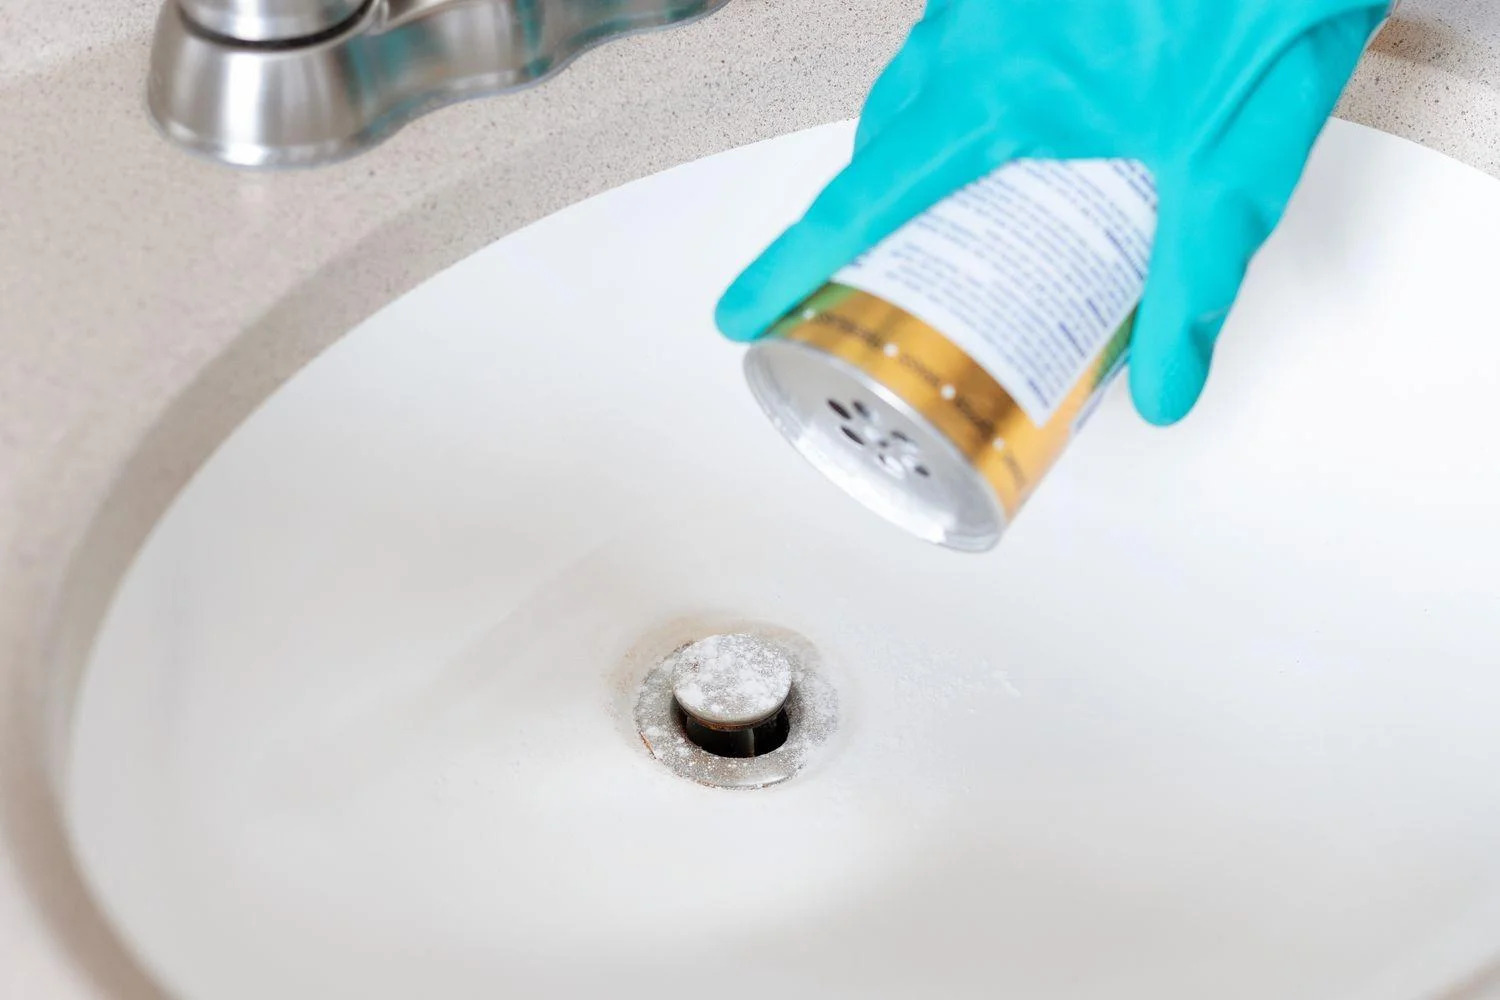
Unclog drains if necessary
If you notice that water is draining slowly or not at all in your bathroom sink, it may be a sign of a clogged drain. Here’s how you can unclog the drain and restore its proper flow:
- Start by removing any visible debris or hair from the drain. Use a pair of gloves and your fingers or a pair of tweezers to carefully pull out any obstructions.
- If the clog persists, try using a plunger to dislodge it. Make sure there is enough water in the sink to cover the rubber portion of the plunger. Place the plunger over the drain and push down firmly, then quickly pull up. Repeat this motion several times to create suction and attempt to dislodge the clog.
- If the plunger doesn’t work, you can try using a drain snake or a bent wire hanger to reach further down the drain. Insert the snake or wire into the drain and gently move it back and forth to break up the clog.
- Another option is to use a chemical drain cleaner. Follow the instructions on the product carefully, as these cleaners can be hazardous. Pour the recommended amount of cleaner down the drain and let it sit for the specified amount of time, then flush the drain with hot water.
- If none of these methods work, it may be time to call a professional plumber to resolve the issue.
Remember to exercise caution when working with chemical drain cleaners and follow all safety precautions. If you’re unsure about using these products, it’s best to consult with a professional.
Once your drain is clear and water is flowing freely, it’s time to address any stains or build-up that may be present.
Address stains and build-up
Over time, bathroom sinks can develop stubborn stains and build-up that can be unsightly and difficult to remove. Here’s how you can tackle these common issues:
Mineral Deposits: If your sink has hard water stains or mineral deposits, you can use vinegar or lemon juice to dissolve them. Simply soak a cloth or paper towel in the vinegar or lemon juice and place it on the affected areas. Allow it to sit for a few minutes to soften the deposits, then scrub gently with a sponge or cloth. Rinse thoroughly with water afterwards.
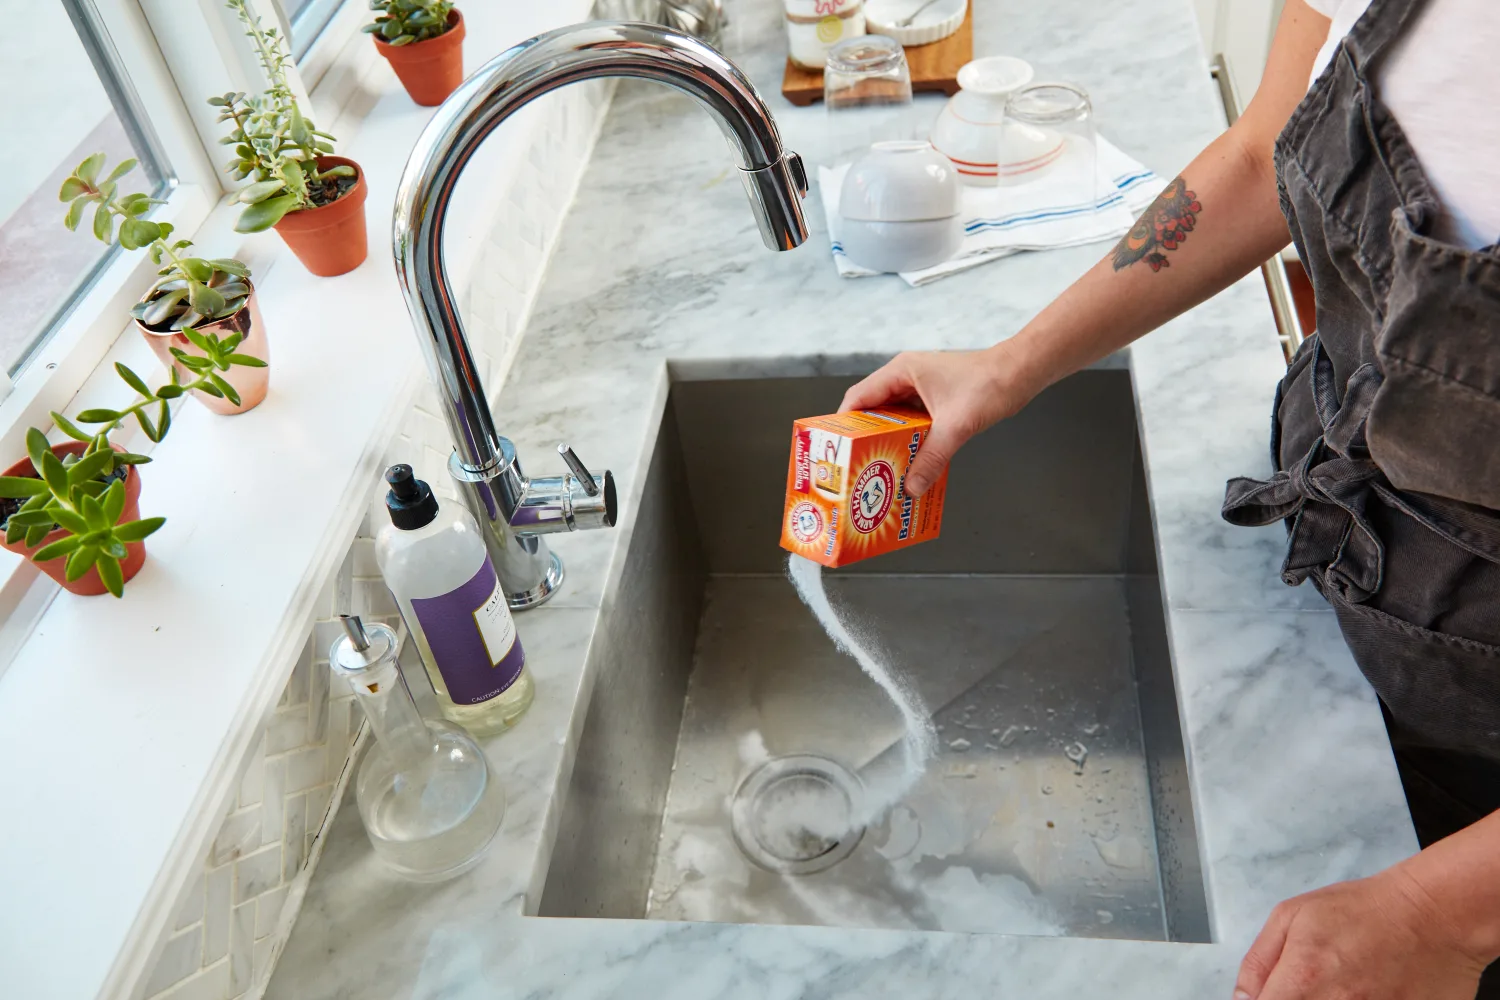
Rust Stains: To remove rust stains from your sink, you can create a paste using equal parts baking soda and water. Apply the paste to the stains and let it sit for a few minutes. Gently scrub the stains with a soft toothbrush or sponge, then rinse thoroughly.
Soap Scum: Soap scum can build up on the sink surface, especially around the faucet and handles. To remove soap scum, use a mixture of equal parts white vinegar and water. Spray the solution onto the affected areas and let it sit for a few minutes. Scrub with a sponge or cloth until the soap scum is dissolved, then rinse well.
Stains from Beauty Products: If you notice stains on your sink from beauty products like hair dye or makeup, try using hydrogen peroxide. Apply a small amount to a cloth or sponge and gently scrub the stained area. Rinse thoroughly afterwards.
Remember to test any cleaning solution on a small, inconspicuous area of your sink before applying it to the entire surface. This will help ensure that the cleaner doesn’t damage or discolor your sink material.
Once you have addressed any stains or build-up, it’s time to rinse and dry the sink to complete the cleaning process.
Rinse and dry the sink
After you have thoroughly cleaned the surface of your bathroom sink and addressed any stains or build-up, it’s important to rinse off any residue and ensure a dry finish. Here’s how you can complete this step:
- Run warm water over the surface of the sink, using your hands or a clean sponge, to rinse away any remaining cleaning solution or debris.
- Take a clean, dry cloth or paper towel and wipe down the entire sink surface, including the faucet and handles. Pay extra attention to any areas that tend to collect water, such as the edges and corners.
- If your sink is made of stainless steel or another material that tends to show water spots, you can use a microfiber cloth or towel to buff the surface and leave it looking glossy.
By thoroughly rinsing and drying the sink, you not only remove any remaining residue but also prevent the formation of water spots and streaks, ensuring a clean and polished appearance.
Now that your sink is sparkling clean and dry, it’s time to add some finishing touches to complete the overall look and feel of your bathroom.
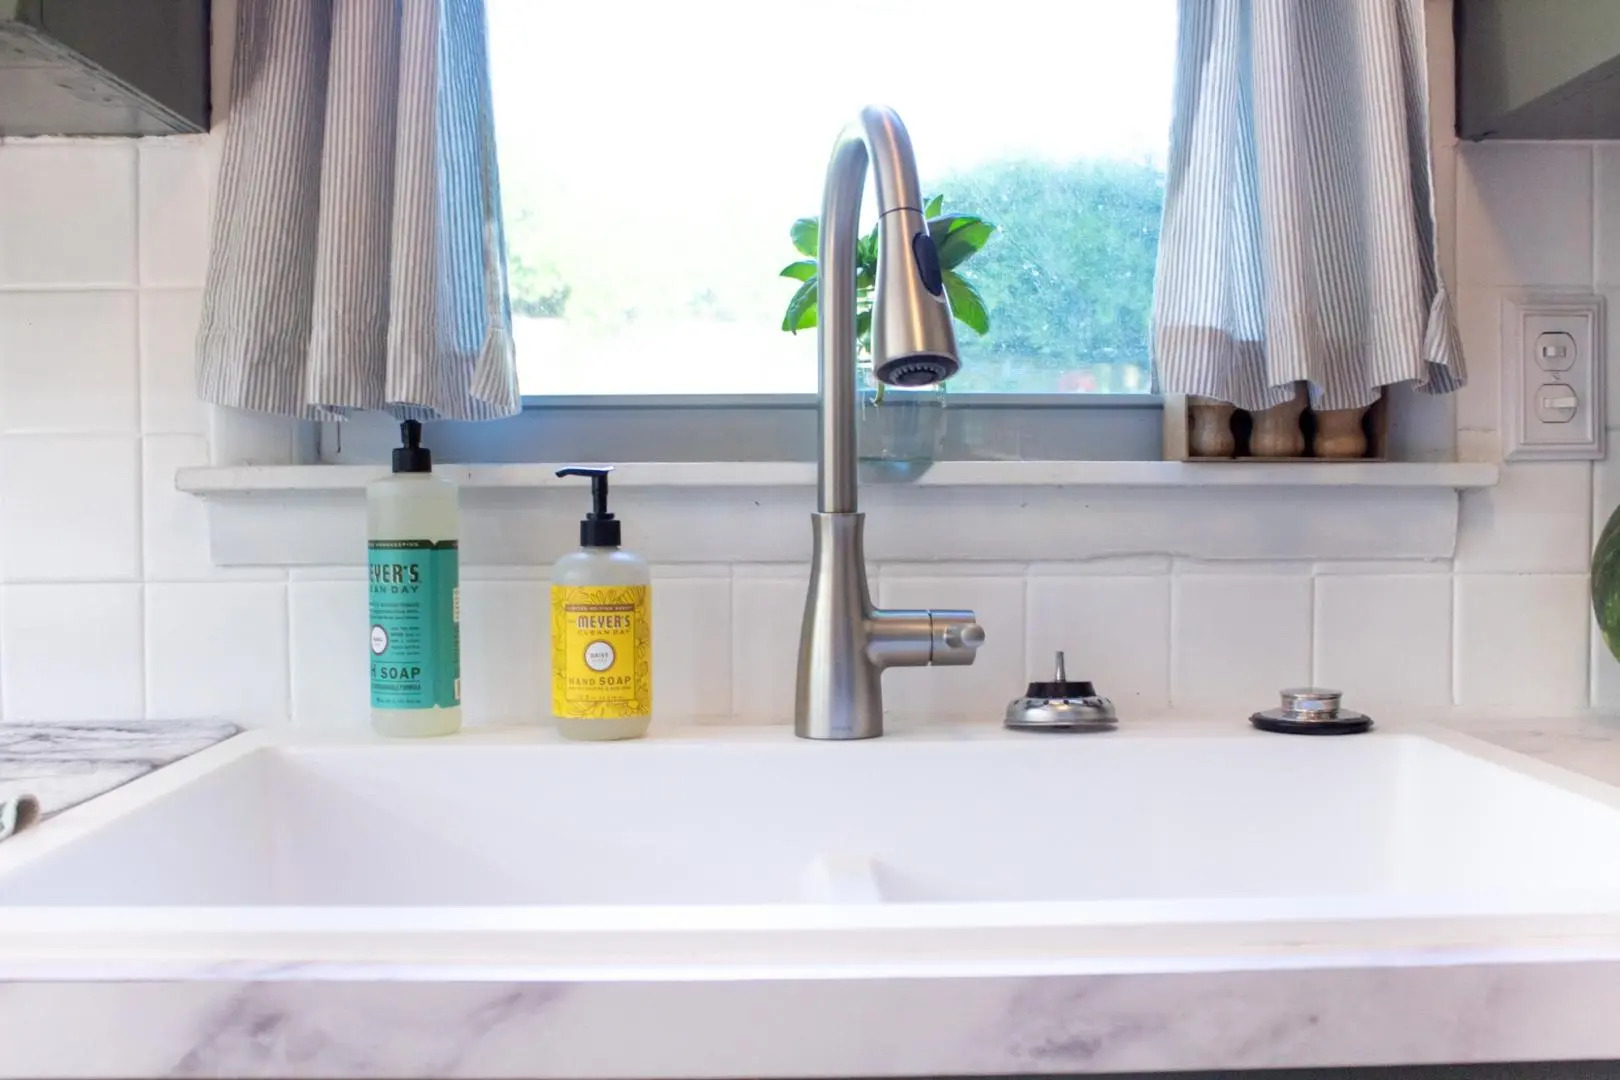
Add finishing touches
Once you have cleaned and dried your bathroom sink, it’s time to add some final touches to make it look even more inviting and organized. Consider the following suggestions to enhance the overall aesthetics and functionality of your sink area:
- Organize your essentials: Place your toothbrush, toothpaste, hand soap, and other everyday items in a stylish and functional tray or caddy near the sink. This keeps everything within reach and prevents clutter on the countertop.
- Add decorative elements: Place a small vase of fresh flowers or a potted plant on the countertop to add a touch of nature and freshness to the space. Alternatively, you can display decorative soap dispensers or colorful hand towels to add personality and visual interest.
- Consider storage options: If you have ample space, install storage solutions such as under-sink cabinets or wall-mounted shelves to keep your bathroom essentials neatly organized and out of sight.
- Invest in a sink organizer: Use a sink organizer with compartments to keep your brushes, sponges, and cleaning supplies neatly stored and easily accessible.
- Keep it tidy and clean: Make it a habit to wipe down the sink and faucet regularly to prevent grime and build-up. Encourage family members to rinse out their toothbrushes and replace them in their designated holders after use to maintain cleanliness.
By incorporating these finishing touches, you not only enhance the visual appeal of your bathroom sink but also create a functional and organized space that contributes to a clean and clutter-free bathroom environment.
Remember, regular maintenance and cleaning will help keep your bathroom sink looking its best. By following these tips, you can enjoy a clean, hygienic, and visually appealing sink that adds to the overall beauty of your bathroom.
With these expert tips and techniques, you can confidently clean and maintain your bathroom sink, ensuring a cleaner and more enjoyable bathroom experience. Incorporate these strategies into your cleaning routine for a fresh and pristine sink that will impress both residents and guests alike.
Now, go ahead and show your bathroom sink the love it deserves!
Conclusion
Keeping your bathroom sink clean and well-maintained is essential for a hygienic and visually pleasing bathroom. By following the expert tips and techniques outlined in this article, you can effectively clean and maintain your bathroom sink, regardless of the material it is made of. From gathering the necessary supplies to addressing stains and build-up, each step plays a crucial role in achieving a spotlessly clean sink.
Remember to clear out the sink area before starting the cleaning process and remove any dirt and grime from the sink surface using a gentle multi-purpose cleaner. Don’t forget to pay attention to the faucet and handles, ensuring they are shining and free from stains. If your drain is clogged, take the necessary steps to unclog it, whether it’s using a plunger or a drain snake.
Addressing stains and build-up is an important step in maintaining a pristine sink. Whether it’s using vinegar or lemon juice for mineral deposits, creating a baking soda paste for rust stains, or using hydrogen peroxide for beauty product stains, there are various methods to tackle different types of stains.
After cleaning, make sure to thoroughly rinse and dry the sink to remove any cleaning residue and prevent water spots. Finally, add those finishing touches that not only enhance the aesthetics of the sink area but also provide functionality and organization.
By incorporating these tips and techniques into your cleaning routine, you’ll be able to enjoy a clean, fresh, and inviting bathroom sink that adds to the overall cleanliness and appeal of your bathroom space. Remember to regularly maintain and clean your sink to keep it looking its best.
So, don’t neglect your bathroom sink any longer. Show it some love and give it the attention it deserves. With the knowledge and guidance provided in this article, you now have the tools to keep your bathroom sink in pristine condition for years to come.
Happy cleaning!
Frequently Asked Questions about How To Clean A Bathroom Sink: Experts Offer Their Tips
Was this page helpful?
At Storables.com, we guarantee accurate and reliable information. Our content, validated by Expert Board Contributors, is crafted following stringent Editorial Policies. We're committed to providing you with well-researched, expert-backed insights for all your informational needs.


0 thoughts on “How To Clean A Bathroom Sink: Experts Offer Their Tips”