Articles
How To Store Jicama After Cutting
Modified: December 7, 2023
Learn the best methods for storing jicama after you've cut it. Our articles provide step-by-step instructions and tips to keep your jicama fresh and crisp.
(Many of the links in this article redirect to a specific reviewed product. Your purchase of these products through affiliate links helps to generate commission for Storables.com, at no extra cost. Learn more)
Introduction
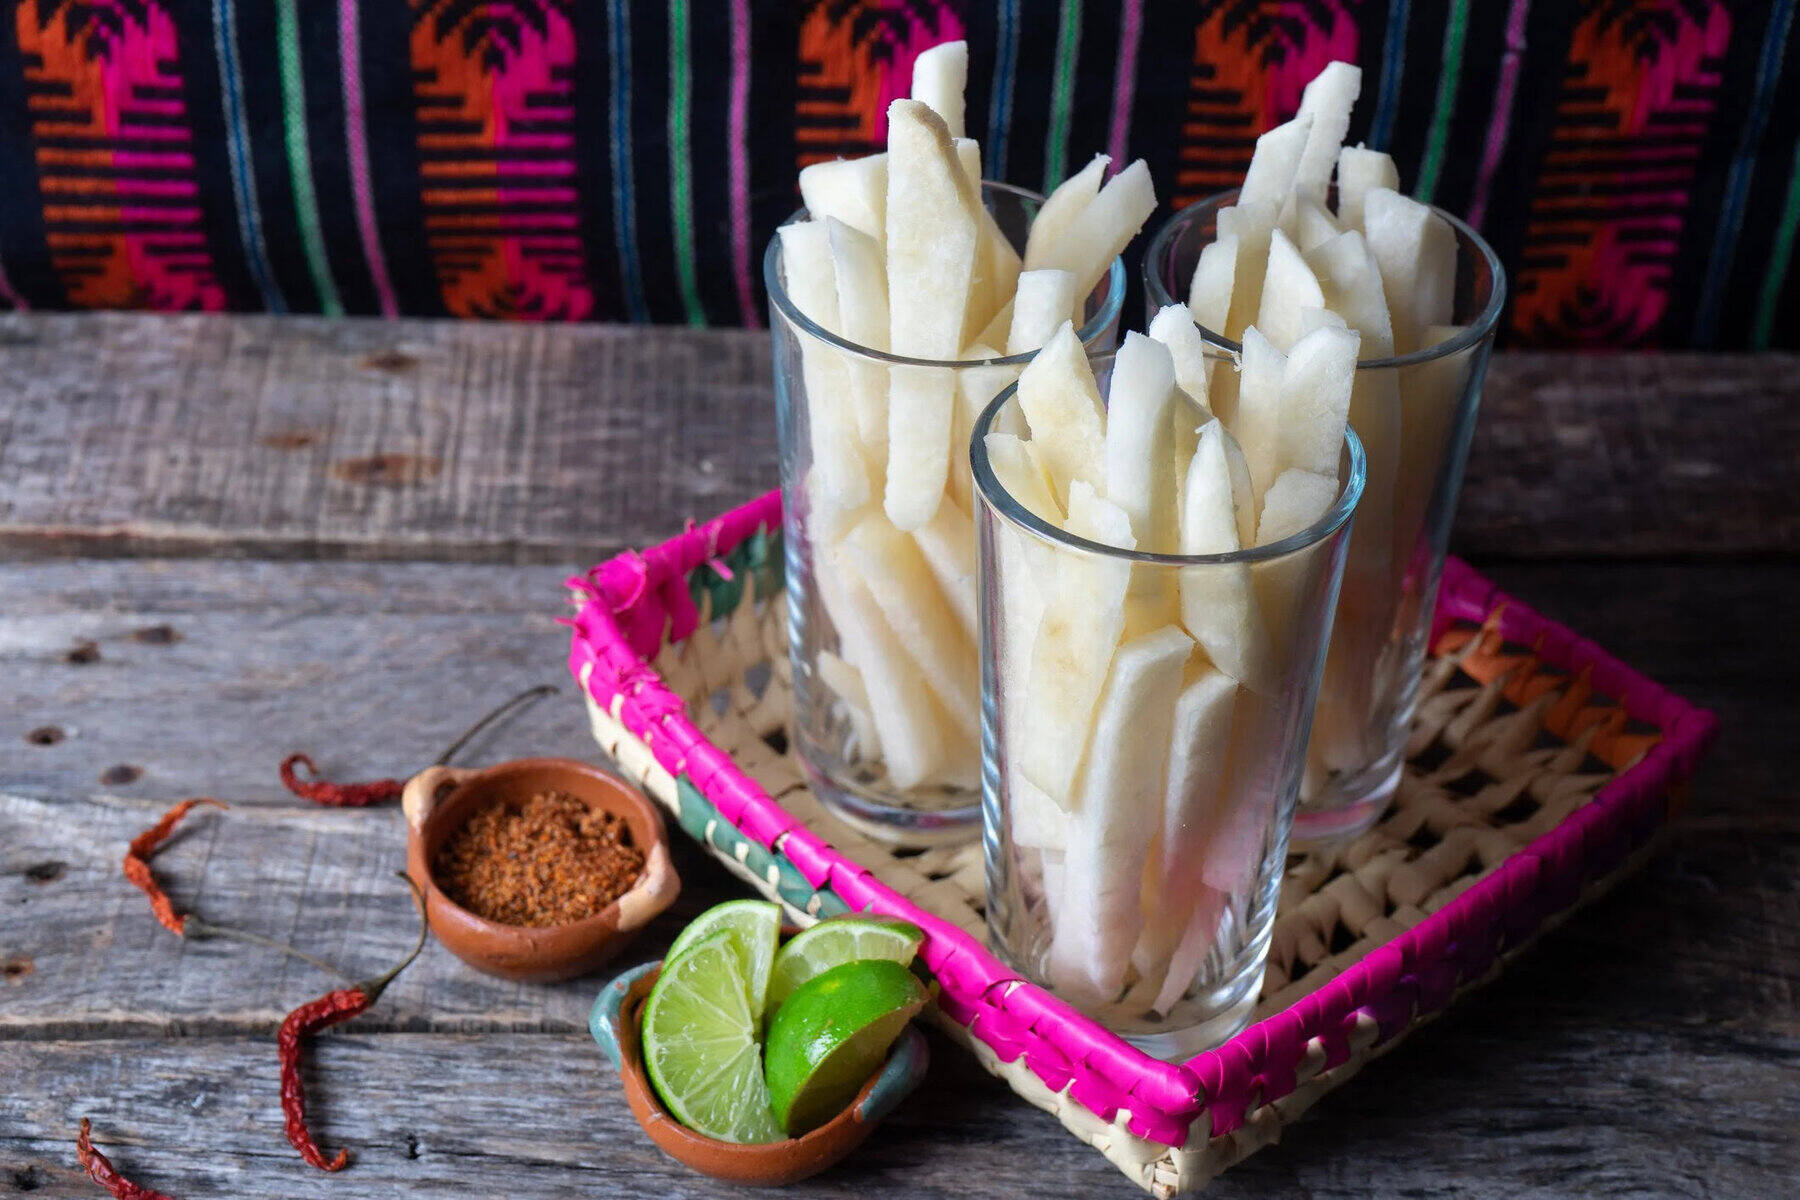
Welcome to this comprehensive guide on how to store jicama after cutting. Jicama, also known as a Mexican turnip or yam bean, is a versatile and nutritious root vegetable that is popular in various cuisines around the world. It has a crunchy texture and a slightly sweet and nutty flavor, making it a delightful addition to salads, stir-fries, or enjoyed raw as a snack.
When you have a whole jicama and only need a portion of it for a recipe, it’s important to know how to properly store the remaining cut pieces to maintain their freshness and quality. This guide will take you through the step-by-step process of storing jicama after cutting, ensuring that you can enjoy its deliciousness for days to come.
By following the techniques outlined in this article, you will be able to prolong the shelf life of jicama, preventing it from spoiling prematurely and reducing food waste. So, let’s dive in and discover the best practices for storing jicama after it has been cut!
Key Takeaways:
- Store cut jicama in an airtight container after cleaning and cutting to maintain its freshness and crunchiness, reducing food waste and enjoying its delightful flavor in various dishes.
- Regularly check and rotate stored jicama in the refrigerator, consuming it within a week for optimal freshness and flavor, unlocking its versatility in salads, stir-fries, and healthy snacks.
Read more: How To Store Cut Jicama
Step 1: Gather Necessary Materials
Before you start the process of storing jicama after cutting, it’s important to ensure that you have all the necessary materials on hand. Here’s what you’ll need:
- A sharp knife: A sharp knife will make it easier to cut the jicama into the desired shape and size.
- Cutting board: A sturdy cutting board will provide a safe and stable surface for cutting the jicama.
- Airtight container: You will need an airtight container to store the cut pieces of jicama. This could be a glass or plastic container with a tight-fitting lid.
- Plastic wrap or aluminum foil: These can be used to wrap the cut jicama before placing it in the airtight container.
- Label or marker: It’s helpful to have a label or marker to write the date on the container, allowing you to easily track the freshness of the jicama.
Once you have gathered all the necessary materials, you’re ready to move on to the next step: properly cleaning the jicama before cutting.
Step 2: Properly Clean the Jicama
Before cutting the jicama, it’s essential to properly clean it to remove any dirt or impurities. Follow these steps to ensure the jicama is clean and ready for cutting:
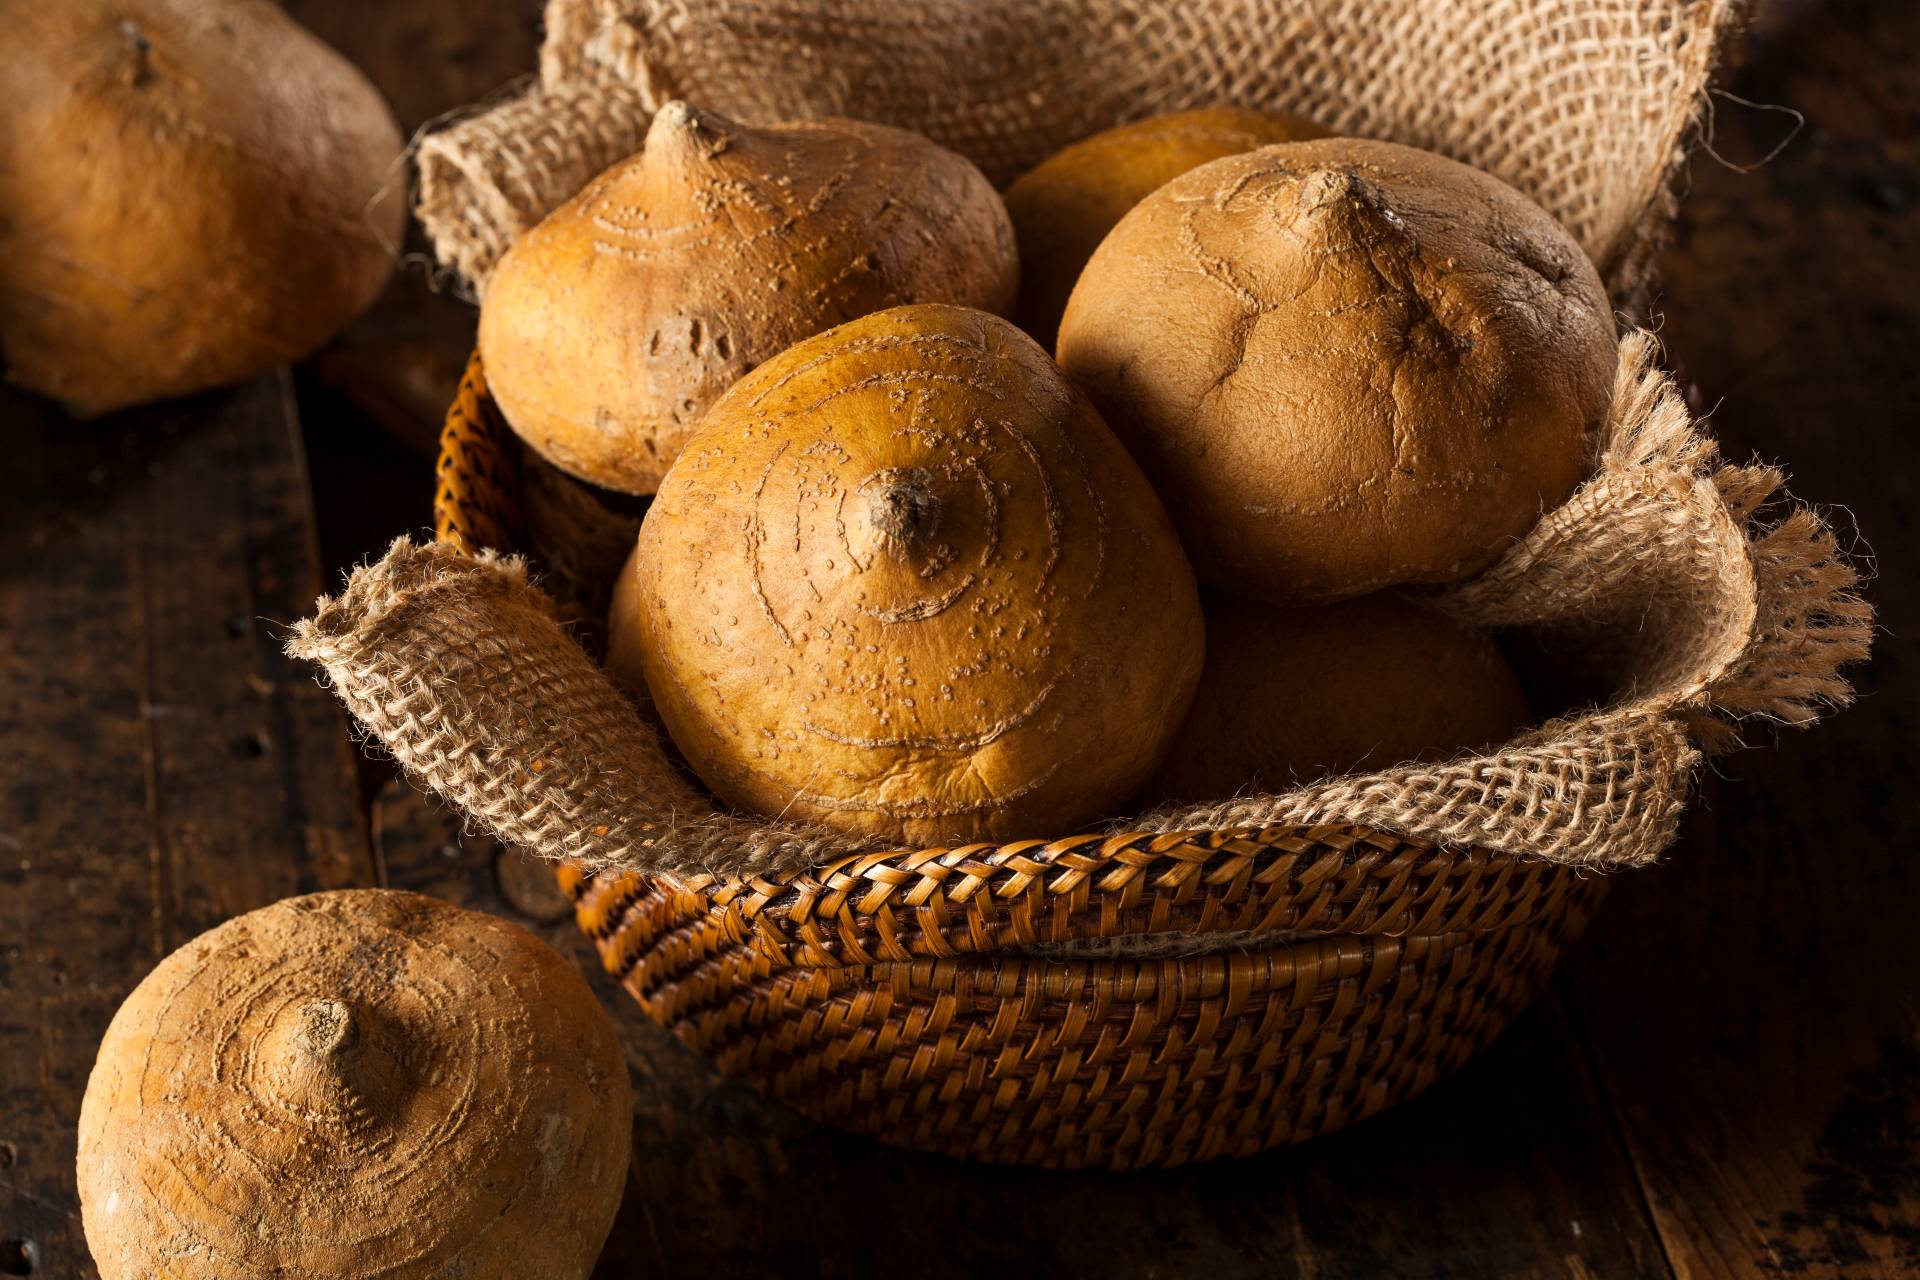
- Wash the jicama: Rinse the jicama under cool running water to remove any dirt or debris from the skin.
- Scrub the skin: Use a vegetable brush or a clean sponge to gently scrub the jicama’s skin. This will help remove any stubborn dirt or wax that may be present. Be sure to scrub all sides of the jicama thoroughly.
- Pat dry: After scrubbing, pat the jicama dry with a clean towel or paper towel. Ensuring that the jicama is completely dry will help prevent excess moisture, which can lead to quicker spoilage.
Once you have properly cleaned the jicama, you’re ready to move on to the next step: cutting it into your desired shape and size.
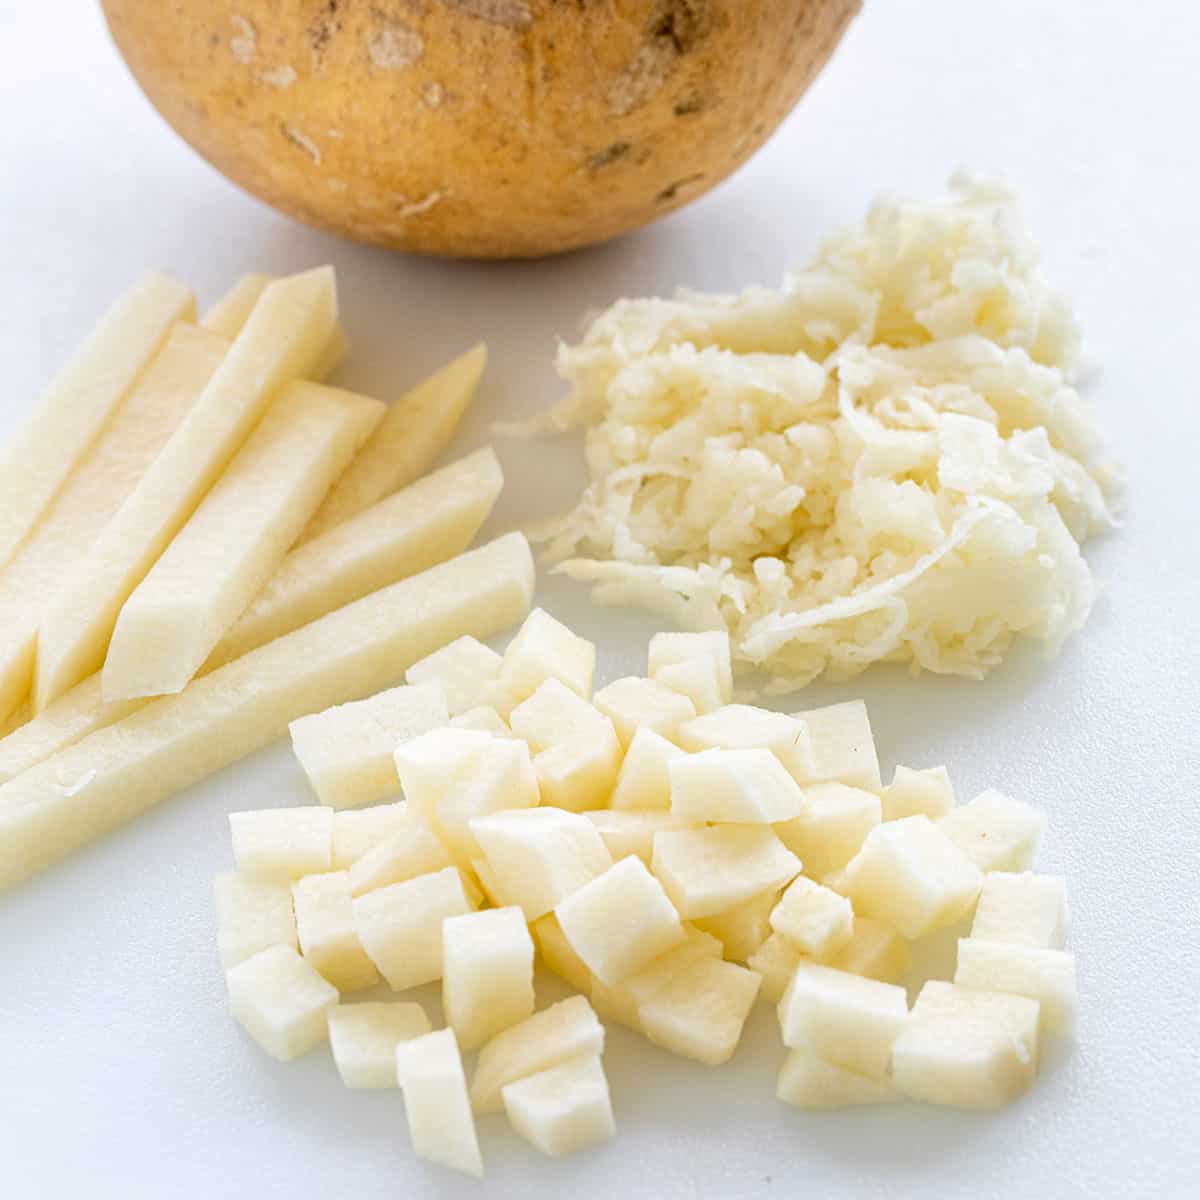
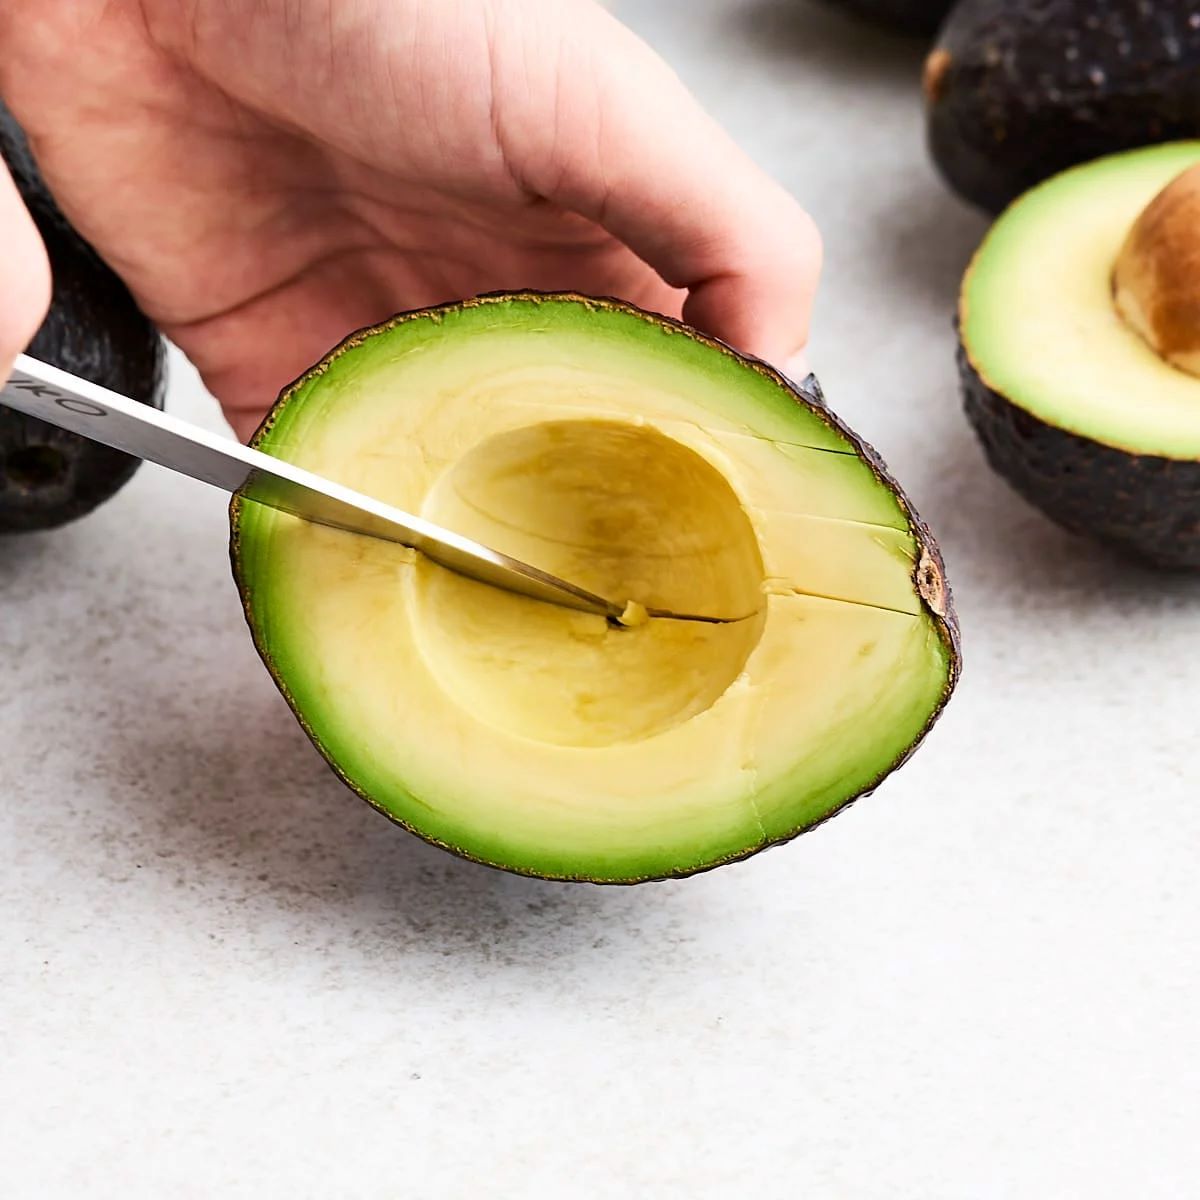
Step 3: Cut the Jicama into Desired Shape and Size
Now that you have a clean and dry jicama, it’s time to cut it into your desired shape and size. Follow these steps to ensure you achieve the perfect cut:
- Slice off the ends: Use a sharp knife to slice off both ends of the jicama. This will create a stable base for cutting.
- Peel the skin: Using a vegetable peeler or a knife, remove the tough outer skin of the jicama. Start at the top and work your way down, making sure to remove any woody or fibrous parts.
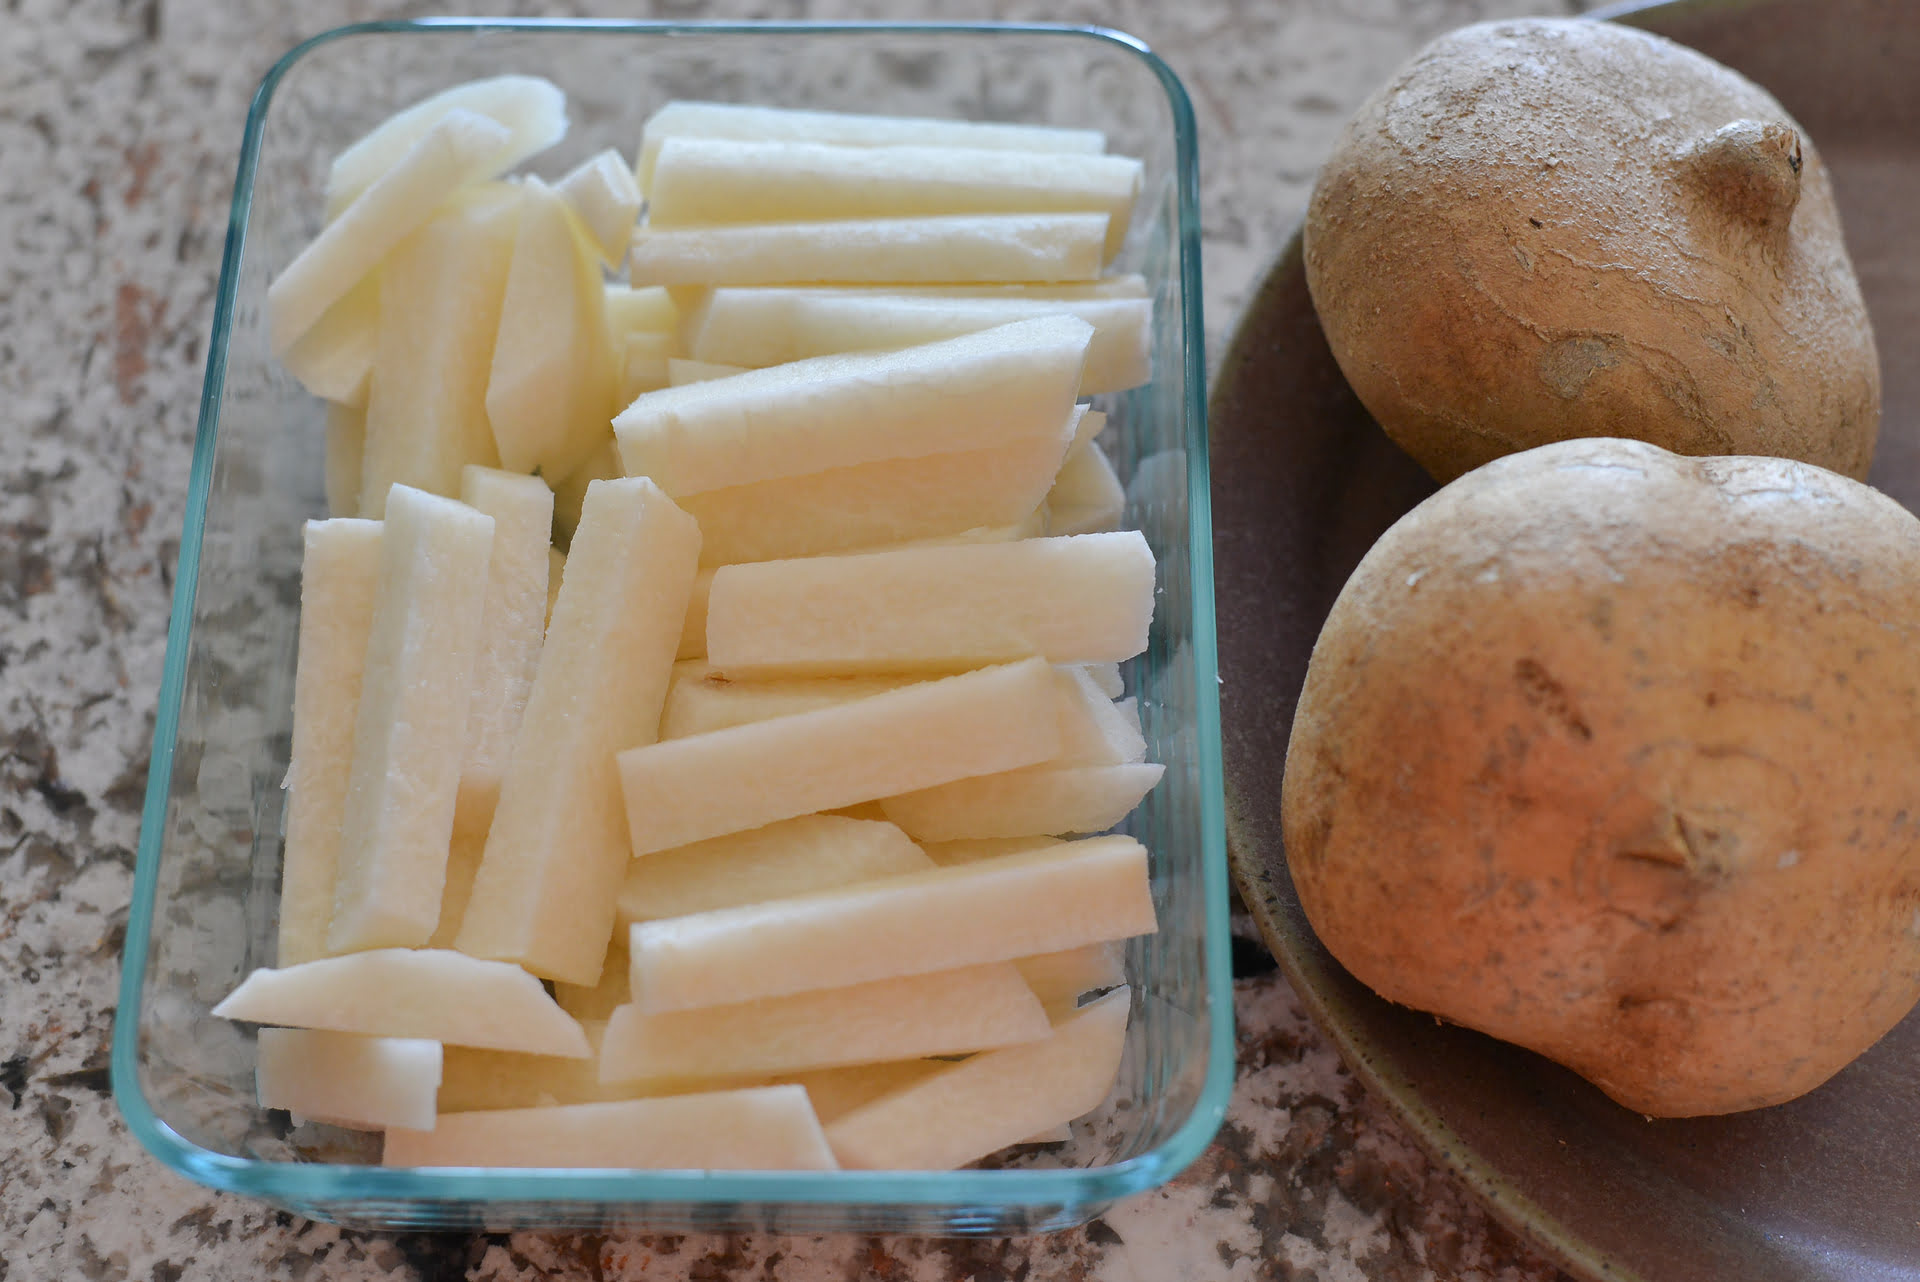
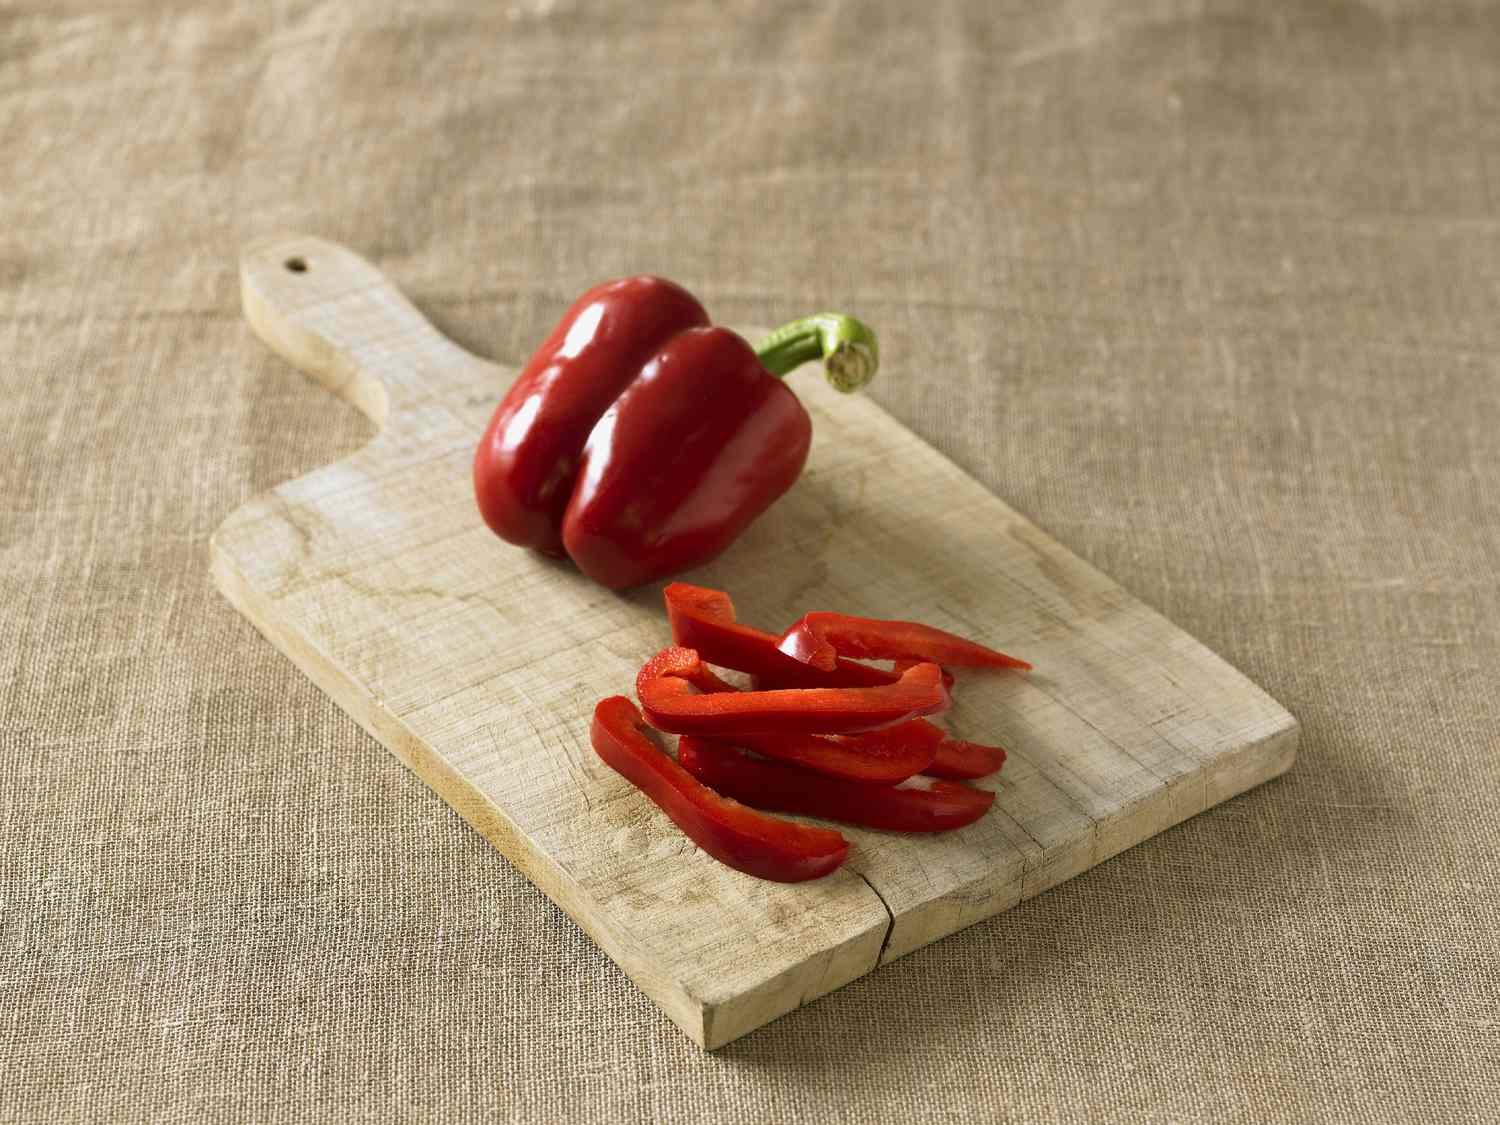
- Cut into slices or sticks: Decide whether you want to cut the jicama into slices or sticks. For slices, lay the jicama on its side and carefully cut it into even-sized rounds. For sticks, cut the jicama into smaller sections first, and then slice those sections into thin sticks.
- Adjust the size: If the slices or sticks are too thick for your liking, you can further cut them into smaller pieces to achieve your desired size.
Remember to exercise caution while handling the knife and always keep your fingers away from the blade. Once you have cut the jicama into your desired shape and size, you’re ready to move on to the next step: storing it in an airtight container.
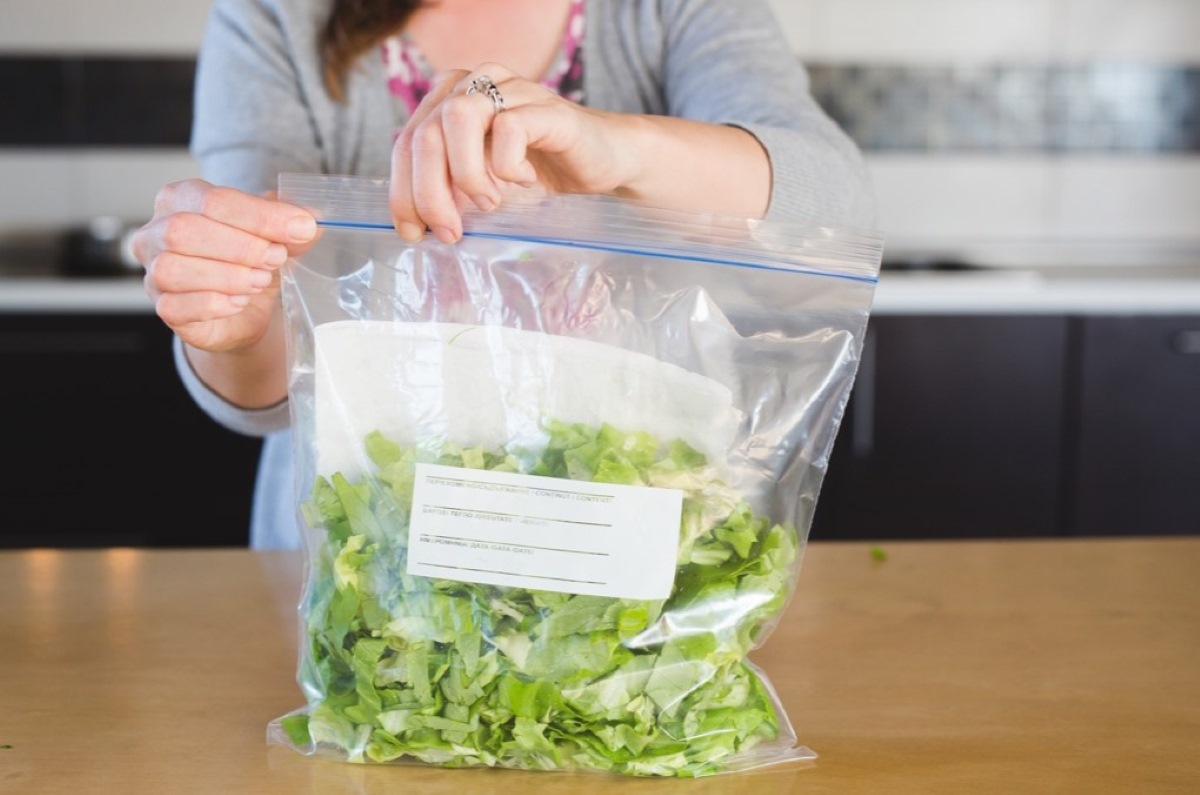
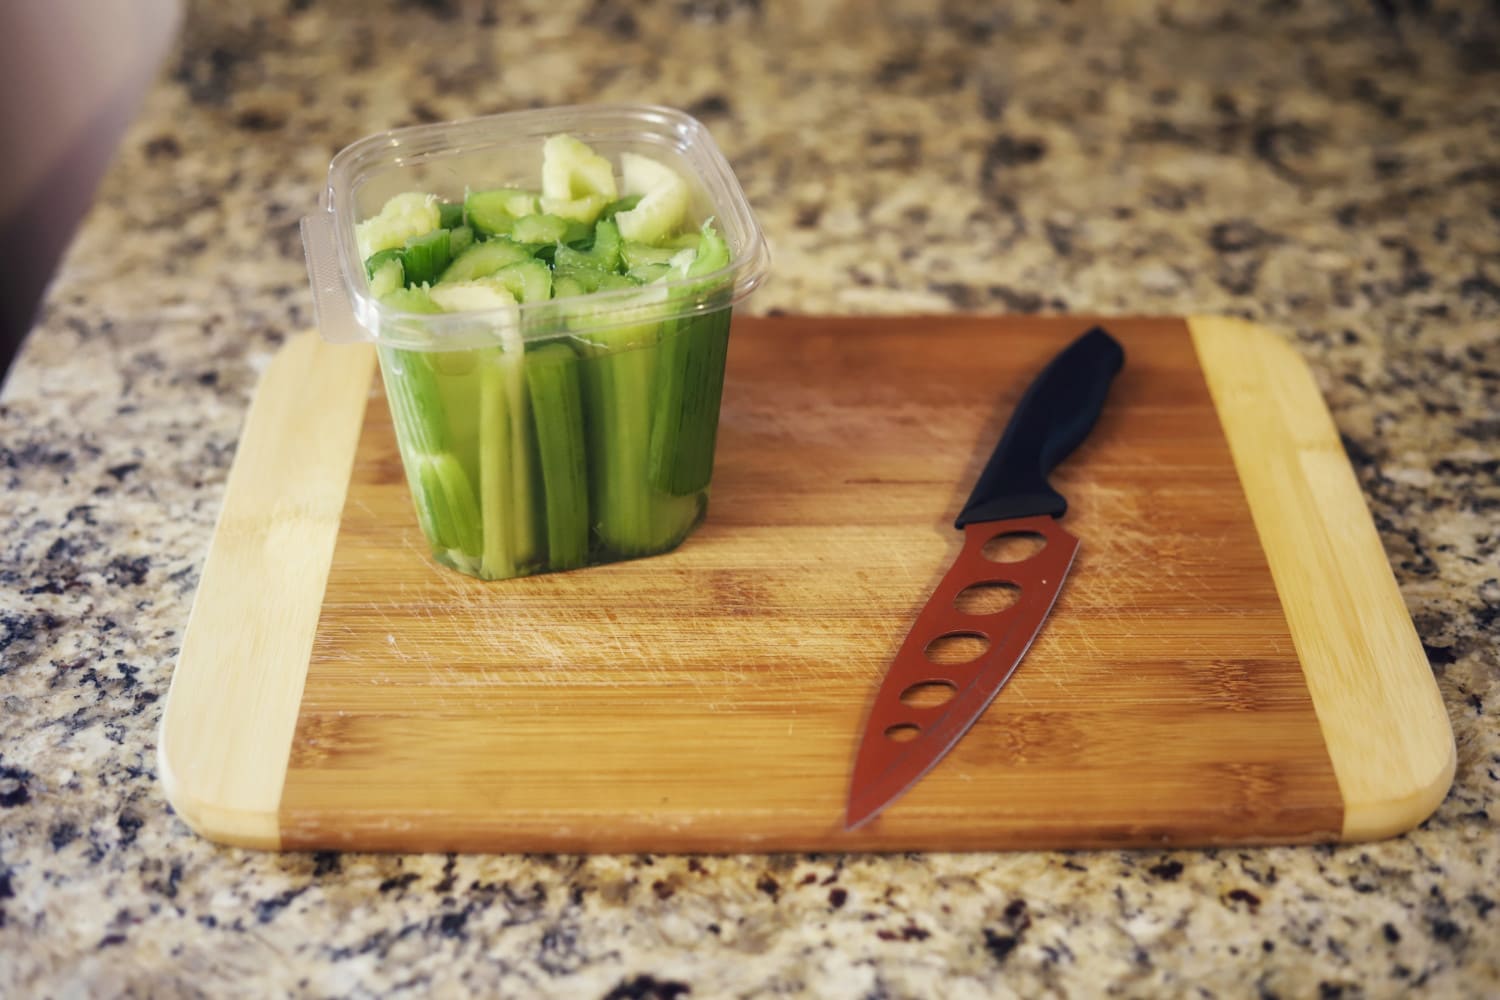
Step 4: Store Jicama in an Airtight Container
After cutting the jicama into the desired shape and size, it’s crucial to store it properly to maintain its freshness. Follow these steps to store jicama in an airtight container:
- Prepare the container: Ensure that the airtight container is clean and dry before placing the jicama in it. This helps prevent any contamination or moisture buildup.
- Line the container: If desired, you can line the container with a layer of plastic wrap or aluminum foil. This additional layer helps create a barrier and keeps the jicama from directly touching the surface of the container.
- Arrange the jicama: Place the cut jicama pieces in a single layer inside the container. Avoid overcrowding to prevent the pieces from sticking together and losing their crispness.
- Seal the container: Ensure the container is tightly sealed to create an airtight environment. This prevents air from entering and slowing down the spoilage process.
- Label the container: Use a label or marker to write the date on the container. This will help you keep track of when the jicama was stored, allowing you to prioritize it based on freshness.
By storing the cut jicama in an airtight container, you create a controlled environment that helps preserve its texture and flavor. Now that you have stored the jicama, the next step is to refrigerate it to prolong its shelf life.
After cutting, store jicama in an airtight container or resealable bag in the refrigerator. It will stay fresh for up to 1 week.
Read more: How To Store Jicama Once Cut
Step 5: Refrigerate the Jicama
Refrigeration is key to maintaining the freshness and prolonging the shelf life of cut jicama. Follow these steps to properly refrigerate the jicama:
- Place the airtight container in the refrigerator: Find a suitable spot in your refrigerator to store the container of jicama. Make sure it’s not placed near foods with strong odors, as jicama can absorb odors easily.
- Keep the temperature consistent: Set your refrigerator to a temperature between 32°F and 40°F (0°C to 4°C). This temperature range is ideal for preserving the quality of jicama.
- Avoid storing near moisture sources: Keep the container away from areas in the refrigerator where condensation may occur, such as near the back or bottom. Excess moisture can lead to a mushy texture and promote spoilage.
It’s important to note that refrigeration can lengthen the shelf life of cut jicama, but it won’t keep it fresh indefinitely. Jicama is best enjoyed when consumed within a reasonable timeframe. In the next step, we’ll discuss how to check and maintain the freshness of stored jicama.
Step 6: Check and Maintain Jicama’s Freshness
As time passes, it’s important to regularly check the freshness of stored jicama to ensure its quality. Follow these steps to check and maintain the freshness of jicama:
- Inspect for any signs of spoilage: Periodically examine the stored jicama for any mold, discoloration, or unpleasant odor. If you notice any of these signs, it’s best to discard the affected pieces.
- Keep the container sealed: Every time you access the container, make sure to reseal it tightly to maintain an airtight environment. This helps minimize exposure to air and slows down the spoilage process.
- Rotate the jicama: If you are storing multiple jicama pieces, consider rotating them periodically. This ensures even exposure to the cool temperature of the refrigerator and helps maintain their freshness.
- Remove any condensation: If you notice any condensation inside the container, gently pat the jicama dry with a clean cloth or paper towel. Excess moisture can lead to a loss of crispness and promote spoilage.
By regularly checking and maintaining the freshness of jicama, you can enjoy its delicious taste and texture for a longer period. However, it’s important to consume stored jicama within a reasonable timeframe to ensure optimal quality, which brings us to the next step: using the stored jicama.
Step 7: Use Stored Jicama within a Reasonable Timeframe
While proper storage techniques can help prolong the shelf life of cut jicama, it’s important to use the stored jicama within a reasonable timeframe to ensure its freshness and taste. Follow these guidelines for consuming jicama stored in the refrigerator:
- Check for freshness: Before using the stored jicama, conduct a thorough visual and smell assessment. If there are any signs of spoilage, such as mold, discoloration, or a foul odor, it’s best to discard it to avoid any potential health risks.
- Consume within a week: As a general guideline, it’s recommended to use stored jicama within one week. However, the exact timeframe can vary depending on factors such as the freshness of the cut jicama and the storage conditions.
- Optimal freshness and flavor: The sooner you consume the stored jicama, the better its taste and texture will be. Jicama has a crispy and crunchy texture when fresh, and over time, it may become softer and lose some of its appeal.
- Use in various dishes: Enjoy the versatility of jicama by incorporating it into your favorite recipes. Add it to salads, stir-fries, slaws, or simply enjoy it as a refreshing and healthy snack.
By appropriately using the stored jicama within a reasonable timeframe, you can savor its delightful taste and reap the benefits of this nutritious root vegetable.
After going through all these steps, you now have a comprehensive understanding of how to store jicama after cutting. By following these guidelines, you can prolong the shelf life of cut jicama, minimize food waste, and enjoy its delectable flavors in various dishes. So, don’t hesitate to bring home some fresh jicama and give these storage techniques a try!
Conclusion
Congratulations! You’ve now learned how to properly store jicama after cutting, ensuring its freshness and quality for days to come. By following these simple steps, you can minimize food waste and enjoy the delicious flavors and crunchy texture of jicama in various recipes.
Remember to gather the necessary materials, properly clean the jicama, cut it into your desired shape and size, and store it in an airtight container. Refrigerating the jicama in the right temperature range and regularly checking its freshness will help maintain its quality. Finally, make sure to consume the stored jicama within a reasonable timeframe to enjoy it at its best.
Jicama is a versatile and nutritious vegetable that adds a refreshing element to salads, stir-fries, and even as a healthy snack on its own. By following the storage techniques outlined in this guide, you can extend the shelf life of your jicama and create more culinary possibilities.
So, the next time you have a whole jicama and only need a portion of it, remember these steps to properly store the remaining cut pieces. Enjoy the benefits of jicama’s unique taste and texture, while also reducing food waste in your kitchen.
Now that you have the knowledge, it’s time to put it into practice. Begin your jicama storage journey and savor the fresh and crisp flavors it has to offer!
Frequently Asked Questions about How To Store Jicama After Cutting
Was this page helpful?
At Storables.com, we guarantee accurate and reliable information. Our content, validated by Expert Board Contributors, is crafted following stringent Editorial Policies. We're committed to providing you with well-researched, expert-backed insights for all your informational needs.


0 thoughts on “How To Store Jicama After Cutting”