Articles
How To Store Kiinde Bags In Freezer
Modified: August 17, 2024
Learn effective ways to store Kiinde bags in the freezer with these helpful articles. Preserve your breast milk safely for your little one.
(Many of the links in this article redirect to a specific reviewed product. Your purchase of these products through affiliate links helps to generate commission for Storables.com, at no extra cost. Learn more)
Introduction
Welcome to our guide on how to store Kiinde bags in the freezer. If you are a breastfeeding mother who uses Kiinde bags to store breast milk, you may already know the convenience and efficiency they offer. Kiinde bags are designed to safely store breast milk for future use, allowing you to easily feed your little one whenever needed.
Proper storage of the Kiinde bags in the freezer is essential to ensure the freshness and quality of the breast milk. In this article, we will walk you through the step-by-step process of storing Kiinde bags in the freezer, from preparing the bags for freezing to thawing and using them for feeding.
By following our guidelines, you can extend the shelf life of your breast milk and have a well-organized freezer for quick and convenient access to your stored milk.
So, let’s dive in and discover how to properly store Kiinde bags in the freezer!
Key Takeaways:
- Properly preparing, labeling, and organizing Kiinde bags in the freezer is crucial for maintaining the freshness and quality of breast milk. Follow these steps to ensure safe and convenient storage for your little one’s feeding needs.
- Thawing and handling Kiinde bags with care is essential to preserve the nutrients and safety of the stored breast milk. From thawing methods to proper handling, ensure that your baby receives the freshest and most nutritious milk for their feeding needs.
Read more: How To Store Bagged Ice In Freezer
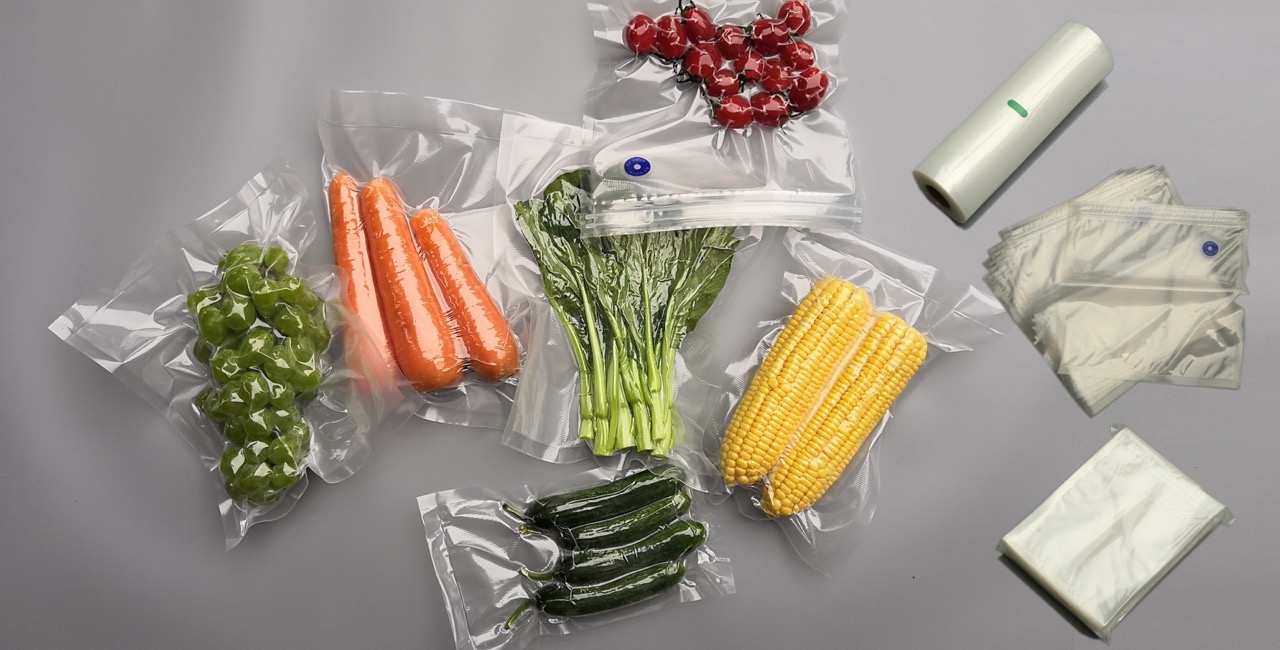
Step 1: Preparing the Kiinde Bags for Freezing
Before you can start storing Kiinde bags in the freezer, it is important to properly prepare them to ensure the integrity of the breast milk and prevent any contamination. Follow these steps to prepare the Kiinde bags for freezing:
- Clean and sanitize: Start by thoroughly cleaning your hands and the surface where you will be working. Make sure you have clean countertops or a designated area for handling the Kiinde bags. Wash your hands with soap and warm water for at least 20 seconds.
- Check for leaks: Inspect each Kiinde bag for any signs of leaks or tears. It is crucial to use bags that are in good condition to prevent any potential leakage during freezing or thawing. Discard any bags that are damaged.
- Label the bags: Use a waterproof marker or label stickers to write the date and time of expressing the breast milk on each bag. This will help you keep track of the freshness of the stored milk and ensure you use the oldest milk first.
- Measure and fill: Open a Kiinde bag and carefully pour or pump the desired amount of breast milk into the bag. Be sure to leave some space at the top of the bag to allow for expansion during freezing. Avoid overfilling the bag as it may cause leakage.
- Seal the bag: Press out any excess air from the bag and then tightly seal it. Make sure the seal is secure to prevent any air or moisture from entering the bag during freezing.
By following these preparation steps, you can ensure that the Kiinde bags are in optimal condition before storing them in the freezer. This will help preserve the freshness and quality of your breast milk for future use.
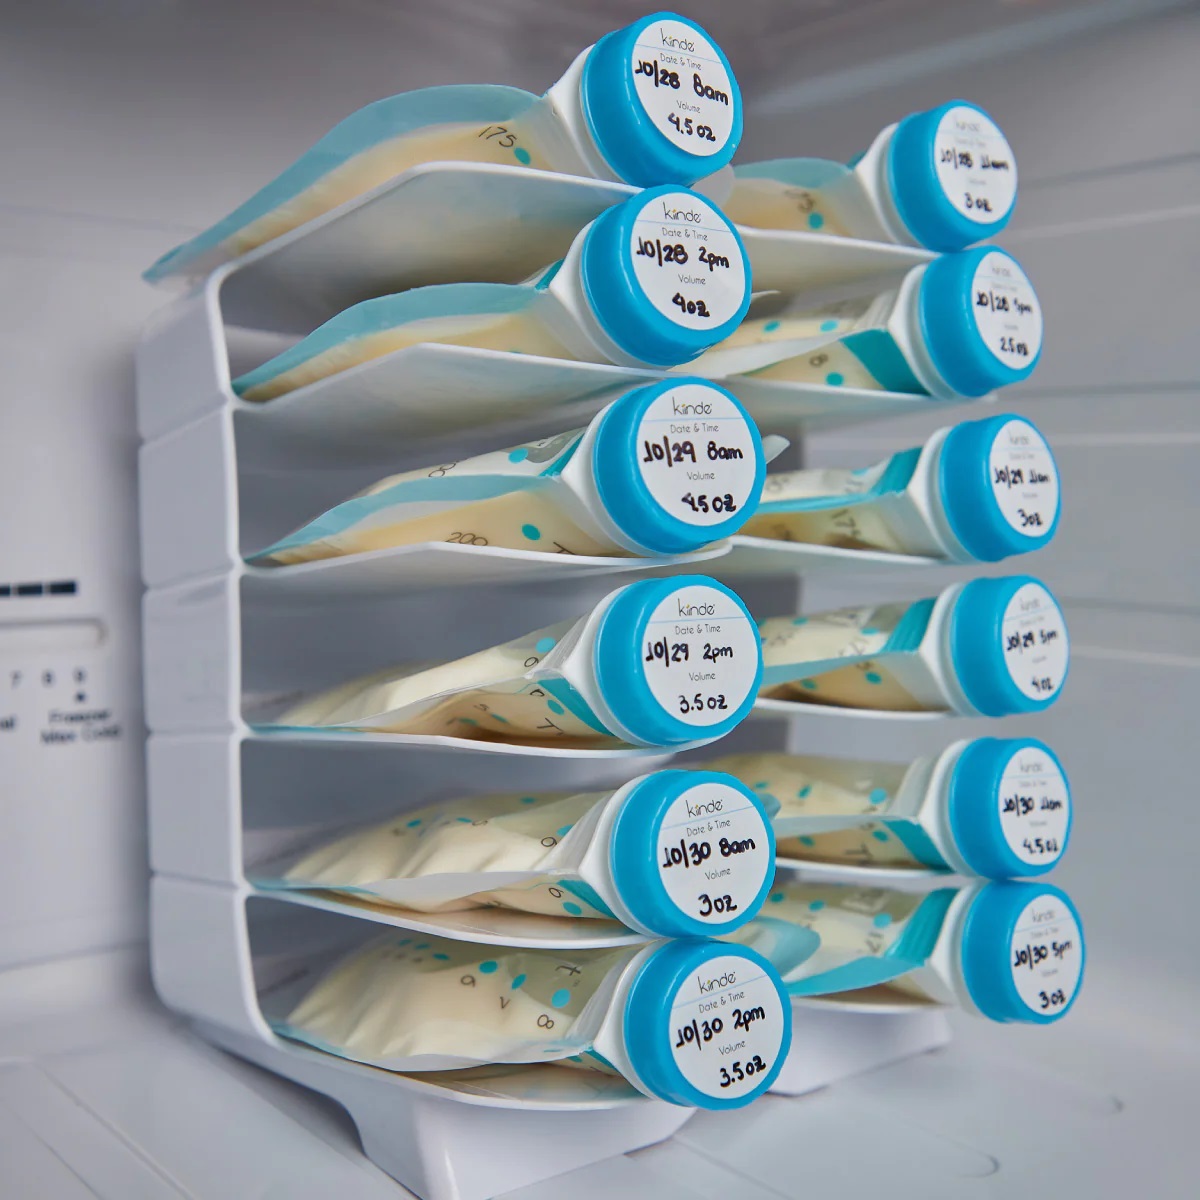
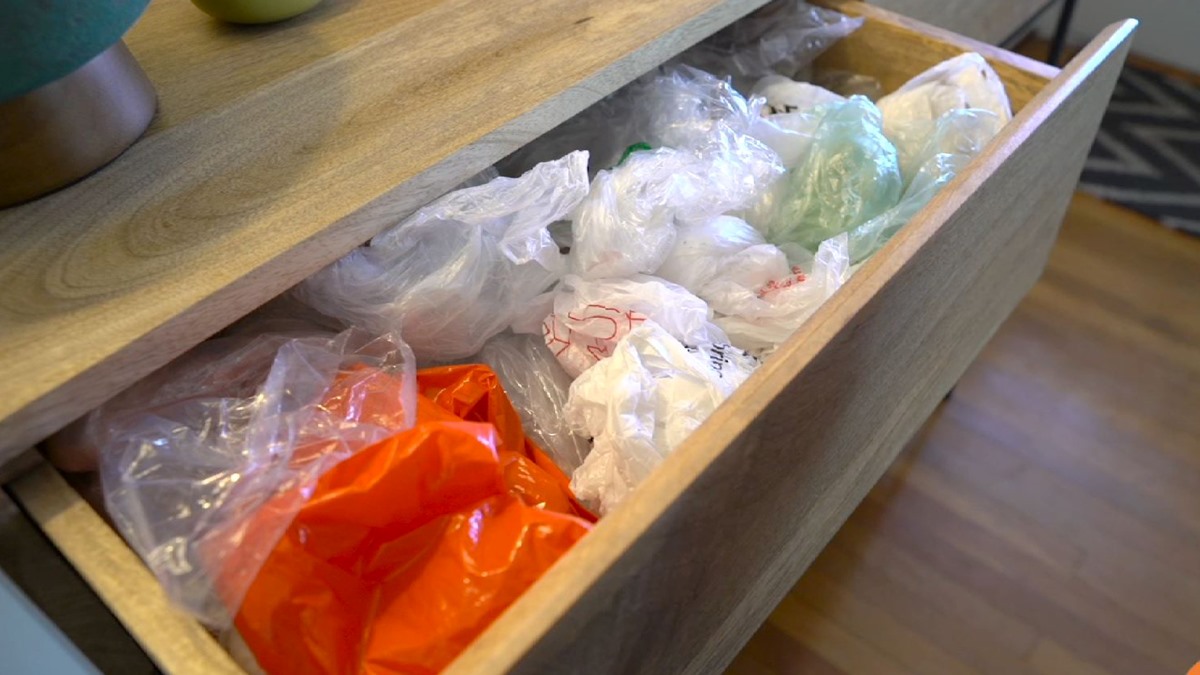
Step 2: Organizing the Kiinde Bags in the Freezer
Once you have prepared the Kiinde bags for freezing, the next step is to organize them in the freezer. Proper organization will make it easier to locate and access the breast milk when needed. Follow these steps to effectively organize your Kiinde bags:
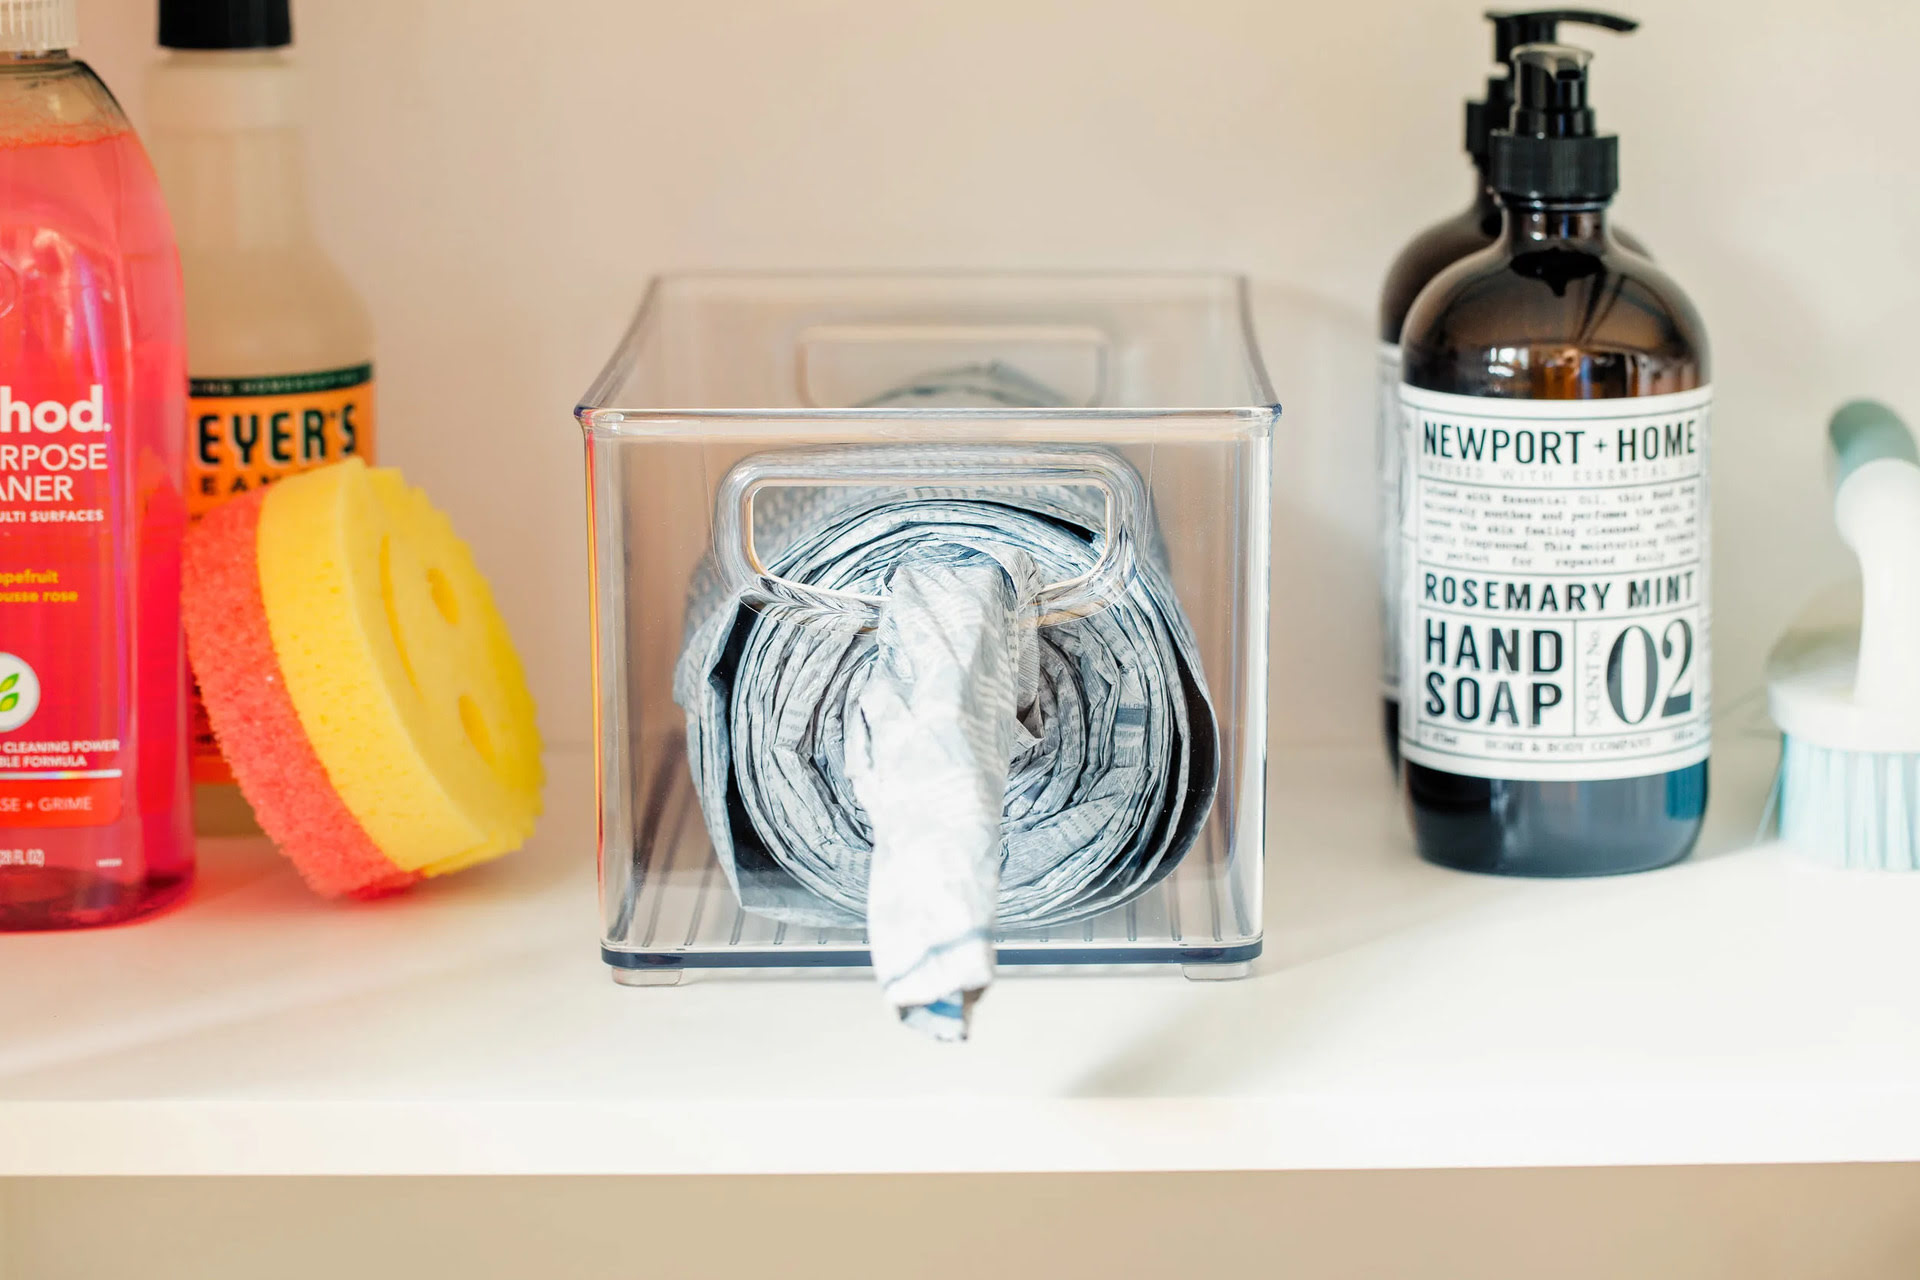
- Clean the freezer: Start by clearing out any unnecessary items from your freezer and give it a good clean. Remove any expired or spoiled food items and wipe down the shelves and drawers with a mild cleaning solution.
- Create a designated area: Decide on a specific area in your freezer that will be dedicated to storing the Kiinde bags. This could be a specific shelf or a designated section in one of the drawers.
- Arrange in a single layer: Place the Kiinde bags in a single layer, lying flat, in the designated area. This will maximize space utilization and make it easier to stack and organize the bags.
- Leave space between bags: Ensure there is some space between each bag to allow for air circulation. This will help the breast milk freeze evenly and prevent the bags from sticking together.
- Consider using dividers or bins: If you have a large number of Kiinde bags, you might find it helpful to use dividers or plastic bins to separate different batches or months. This will make it easier to locate specific bags when needed.
- Rotate bags periodically: To ensure you use the oldest milk first, periodically rotate the Kiinde bags by moving the newer bags to the back and bringing the older bags to the front. This will help avoid any milk spoilage.
By organizing your Kiinde bags in the freezer, you can create an efficient and easily accessible storage system. This will save you time and effort when retrieving and using the breast milk for feeding your little one. Remember to maintain the organization by regularly assessing and rearranging the bags as needed.
Step 3: Properly Sealing the Kiinde Bags
Properly sealing the Kiinde bags is crucial to ensure the freshness and integrity of the stored breast milk. A secure seal will prevent any air, moisture, or potential contaminants from entering the bags during storage. Follow these steps to ensure you seal the Kiinde bags correctly:
- Press out excess air: Before sealing the Kiinde bag, gently press out any excess air that may be trapped inside. This will help minimize the risk of freezer burn and maintain the quality of the breast milk.
- Zipper lock seal: Kiinde bags are equipped with a convenient zipper lock seal. Start by aligning the two tracks of the seal at the top of the bag and firmly press them together from one end to the other. Ensure that the seal is completely closed and there are no gaps.
- Double-check the seal: After sealing the bag, run your fingers along the edges to double-check the seal’s integrity. If you feel any gaps or see any air bubbles, reseal the bag to ensure a tight and secure closure.
- Consider double-bagging: If you have any concerns about potential leaks or want an extra layer of protection, you can consider double-bagging. Simply place the sealed Kiinde bag inside another freezer bag and seal it. This will provide an additional barrier against spills or leaks.
By following these steps, you can ensure that the Kiinde bags are properly sealed and protected from any external factors that may compromise the quality of the breast milk. A secure seal will help maintain the nutrients, freshness, and taste of the milk, ensuring that it remains safe for your little one.
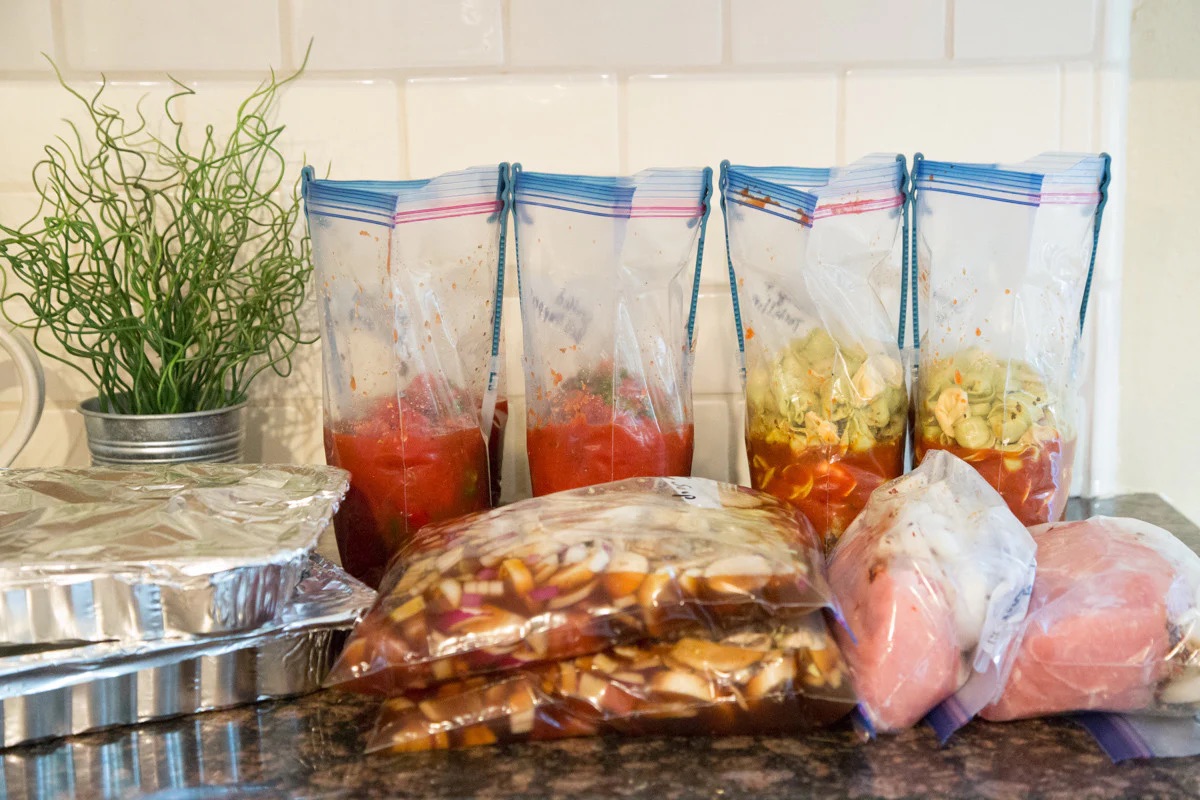
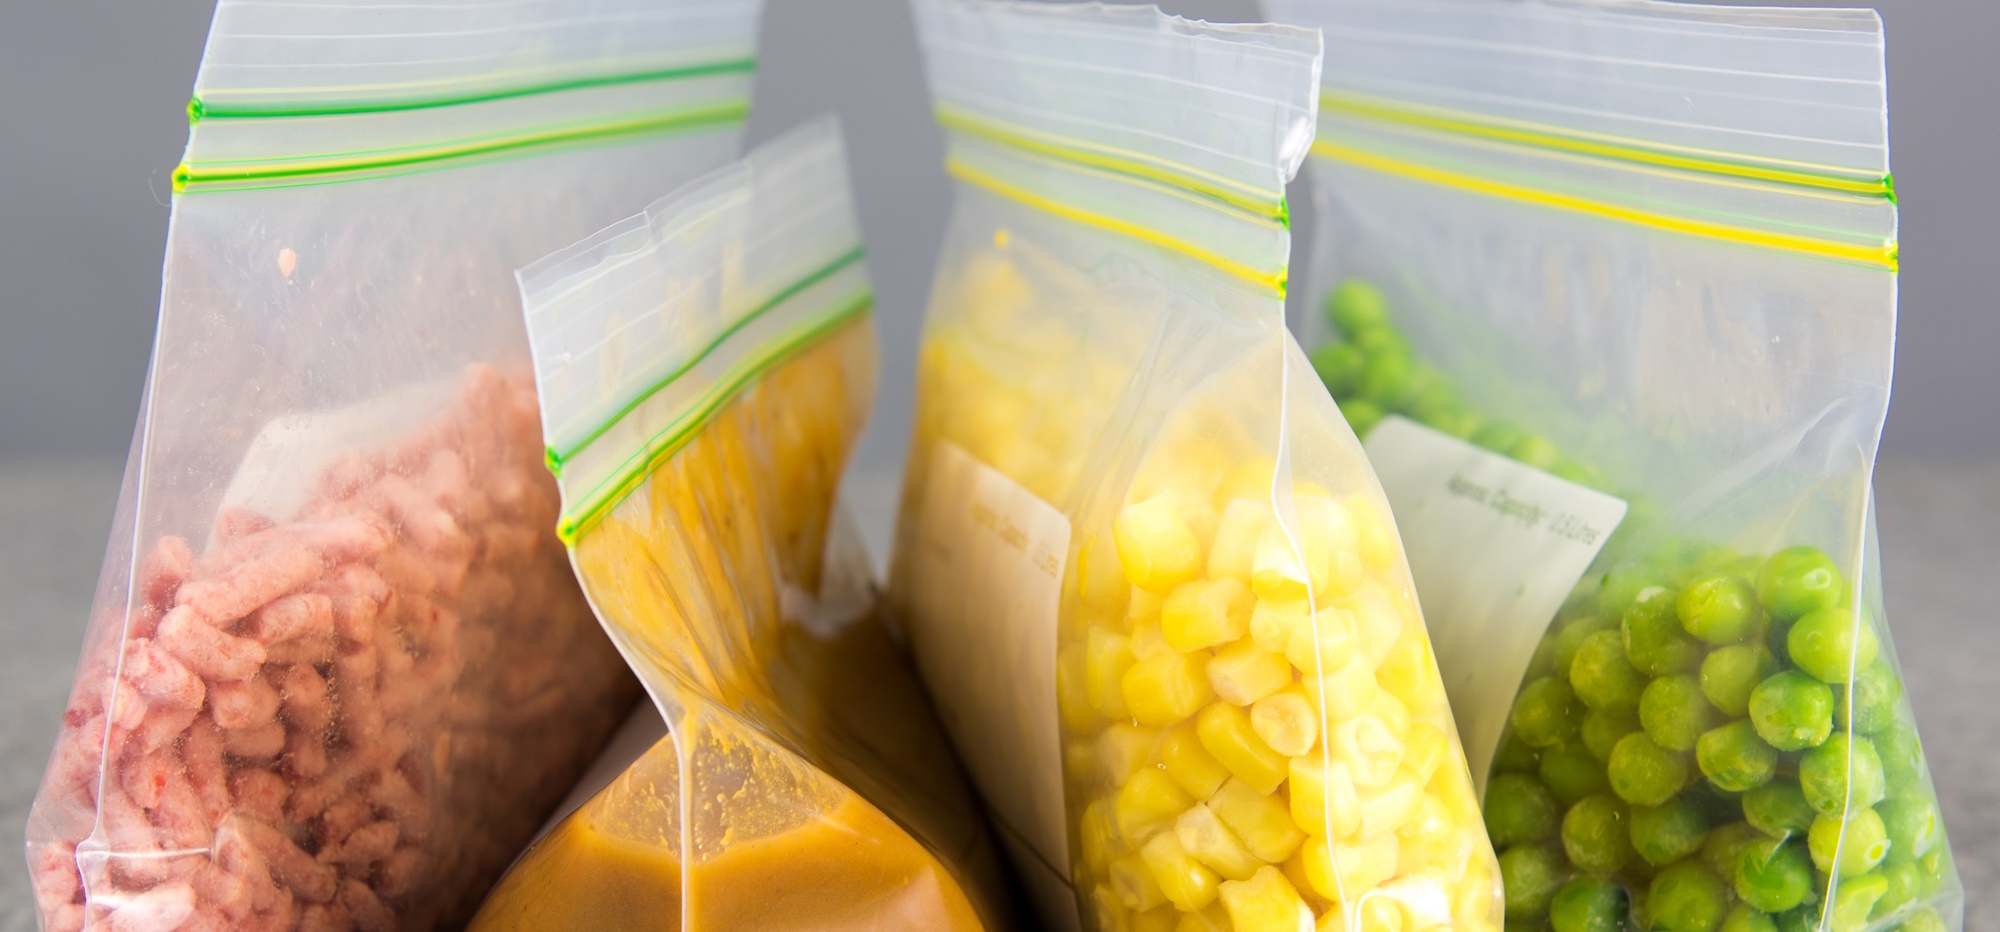
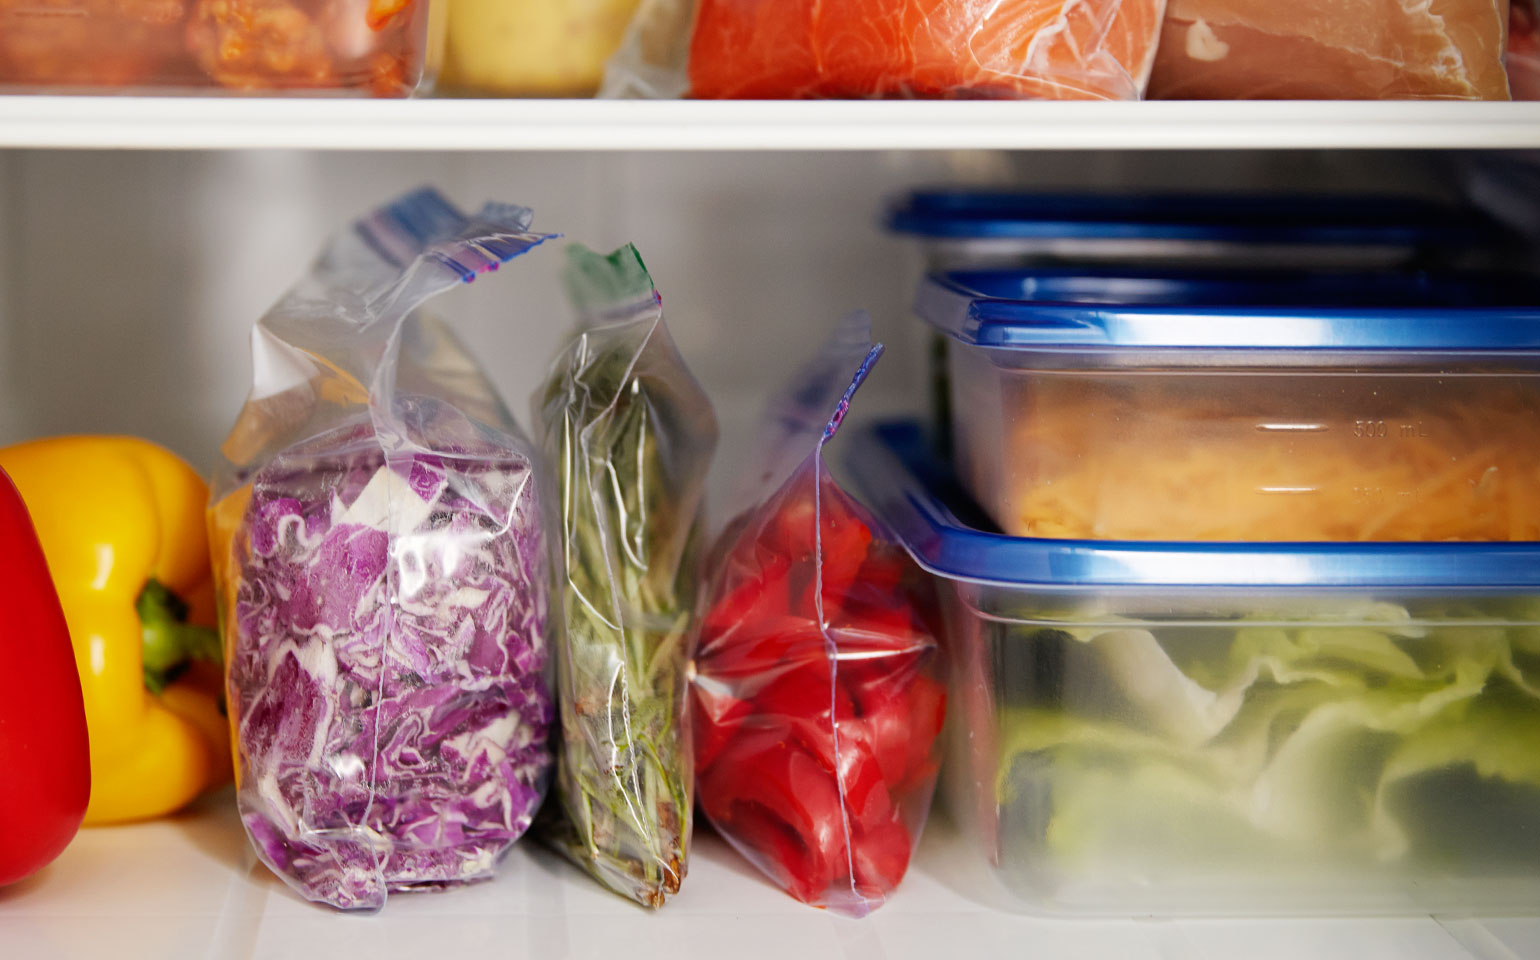
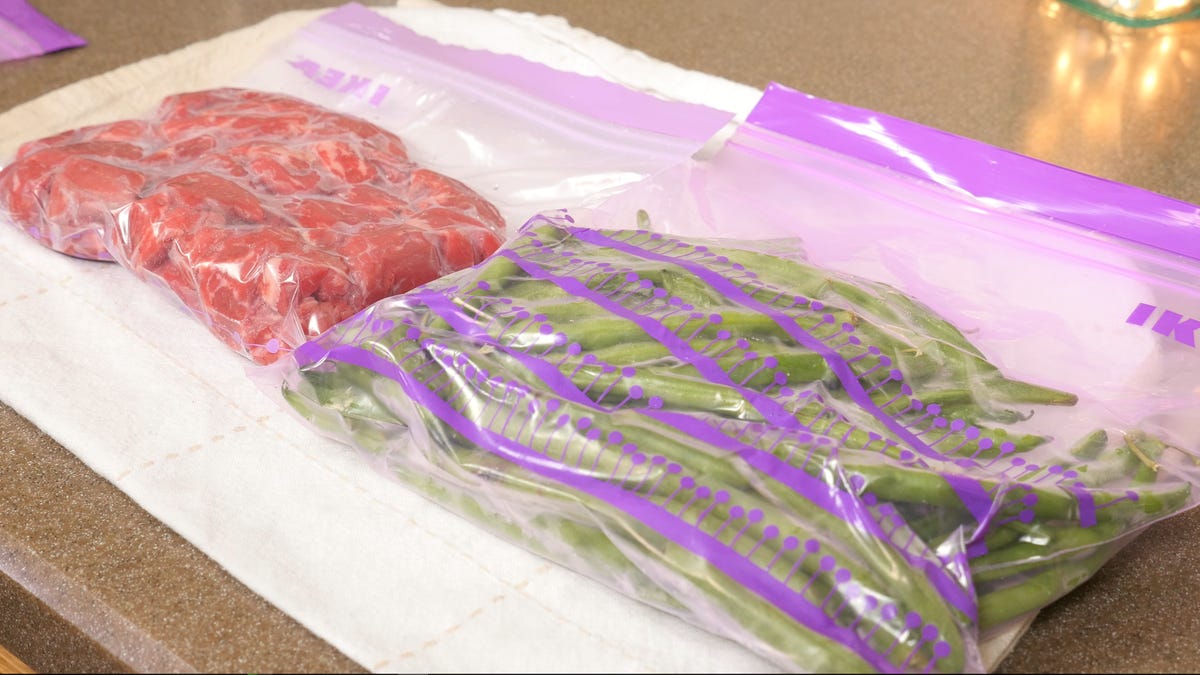
To store Kiinde bags in the freezer, lay them flat to maximize space and ensure even freezing. Place them in a resealable plastic bag to prevent freezer burn and keep them organized.
Step 4: Labeling and Dating the Kiinde Bags
Properly labeling and dating the Kiinde bags is essential for easy identification and tracking of the stored breast milk. Accurate labeling will help ensure that you use the oldest milk first and maintain the freshness of the stored milk. Follow these steps to effectively label and date your Kiinde bags:
- Waterproof marker or label stickers: Use a waterproof marker or label stickers specifically designed for freezer use. Regular markers or stickers may smudge or come off when exposed to moisture or condensation.
- Date and time: Write the date and time of expressing the breast milk on each Kiinde bag. This will help you keep track of the freshness of the milk and ensure you use the oldest milk first.
- Clear and legible: Ensure that the labels are written clearly and legibly. This will make it easier to read the information even when the bags are stored in a crowded freezer or if the labels become slightly smudged over time.
- Include any special instructions: If you have any specific instructions for using the milk or any notes you’d like to make, you can include them on the labels. For example, if the milk is for certain feeding times or if there are any dietary restrictions or allergies to consider.
- Apply labels to each bag: Stick the labels on each Kiinde bag near the top, where they will be easily visible. Make sure the labels are securely attached and won’t detach during storage.
By effectively labeling and dating your Kiinde bags, you can easily keep track of the freshness, quantity, and any special instructions associated with each bag of breast milk. This will help ensure that you provide the best quality and safest milk for your little one.
Read more: How To Store Breast Milk Bags In Freezer
Step 5: Storing the Kiinde Bags in the Freezer
Once you have properly prepared, sealed, and labeled the Kiinde bags, it’s time to store them in the freezer. Proper storage is essential to maintain the quality and safety of the breast milk. Follow these steps to effectively store your Kiinde bags in the freezer:
- Find a stable and flat surface: Choose a stable and flat surface in your freezer to place the Kiinde bags. This could be a shelf, drawer, or designated area specifically for storing breast milk.
- Optimal temperature: Ensure that your freezer is set to the appropriate temperature for storing breast milk, ideally at or below 0°F (-18°C) to maintain the quality of the milk.
- Organize in batches: If you have multiple batches of Kiinde bags, consider organizing them in separate groups based on the date and time of expression. This will make it easier to locate and use the oldest milk first.
- Stacking technique: To maximize the space in your freezer, stack the Kiinde bags in a stable and orderly manner. Place the bags flat on top of each other, making sure they are securely positioned to prevent any slipping or falling.
- Keep bags upright: If you prefer to keep the Kiinde bags upright, consider using a storage bin or tray to hold them in an upright position. This will help prevent any accidental spills or leaks.
- Avoid overcrowding: Do not overcrowd the freezer with Kiinde bags, as this can restrict airflow and impact the effectiveness of freezing. Leave enough space between the bags to allow for proper circulation.
- Regularly arrange and check: Periodically rearrange the Kiinde bags in the freezer to ensure proper rotation and access to each bag. This will also give you an opportunity to check for any signs of spoilage or leakage.
By following these guidelines, you can create a well-organized and efficient storage system for your Kiinde bags in the freezer. This will help preserve the freshness, quality, and safety of the breast milk, ensuring that it remains suitable for your baby’s needs.
Step 6: Thawing and Using the Kiinde Bags
When the time comes to use the stored breast milk from your Kiinde bags, it’s essential to thaw and handle them properly to maintain the nutrients and safety of the milk. Follow these steps to thaw and use your Kiinde bags effectively:
- Note the date: Before thawing a Kiinde bag, check the label for the date and time of expression. Always use the oldest milk first to ensure its freshness.
- Thaw in the refrigerator: The best method to thaw Kiinde bags is to transfer them from the freezer to the refrigerator. Place the desired bag(s) in a container or on a plate to catch any potential leaks. Allow the bag(s) to thaw slowly in the refrigerator overnight or for several hours.
- Warm water bath: If you need to thaw the breast milk more quickly, you can use a warm water bath method. Fill a clean bowl or basin with warm water (not hot) and place the sealed Kiinde bag in it. Swirl or gently agitate the bag periodically until the milk is thawed to the desired temperature.
- Avoid microwaving or boiling: Never thaw or heat Kiinde bags in the microwave or boil the bags directly. Microwaving and boiling can create hot spots, destroy nutrients, and potentially cause the bag to burst.
- Check for thawing completely: After thawing, check the Kiinde bag for any remaining ice crystals or chunks. Gently swirl the bag to ensure an even temperature throughout. If there are still frozen portions, continue thawing until the milk is completely melted.
- Handle with clean hands: Before using the thawed breast milk, make sure your hands are clean and sanitized. Avoid touching the inside of the bag or the nipple area to prevent contamination.
- Transfer to a bottle: If you prefer to feed your baby directly from a bottle, carefully pour the thawed breast milk from the Kiinde bag into a sterilized bottle. Use a bottle cap or cover to prevent any spillage.
- Warm the milk (optional): If your baby prefers warm milk, you can warm the bottle in a bottle warmer or by placing it in a bowl of warm water. Avoid using a microwave to warm the breast milk as it can create hot spots.
- Discard unused milk: Once the baby has finished feeding, discard any unused breast milk. Never re-freeze thawed breast milk, as it can lead to a loss of nutrients and potential bacterial growth.
By following these steps, you can safely and effectively thaw and use the breast milk stored in your Kiinde bags. This ensures that your little one receives the freshest and most nutritious milk for their feeding needs.
Conclusion
Storing Kiinde bags in the freezer is a practical and convenient way for breastfeeding mothers to preserve their breast milk for future use. By following the steps outlined in this guide, you can ensure the freshness, quality, and safety of the stored breast milk. Proper preparation, sealing, labeling, organization, and thawing are key factors in maintaining the integrity of the milk.
Start by properly preparing the Kiinde bags for freezing, ensuring they are clean and free from leaks. Label and date each bag to keep track of the freshness and use the oldest milk first. Organize the bags in a designated area in the freezer, either by batch or date, and take care to stack or store them in an upright position to prevent spills or leaks.
When it comes time to use the stored breast milk, thaw it in the refrigerator overnight or use a warm water bath for quicker thawing. Take care to handle the bags hygienically, transfer the milk to a bottle if desired, and warm it gently if needed. Discard any unused milk to maintain the highest quality of freshness.
By following these guidelines, you can ensure the optimal storage and usage of your Kiinde bags, providing a convenient and safe solution for your little one’s feeding needs. Always prioritize cleanliness, organization, and proper handling to ensure the health and well-being of your baby.
With this comprehensive guide, you are now equipped with the knowledge to store Kiinde bags in the freezer effectively. Enjoy the convenience of having expressed breast milk readily available whenever your baby needs it!
Frequently Asked Questions about How To Store Kiinde Bags In Freezer
Was this page helpful?
At Storables.com, we guarantee accurate and reliable information. Our content, validated by Expert Board Contributors, is crafted following stringent Editorial Policies. We're committed to providing you with well-researched, expert-backed insights for all your informational needs.

0 thoughts on “How To Store Kiinde Bags In Freezer”