Articles
How To Store Red Beets
Modified: January 7, 2024
Discover the best ways to store red beets in this informative article. Learn how to keep them fresh and flavorful for longer and enjoy their nutritious benefits.
(Many of the links in this article redirect to a specific reviewed product. Your purchase of these products through affiliate links helps to generate commission for Storables.com, at no extra cost. Learn more)
Introduction
Welcome to the world of red beets, a vibrant and nutritious root vegetable that adds a burst of color to your plate. Whether you grow them in your garden or purchase them from the local market, it’s important to know how to store red beets properly to prolong their freshness and retain their flavor.
Red beets, also known as beetroot, are packed with essential nutrients such as fiber, folate, and vitamin C. They have a rich earthy flavor that pairs well with both sweet and savory dishes. While they are delicious when prepared and consumed fresh, there are times when you may have an abundance of red beets or want to preserve them for later use.
In this article, we will guide you through the process of choosing, cleaning, and storing red beets to ensure their longevity. Whether you plan to store whole beets, cut beets, or cooked beets, we have you covered. We will also discuss freezing and canning methods to preserve the flavor and texture of your red beets for months to come.
With proper storage techniques, you can enjoy the goodness of red beets all year round, even when they are out of season. So let’s dive in and learn how to store red beets for maximum freshness and flavor!
Key Takeaways:
- Properly storing red beets, whether whole, cut, or cooked, ensures their freshness and flavor for extended periods, allowing you to enjoy their nutritional benefits year-round.
- Freezing and canning methods provide long-term storage options for red beets, preserving their vibrant color, texture, and nutritional value, offering versatility in various culinary creations.
Read more: How To Store Cooked Beets
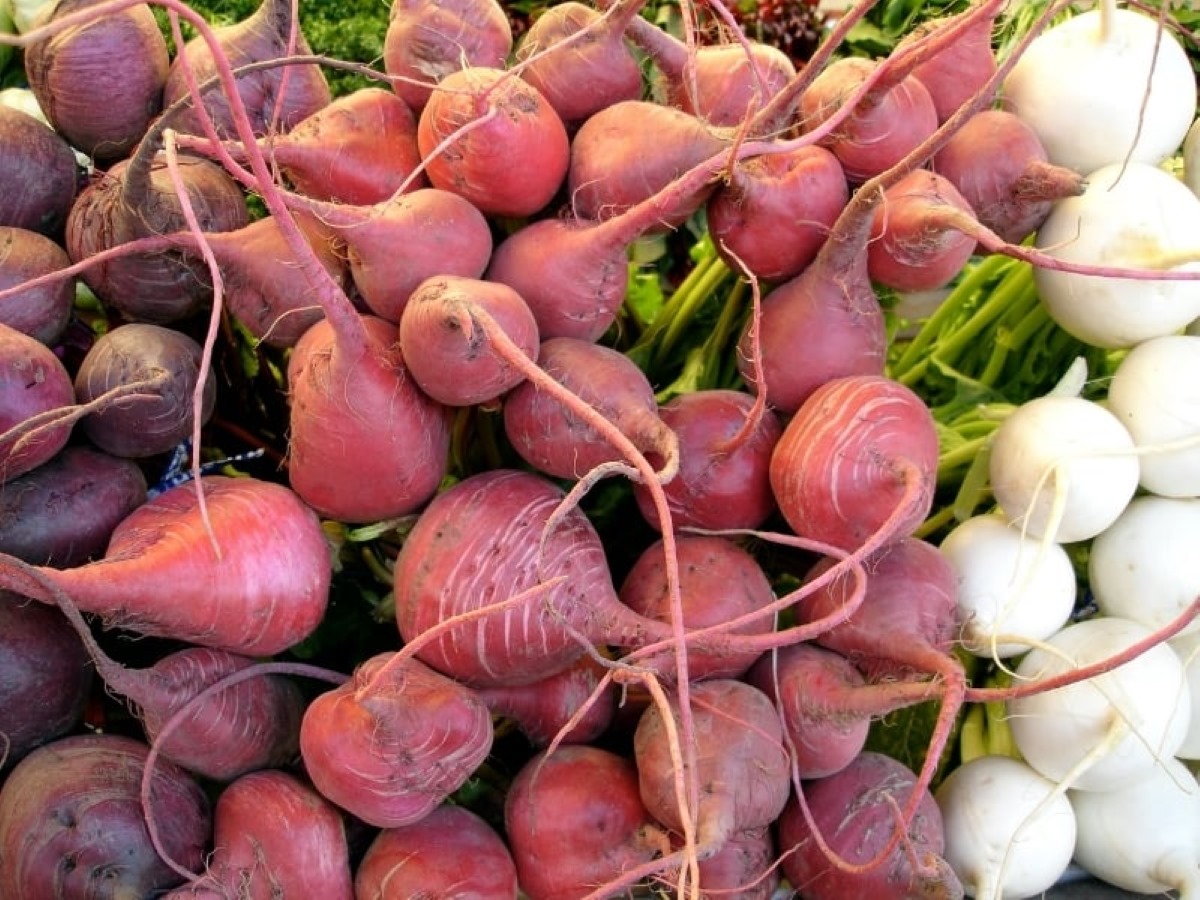
Choosing Red Beets
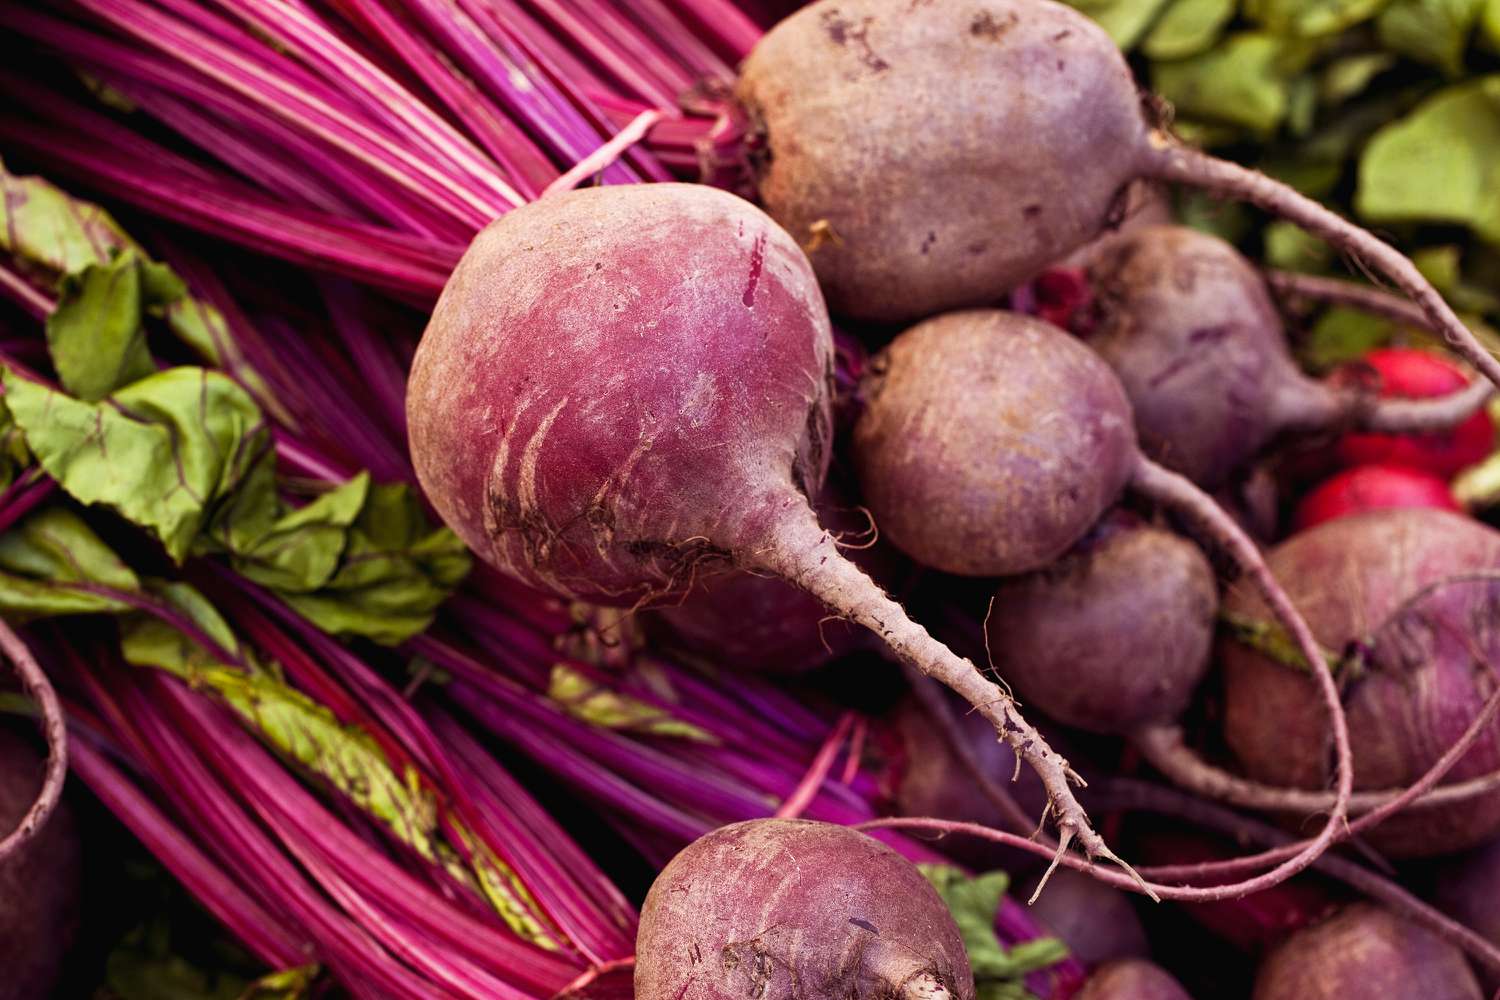
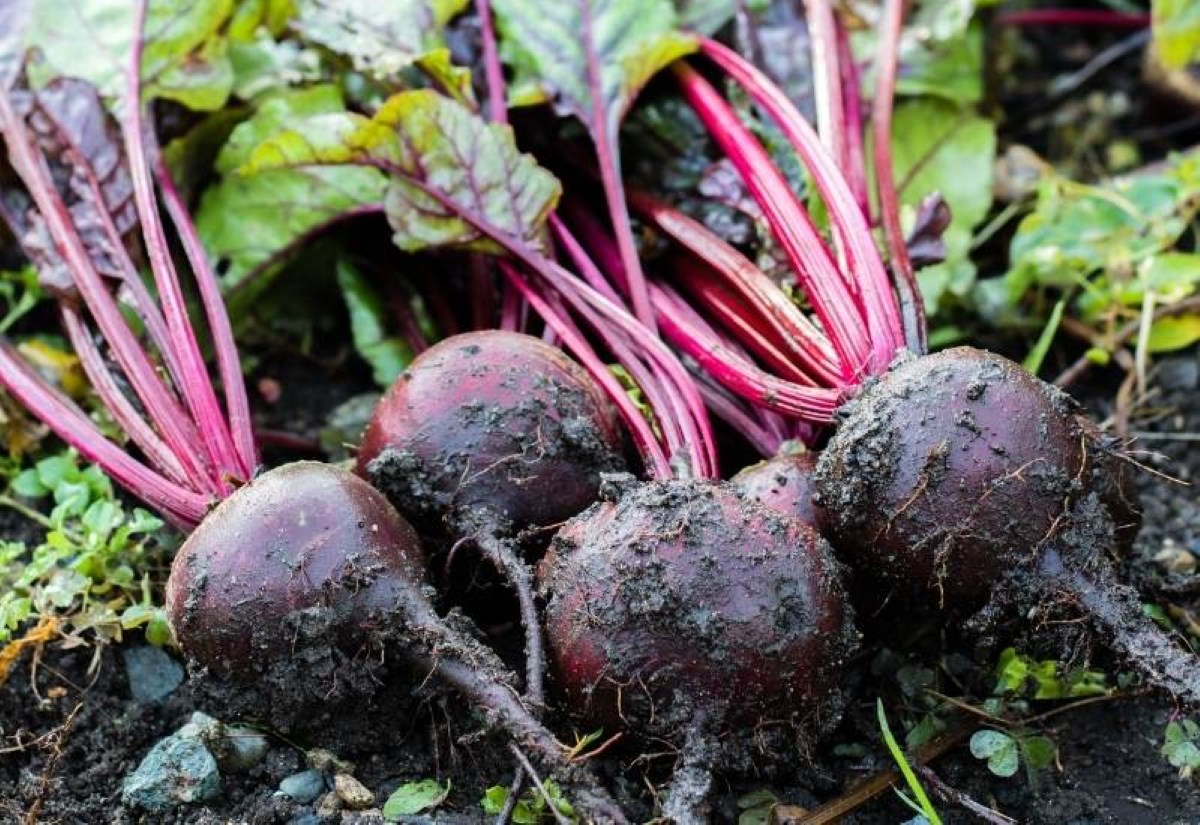
When it comes to choosing red beets, freshness is key. Look for beets that are firm, smooth, and have vibrant red or deep purple skin. Avoid beets that have bruised or soft spots, as these are signs of deterioration. The stems and leaves should be fresh and crisp, indicating that the beets are recently harvested.
If you have the option, opt for smaller-sized beets, as they tend to be more tender and have a sweeter flavor. However, larger beets can be just as delicious if properly cooked and prepared.
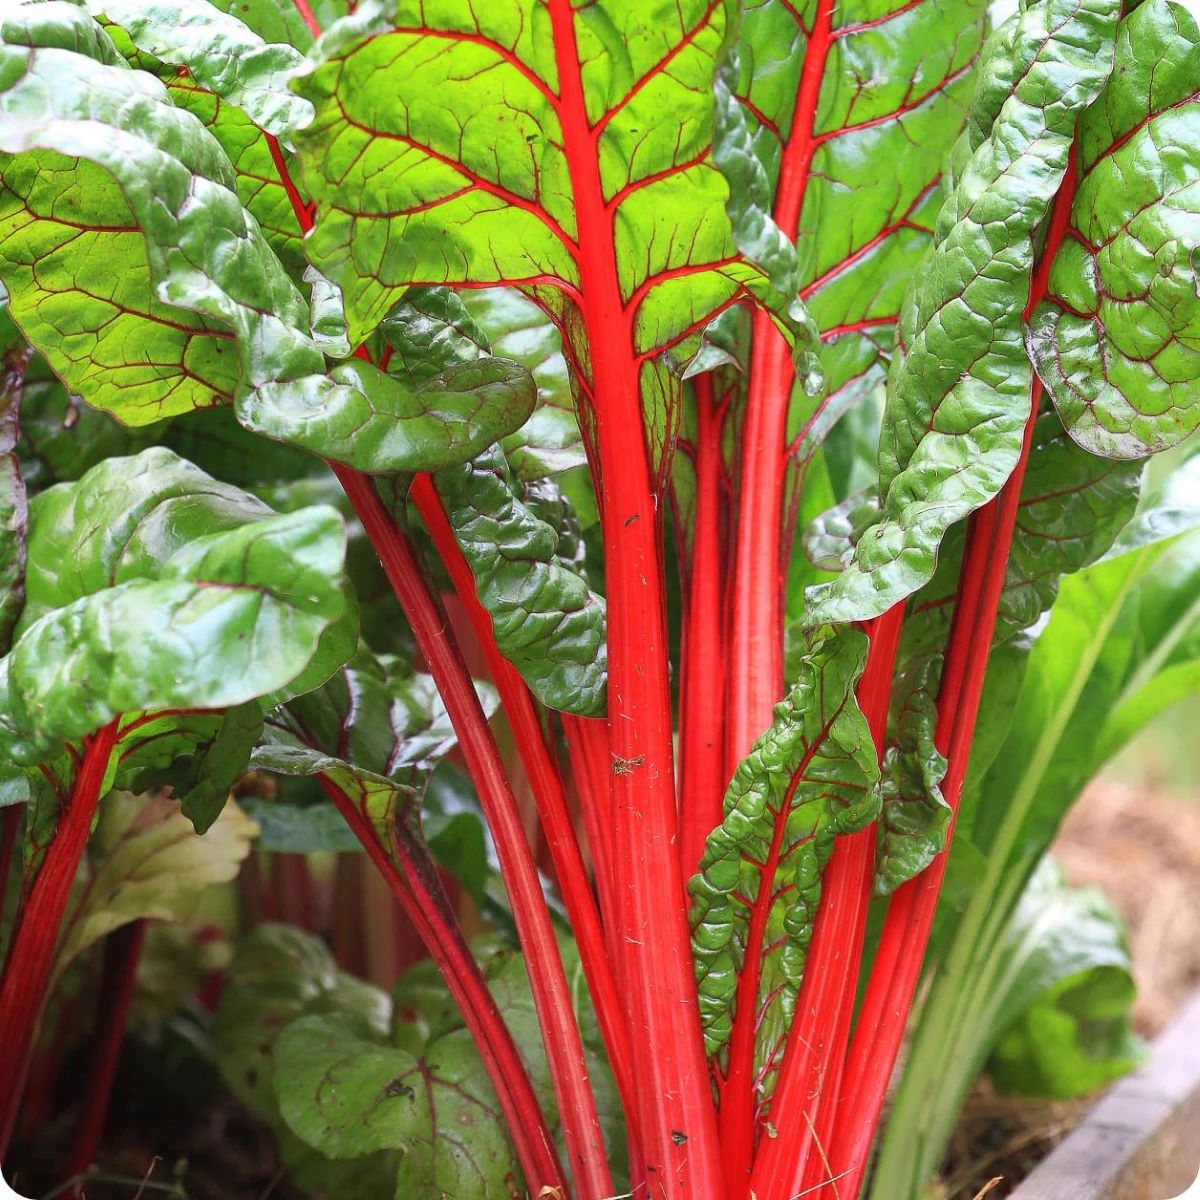
Additionally, it’s essential to choose beets with their greens intact. The greens are not only edible and nutritious but can also serve as an indicator of freshness. Look for vibrant, green leaves without signs of wilting or discoloration.
Whether you harvest red beets from your own garden or purchase them from a store, make sure to handle them gently to prevent any damage or bruising. Treat the beets with care, ensuring they are not exposed to excessive heat or sunlight during the selection process.
Remember, the quality of the beets you choose will greatly affect their storage life and flavor. So take the time to select the best beets available, and you’ll be rewarded with delicious and long-lasting produce.
Cleaning Red Beets
Before storing red beets, it’s important to clean them thoroughly to remove any dirt or debris. Cleaning the beets not only ensures their visual appeal but also prevents the growth of bacteria or mold that can lead to spoilage.
Here are the steps to properly clean red beets:
- Gently rinse the beets under cold, running water to remove any loose dirt. Use your hands or a soft brush to lightly scrub the surface of the beets.
- Trim off any remaining stems and leaves, leaving about one inch of the stems attached to the beet. Be careful not to remove too much of the stem, as it can cause the beet to bleed and lose its vibrant color during storage.
- Inspect the beets for any visible blemishes, such as cuts or bruises. If you come across any damaged areas, it’s best to cut them out and discard that portion of the beet.
- For tougher or more stubborn dirt, you can soak the beets in a bowl of cool water for a few minutes. This will help to loosen any remaining debris and make it easier to remove.
- After soaking, rinse the beets one more time under cold water to remove the loosened dirt and debris.
Once you have completed these steps, pat the cleaned beets dry with a clean kitchen towel. Make sure they are completely dry before moving on to the next step, as excess moisture can contribute to decay during storage.
Now that your red beets are clean and ready, let’s move on to the next step: trimming and prepping them for storage.
Trimming and Prepping Red Beets
After cleaning the red beets, it’s time to trim and prep them for storage. This step involves removing any excess parts, such as the stems and roots, and ensuring that the beets are in their optimal state for storage.
Here are the steps to trim and prep red beets:
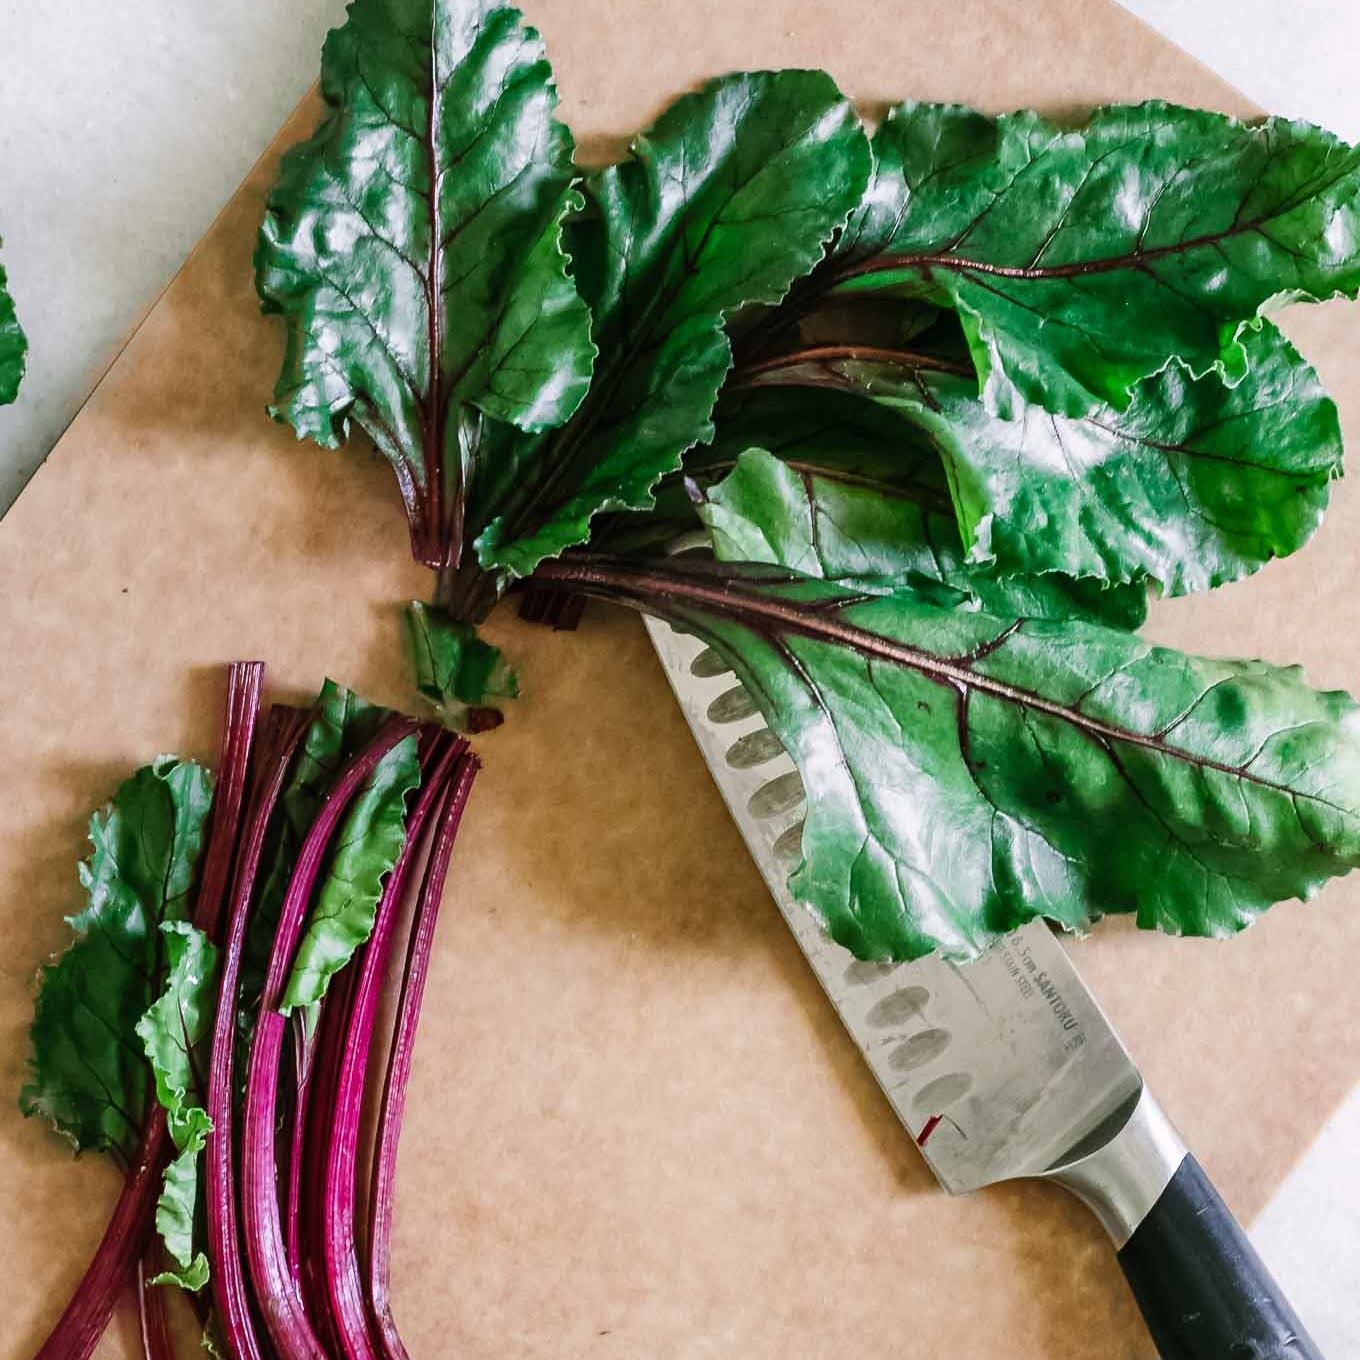
- Trimming the Stems: Using a sharp knife or kitchen shears, cut off the remaining stems of the beets, leaving about one inch of the stem attached. Removing the majority of the stems prevents them from drawing moisture from the roots and ensures that the beets remain firm and fresh during storage.
- Removing the Roots: Trim off the thin, stringy roots attached to the bottom of the beets. Cut as close to the beet as possible without damaging the surface. This step helps to create a neat and clean appearance for the beets and eliminates any potential areas for bacterial growth.
- Optional: Peeling the Skin (If Desired): Red beet skins are edible and provide a delicious earthy flavor. However, if you prefer a smoother texture or plan to use the beets for certain recipes, you may choose to peel them. To do so, use a vegetable peeler or a small knife to carefully remove the outer skin. Keep in mind that peeling can expose the beet’s flesh to air, which may result in a loss of color and nutrients.
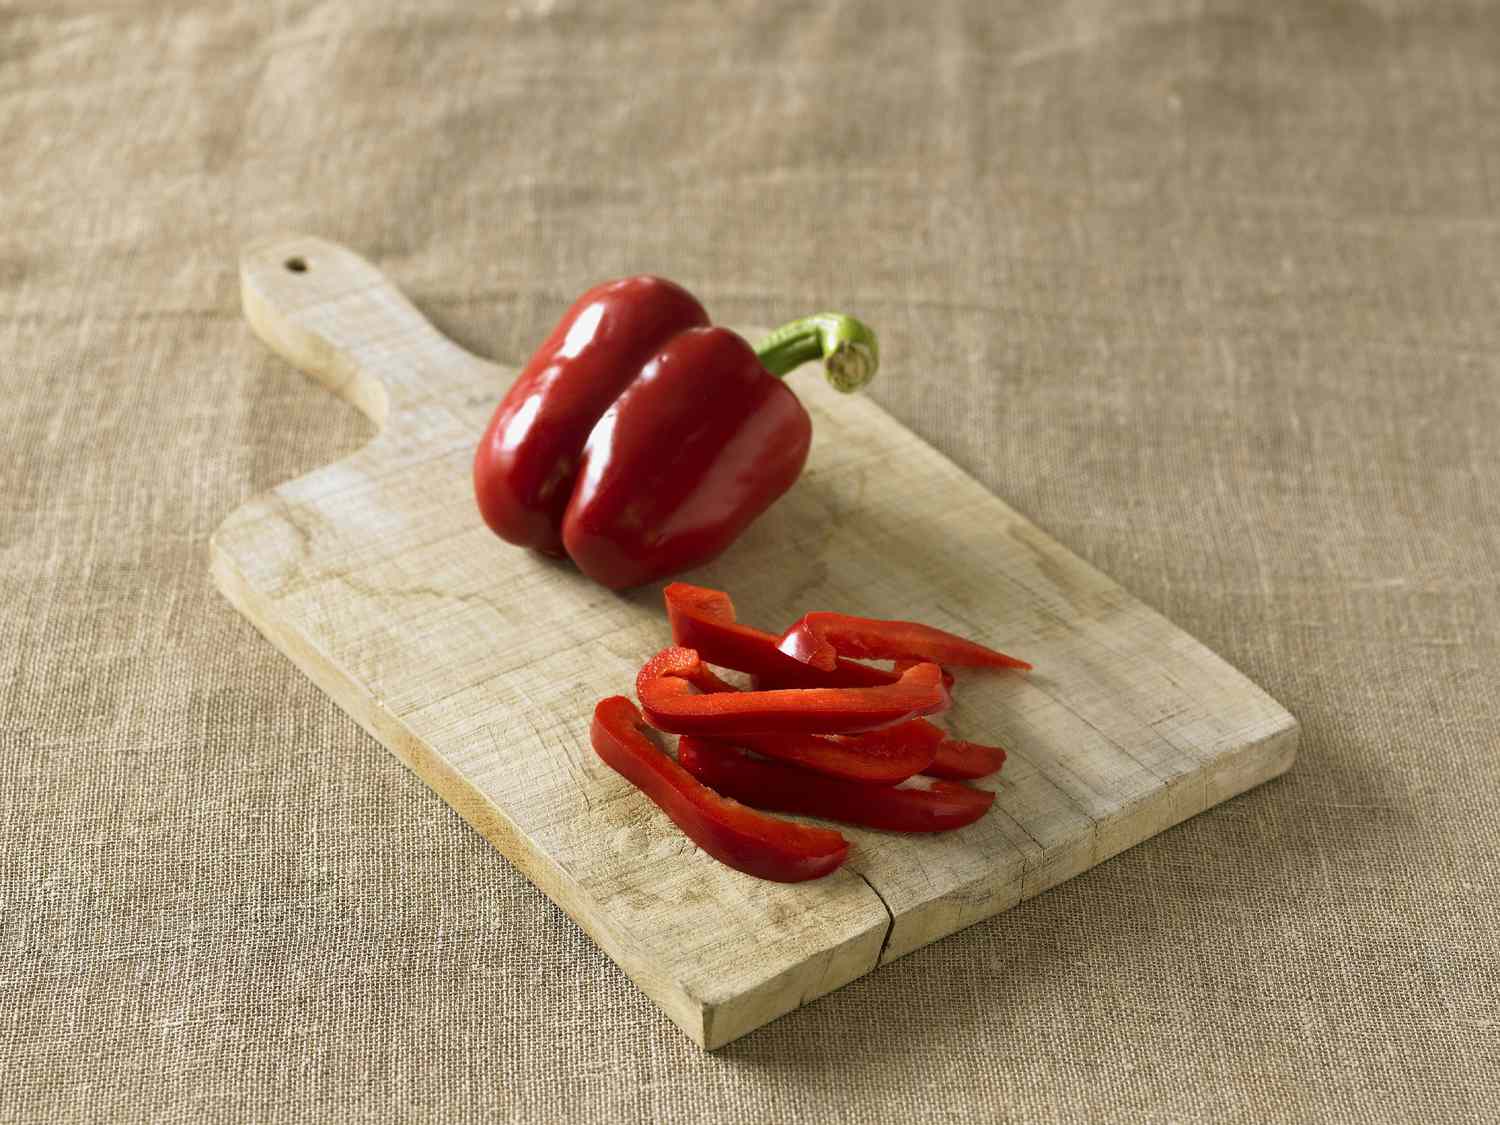
- Slice or Dice (If Desired): Depending on your preference and how you plan to use the beets, you can slice or dice them at this stage. Sliced or diced beets can be more convenient for certain recipes and make portioning easier. However, if you prefer to store them whole, you can skip this step.
Once you have trimmed and prepped the red beets according to your preference, it’s time to consider the appropriate storage method based on whether you are storing whole beets, cut beets, or cooked beets.
Continue reading to learn the best practices for storing each type of red beet.
Storing Whole Red Beets
If you have chosen to store whole red beets, there are a few key steps to follow to keep them fresh and flavorful for an extended period.
Here’s how to store whole red beets:
- Remove Excess Moisture: Before storing the beets, ensure they are completely dry. Excess moisture can lead to rot and spoilage. Gently pat them dry with a clean kitchen towel to remove any lingering moisture.
- Choose an Appropriate Storage Container: Select a storage container that provides proper ventilation and helps maintain humidity levels. A perforated plastic bag, a breathable vegetable storage bag, or a sealed plastic container with air vents can all work well.
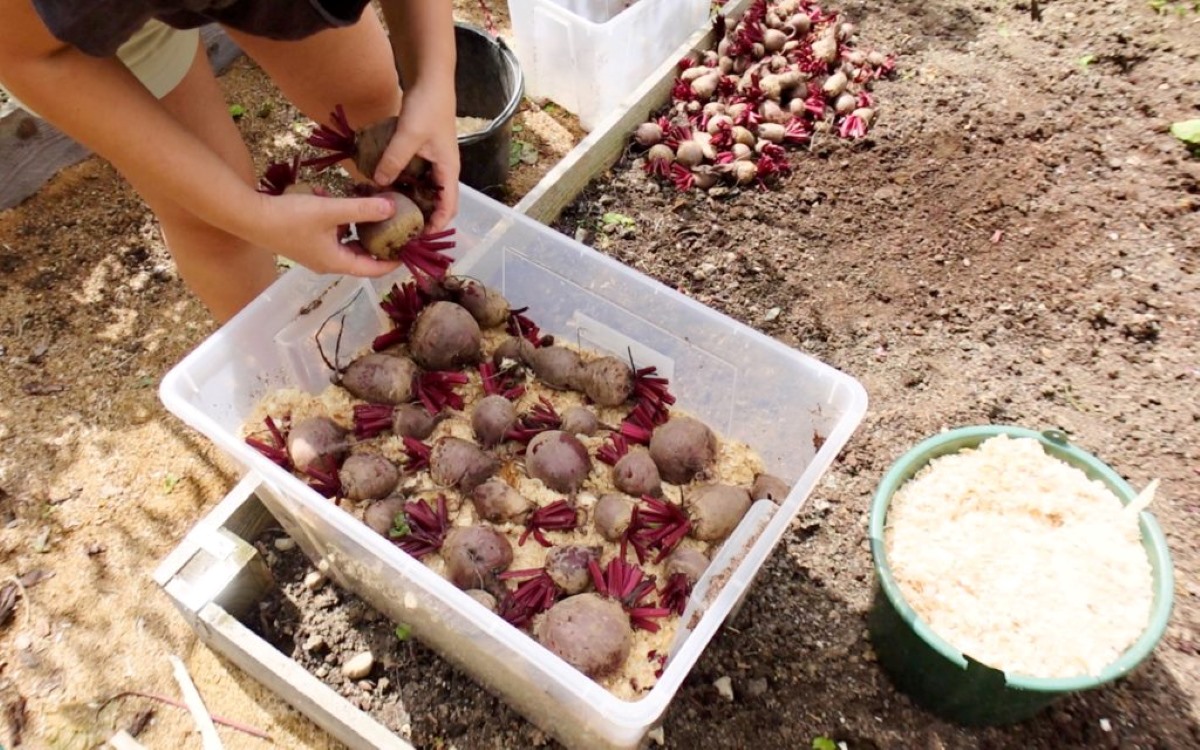
- Store in the Refrigerator: Place the whole red beets in the storage container and store them in the refrigerator’s vegetable crisper drawer. The cool temperature of the refrigerator will slow down the beet’s natural decomposition process and help maintain their freshness.
- Duration of Storage: Whole red beets can typically be stored in the refrigerator for up to two to three weeks. However, it’s best to monitor them regularly for signs of softening or decay. Discard any beets that show signs of spoilage to prevent them from affecting the others.
- Do Not Wash Before Storage: It’s important not to wash the beets before storing them whole. Washing can introduce moisture, which can lead to faster spoilage. Wait to wash them until just before you are ready to use them.
By following these steps, you can ensure your whole red beets stay fresh and ready to use for salads, roasting, or any other culinary creations you have in mind.
Now, let’s move on to learning how to store cut red beets.
Store red beets in the refrigerator crisper drawer, unwashed and with the tops removed. Place them in a perforated plastic bag to retain moisture and prevent wilting. They can last for up to 2 weeks.
Read more: How To Store Beets In Fridge
Storing Cut Red Beets
If you have prepared cut red beets and want to store them for later use, proper storage techniques will help maintain their freshness and texture.
Here’s how to store cut red beets:
- Transfer to an Airtight Container: Place the cut beets in an airtight container, such as a glass or plastic food storage container. Make sure the container is clean and dry before adding the beets.
- Layer with Damp Paper Towel: To prevent the cut beets from drying out, place a damp paper towel on top of them before sealing the container. The moisture from the paper towel will help retain their juiciness and prevent them from becoming wilted.
- Store in the Refrigerator: Once the container is sealed, place it in the refrigerator. The cool temperature will slow down the degradation process and keep the cut beets fresh.
- Duration of Storage: Cut red beets can be stored in the refrigerator for around five to seven days. However, it’s crucial to regularly check them for any signs of spoilage, such as mold or foul odors. Discard any beets that have deteriorated to maintain the quality of the remaining ones.
- Proper Labeling: It’s helpful to label the container with the storage date so you can easily keep track of how long the cut beets have been stored. This will ensure you use them within their optimal storage duration.
Remember, the sooner you use the cut beets, the fresher they will taste and the better their texture will be. Consider using them in salads, soups, or roasted vegetable dishes for a flavorful and nutritious addition to your meals.
Next, let’s explore how to store cooked red beets.
Storing Cooked Red Beets
If you have cooked red beets and want to store them for later use, proper storage methods will help maintain their flavor and texture. Whether you roasted, boiled, or steamed the beets, here’s how to store them:
- Cool Completely: Allow the cooked red beets to cool completely at room temperature before storing. This step prevents condensation from forming inside the storage container, which can lead to moisture buildup and spoilage.
- Cut or Slice (Optional): Depending on your preference and the intended use, you may choose to cut or slice the cooked beets before storage. This can make them more convenient for adding to salads, sandwiches, or other dishes later on.
- Transfer to an Airtight Container: Place the cooked beets in a clean and dry airtight container. Glass or plastic food storage containers with tight-fitting lids work well for this purpose. Ensure there is enough space in the container to allow for airflow.
- Refrigerate the Beets: Seal the container and store it in the refrigerator. The cool temperature will help preserve the cooked beets and prevent bacterial growth.
- Duration of Storage: Cooked red beets can be stored in the refrigerator for around three to five days. However, it’s important to use your judgment and inspect them for any signs of spoilage before consuming. If you notice any mold, off-putting odors, or changes in color or texture, discard the beets to avoid any potential health risks.
- Label and Date the Container: To help keep track of the storage duration, label the container with the date of storage. This will ensure you use the cooked beets within their recommended timeframe.
Cooked red beets can be a versatile ingredient, adding color and flavor to various dishes. Consider using them in salads, grain bowls, or as a tasty side dish. By following these storage guidelines, you can enjoy the convenience of having cooked beets ready to use whenever you need them.
Now, let’s explore the process of freezing red beets for long-term storage.
Freezing Red Beets
Freezing red beets is an excellent option for long-term storage, allowing you to enjoy their freshness and nutritional benefits throughout the year. Freezing helps retain the flavor and texture of the beets, making them a versatile ingredient in various recipes.
- Prepare the Beets: Start by cleaning the red beets thoroughly and trimming off the stems and roots. If desired, peel the outer skin using a vegetable peeler. Cut the beets into your preferred size and shape, whether it’s slices, cubes, or grated.
- Blanching: Blanching is a crucial step to ensure the quality and color of the beets are preserved during freezing. Bring a large pot of water to a boil and carefully add the beet pieces. Blanch them for 3 to 5 minutes, depending on the size of the pieces.
- Cooling: After blanching, immediately transfer the beets to an ice bath to cool them rapidly and stop the cooking process. Let them sit in the ice bath for the same amount of time as the blanching (3 to 5 minutes). This helps maintain their vibrant color and texture.
- Draining and Drying: Once the beets have cooled, drain them thoroughly and pat them dry using a clean kitchen towel or paper towels. Removing excess moisture is crucial to prevent ice crystals from forming and potentially affecting the quality of the beets.
- Packaging: Divide the blanched and dried beet pieces into portion-sized freezer-safe containers or resealable freezer bags. Squeeze out as much air as possible to minimize the risk of freezer burn. Label the containers or bags with the date of freezing for easy reference.
- Freezing: Place the packaged beets in the freezer, ensuring they are stored in a flat position to prevent them from sticking together. Allow sufficient space around each package for proper air circulation. Ideally, keep them in the coldest part of the freezer.
- Duration of Storage: When properly frozen and stored, red beets can typically maintain their quality for up to 10 to 12 months. However, for the best flavor and texture, it’s recommended to use them within 6 to 8 months.
Frozen beets can be used directly in soups, stews, roasted vegetable medleys, or as a standalone side dish. They can be cooked from frozen or thawed before use, depending on your recipe requirements.
Next, let’s explore another popular method of preserving red beets: canning.
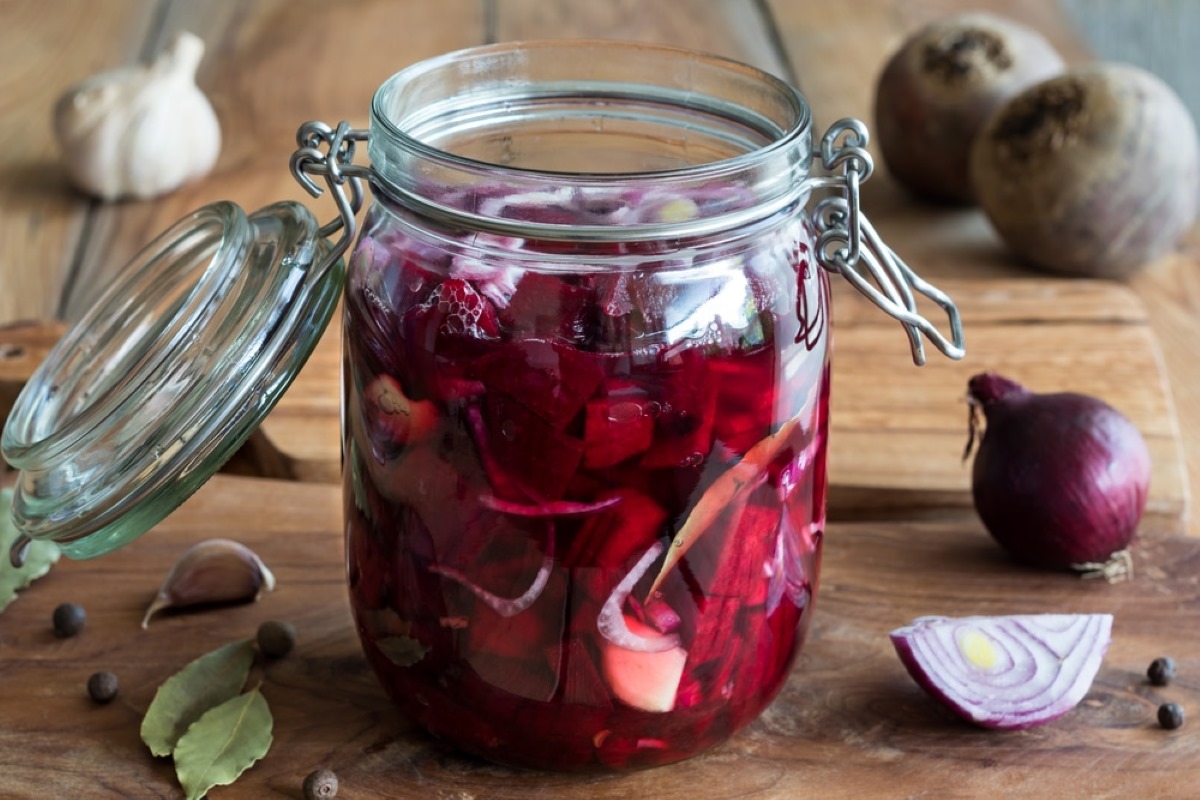
Canning Red Beets
Canning red beets is a traditional and reliable method of preserving their freshness and flavor for an extended period. Canned beets are convenient to have on hand and can be enjoyed in various dishes throughout the year.
- Prepare the Beets: Start by thoroughly cleaning the red beets and trimming off the stems and roots. If desired, peel the outer skin using a vegetable peeler. Cut the beets into your preferred size, whether it’s slices, cubes, or quarters.
- Sanitize Jars and Lids: Before beginning the canning process, ensure your canning jars and lids are clean and sanitary. Wash them in hot, soapy water and rinse thoroughly. Place the jars and lids in a large pot of water and bring it to a simmer. Allow them to simmer for 10 minutes to sanitize.
- Prep the Canning Liquid: In a separate pot, prepare a canning liquid by combining water and vinegar in a ratio of 3:1. Bring the mixture to a boil and keep it hot until ready to use.
- Pack the Beets: Carefully pack the beet pieces into the sanitized jars, leaving a 1-inch headspace at the top. Gently press down on the beets to eliminate air pockets. Add the hot canning liquid, ensuring that the beets are fully submerged, and leave the 1-inch headspace.
- Seal the Jars: Use a clean, damp cloth to wipe the rim of each jar. Place the sterilized lids on top and secure them with the screw bands, tightening until just fingertip tight. This allows for air to escape during the canning process.
- Process in a Water Bath: Place the sealed jars in a large water bath canner or a deep pot filled with enough water to cover the jars with at least 1 inch of water. Bring the water to a boil and process the jars according to the recommended processing time for your altitude and jar size. It typically ranges from 30 to 45 minutes.
- Cool and Store: Once the processing time is complete, carefully remove the jars from the water bath and place them on a clean towel or cooling rack. Allow the jars to cool completely undisturbed. As they cool, you will hear the satisfying “pop” sound, indicating that the lids have properly sealed. Once cooled, check for a proper seal by pressing down on the center of each lid. If it does not move or make a popping sound, the seal is successful. Store the canned beets in a cool, dark place, such as a pantry or cellar.
- Duration of Storage: When properly canned and stored, red beets can last for up to 12 to 18 months. It’s important to check for any signs of spoilage, such as bulging lids, foul odors, or visible mold before consuming.
- Label the Jars: To organize and keep track of your canned beets, label the jars with the date of canning. This will help you prioritize their use and ensure you enjoy them within their optimal freshness.
Canned red beets can be enjoyed as a side dish, added to salads, or used in various recipes. They provide a convenient and flavorful option when fresh beets are not readily available.
Now that you know how to properly store and preserve red beets, you can enjoy their incredible flavor and nutritional benefits throughout the year. Whether you choose to freeze, can, or store them in the refrigerator, these storage methods will help prolong their freshness and ensure their availability whenever you need them.
Wrap-Up:
In this article, we covered the process of storing red beets whole, cut, and cooked. We discussed the importance of choosing fresh beets, cleaning them properly, and trimming and prepping them for storage. We also explored freezing and canning methods to preserve red beets for long-term use.
Remember, whether you decide to store red beets in the refrigerator, freeze them, or can them, it’s crucial to monitor their quality regularly. Discard any spoiled beets to maintain the freshness of the remaining ones.
Now, it’s time to put your newfound knowledge into practice and enjoy the versatility and deliciousness of red beets all year round!
Read more: How To Store Roasted Beets
Conclusion
In conclusion, knowing how to store red beets is essential for preserving their freshness, flavor, and nutritional benefits. Whether you have an abundance of homegrown beets or want to extend their availability beyond the harvest season, proper storage techniques are vital.
We discussed the importance of selecting fresh beets and ensuring they are cleaned thoroughly before storage. Trimming and prepping the beets appropriately, whether for whole beets, cut beets, or cooked beets, helps maintain their quality and texture during storage.
For whole beets, refrigeration in a ventilated container is the best option, ensuring they stay cool and dry. Cut beets can be stored in airtight containers with a damp paper towel to retain their moisture. Cooked beets can be refrigerated or frozen, depending on the level of convenience you desire.
If you want long-term storage, freezing your beets is an excellent choice. Blanching them before freezing helps preserve their vibrant color and texture. On the other hand, canning offers a traditional method for preserving beets and allows for shelf-stable storage.
Regardless of the storage method you choose, regular monitoring for spoilage signs is essential. Discard any beets that show mold, foul odors, or changes in texture or appearance to maintain the quality of the remaining ones.
Now that you have a comprehensive understanding of how to store red beets, you can enjoy their incredible flavor and versatility all year round. So go ahead and stock up on these vibrant root vegetables, whether you roast them, add them to salads, or include them in your favorite recipes.
Remember, with proper storage, you can savor the freshness of red beets and reap their nutritional benefits whenever you desire. So don’t let those beets go to waste and start implementing these storage techniques to enjoy their goodness whenever you please!
Frequently Asked Questions about How To Store Red Beets
Was this page helpful?
At Storables.com, we guarantee accurate and reliable information. Our content, validated by Expert Board Contributors, is crafted following stringent Editorial Policies. We're committed to providing you with well-researched, expert-backed insights for all your informational needs.


0 thoughts on “How To Store Red Beets”