Articles
How To Store Tamales
Modified: February 28, 2024
Learn the best way to store tamales to keep them fresh and flavorful. Read our informative articles for essential tips and tricks.
(Many of the links in this article redirect to a specific reviewed product. Your purchase of these products through affiliate links helps to generate commission for Storables.com, at no extra cost. Learn more)
Introduction
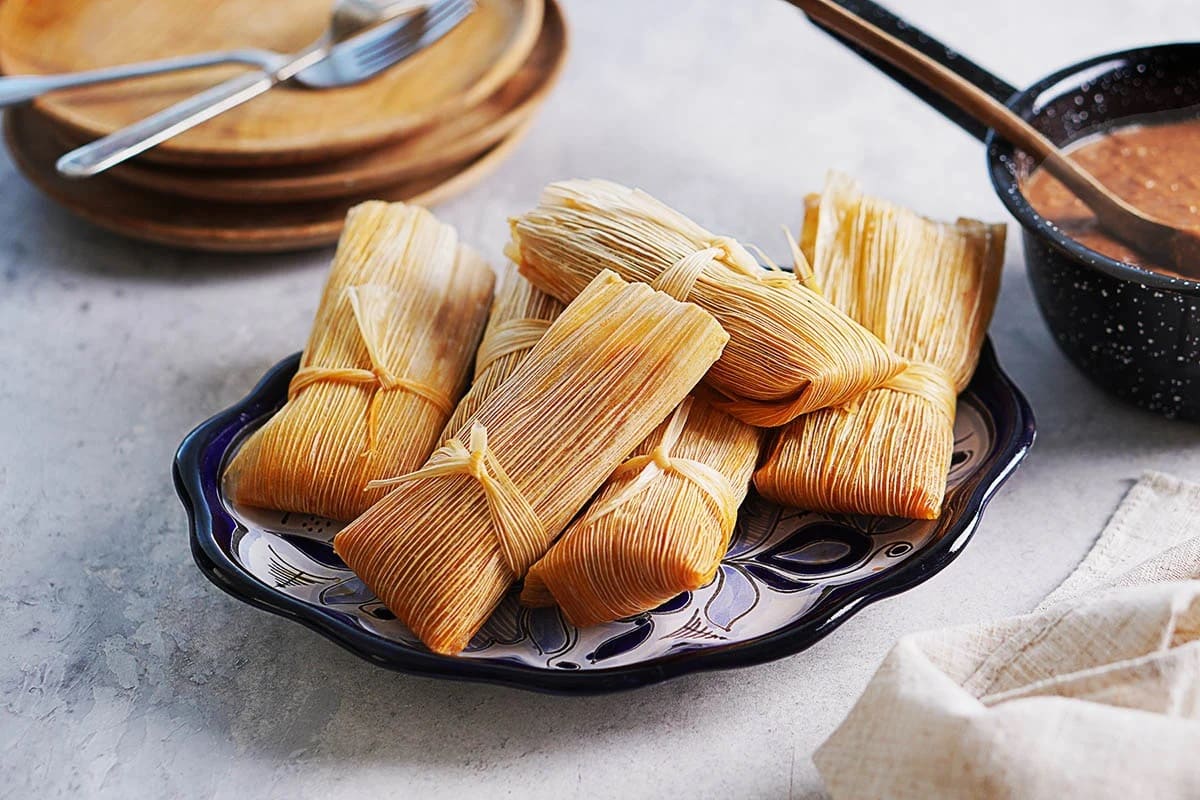
If you’re a fan of tamales, you know that they are a delicious and satisfying Mexican dish. They are made by filling masa dough with a variety of ingredients such as meats, cheeses, or vegetables, and then wrapping them in corn husks before steaming. However, tamales are often made in large batches, which means you may have leftovers that need to be stored properly.
Storing tamales correctly is important to ensure their freshness and taste. Whether you’re planning to freeze them for long-term storage or refrigerate them for short-term use, there are specific steps you need to follow to keep your tamales in the best condition.
In this article, we will guide you through the process of storing tamales properly, whether you’re a seasoned tamale-maker or new to this culinary delight. By following these steps, you can enjoy your tamales at a later date without compromising their deliciousness.
Key Takeaways:
- Properly storing tamales involves gathering materials, preparing, wrapping, choosing the right container, and storing in the freezer or refrigerator. Labeling containers and reheating ensures maximum enjoyment.
- Whether freezing for long-term storage or refrigerating for short-term use, following specific steps is crucial to maintain the quality of tamales. Reheating using various methods brings back the satisfaction of this classic Mexican dish.
Read more: How To Stack Tamales In Steamer
Step 1: Gather your materials
Before you begin the process of storing tamales, it is essential to gather all the necessary materials. Having everything prepared and within reach will make the process smoother and more efficient. Here’s what you’ll need:
- Tamales: Ensure that your cooked tamales are at room temperature before you start storing them. This step is crucial to prevent condensation and moisture buildup during storage.
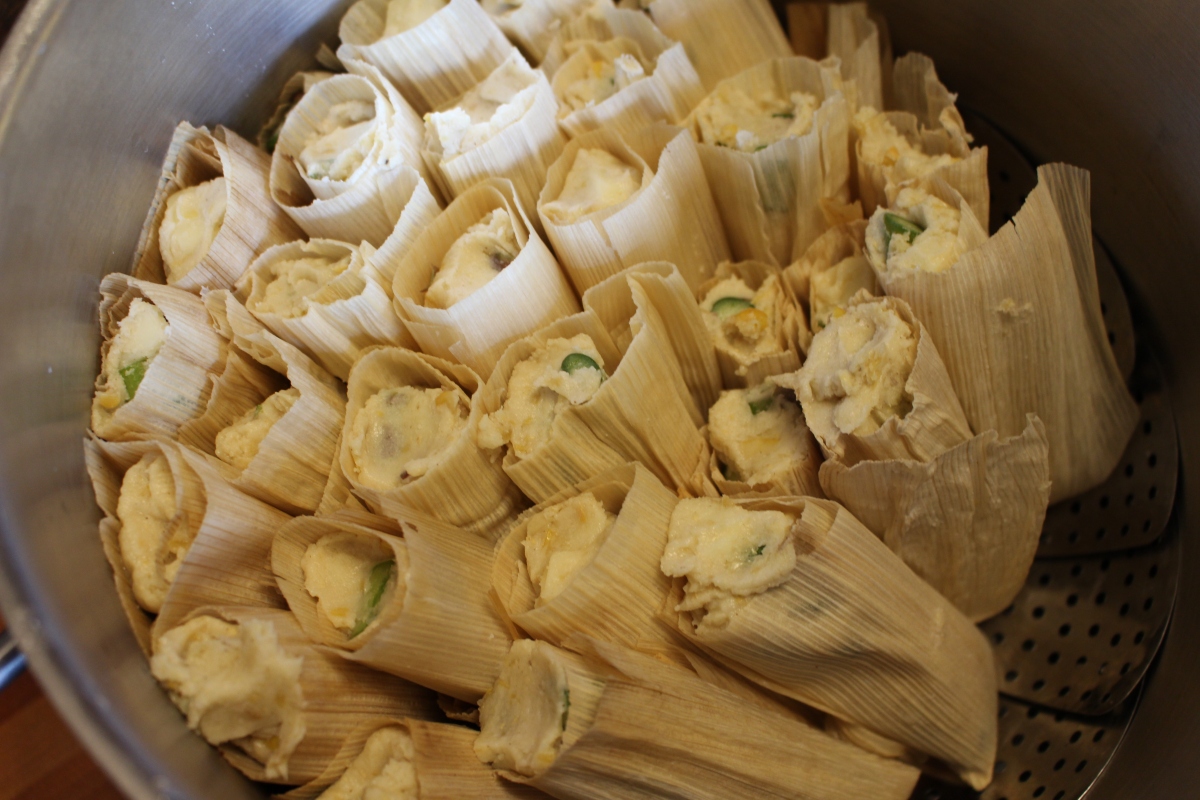
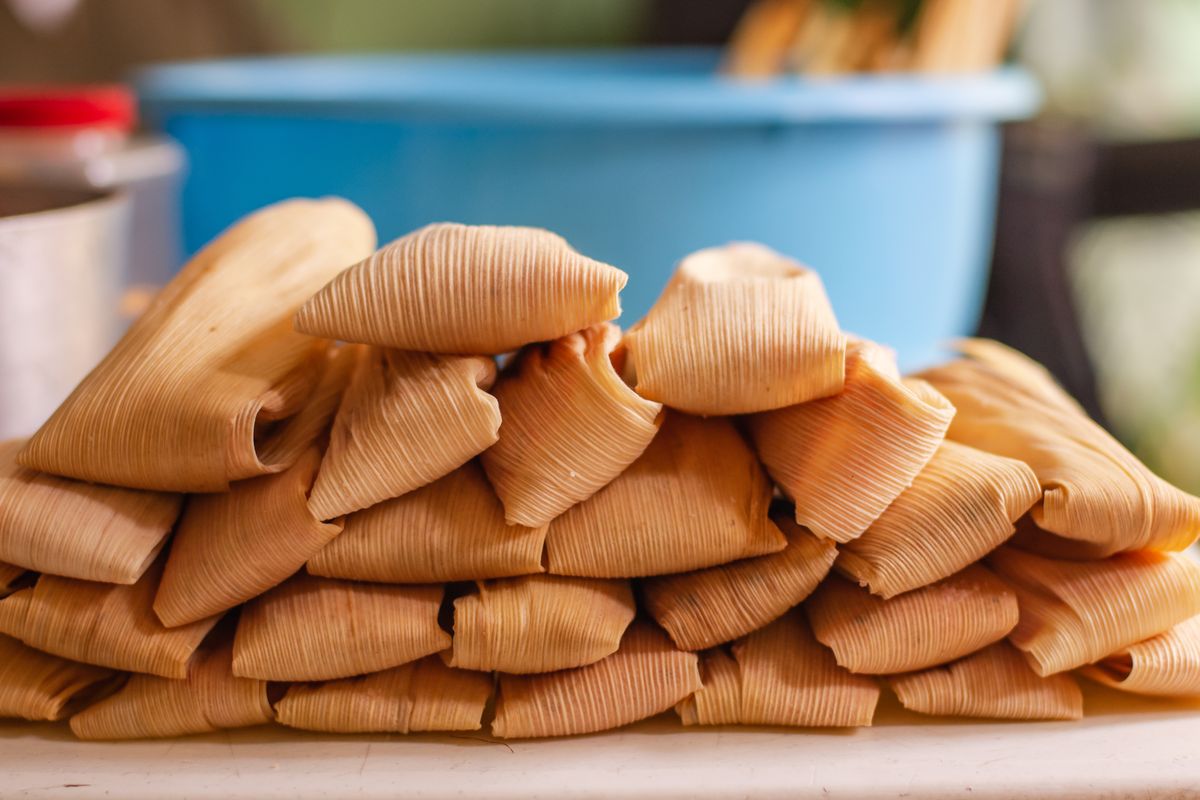
- Corn husks: If your tamales were wrapped in corn husks during the cooking process, it’s best to keep them wrapped in the husks for storage. The husks help maintain moisture and protect the tamales from freezer burn.
- Plastic wrap or aluminum foil: These materials will be used to wrap the tamales and provide an extra layer of protection during freezing or refrigeration.
- Storage containers: Depending on your preference and the quantity of tamales you need to store, you can use freezer-safe resealable bags, airtight containers, or aluminum foil pans. Make sure the containers are suitable for freezing or refrigeration.
- Marker or labels: It’s important to label your storage containers with the date and contents of the tamales. This will help you easily identify them later and keep track of their freshness.
Once you have all your materials ready, you’re prepared to move on to the next steps of storing your tamales effectively.
Step 2: Preparing the tamales for storage
Before you can store your tamales, you need to prepare them properly. This step ensures that the tamales retain their flavors and textures even after being stored for an extended period. Follow these steps to prepare your tamales for storage:
- Remove from corn husks: If your tamales were wrapped in corn husks, carefully unwrap them. Gently peel off the corn husks, taking care not to tear the masa dough or lose any filling. Set aside the husks for later use, especially if you plan to freeze the tamales.
- Inspect for any imperfections: Examine each tamale closely to ensure they are in good condition. Look for any signs of spoilage or damage. If you notice any mold, off smells, or visible spoilage, discard that particular tamale to prevent contamination of the others.
- Divide into portions (optional): If you have a large batch of tamales, you might consider dividing them into smaller portions, especially if you only plan to use a few at a time. This step allows you to thaw and reheat only the desired quantity, reducing waste.
- Check for excess moisture: Pat the tamales dry with a clean kitchen towel to remove any excess moisture. Moisture can lead to freezer burn or make the tamales mushy when reheated. Drying them ensures better texture and taste when you’re ready to enjoy them.
By following these steps, you are now ready to move on to the next phase: wrapping the tamales for storage.
Step 3: Wrapping the tamales
Once your tamales are prepared, it’s time to wrap them properly for storage. The wrapping process helps protect the tamales from freezer burn or excess moisture and keeps them intact. Here’s how to wrap your tamales:
- Option 1: Corn Husks: If your tamales were originally wrapped in corn husks during cooking, you can use the same husks for storage. Simply place each tamale back into its respective husk. If any husks were torn or damaged during unwrapping, you can use extra husks to cover them.
- Option 2: Plastic wrap or aluminum foil: If your tamales were not originally wrapped in corn husks or if you prefer a different wrapping method, you can use plastic wrap or aluminum foil. Place each tamale on a piece of plastic wrap or aluminum foil and fold the wrap or foil tightly around each tamale.
- Seal tightly: Ensure that the wrapping is snug and secure around each tamale. This helps prevent air from entering and moisture from escaping, which can lead to freezer burn or drying out of the tamales.
- Label each wrapped tamale: Before placing the wrapped tamales in the storage containers, label each one with the date and contents. This makes it easier to identify and select the desired tamales when you’re ready to defrost and reheat them.
By following these steps, your tamales are now properly wrapped and ready for storage. The next step is selecting the right storage container to maintain their freshness.
Step 4: Choosing the right storage container
Choosing the right storage container is essential to ensure the quality and longevity of your stored tamales. The container you select should provide an airtight seal to prevent moisture and odors from compromising the taste and texture of the tamales. Here are a few options to consider:
- Freezer-safe resealable bags: Freezer bags are a convenient option for storing tamales in the freezer. Ensure that the bags are specifically labeled as “freezer-safe” to avoid any potential damage from freezing. Package the wrapped tamales in a single layer or stack them with parchment paper in between to prevent sticking.
- Airtight containers: Airtight containers are an excellent choice for refrigerating tamales. Look for containers that are designed to keep food fresh and have a tight-sealing lid. Make sure the containers are the right size to accommodate the tamales without excess air space, which can contribute to moisture buildup.
- Aluminum foil pans: If you have a large batch of tamales and plan to freeze or reheat them in a single container, aluminum foil pans can be a convenient option. Cover the pans tightly with aluminum foil to maintain freshness and protect against freezer burn.
Be sure to choose containers that are suitable for the storage method you plan to use, whether it’s freezing or refrigerating the tamales. Label each container with the date and contents for easy identification later. Once you have the appropriate containers, it’s time to store your wrapped tamales.
After cooking tamales, let them cool completely before storing. Wrap them individually in plastic wrap and then place them in an airtight container or resealable plastic bag. Store in the refrigerator for up to 1 week or in the freezer for up to 6 months.
Read more: How Long Are Tamales Good In The Freezer
Step 5: Storing the tamales in the freezer
If you want to store your tamales for an extended period, freezing is the best option. Freezing helps preserve the flavors and textures, allowing you to enjoy them at a later time. Follow these steps to store your tamales in the freezer:
- Place wrapped tamales in airtight containers: If you’re using freezer-safe resealable bags or aluminum foil pans, ensure they are tightly sealed. If you’re using containers, make sure the lids are secured tightly to prevent freezer burn.
- Arrange the containers in the freezer: Place the containers in the coldest part of your freezer, such as the back or bottom shelf. This helps maintain a consistent temperature and minimizes the risk of thawing and refreezing.
- Keep away from strong odors: Avoid storing the tamales near strong-smelling foods in the freezer. Tamales can absorb odors easily, which can affect their taste when reheated.
- Label the containers: Clearly label each container with the date of freezing and the contents. This ensures that you can easily identify and track the age of your stored tamales.
- Set the freezer temperature: Ensure that your freezer is set to maintain a temperature of 0°F (-18°C) or below. This temperature prevents bacterial growth and keeps the tamales in optimal condition.
Tamales can typically be stored in the freezer for up to three months, but for the best quality, it’s recommended to consume them within one to two months. When you’re ready to enjoy your frozen tamales, it’s time to move on to the next step: reheating.
Step 6: Storing the tamales in the refrigerator
If you only need to store your tamales for a short period, such as a few days or up to a week, refrigeration is the best option. This method keeps the tamales fresh and ready for consumption in the near future. Follow these steps to store your tamales in the refrigerator:
- Place wrapped tamales in airtight containers: Use airtight containers that are suitable for refrigeration. Ensure the containers have tight-sealing lids to prevent air and moisture from entering.
- Stack the containers with care: If you have multiple containers, stack them carefully, taking care not to crush or damage the tamales. It’s best to avoid placing heavy items on top of the containers to prevent any flattening of the tamales.
- Store on a refrigerator shelf: Place the containers on a shelf in your refrigerator where the temperature is consistently cold. Avoid storing them in the refrigerator door, as the temperature fluctuates more in that area.
- Keep away from strong odors: Similar to freezing, make sure to keep the tamales away from strong-smelling foods in the refrigerator. This prevents any odors from transferring and affecting the taste of the tamales.
- Label the containers: It’s crucial to label each container with the date of storage and the contents. This helps you keep track of the freshness of your tamales and ensures you consume them within a safe timeframe.
Tamales stored in the refrigerator can typically stay fresh for up to one week. Beyond that, the quality may start to decline. When you’re ready to enjoy your refrigerated tamales, it’s time to move on to the final step: reheating.
Step 7: Reheating the stored tamales
Now that you’ve successfully stored your tamales either in the freezer or the refrigerator, it’s time to bring them back to life through the reheating process. Follow these steps to reheat your stored tamales to enjoy their deliciousness:
- Thaw frozen tamales (if applicable): If you stored your tamales in the freezer, transfer them from the freezer to the refrigerator a day before you plan to reheat them. This allows them to thaw slowly and evenly.
- Select a reheating method: Tamales can be reheated using various methods such as steaming, microwaving, or oven baking. Choose the method that suits your preference and available equipment.
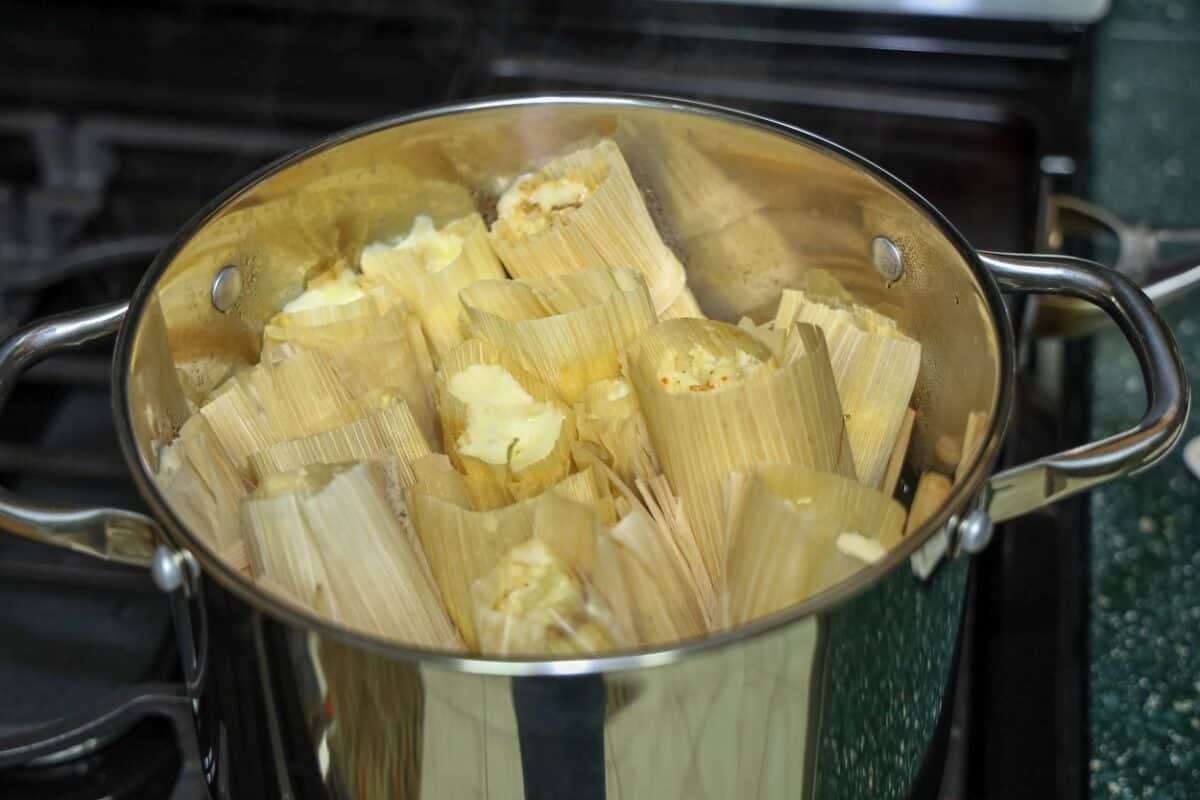
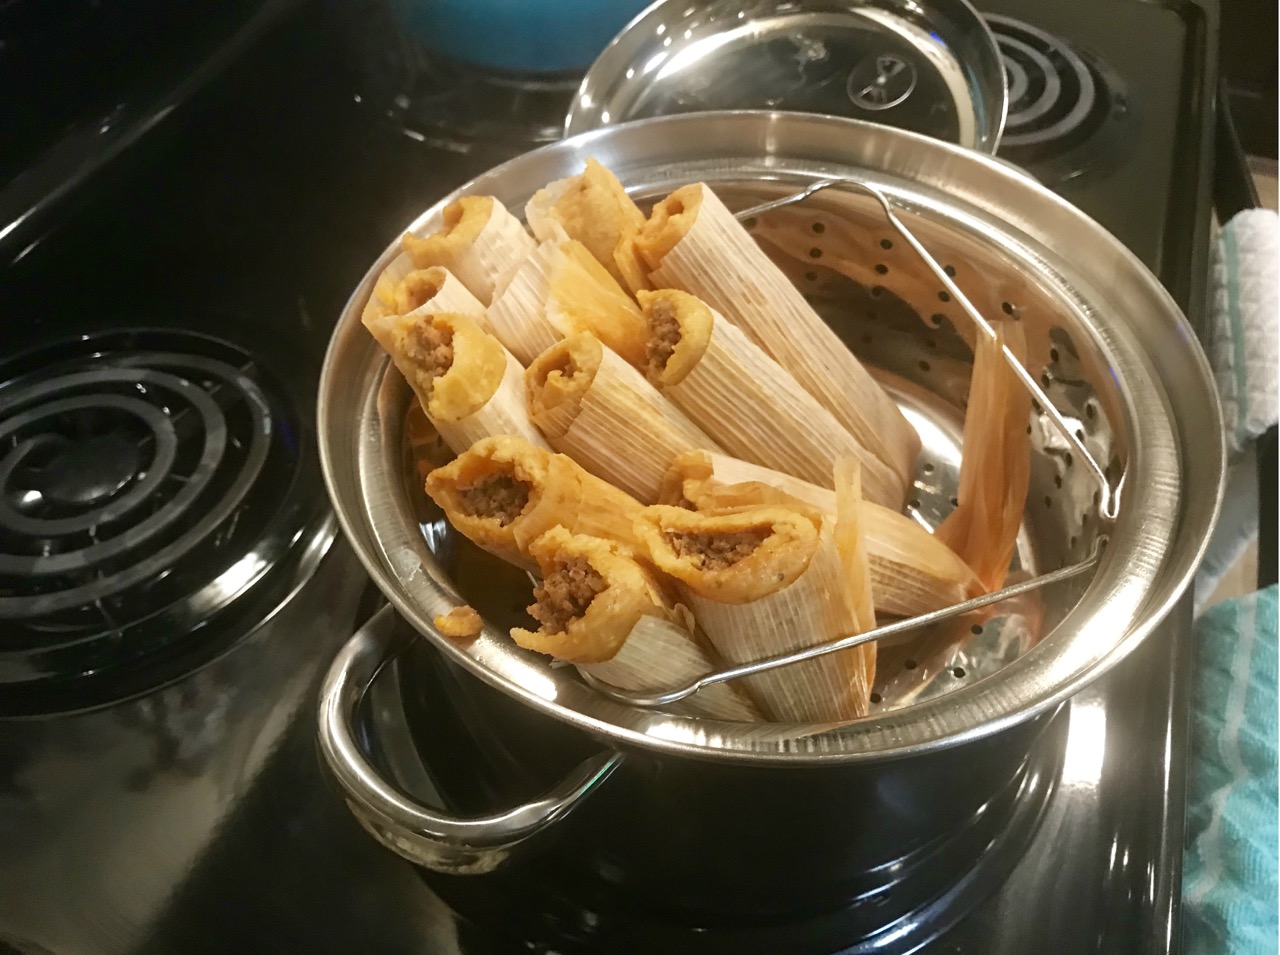
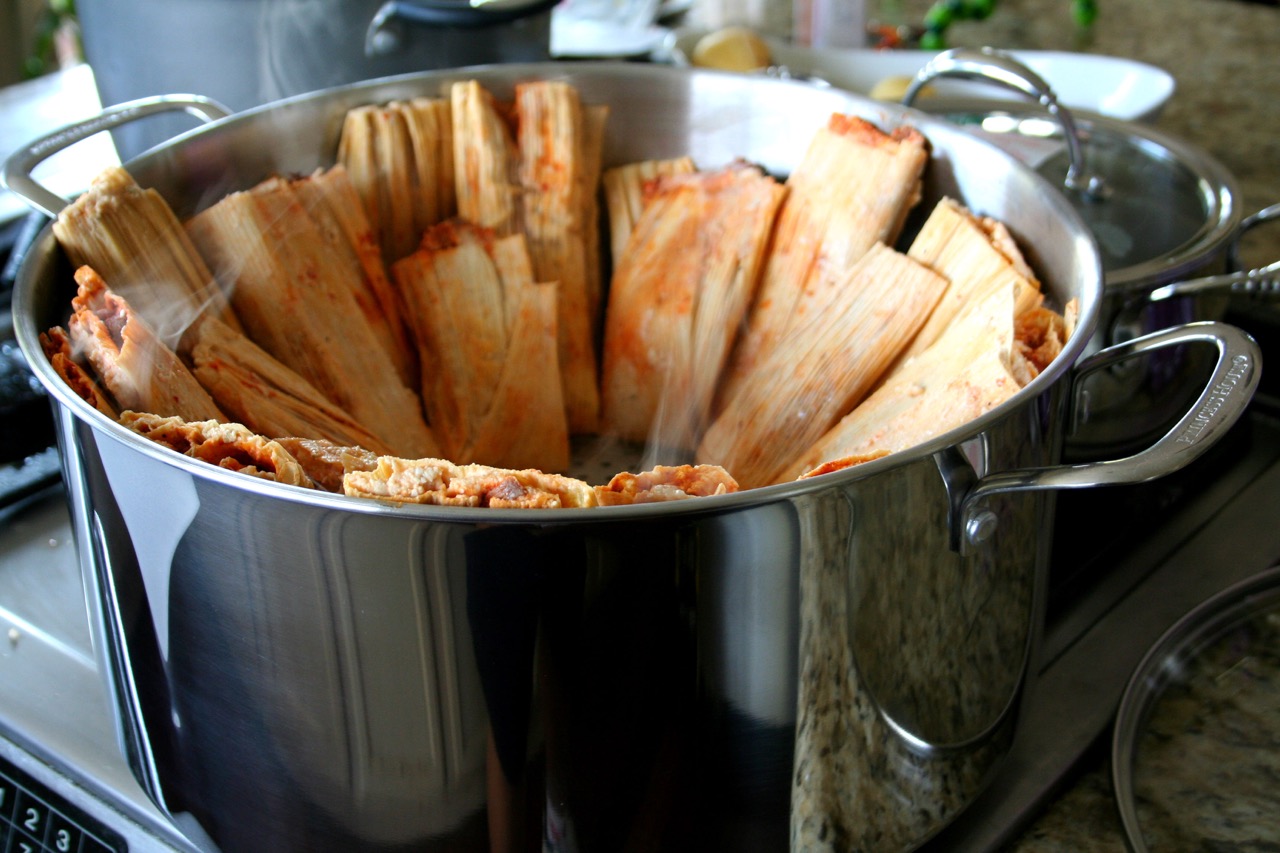
- Steaming method: To steam your tamales, place them in a steamer basket or steaming tray over simmering water. Steam them for about 15-20 minutes, or until they are heated through.
- Microwave method: If you’re using a microwave, wrap individual tamales in a damp paper towel or microwave-safe dish with a lid. Microwave on high for about 2-3 minutes per tamale, or until they are heated thoroughly.
- Oven baking method: Preheat your oven to 350°F (175°C). Place the tamales in a single layer on a baking sheet or in an oven-safe dish. Cover with aluminum foil to prevent drying out and bake for approximately 20-25 minutes, or until they are warmed throughout.
- Check for doneness: Regardless of the reheating method chosen, ensure that the tamales are heated all the way through. Check the internal temperature with a food thermometer, aiming for a minimum temperature of 165°F (74°C).
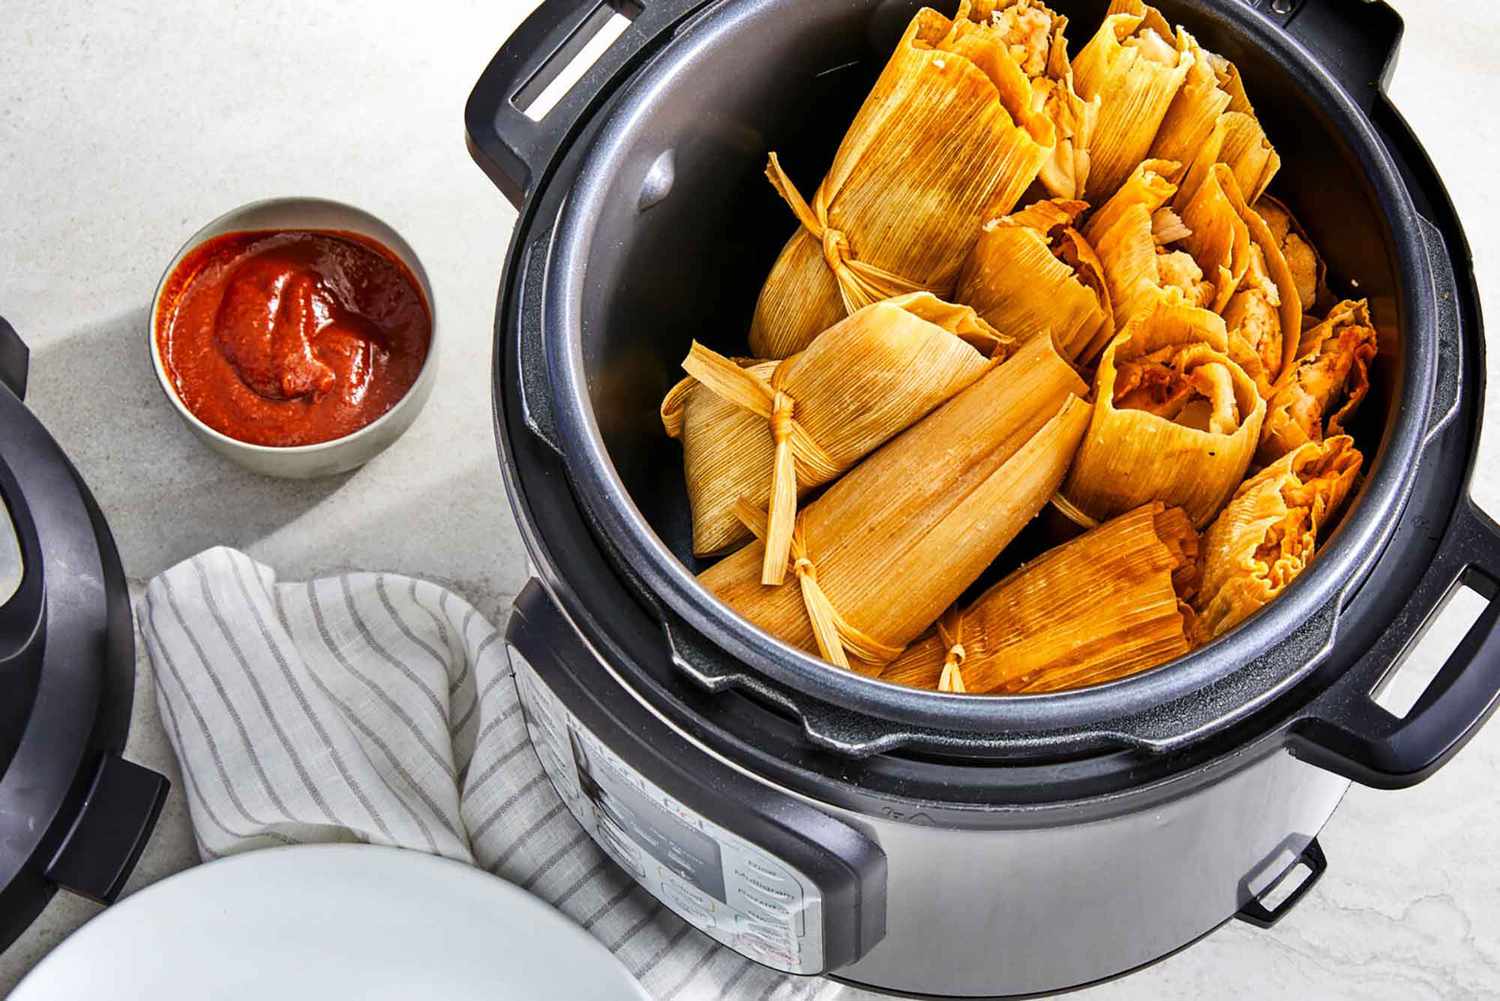
- Enjoy your reheated tamales: Once the tamales are heated to your liking, carefully remove them from the heat source and let them cool slightly before unwrapping and enjoying. Serve them with your favorite salsa, guacamole, or other accompaniments.
By following these steps, you can savor the flavors and textures of your stored tamales as if they were freshly made. Whether you’re enjoying them for a quick meal or a tasty snack, reheating your tamales will bring back the satisfaction of this classic Mexican dish.
Conclusion
Storing tamales properly is essential to preserve their flavors and textures, allowing you to enjoy them at a later time. Whether you choose to freeze them for long-term storage or refrigerate them for short-term use, following the right steps ensures that your tamales remain delicious and ready to enjoy.
By gathering the necessary materials, preparing the tamales for storage, wrapping them carefully, choosing the right storage containers, and storing them in the freezer or refrigerator, you can maintain the quality of your tamales. When it’s time to enjoy them again, reheating them using steaming, microwaving, or oven baking methods will ensure that they are heated all the way through and ready to be savored.
Remember, labeling your storage containers with the date and contents is crucial for keeping track of freshness. Additionally, be mindful of potential odors in the storage environment to prevent any unwanted flavors. By taking these steps, you’ll be able to store and reheat your tamales successfully for maximum enjoyment.
So, next time you find yourself with leftover tamales or want to make a bigger batch to store for later, don’t worry about them going to waste. Follow these steps, preserve their integrity, and relish the joy of indulging in your homemade tamales anytime you desire.
Frequently Asked Questions about How To Store Tamales
Was this page helpful?
At Storables.com, we guarantee accurate and reliable information. Our content, validated by Expert Board Contributors, is crafted following stringent Editorial Policies. We're committed to providing you with well-researched, expert-backed insights for all your informational needs.


0 thoughts on “How To Store Tamales”