Articles
What Setting On Blender For Smoothies
Modified: February 19, 2024
Discover the best settings on Blender for smoothies with our informative articles. Find out how to create the perfect texture and consistency for your favorite blended drinks.
(Many of the links in this article redirect to a specific reviewed product. Your purchase of these products through affiliate links helps to generate commission for Storables.com, at no extra cost. Learn more)
Introduction
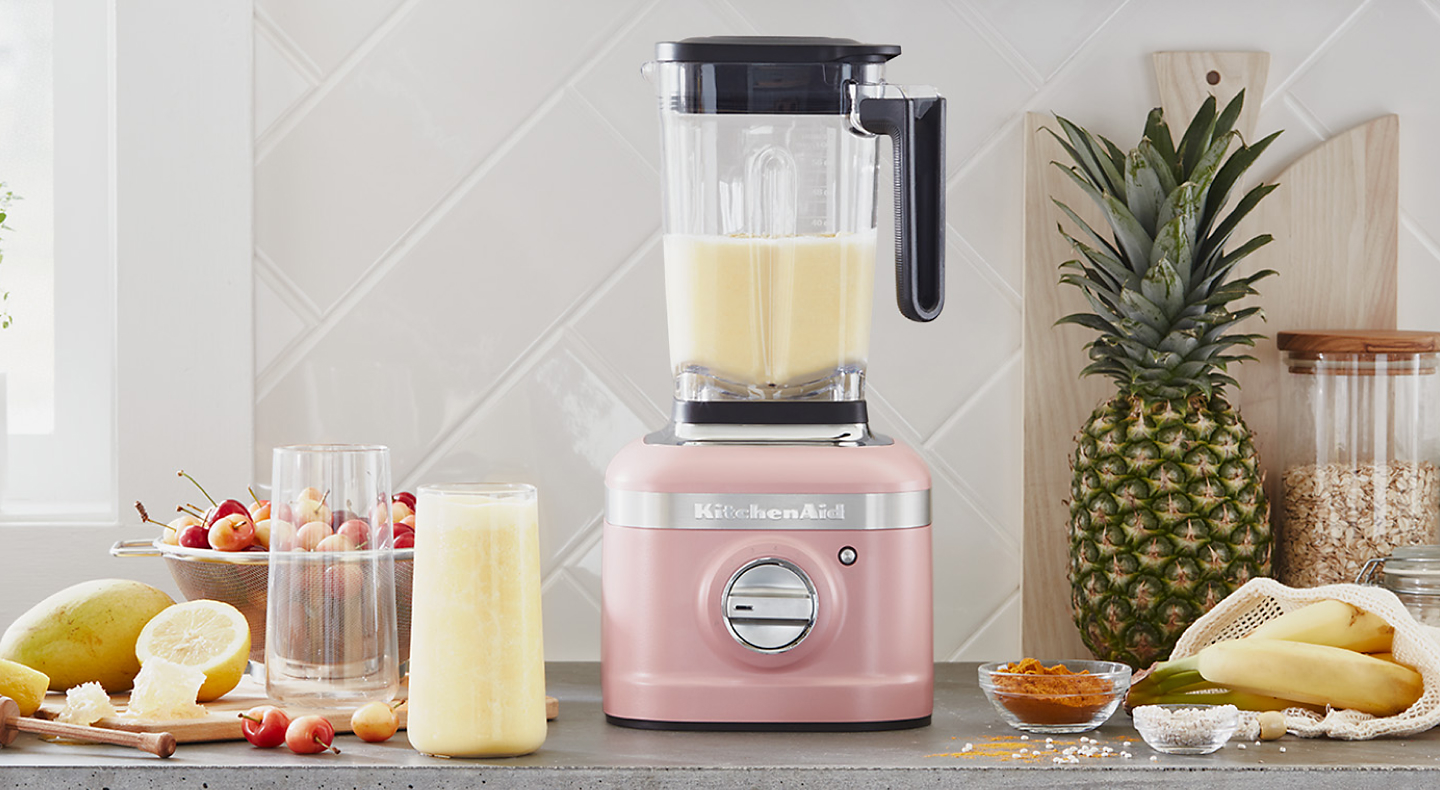
Smoothies have become increasingly popular as a quick and nutritious way to start the day or enjoy as a refreshing snack. With an abundance of fresh fruits, vegetables, and other ingredients at our disposal, creating delicious and healthy smoothies has never been easier. But to achieve that perfect smooth consistency, it is important to have the right blender and know how to use it effectively.
In this article, we will dive into the world of blenders and explore the various settings and techniques that can help you create amazing smoothies. From selecting the right blender to understanding the different speed settings, blade types, and even cleaning and maintenance tips, we will cover it all.
So, whether you are a smoothie aficionado or just starting on your healthy journey, read on to discover the secrets of achieving super smooth and velvety smoothies that will leave your taste buds dancing with joy.
Key Takeaways:
- Choose a blender with a powerful motor, multiple speed settings, and high-quality blades for smooth blending. Utilize pulse mode, layer ingredients properly, and explore pre-set smoothie programs for optimal results.
- Keep your blender in top condition by cleaning it regularly and handling it with care. Deep clean, soak with vinegar or baking soda, and perform regular maintenance checks to ensure a hygienic and trouble-free blending experience.
Read more: What Is The Best Blender To Make Smoothies
Blender Selection – Choosing the Right Blender for Smoothies
When it comes to making smoothies, having the right blender can make all the difference. With so many options available on the market, it can be overwhelming to choose the one that suits your needs. Here are some factors to consider when selecting a blender for making smoothies.
Powerful Motor:
To ensure a smooth blending experience, look for a blender with a powerful motor. The motor’s power is measured in watts, and a higher wattage indicates a more efficient blender. Aim for a blender with at least 500 watts of power to handle blending tough ingredients, such as ice and frozen fruits, smoothly.
Blending Speeds:
Blenders with multiple speed settings allow you to customize the blending process. Look for blenders that offer a range of speeds, including low, medium, and high. This flexibility allows you to achieve the desired texture for your smoothies, whether you prefer a silky smooth blend or a thicker, more textured consistency.
Jar Size and Material:
The size of the blender jar is an important consideration, especially if you plan on making large batches of smoothies. Choose a blender with a jar capacity that suits your needs. Additionally, opt for a jar made of durable materials such as glass or BPA-free plastic, as they are easy to clean and maintain.
Read more: How To Use A Blender For Smoothies
Blade Quality:
The blades of the blender play a crucial role in achieving smooth and consistent blending results. Look for blenders with high-quality stainless steel blades that can easily pulverize fruits, vegetables, and ice. Some blenders also come with multi-level blade systems for enhanced blending efficiency.
Additional Features:
While not essential, certain additional features can enhance your blending experience. Some blenders offer pre-set programs for specific tasks like smoothies or ice crushing, taking the guesswork out of blending. Others come with tamper tools to help push ingredients down into the blades for smoother blending.
By considering these factors and aligning them with your specific needs and budget, you can select the perfect blender that will help you create the most delicious and smooth smoothies.
Blender Speed – Adjusting the Speed Settings for Different Textures
Blenders come with a variety of speed settings that can be adjusted to achieve different textures for your smoothies. Understanding how to properly adjust the speed settings is key to achieving the desired consistency. Here are some tips on how to utilize blender speed for different textures.
Low Speed:
Low speed is ideal for blending delicate ingredients such as leafy greens, soft fruits, and yogurt. It allows for gentle blending and prevents over-processing, resulting in a smooth and creamy texture.
Read more: What Blender Does Tropical Smoothie Use
Medium Speed:
Medium speed is a versatile setting that works well for most smoothie ingredients. It provides a balance between gentle blending and breaking down tougher ingredients like frozen fruits and ice. Use medium speed for achieving a smooth but slightly thicker texture.
High Speed:
High speed is best for blending tough ingredients, such as ice cubes, frozen fruits, and hard vegetables. It provides the power needed to break down these ingredients into a smooth and consistent texture. However, be cautious not to over-blend, as it can result in a watery smoothie.
Pulse Mode:
Pulse mode is a valuable feature on blenders that allows you to control the blending process more precisely. It quickly pulses the blades at a high speed, providing short bursts of power. This mode is useful for achieving a chunkier texture in your smoothie, where you want small pieces of fruits or vegetables to remain intact.
Experimenting with different speed settings is key to finding the perfect texture for your smoothies. Blend on low speed to start, gradually increasing to medium or high as needed. Remember, it’s better to start with a lower speed and increase gradually than to start on high and risk over-blending. By mastering the art of adjusting blender speeds, you can create a wide variety of smoothie textures to satisfy your taste preferences.
Blade Types – Understanding the Best Blade Types for Smoothies
Blades are the workhorses of a blender, responsible for grinding, chopping, and blending the ingredients into a smooth and silky smoothie. Understanding different blade types and their functionalities can help you choose the best blender for making smoothies. Here are some common blade types used in blenders:
Read more: What Can You Blend In A Portable Blender?
Standard Blades:
Most blenders come with standard blades, which are two or more sharp, stainless steel blades stacked on top of each other. These blades are designed to handle a wide range of ingredients, from soft fruits to hard vegetables. They work efficiently to crush and blend ingredients, providing consistent results.
Ice-Crushing Blades:
If you enjoy adding ice to your smoothies for a refreshing chill, consider blenders with ice-crushing blades. These specialized blades are designed to pulverize ice cubes quickly and efficiently, ensuring smooth and evenly crushed ice. They are typically stronger and more durable than standard blades, allowing for easier blending of frozen ingredients.
Multi-Purpose Blades:
Certain blenders come with multi-purpose blades that are designed to handle a variety of tasks, including blending, chopping, and grinding. These blades are versatile and perfect for making not only smoothies but also nut butters, sauces, dips, and even grinding coffee or spices. They offer convenience and flexibility in the kitchen, eliminating the need for multiple appliances.
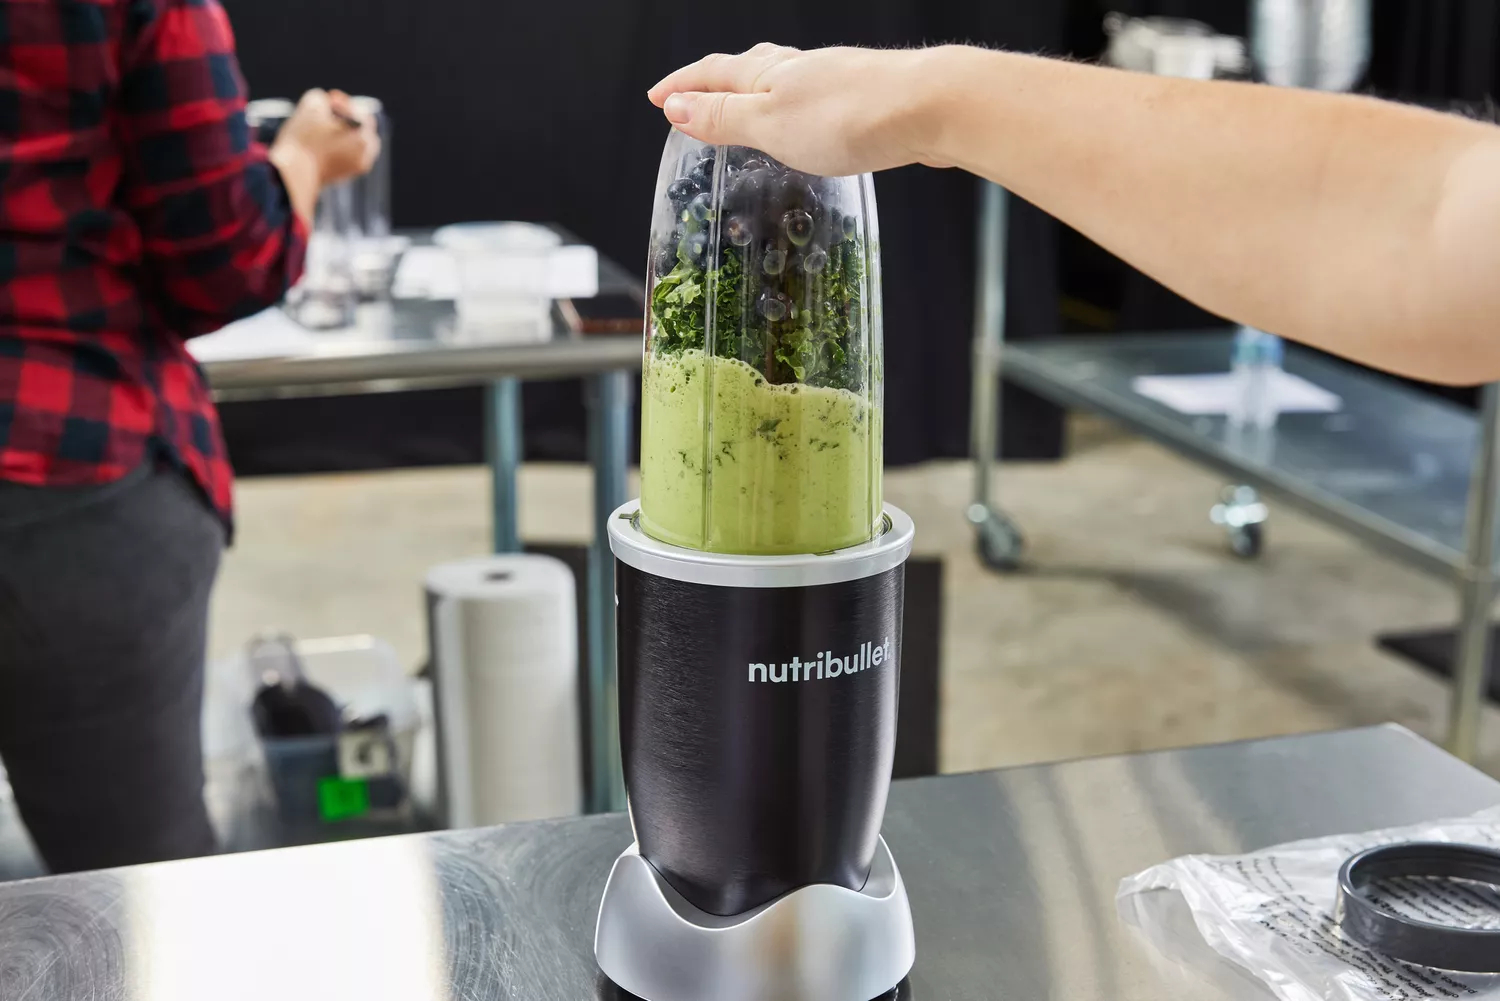
Extractor Blades:
Extractor blades are specifically designed to extract nutrients from fruits and vegetables by breaking down tough fibers and cell walls. These blades are typically featured in high-performance blenders used for making green smoothies and juices. They help release a higher amount of nutrients and provide a smoother texture, ensuring you get the most out of your ingredients.
When choosing a blender, consider the blade type that aligns with the ingredients you plan on using most frequently. Whether it’s standard blades for general smoothie making or specialized blades for specific tasks, selecting the right blade type will contribute to the overall performance and results of your smoothies.
Read more: How To Make Frozen Yogurt In A Blender
Pulse Mode – Utilizing the Pulse Mode for Smoother Blending
Pulse mode is a unique feature found in many blenders that provides precise control over the blending process. Unlike continuous blending, pulse mode operates at a high speed for a short burst, creating intermittent pulses of power. This feature can be incredibly useful for achieving smoother blending results in various situations. Here’s how you can make the most of the pulse mode:
Breaking Down Tough Ingredients:
When dealing with ingredients that are difficult to blend, such as large pieces of frozen fruits or chunks of ice, the pulse mode can be your best friend. Instead of continuously blending, which might create uneven results, use short bursts of pulses to gradually break down the tough ingredients. This will ensure a smoother texture without over-blending the rest of your ingredients.
Creating Chunkier Smoothies:
If you prefer your smoothies to have a chunkier texture, pulse mode is the perfect tool for achieving that. Instead of blending continuously, pulse the ingredients a few times to chop them into smaller pieces while leaving some intact. This will give your smoothie a more textured and satisfying mouthfeel.
Incorporating Mix-Ins:
Pulse mode is also ideal for incorporating mix-ins into your smoothie, such as nuts, seeds, or chocolate chips. Rather than fully blending these ingredients, pulse mode allows you to mix them in gently, maintaining their integrity and adding a delightful crunch or burst of flavor to your smoothie.
Read more: What Type Of Blender Does Smoothie King Use
Mixing Ingredients:
When adding ingredients to an already blended smoothie, pulse mode can be used to mix them thoroughly. Instead of blending for an extended period, a few pulses will evenly distribute the newly added ingredients, ensuring a well-mixed and consistent taste throughout your smoothie.
Remember to use the pulse mode sparingly and not overdo it, as excessive pulsing can lead to over-blending or uneven results. It’s recommended to start with short pulses and adjust as needed based on the desired consistency and texture of your smoothie.
By utilizing the pulse mode effectively, you can take control over the blending process and achieve smoother, more customized results with your smoothies. Experiment with different pulse durations and techniques to find the perfect balance that suits your taste preferences.
Ice Crushing – Setting and Techniques for Crushing Ice Effectively
Adding crushed ice to your smoothies can provide a refreshing and icy texture, perfect for hot summer days. However, crushing ice effectively requires the right setting and techniques to ensure that it blends smoothly without damaging your blender. Here are some tips for crushing ice effectively:
Use the Ice Crush Setting:
Some blenders come with a dedicated ice crush setting, specifically designed to crush ice efficiently. This setting operates at high speed and uses the optimal blade rotation to break down ice cubes into small, uniform pieces. If your blender has an ice crush setting, refer to the manufacturer’s instructions to understand how to use it effectively.
Start with Small Ice Cubes:
Using small ice cubes rather than large ones can make the ice crushing process easier for your blender. Smaller ice cubes have a larger surface area, allowing the blades to come into contact with more ice at once. This helps in evenly crushing the ice and prevents the blender from straining or overheating.
Add a Little Liquid:
Before adding the ice cubes, include a small amount of liquid to the blender. This can be water or any liquid that you plan to use for your smoothie. The liquid will help facilitate the crushing process by creating a slushy consistency that makes it easier for the blades to blend the ice cubes effectively.
Pulse Instead of Continuous Blending:
When crushing ice, it’s best to use short pulses rather than continuous blending. Pulsing allows the blades to make quick, powerful bursts of movement, gradually breaking down the ice cubes into smaller pieces. This technique prevents the blender motor from overheating and ensures that the ice is crushed to the desired texture.
Don’t Overload the Blender:
Avoid overloading the blender jar with too many ice cubes at once. Overcrowding the jar can strain the motor and make it more challenging to achieve uniform ice crushing. Instead, add a smaller number of ice cubes at a time and repeat the crushing process until you have enough crushed ice for your smoothie.
With these setting and techniques, you can crush ice effectively and enjoy the perfect icy texture in your smoothies. However, always refer to the specific instructions provided by the manufacturer of your blender to ensure safe and optimal ice crushing performance.
Liquid Ratios – Finding the Perfect Liquid Ratios for Smoothie Consistency
When it comes to making smoothies, achieving the perfect consistency is key. One important factor in obtaining the desired texture is finding the right liquid ratio. The liquid you add to your smoothie not only affects its thickness but also influences the overall taste and blendability of the ingredients. Here are some tips for finding the perfect liquid ratios:
Read also: 13 Best Blender For Smoothies for 2024
Start with a Base Amount:
Begin by adding a small amount of liquid to your blender, such as water, milk, coconut water, or fruit juice. A good starting point is around 1/2 to 3/4 cup of liquid per serving of smoothie. This gives you a foundation to work with, allowing you to adjust the consistency later on.
Add More Liquid for Thinner Smoothies:
If you prefer a thinner smoothie consistency, gradually add more liquid to the blender. This will create a more liquidy texture and make the smoothie easier to sip through a straw. Adjust the liquid amount based on your personal preference, adding small increments at a time until you reach the desired consistency.
Increase Frozen or Thick Ingredients:
If you find that your smoothie is too thin, you can balance it out by increasing the amount of frozen or thick ingredients. This could be frozen fruits, vegetables, or even the addition of yogurt or nut butter. These ingredients will help thicken the smoothie without diluting the flavor or overpowering the taste.
Consider the Texture of Ingredients:
Take into account the texture of the ingredients you are using in your smoothie. Some fruits have higher water content, while others are naturally thicker and creamier. For example, berries tend to release more liquid, making the smoothie thinner, while bananas add thickness and creaminess. Understanding the characteristics of your ingredients will help you determine the appropriate liquid ratio.
Read more: How To Use Portable Blender
Personalize Based on Taste Preferences:
Ultimately, choosing the right liquid ratio is subjective and depends on your taste preferences. Some prefer a thicker smoothie that feels like a meal replacement, while others enjoy a lighter and more refreshing consistency. Experiment with different ratios to find the balance that suits your palate and allows you to fully enjoy your smoothie.
Remember, the perfect liquid ratio for your smoothie might vary depending on the specific ingredients and flavors you choose. Feel free to get creative and adjust the liquid amount as needed to achieve the ideal consistency for your taste buds.
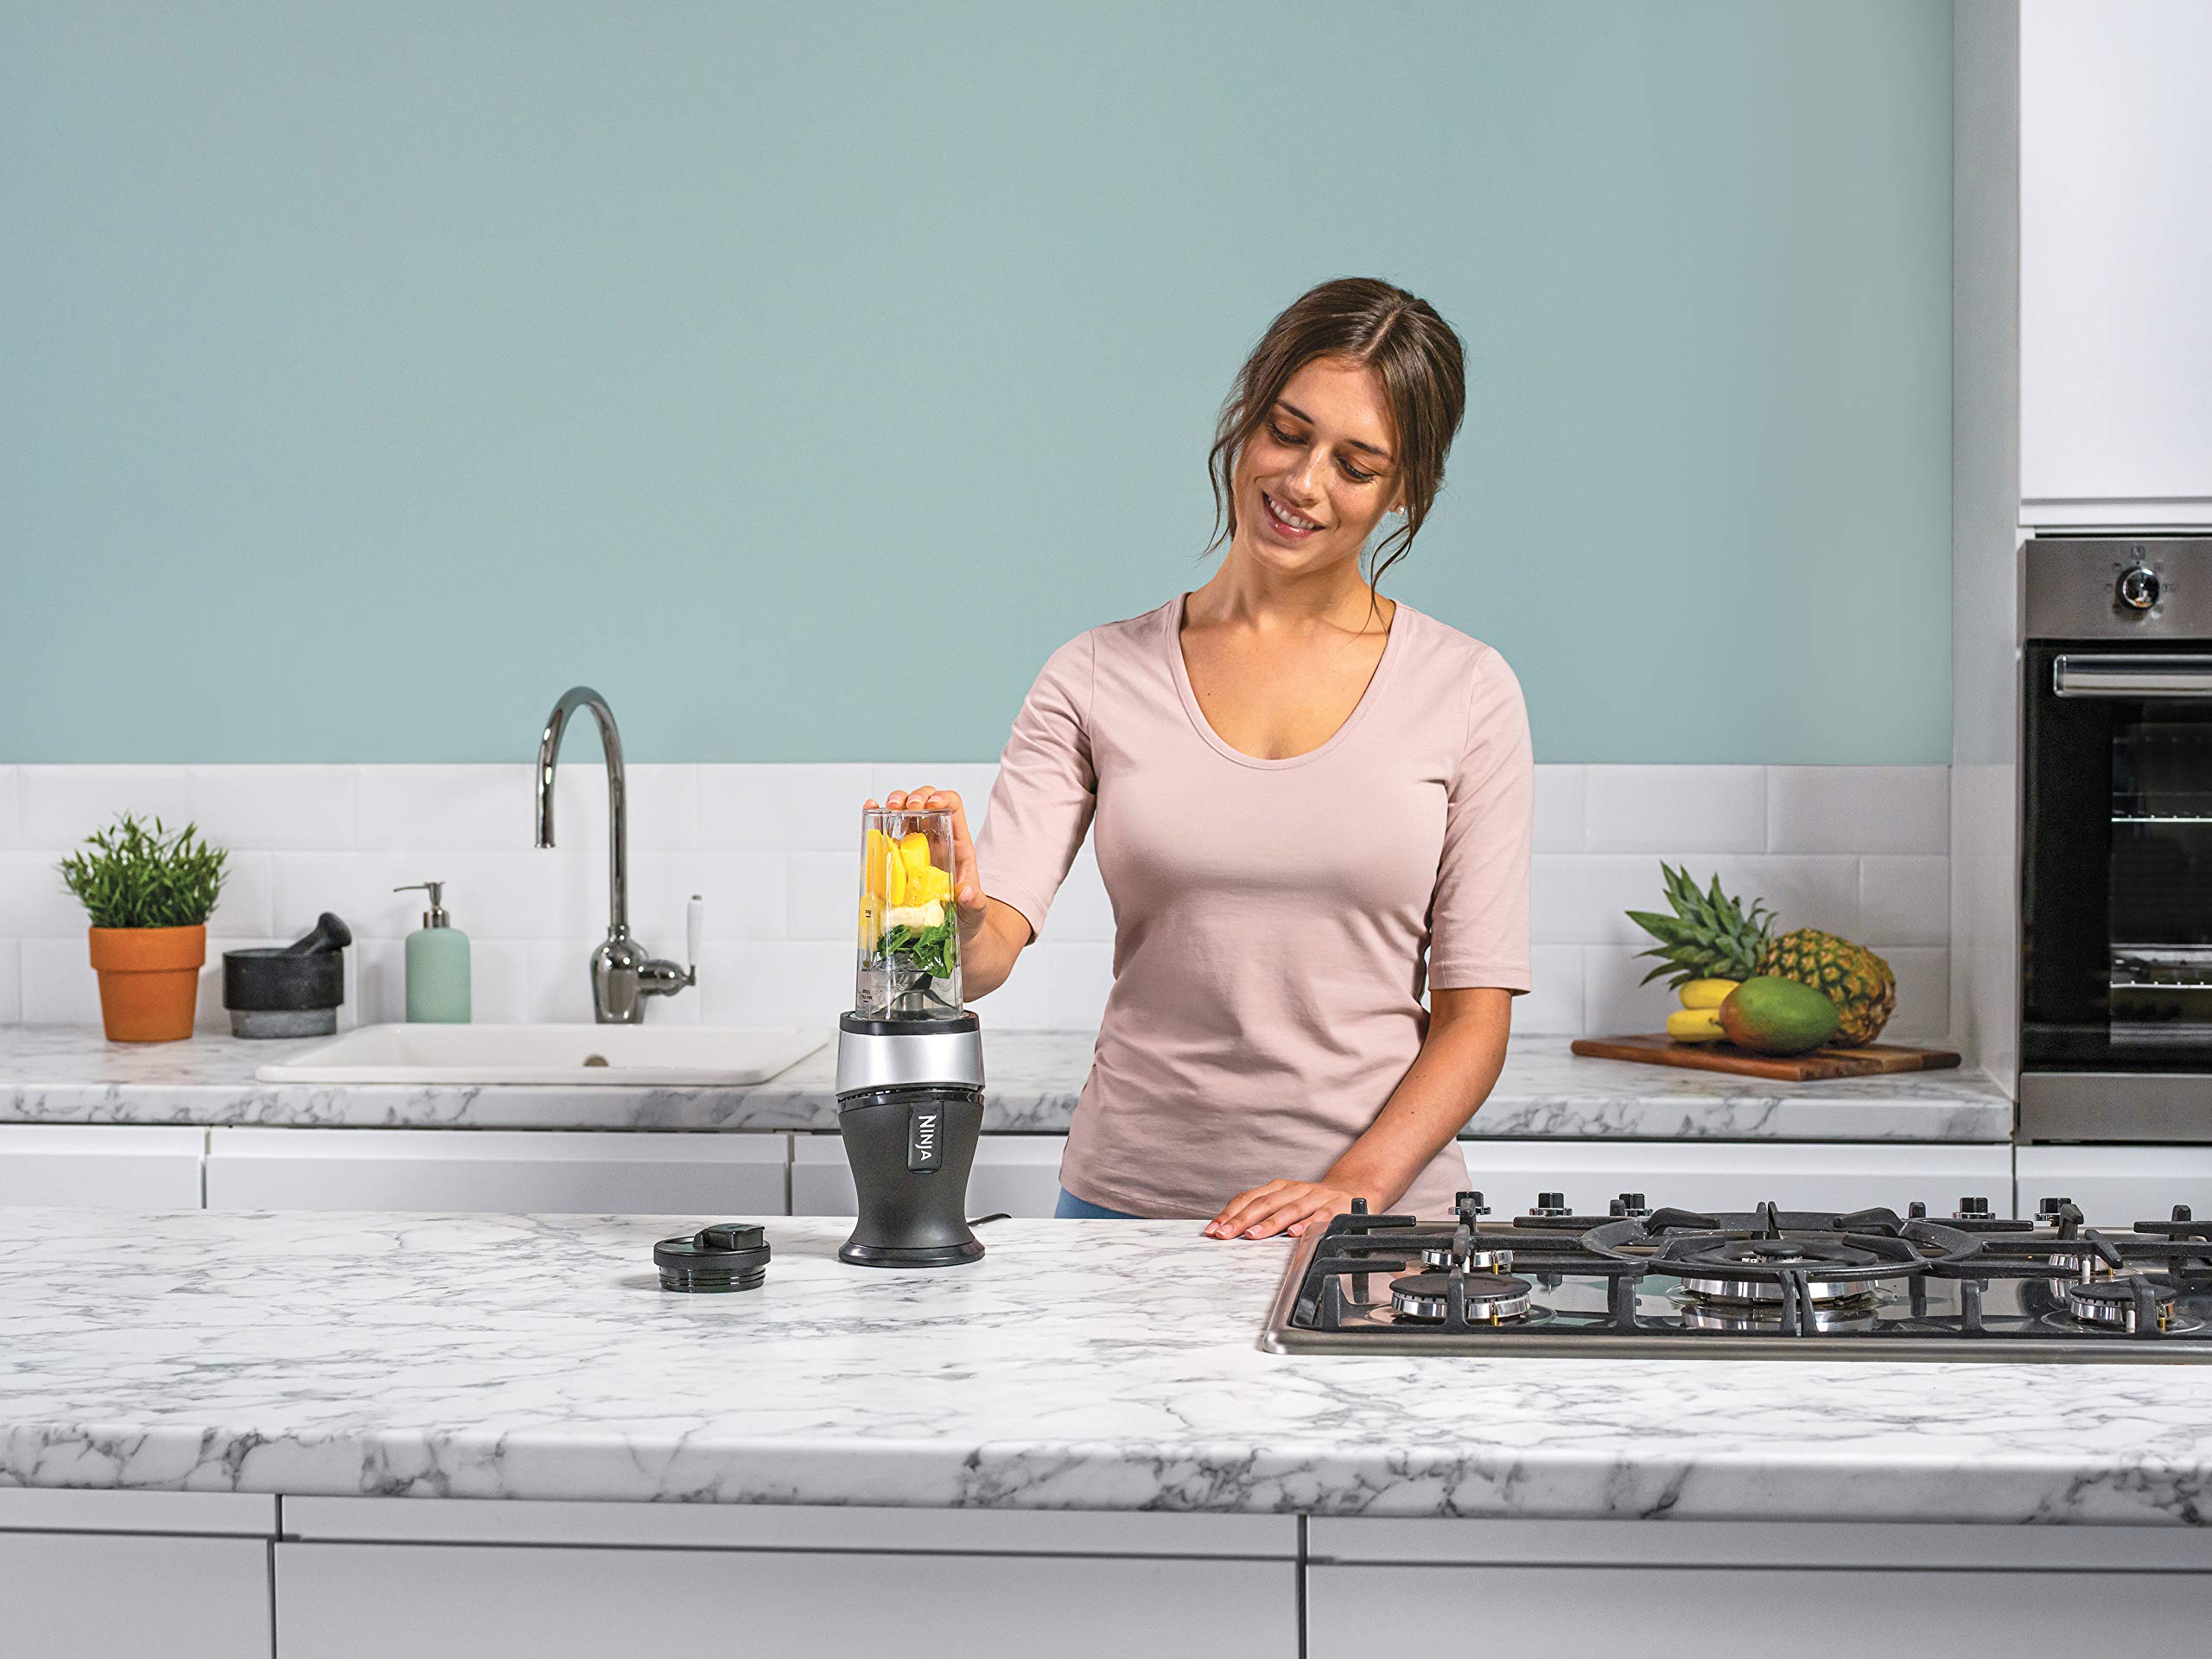
Ingredient Order – Layering Ingredients in the Blender for Optimal Blending
Properly layering the ingredients in your blender can significantly impact the blending process and ensure smooth and even blending. By following the right order, you can avoid clumps, ensure ingredients blend evenly, and prevent any unnecessary strain on the blender motor. Here are some guidelines for layering ingredients in the blender for optimal blending:
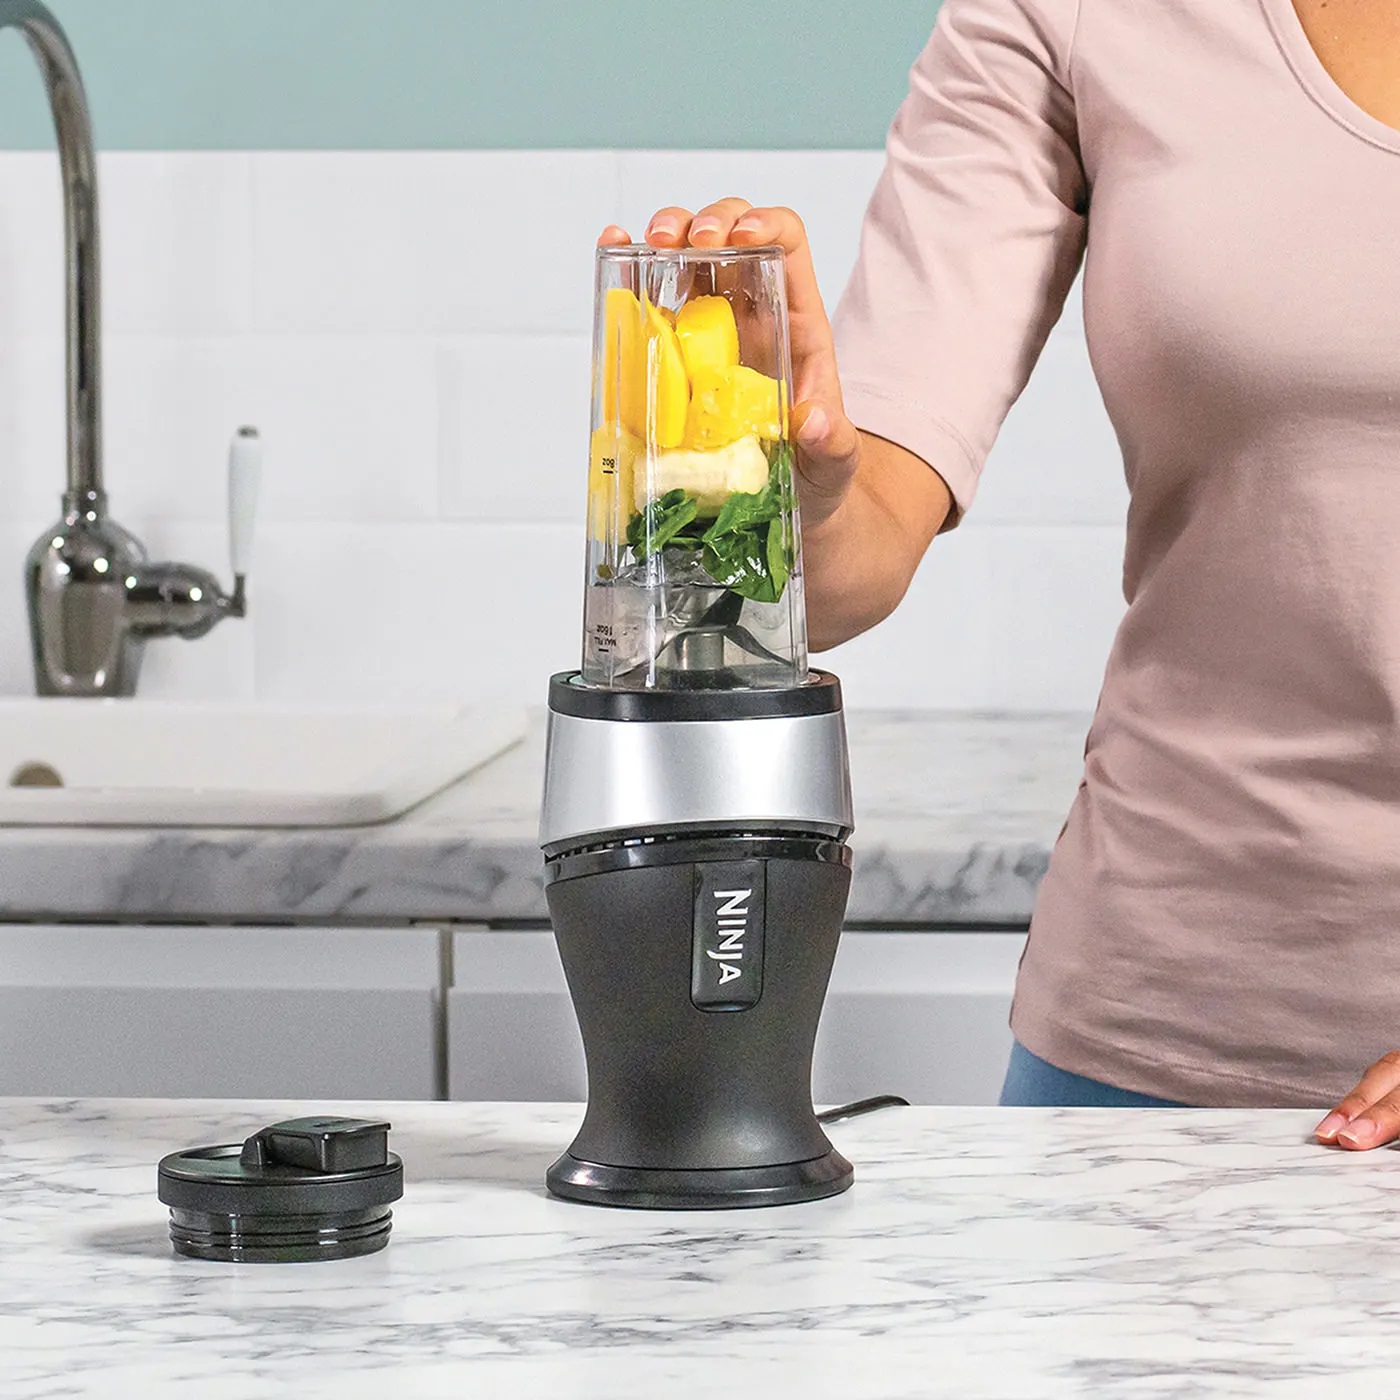
Liquid First:
Start by adding the liquid component of your smoothie, such as water, milk, or juice, to the blender jar. This helps create a liquid base that allows the blades to move freely and blend the remaining ingredients effectively. Adding the liquid first also ensures that the blender blades don’t get stuck in dry ingredients or struggle to rotate properly.
Next, add the soft ingredients, such as leafy greens, peeled fruits, or yogurt. These softer ingredients are easier to blend and will create a smooth base for the remaining ingredients. By placing them on top of the liquid, they will come into immediate contact with the blender blades, promoting efficient blending and preventing any clumps from forming.
Harder Ingredients and Ice:
Harder ingredients, such as frozen fruits, vegetables, or ice cubes, should be added after the soft ingredients. Placing them on top of the soft ingredients ensures that the blades have already gained some momentum from blending the previous layers. This helps in breaking down the tougher ingredients more efficiently and produces a smoother texture.
Read also: 9 Amazing Smoothie Blender for 2024
Nuts, Seeds, and Mix-Ins:
If your recipe includes nuts, seeds, or any other mix-ins, sprinkle them on top of the harder ingredients. By scattering them evenly, you improve the chances of them getting blended evenly throughout the smoothie. This step can help you avoid large clumps of nuts or seeds and ensure a consistent taste and texture.
Blend and Adjust as Needed:
Once all the ingredients are properly layered, securely attach the blender lid and start blending. Depending on the power and speed settings of your blender, blend for the required time to achieve the desired consistency. If needed, pause the blending process and scrape down the sides of the blender jar to ensure that all ingredients are fully incorporated.
By following this layering order, you can optimize the blending process and minimize any potential issues that may arise while blending your smoothie. Remember, the correct ingredient order may vary depending on your specific recipe and blender, so feel free to experiment and make adjustments based on your experience and preferences.
Smoothie Programs – Exploring Pre-set Smoothie Programs on Blenders
Modern blenders often come equipped with pre-set programs specifically designed for making smoothies. These programs offer convenience and take the guesswork out of blending by automatically adjusting the speed, timing, and blending patterns. Here are some benefits and features of using pre-set smoothie programs on blenders:
Customized Blending:
Smoothie programs are tailored to handle the unique requirements of blending fruits, vegetables, ice, and other smoothie ingredients. They ensure optimal blending results by delivering the perfect combination of blending time, speed variations, and pulsing patterns. These programs take into account the ideal blending intervals for achieving a smooth and consistent texture.
Read more: How To Make A Smoothie In A Ninja Blender
Consistent Results:
One of the biggest advantages of using pre-set smoothie programs is the consistency they provide. By following the same program each time, you can expect consistent results in terms of texture and taste. This eliminates the need for trial and error, ensuring that your smoothies turn out perfectly every time, regardless of the ingredients used.
Time-saving Convenience:
Pre-set programs on blenders save you time by automating the blending process. With just a push of a button, the blender will automatically adjust the speed and duration, allowing you to multitask or go about other tasks while your smoothie is blending. This convenience is especially beneficial for those with busy schedules or limited time in the morning.
Versatile Blending Options:
Aside from basic smoothie programs, many blenders offer additional pre-set programs that cater to specific smoothie variations. These programs might include options for green smoothies, protein shakes, or even frozen drinks. These versatile blending options allow you to explore different smoothie recipes and experiment with various ingredients, all with the touch of a button.
Manual Overrides:
Most blenders with pre-set programs also offer manual override options, allowing you to customize the blending process further. This feature lets you adjust the blending time or speed during the program or pause the blending process to check the consistency and make any necessary adjustments. It provides flexibility for those who prefer to have more control over their smoothie creations.
While pre-set smoothie programs are convenient and user-friendly, it’s still important to familiarize yourself with your blender’s specific settings and carefully follow the manufacturer’s instructions. This will ensure that you make the most of the available programs and enjoy consistently delicious smoothies with minimal effort.
Cleaning and Maintenance – Tips for Cleaning and Maintaining Your Blender for Smoothies
Maintaining a clean and well-maintained blender is essential for ensuring optimal performance and longevity. Here are some tips for effectively cleaning and maintaining your blender to keep it in top-notch condition for making delicious smoothies:
Immediate Rinse:
After each use, give your blender a quick rinse to prevent any residue from sticking and drying onto the blender jar and blades. Fill the jar halfway with warm water and add a few drops of dish soap. Secure the lid and blend on a low setting for a few seconds. Rinse thoroughly with warm water and air dry or towel dry completely before storage.
Deep Clean Regularly:
Periodically, give your blender a more thorough cleaning to remove any build-up or stubborn stains. Disassemble the blender jar, blade assembly, and lid. Wash each component with warm, soapy water, using a soft brush or sponge to scrub away any residue. Pay close attention to the blade assembly and any crevices. Rinse thoroughly and allow to air dry before reassembling.
Vinegar or Baking Soda Soak:
If your blender has persistent stains or odors, consider soaking the blender jar, blade assembly, and lid in a solution of equal parts white vinegar and water or warm water with a few tablespoons of baking soda. Allow them to soak for about 15-30 minutes before scrubbing and rinsing as usual. This helps break down stubborn stains and eliminates odors.
Blade Maintenance:
Take extra care when handling the blender blades to avoid accidental cuts. When cleaning the blades, use caution to prevent any injuries. If the blades are removable, carefully clean them with a brush or sponge. For non-removable blades, clean them by blending warm water with a few drops of dish soap or using a brush to scrub the blade area. Rinse thoroughly and dry completely.
Handle with Care:
Handle your blender with care to avoid accidental damage. Avoid dropping or banging the blender jar or exposing it to extreme temperatures. Always place the blender jar on a stable surface and ensure the lid is securely fastened before blending. Additionally, avoid overfilling the blender jar to prevent leakage or strain on the motor.
Regular Maintenance Checks:
Regularly inspect your blender for any signs of wear or damage. Check the power cord and plug for any fraying or exposed wires. Examine the motor base for any loose screws or cracks. If you notice any issues, immediately unplug the blender and contact the manufacturer for further guidance or servicing.
By following these cleaning and maintenance tips, you can keep your blender in optimal condition, ensuring smooth and trouble-free blending for your delicious smoothies. A well-maintained blender not only extends its lifespan but also guarantees a hygienic blending experience for a healthier smoothie journey.
Conclusion
Making smoothies at home can be a delightful and healthy way to start your day or enjoy a nutritious snack. By understanding the various aspects of blender usage and optimization, you can take your smoothie-making skills to the next level. From selecting the right blender to adjusting speed settings, using the appropriate blade types, and exploring pre-set smoothie programs, each step contributes to creating the perfect smoothie texture and taste.
Choosing a blender with a powerful motor, multiple speed settings, and high-quality blades ensures a smooth blending experience. Utilizing pulse mode for precise blending, crushing ice effectively, and finding the perfect liquid ratios are crucial for achieving desired smoothie textures. Additionally, layering ingredients in the proper order optimizes blending performance, while pre-set smoothie programs add convenience and consistency to your blending process.
Remember to properly care for your blender by cleaning it regularly and maintaining its components. Immediate rinsing and deep cleaning, vinegar or baking soda soaks, and proper blade maintenance are essential for keeping your blender in excellent condition for years to come.
With these tips and techniques, you can become a smoothie-making pro, creating delicious, smooth, and nutrient-packed blends that satisfy your taste buds and nourish your body. So grab your blender, gather your favorite ingredients, and start blending your way to smoothie perfection!
Frequently Asked Questions about What Setting On Blender For Smoothies
Was this page helpful?
At Storables.com, we guarantee accurate and reliable information. Our content, validated by Expert Board Contributors, is crafted following stringent Editorial Policies. We're committed to providing you with well-researched, expert-backed insights for all your informational needs.
0 thoughts on “What Setting On Blender For Smoothies”