Home>Garden Essentials>How To Take Cuttings From Ground Cover

Garden Essentials
How To Take Cuttings From Ground Cover
Modified: October 21, 2024
Learn how to take cuttings from ground cover in your garden and propagate new plants easily. Step-by-step guide for successful propagation.
(Many of the links in this article redirect to a specific reviewed product. Your purchase of these products through affiliate links helps to generate commission for Storables.com, at no extra cost. Learn more)
Introduction
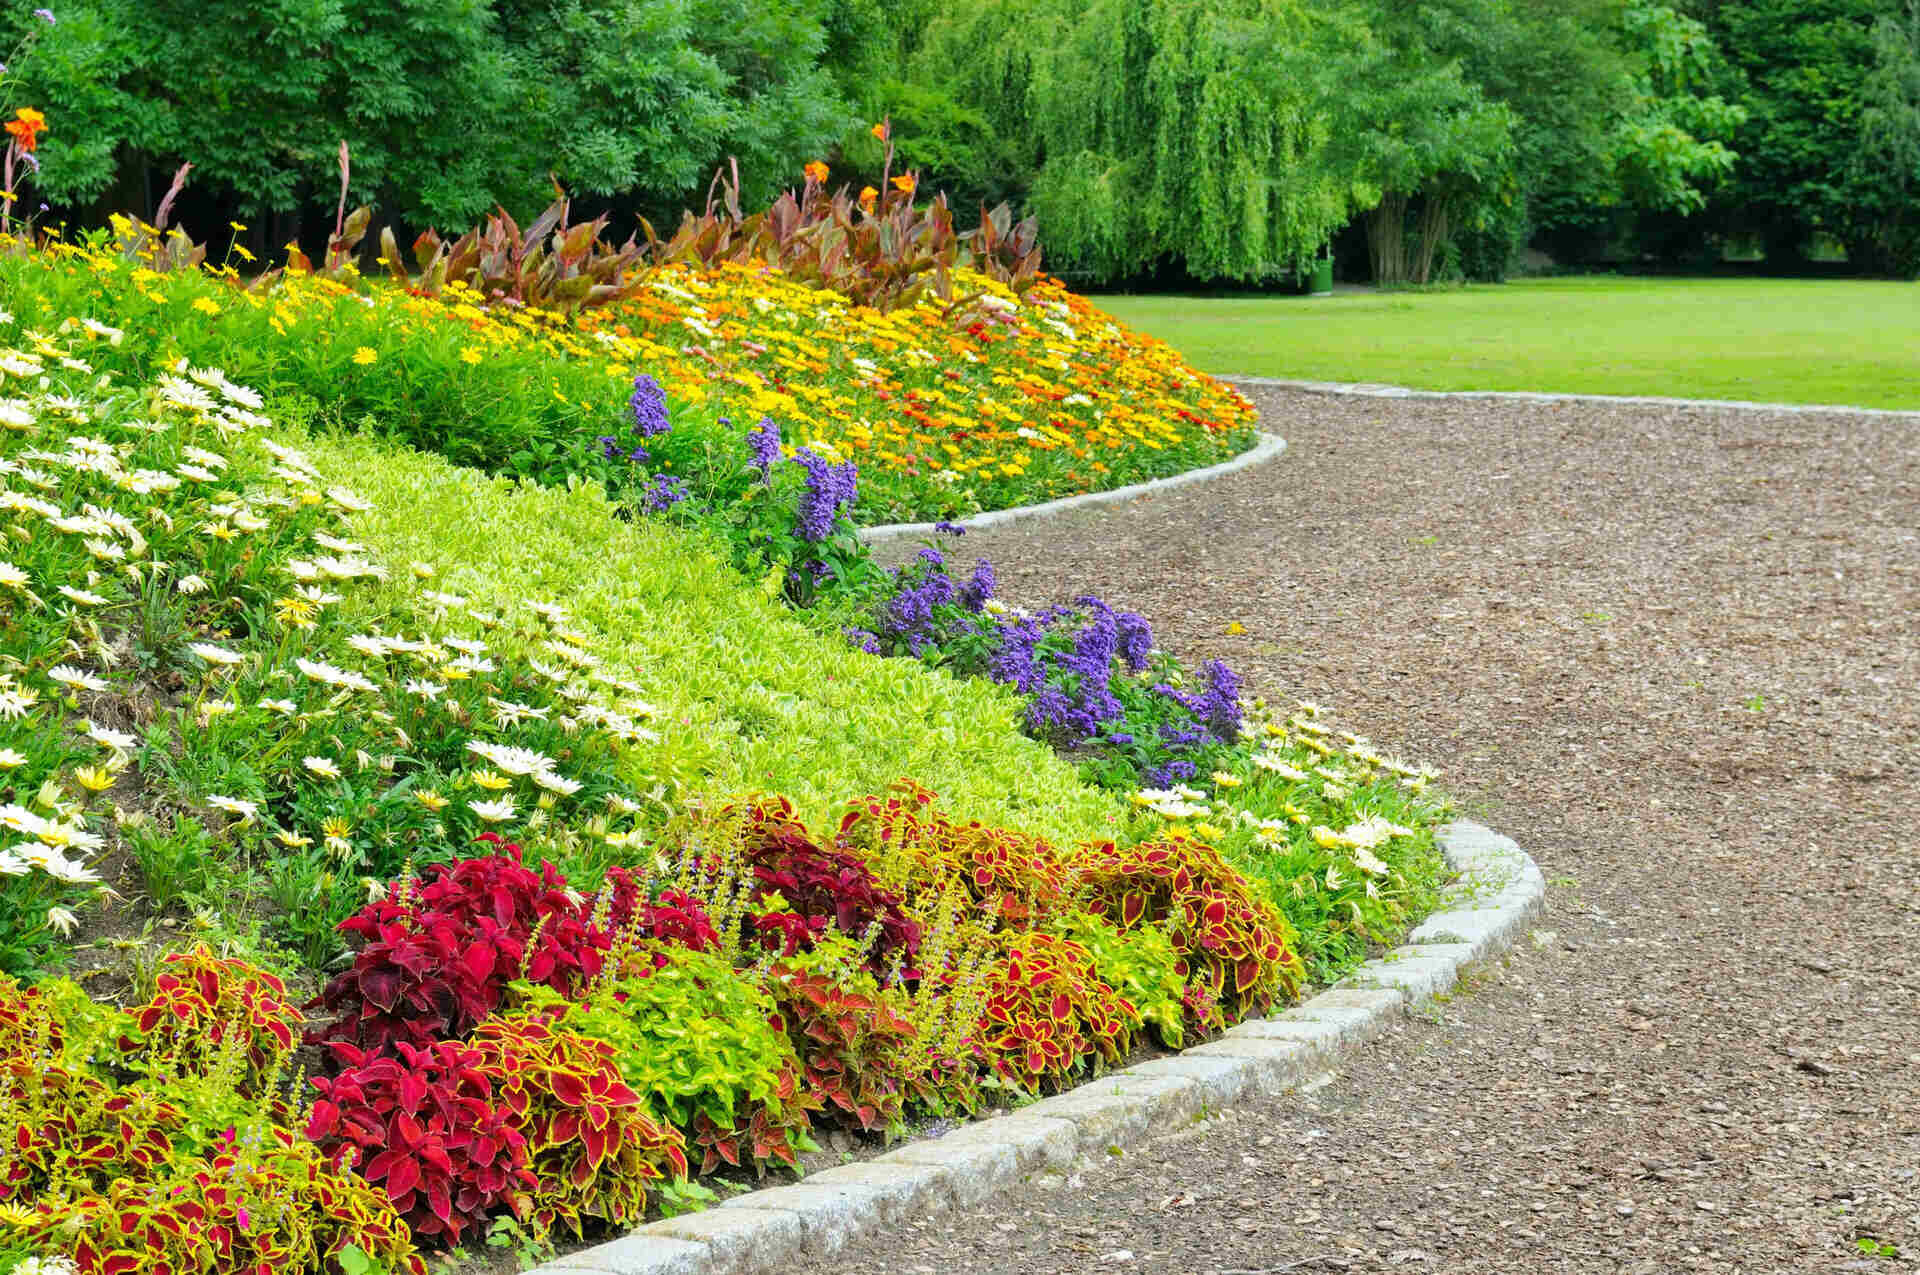
Ground covers are an excellent addition to any garden or landscape. They not only provide a lush carpet of greenery but also help suppress weeds and protect the soil from erosion. While there are numerous ways to propagate ground cover plants, one of the most effective and economical methods is by taking cuttings. By following the right techniques, you can easily propagate new plants from existing ones, expanding your ground cover and creating a cohesive and beautiful landscape.
In this article, we will guide you through the process of taking cuttings from ground cover plants. We will cover everything from selecting the right plant and gathering the necessary materials to preparing the cutting site, taking the cuttings, and caring for the newly planted cuttings. So, if you’re ready to breathe new life into your garden and expand your ground cover, let’s dive in!
Key Takeaways:
- Taking cuttings from ground cover plants is an affordable and rewarding way to expand your garden. By carefully selecting healthy plants, gathering the right materials, and providing proper care, you can easily propagate new plants and create a lush, low-maintenance landscape.
- To successfully propagate ground cover plants from cuttings, it’s important to prepare the cutting site, take the cuttings carefully, and provide ongoing care after planting. With patience and attention to detail, your newly planted cuttings will flourish and transform into a beautiful ground cover.
Read more: How To Stop Ground Cover From Spreading
Selecting the Right Ground Cover Plant
When it comes to choosing the right ground cover plant for propagating cuttings, there are a few factors to consider. First and foremost, you’ll want to select a healthy and vigorous plant to ensure the success of your cuttings. Look for plants that have lush foliage, strong stems, and no signs of disease or pest infestation.
Additionally, consider the specific characteristics and requirements of the ground cover plant. Is it suitable for your climate and soil conditions? Does it have the desired growth habit and height? Is it compatible with the other plants in your garden? Make sure to choose a plant that will thrive in your specific environment and complement the overall aesthetic of your garden.
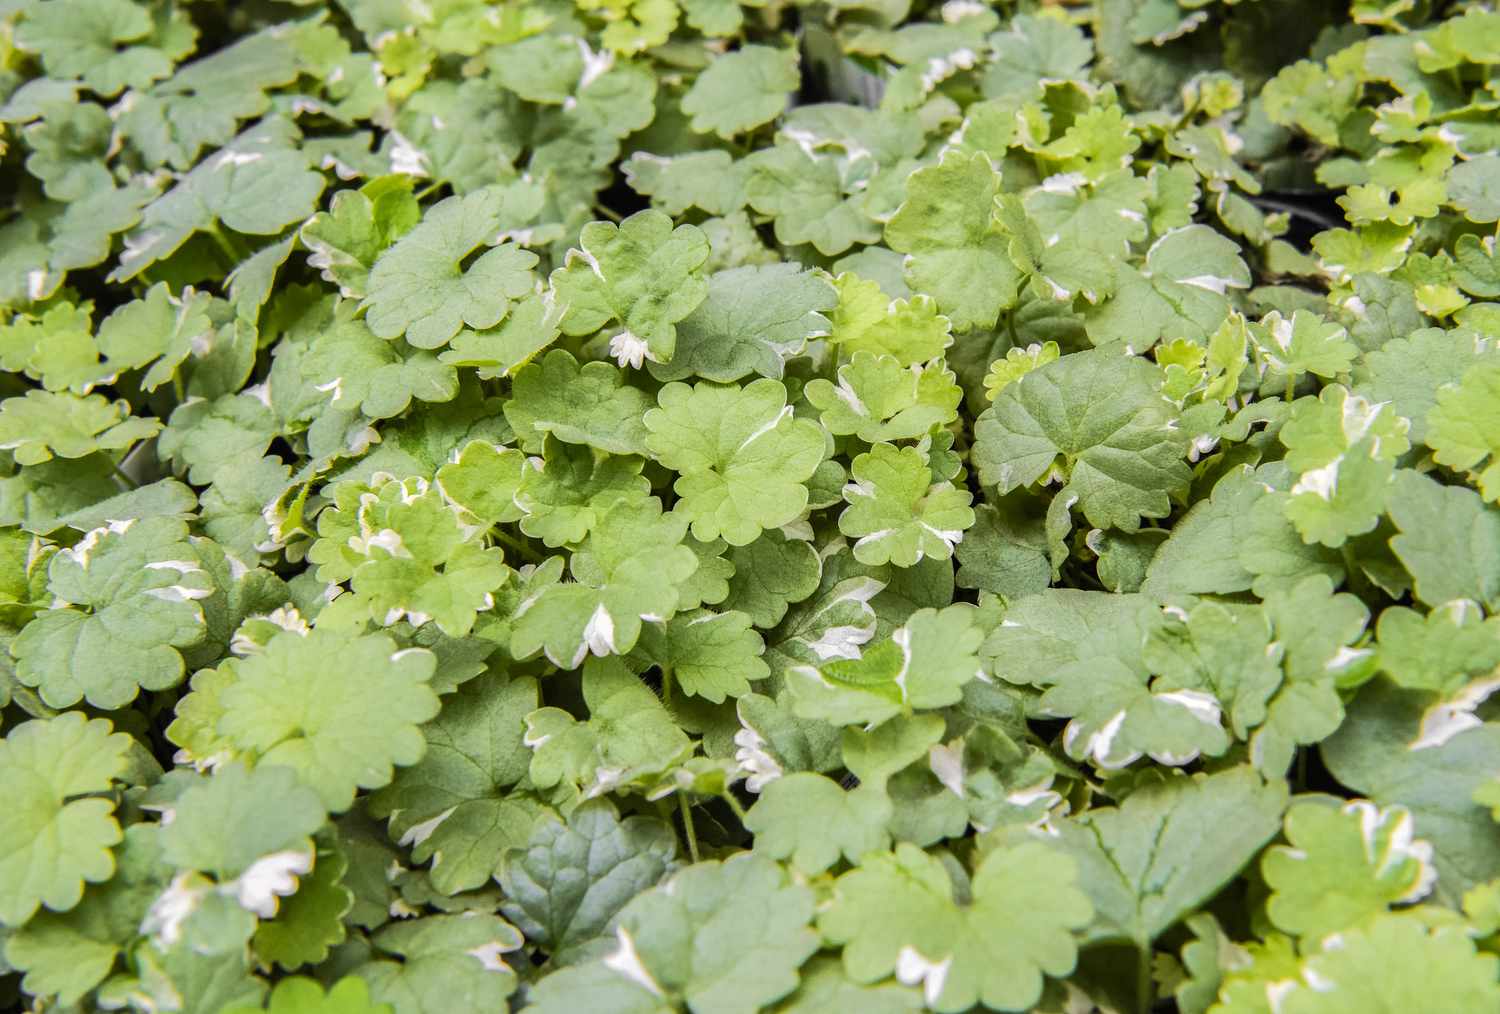
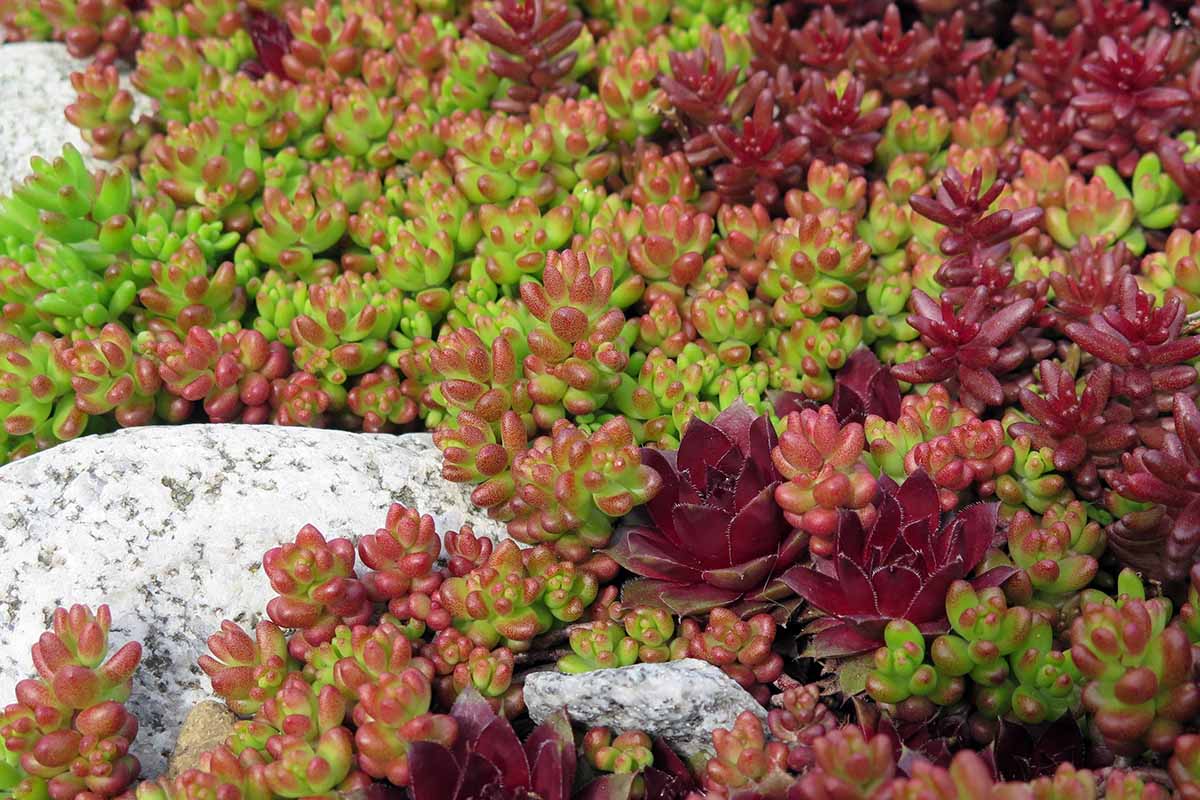
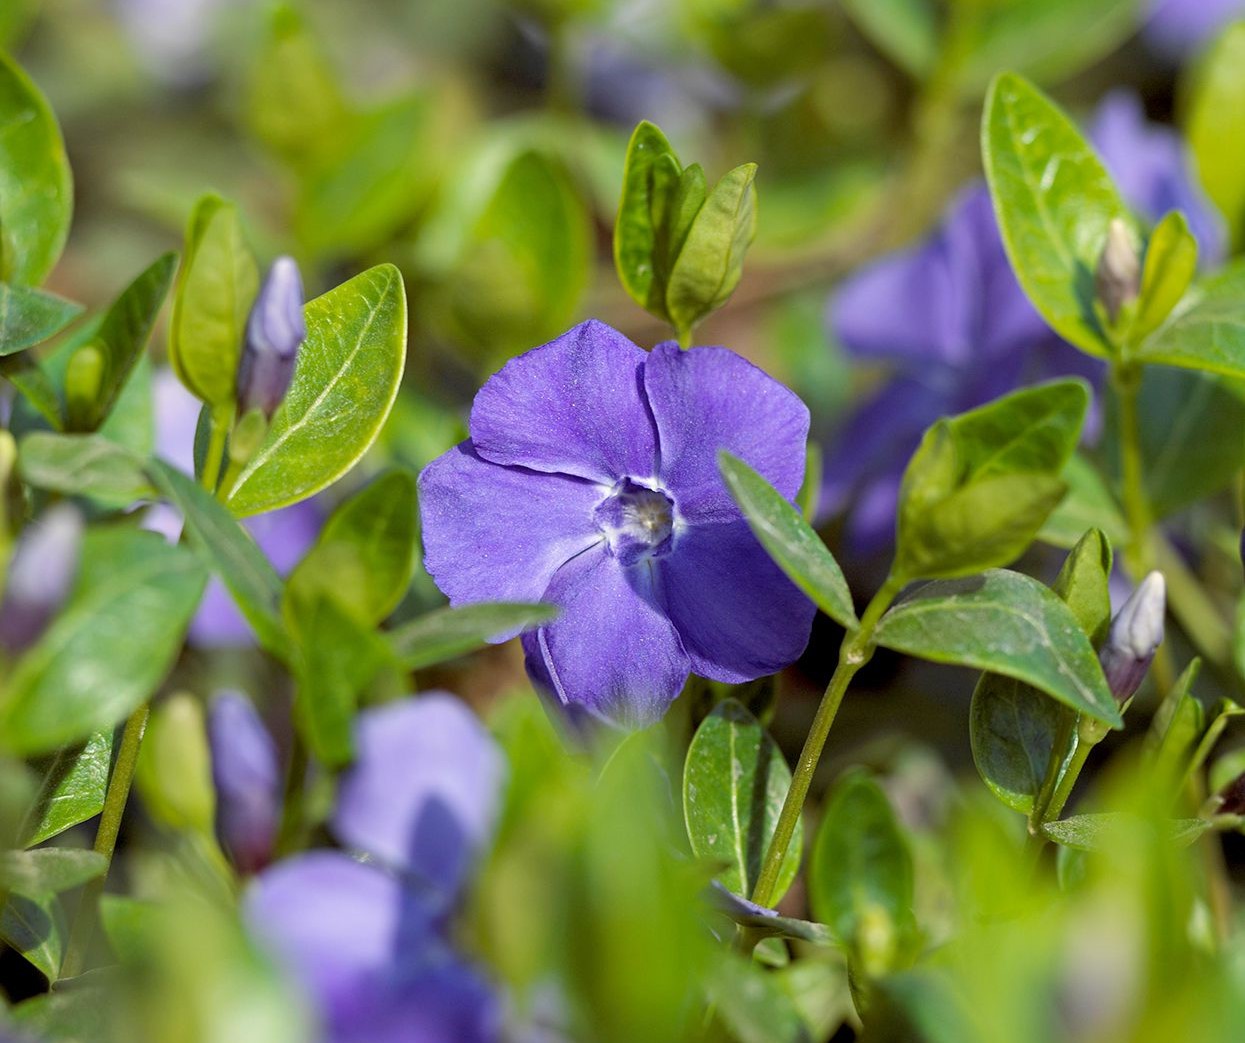
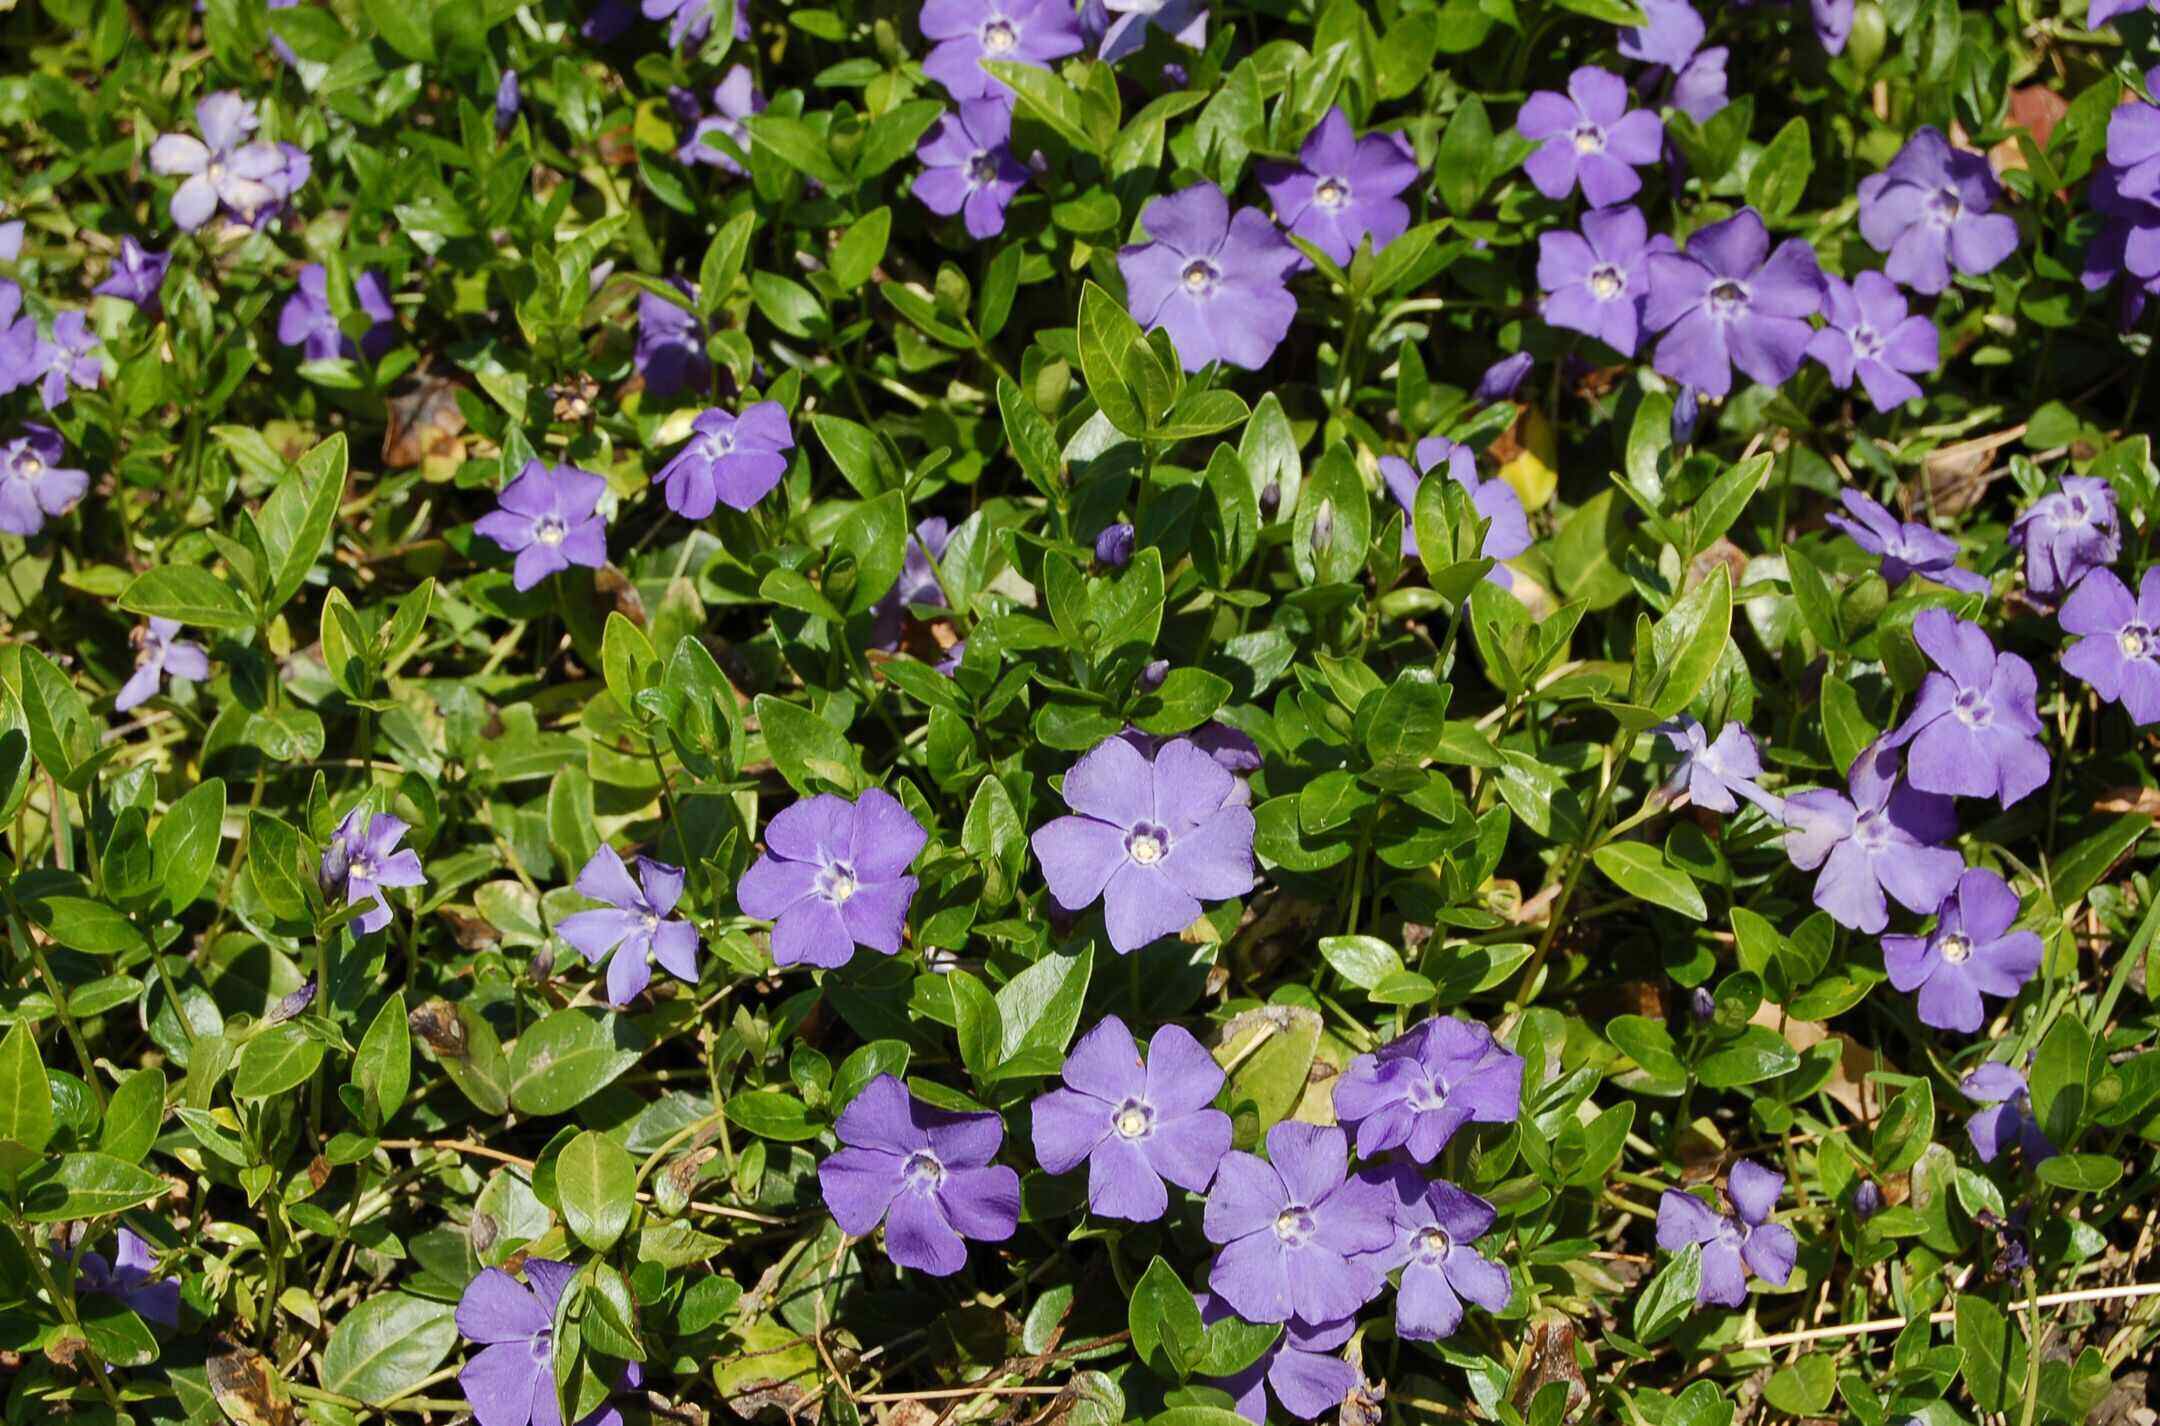
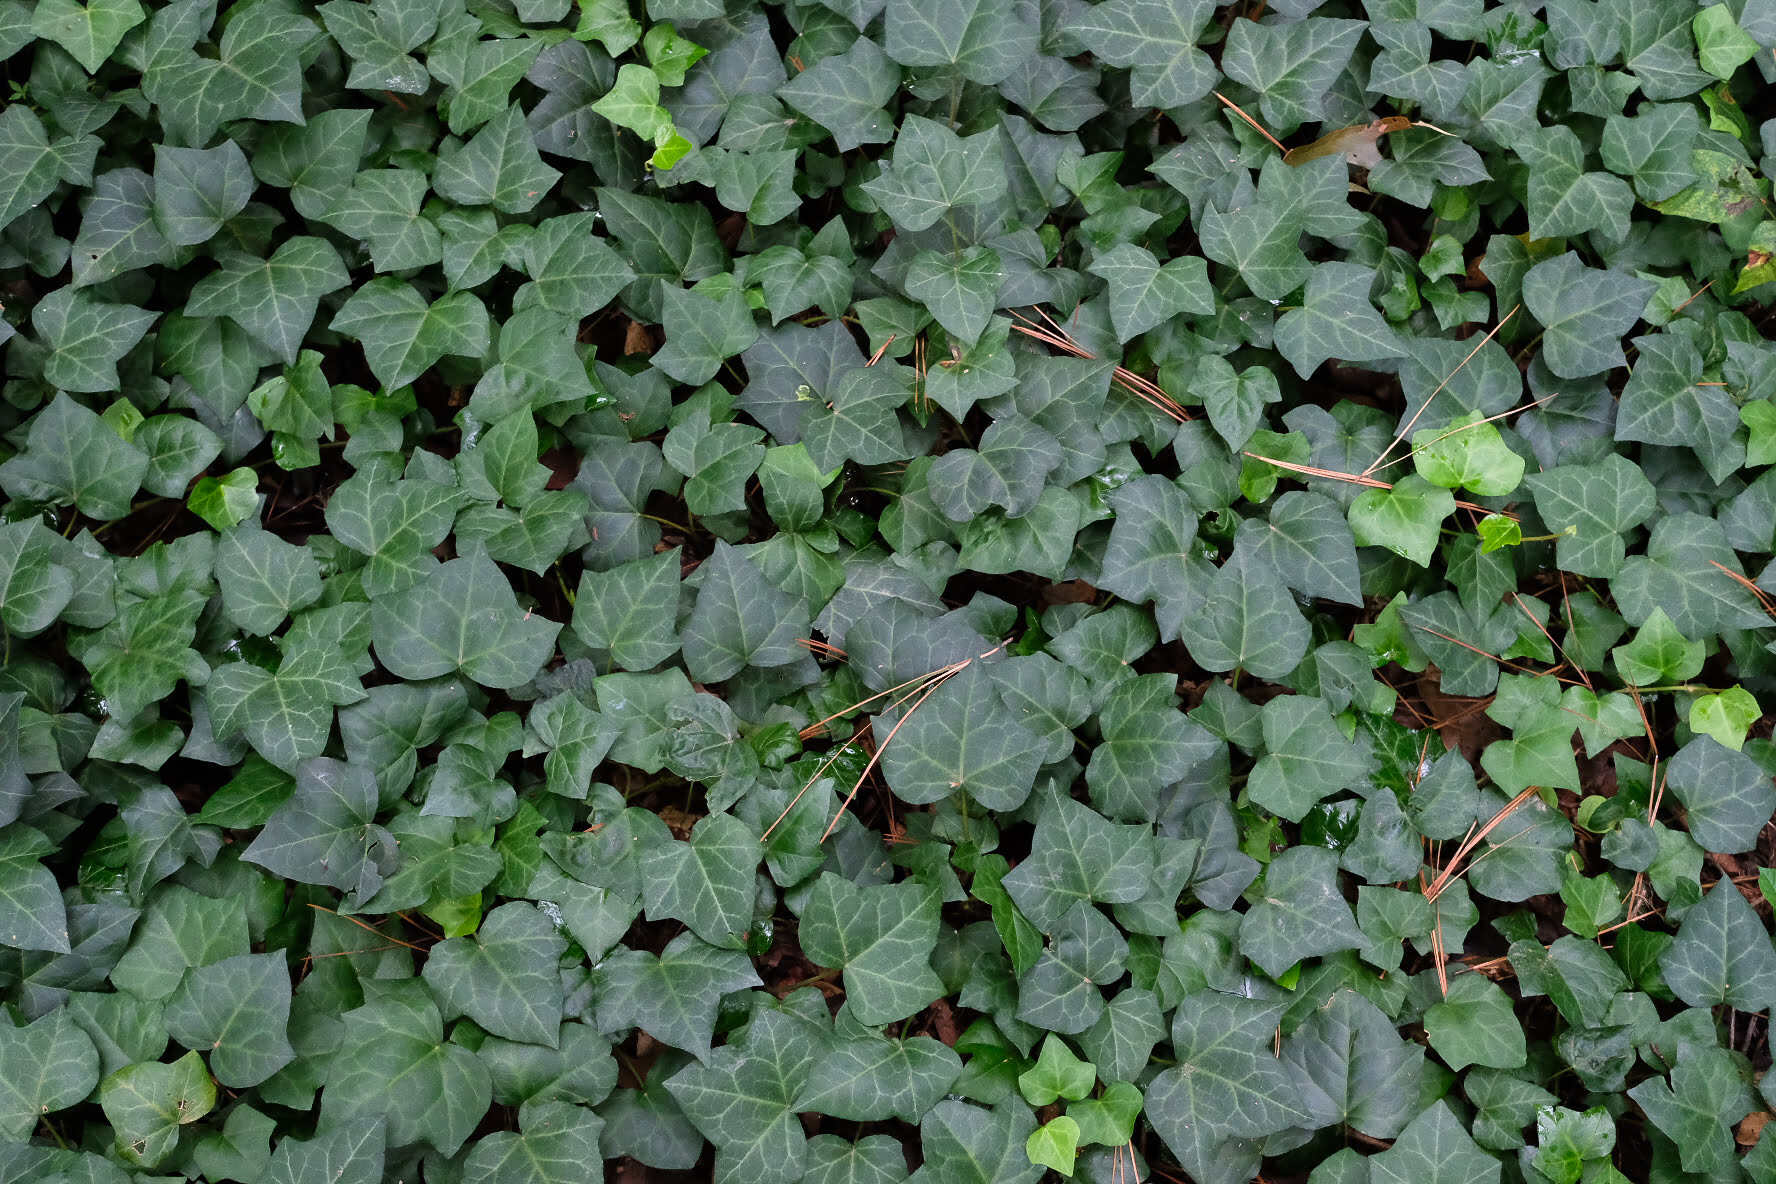
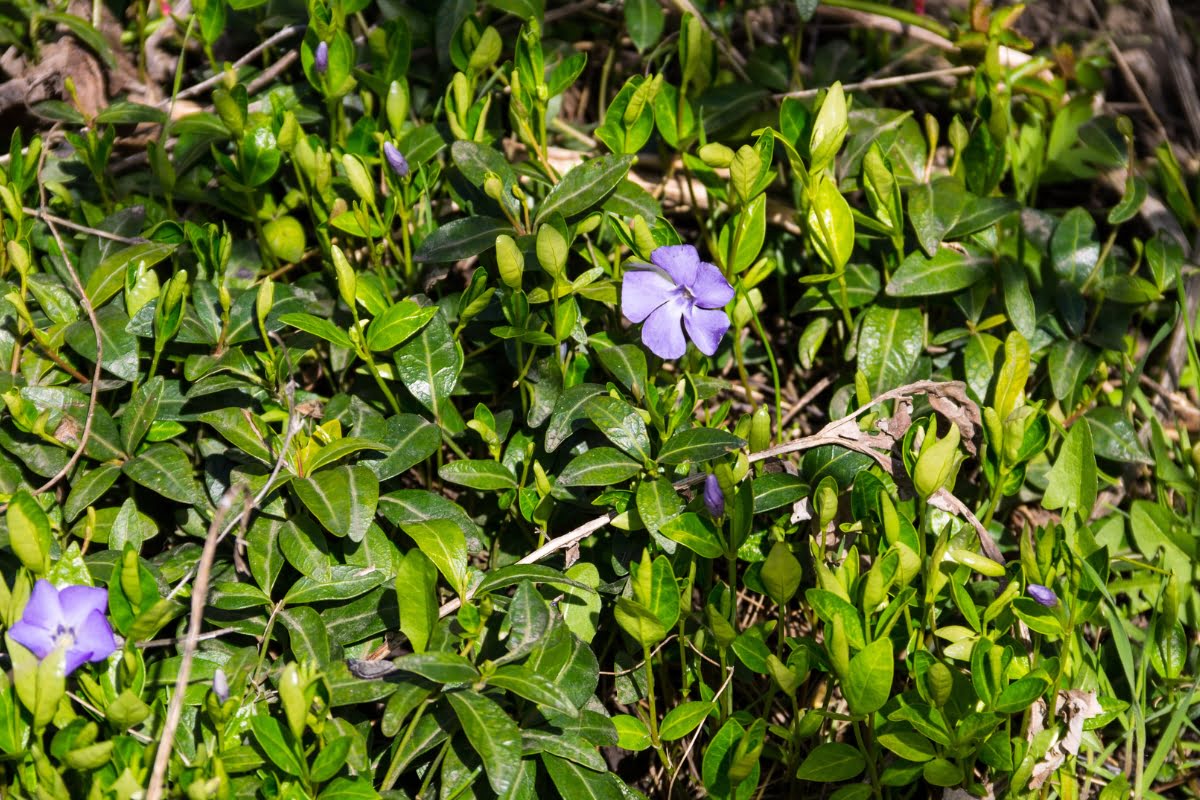
Some popular ground cover plants that are well-suited for cutting propagation include Ajuga, Creeping Jenny, Ivy, Vinca, and Creeping Thyme. These plants are known for their ability to spread and fill in spaces quickly, making them ideal choices for ground cover.
Furthermore, consider the purpose of the ground cover in your garden. Are you looking for a low-maintenance option that requires little to no mowing or trimming? Or do you prefer a ground cover that produces colorful flowers or interesting foliage? Understanding the purpose and desired outcome of your ground cover will help you choose the right plant for your needs.
Remember, it’s always a good idea to do some research and consult with local horticultural experts or garden centers to ensure you select the most suitable ground cover plant for your garden. By taking the time to choose the right plant, you will set yourself up for success in propagating cuttings and achieving a vibrant and thriving ground cover.
Gathering the Necessary Materials
Before you can start taking cuttings from your chosen ground cover plant, it’s important to gather all the necessary materials. Having these items prepared and readily available will make the process smoother and more efficient.
Here are the essential materials you will need:
- Pruning shears or sharp scissors: These tools will be used to cut the stems of the ground cover plant. Make sure they are clean and sharp to ensure clean and precise cuts.
- Clean and sterilized pots or containers: You will need containers to plant the cuttings in. Ensure they are clean and sterilized to prevent the spread of disease. Additionally, make sure the pots have proper drainage holes to avoid waterlogged soil.
- Potting soil or cutting compost: Opt for a well-draining soil mix or cutting compost to provide your cuttings with the necessary nutrients and moisture retention.
- Rooting hormone: While not essential, a rooting hormone can help encourage root development and increase the success rate of your cuttings. Choose a hormone specifically formulated for softwood or herbaceous cuttings.
- Misting bottle or propagator lid: Maintaining high humidity is crucial for the success of cuttings. A misting bottle or propagator lid can help you create a microclimate and retain moisture around the cuttings.
- Clear plastic bags or plastic wrap: These can be used to cover the cuttings and create a mini greenhouse effect, trapping humidity and helping the cuttings establish roots.
- Labeling materials: It’s important to label your pots or containers with the name of the ground cover plant and the date of propagation. This will help you keep track of the different varieties and monitor their progress.
By gathering these materials ahead of time, you’ll be well-prepared to start taking cuttings from your ground cover plant and ensure a smooth and successful propagation process. Now that you have everything ready, it’s time to prepare the cutting site.
Preparing the Cutting Site
Proper preparation of the cutting site is crucial to create the ideal conditions for successful root development. Before you start taking cuttings from your ground cover plant, follow these steps to prepare the cutting site:
- Select a suitable location: Choose an area in your garden or a dedicated propagation area that receives partial sunlight or filtered shade. Avoid direct sunlight, as it can be too harsh for newly planted cuttings.
- Clear the area: Remove any weeds, debris, or competing plants from the chosen cutting site. Weeds can deprive the cuttings of nutrients and water, hindering their growth and establishment.
- Loosen the soil: Use a garden fork or a small cultivator to loosen the soil in the cutting site. This will improve drainage and allow the cuttings’ roots to penetrate the soil more easily.
- Amend the soil (optional): Depending on the quality of your soil, you may choose to amend it with organic matter or a well-balanced fertilizer. This will provide additional nutrients and improve the overall health of the cuttings.
- Water the area: Thoroughly water the cutting site so that the soil is moist but not waterlogged. This will ensure a favorable environment for root development.
Once you have completed these steps, you’re now ready to start taking cuttings from your ground cover plant. Remember to work efficiently to minimize the time between cutting and planting, as this will increase the chances of success. With the cutting site prepared, let’s move on to the next step: taking the cuttings.
Taking the Cuttings
Now that you have prepared the cutting site, it’s time to take the cuttings from your ground cover plant. Follow these steps to ensure successful and healthy cuttings:
- Select the right stems: Look for young, non-flowering stems on your ground cover plant. These stems are known as softwood or herbaceous stems and are ideal for propagating cuttings. Avoid old, woody stems as they are less likely to root successfully.
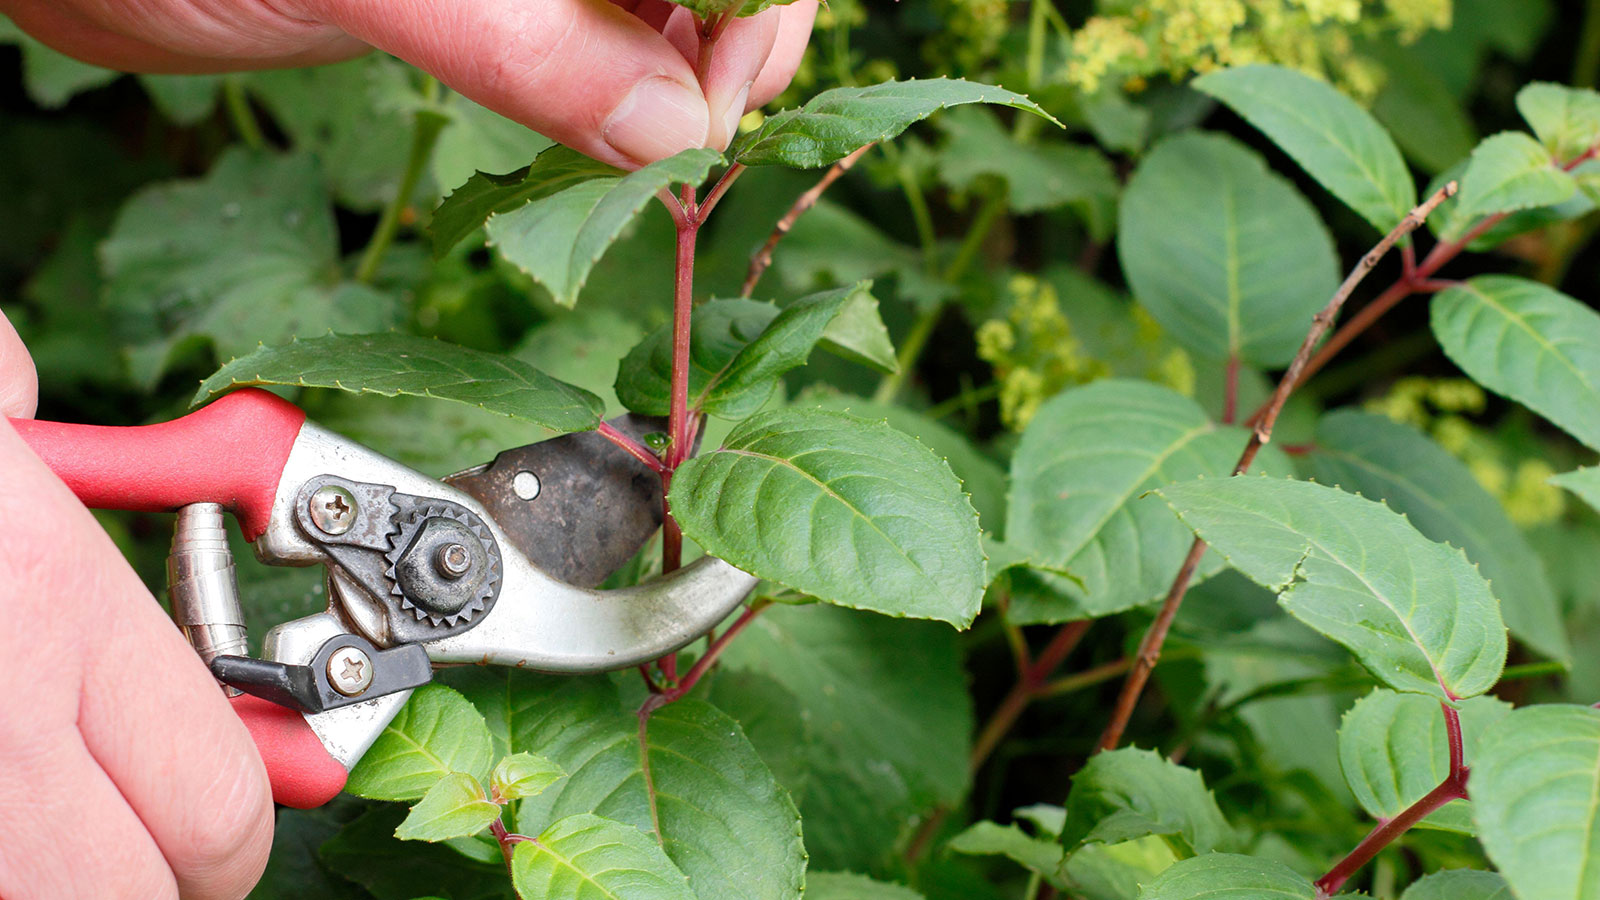
- Make clean cuts: Use sharp pruning shears or scissors to make clean cuts, about 4-6 inches long, just below a set of leaves. Make the cuts at a 45-degree angle to maximize the surface area for root development.
- Remove lower leaves: Strip off the lower leaves from the cuttings, leaving only a few leaves at the top. This reduces moisture loss and creates a focused energy for root development.
- Apply rooting hormone (optional): If desired, dip the cut ends of the stems into a rooting hormone powder or gel. This can help stimulate root growth and increase the success rate of your cuttings.
- Plant immediately: After preparing the cuttings, plant them into the pre-moistened soil or cutting compost at the cutting site. Make sure to plant them at a suitable depth, with the stripped area just below the soil level.
It’s important to work quickly when taking the cuttings to prevent them from drying out. If you are taking multiple cuttings, you can place the cuttings in a container of water or wrap them in a damp paper towel while you work.
Once the cuttings are planted, gently firm the soil around them to ensure good contact between the cuttings and the soil. Water the cuttings thoroughly to settle the soil and provide the necessary moisture.
Now that you have successfully taken the cuttings, let’s proceed to the next step: preparing the cuttings for planting.
When taking cuttings from ground cover, make sure to use sharp, clean scissors or pruners to make a clean cut. This will help the cutting to heal and root more easily.
Preparing the Cuttings for Planting
After taking the cuttings from your ground cover plant, it’s important to properly prepare them before planting to maximize their chances of rooting and successful establishment. Follow these steps to prepare the cuttings for planting:
- Trim the leaves: If the remaining leaves on the cuttings are large, you can trim them to reduce moisture loss and create a more balanced structure. Leave a few small leaves at the top of each cutting to provide energy for new root development.
- Remove any flowers or flower buds: If your cuttings have any flowers or flower buds, it’s best to remove them. This will redirect the plant’s energy towards root development rather than flower production.
- Apply rooting hormone (optional): If you haven’t already applied rooting hormone during the cutting process, you can do so now. Dip the cut ends of the stems into the rooting hormone and gently tap off any excess.
- Mist the cuttings: Before planting, mist the cuttings with water or use a spray bottle to ensure they are adequately hydrated. This will help prevent wilting and support the initial stages of root development.
- Prepare a mini greenhouse: To create a favorable environment for the cuttings, cover them with clear plastic bags or plastic wrap. This will help trap moisture and create a mini greenhouse effect, promoting humidity and preventing excess moisture loss.
- Place in a protected area: Find a protected area in your garden where the cuttings will be shielded from direct sunlight and strong winds. This will help maintain the ideal conditions of high humidity and moderate temperature for root development.
Remember to check on your cuttings regularly to ensure the soil remains moist but not waterlogged. Avoid overwatering, as this can lead to rotting. Mist the cuttings occasionally to maintain the desired level of humidity.
By properly preparing the cuttings before planting, you are setting them up for success and increasing their chances of rooting and developing into healthy ground cover plants. Next, let’s move on to the exciting step of planting the cuttings.
Planting the Cuttings
Now that you have prepared the cuttings, it’s time to plant them and give them a new home in the soil. Follow these steps to ensure successful planting of your ground cover cuttings:
- Prepare the soil: Ensure the planting area is well-drained and free from weeds and debris. Loosen the soil to improve aeration and root penetration.
- Make planting holes: Use a dibber or your finger to create planting holes in the soil. The depth of the holes should accommodate the cuttings, leaving only the top portion with the leaves above the soil line.
- Place the cuttings in the holes: Gently place each cutting into a planting hole, making sure the stripped area is covered with soil and the top leaves are above the surface. Space the cuttings appropriately to allow for their spreading and growth.
- Press the soil gently: After placing the cuttings in the holes, press the soil around them lightly. This helps provide stability and good soil contact, facilitating the uptake of nutrients and water.
- Water the cuttings: Give the newly planted cuttings a thorough watering. Ensure that the water reaches the root zone of the cuttings without creating waterlogged conditions. Watering will help settle the soil and promote root establishment.
Once the cuttings are planted, it’s important to monitor their progress and provide proper care. Maintain consistent moisture levels in the soil by watering when needed, ensuring the soil doesn’t become overly dry or saturated.
Keep an eye out for any signs of stress or wilting and take appropriate actions to address them promptly. It’s normal for some leaves to drop initially, but if the wilting persists or affects many leaves, you may need to adjust the environmental conditions or provide additional care.
With the cuttings successfully planted, they will continue their journey towards becoming thriving ground cover plants. Let’s explore how to care for the newly planted cuttings in the next section.
Caring for the Newly Planted Cuttings
After planting the cuttings, it’s important to provide proper care to ensure their successful establishment and growth as healthy ground cover plants. Follow these tips to care for your newly planted cuttings:
- Watering: Keep the soil consistently moist but not waterlogged. Water the cuttings regularly, especially during dry periods, to prevent dehydration and promote root development. Monitor the soil moisture levels and adjust the frequency of watering accordingly.
- Monitoring: Regularly check the cuttings for any signs of stress, disease, or pest infestation. Look out for wilting, discoloration, or unusual growth patterns. Promptly address any issues that arise to ensure the health and vitality of the cuttings.
- Weeding: Control weeds around the newly planted cuttings to minimize competition for nutrients, water, and light. Regularly inspect the area and remove any weeds by hand or using appropriate weeding tools.
- Protection: Shield the cuttings from harsh environmental conditions, such as extreme heat or cold, strong winds, or heavy rain. Provide temporary shade during hot periods and consider using plant covers or cloches for added protection during cold snaps.
- Fertilizing: As the cuttings start to establish roots and show signs of new growth, you can consider applying a balanced fertilizer. Choose a slow-release or organic fertilizer specifically formulated for young plants, following the manufacturer’s instructions for application rates.
- Pruning: Once the cuttings have established and grown, you may need to trim them to promote branching and denser growth. Prune any leggy or straggly stems to encourage fuller coverage and a more aesthetic appearance.
Remember to be patient and allow the cuttings time to establish. It may take several weeks or even months for the roots to develop and the cuttings to show significant growth. Keep providing consistent care and monitoring, and soon you will see your ground cover cuttings transform into a beautiful, lush carpet of green.
By following these care techniques, you are giving your newly planted cuttings the best chance to thrive in their new environment and fulfill their purpose as ground cover plants. With proper care, your garden or landscape will flourish with vibrant and low-maintenance ground cover.
Conclusion
Taking cuttings from ground cover plants is a rewarding and cost-effective way to expand your garden and create a lush, carpet-like landscape. By following the steps outlined in this article, you can successfully propagate new plants from existing ones, enhancing the beauty and functionality of your outdoor space.
From selecting the right ground cover plant to gathering the necessary materials, preparing the cutting site, and taking the cuttings, each step plays a crucial role in the success of the propagation process. By carefully preparing the cuttings for planting and providing proper care after planting, you give them the best chance to establish and become healthy ground cover plants.
Remember to choose a healthy and suitable ground cover plant, gather all the necessary materials, and prepare the cutting site to create the ideal conditions for successful root development. Take the cuttings carefully, ensuring clean cuts and proper leaf trimming. Preparing the cuttings for planting by trimming leaves, applying rooting hormone if desired, and creating a favorable environment are essential steps.
Plant the cuttings in well-prepared soil, water them thoroughly, and provide ongoing care including regular watering, monitoring for any issues, weeding, protection from harsh conditions, and appropriate pruning. With patience and consistent care, your newly planted cuttings will flourish and transform into a beautiful ground cover.
Remember, it’s important to continuously monitor the progress of the cuttings and make any necessary adjustments to ensure their successful growth. With time, dedication, and attention to detail, you will be rewarded with a stunning ground cover that not only adds visual appeal but also helps to suppress weeds and protect the soil.
So, go ahead and get started on propagating your own ground cover plants. With the knowledge and techniques you’ve gained from this article, you’ll be well on your way to creating a vibrant and thriving landscape that you can be proud of.
Frequently Asked Questions about How To Take Cuttings From Ground Cover
Was this page helpful?
At Storables.com, we guarantee accurate and reliable information. Our content, validated by Expert Board Contributors, is crafted following stringent Editorial Policies. We're committed to providing you with well-researched, expert-backed insights for all your informational needs.

0 thoughts on “How To Take Cuttings From Ground Cover”