Home>Garden Essentials>How To Transplant Periwinkle Ground Cover
Garden Essentials
How To Transplant Periwinkle Ground Cover
Modified: May 6, 2024
Learn how to transplant periwinkle ground cover in your garden.
(Many of the links in this article redirect to a specific reviewed product. Your purchase of these products through affiliate links helps to generate commission for Storables.com, at no extra cost. Learn more)
Introduction
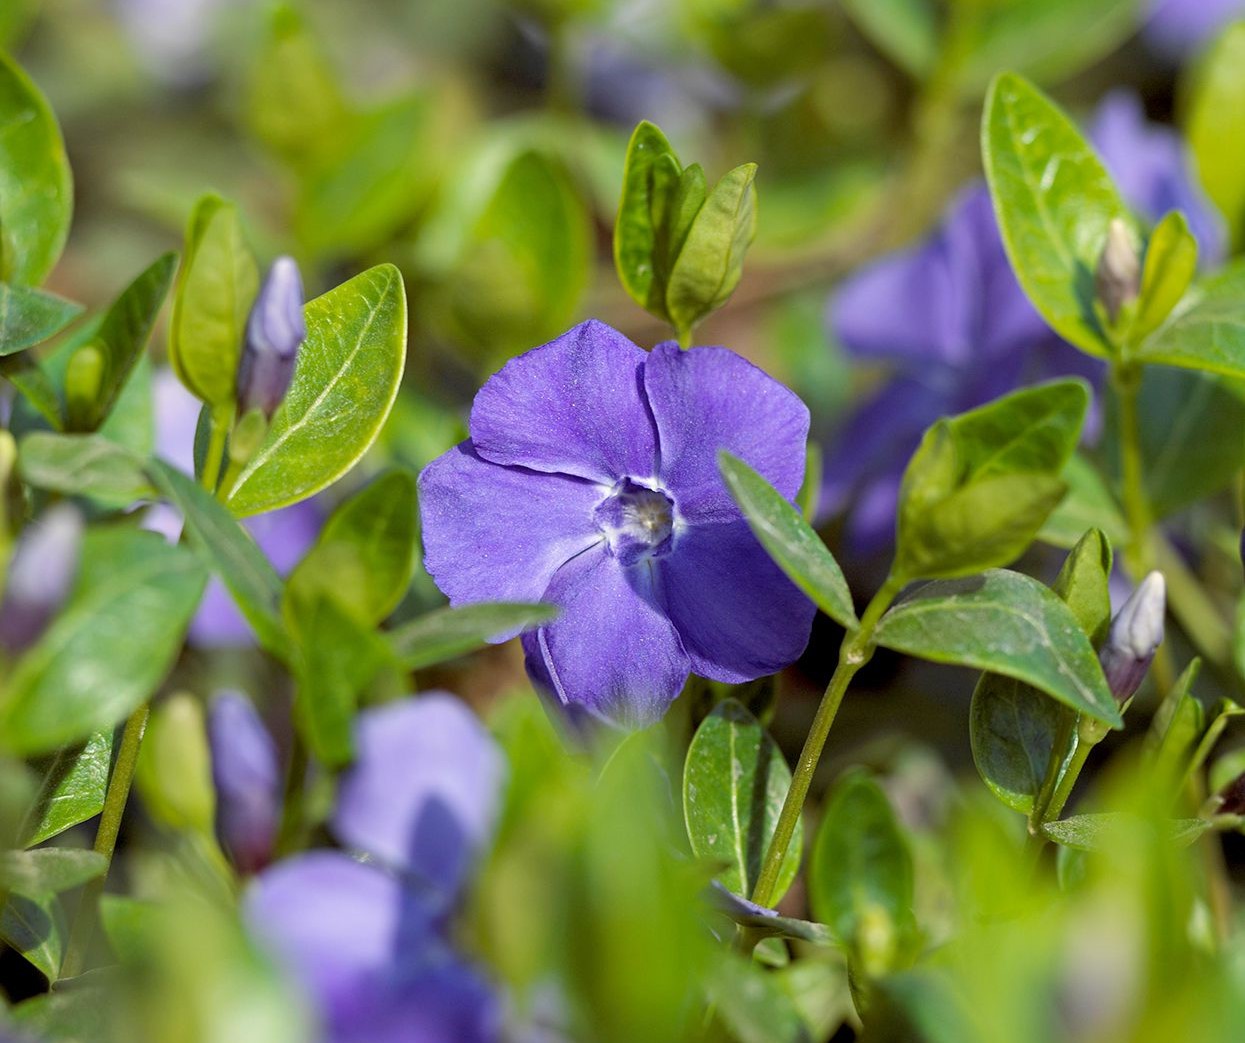
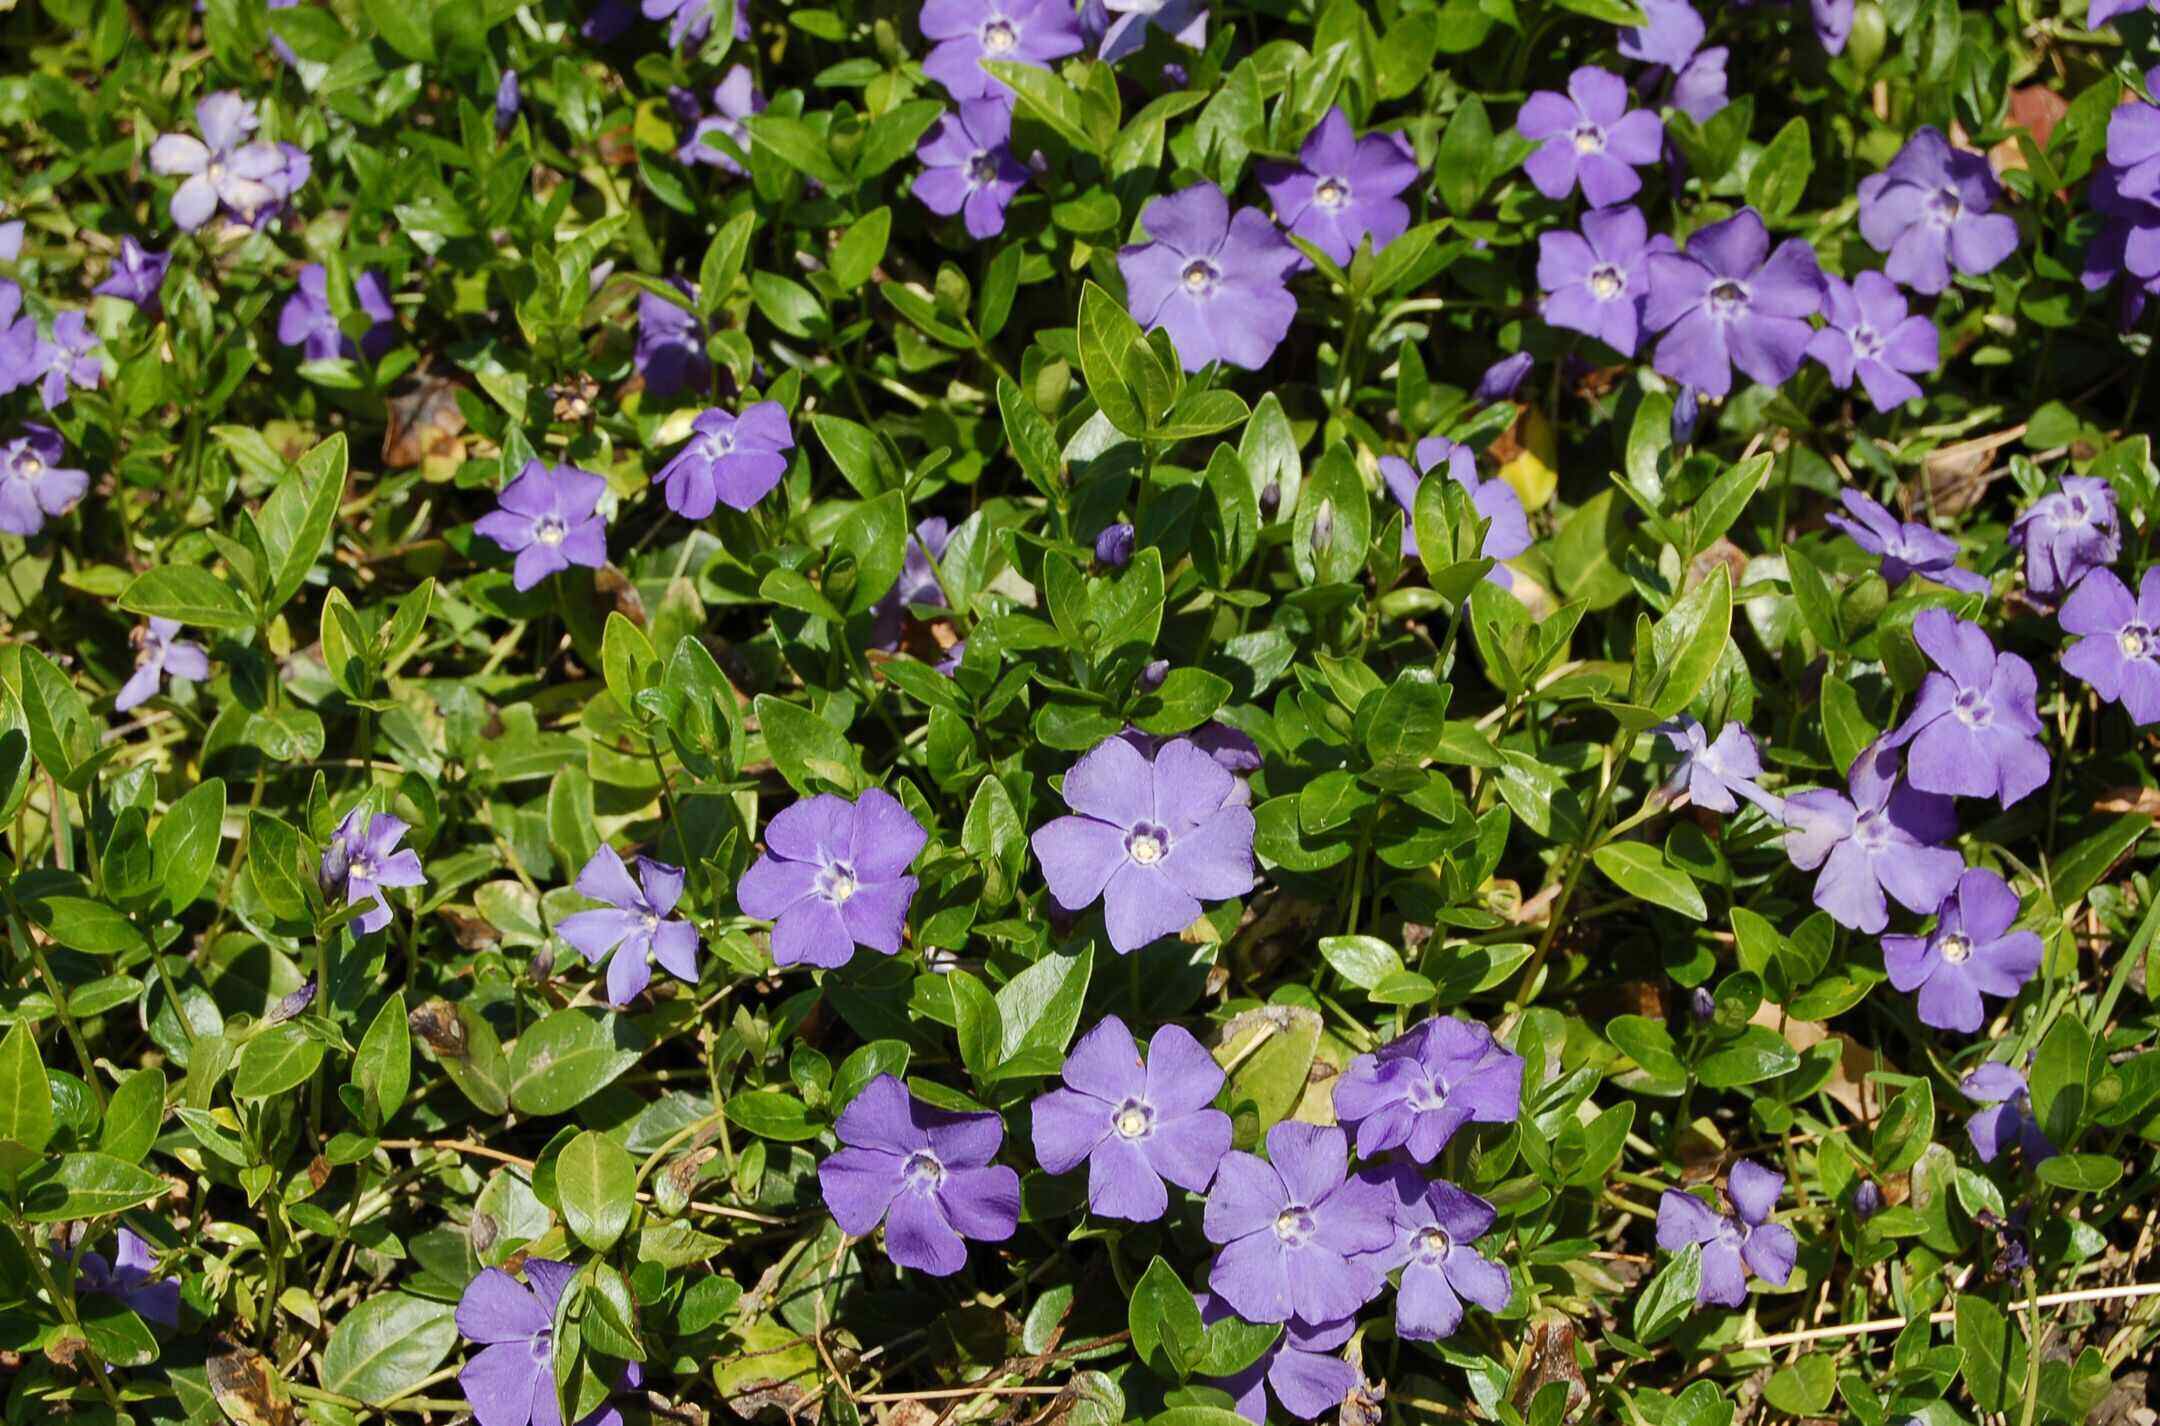
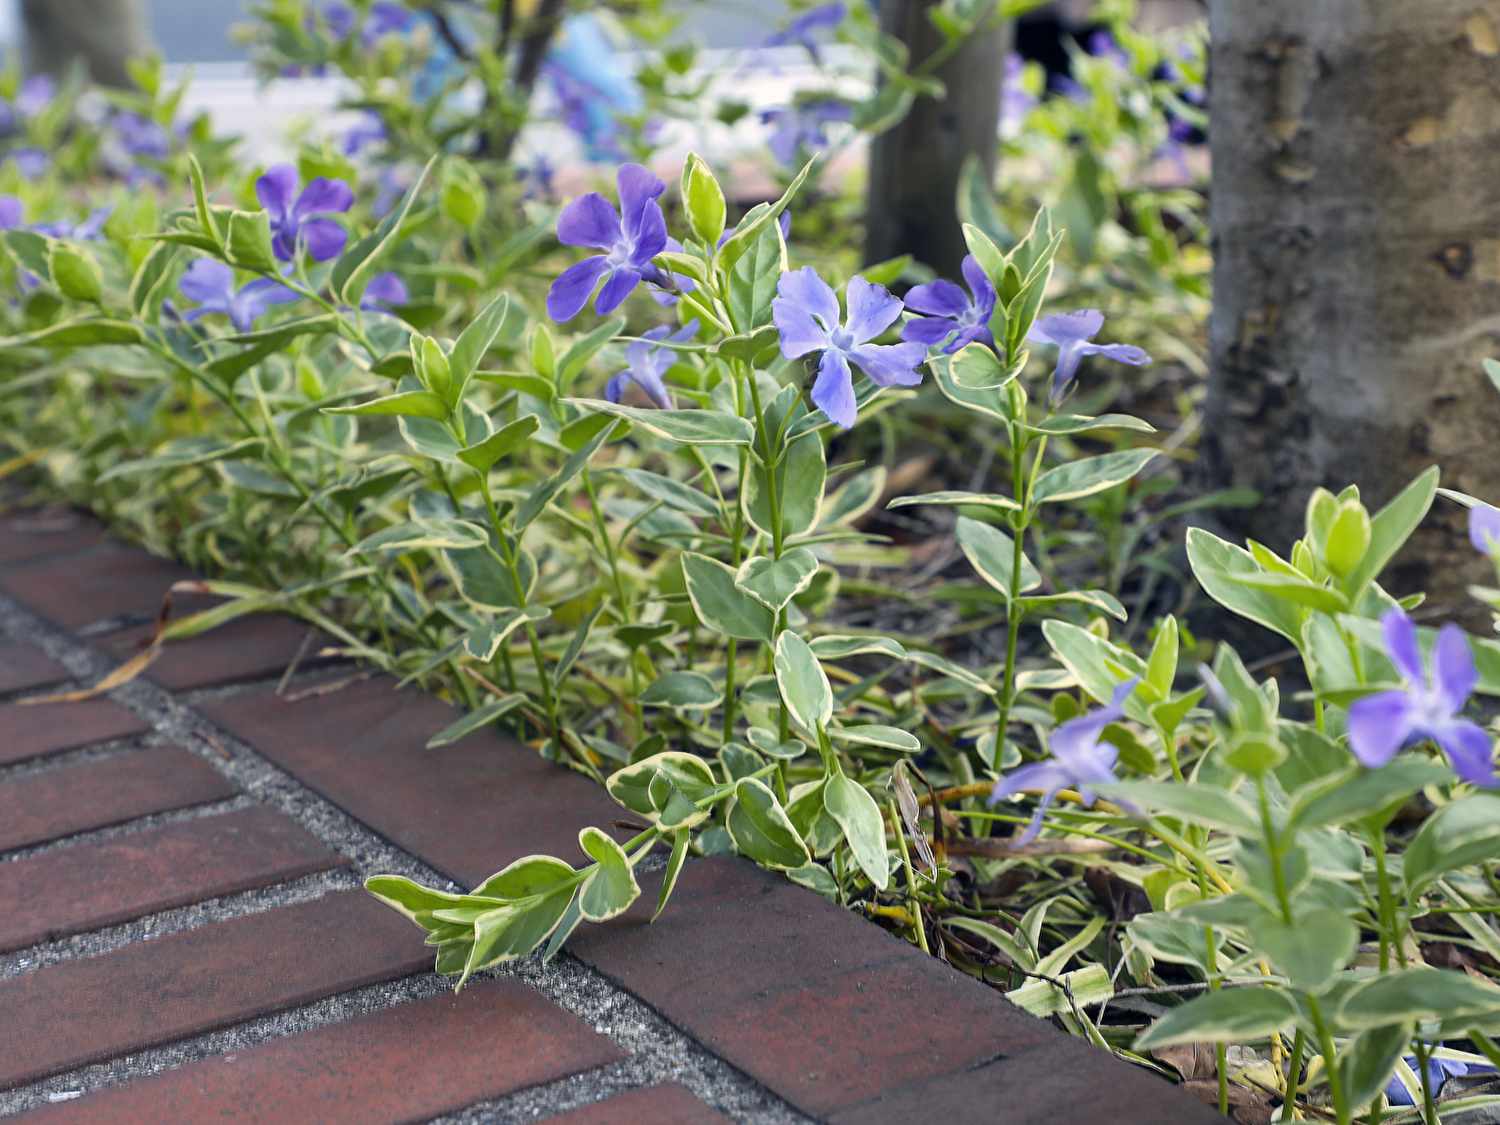
Periwinkle, also known as Vinca, is a popular ground cover plant that adds beauty and vibrancy to any garden. With its lush green foliage and vibrant flowers, it is no wonder why many garden enthusiasts choose periwinkle to fill in bare areas and add visual interest to their landscapes. However, there may come a time when you need to transplant your periwinkle ground cover. Whether you want to relocate it to a different area of your garden or share it with a fellow gardener, proper transplanting is essential for the health and vitality of the plant.
In this article, we will guide you on how to transplant periwinkle ground cover successfully. By following our step-by-step instructions and tips, you can ensure the seamless relocation of your periwinkle plants, allowing them to continue flourishing in their new environment.
Key Takeaways:
- Choose the right time: Transplant periwinkle in spring or fall for best results. Prepare the new area with well-draining soil and proper sunlight to ensure successful relocation.
- Handle with care: Gently dig up periwinkle, divide if needed, and transplant into prepared soil. Provide post-transplant care including watering, mulching, fertilizing, and pruning for thriving plants.
Read more: How To Care For Dichondra Ground Cover
Choosing the Right Time for Transplanting
Timing is crucial when it comes to transplanting periwinkle ground cover. The ideal time to undertake this task is during the spring or fall seasons, when the weather is cooler and there is less stress on the plant. Avoid transplanting during hot summer months or freezing winter temperatures, as extreme weather conditions can shock the plant and hinder its ability to establish in its new location.
Furthermore, it’s important to choose a day that is cloudy or overcast, as this provides some protection from direct sunlight and reduces stress on the plant. Transplanting in the early morning or late afternoon is also recommended, as temperatures are cooler during these times.
Before you begin the transplanting process, take some time to prepare the area where you will be relocating the periwinkle ground cover. Ensure that the soil is well-draining and amend it with organic matter if needed. Clear away any weeds or debris to provide a clean environment for the transplants.
Following these guidelines will help maximize the success rate of your periwinkle ground cover transplant and minimize stress on the plants, ultimately leading to healthy and thriving growth in their new location.
Preparing the Transplanting Area
Before you start digging up your periwinkle ground cover, it’s important to prepare the area where you will be transplanting the plants. Taking the time to properly prepare the soil will create a favorable environment for the periwinkles to establish themselves and thrive.
First, assess the new location’s soil conditions. Periwinkles prefer well-draining soil that is rich in organic matter. If the soil in the transplanting area is heavy clay or poorly draining, you may need to amend it with compost or well-aged manure. This will help improve drainage and increase the nutrient content of the soil.
Clear the area of any weeds, rocks, or debris that could hinder the periwinkles’ growth. Use a garden rake or hoe to loosen the top layer of soil and remove any large clumps or obstacles. Taking the time to properly prepare the transplanting area will ensure that the periwinkles have the best chance of establishing themselves and thriving in their new home.
Additionally, consider the sunlight requirements of periwinkle. They thrive in partial shade to full sun conditions. Choose a location that provides the appropriate level of sunlight based on the specific needs of your periwinkle variety. If you are unsure about the sunlight requirements, consult a local garden center or horticulturist for guidance.
By preparing the transplanting area ahead of time, you are setting the stage for a successful periwinkle ground cover transplant.
Digging up the Periwinkle Ground Cover
Now that you have chosen the right time and prepared the transplanting area, it’s time to dig up your periwinkle ground cover. Follow these steps to ensure a successful and smooth transplantation process:
- Water the periwinkle plants thoroughly a day before the transplant. This will help loosen the soil and make it easier to dig up the plants.
- Using a garden fork or a shovel, carefully loosen the soil around the perimeter of the periwinkle clump. Start at a distance of about 6 to 8 inches away from the outer stems and work your way inward.
- Gently lift the periwinkle clump from the ground, trying to keep the root system intact as much as possible.
- Shake off any excess soil from the roots, but be careful not to damage them.
- If the periwinkle clump is large and dense, you may need to divide it into smaller sections for easier transplantation. Use a sharp knife or garden shears to carefully separate the clump into manageable portions, ensuring that each section has sufficient roots and foliage.
Remember, the goal is to minimize stress and damage to the periwinkle plant during the digging process. Handle the plants gently and take your time to preserve the root system.
Once you have successfully dug up your periwinkle ground cover, it’s time to transplant them to their new location.
When transplanting periwinkle ground cover, make sure to water the plants well before digging them up. Use a shovel to carefully lift the plants and their roots, then replant them in the new location at the same depth they were originally growing. Keep the transplanted periwinkle well-watered until they establish in their new spot.
Transplanting the Periwinkle Ground Cover
Now that you have dug up your periwinkle ground cover, it’s time to transplant them to their new location. Follow these steps for a successful transplant:
- Dig a hole in the transplanting area that is slightly larger and deeper than the root system of the periwinkle clump.
- Place the periwinkle clump into the hole, ensuring that the top of the root ball is level with or slightly above the surrounding soil.
- Backfill the hole with soil, gently firming it around the roots to eliminate any air pockets. Be careful not to bury the stems too deeply, as this can lead to rotting.
- Water the transplanted periwinkle thoroughly to help settle the soil and ensure good root-to-soil contact.
- Apply a layer of organic mulch around the base of the plants, leaving a small gap around the stems to prevent rot.
Remember to give your periwinkle ground cover adequate space to spread and grow. Proper spacing allows for good air circulation and helps prevent the spread of diseases.
After transplanting, monitor the periwinkles closely for the first few weeks. Keep the soil consistently moist, but not overly saturated, during this establishment period. This will help encourage the roots to adapt to their new surroundings.
Transplant shock is common for periwinkle plants, so expect some wilting or yellowing of leaves initially. With proper care and attention, the periwinkles will recover and begin to thrive in their new location.
Now that you have successfully transplanted your periwinkle ground cover, it’s time to provide them with proper care to ensure their continued growth and vitality.
Read more: How To Grow Rye For Ground Cover
Proper Care After Transplanting
After transplanting your periwinkle ground cover, it’s crucial to provide them with proper care to help them settle in and thrive in their new environment. Follow these post-transplant care tips:
- Watering: Keep the soil evenly moist for the first few weeks after transplanting. Water deeply, ensuring that the root zone is thoroughly soaked. As the plants establish, gradually reduce the frequency of watering, allowing the soil to dry slightly between waterings. Be careful not to overwater, as excess moisture can cause root rot.
- Mulching: Apply a layer of organic mulch around the base of the periwinkle plants. This will help conserve moisture, suppress weed growth, and protect the roots from temperature fluctuations. Avoid piling the mulch against the stems to prevent rot.
- Fertilizing: Once the periwinkles have settled into their new location, you can start fertilizing them. Use a balanced, slow-release fertilizer following the package instructions. Apply the fertilizer in early spring and again in late summer to provide the plants with the necessary nutrients for healthy growth.
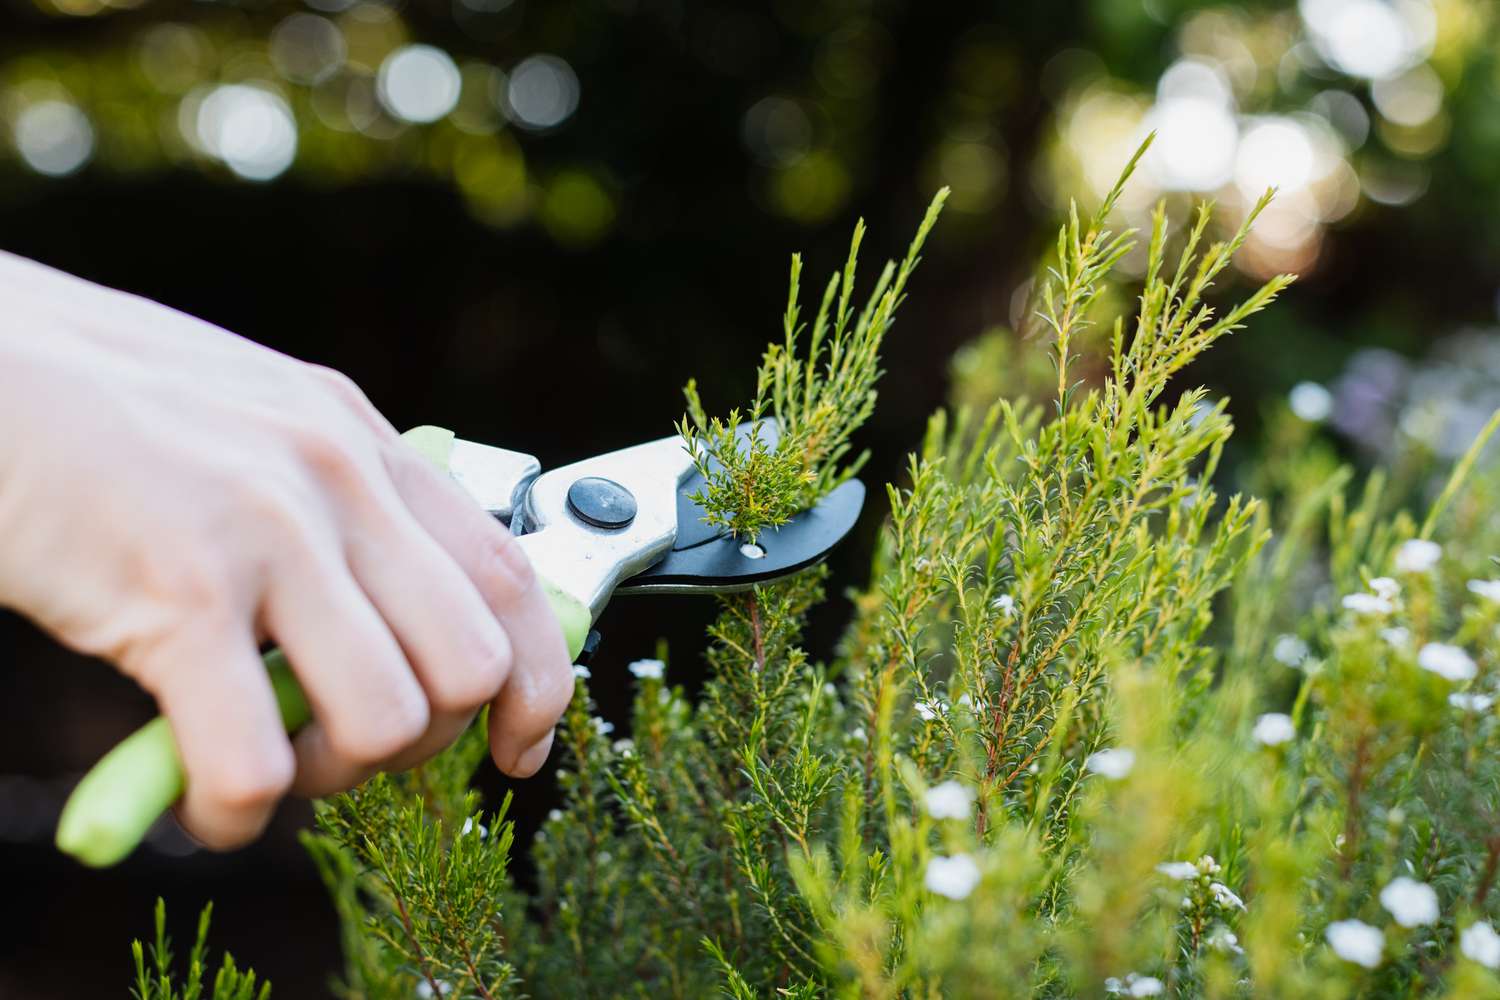
- Pruning: After transplanting, you may notice some wilting or yellowing of leaves. This is normal and can be trimmed off with clean pruning shears. Pruning encourages new growth and helps shape the periwinkle ground cover.
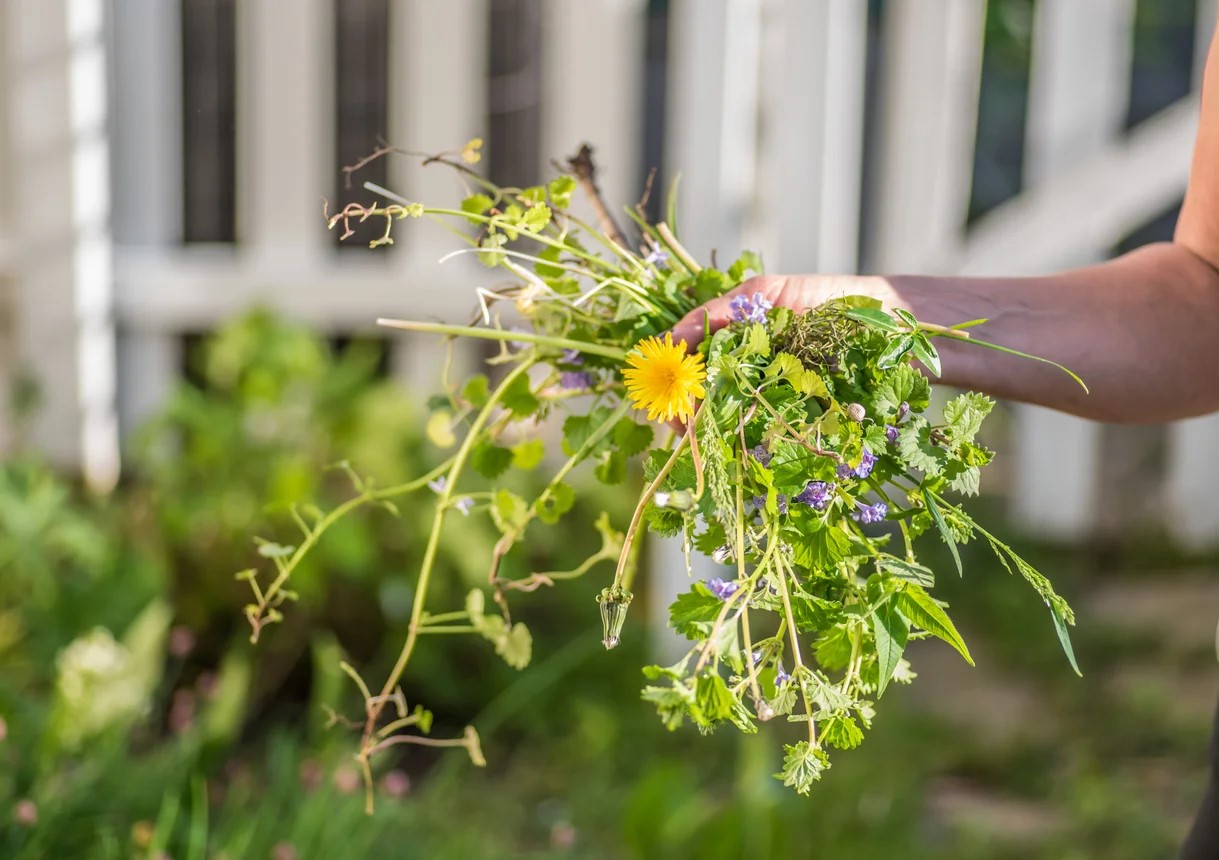
- Weed Control: Regularly inspect the area around the periwinkle plants for weed growth. Remove any weeds promptly to prevent competition for nutrients and sunlight. Be cautious while weeding to avoid damaging the shallow root system of the periwinkles.
Continue monitoring the periwinkle ground cover for signs of stress or pest infestation. Address any issues promptly to ensure the health and vitality of the plants.
Over time, the periwinkle ground cover will spread and fill in the area, creating a lush and colorful carpet of foliage and flowers. With proper care and maintenance, your transplanted periwinkles will continue to thrive and enhance the beauty of your garden.
Conclusion
Transplanting periwinkle ground cover can be a rewarding experience, allowing you to rearrange your garden or share the beauty of these vibrant plants with others. By following the proper steps and providing the right care, you can ensure a successful transplant and help the periwinkle plants establish themselves in their new location.
Remember to choose the right time for transplanting, preferably during the spring or fall seasons when the weather is cooler. Take the time to prepare the transplanting area, ensuring well-draining soil and removing any obstacles or debris.
When digging up the periwinkle ground cover, be gentle to avoid damaging the roots. Divide the clumps if necessary and transplant them into holes slightly larger than the root system, ensuring good root-to-soil contact.
After transplanting, provide proper care by watering regularly, applying mulch, fertilizing, pruning as needed, and controlling weeds. Monitor the plants closely, especially during the establishment period, and address any issues promptly.
With time, your periwinkle ground cover will flourish and fill in the area, adding beauty and vibrancy to your garden. Enjoy the rewards of your efforts as you witness the periwinkles thriving in their new home.
Remember that successful transplanting requires patience and care. By following these guidelines, you can ensure the health and vitality of your periwinkle ground cover and enjoy their beauty for years to come.
Now that you've mastered transplanting periwinkle, why not spruce up your garden's borders? Our article on creative garden fence ideas offers plenty of inspiration to enhance your outdoor space. From classic wood panels to innovative materials, discover how to add charm and functionality to your garden. For those aiming to reshape their landscape, our guide on effective landscaping techniques provides essential tips and tricks to transform your garden into a picturesque retreat. Dive into these resources and give your garden a whole new look!
Frequently Asked Questions about How To Transplant Periwinkle Ground Cover
Was this page helpful?
At Storables.com, we guarantee accurate and reliable information. Our content, validated by Expert Board Contributors, is crafted following stringent Editorial Policies. We're committed to providing you with well-researched, expert-backed insights for all your informational needs.


0 thoughts on “How To Transplant Periwinkle Ground Cover”