Home>Gardening & Outdoor>Landscaping Ideas>How To Repair Dead Grass Areas

Landscaping Ideas
How To Repair Dead Grass Areas
Modified: August 16, 2024
Learn effective landscaping ideas to repair dead grass areas and revive your lawn. Discover expert tips for restoring your lawn's lush green appearance. Ideal for homeowners seeking practical solutions for lawn maintenance.
(Many of the links in this article redirect to a specific reviewed product. Your purchase of these products through affiliate links helps to generate commission for Storables.com, at no extra cost. Learn more)
Introduction
Welcome to the ultimate guide on reviving your lawn! A lush, green lawn is the pride of any homeowner, but dead or patchy grass can quickly turn that pride into frustration. The good news is that with the right knowledge and a little elbow grease, you can restore those unsightly patches to their former glory. In this comprehensive guide, we’ll walk you through the step-by-step process of repairing dead grass areas, from identifying the underlying issues to selecting the right grass seed and nurturing your lawn back to health.
Whether your lawn has fallen victim to pet damage, heavy foot traffic, disease, or neglect, this guide will equip you with the expertise to tackle the problem head-on. By the end of this journey, you’ll be empowered to transform your lawn into a verdant oasis that enhances the beauty of your outdoor space and provides a soft, inviting carpet for relaxation and play.
Key Takeaways:
- Identify the cause of dead grass by inspecting for compacted soil, inadequate drainage, pet damage, or fungal diseases. Understanding the problem is the first step to reviving your lawn.
- Prepare the area by clearing dead grass, aerating the soil, and choosing the right grass seed based on climate, usage, and soil conditions. Proper preparation sets the stage for successful lawn repair.
Read more: How To Help Dead Grass
Identifying the Cause of Dead Grass
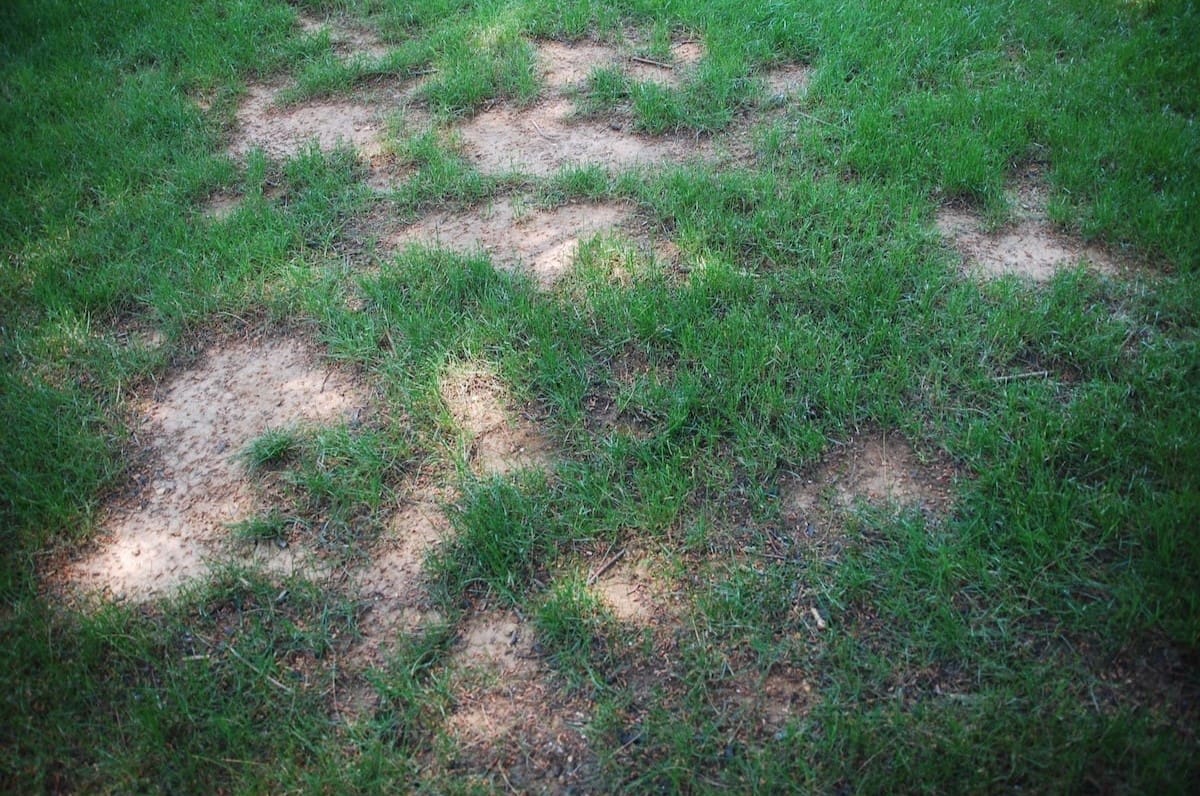
Before embarking on the journey to revive your lawn, it’s crucial to play detective and uncover the root cause of the dead or patchy areas. Understanding the underlying issues will not only guide your repair efforts but also help prevent future recurrences.
One common culprit of dead grass is compacted soil. When soil becomes compacted, it restricts the flow of air, water, and nutrients to the grass roots, leading to stunted growth and eventual death. Another potential cause is inadequate drainage, which can result in waterlogged soil and suffocated roots. Additionally, pet urine, fungal diseases, insect infestations, and improper mowing or watering practices can all contribute to the demise of your once-thriving lawn.
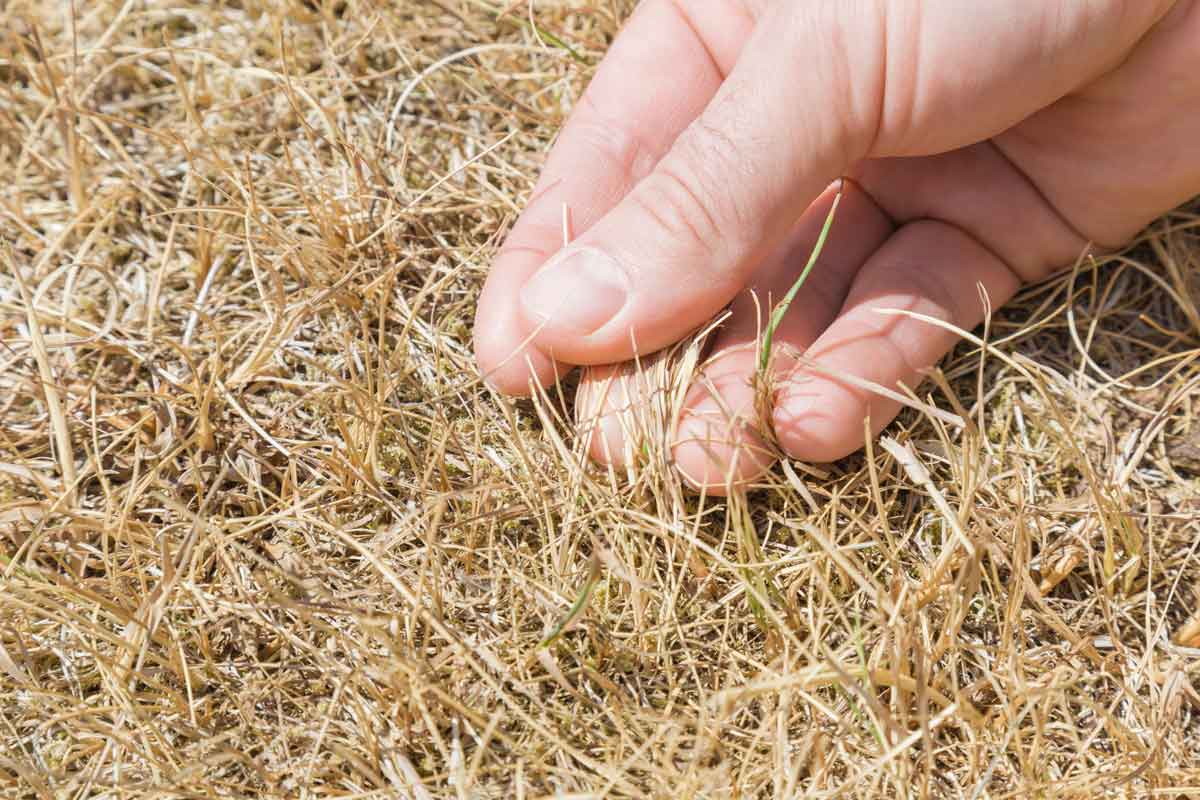
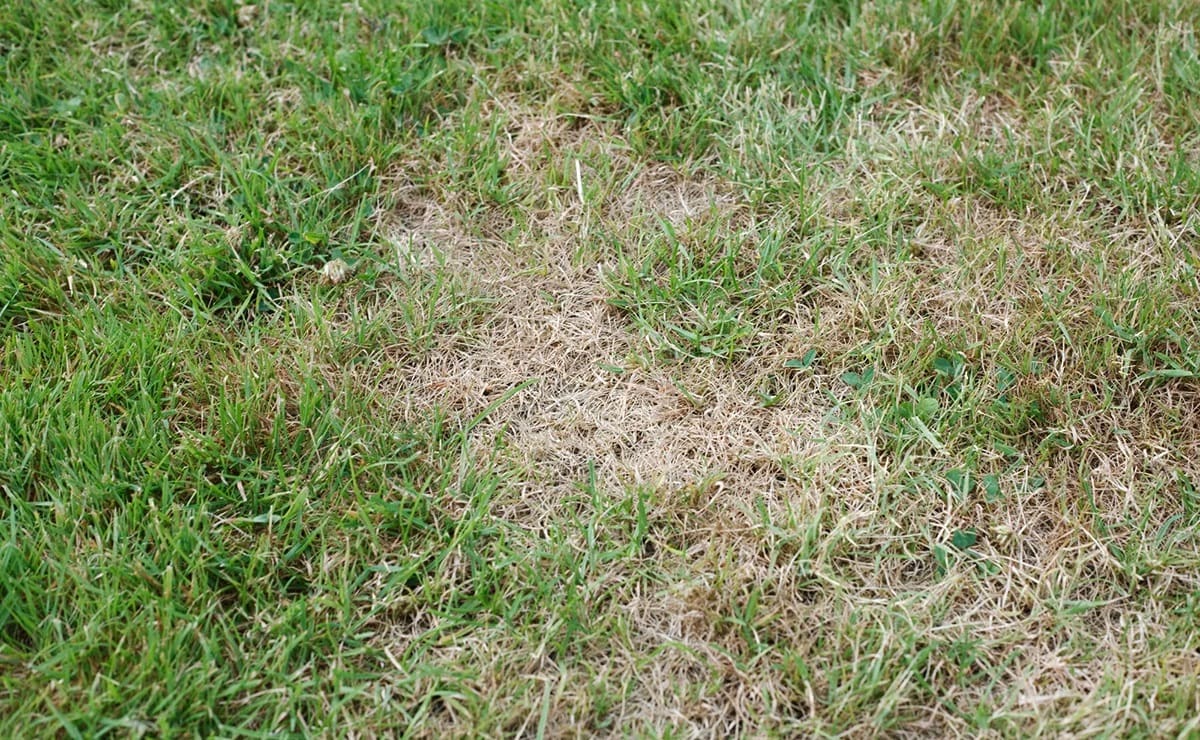
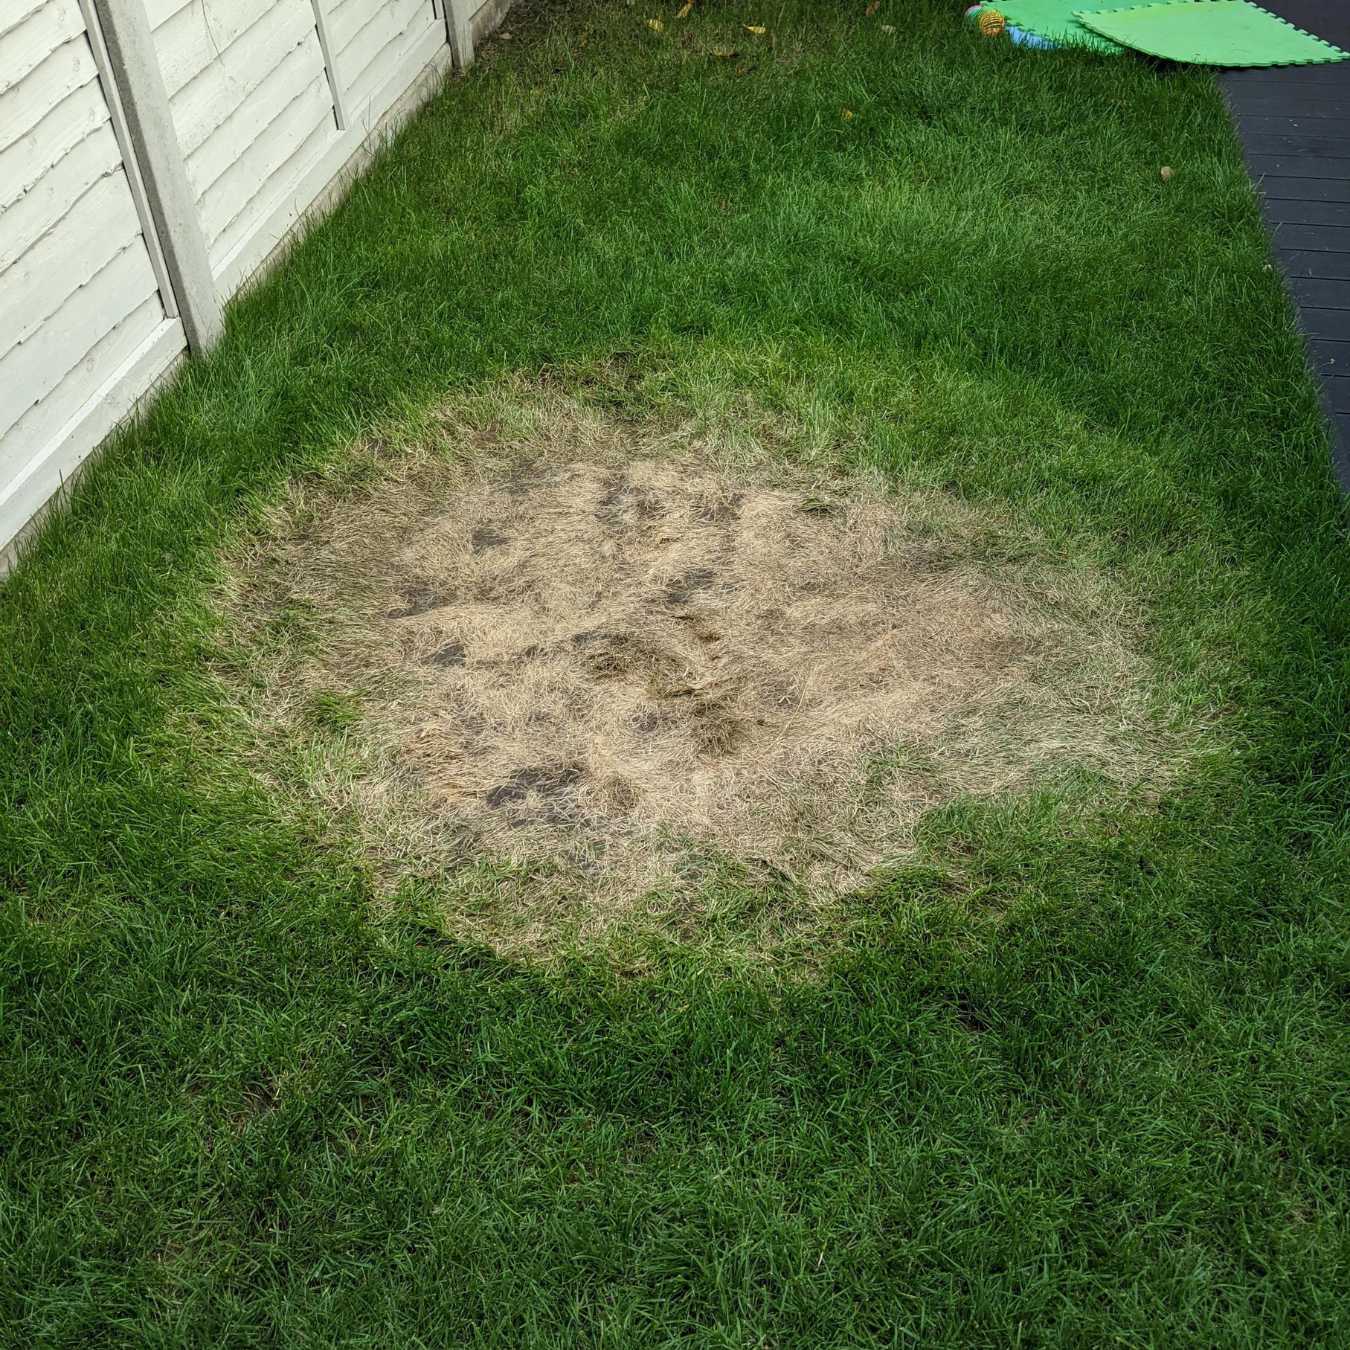
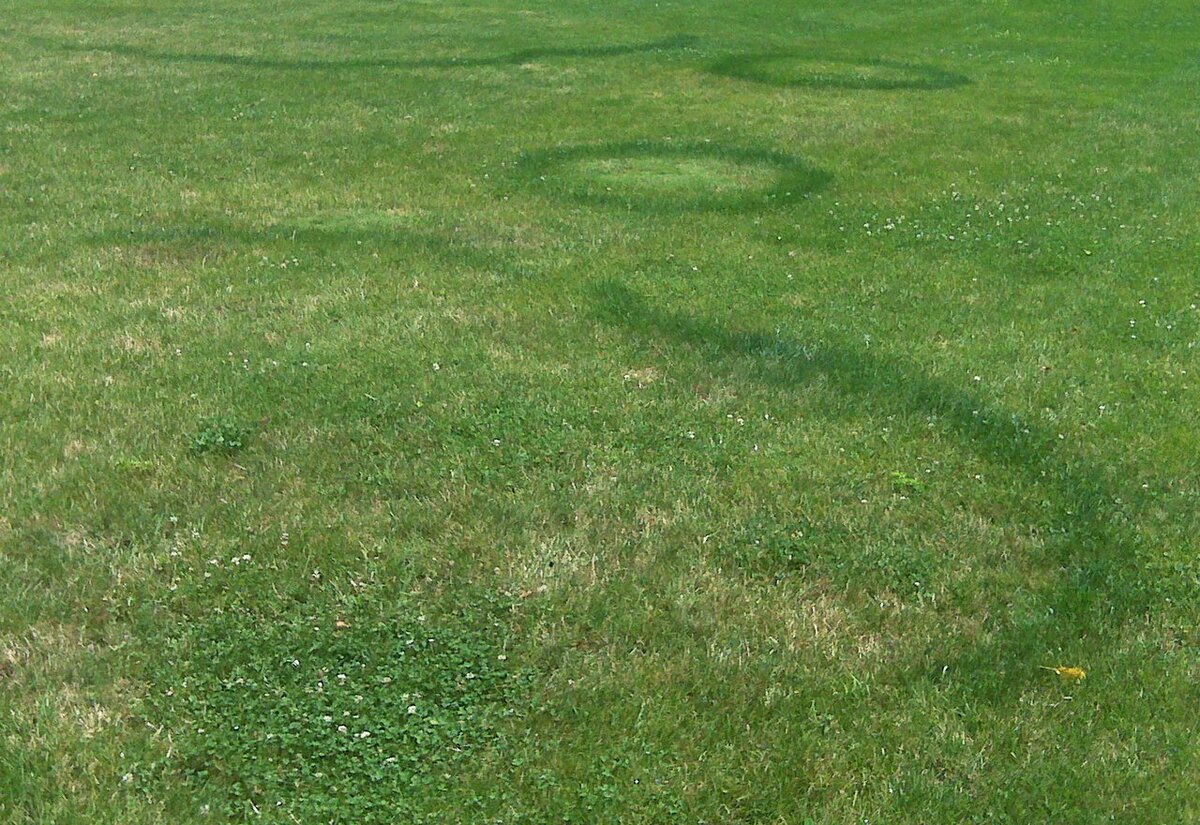
To identify the specific cause of the dead grass, start by closely inspecting the affected areas. Look for signs of pet urine damage, such as yellow or brown spots with a distinctive ring of lush green grass around the perimeter. If the grass appears matted or discolored, a fungal disease may be to blame. Furthermore, inspect the soil for compaction, excessive moisture, or signs of insect activity.
For a more accurate diagnosis, consider conducting a soil test to assess its pH levels and nutrient content. This valuable information will help you address any deficiencies and create an optimal environment for grass growth.
By pinpointing the underlying cause of the dead grass, you can tailor your repair strategy to effectively address the specific issues at hand, setting the stage for a successful lawn revival.
Preparing the Area for Repair
Once you’ve identified the factors contributing to the demise of your grass, it’s time to prepare the affected areas for rejuvenation. Proper preparation is essential for creating an environment that is conducive to new grass growth and ensures the success of your repair efforts.
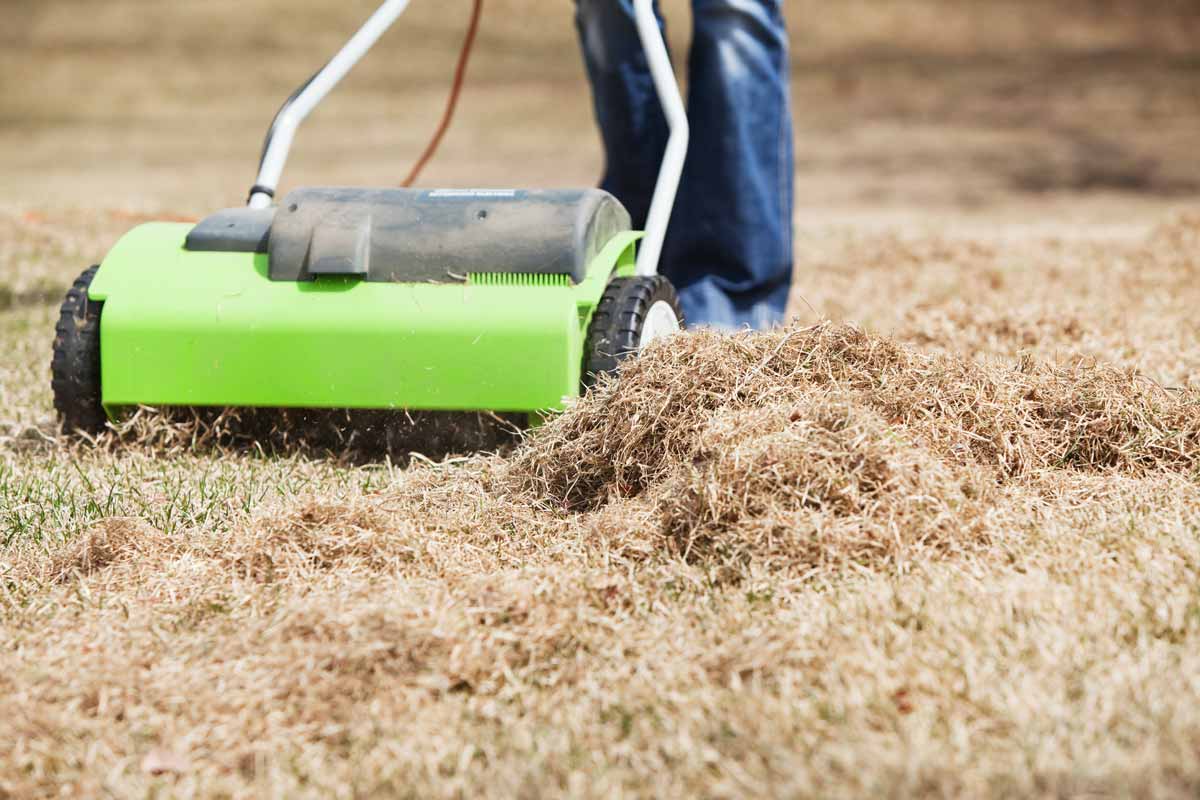
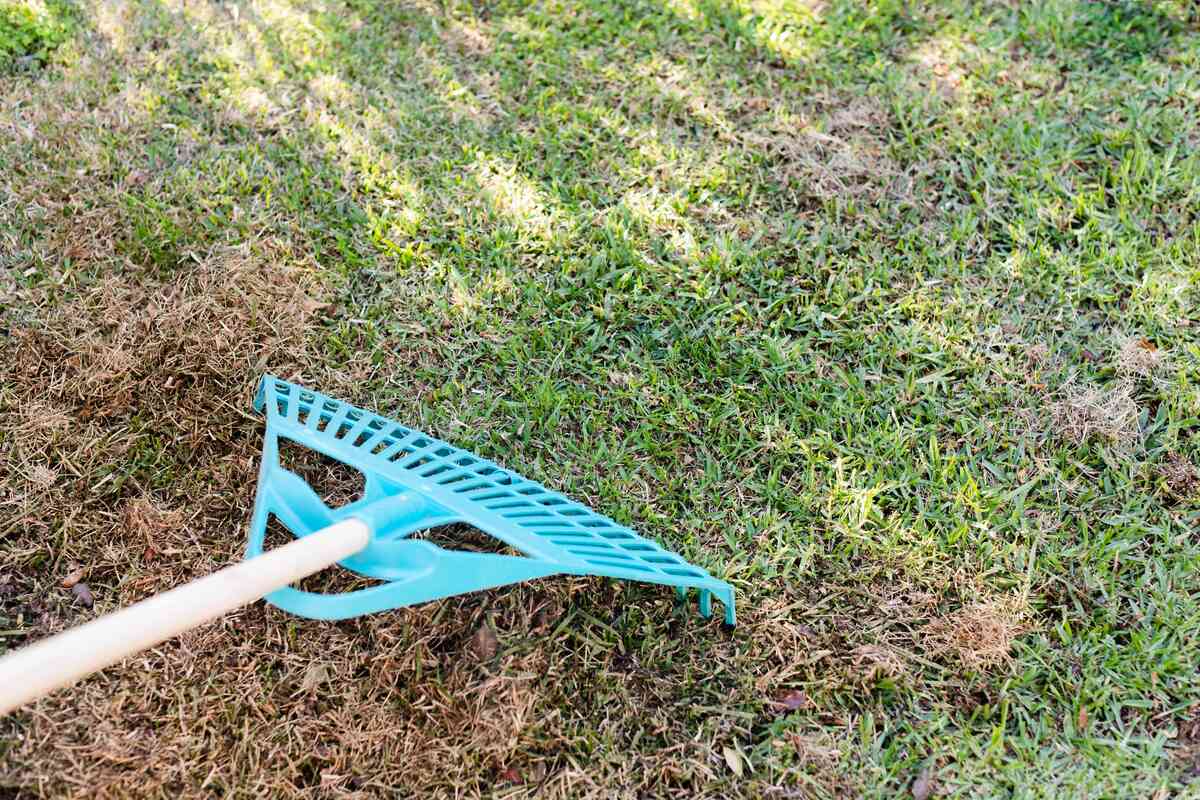
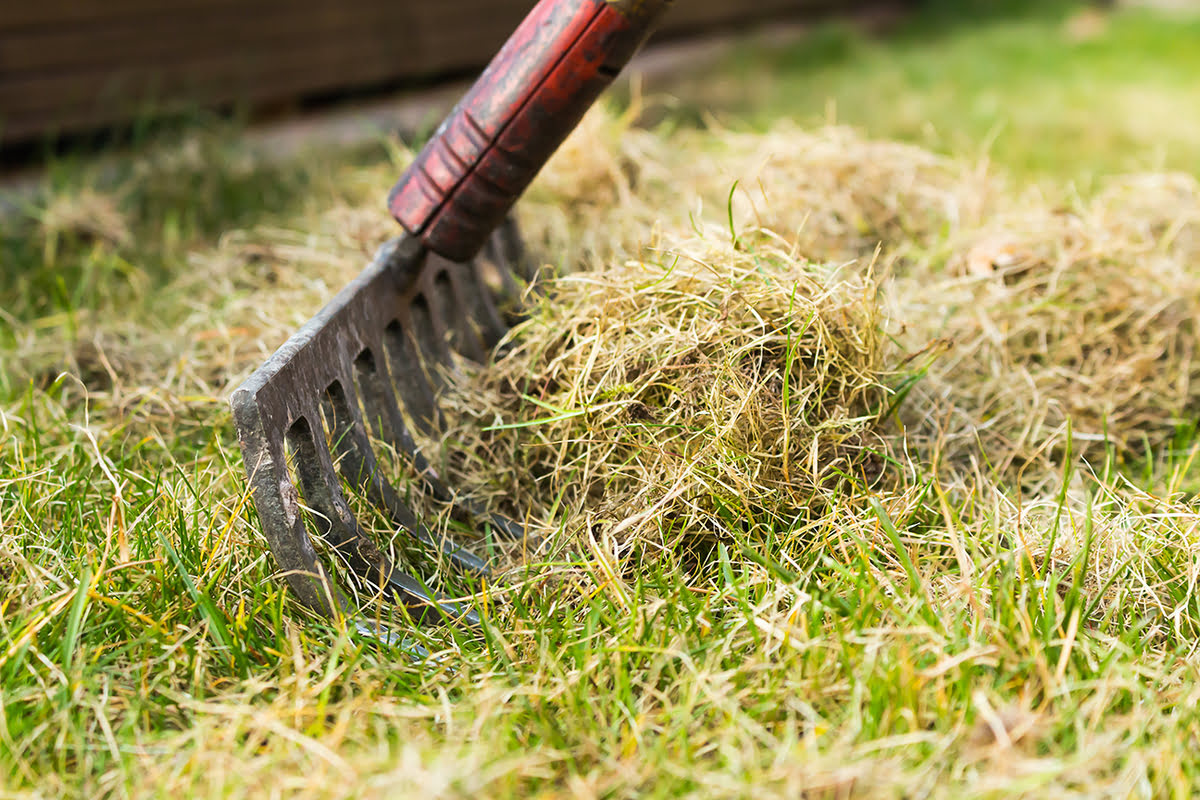
Begin by clearing the dead or patchy grass from the area using a rake or specialized dethatching tool. This process, known as dethatching, helps remove built-up organic debris, allowing air, water, and nutrients to penetrate the soil more effectively. It also creates a clean canvas for the new grass seed to take root.
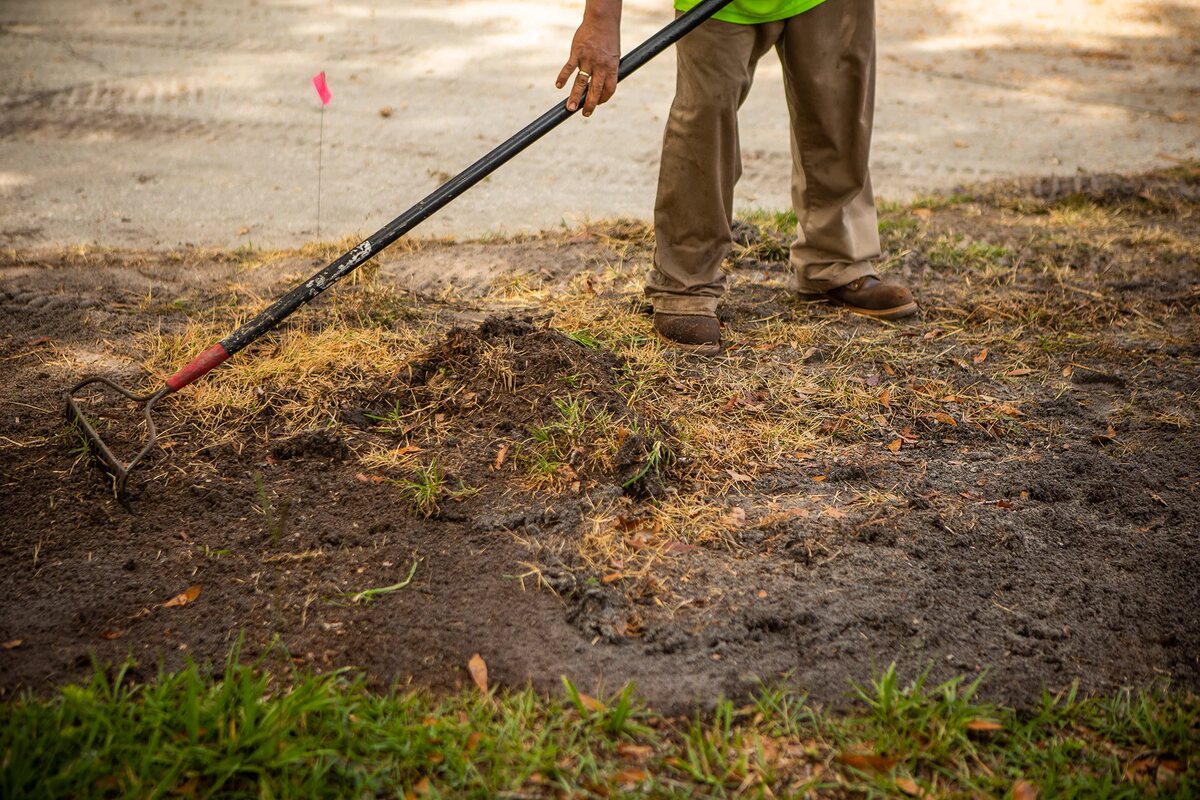
Next, aerate the soil to alleviate compaction and improve drainage. Aeration involves perforating the soil with small holes to facilitate the movement of air, water, and nutrients to the grassroots. This step is especially crucial if your lawn experiences heavy foot traffic or shows signs of soil compaction. Aeration can be accomplished using a manual or motorized aerator, which creates channels in the soil, promoting a healthier and more resilient lawn.
After dethatching and aerating, consider incorporating organic matter, such as compost or topsoil, into the soil to enhance its structure and fertility. This amendment provides a nutrient-rich foundation for the new grass to thrive and promotes a robust root system, contributing to the long-term health of your lawn.
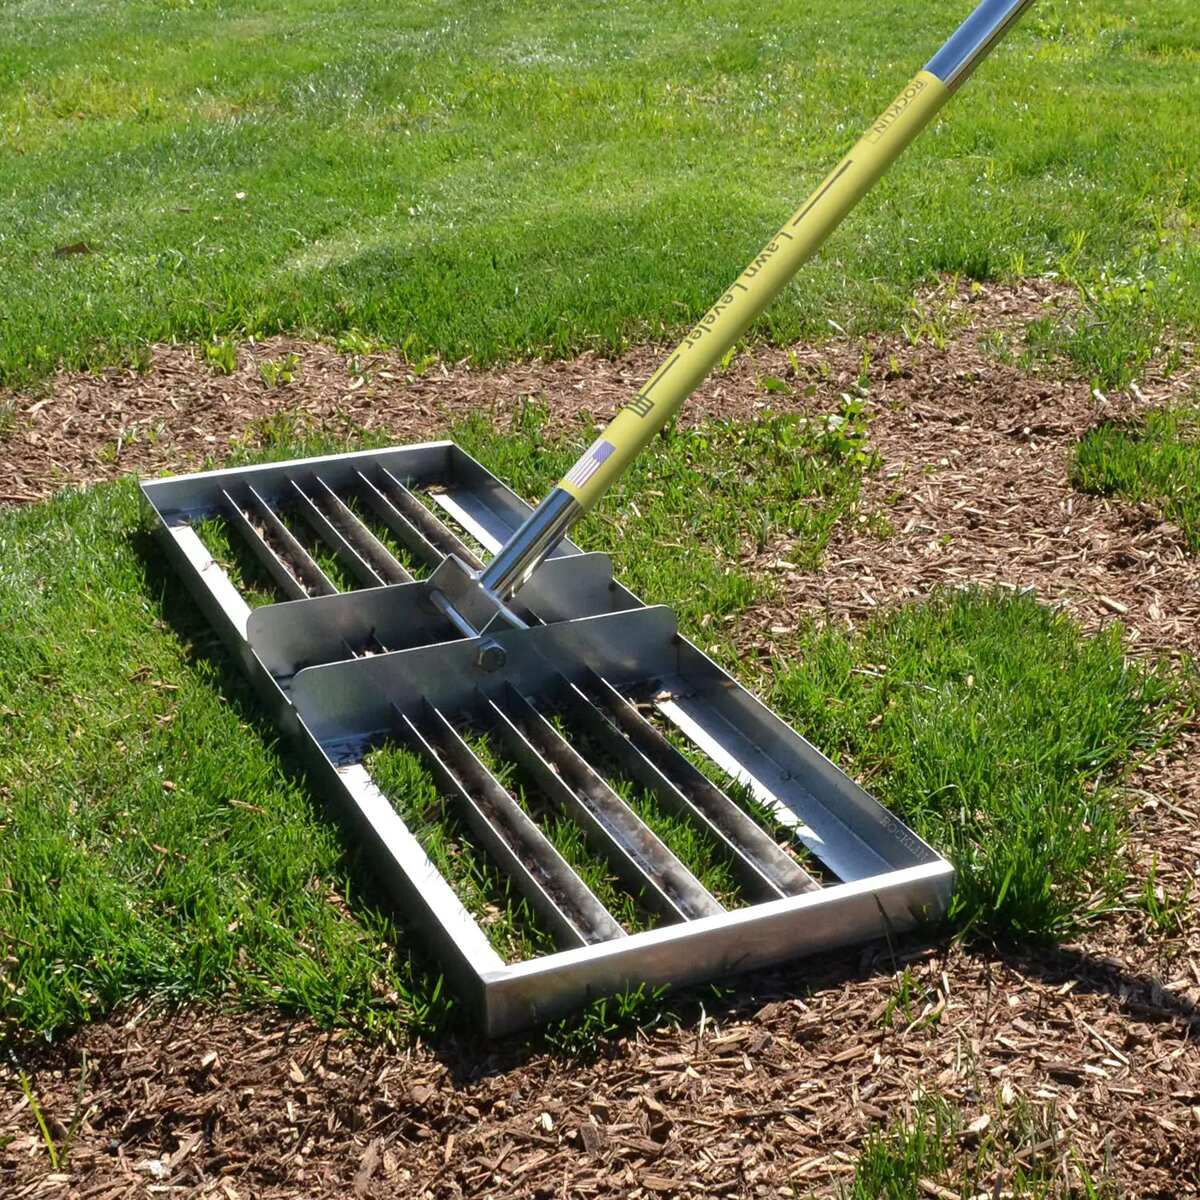
Finally, ensure that the prepared area is level and free of debris before proceeding to the next phase of the repair process. Taking the time to properly prepare the site sets the stage for successful grass seed germination and establishment, laying the groundwork for a revitalized and vibrant lawn.
Choosing the Right Grass Seed
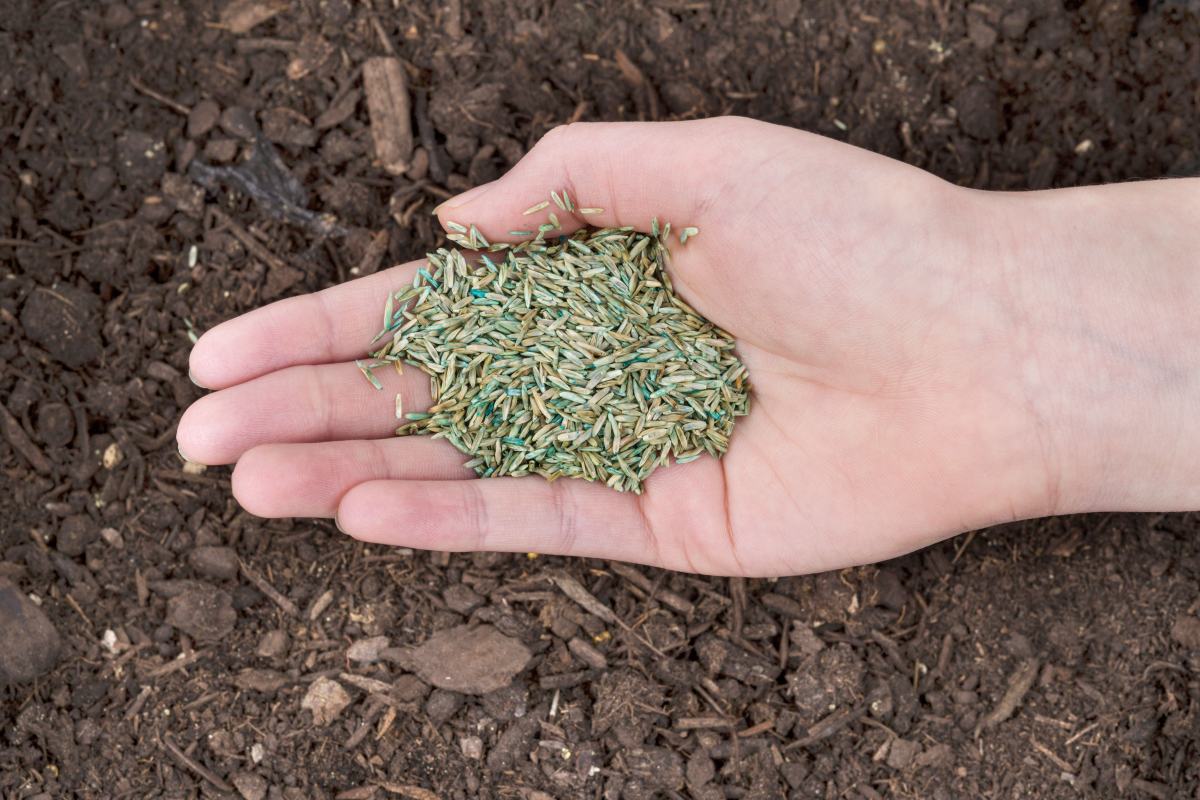
When it comes to repairing dead grass areas, selecting the appropriate grass seed is a critical decision that significantly influences the outcome of your lawn restoration project. With a myriad of grass seed varieties available, each suited to different growing conditions and usage requirements, it’s essential to make an informed choice that aligns with your specific needs and the environmental conditions of your lawn.
First and foremost, consider the climate and sunlight exposure in your area. Different grass species thrive in varying climates, such as cool-season grasses that excel in northern regions and warm-season varieties that are well-suited to southern locales. Additionally, assess the amount of sunlight the repair area receives throughout the day, as this will dictate whether you need a shade-tolerant or sun-loving grass species.
Next, evaluate the intended use of the repaired lawn. If the area is subject to heavy foot traffic or playful pets, opt for a durable and resilient grass variety that can withstand frequent activity without sacrificing its lush appearance. Conversely, if the area is primarily ornamental and less trafficked, prioritize aesthetic qualities such as fine texture and vibrant color.
Consider the soil composition and drainage characteristics of your lawn. Some grass species are more adaptable to specific soil types, such as sandy or clay soils, and exhibit better tolerance to varying moisture levels. By selecting a grass seed that aligns with your soil conditions, you can promote healthy establishment and long-term vitality.
Lastly, explore grass seed blends that offer a combination of complementary species, providing benefits such as enhanced disease resistance, improved drought tolerance, and a more uniform appearance. These blends can offer the best of multiple grass types, creating a resilient and visually appealing lawn.
By carefully assessing these factors and consulting with local lawn care experts or extension services, you can make an informed decision when choosing the right grass seed for your lawn repair project. This thoughtful selection sets the stage for successful germination and the establishment of a thriving, resilient lawn that enhances the beauty of your outdoor space.
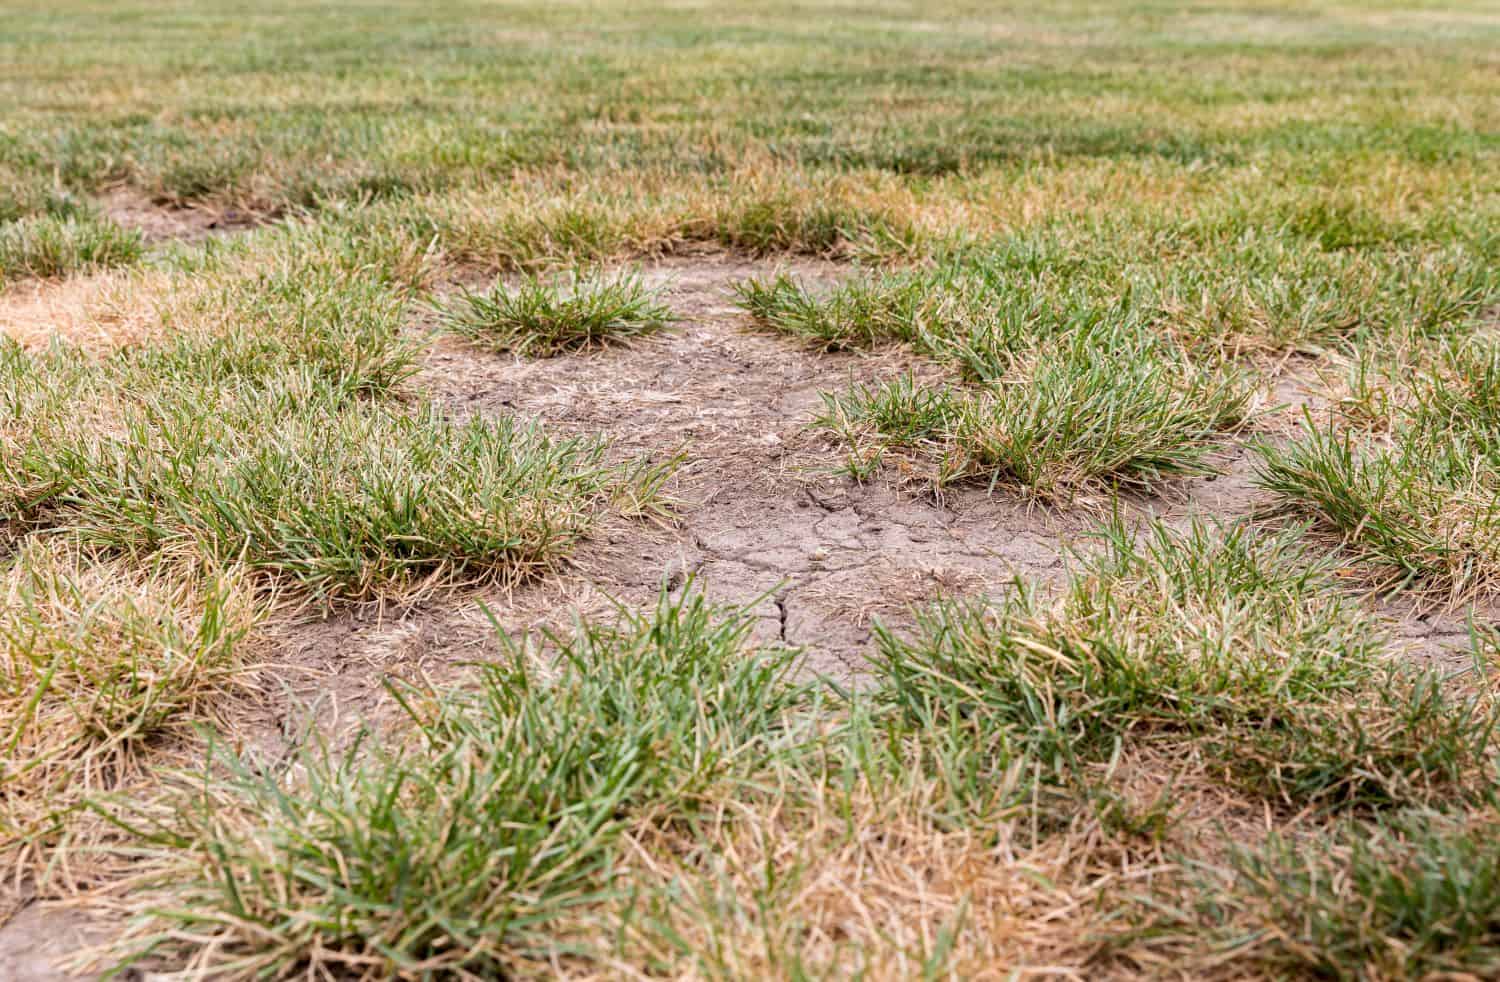
Aerate the dead grass area to improve soil compaction and allow for better water and nutrient absorption, then overseed with new grass seed and keep the area consistently watered for optimal growth.
Seeding the Area
Now that you’ve prepared the soil and selected the appropriate grass seed, it’s time to embark on the crucial step of seeding the area. Proper seeding techniques are essential for ensuring optimal germination, strong root development, and uniform grass coverage, setting the stage for a lush and healthy lawn.
Begin by evenly distributing the grass seed over the prepared area using a broadcast spreader or by hand. Be mindful of the recommended seeding rates for the specific grass species or blend you’ve chosen, as overseeding or underseeding can impact the success of your repair efforts. To promote uniform coverage, divide the seed into two equal portions and broadcast half in one direction and the remaining half in a perpendicular direction, crisscrossing the area for thorough distribution.
After seeding, gently rake the area to incorporate the seeds into the top layer of soil. This ensures good seed-to-soil contact, which is vital for successful germination. Avoid burying the seeds too deeply, as they require adequate light to sprout and establish. A light raking or rolling can further press the seeds into the soil, promoting optimal contact while maintaining accessibility to light and moisture.
Following seeding, apply a high-quality starter fertilizer to provide essential nutrients for the germinating seeds and young seedlings. This boost of nutrients supports early root development and overall vigor, helping the new grass establish a strong foundation for long-term growth and resilience.
Once the seeds are sown and the area is fertilized, lightly water the seeded area to initiate the germination process. Keep the soil consistently moist but not waterlogged, as excessive moisture can impede germination and promote fungal diseases. Depending on the grass species, you may need to water the area multiple times a day to ensure the soil remains adequately moist until the new grass reaches mowing height.
By following these seeding guidelines and providing attentive care, you can maximize the chances of successful germination and establish a dense, vibrant lawn that transforms the previously barren or patchy areas into lush, inviting green spaces.
Read more: How To Describe Dead Grass
Watering and Maintenance
After seeding the area, consistent and attentive watering is paramount to the success of your lawn repair project. Proper watering practices facilitate seed germination, support robust root development, and contribute to the establishment of a healthy, resilient lawn.
During the germination phase, it’s essential to keep the soil consistently moist. Depending on the weather conditions, this may require light, frequent watering to prevent the soil from drying out. Consider using a fine mist setting on your hose or a specialized sprinkler to deliver gentle, even moisture to the seeded area. Avoid heavy watering that can lead to soil erosion and uneven seed distribution.
As the new grass seedlings emerge and begin to establish, gradually transition to a deeper, less frequent watering schedule. This encourages the development of strong, deep roots as the grass adapts to the surrounding soil moisture levels. Deep watering promotes drought tolerance and overall resilience, contributing to the long-term health of your lawn.
Monitor the moisture levels in the seeded area regularly, adjusting your watering schedule based on the weather and the needs of the developing grass. Aim to keep the soil consistently moist but not waterlogged, as excessive moisture can lead to fungal issues and hinder root development.
In addition to watering, it’s essential to provide ongoing maintenance to support the growth and vitality of the newly established grass. Once the grass reaches mowing height, typically around 3 to 4 inches, carefully mow the area, ensuring that the mower blades are sharp and set to the appropriate height to avoid stressing the young grass.
As the new grass matures, adhere to a regular mowing schedule, removing no more than one-third of the grass blade’s length in a single mowing session. This encourages healthy growth and helps maintain an even, well-manicured appearance. Additionally, consider fertilizing the repaired area according to the specific needs of the grass species and the recommendations of a local lawn care professional or extension service.
By providing diligent watering and ongoing maintenance, you can nurture the newly established grass to maturity, creating a vibrant, resilient lawn that enhances the beauty of your outdoor space and provides a lush, inviting carpet for relaxation and recreation.
Conclusion
Congratulations on embarking on the journey to revive your lawn and restore its natural beauty! By following the comprehensive steps outlined in this guide, you’ve equipped yourself with the knowledge and strategies to transform dead or patchy grass areas into thriving, lush green spaces that enrich your outdoor environment.
From identifying the underlying causes of the grass damage to meticulously preparing the repair area, selecting the right grass seed, and nurturing the newly sown seeds to maturity, you’ve embraced the essential elements of successful lawn repair. Your dedication to providing the optimal growing conditions and ongoing care for the newly established grass sets the stage for a resilient, vibrant lawn that enhances the visual appeal of your property.
As you witness the transformation of the once-bare patches into a verdant, inviting carpet of grass, take pride in the role you’ve played in revitalizing your outdoor space. Whether you’re creating a welcoming play area for children and pets, enhancing the curb appeal of your home, or simply enjoying the soothing sight of a healthy lawn, your efforts have contributed to the beauty and vitality of your surroundings.
Remember that ongoing maintenance, including attentive watering, regular mowing, and appropriate fertilization, is key to sustaining the health and lushness of your newly repaired lawn. By nurturing the grass with care and consideration, you’ll enjoy the rewards of a resilient, thriving lawn for years to come.
Thank you for joining us on this journey to revive and rejuvenate your lawn. We hope this guide has empowered you to embrace the process of lawn repair with confidence and enthusiasm, ultimately leading to the creation of a vibrant, resilient, and inviting outdoor space that enriches your daily life.
Frequently Asked Questions about How To Repair Dead Grass Areas
Was this page helpful?
At Storables.com, we guarantee accurate and reliable information. Our content, validated by Expert Board Contributors, is crafted following stringent Editorial Policies. We're committed to providing you with well-researched, expert-backed insights for all your informational needs.

0 thoughts on “How To Repair Dead Grass Areas”