Home>Gardening & Outdoor>Landscaping Ideas>How To Till The Soil For Grass

Landscaping Ideas
How To Till The Soil For Grass
Modified: October 19, 2024
Learn the best landscaping ideas for tilling soil to grow lush grass. Discover expert tips for preparing your lawn for healthy and vibrant greenery.
(Many of the links in this article redirect to a specific reviewed product. Your purchase of these products through affiliate links helps to generate commission for Storables.com, at no extra cost. Learn more)
Introduction
So, you've decided to transform your outdoor space into a lush, green paradise. Congratulations on taking the first step toward creating a beautiful and vibrant lawn! Tilling the soil for grass is a crucial part of the process, and when done correctly, it sets the stage for healthy and thriving grass growth.
In this comprehensive guide, we'll walk you through the essential steps of tilling the soil for grass, from understanding the soil composition to selecting the right equipment, preparing the soil, seeding the grass, and caring for the newly tilled soil. By the end of this journey, you'll be equipped with the knowledge and confidence to cultivate a stunning lawn that will be the envy of the neighborhood.
Let's dive in and uncover the secrets to tilling the soil for grass with finesse and expertise!
Key Takeaways:
- Understanding your soil type and pH level is crucial for successful grass cultivation. Tailor your tilling and soil preparation techniques to create an optimal foundation for your new grass lawn.
- Choose the right equipment and follow proper soil preparation and seeding techniques to ensure a vibrant and resilient lawn. Provide ongoing care to nurture the newly established grass for long-term success.
Read more: How To Till The Grass For A Garden
Understanding the Soil
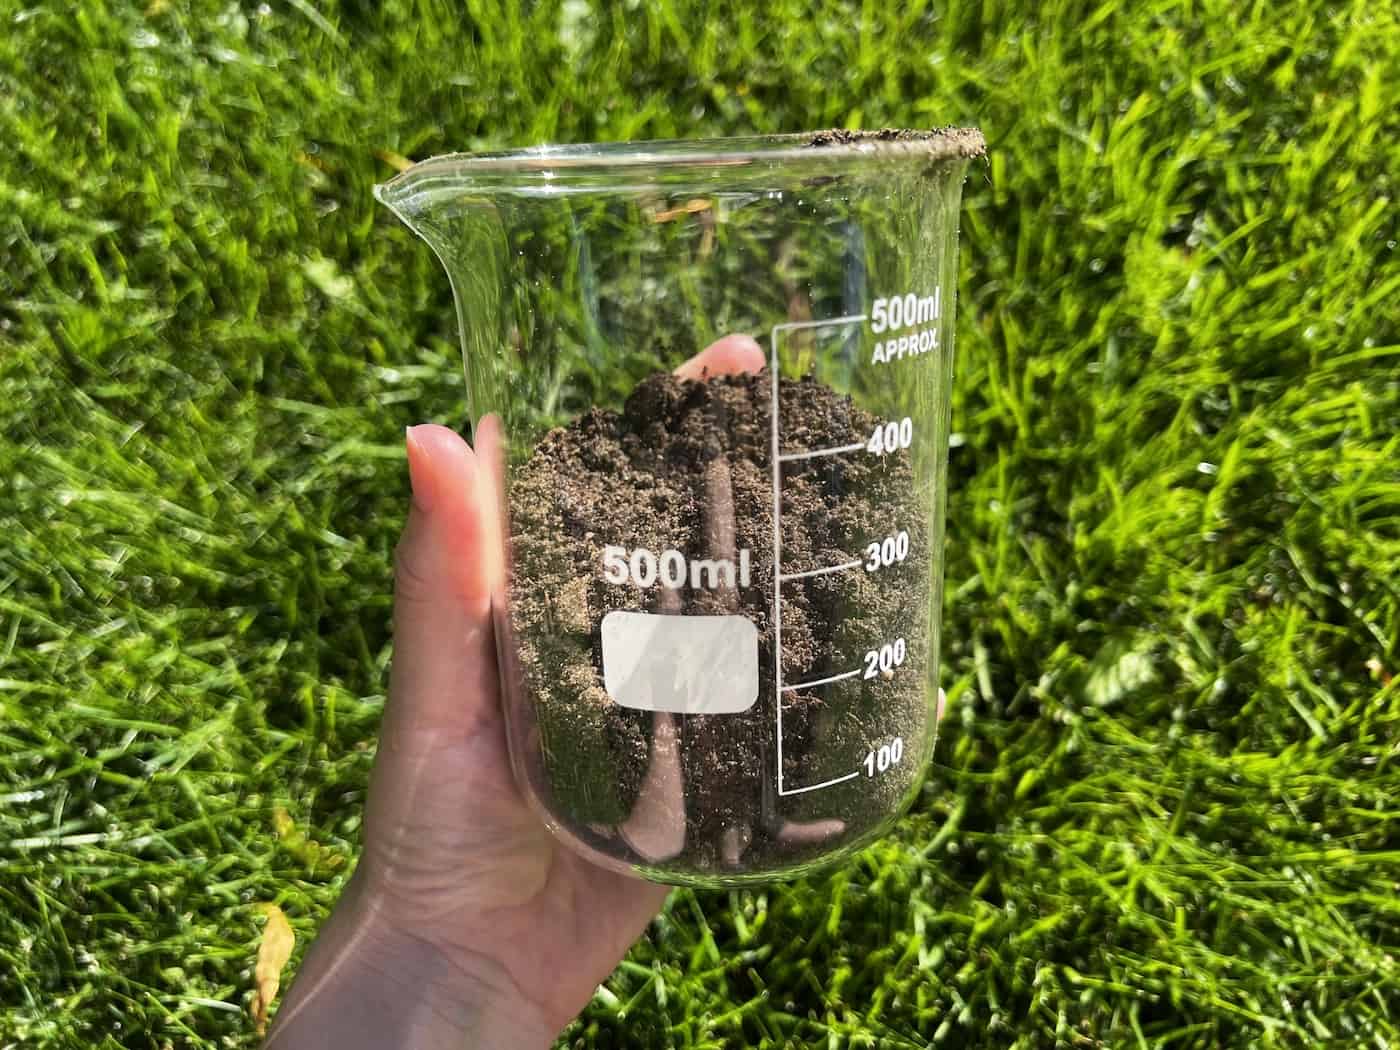
Before you embark on the journey of tilling the soil for your new grass, it’s essential to understand the composition of your soil. Soil type plays a significant role in determining the success of your grass cultivation efforts. There are several common soil types, including clay, sandy, loamy, and silty soils, each with its own characteristics and challenges.
Clay soil tends to retain water and nutrients, but it can become compacted, hindering root growth. Sandy soil, on the other hand, drains quickly but may struggle to retain essential nutrients. Loamy soil, often considered the ideal type for grass cultivation, strikes a balance between water retention and drainage, offering a fertile environment for grass roots to flourish. Silty soil is smooth to the touch and retains moisture well, but it can be easily compacted.
To determine your soil type, consider performing a simple soil texture test. Take a handful of moist (but not wet) soil from your lawn and squeeze it. If it forms a tight ball, it’s likely clay soil. If it crumbles easily, it may be sandy. If it holds together but crumbles with some pressure, you may have loamy soil. Understanding your soil type will guide your approach to tilling and amending the soil for optimal grass growth.
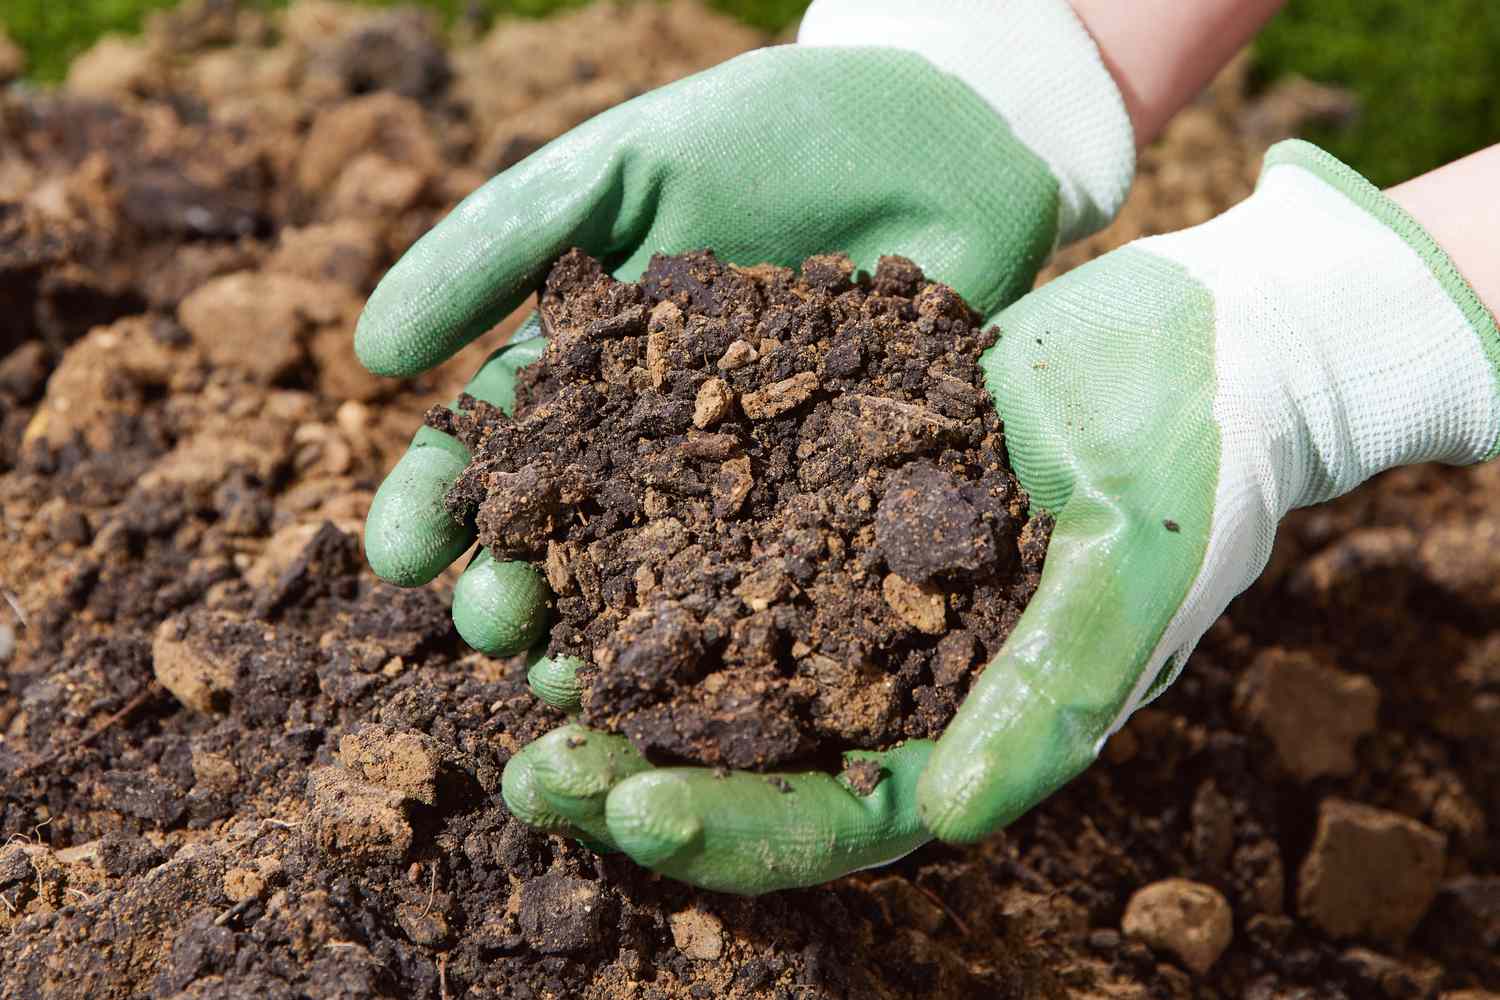
Additionally, it’s crucial to assess the pH level of your soil. Most grass species thrive in slightly acidic soil with a pH range of 6.0 to 7.0. You can easily test the pH of your soil using a home testing kit or by sending a sample to a local agricultural extension service. Based on the results, you can adjust the pH of your soil by adding lime to raise the pH or elemental sulfur to lower it, creating an ideal environment for your grass seeds to germinate and thrive.
By gaining a deeper understanding of your soil’s composition and characteristics, you can tailor your tilling and soil preparation techniques to create an optimal foundation for your new grass lawn.
Choosing the Right Equipment
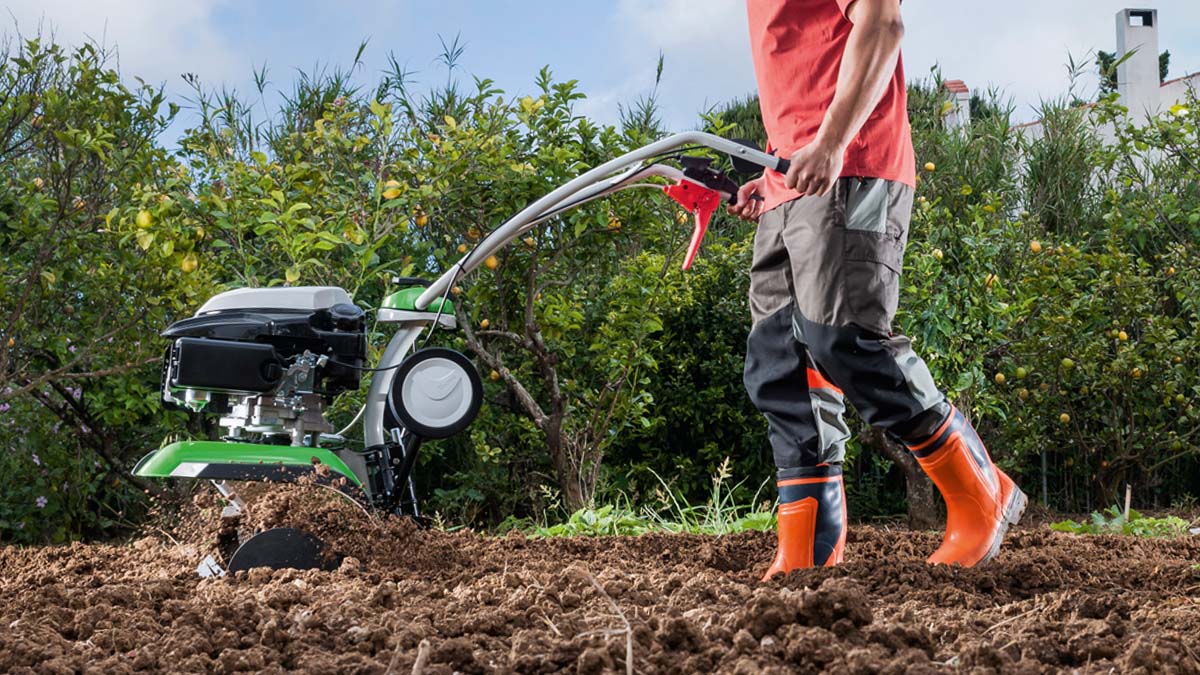
When it comes to tilling the soil for grass, having the right equipment at your disposal can make the process more efficient and effective. The choice of equipment largely depends on the size of your lawn, the existing soil conditions, and your personal preferences. Here are some essential tools and equipment to consider for tilling the soil:
- Rototiller: A rototiller, also known as a rotary tiller, is a versatile tool designed to break up and aerate the soil. It comes in various sizes, from small handheld models suitable for small areas to larger, gas-powered machines for extensive lawn spaces. Rototillers are particularly effective for loosening compacted soil and incorporating amendments.
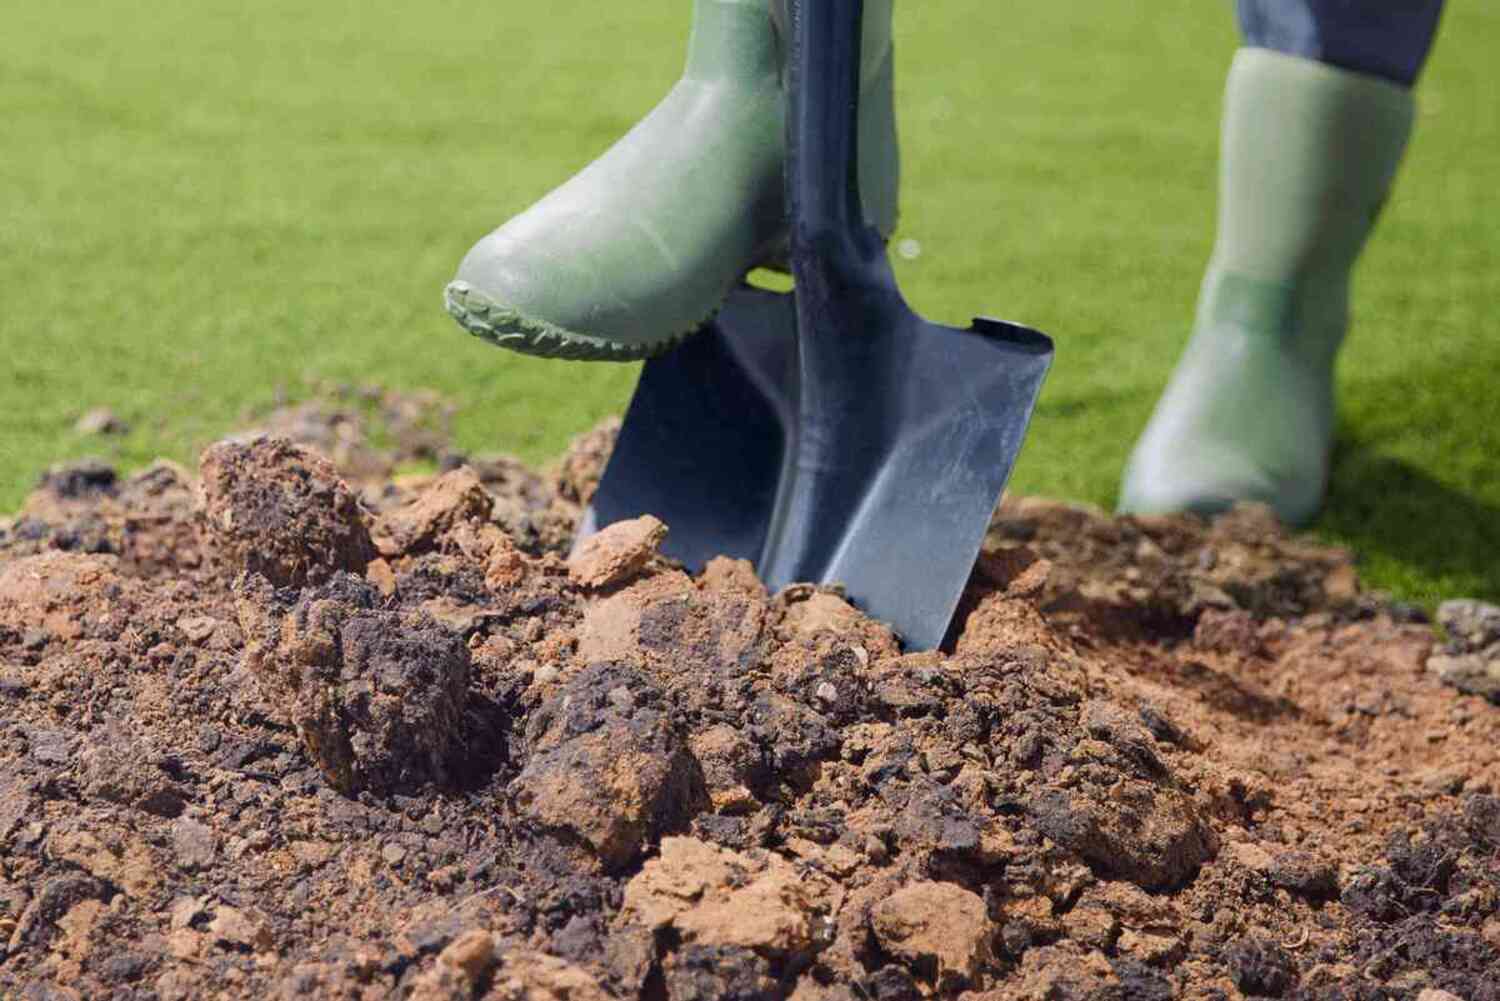
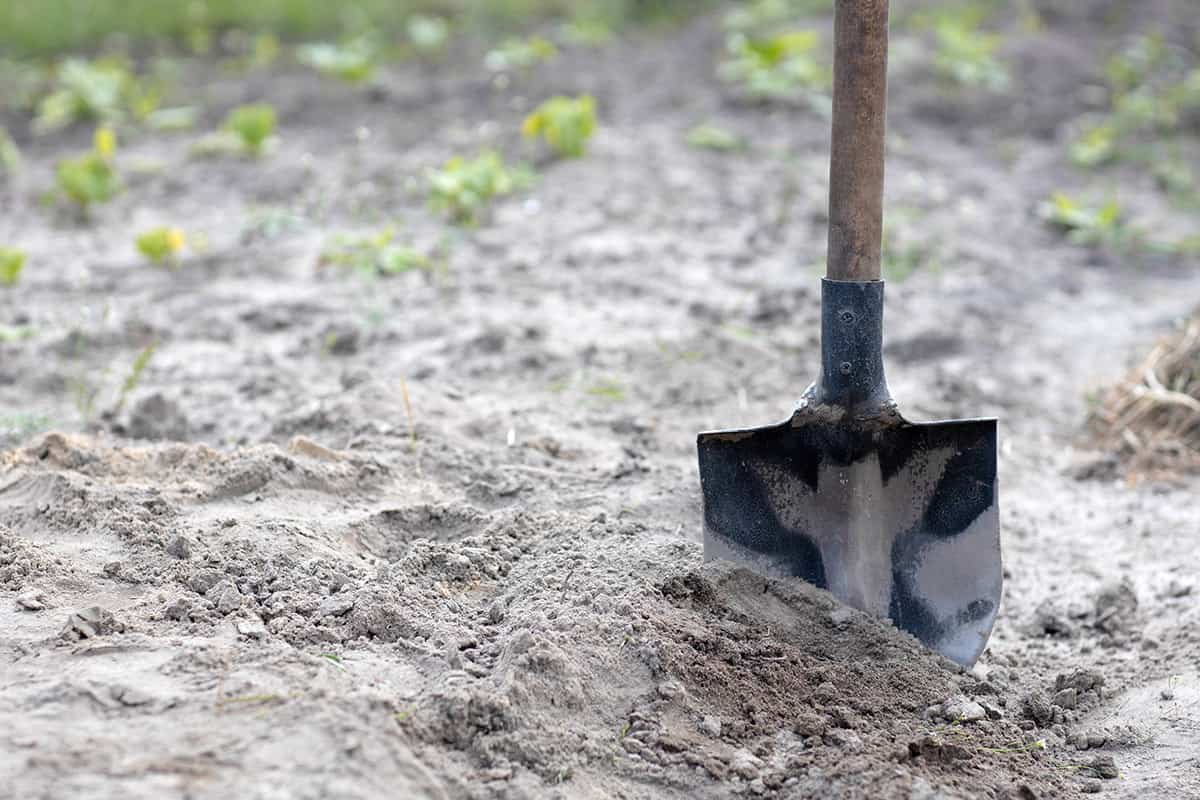
- Shovel and Spade: For smaller areas or precise soil preparation, a sturdy shovel and spade are indispensable. These tools allow you to dig and turn the soil, remove debris, and create smooth, level surfaces for seeding.
- Rake: A quality rake is essential for leveling the soil, removing rocks and debris, and creating a fine, even seedbed. Look for a durable rake with sturdy tines to ensure efficient soil preparation.
- Lawn Roller: After tilling and seeding, a lawn roller can be used to gently compact the soil, ensuring good seed-to-soil contact for optimal germination. This step helps prevent seeds from drying out and promotes uniform grass growth.
- Soil Testing Kit: While not a traditional piece of equipment, a soil testing kit is invaluable for assessing the pH, nutrient levels, and composition of your soil. Armed with this knowledge, you can make informed decisions about soil amendments and fertilizer applications.
Before selecting your tilling equipment, consider the specific needs of your lawn and the level of effort you’re willing to invest. Renting equipment from a local garden center or hardware store is a cost-effective option for occasional tilling projects, while investing in quality tools may be worthwhile for long-term lawn maintenance.
By choosing the right equipment and tools for tilling the soil, you can streamline the process and set the stage for successful grass cultivation, ensuring that your lawn flourishes with health and vitality.
Before tilling the soil for grass, make sure to remove any rocks, weeds, and debris. Then use a tiller to break up the soil to a depth of 4-6 inches. This will help the grass roots to establish and grow effectively.
Preparing the Soil
With a clear understanding of your soil type and the right equipment at hand, it’s time to dive into the essential steps for preparing the soil before seeding your grass. Proper soil preparation is the key to establishing a strong foundation for healthy grass growth and long-term lawn vitality.
Here’s a step-by-step guide to preparing the soil for your new grass:
- Clear the Area: Begin by removing any debris, rocks, and existing vegetation from the area where you plan to seed the grass. This step ensures a clean and unobstructed surface for tilling and seeding.
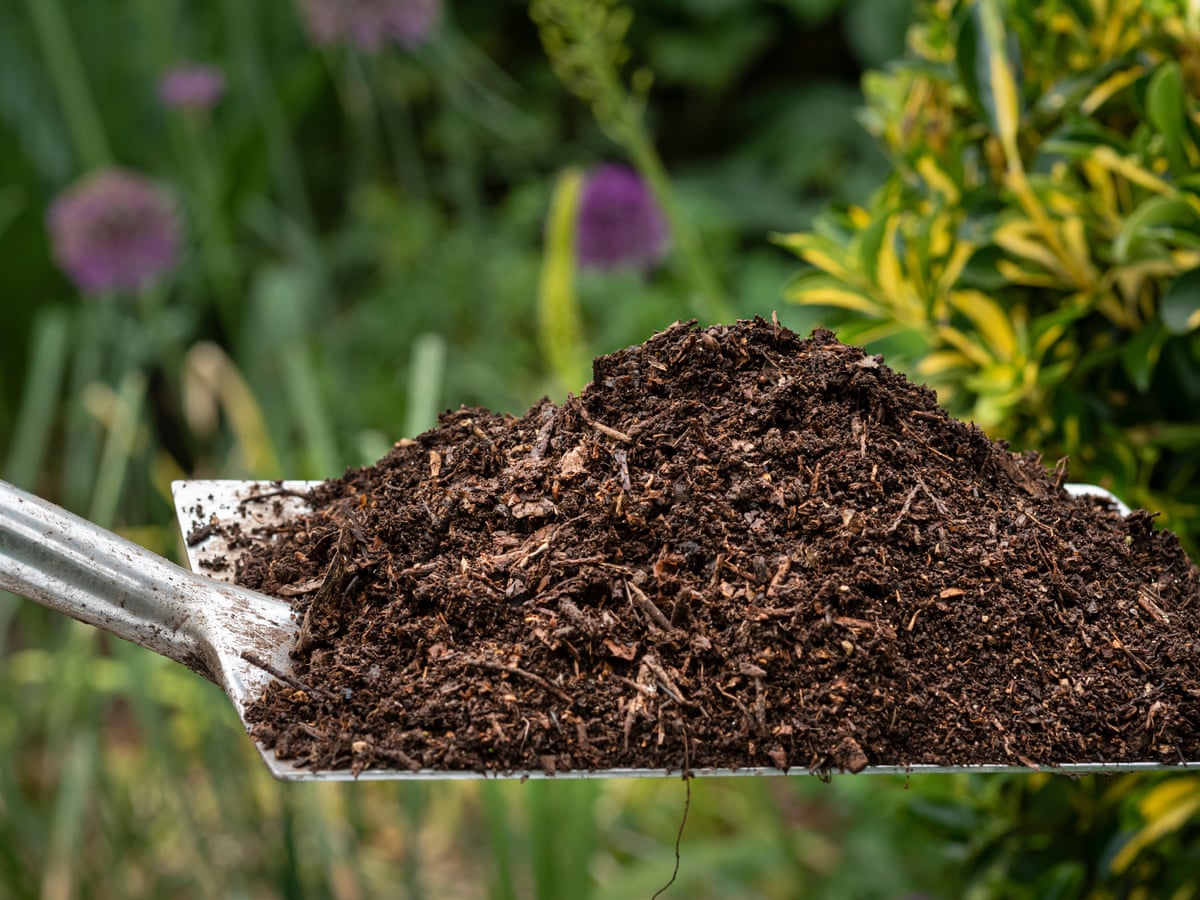
- Test the Soil: Use a soil testing kit to assess the pH level and nutrient composition of your soil. Based on the results, you can determine the need for soil amendments, such as lime to adjust the pH or organic matter to improve soil structure and fertility.
- Till the Soil: Using a rototiller or appropriate tilling equipment, work the soil to a depth of 4 to 6 inches. This process helps break up compacted soil, aerate the earth, and create a loose, friable texture that is conducive to healthy root development.
- Amend the Soil: If your soil test indicates deficiencies in essential nutrients or imbalanced pH levels, incorporate the necessary amendments into the tilled soil. Organic matter, such as compost or well-rotted manure, can enhance soil fertility and structure, while targeted fertilizers can address specific nutrient deficiencies.
- Level the Surface: Use a rake to level the tilled soil, removing any large clumps, rocks, or debris. Aim for a smooth and even surface, free of irregularities that may impede grass seed germination and growth.
- Compact the Soil (Optional): Depending on the soil conditions and the recommendations for your specific grass seed, you may choose to lightly compact the soil using a lawn roller. This step promotes good seed-to-soil contact, aiding in the germination process.
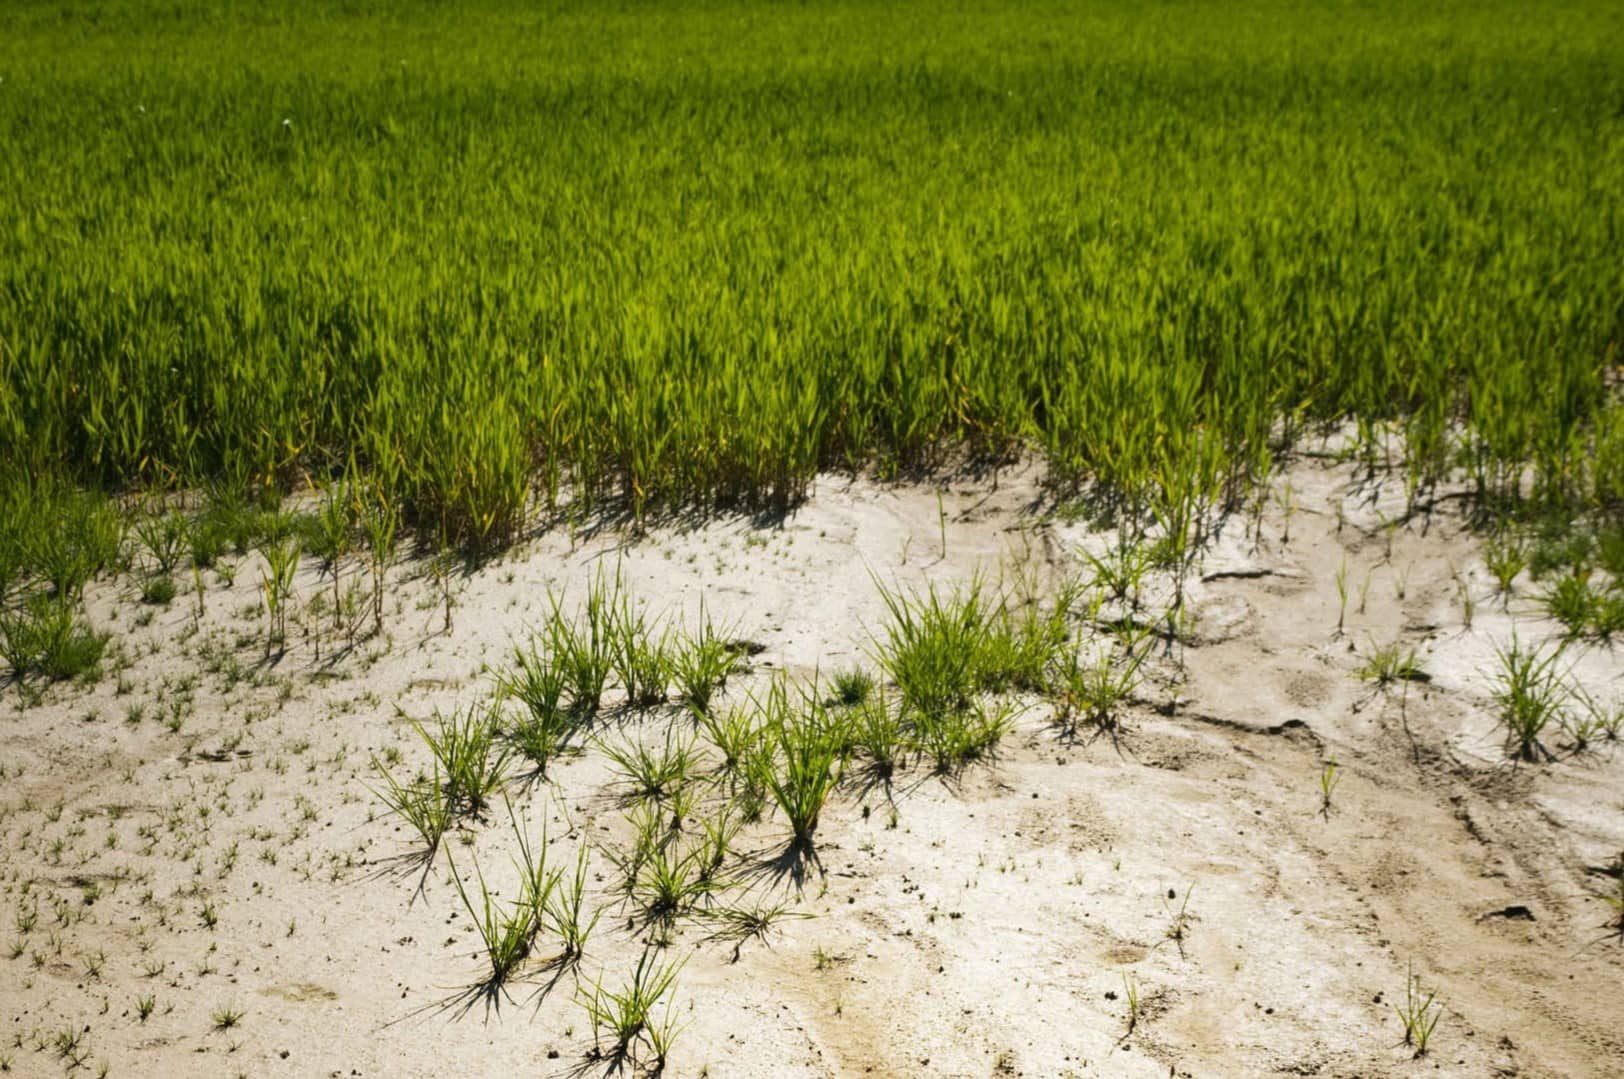
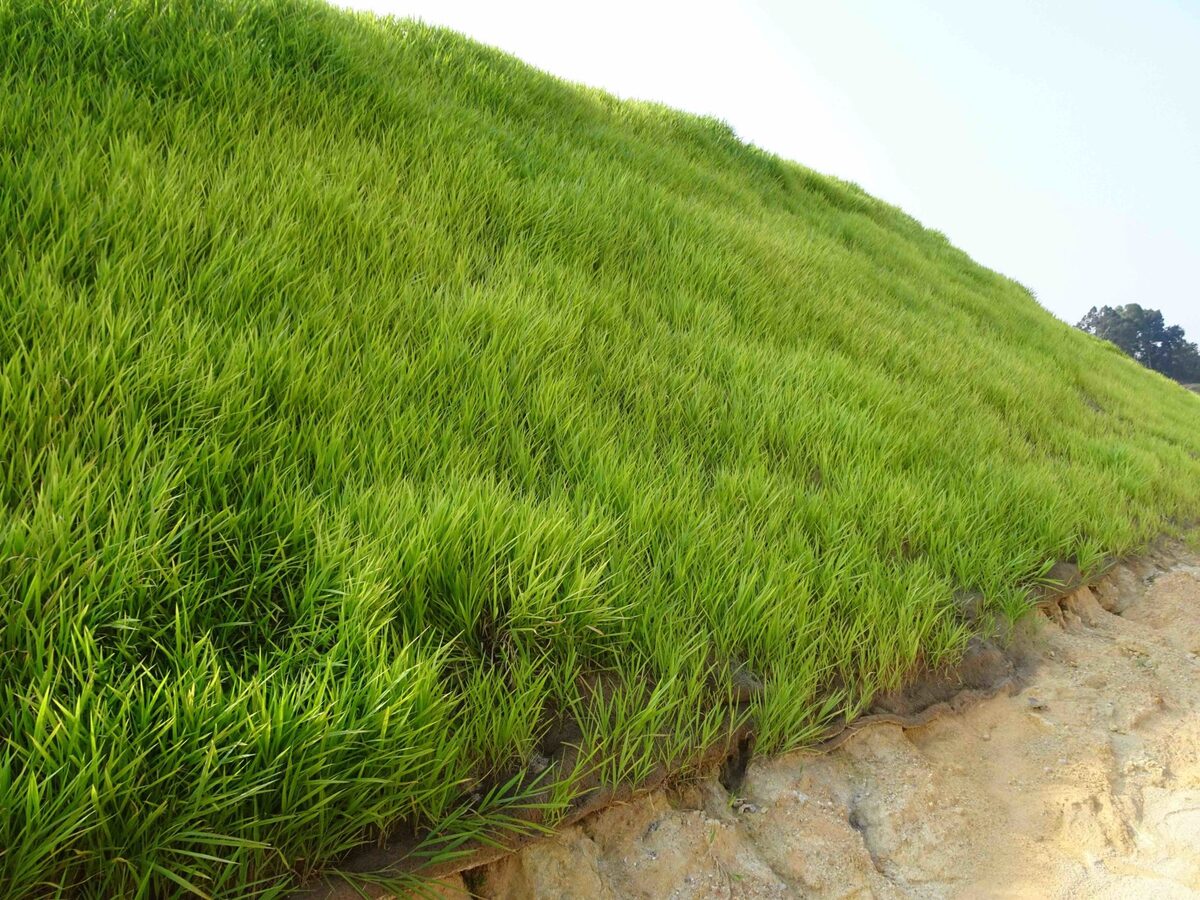
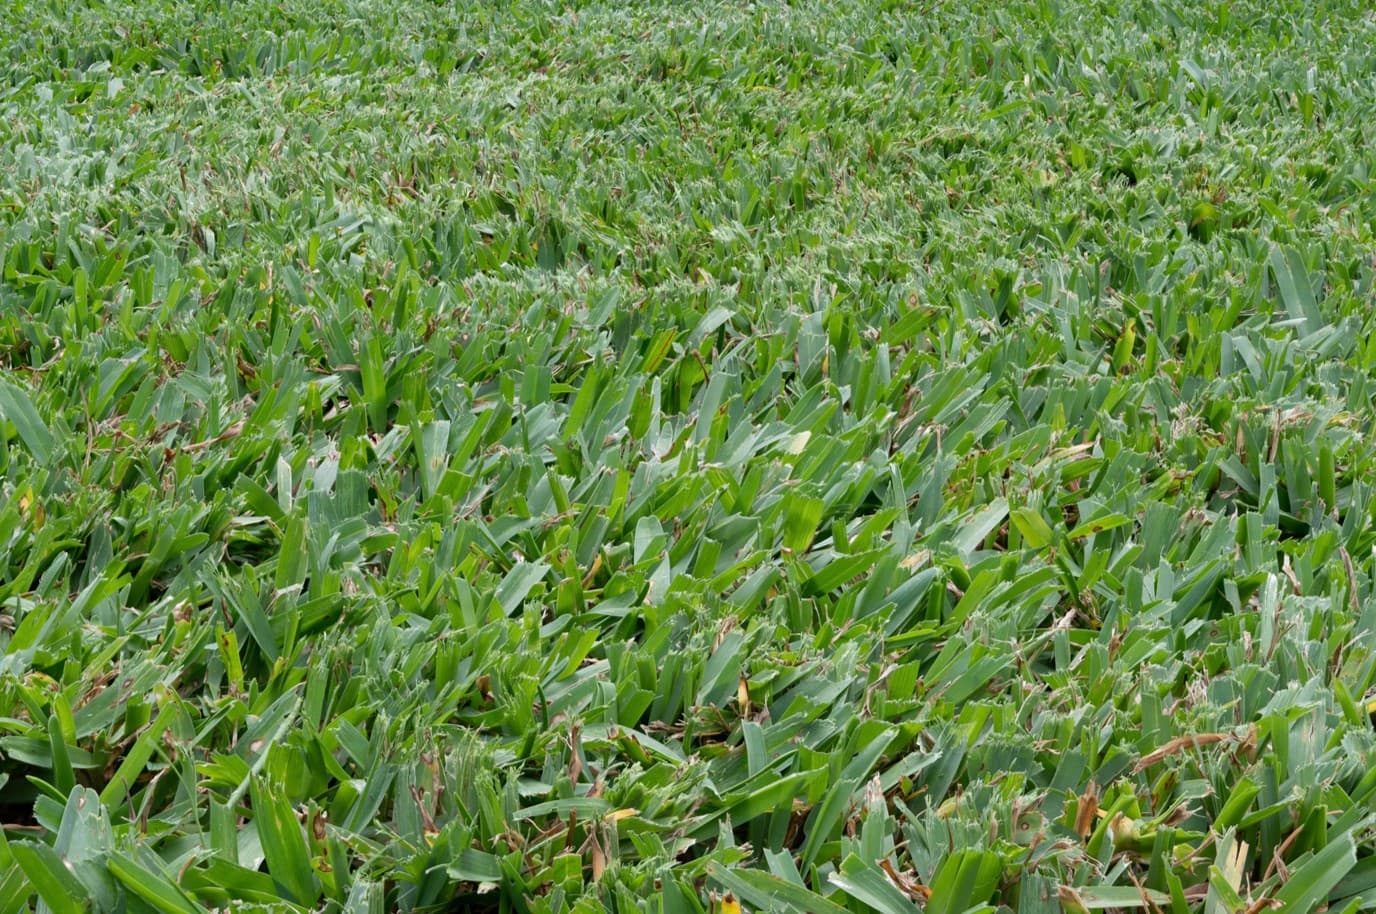
By meticulously preparing the soil for your grass, you create an optimal environment for successful seed germination and robust grass growth. The time and effort invested in soil preparation lay the groundwork for a vibrant and resilient lawn that will bring joy and beauty to your outdoor space for years to come.
Seeding the Grass
After diligently preparing the soil, the next exciting phase of your lawn transformation journey is seeding the grass. Proper seeding techniques and timing are crucial to achieving lush, uniform grass coverage and establishing a thriving lawn. Whether you’re overseeding an existing lawn or starting from scratch, the following steps will guide you through the process of seeding your grass with precision and care:
- Choose the Right Seed: Selecting the appropriate grass seed for your region, climate, and specific lawn conditions is paramount. Consider factors such as sun exposure, soil type, and desired grass characteristics, such as drought tolerance or lush, ornamental appeal. Consult with local experts or garden centers to identify the best grass species and varieties for your lawn.
- Calculate Seed Quantity: Determine the amount of grass seed needed based on the size of the area to be seeded. Most seed packages provide guidelines for coverage, helping you calculate the right quantity for optimal results.
- Seed Distribution: For even coverage, divide the total seed quantity in half and distribute it in parallel passes, first walking lengthwise and then crosswise over the area. This crisscross pattern ensures uniform seed distribution and minimizes the risk of over-seeding or sparse patches.
- Seed-to-Soil Contact: After spreading the grass seed, lightly rake the soil to ensure good seed-to-soil contact. This step helps anchor the seeds and promotes germination. Avoid burying the seeds too deeply, as they require direct contact with the soil and adequate access to light for successful sprouting.
- Apply Mulch (Optional): Consider applying a thin layer of mulch, such as straw or erosion control blankets, over the seeded area. Mulch helps retain moisture, protect the seeds from birds and wind, and create a favorable microclimate for germination.
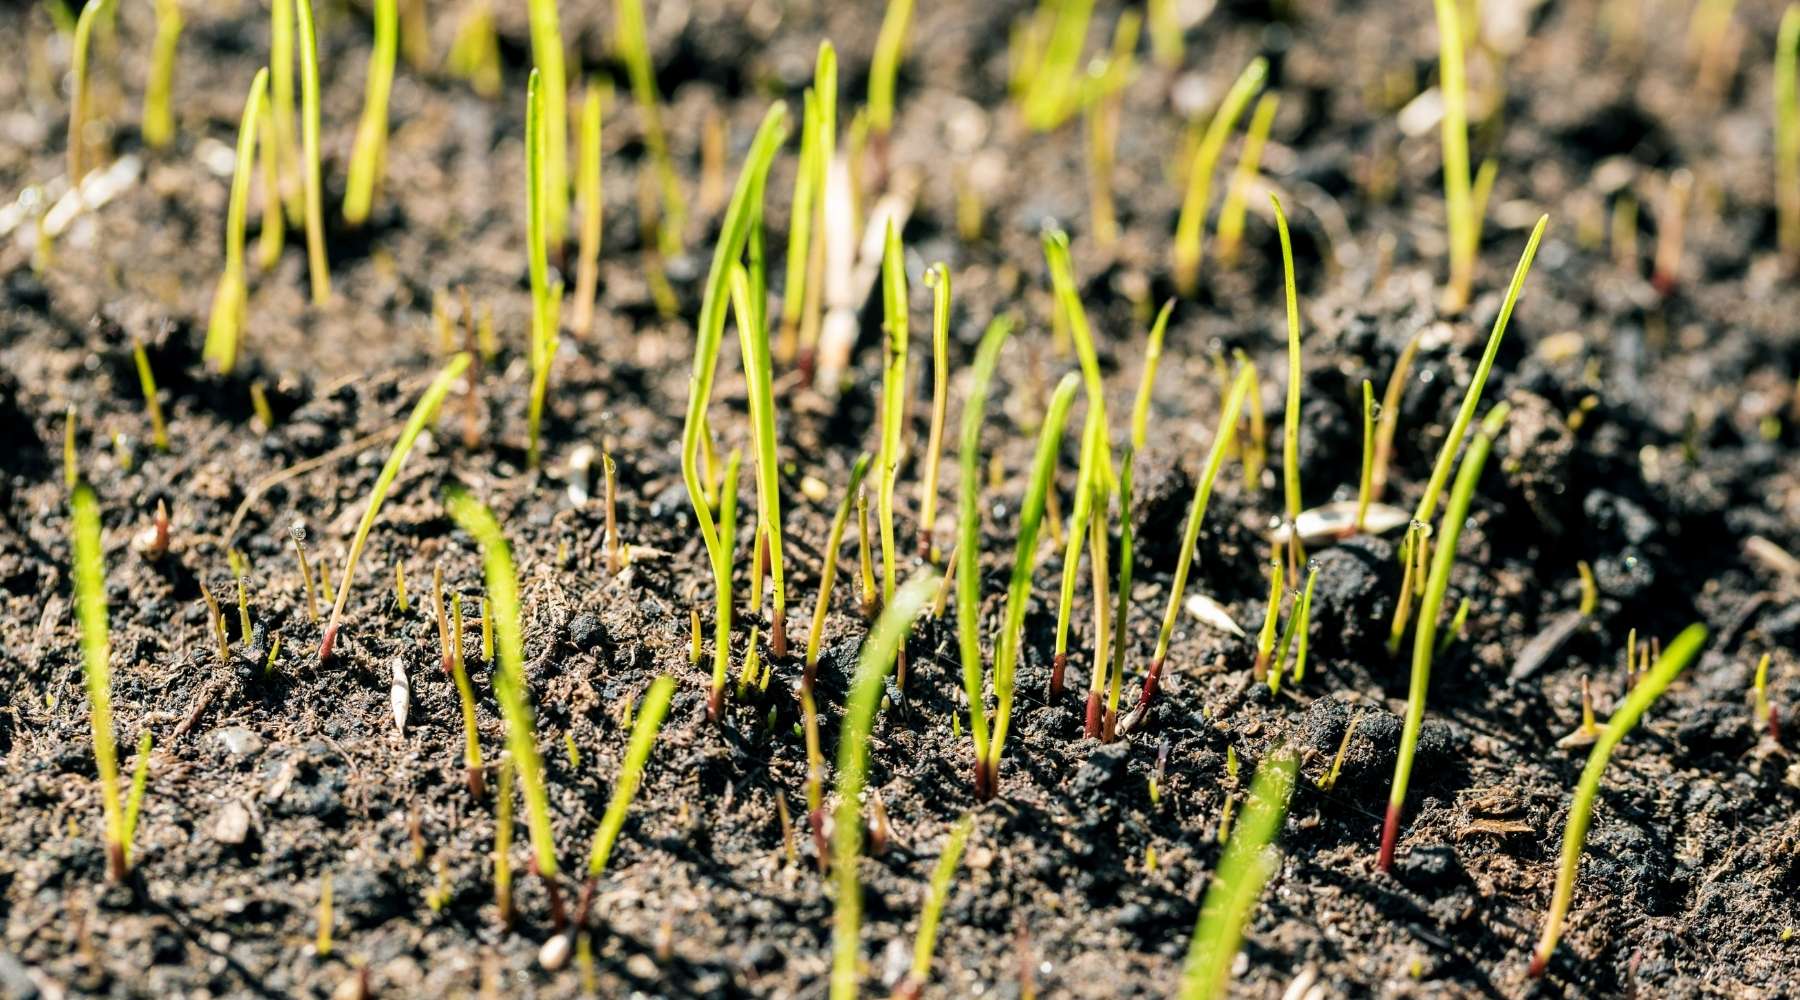
- Watering and Maintenance: After seeding, water the area gently to moisten the soil. Maintain consistent moisture levels, ensuring that the soil remains damp but not waterlogged. Depending on the grass species, germination may occur within 7 to 21 days. During this period, monitor the soil moisture, protect the area from excessive foot traffic, and resist the urge to mow until the grass reaches a recommended height.
By following these steps and providing attentive care during the germination phase, you set the stage for a flourishing lawn that will enhance the beauty of your outdoor space and provide a welcoming carpet of green for relaxation and recreation.
Read more: How To Loosen Soil For Grass
Caring for Newly Tilled Soil
After tilling and seeding the soil, it’s essential to provide ongoing care to nurture the newly established grass and ensure its healthy development. Caring for newly tilled soil involves a combination of attentive maintenance, proper watering, and strategic interventions to address potential challenges. Here are the key steps to caring for your newly tilled soil and promoting the success of your grass:
- Watering: Consistent and adequate watering is crucial for supporting seed germination and early grass growth. Keep the soil moist but not waterlogged, aiming to provide approximately 1 inch of water per week, either through rainfall or irrigation. Monitor the soil moisture levels and adjust your watering schedule based on weather conditions and the specific needs of your grass species.
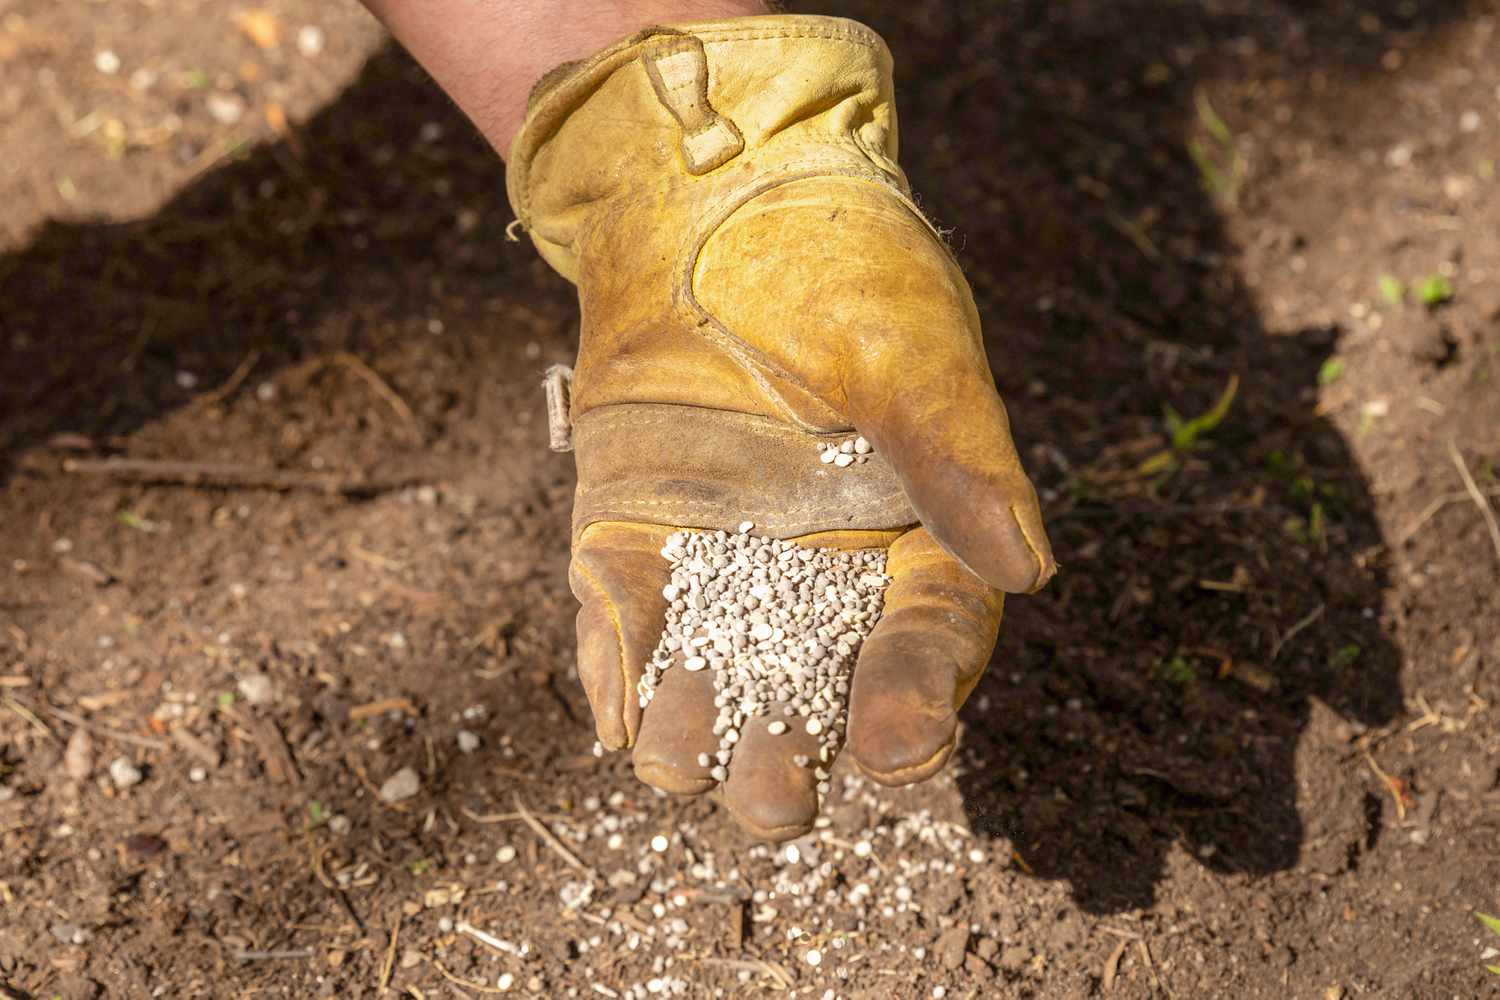
- Fertilization: Once the grass has established itself and shows signs of active growth, consider applying a high-quality, balanced fertilizer to provide essential nutrients. Choose a fertilizer specifically formulated for new lawns or young grass, ensuring that it contains the necessary elements, such as nitrogen, phosphorus, and potassium, to support healthy root development and overall vitality.
- Weed Control: Keep a watchful eye for any emerging weeds that may compete with your new grass for resources. Consider using targeted herbicides or manual removal to prevent weeds from taking hold and stifling the growth of your grass. Be mindful of the timing and application methods to minimize any potential impact on the developing grass.
- Mowing: As your grass matures and reaches a recommended height, it’s time to initiate a regular mowing schedule. Follow the guidelines for your specific grass species, adjusting the mowing height and frequency to promote a healthy root system and dense, lush growth. Avoid removing more than one-third of the grass blade length in a single mowing session to prevent stress and maintain optimal health.
- Pest and Disease Management: Keep an eye out for signs of pests or diseases that may affect your new grass. Promptly address any issues by employing appropriate pest control measures or seeking guidance from local agricultural extensions or lawn care professionals. Early intervention can prevent potential damage and preserve the beauty of your lawn.
By providing attentive care and addressing the specific needs of your newly tilled soil and emerging grass, you can foster a robust and resilient lawn that will thrive and bring joy for years to come. With patience, dedication, and a touch of green-thumb finesse, you’ll soon revel in the beauty of your flourishing grassy paradise.
Frequently Asked Questions about How To Till The Soil For Grass
Was this page helpful?
At Storables.com, we guarantee accurate and reliable information. Our content, validated by Expert Board Contributors, is crafted following stringent Editorial Policies. We're committed to providing you with well-researched, expert-backed insights for all your informational needs.


0 thoughts on “How To Till The Soil For Grass”