Home>Gardening & Outdoor>Pool & Spa Care>How To Repair A Hot Tub Heater
Pool & Spa Care
How To Repair A Hot Tub Heater
Modified: February 26, 2024
Learn how to repair a hot tub heater with our comprehensive guide on pool and spa care. Get expert tips and troubleshoot common issues to keep your hot tub in top condition.
(Many of the links in this article redirect to a specific reviewed product. Your purchase of these products through affiliate links helps to generate commission for Storables.com, at no extra cost. Learn more)
Introduction
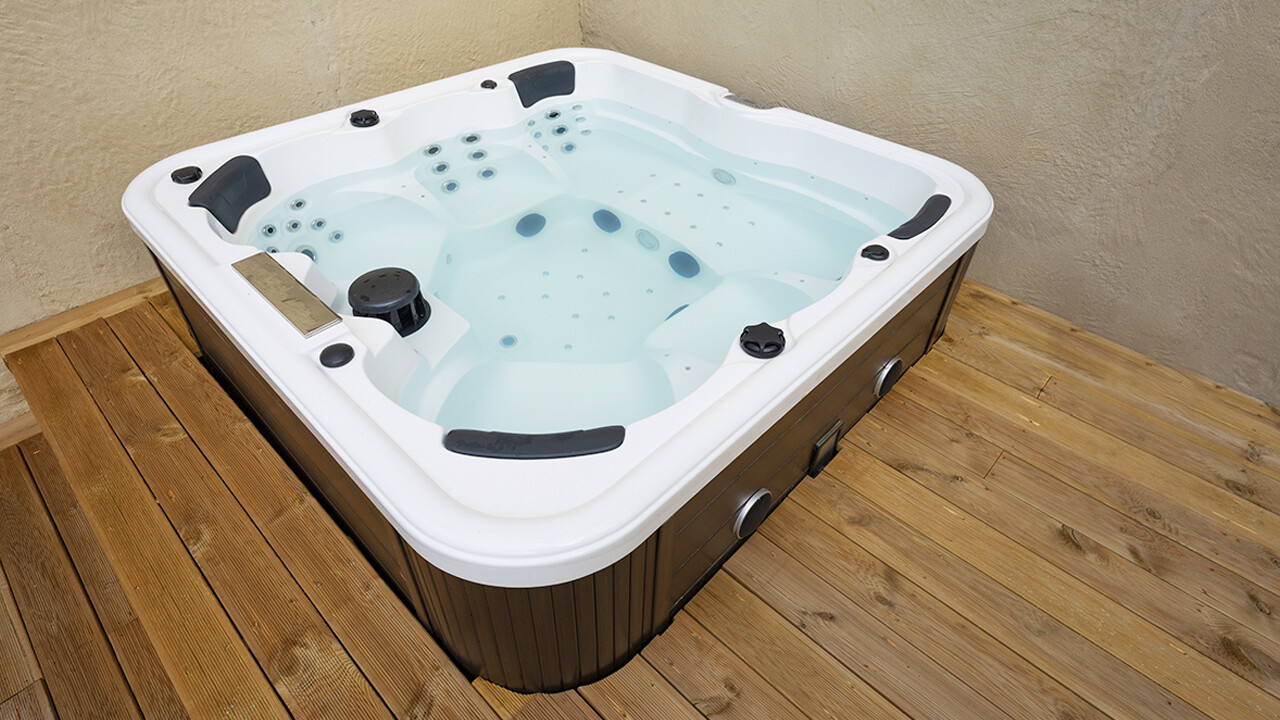
Welcome to the world of hot tub relaxation and hydrotherapy! Owning a hot tub can be a delightful experience, offering a soothing retreat from the stresses of everyday life. However, encountering issues with your hot tub heater can quickly put a damper on your relaxation plans. Fortunately, with a bit of know-how and some basic tools, you can often resolve heater problems without the need for professional assistance.
In this comprehensive guide, we will walk you through the process of repairing a hot tub heater, providing detailed steps and essential safety precautions to ensure a smooth and successful repair. Whether you have a gas, electric, or solar-powered heater, this guide will equip you with the necessary knowledge to diagnose and address common heater issues.
Before we dive into the repair process, it's important to emphasize the significance of safety when dealing with hot tub components. Electricity and water can be a hazardous combination, so it's crucial to exercise caution and follow safety protocols throughout the repair procedure. By adhering to the recommended safety precautions and utilizing the appropriate tools and materials, you can effectively troubleshoot and repair your hot tub heater with confidence.
So, if you've noticed a drop in water temperature, strange noises emanating from the heater, or if the heater simply isn't functioning as it should, fear not. By the end of this guide, you'll be well-equipped to tackle the task of repairing your hot tub heater, restoring warmth and comfort to your beloved relaxation oasis. Let's embark on this heater repair journey, ensuring that your hot tub remains a source of rejuvenation and tranquility for years to come.
Key Takeaways:
- Safety First!
Before repairing your hot tub heater, always prioritize safety by powering down, wearing protective gear, and ensuring the hot tub is drained. Following these precautions creates a secure environment for effective troubleshooting and repair. - Clean and Test
Thoroughly clean the heater and inspect electrical connections before testing its functionality. If necessary, replace the heater element to optimize performance. Regular maintenance ensures a reliable and rejuvenating hot tub experience.
Read more: How To Turn On A Hot Tub Heater
Safety Precautions
Prior to initiating any repair work on your hot tub heater, it is paramount to prioritize safety. Handling electrical components and working in proximity to water requires a vigilant approach to minimize the risk of accidents or injuries. Here are some essential safety precautions to observe before and during the repair process:
- Power Down: Begin by powering down the hot tub at the main breaker or disconnecting the power supply to the heater. This critical step ensures that there is no electrical current flowing to the heater during the repair.
- Personal Protective Equipment (PPE): Wear appropriate PPE, such as insulated gloves and safety goggles, to protect yourself from electrical hazards and any potential debris or chemicals encountered during the repair.
- Water Drainage: If the repair involves accessing the internal components of the heater, ensure that the hot tub is drained to a safe level below the heater assembly. This prevents water from coming into contact with electrical elements during the repair process.
- Tool Inspection: Prior to commencing the repair, inspect all tools to ensure they are in good condition. Avoid using damaged or worn-out tools, as they can compromise your safety and the effectiveness of the repair.
- Isolation: If possible, isolate the hot tub from its power source to prevent accidental activation of the heater while repairs are in progress.
- Qualified Assistance: If you are uncertain about any aspect of the repair process or encounter complexities beyond your expertise, seek the guidance of a qualified professional to ensure the safety and integrity of the repair.
By adhering to these safety precautions, you can mitigate potential risks and create a secure environment for troubleshooting and repairing your hot tub heater. Remember, safety should always be the top priority when working with electrical components and water-based systems. With these precautions in place, you can proceed with confidence, knowing that you are safeguarding both yourself and your hot tub during the repair process.
Tools and Materials Needed
Before embarking on the repair of your hot tub heater, it’s essential to gather the necessary tools and materials to facilitate a smooth and efficient repair process. Here’s a comprehensive list of the items you’ll need:
Tools:
- Insulated Screwdriver Set: To safely handle electrical components and access the heater's internal parts.
- Adjustable Wrench: For loosening and tightening fittings and connections within the heater assembly.
- Wire Brush: To clean any corrosion or debris from electrical contacts and terminals.
- Multi-Meter: For testing electrical continuity and voltage to diagnose potential issues within the heater.
- Non-Contact Voltage Tester: To verify the absence of electrical current before commencing repairs.
- Pipe Cutter or Hacksaw: If the repair involves replacing plumbing components or fittings.
- Work Gloves: To protect your hands during the repair process.
- Flashlight: For illuminating the internal components of the heater, especially in dimly lit areas.
Materials:
- Replacement Heater Element: If the existing element is faulty and requires replacement.
- Thread Seal Tape: For securely sealing threaded connections to prevent leaks.
- Electrical Contact Cleaner: To remove dirt, grime, and oxidation from electrical contacts and terminals.
- PVC Primer and Cement: If the repair involves PVC plumbing components, these materials are essential for secure and leak-free connections.
- Replacement Gaskets or O-Rings: If any seals or gaskets within the heater assembly need to be replaced.
- Owner's Manual or Schematics: These resources can provide valuable insights into the specific components and wiring of your hot tub heater.
By ensuring that you have the necessary tools and materials at your disposal, you can streamline the repair process and address potential issues with confidence. Having these items on hand will enable you to troubleshoot, diagnose, and rectify heater problems effectively, ultimately restoring the warmth and functionality of your hot tub.
Read more: How To Replace A Hot Tub Heater
Step 1: Turn Off the Power
Prior to commencing any work on your hot tub heater, it is imperative to completely disconnect the power supply to the unit. This crucial step is essential for ensuring your safety and preventing the risk of electrical accidents during the repair process. Follow these detailed instructions to safely turn off the power to your hot tub heater:
- Locate the Main Breaker: Identify the main electrical breaker or disconnect switch that supplies power to your hot tub. This is typically located near the hot tub’s control panel or in the vicinity of the outdoor electrical enclosure.
- Switch Off the Breaker: Using the appropriate safety measures, switch off the breaker that corresponds to the hot tub heater. This action effectively cuts off the electrical supply to the heater, ensuring that no current is flowing to the unit during the repair process.
- Verify Disconnection: Once the breaker is turned off, use a non-contact voltage tester to verify that there is no electrical current present at the heater. This additional precaution provides assurance that the power supply has been successfully disconnected.
- Secure the Power Source: If possible, consider locking or tagging the breaker to prevent accidental reconnection of the power while repairs are in progress. This extra measure helps to maintain a safe working environment throughout the repair process.
By diligently following these steps to turn off the power to your hot tub heater, you are taking a proactive approach to safeguarding yourself and others from potential electrical hazards. With the power supply effectively disconnected, you can proceed with confidence to inspect, troubleshoot, and repair the heater, knowing that you have prioritized safety as a fundamental aspect of the repair process.
Step 2: Inspect the Heater
Once the power to the hot tub heater has been safely turned off, the next crucial step in the repair process is to conduct a thorough inspection of the heater unit. This inspection will enable you to identify any visible issues, such as corrosion, damage, or loose connections, that may be contributing to the heater’s malfunction. Follow these detailed guidelines to perform a comprehensive inspection of the hot tub heater:
- Visual Examination: Carefully examine the exterior of the heater for signs of corrosion, rust, or physical damage. Check for any visible leaks or pooling water around the heater, as this could indicate a plumbing or seal-related issue.
- Inspect Electrical Components: Remove the heater cover or access panel to inspect the internal electrical components. Look for any loose wires, burnt terminals, or evidence of electrical arcing, which may point to underlying electrical problems.
- Check for Debris: Clear any debris, leaves, or foreign objects that may have accumulated around the heater assembly. Accumulated debris can obstruct airflow and cause the heater to overheat or operate inefficiently.
- Examine Heating Elements: If your hot tub heater utilizes heating elements, visually inspect them for signs of scale buildup, corrosion, or damage. Scale accumulation on the heating elements can impede heat transfer and reduce the heater’s effectiveness.
- Assess Thermostat and Controls: Verify the condition of the thermostat, temperature sensors, and control panel. Ensure that the wiring connections are secure and that the controls are functioning as intended.
By meticulously inspecting the hot tub heater using the aforementioned guidelines, you can gain valuable insights into the condition of the unit and potentially pinpoint the root cause of the heating issues. This proactive approach sets the stage for targeted troubleshooting and effective resolution of the heater’s malfunction, ultimately paving the way for a successful repair process.
Step 3: Clean the Heater
After conducting a comprehensive inspection of the hot tub heater, the next vital step in the repair process involves thorough cleaning of the unit. Over time, heaters can accumulate debris, mineral deposits, and other contaminants that hinder their performance. By diligently cleaning the heater components, you can optimize its efficiency and address potential sources of malfunction. Follow these detailed instructions to effectively clean the hot tub heater:
- Remove Accumulated Debris: Utilizing a soft brush or compressed air, carefully remove any accumulated debris, dust, or foreign particles from the exterior and interior of the heater assembly. Pay particular attention to ventilation openings and air intake areas.
- Descale Heating Elements: If your hot tub heater utilizes heating elements, descaling them is crucial for restoring their heat transfer efficiency. Use a suitable descaling solution or a mixture of white vinegar and water to dissolve and remove mineral deposits from the heating elements.
- Clean Electrical Contacts: Inspect and clean the electrical contacts, terminals, and wiring connections within the heater assembly. Use an electrical contact cleaner and a soft brush to remove any oxidation, dirt, or corrosion that may be impeding electrical conductivity.
- Inspect and Clear Plumbing Lines: If the heater is integrated with plumbing components, inspect the inlet and outlet connections for any obstructions or mineral buildup. Clear any blockages and ensure that water flow through the heater is unimpeded.
- Clean Control Panel and Thermostat: If applicable, carefully clean the control panel, thermostat, and temperature sensors using a mild, non-abrasive cleaner. Ensure that these components are free from dirt and grime that could affect their functionality.
By meticulously cleaning the hot tub heater as per the outlined instructions, you are taking proactive measures to eliminate potential sources of inefficiency and malfunction. This comprehensive cleaning process sets the stage for improved heater performance and creates a conducive environment for subsequent diagnostic and repair steps.
Step 4: Check the Electrical Connections
As you proceed with the repair of your hot tub heater, a critical aspect of the diagnostic process involves inspecting and verifying the integrity of the electrical connections within the unit. Over time, electrical connections can become loose, corroded, or compromised, leading to heating inefficiencies and malfunctions. By meticulously checking and addressing any issues with the electrical connections, you can enhance the heater’s performance and reliability. Follow these detailed guidelines to effectively assess and address electrical connections within the hot tub heater:
- Visual Inspection: Begin by visually inspecting all electrical connections, terminals, and wiring within the heater assembly. Look for signs of corrosion, loose connections, or damaged insulation that may indicate underlying electrical issues.
- Tighten Loose Connections: Using an insulated screwdriver or appropriate wrench, carefully tighten any loose electrical connections, ensuring that they are secure and free from excessive play or movement.
- Inspect Wiring for Damage: Thoroughly examine the wiring harnesses and conductors for any signs of fraying, damage, or wear. Address any compromised wiring to prevent potential electrical hazards and ensure reliable operation.
- Check Grounding Connections: Verify that the grounding connections within the heater assembly are intact and securely fastened. Proper grounding is essential for electrical safety and effective heater operation.
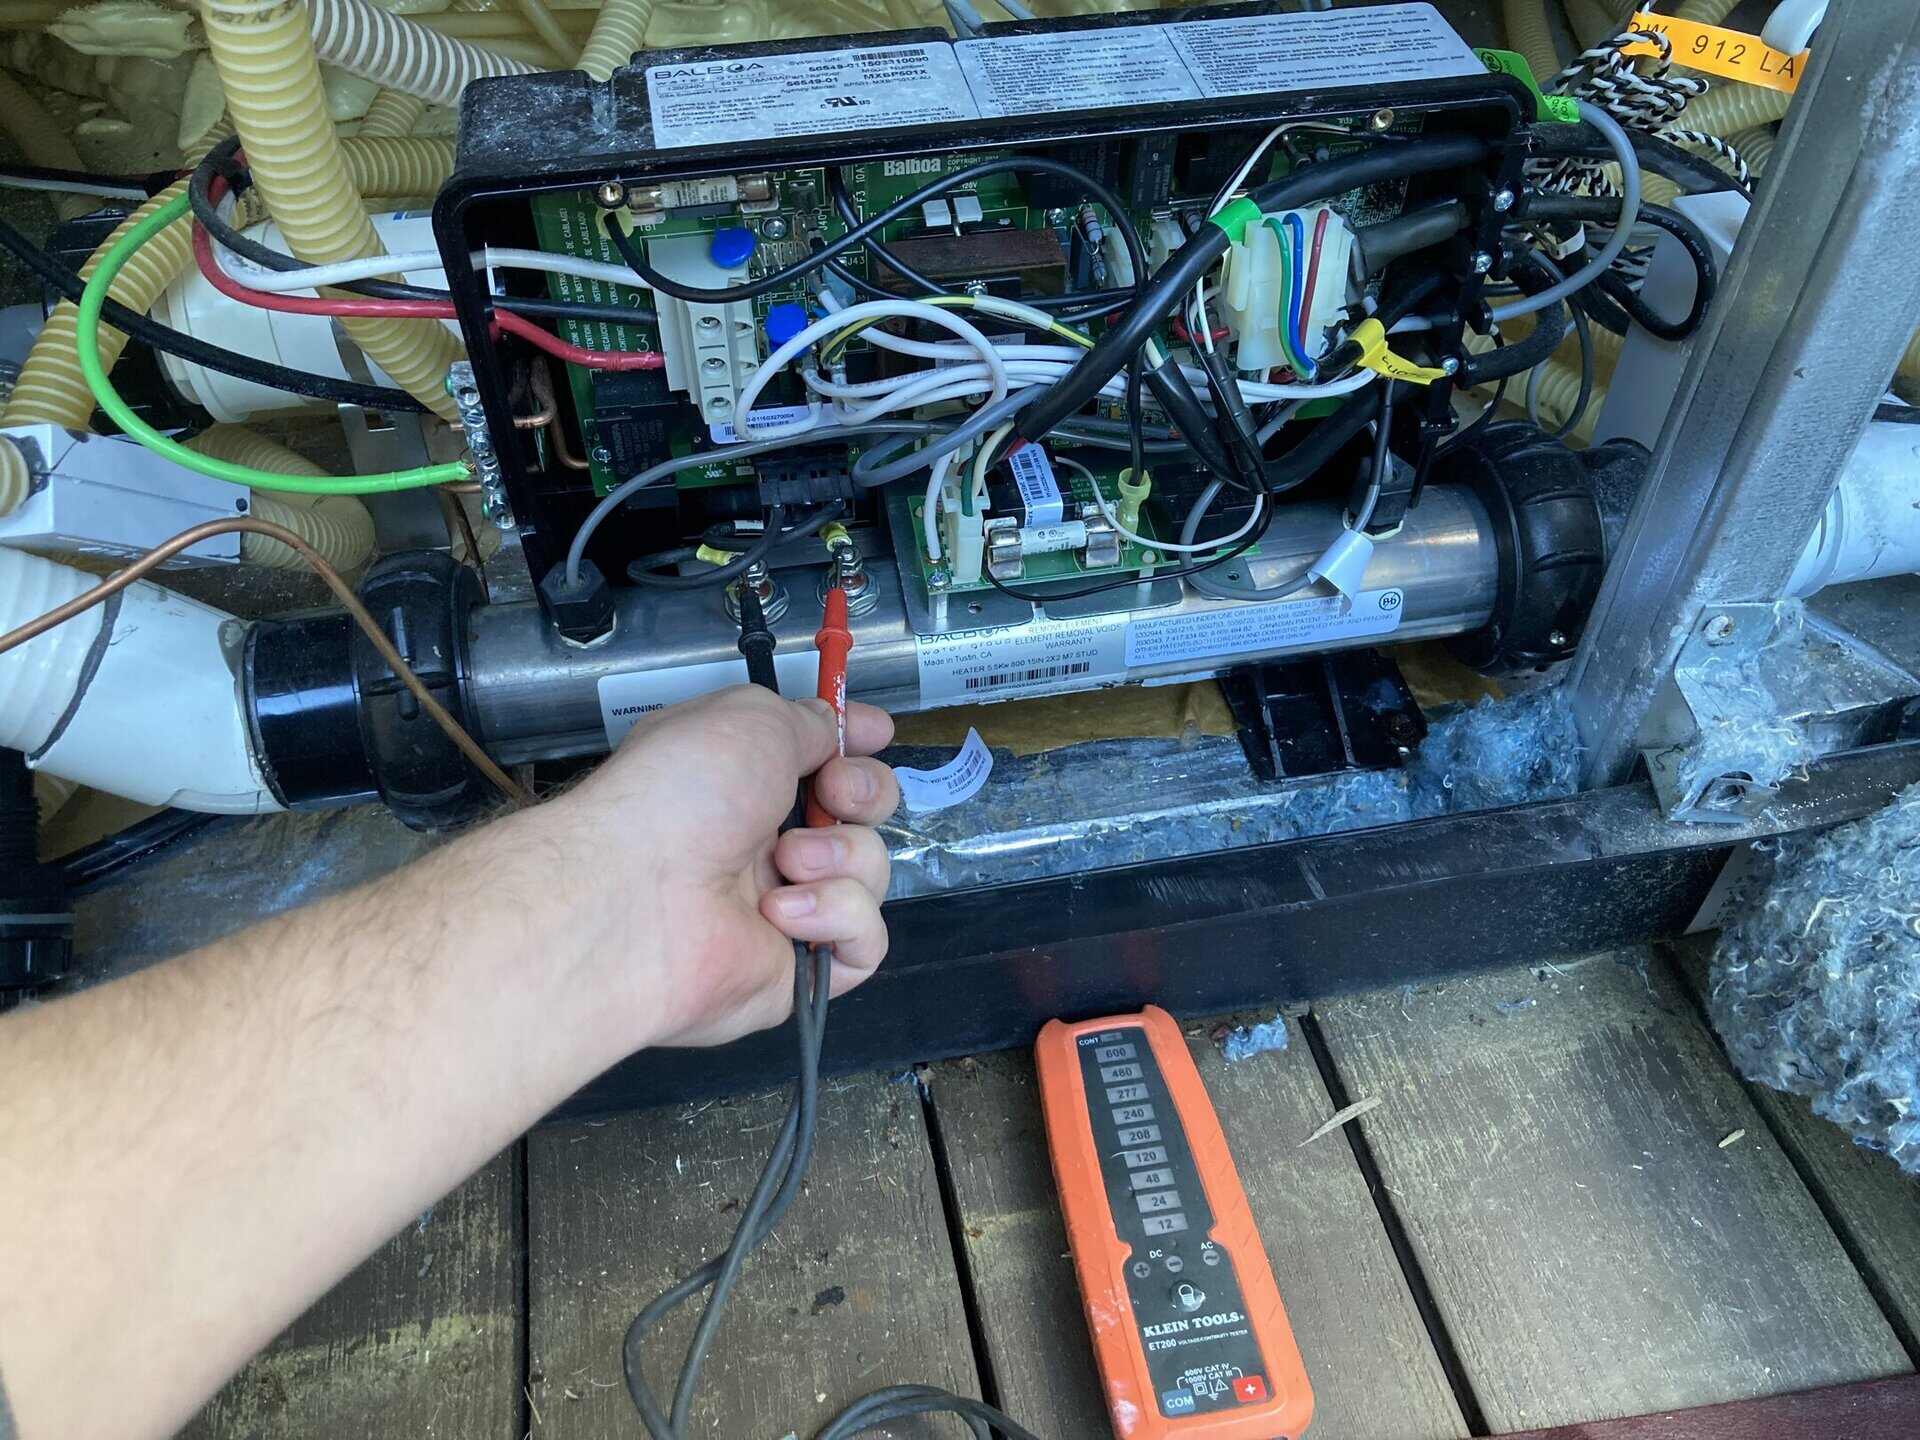
- Test Voltage and Continuity: Utilize a multi-meter to test the voltage and continuity of the electrical connections, ensuring that the appropriate electrical parameters are being maintained throughout the heater circuitry.
- Clean and Protect Terminals: If corrosion is present on electrical terminals, use a suitable electrical contact cleaner and a wire brush to remove the corrosion and protect the terminals from further deterioration.
By diligently checking and addressing the electrical connections within the hot tub heater, you are proactively mitigating potential sources of electrical inefficiencies and malfunctions. This meticulous approach sets the stage for enhanced electrical integrity and paves the way for a more reliable and efficient heater operation.
Regularly clean and maintain the hot tub heater to prevent buildup and prolong its lifespan. Use a soft brush to remove any debris and check for any signs of damage or corrosion.
Read more: How To Tell If Hot Tub Heater Is Working
Step 5: Test the Heater
Following the inspection and maintenance of the hot tub heater’s components and connections, the next crucial step in the repair process involves testing the heater to evaluate its functionality and performance. By conducting thorough tests, you can ascertain whether the cleaning and maintenance efforts have resolved any underlying issues and restored the heater’s ability to efficiently heat the water. Follow these detailed guidelines to effectively test the hot tub heater:
- Restore Power: Safely restore power to the hot tub heater by reactivating the electrical breaker or power supply that was previously disconnected. Exercise caution and ensure that all safety protocols are followed during this reconnection process.
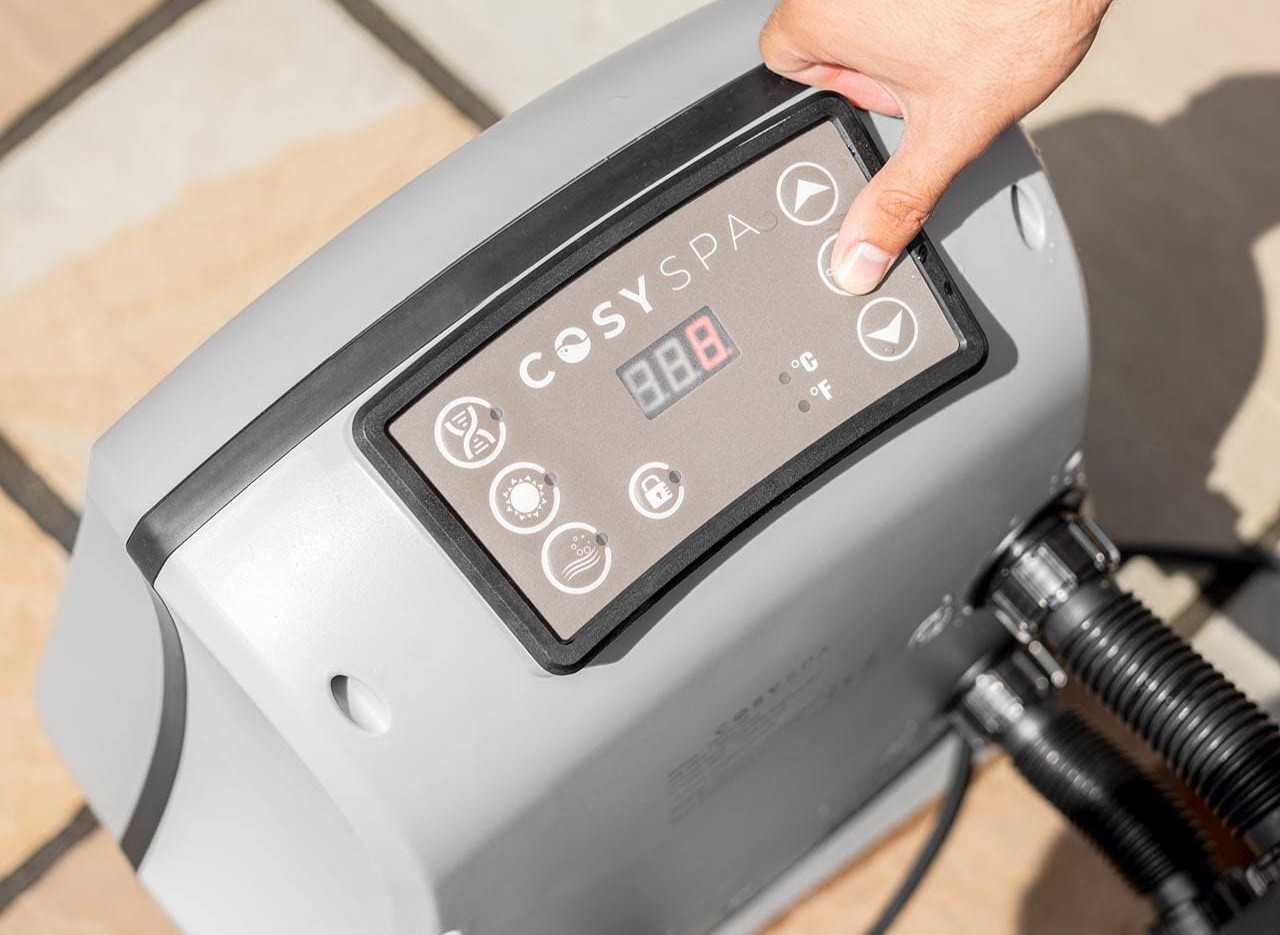
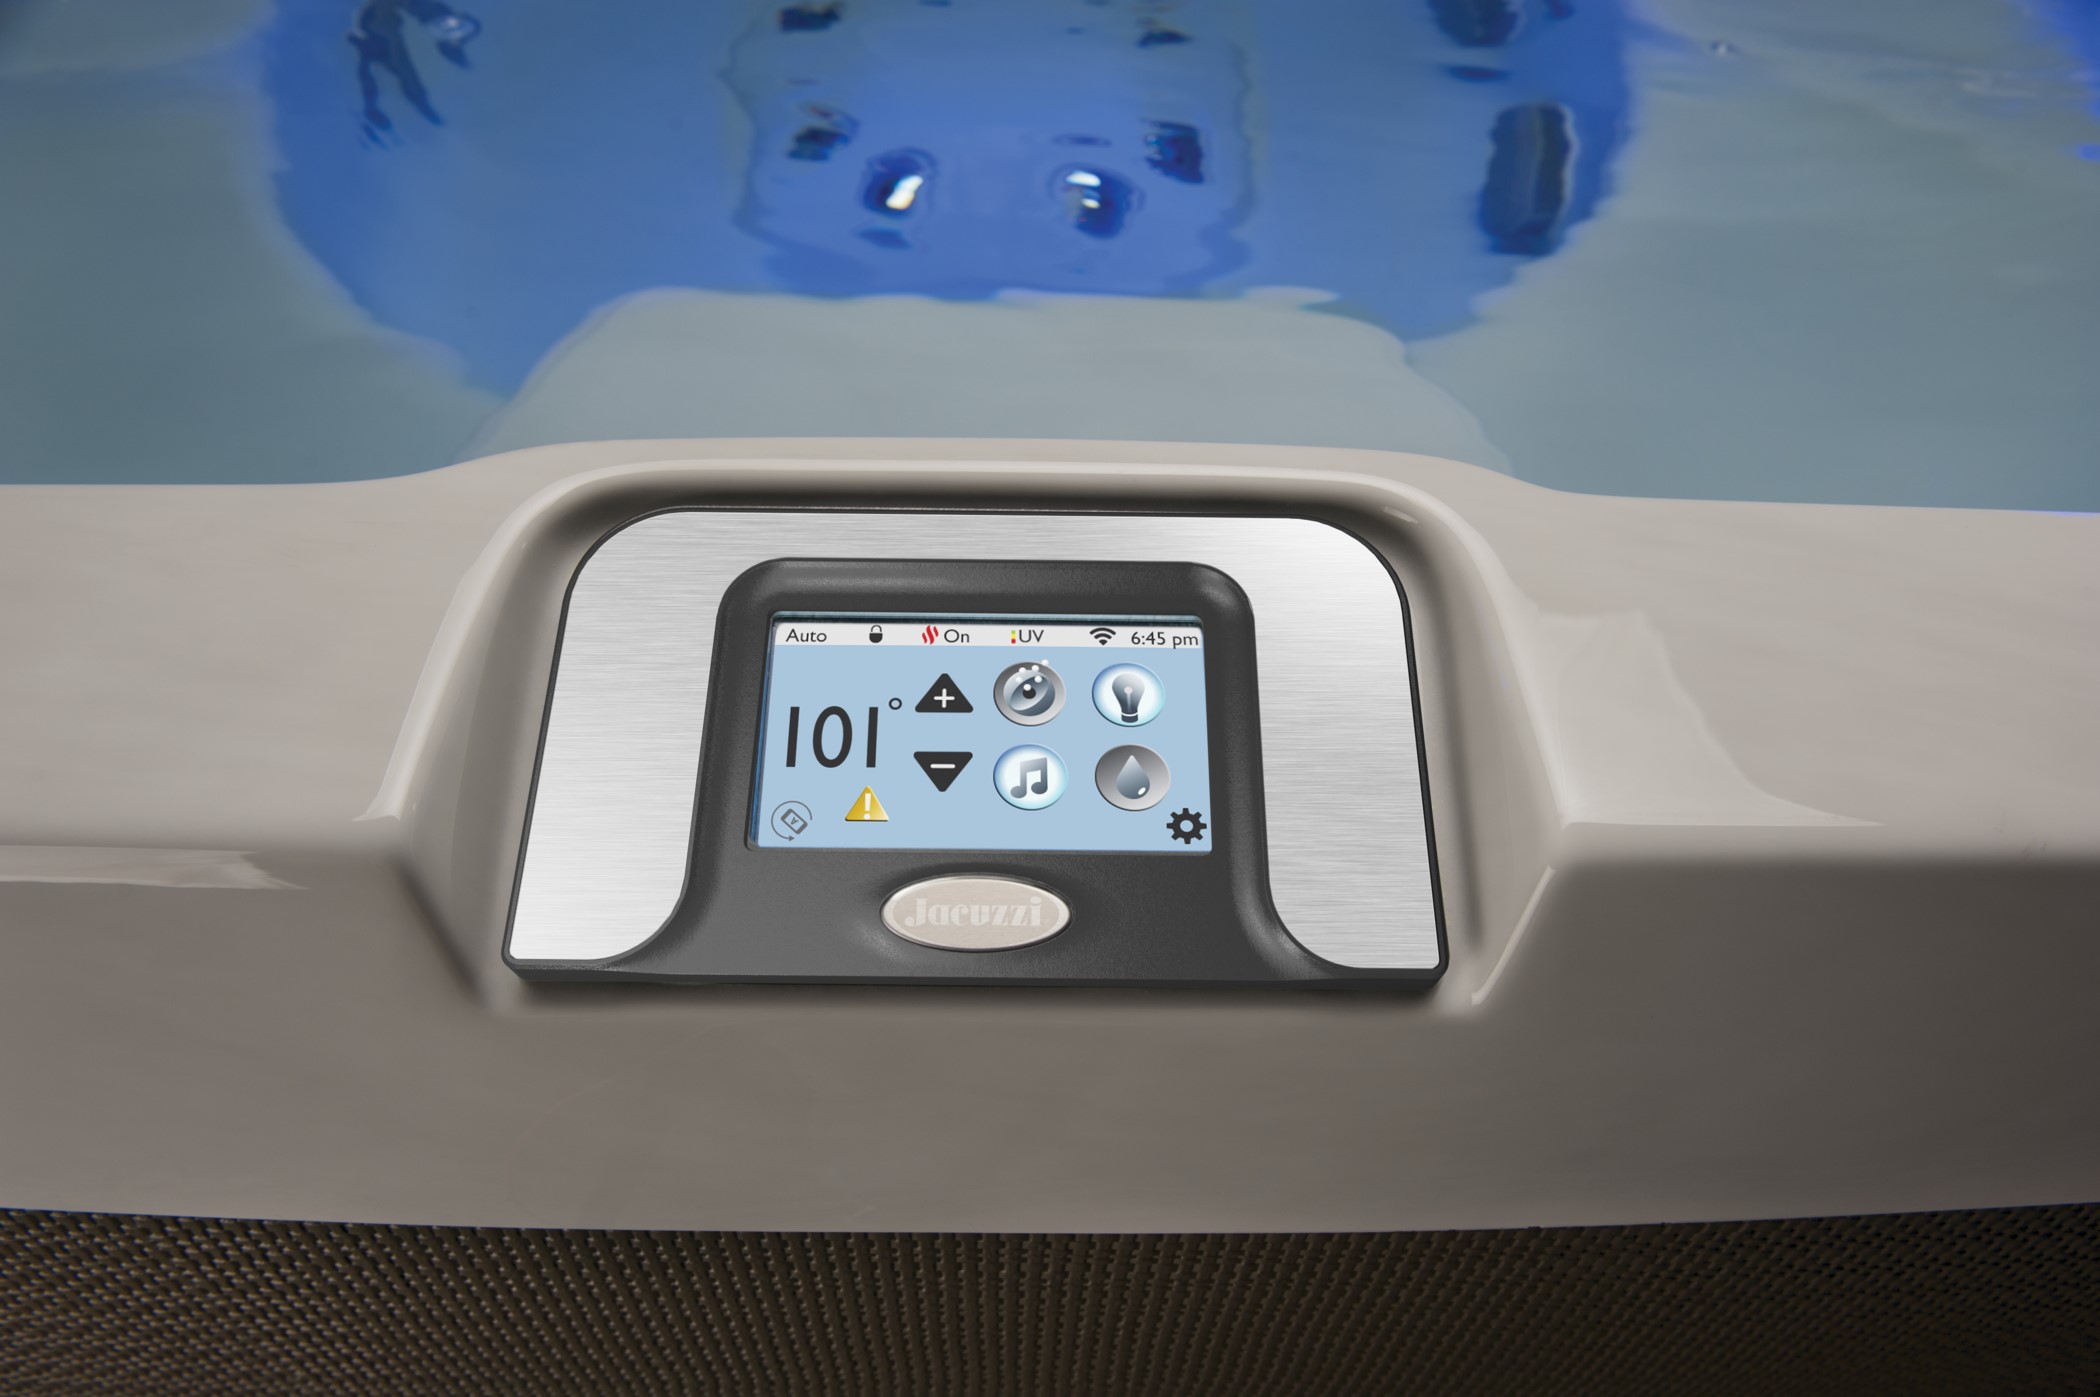
- Activate the Heater: Access the hot tub’s control panel or heater interface and initiate the heating cycle. Set the desired temperature and observe the heater’s response as it begins the heating process.
- Monitor Temperature Rise: As the heater operates, monitor the temperature of the hot tub water to assess the rate at which it is heating. Compare the actual temperature rise with the expected or programmed increase to gauge the heater’s performance.
- Observe for Abnormal Noises or Behavior: While the heater is in operation, listen for any unusual noises, such as rattling, hissing, or persistent clicking. Additionally, observe the heater for any erratic behavior or abrupt shutdowns during the heating cycle.
- Verify Consistent Heating: Ensure that the hot tub water consistently reaches and maintains the set temperature, indicating that the heater is functioning effectively and providing reliable heat output.
- Check for Error Codes or Warnings: If your hot tub’s control panel is equipped with diagnostic features, check for any error codes or warnings that may indicate underlying issues with the heater’s operation.
By methodically testing the hot tub heater using the outlined guidelines, you can gain valuable insights into its performance and identify any persisting issues that require further attention. This proactive testing phase serves as a critical checkpoint in the repair process, allowing you to gauge the effectiveness of the maintenance and diagnostic efforts while preparing for potential corrective measures.
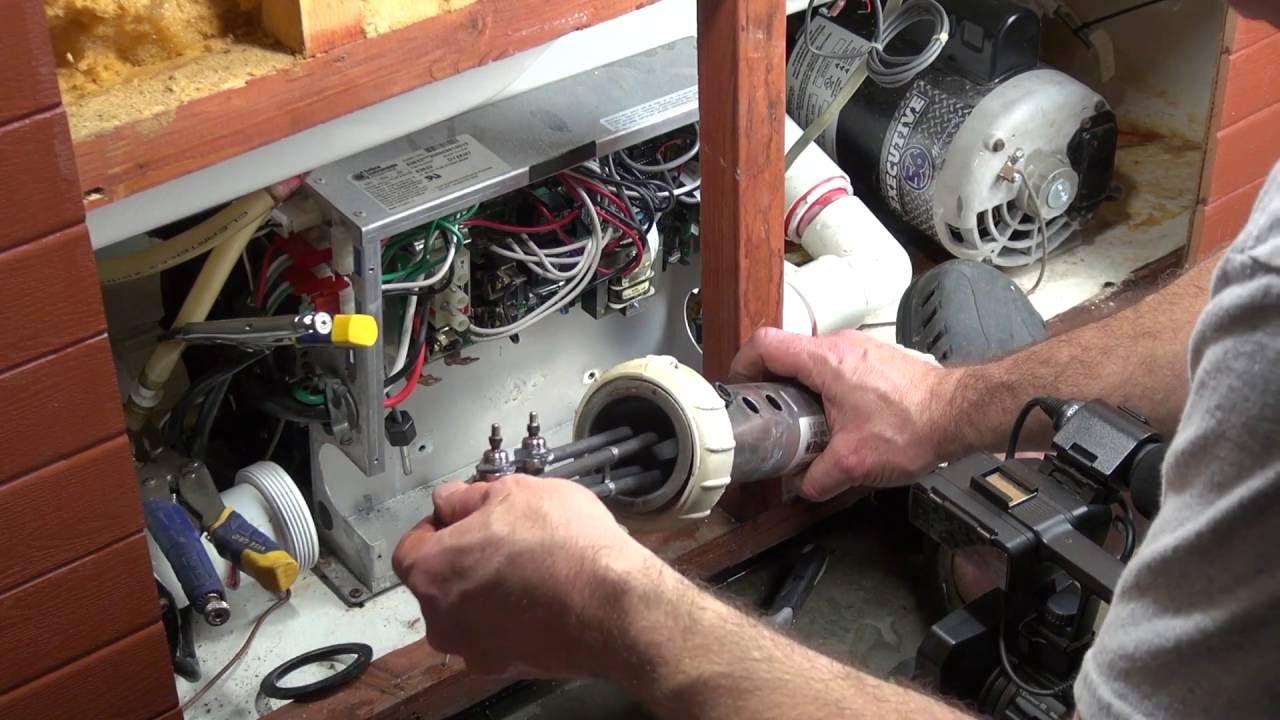
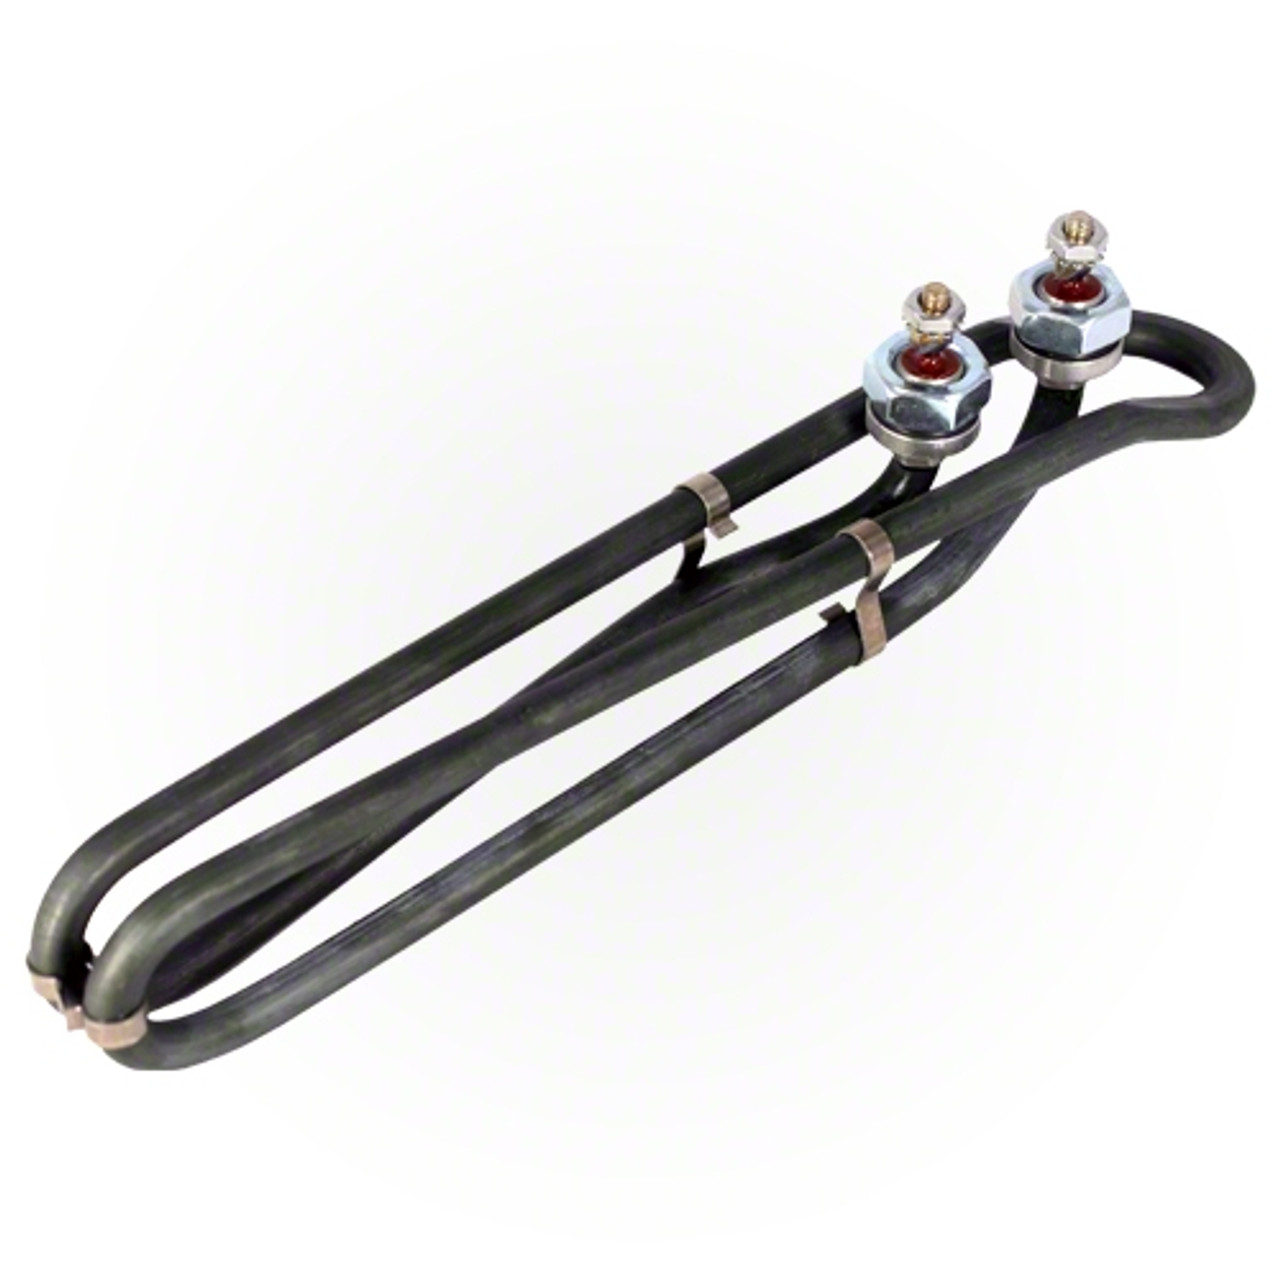
Step 6: Replace the Heater Element (if necessary)
If the testing phase reveals persistent heating issues or if the heater element is identified as the root cause of the malfunction, replacing the heater element becomes a pivotal step in restoring the optimal functionality of the hot tub heater. The heater element, responsible for heating the water within the hot tub, may degrade over time due to mineral buildup, corrosion, or electrical failures. Follow these comprehensive guidelines to effectively replace the heater element:
- Identify the Heater Element: Locate the specific heater element within the hot tub’s heating assembly, typically positioned in close proximity to the water flow for efficient heat transfer.
- Power Down and Drain the Hot Tub: Prior to replacing the heater element, ensure that the power to the hot tub is safely disconnected, and the water within the tub is drained to a suitable level below the heater assembly.
- Remove the Existing Heater Element: Carefully disconnect the electrical wiring and plumbing connections attached to the heater element. Depending on the design, the element may be secured with mounting brackets or fasteners that need to be removed to facilitate extraction.
- Inspect for Damage or Debris: Upon removing the old heater element, inspect it for signs of damage, corrosion, or excessive scale buildup. Additionally, check the surrounding area for debris or obstructions that may have impacted the element’s performance.
- Install the Replacement Element: Position the new heater element in place, ensuring that it aligns with the electrical and plumbing connections. Secure the element using the appropriate mounting hardware and reconnect the electrical and plumbing components as per the manufacturer’s specifications.
- Test the New Heater Element: With the replacement element installed, proceed to test the hot tub heater to verify the functionality and performance of the new element. Monitor the heating cycle and water temperature to ensure consistent and efficient heat output.
By methodically replacing the heater element as per the outlined guidelines, you are addressing a fundamental component of the hot tub’s heating system, thereby optimizing its performance and restoring reliable heat generation. This proactive approach serves to rectify underlying issues related to the heater element, ensuring that the hot tub remains a source of rejuvenation and relaxation for its users.
Step 7: Turn On the Power and Test the Hot Tub Heater
As the final phase of the hot tub heater repair process, turning on the power and conducting a comprehensive test of the heater’s functionality is essential to validate the effectiveness of the maintenance and replacement efforts. By following these detailed guidelines, you can ensure that the heater operates reliably and efficiently, providing consistent warmth for your hot tub:
- Restore Power to the Hot Tub: Safely reconnect the power supply to the hot tub heater by activating the electrical breaker or power source. Exercise caution and verify that all safety precautions are observed during this reconnection process.
- Activate the Heating Cycle: Access the hot tub’s control panel or heater interface to initiate the heating cycle. Set the desired temperature and monitor the heater’s response as it begins to heat the water.
- Monitor Heating Performance: As the heater operates, closely monitor the temperature of the hot tub water to ensure that it steadily rises to the set temperature. Observe the heater for consistent and efficient heat output, indicating reliable operation.
- Check for Abnormal Behavior: While the heater is in operation, watch for any abnormal noises, fluctuations in heating performance, or unexpected shutdowns. Address any irregularities promptly to ensure the heater’s optimal functionality.
- Verify Water Temperature: Confirm that the hot tub water consistently maintains the set temperature, providing a comfortable and rejuvenating experience for users. This validation demonstrates the heater’s ability to sustain the desired water warmth.
- Record and Monitor Performance: Document the heater’s performance and observe its operation over a period of time to ensure that the repair and maintenance efforts have effectively resolved any prior heating issues.
By diligently turning on the power and conducting a thorough test of the hot tub heater, you are affirming the successful repair and maintenance of the heating system. This final validation phase ensures that the hot tub remains a reliable source of relaxation and rejuvenation, providing consistent warmth and comfort for its users.
Conclusion
Congratulations on successfully navigating the comprehensive process of repairing your hot tub heater! By following the systematic steps outlined in this guide, you have demonstrated a proactive approach to troubleshooting, maintaining, and optimizing the functionality of your hot tub’s heating system. From safety precautions to meticulous testing and replacement procedures, your dedication to ensuring a reliable and efficient heater is commendable.
Throughout this repair journey, you prioritized safety at every stage, diligently inspecting, cleaning, and testing the heater while adhering to essential safety protocols. By doing so, you not only safeguarded yourself and others but also created a secure environment for effective heater maintenance and repair.
Whether you resolved minor heating inefficiencies, replaced the heater element, or conducted routine maintenance to enhance the heater’s performance, your commitment to preserving the warmth and comfort of your hot tub is truly commendable. Your efforts have not only revitalized the heater but have also contributed to the overall longevity and functionality of your hot tub, ensuring that it remains a cherished retreat for relaxation and rejuvenation.
As you bask in the soothing warmth of your revitalized hot tub, remember that periodic maintenance and attentive care are key to sustaining the optimal performance of the heater and the entire hot tub system. By staying attuned to any signs of malfunction and promptly addressing them, you can continue to enjoy the therapeutic benefits and tranquil ambiance that your hot tub provides.
Thank you for embarking on this heater repair journey with dedication and diligence. Your commitment to maintaining a blissful hot tub experience serves as a testament to your proactive approach to care and maintenance. May your rejuvenating soak in the revitalized hot tub be a well-deserved reward for your conscientious efforts in restoring its warmth and comfort.
Frequently Asked Questions about How To Repair A Hot Tub Heater
Was this page helpful?
At Storables.com, we guarantee accurate and reliable information. Our content, validated by Expert Board Contributors, is crafted following stringent Editorial Policies. We're committed to providing you with well-researched, expert-backed insights for all your informational needs.


0 thoughts on “How To Repair A Hot Tub Heater”